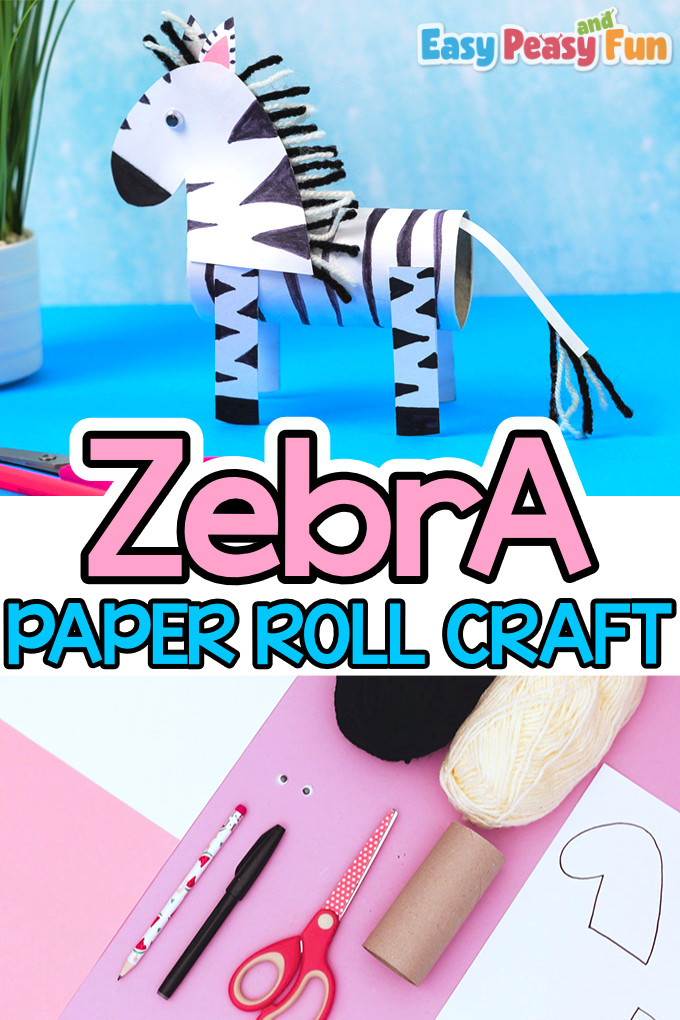
Calling all zebra lovers – let’s make a toilet paper roll zebra craft together. This is a great craft idea for kids to do on a rainy day.
If your kids are fans of all kinds of animals, this craft is certainly one to add to their collection.
*This post contains affiliate links*
50 paper crafts your kids can actually do themselves

No fancy supplies — just paper, scissors, and a little imagination.
Be the first to get it on release day — and lock in the lowest price guaranteed.
We got a neat toilet paper roll crafts as well as Animal Crafts for Kids collection (check out our Snake Clothespin Puppets or try and make a Movable Cow Paper Doll).
If you didn’t know, zebras make everything more fun!
Your kid will love doing this toilet paper roll craft, so grab the supplies and have a ton of fun.
How to Make the Paper Roll Zebra
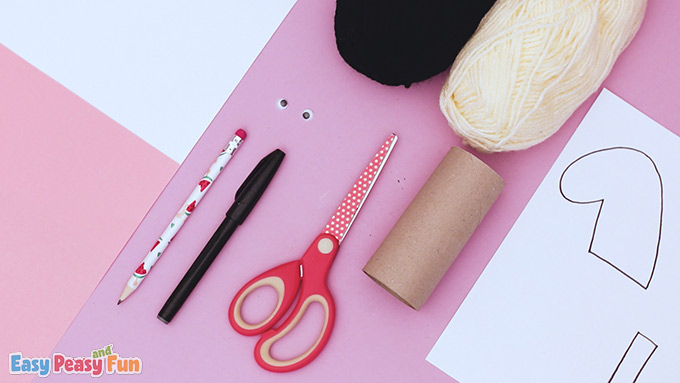
What you need:
- printable template
- paper roll (either use a toilet paper roll or make a roll from regular paper)
- color papers (white and pink)
- scissors
- pencil
- black marker
- glue stick
- googly eyes
- yarn (white and black)
Step by Step Tutorial
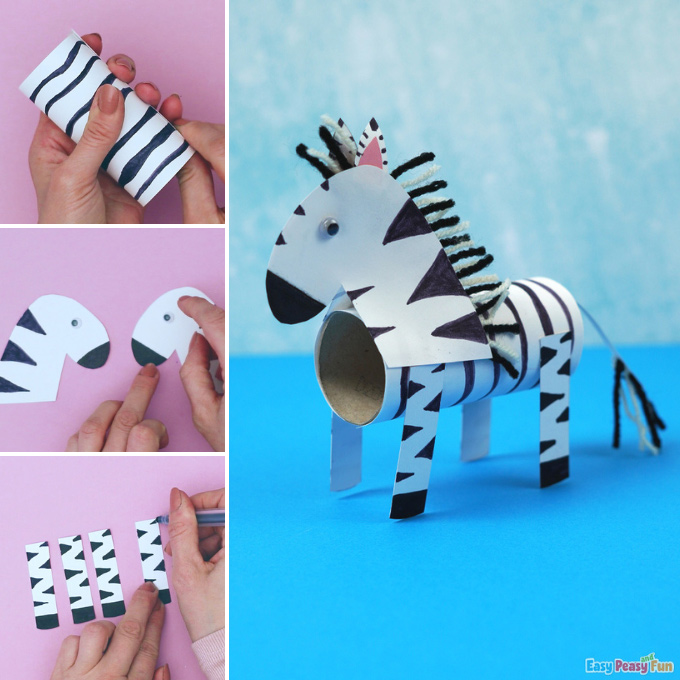
The Body
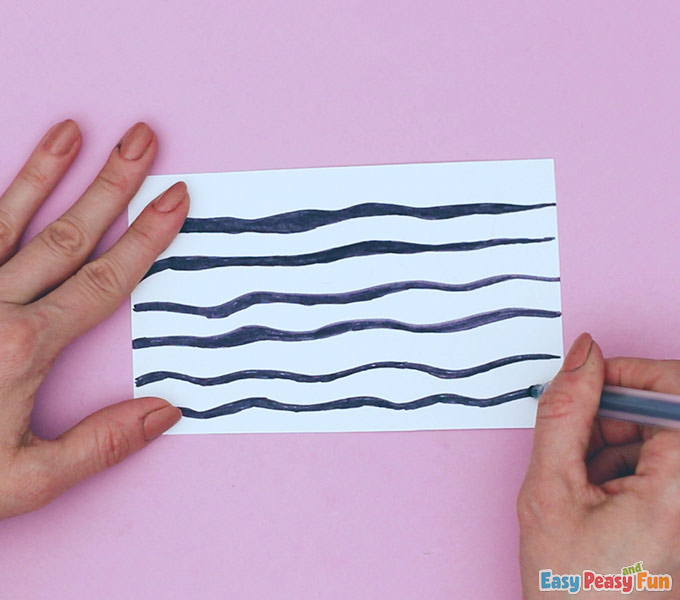
Cut a piece of white paper big enough to fit around the paper roll.

Draw zebra stripes with a black marker.
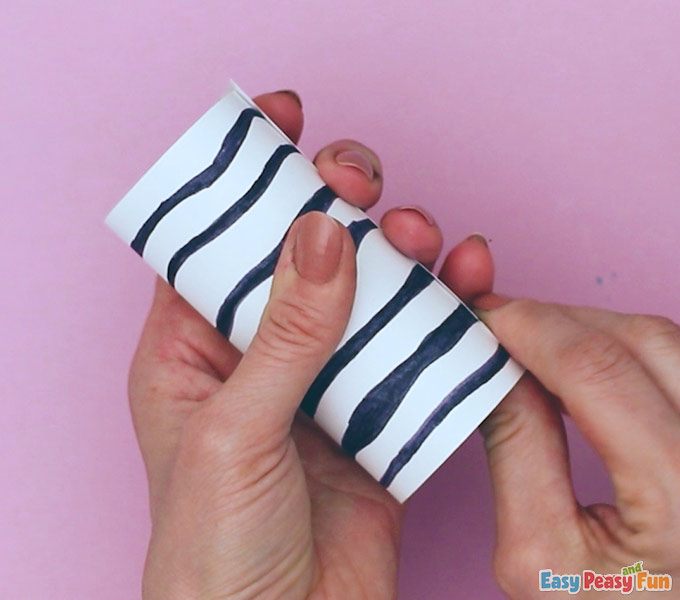
Place glue on the toilet paper roll.
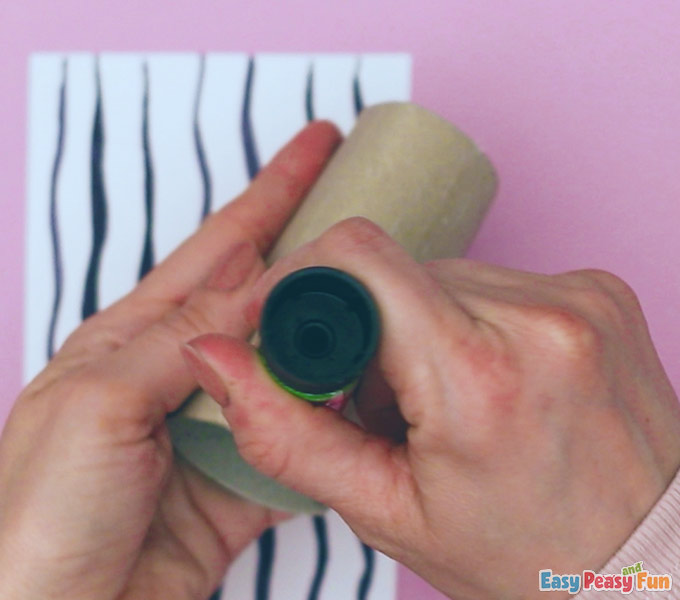
Press down to ensure the paper stays on the tube.
Cut out the templates.
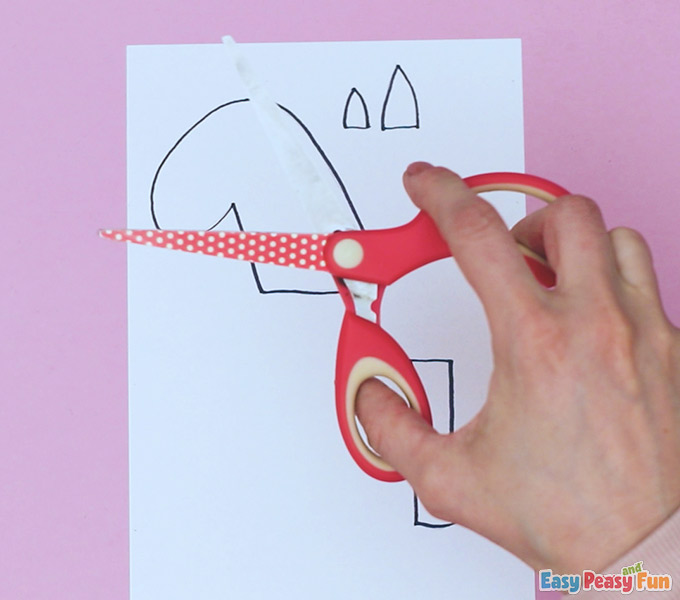
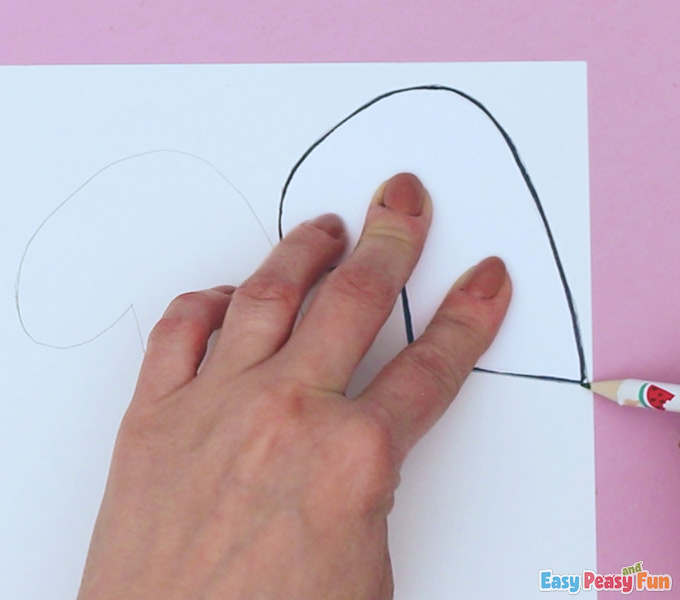
Trace the head and ears twice on white paper and cut out.
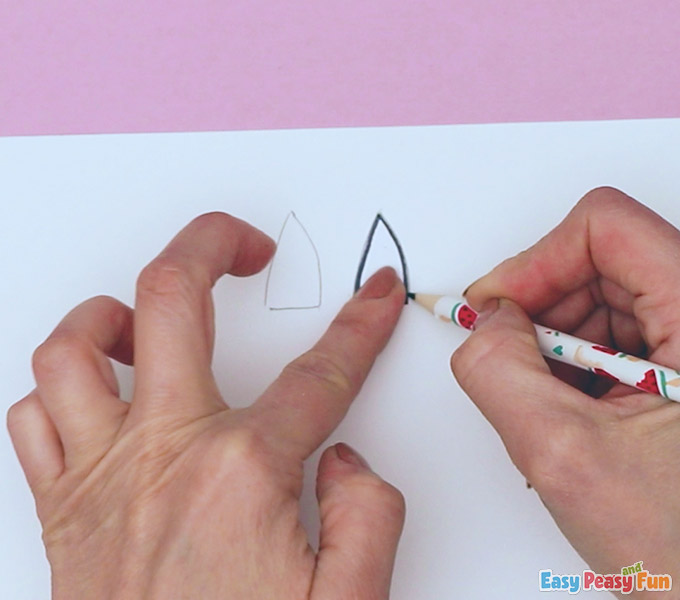
Trace the ears on white paper.
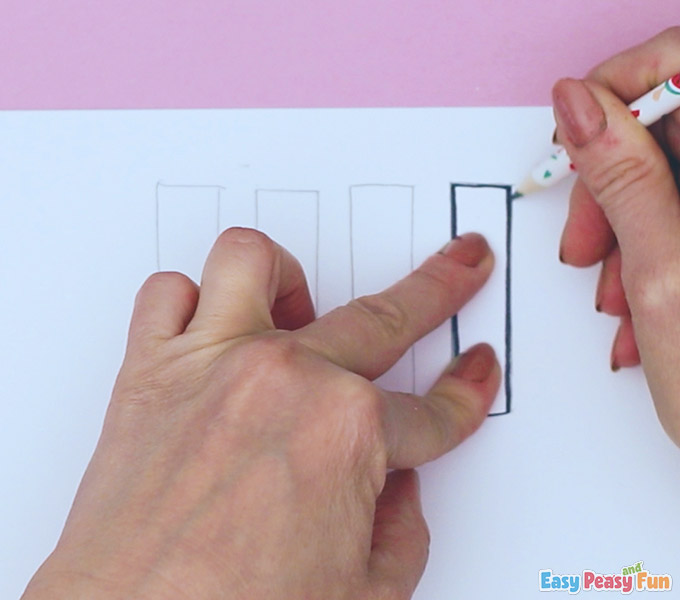
Our zebra needs legs. Trace the legs on the white paper four times, then cut them out.
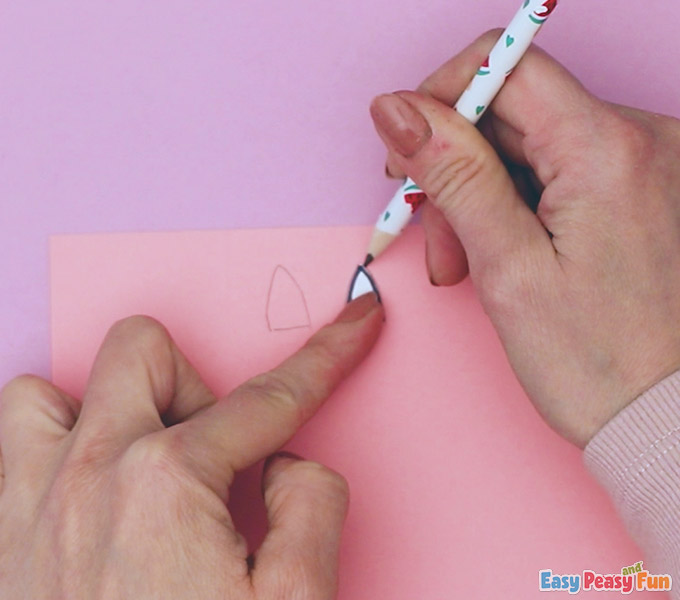
Trace the insides of the ears on pink paper.
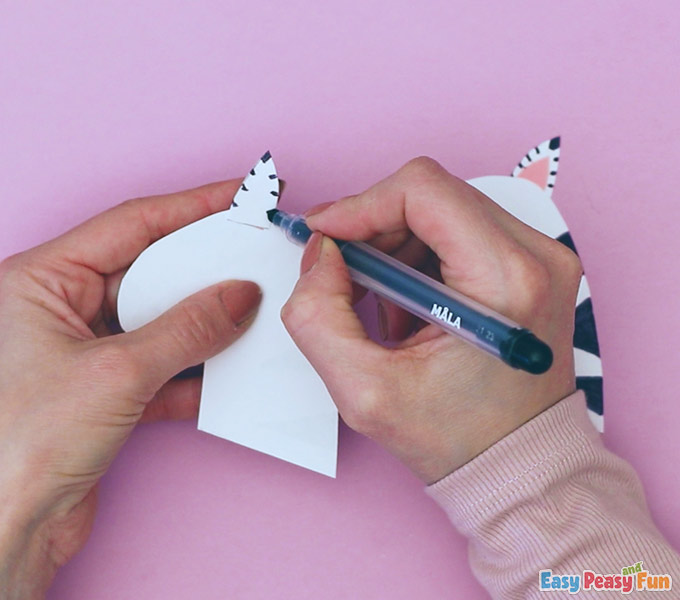
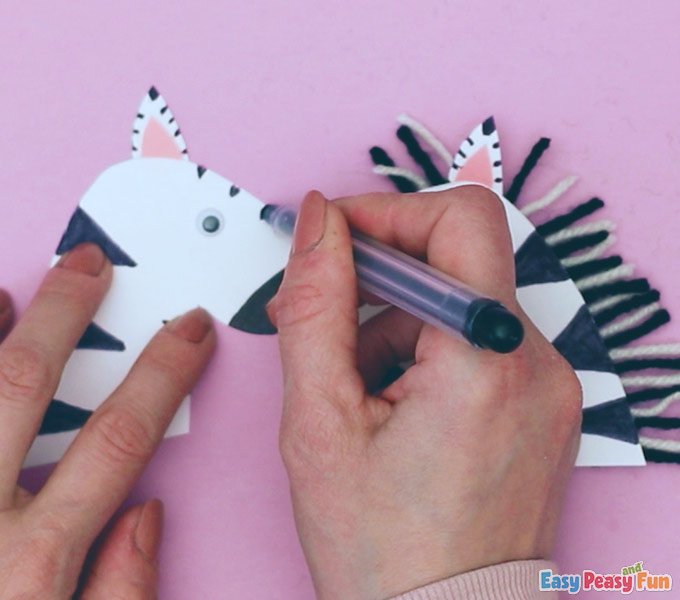
The Head
Draw black patterns onto the zebra’s head
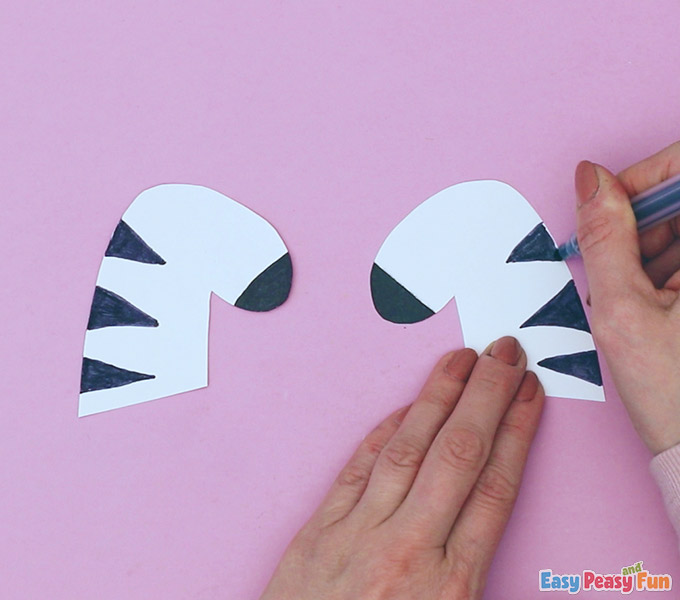
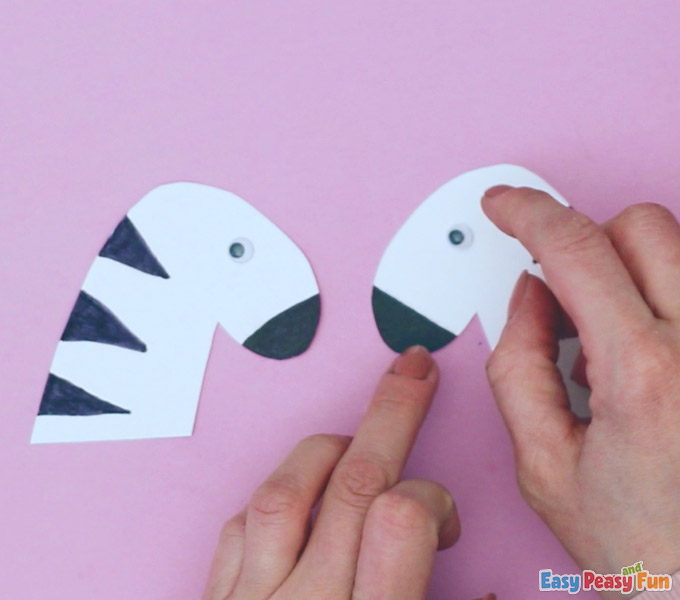
Glue on the googly eyes.
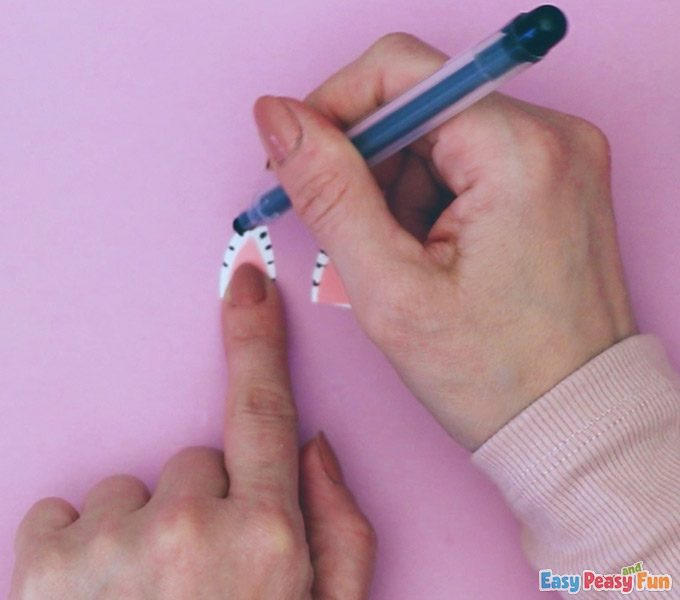
Glue the pink insides to the ears.

Draw patterns on the ears with a black marker.
Little stripes to the ears help add a lot of fun detail.
Glue the ears onto the head of the zebra.
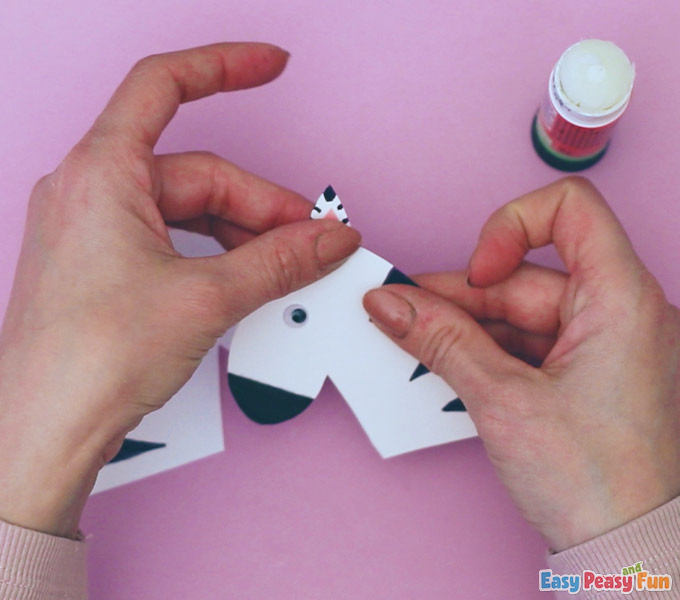
Go ahead and add little stripes to the ears on the back side of the head.
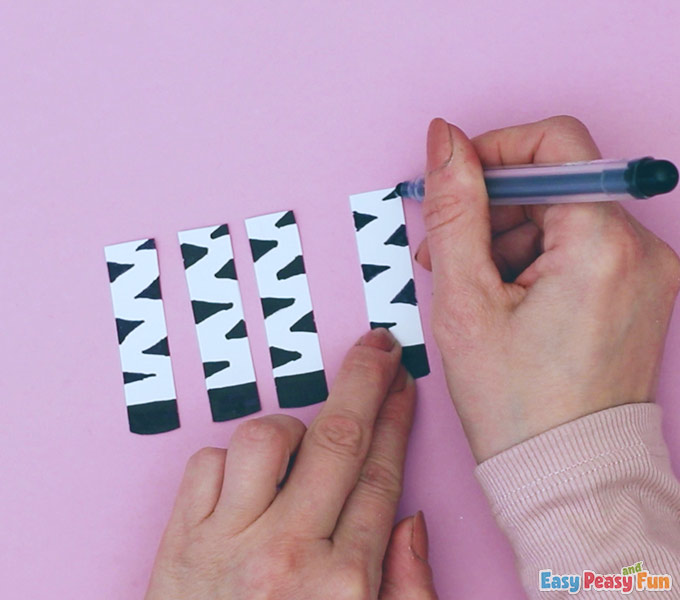
The Legs
Draw hooves and stripes on the legs with a black marker.
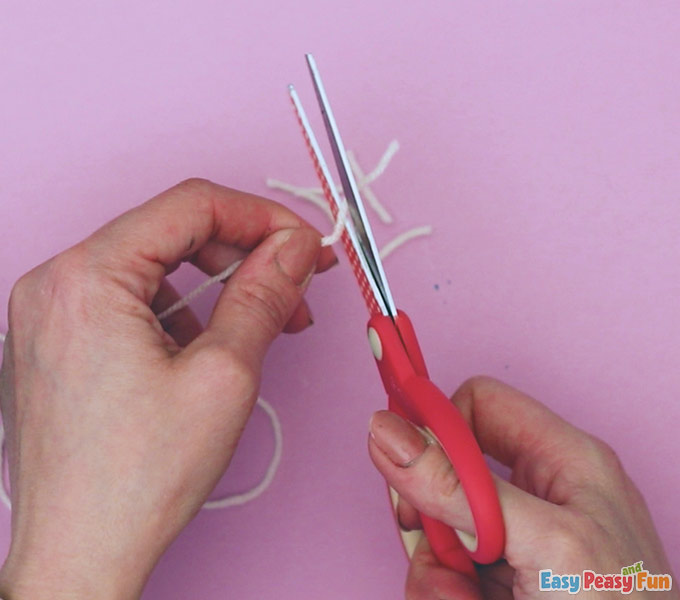
The Mane
Cut short pieces of white yarn to make a mane.
Cut black pieces of yarn too.
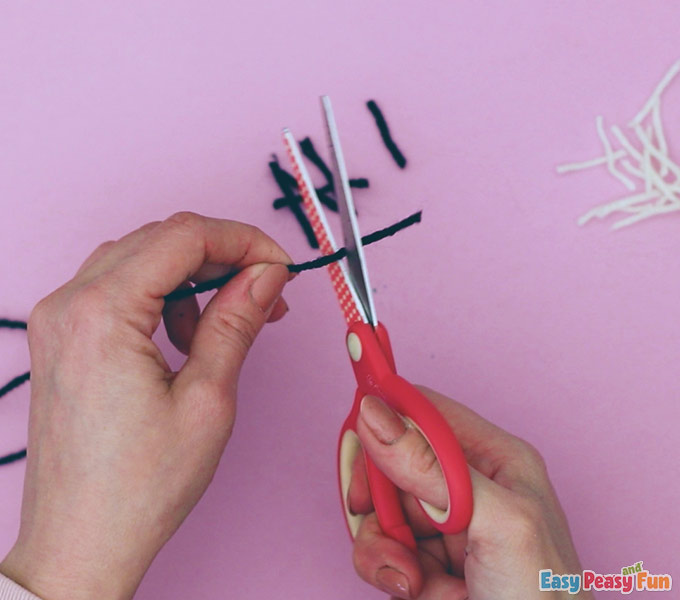
Glue the black and white pieces of yarn to the back of the zebra’s head.

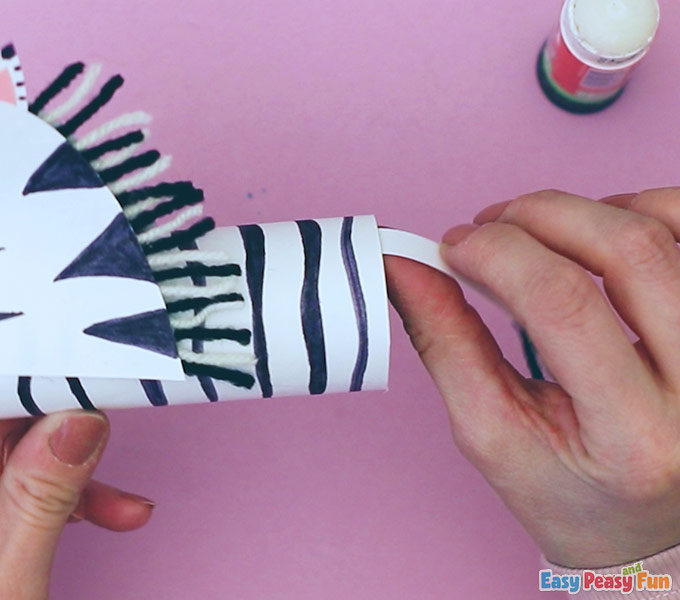
Add stripes to the nose of the zebra.
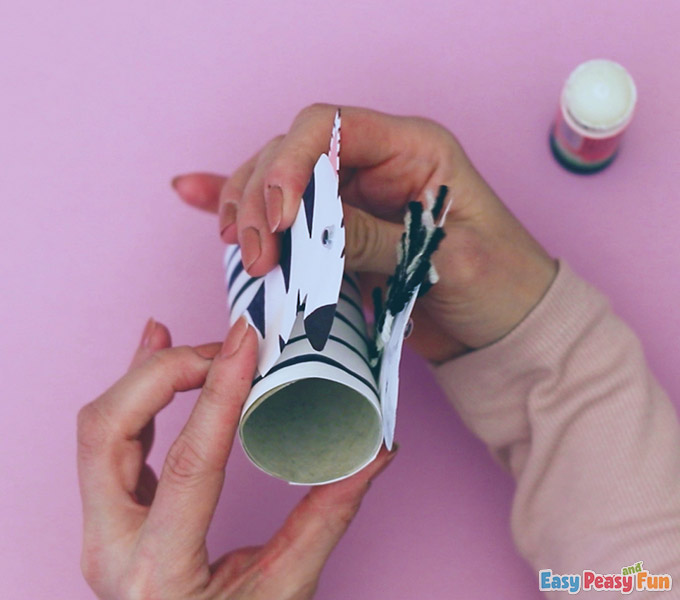
Apply glue to one piece of the zebra head.

Glue the faces of the zebra onto the toilet paper roll, and press them together.
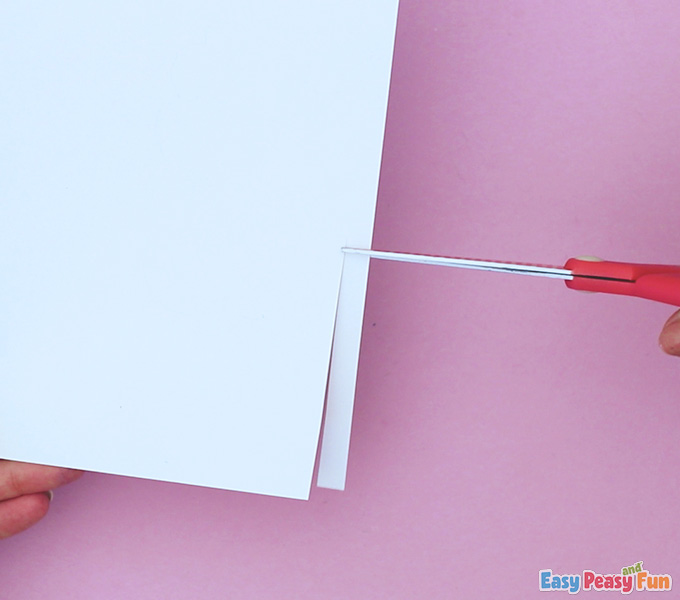
The Tail
Cut a long strip of white paper.
Glue the white and black yarn onto the white paper.
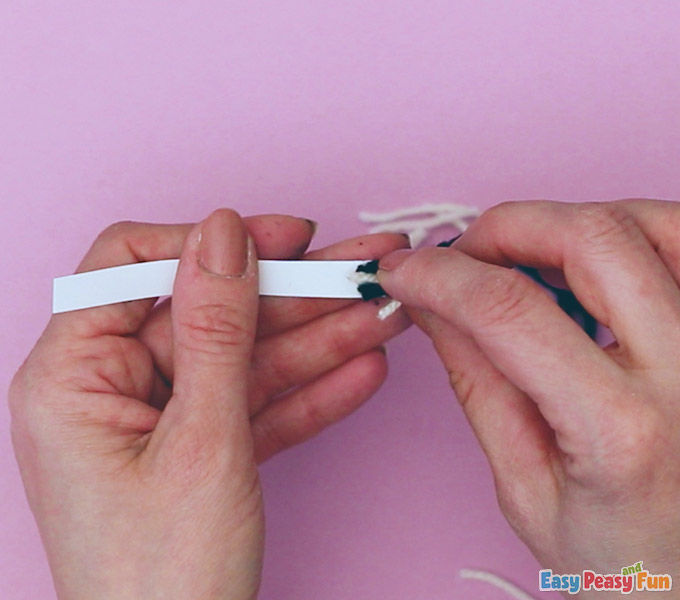
Glue the tail onto the zebra.
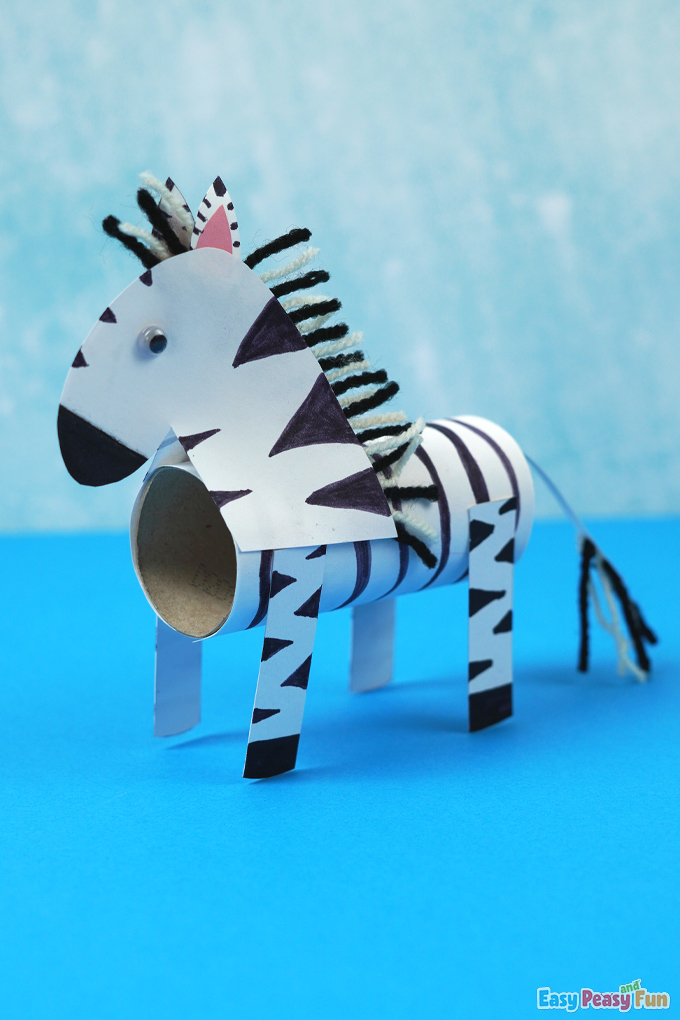
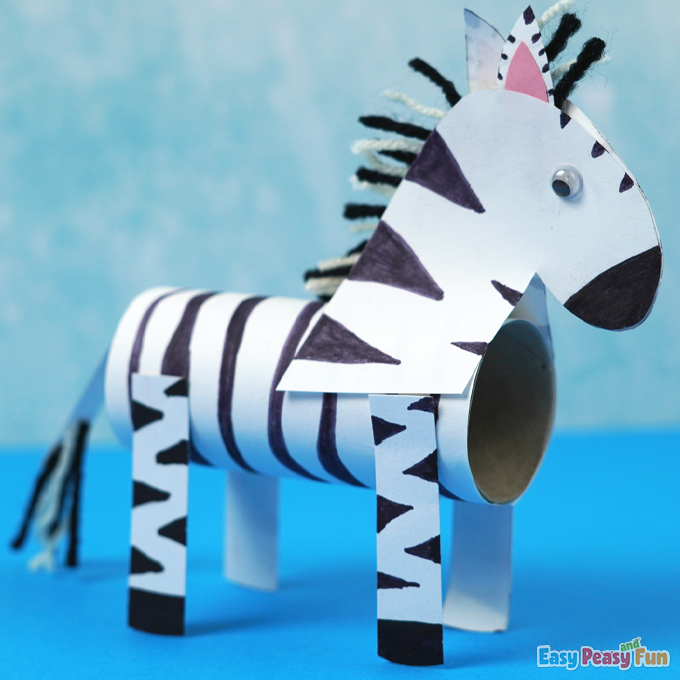
The finished product is this adorable zebra you can play with for hours!
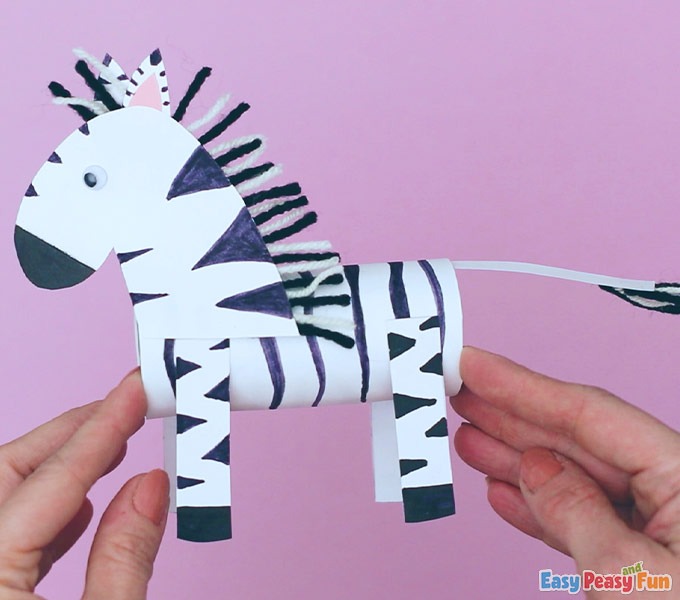
It looks stunning!
We love how it turned out.
How about you?
Get Your Paper Roll Zebra Template Here

Want instant access to all of our printable crafts, activities, and resources?

With thousands of crafts, activities, worksheets, coloring pages, and drawing tutorials to print, you will always have just the resource you need at your disposal. Perfect for parents and teachers alike!