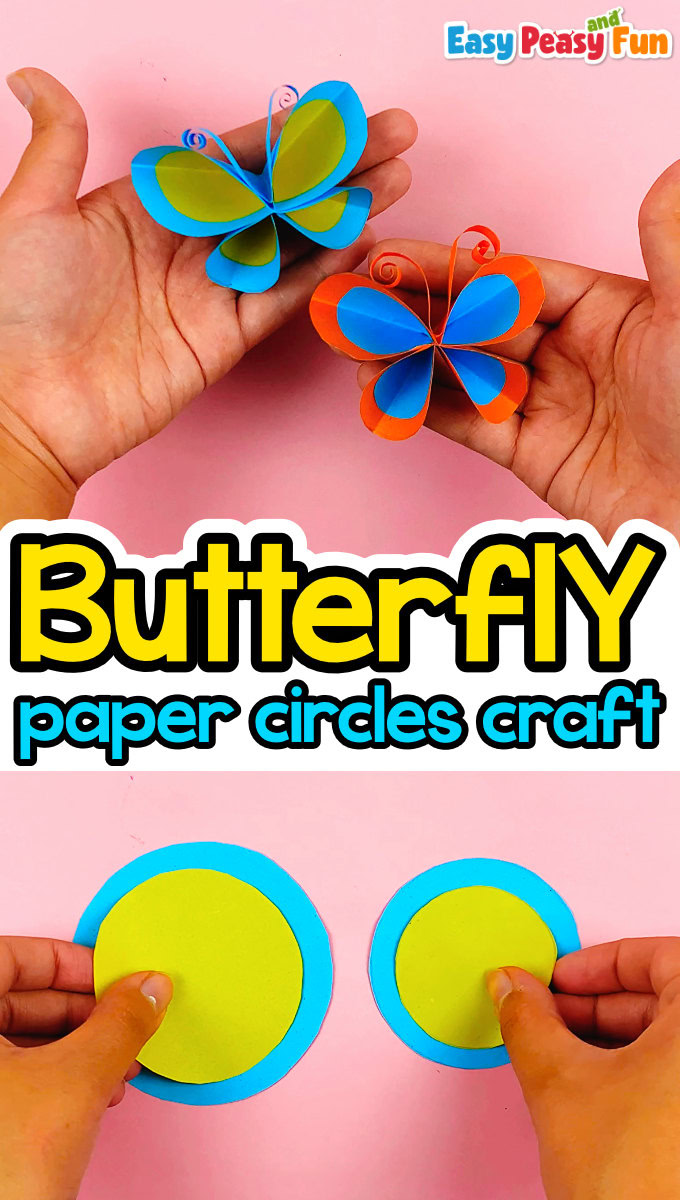
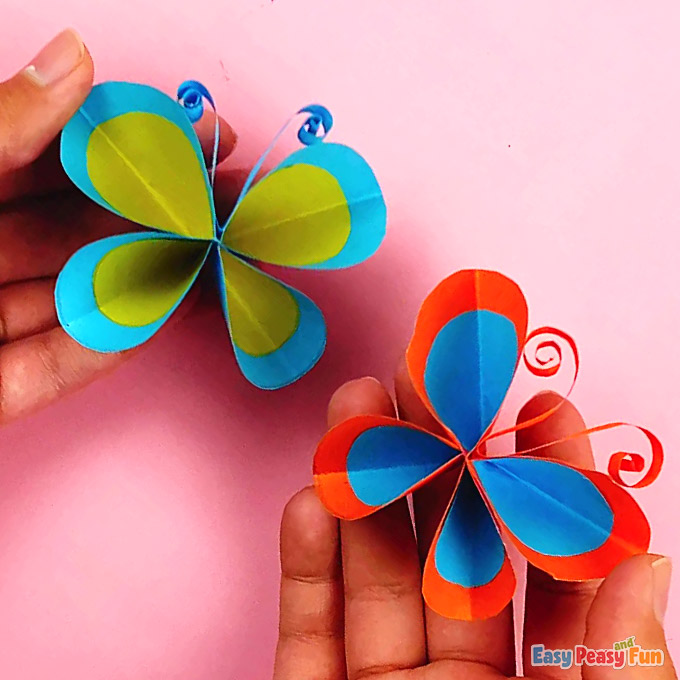
Make the cutest and most wholesome paper butterflies that look like they are ready to flutter away. In this paper circle butterfly tutorial, we’ll show you how you can make these colorful beauties from simple shapes. It’s super easy!
This is a great craft to make in the classroom with your older students (old enough to handle a stapler) as you can then pin a group of butterflies, a kaleidoscope of butterflies, on your spring bulletin board. It is so colorful, and kids will love seeing their butterflies on the wall.
*This post contains affiliate links*
50 paper crafts your kids can actually do themselves

No fancy supplies — just paper, scissors, and a little imagination.
Be the first to get it on release day — and lock in the lowest price guaranteed.
Spring and butterflies go hand in hand and we do love making all kinds of butterfly crafts and simple art projects this butterfly symmetry art tutorial.
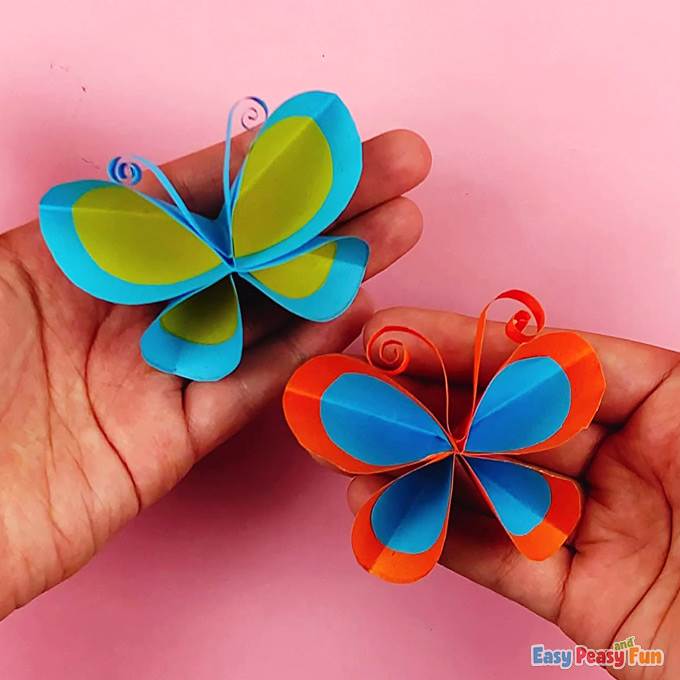
These paper circle butterflies are another easy peasy project as you or your kids will be using simple shapes to make this gorgeous little paper craft.

How to Make the Paper Circle Butterfly
What you need:
- pencil
- scissors
- glue
- paper stapler (we recommend using a kid-friendly stapler)
- color paper
Step by Step Tutorial
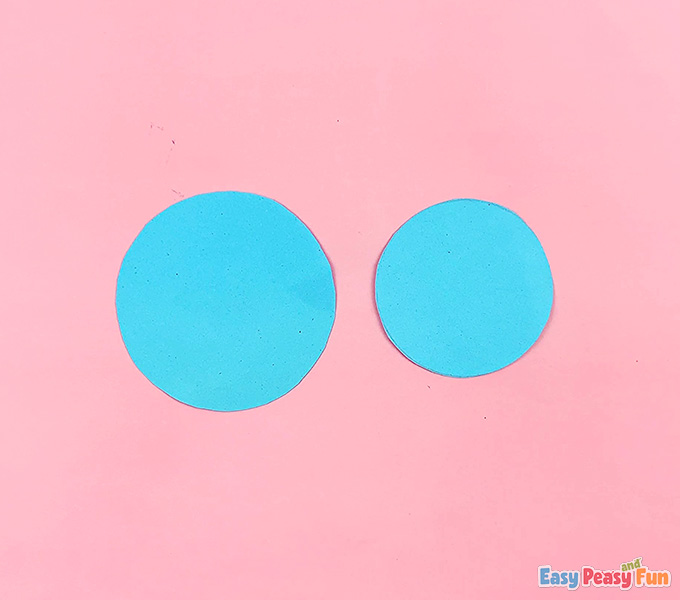
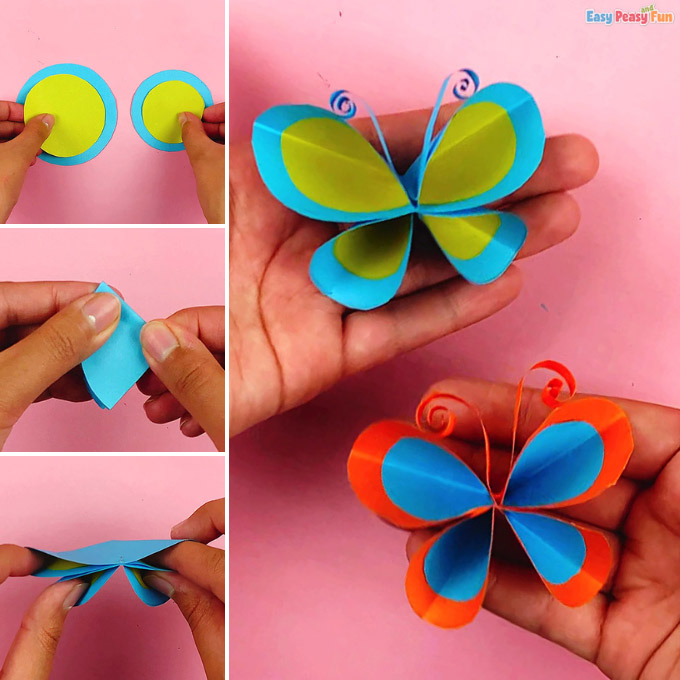
Start with making two circles, one slightly smaller than the other. This will make the outer color of the wings.
Next, you need two circles in different colors, that are slightly smaller than the first pair.
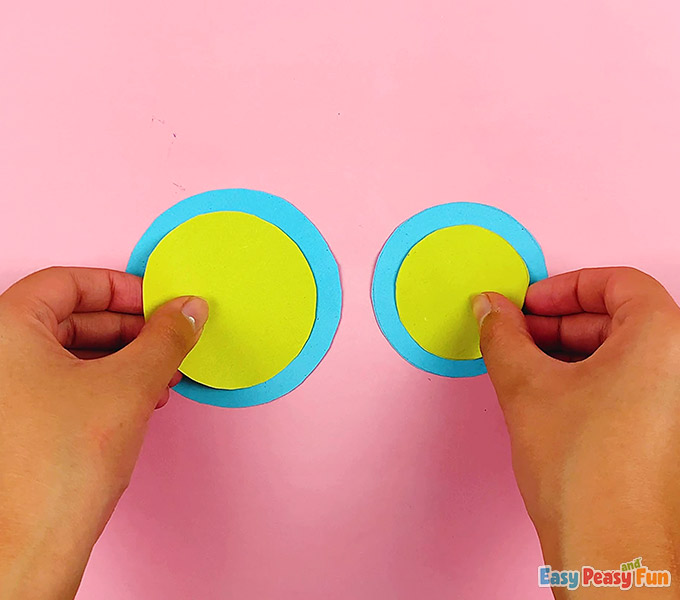
Glue the smaller one inside the larger ones. Let the glue dry.
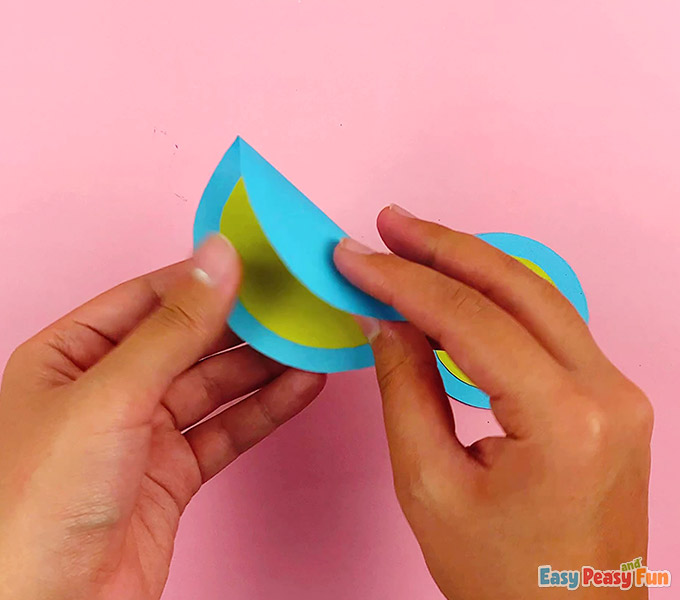
Once the glue is dry, fold the paper circle in half. Fold the half circle in half again (you get the quarter circle).
Repeat the process with the other paper circle.
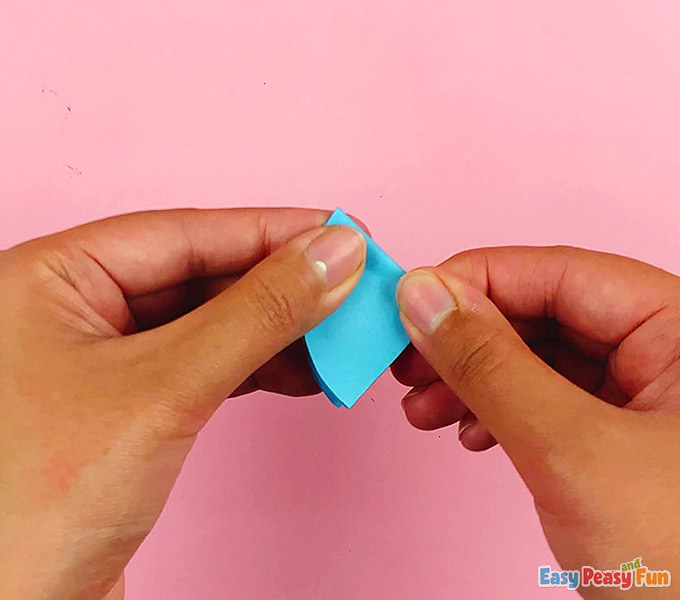
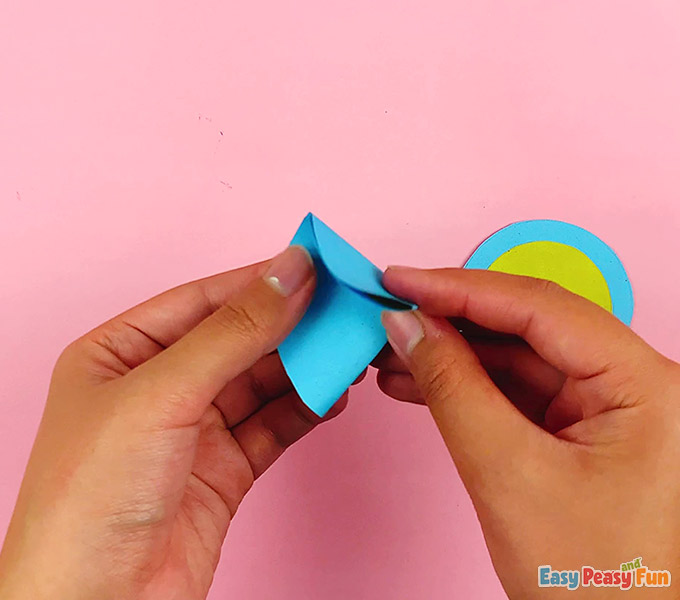
Unfold the last fold (to get the half circle again) on both circles.
Place the half circles one on top of the other, aligning them at the center and at the top of the rounded end.
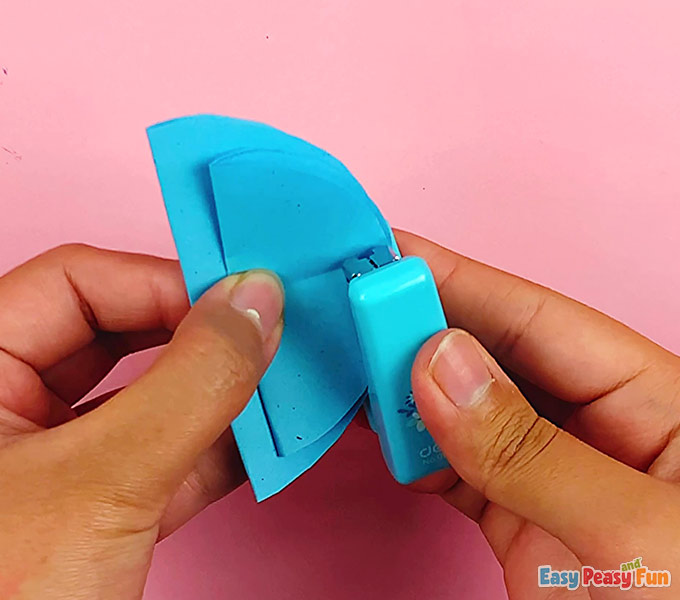
Staple together (on the fold and by the rounded end).
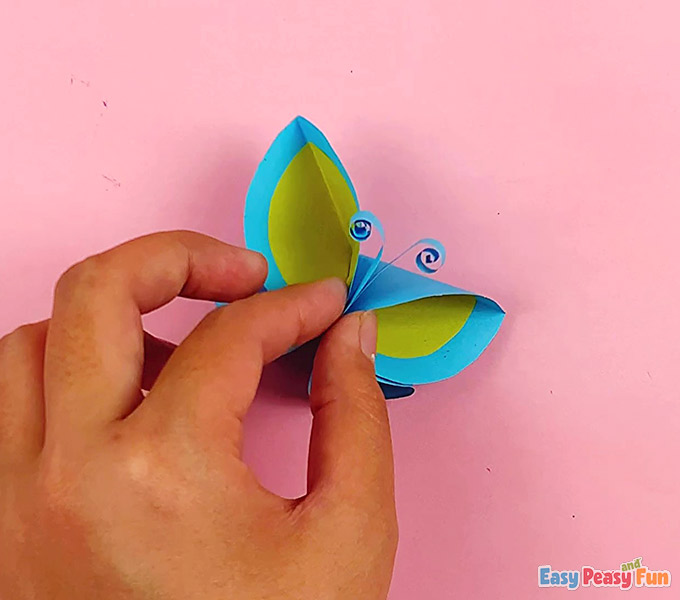
Spread out the wings with your fingers. Poke and push!
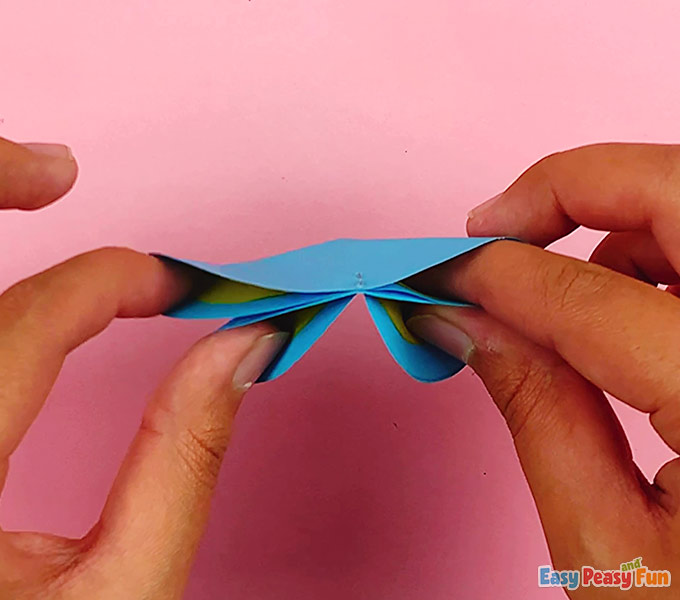
This bit does need a bit of a patience.
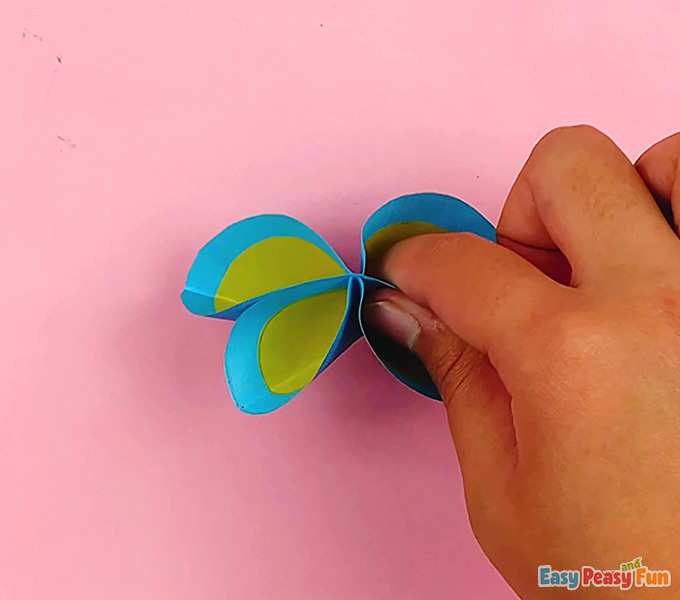
But with a little poking and prodding, the wings will open up nicely. And once your kids do this for the first time, they won’t have any issues with other paper circle butterflies they make.
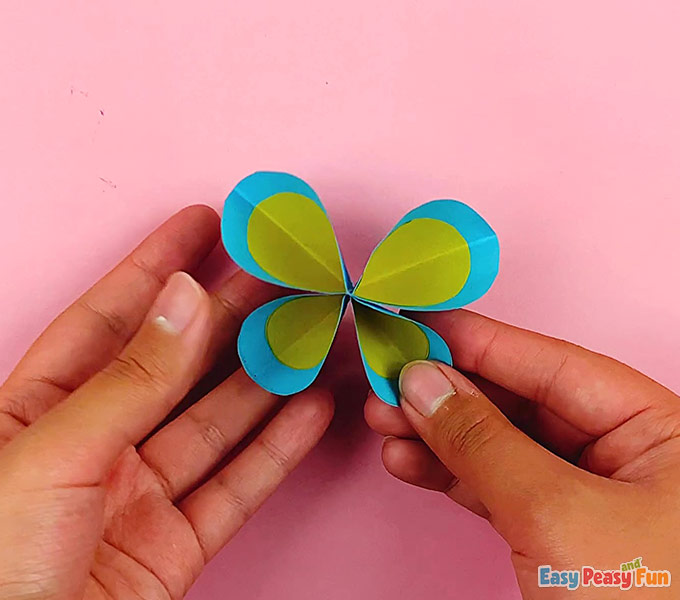
The only thing that’s left is to make the antennae. Cut a thin paper strip.
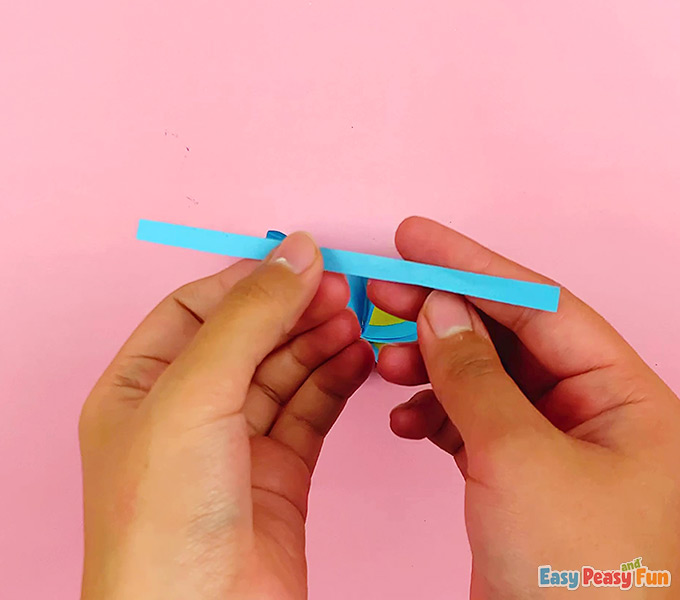
Fold it in half.
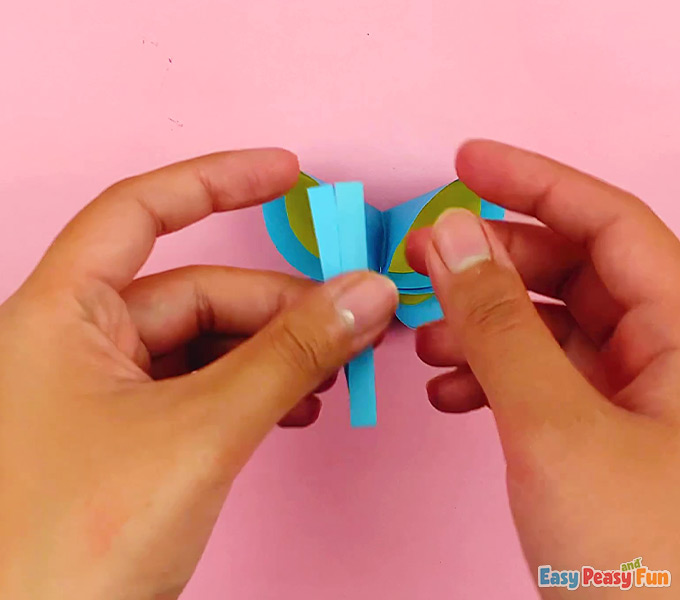
Roll the strip’s ends for a more realistic antennae look.
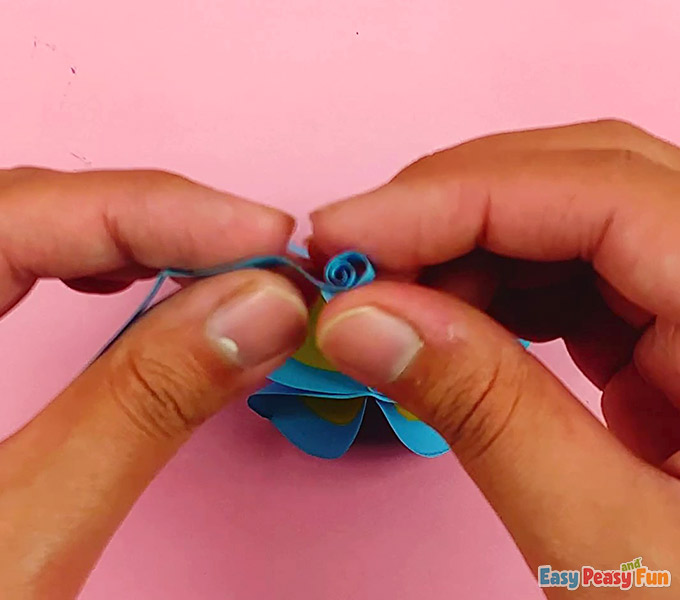
Glue the antennae in the middle of the top wings to complete their paper circle butterfly craft!
Let your child’s creativity take flight by creating as many colorful butterflies as they want!
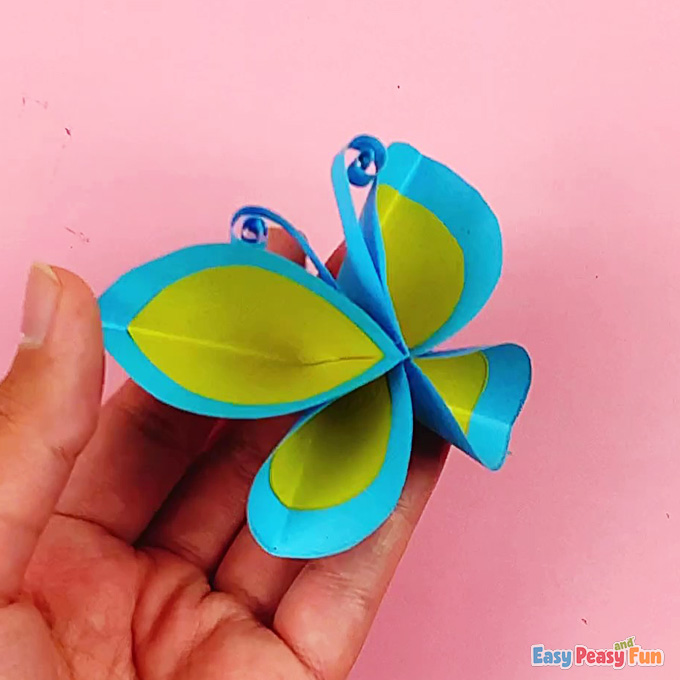
You can display these charming butterflies anywhere!
It’s a cute idea to transform your child’s paper circle butterflies into a delightful window display by attaching them to a string and letting their colorful creations brighten up your home for all to admire!

We’d love to hear how much fun you and your little ones had while creating this delightful and easy butterfly together.
Want instant access to all of our printable crafts, activities, and resources?

With thousands of crafts, activities, worksheets, coloring pages, and drawing tutorials to print, you will always have just the resource you need at your disposal. Perfect for parents and teachers alike!