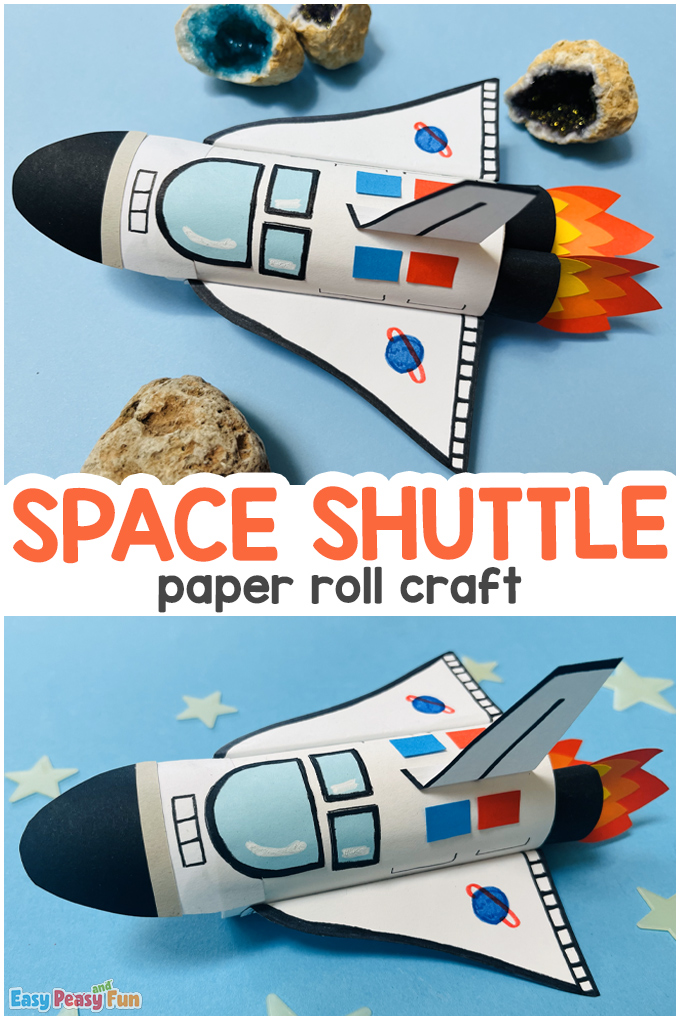
Traveling into space is no longer just for adults. This Paper Roll Space Shuttle is the perfect activity for spaced-obsessed crafters!
This space shuttle has so many details that the whole experience is exciting.
*This post contains affiliate links*
50 paper crafts your kids can actually do themselves

No fancy supplies — just paper, scissors, and a little imagination.
Be the first to get it on release day — and lock in the lowest price guaranteed.
We love crafting all kinds of toilet paper roll cafts for kids like making a paper roll dinosaur or even a toilet paper roll space windsock which pairs up nicely with this rocket craft.
Are your kids ready to craft their own?
How to Make the Paper Roll Space Shuttle
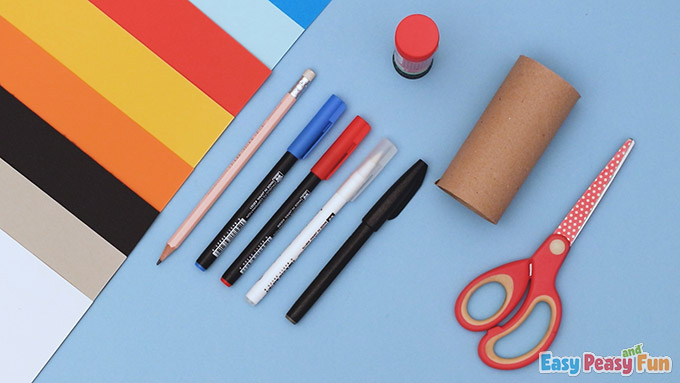
What you need:
- printable template (optional)
- pencil
- scissors
- glue stick
- markers (black, white, blue, and red)
- paper roll
- white paper
- black paper
- color paper (gray, orange, yellow, red, two shades of blue)
Step by Step Tutorial
The Space Shuttle
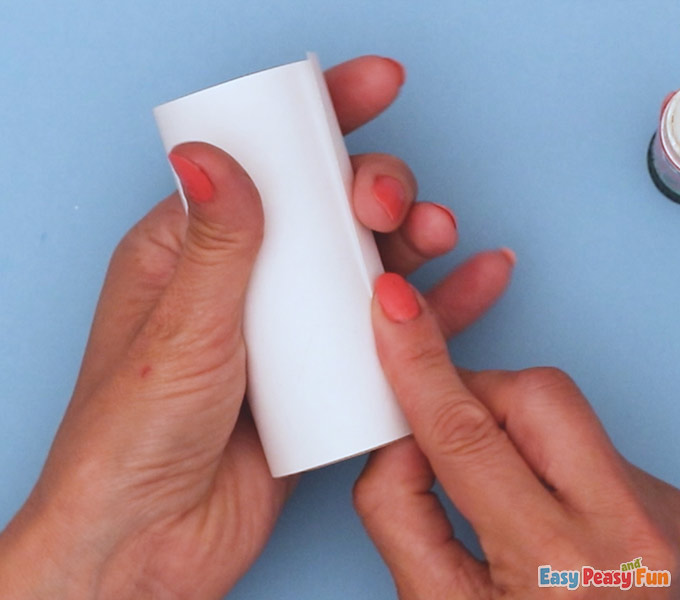
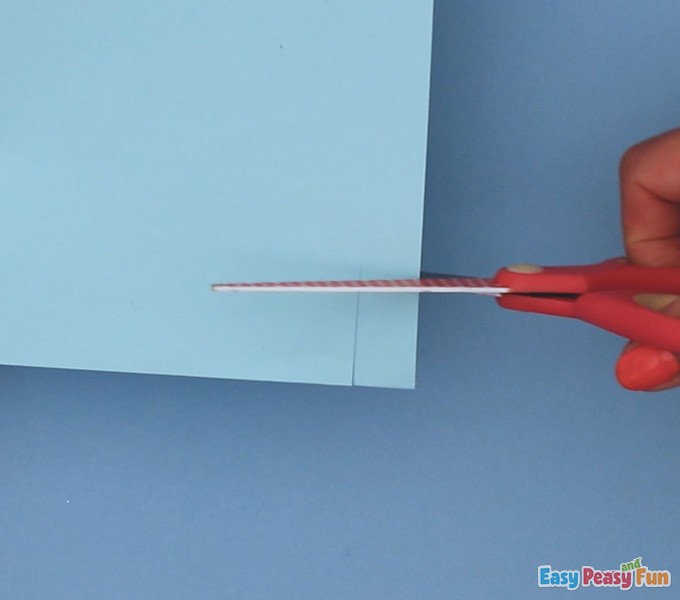
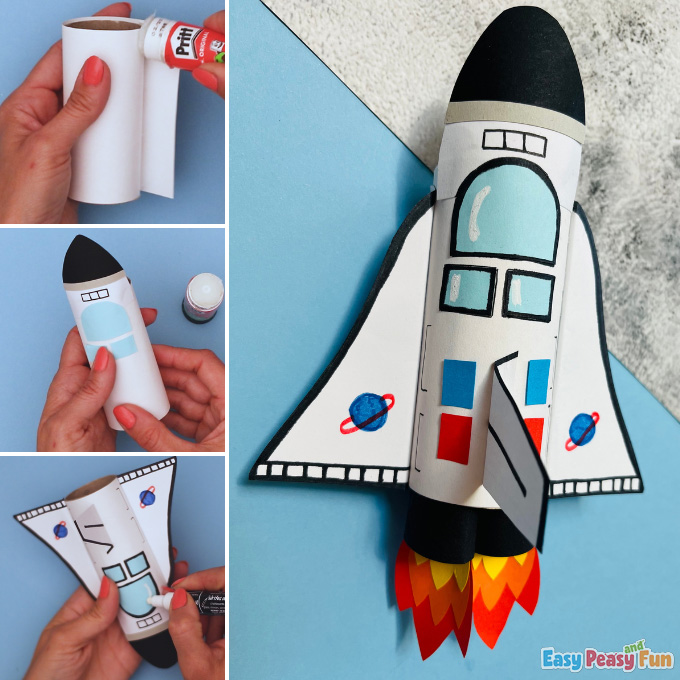
Cut the white paper as big as the paper roll.
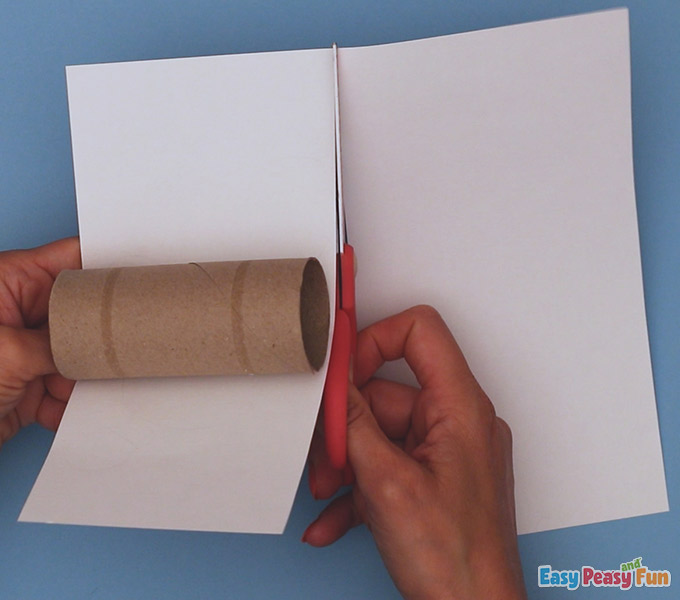
You will then take the white paper and cover the paper roll by gluing it over.
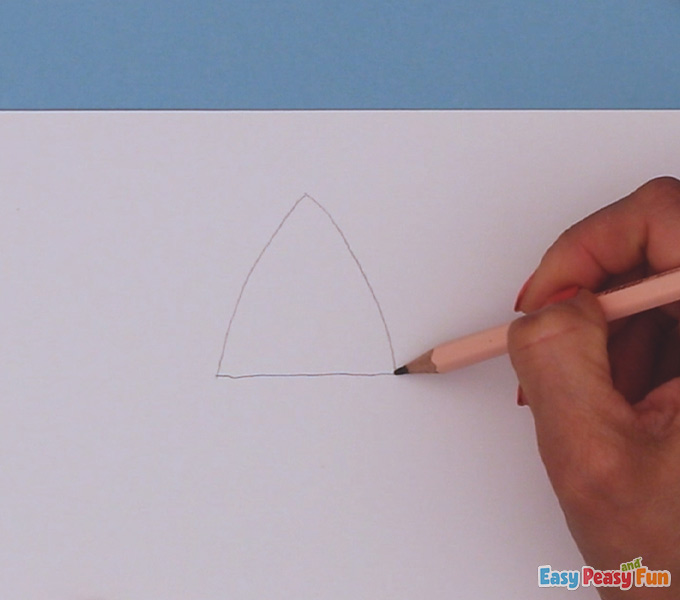
The Nose Cap
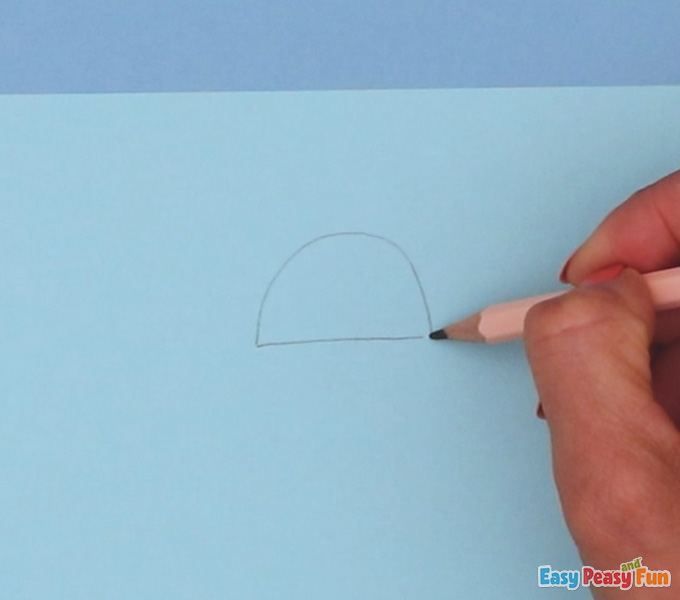
Draw the nose of the shuttle on white paper, and cut it out.
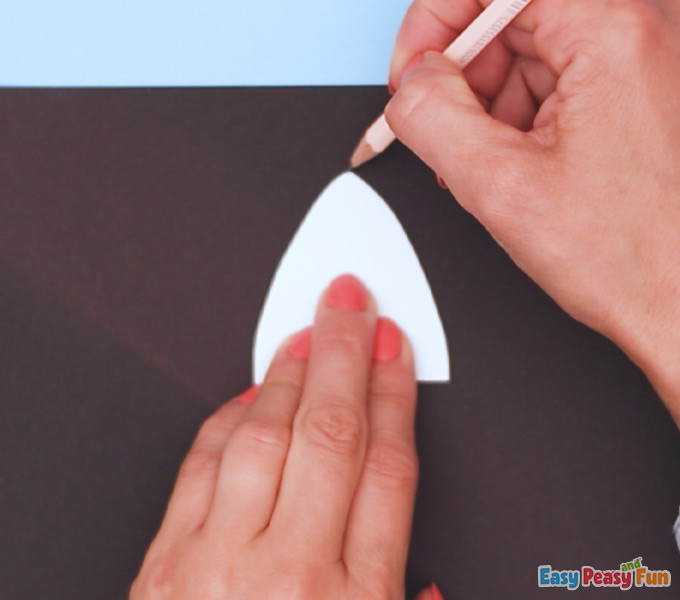
Trace the nose cap but make it a bit shorter – so it is not so tall.
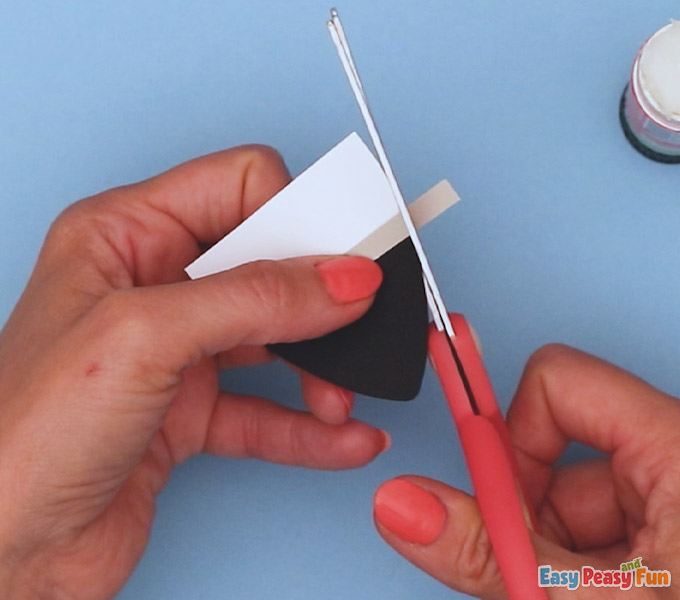
Cut a thin line from gray paper.

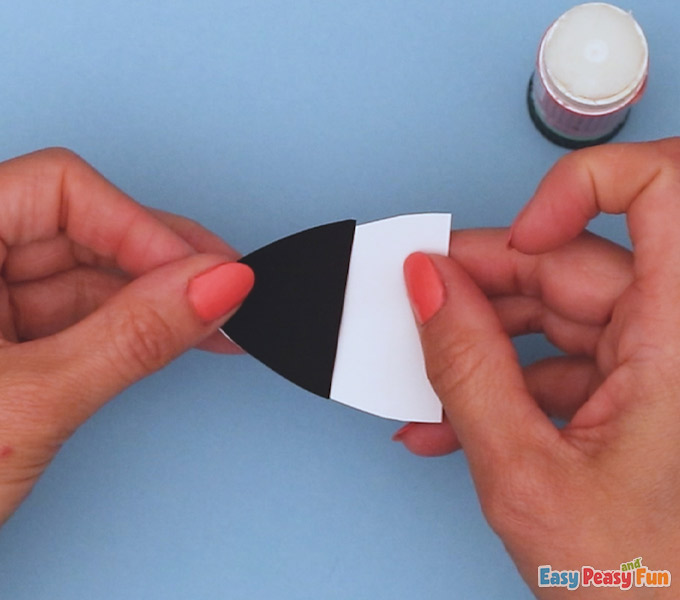
Glue the black nose on the white one.
Glue the gray strip on the nose and cut off the excess.
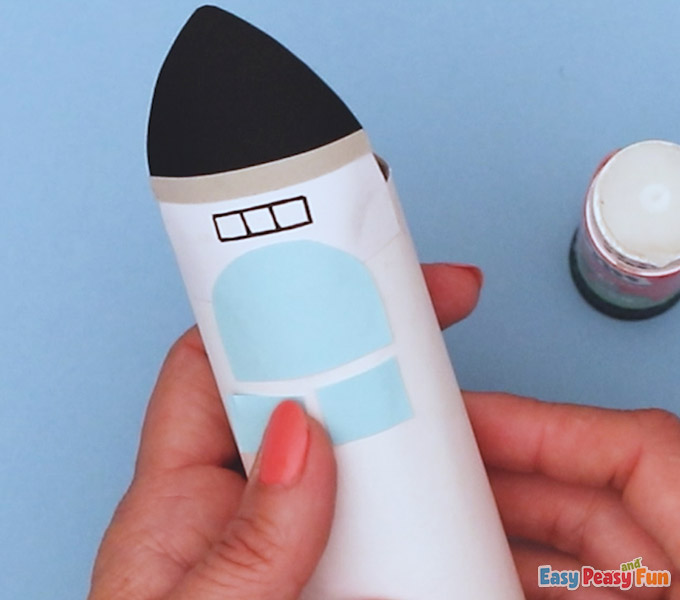
The Windows
Draw a half-circle shape for the shuttle’s window on the lighter blue paper.
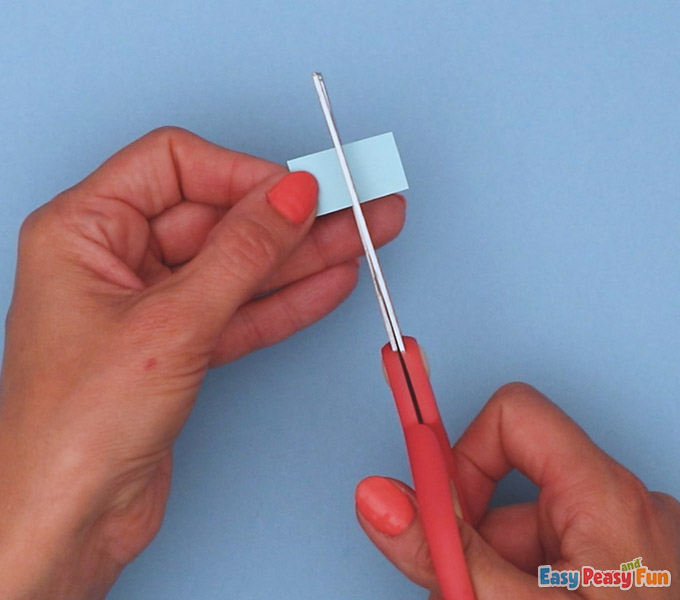
Cut out a rectangle.
Cut it in half.
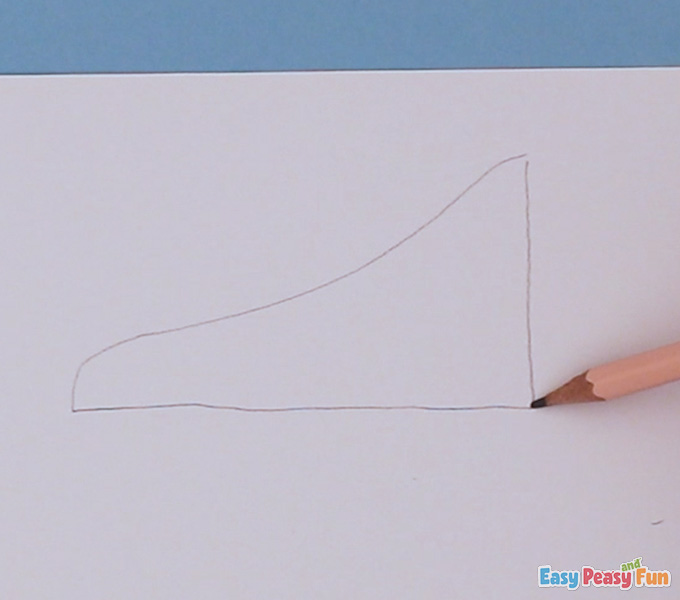
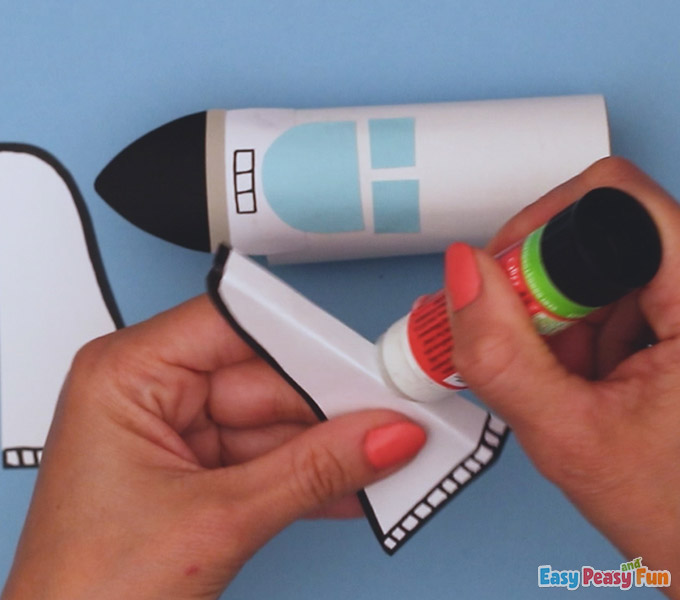
The Wings
Draw a wing on white paper, and cut it out.
It should be a bit shorter than the paper roll.
Trace the wing onto white paper and cut the part out.
Now we have two same-sized wings.

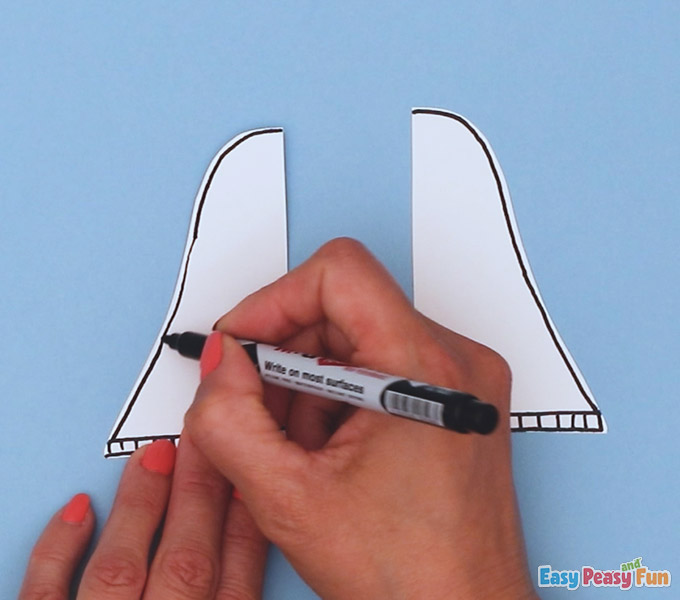
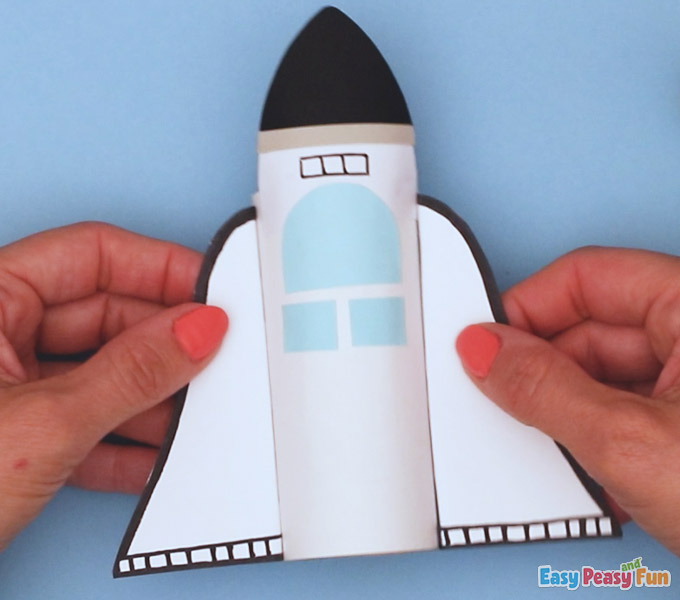
The Wing Details
Draw around the wings with a black marker.
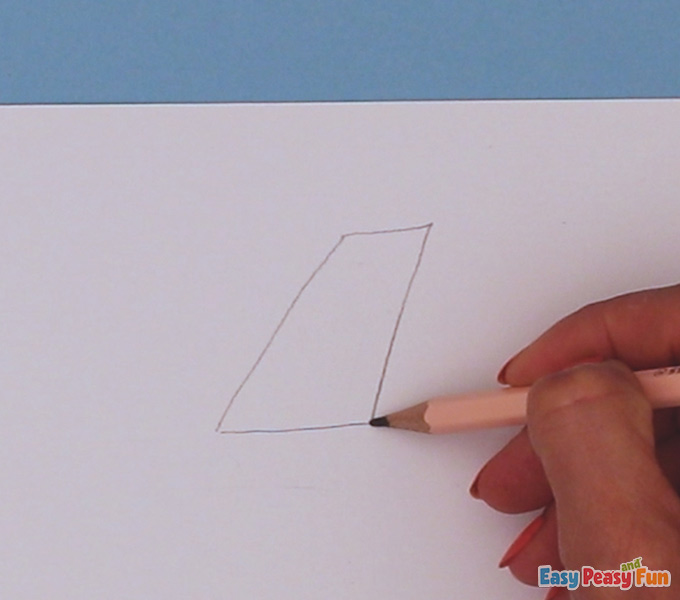
The Fin
Draw the top fin of the spacecraft.
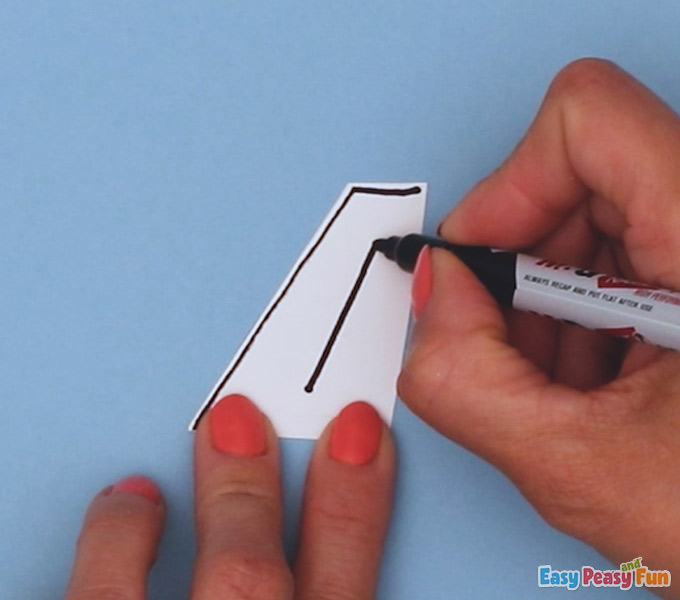
The Fin Details
Use a black marker and draw some details.
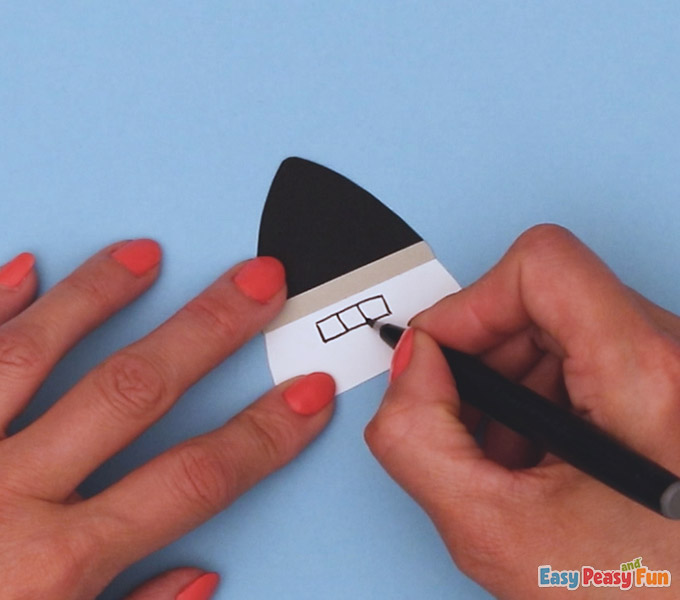
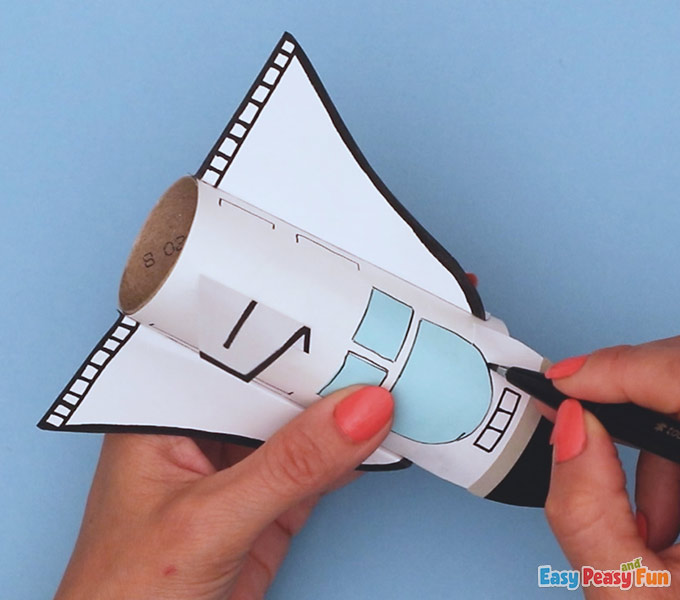
Draw three tiny windows onto the nose of the space shuttle.
Glue the nose on the shuttle’s body.

You will also glue the windows on the shuttle.
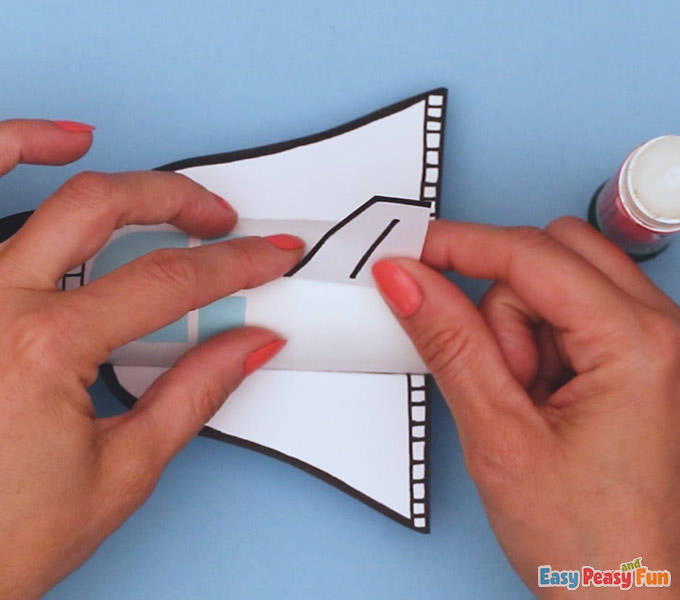
Fold and glue the wings.
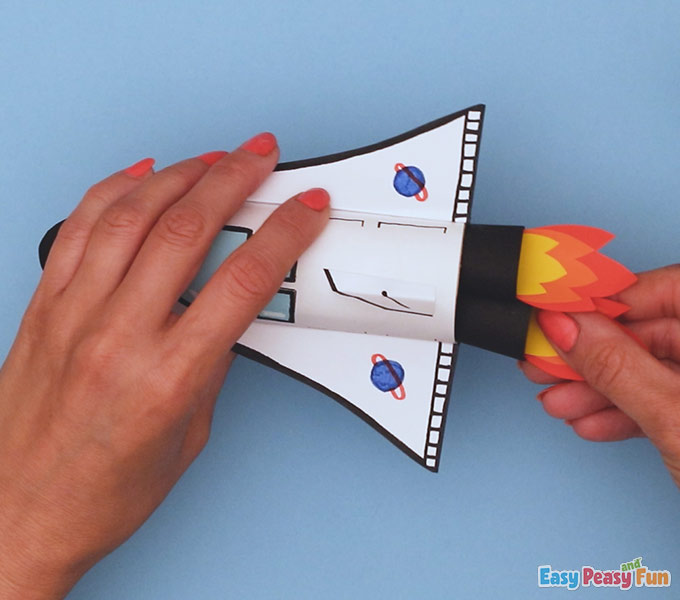
You will want to glue both wings onto the shuttle – each on one side.
Add the top wing to the shuttle by folding the longer part and adding glue to the folded part.
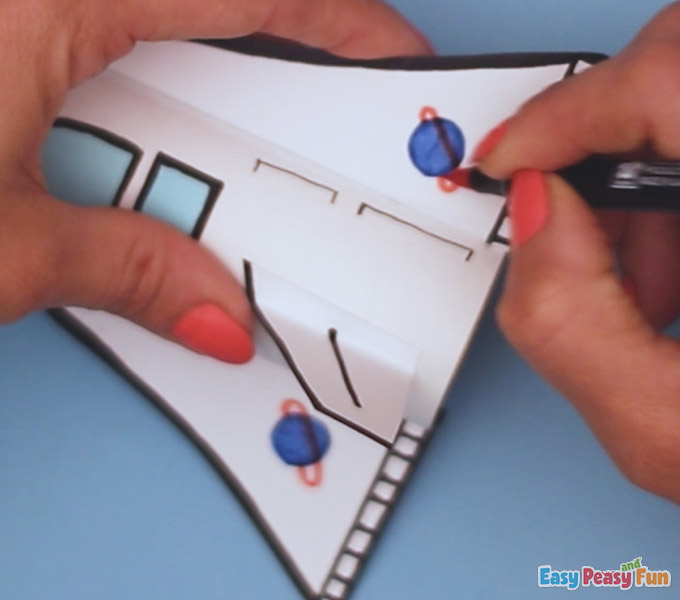
The Details
Start drawing the details onto the space shuttle.
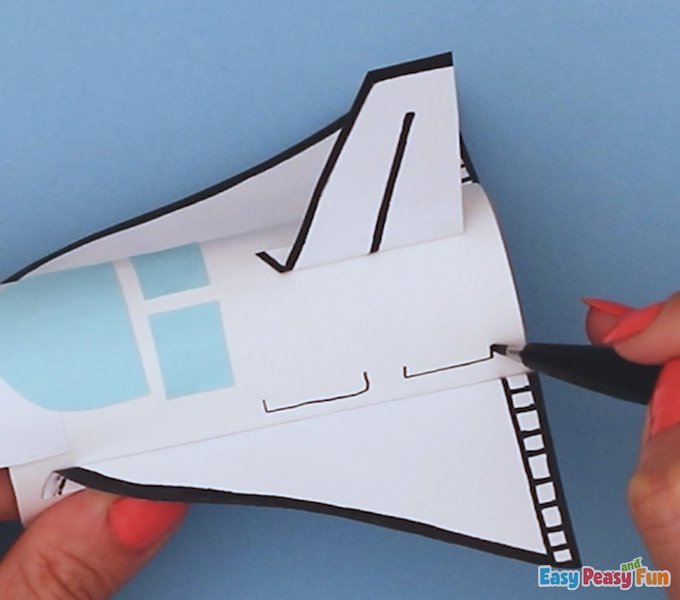
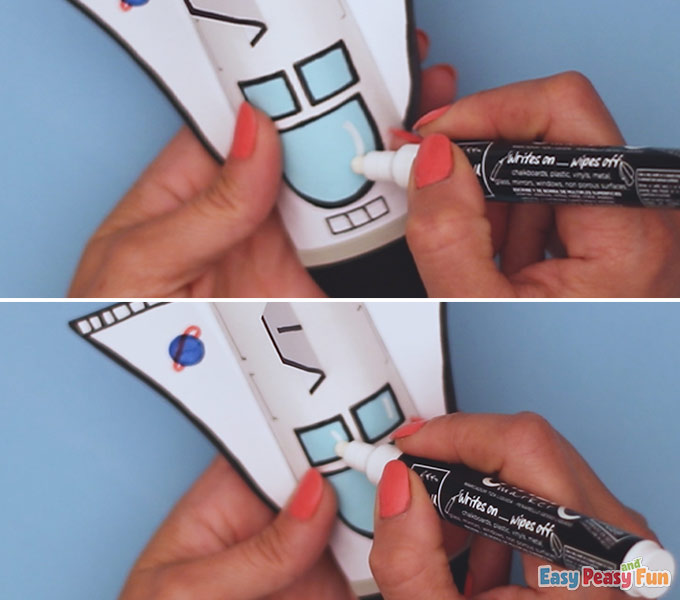
Draw a black line around the blue windows to help add detail.
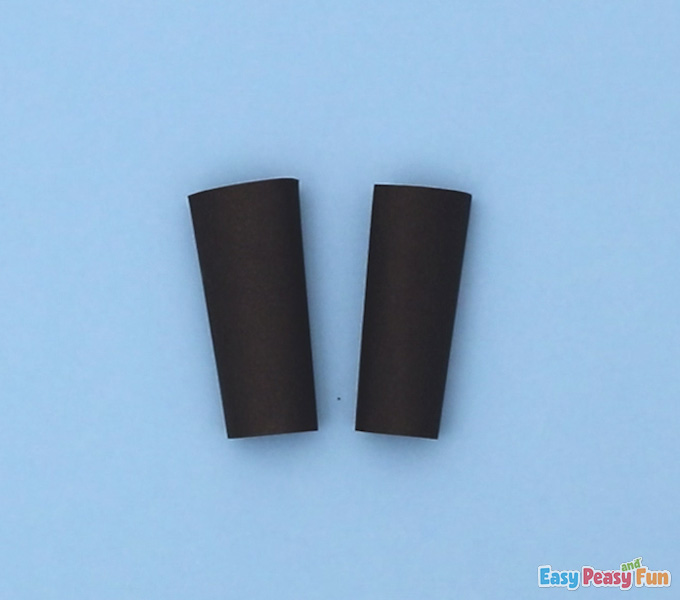
The Turbines
Cut a wider strip out of black paper, cut two equal parts, and roll each into a tube.
Cut off the excess.
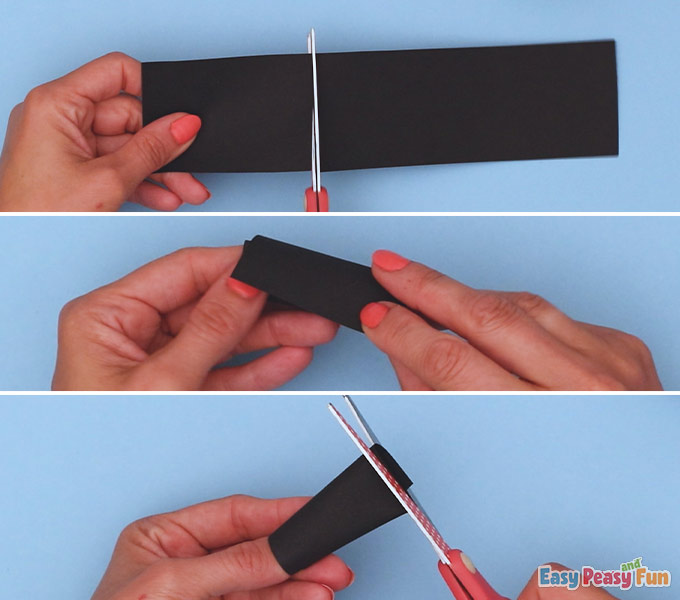
We got two rolls for the turbines now.
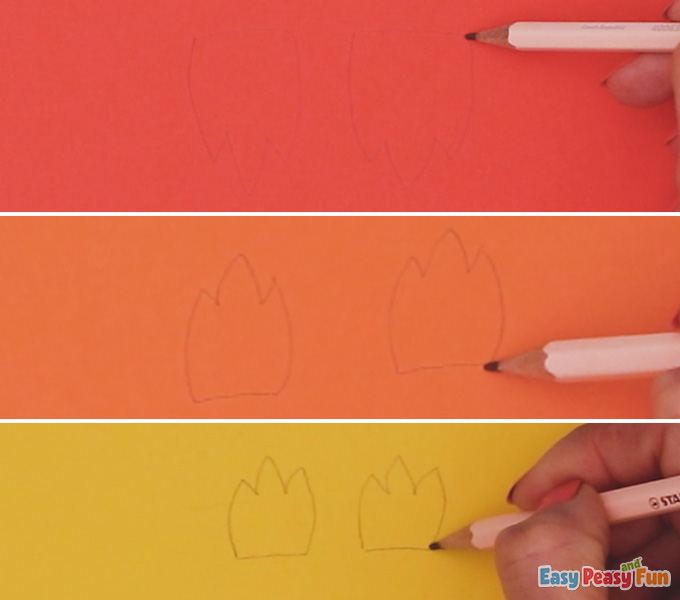
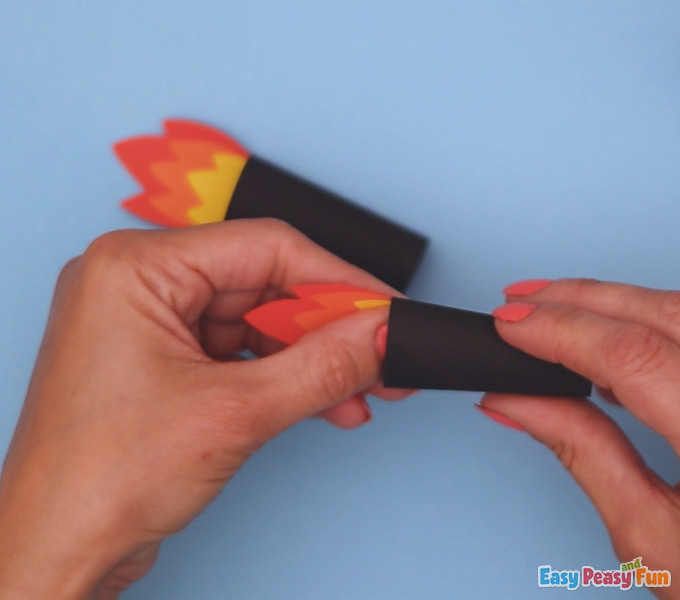
The Exhaust Flames
Draw a fire flame on red paper, a smaller fire flame on orange, and the smallest on yellow paper.
Cut them out and glue them one on top of the other.
Glue them into the turbines.
The Logo
Draw a space travel logo on the wings like a real one.
The Shiny Effect
Draw a light streak on the windows with a white marker to create a shiny effect.
Make sure the turbines are glued nice and tight!
The Tiny Windows
Cut out small rectangles from red and blue papers.
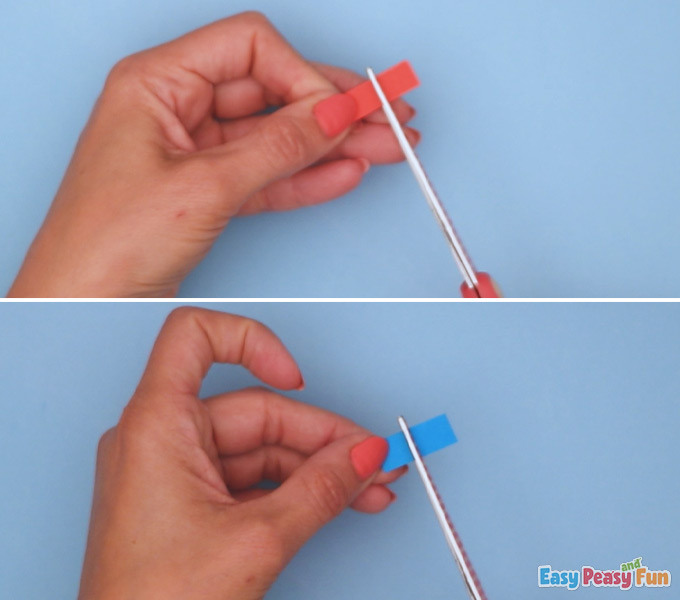
Glue them on the shuttle.
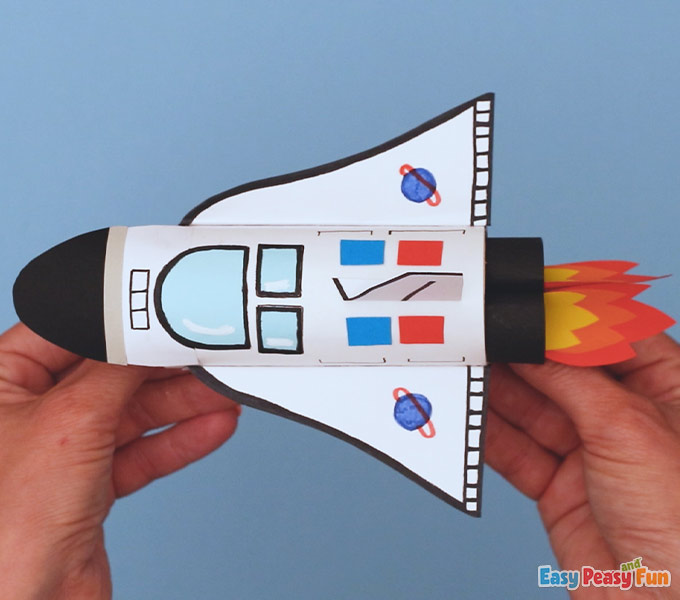
Congratulations! Your spacecraft is done!

When this paper roll space shuttle is completed, hours and hours of playtime will be ahead!
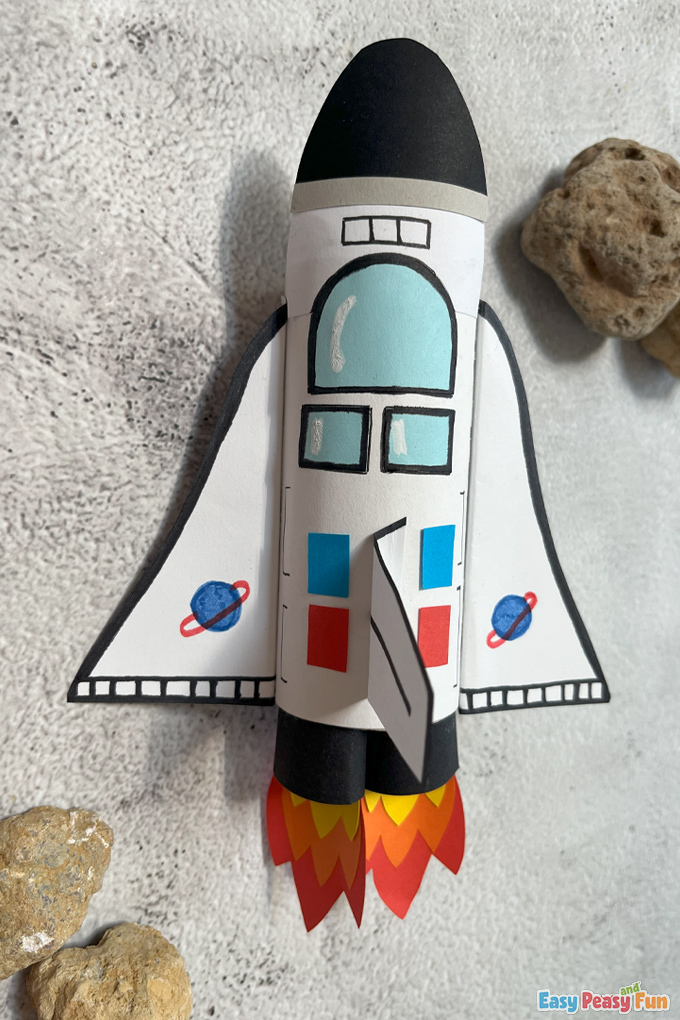
We love how it turned out!
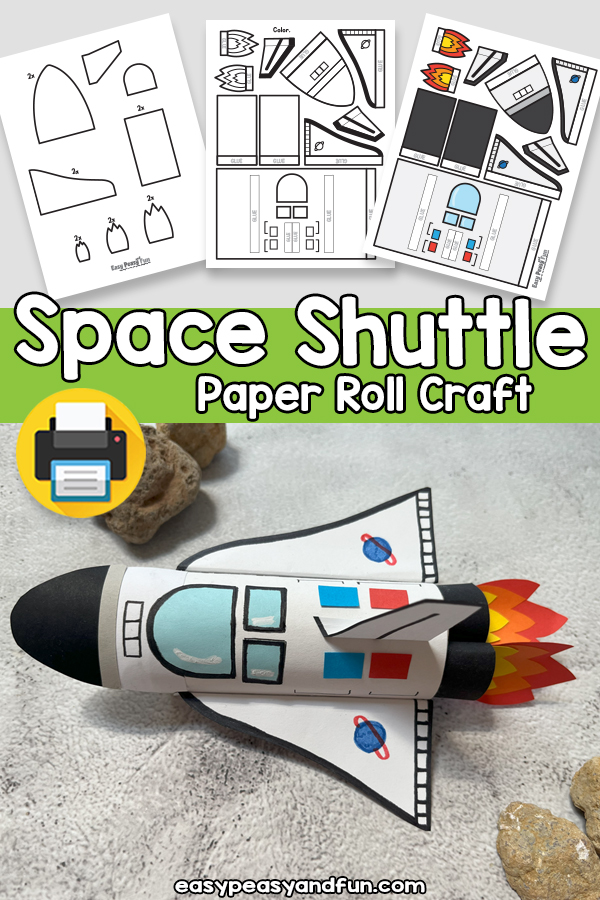
Get the Paper Roll Space Shuttle Template
The printable Paper Roll Space Shuttle template is available to members of the Easy Peasy and Fun membership.
To access the template, log in to your account or become a member.
Already a member? Log in here.
Want instant access to all of our printable crafts, activities, and resources?

With thousands of crafts, activities, worksheets, coloring pages, and drawing tutorials to print, you will always have just the resource you need at your disposal. Perfect for parents and teachers alike!