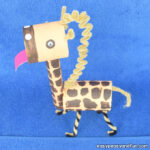
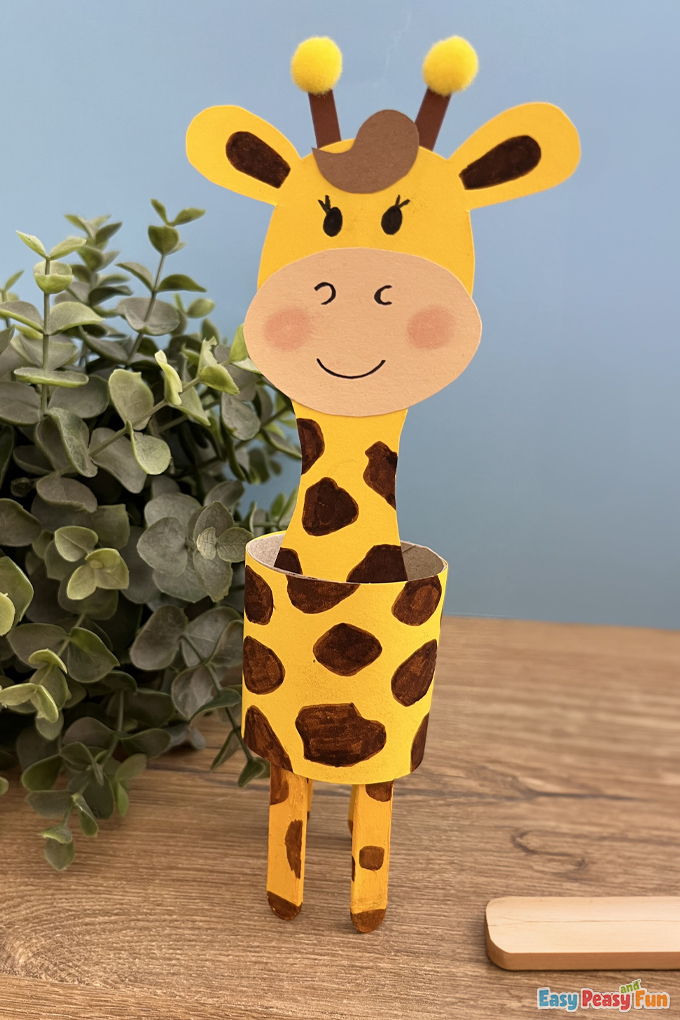
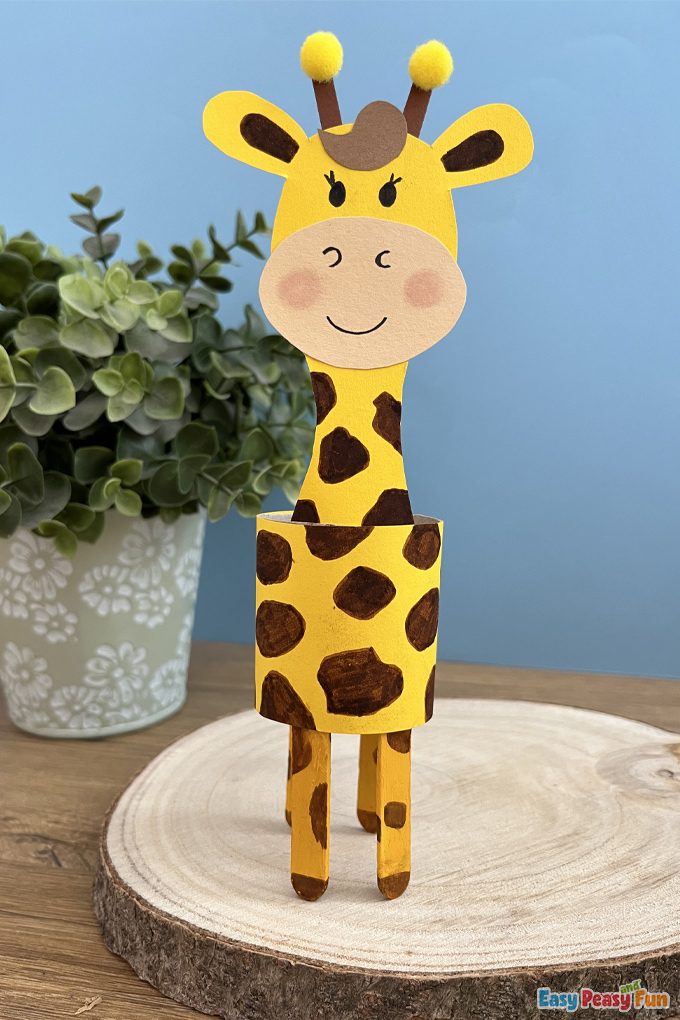
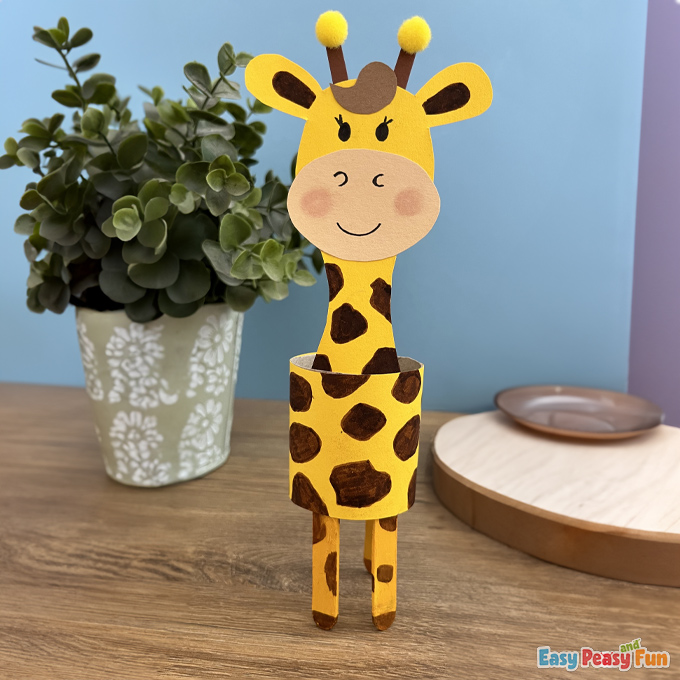
The toilet paper roll giraffe is a fun and creative craft for children of all ages.
Using just a few simple materials like a cardboard tube, construction paper, and glue, kids can transform an ordinary object into a whimsical creature.
*This post contains affiliate links*
We take pride in creating all kinds of animal crafts for kids. Have you had a chance to make our printable dog paper craft or our movable horse paper doll?
Today’s activity not only fosters creativity but also teaches children about recycling and repurposing materials in a fun and engaging way.
Plus, at the end of the project, they’ll have a cute and quirky addition to their toy collection or room decor.
How to Make the Toilet Paper Roll Giraffe
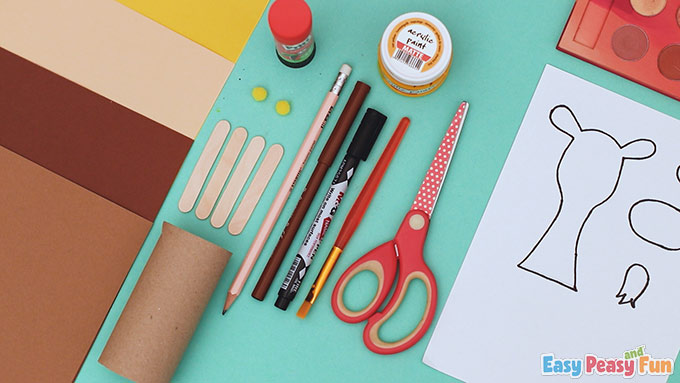
What you need:
- printable template (optional)
- pencil
- scissors
- glue stick
- paintbrush
- paper roll
- markers (black and brown)
- color paper (yellow, beige, light brown, and dark brown)
- yellow acrylic paint
- 4 wooden craft sticks
- 2 small yellow pom-poms
- eye-shadow
Step by Step Tutorial
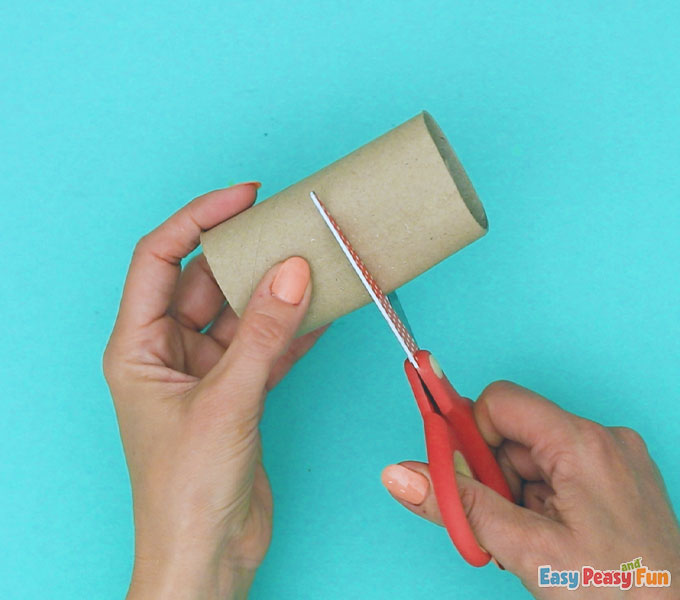
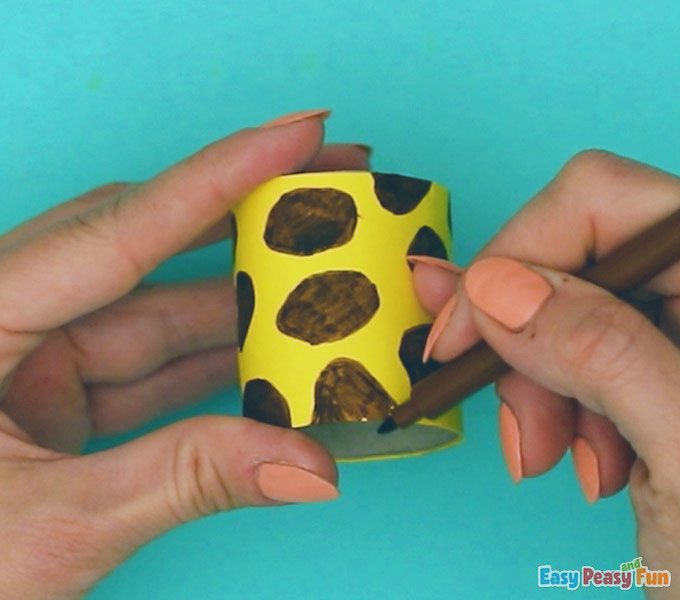
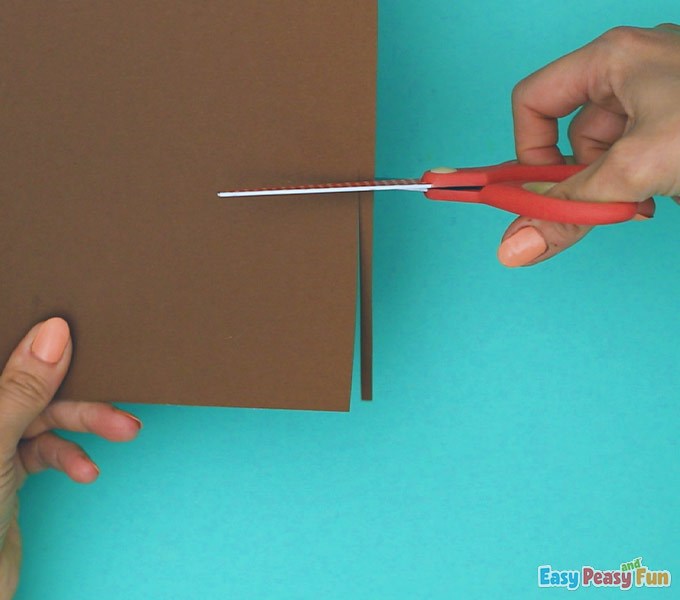
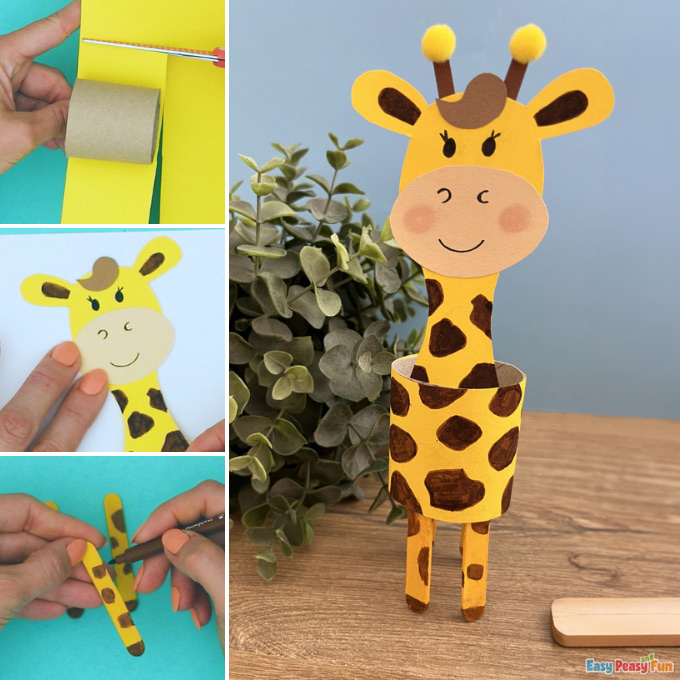
Cut the paper roll in half.
Cut the yellow paper as big as the half paper roll, and glue the paper on the roll.
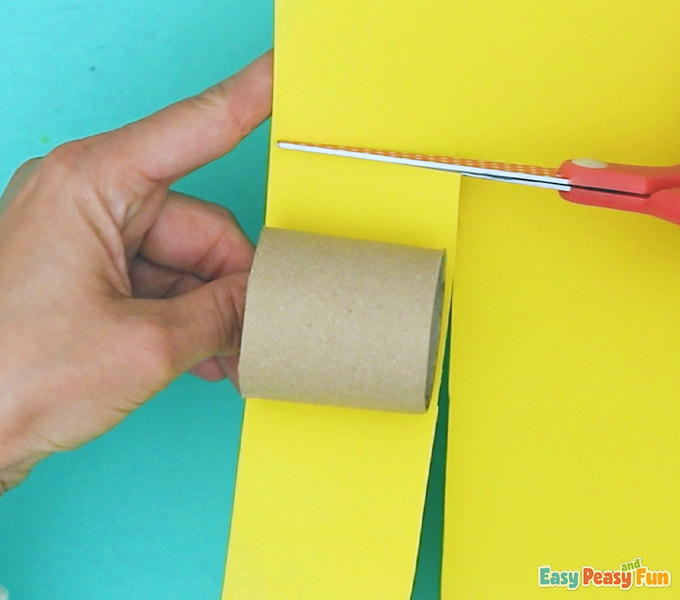
Make sure there is enough glue to make it stay.

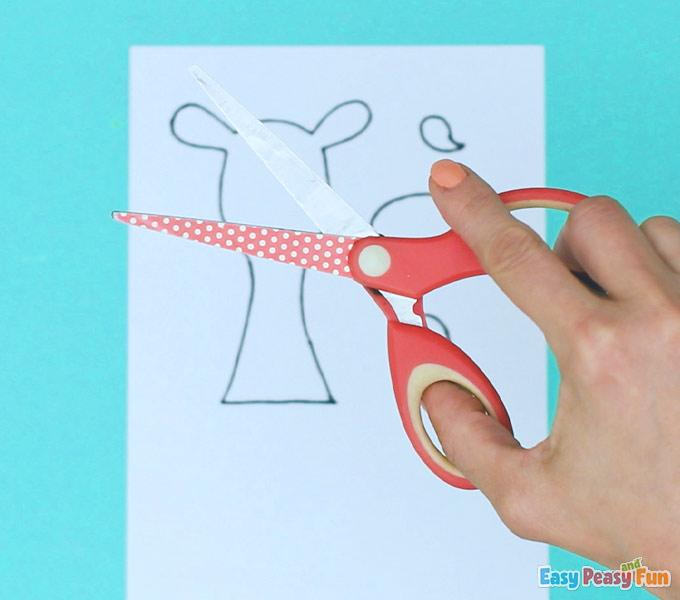
Start by cutting out the template.
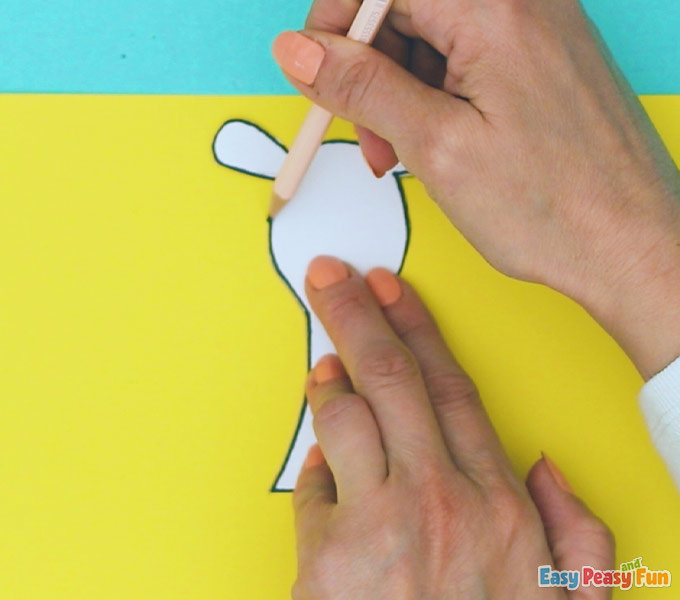
Draw around the giraffe head on yellow paper and cut it out.
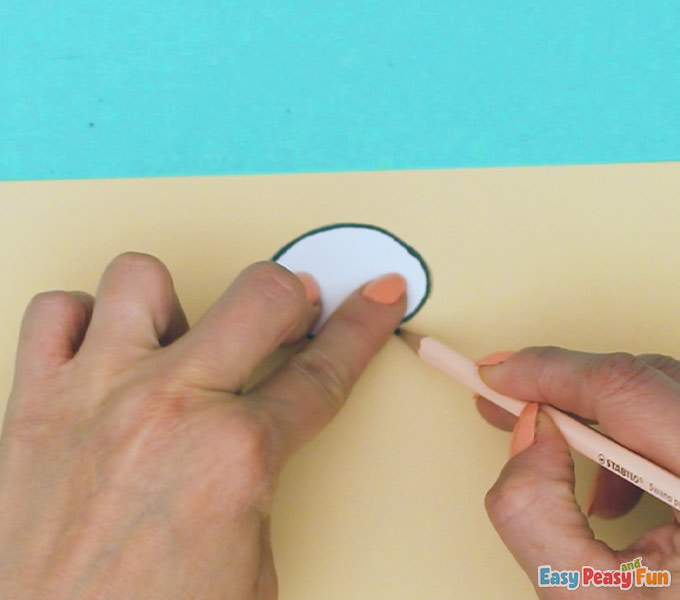
Go ahead and draw around its face on beige paper, then cut it out.
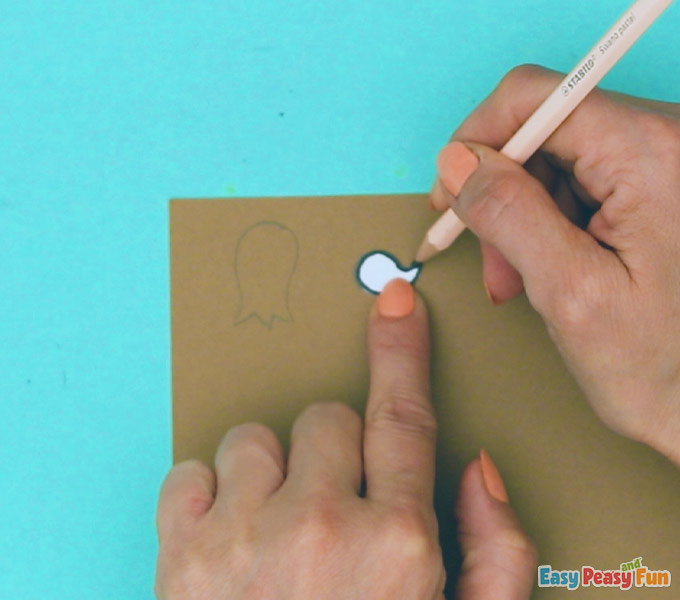
Draw around the hair and tail end on brown paper.
Cut the pieces out.
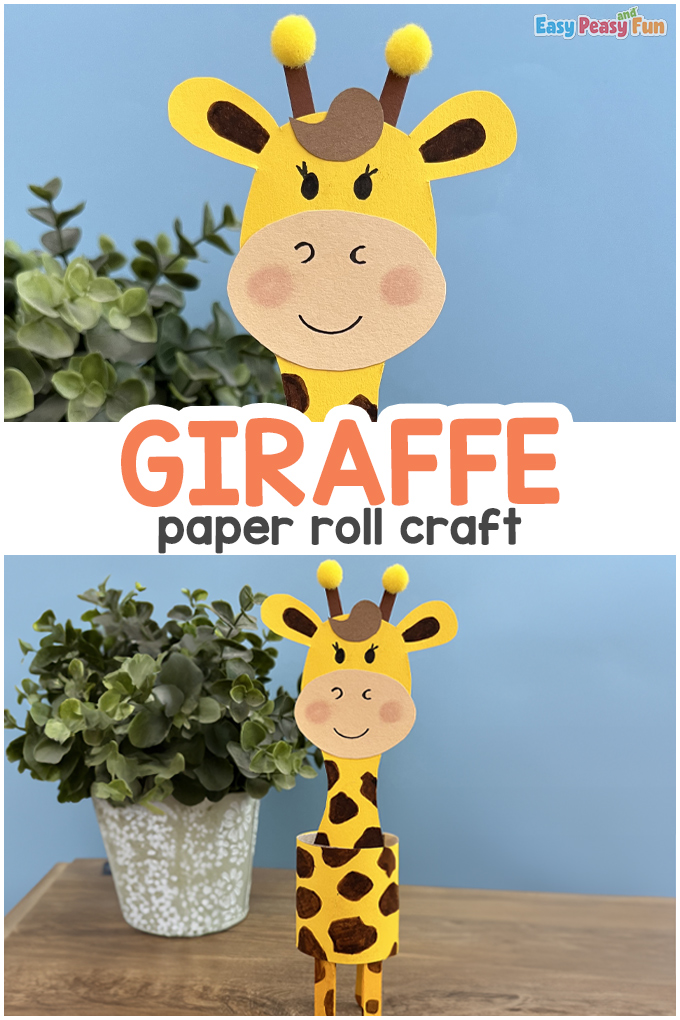
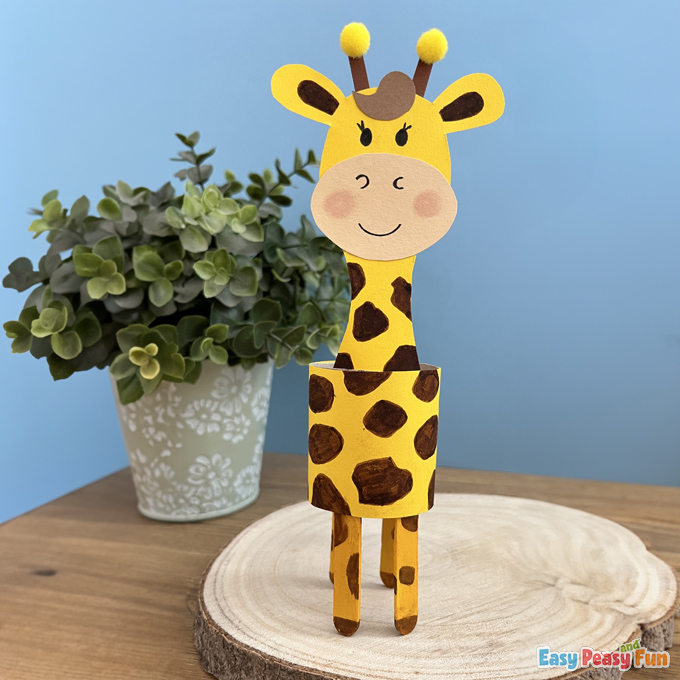
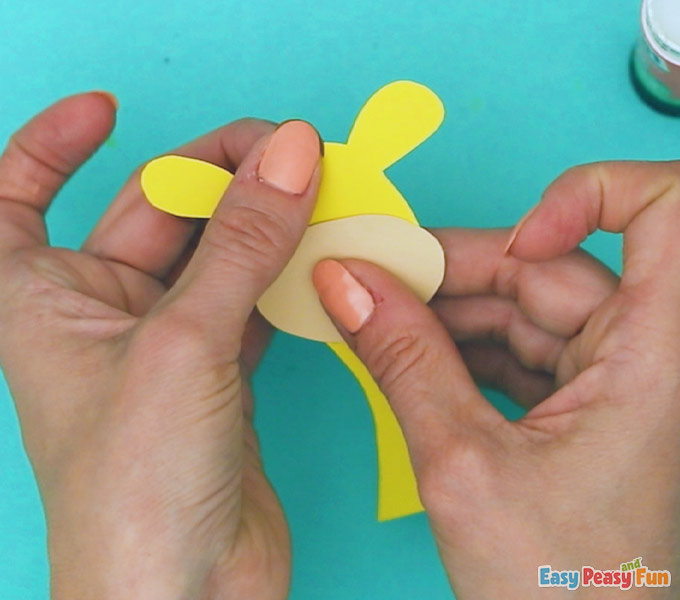
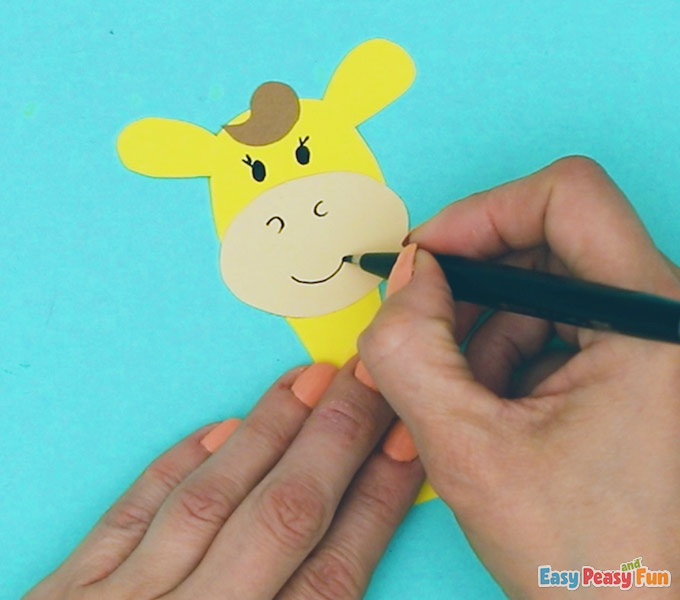
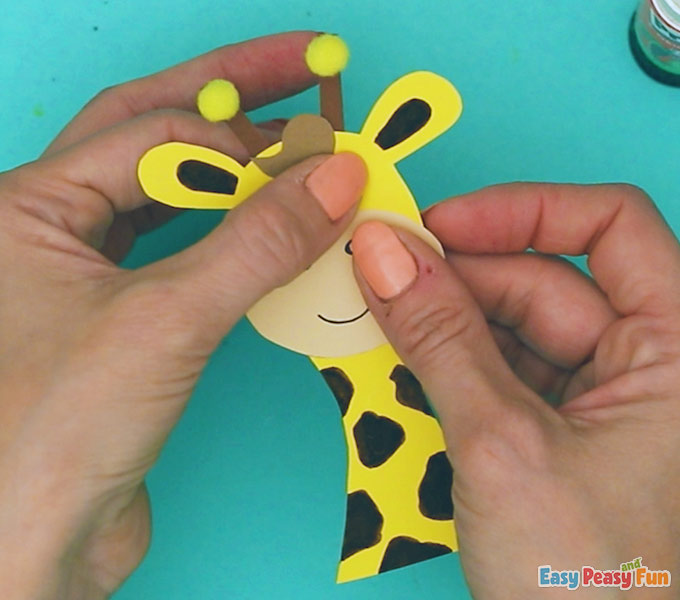
The Head
Glue on the face and the hair.
Draw eyes, nose, and mouth with black marker.
Draw the inner ear and more significant spots on the neck with a brown marker, and color them.
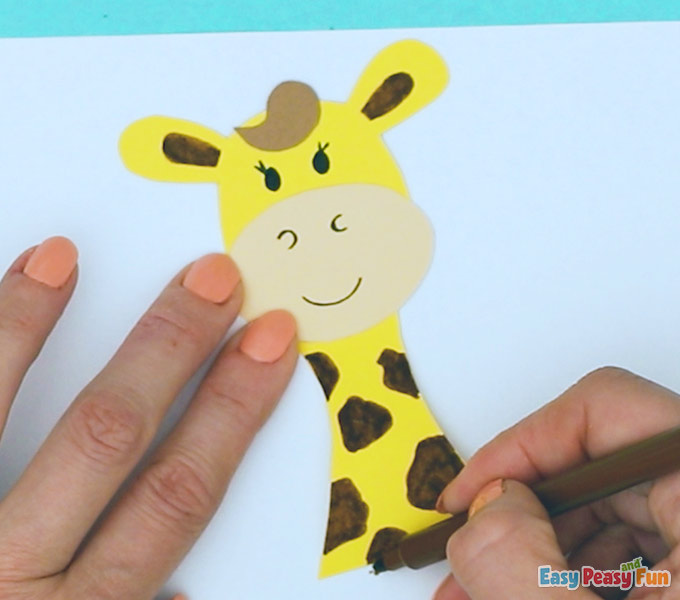
The Body
Now, you can draw brown spots on the body and color them.
The Horns
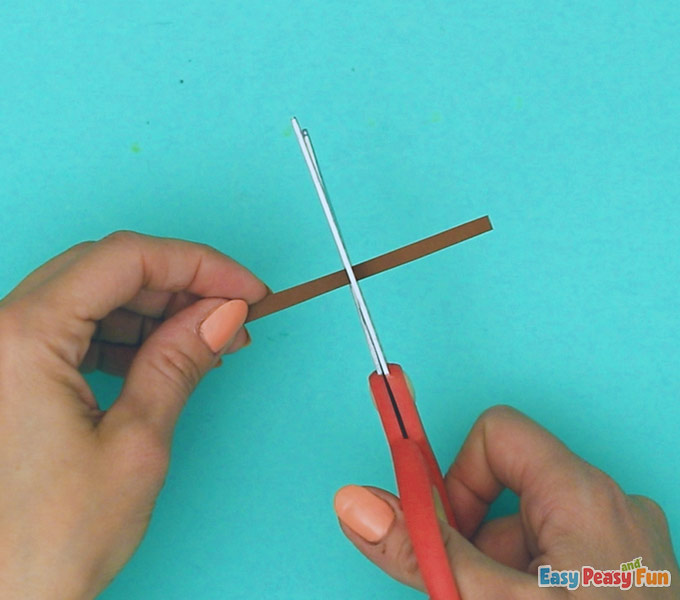
Cut two thin strips of brown paper for the horns.
Make sure the strips aren’t too long.
Glue on the yellow pom-poms.
The Legs
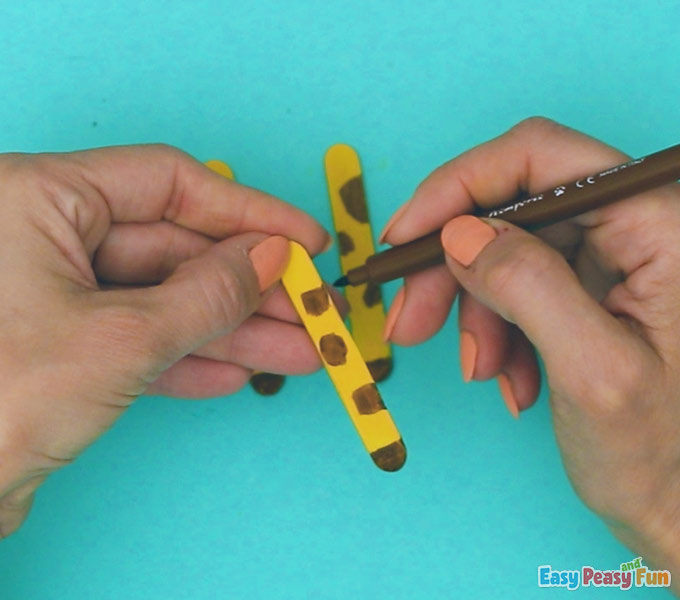
Paint the four wooden sticks with yellow acrylic paint.
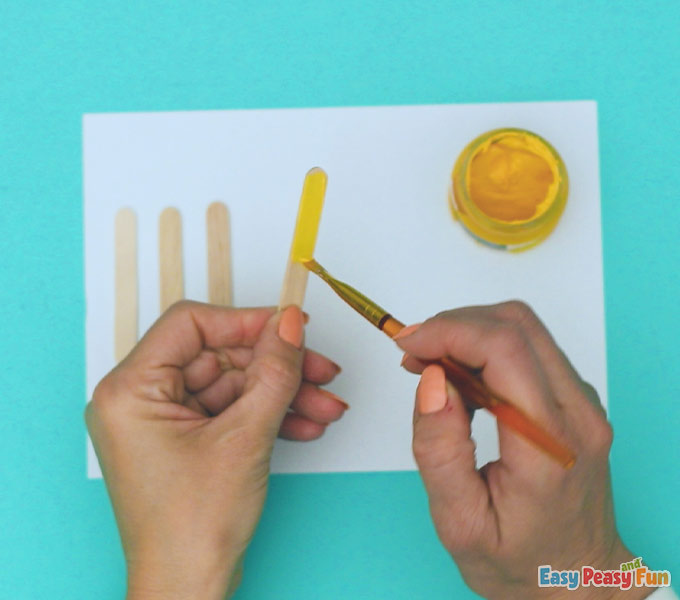
Draw brown spots and heels on them with a brown marker.
The Tail
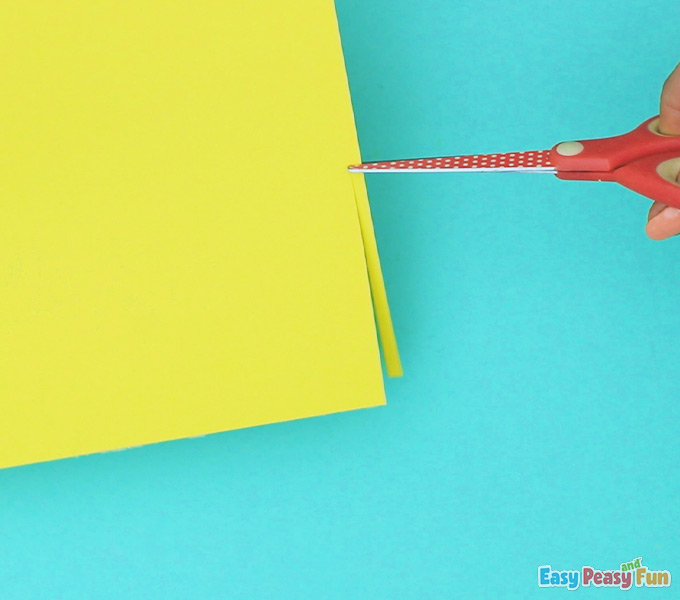
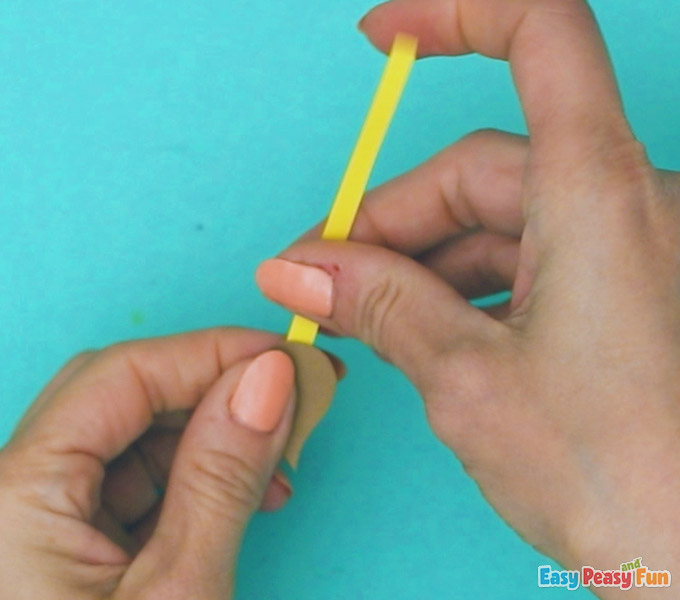
Cut a strip from yellow paper for the tail.
Glue the tail’s end onto the giraffe.
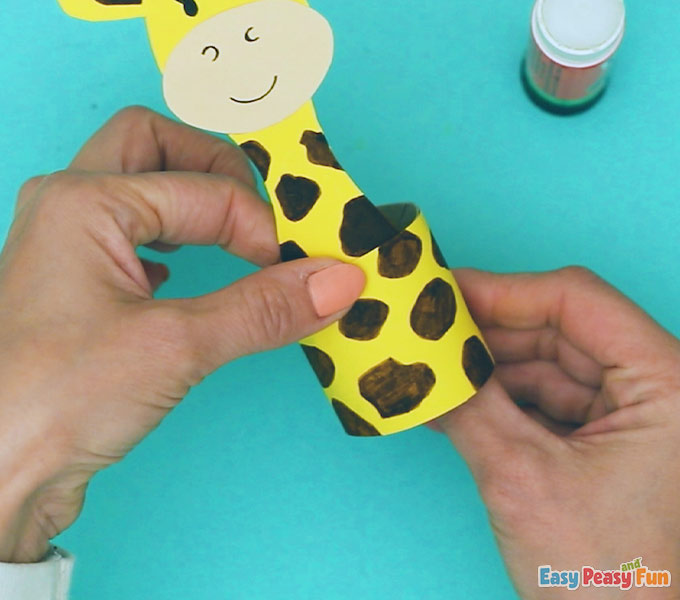
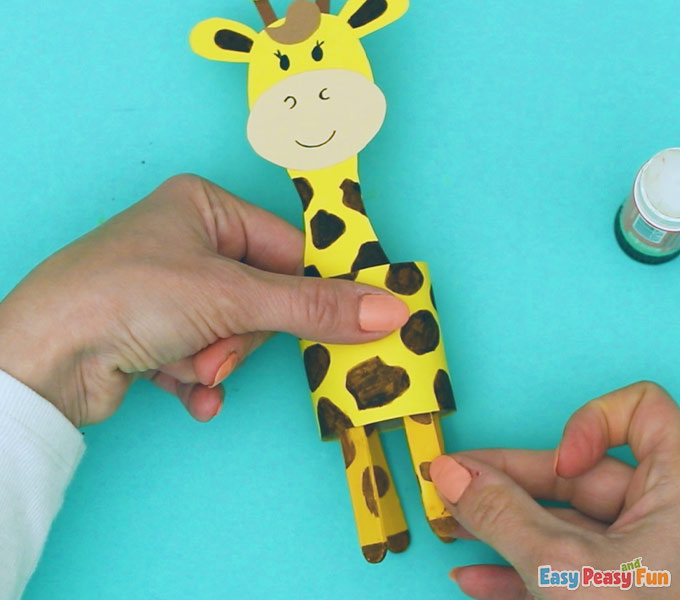
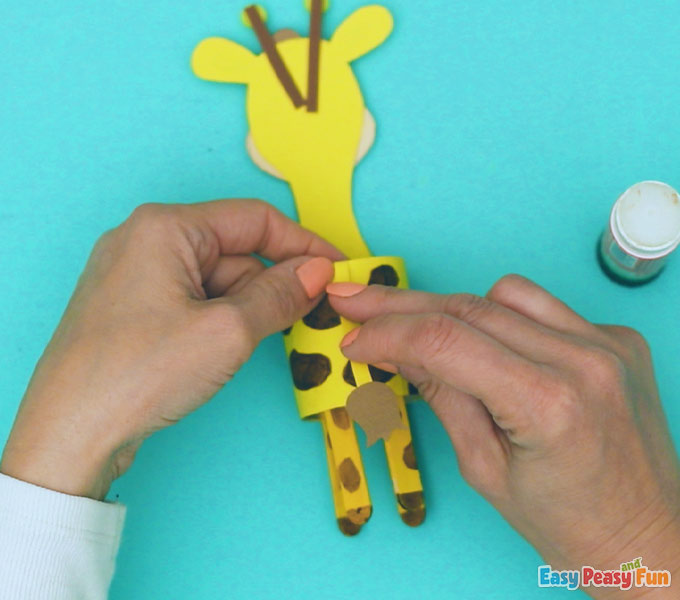
Glue the head onto the paper roll body.
You will also glue the legs on.
Finally, glue the tail on!
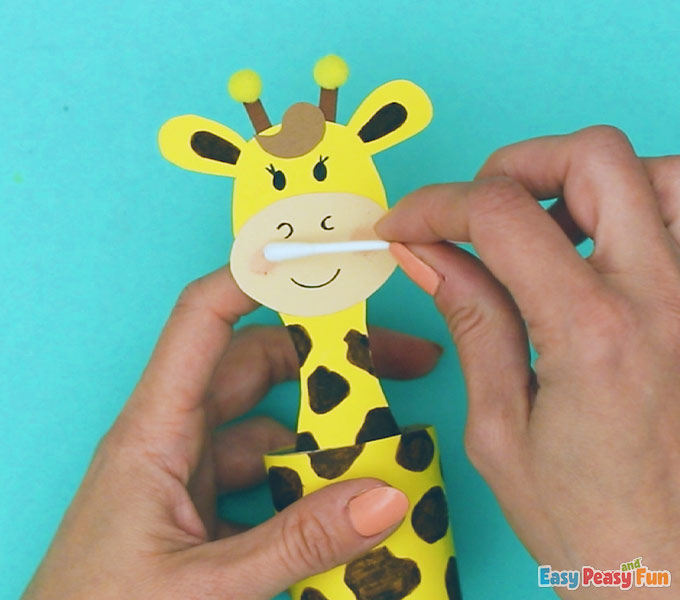
Use eye-shadow and a Q-tip.
You can put as much or slightly blush on as you’d like!
The finished product is this Paper Roll Giraffe!
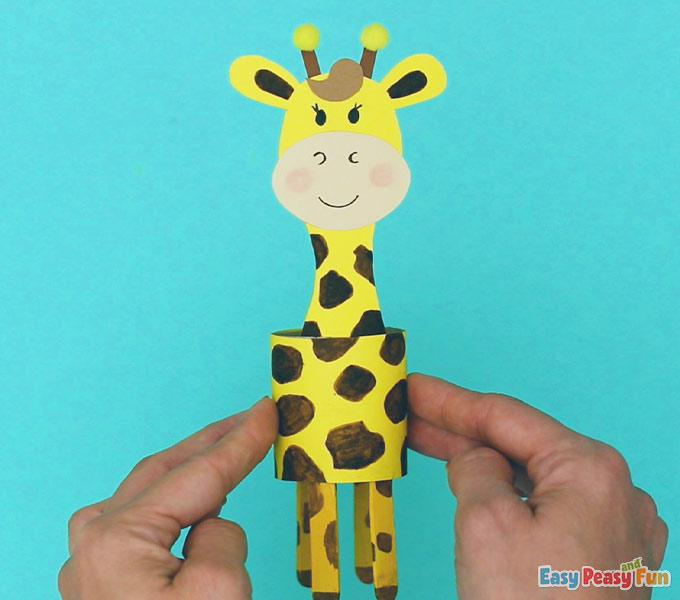
This giraffe is ready to seize the day!
How do you like yours?
Have fun crafting!
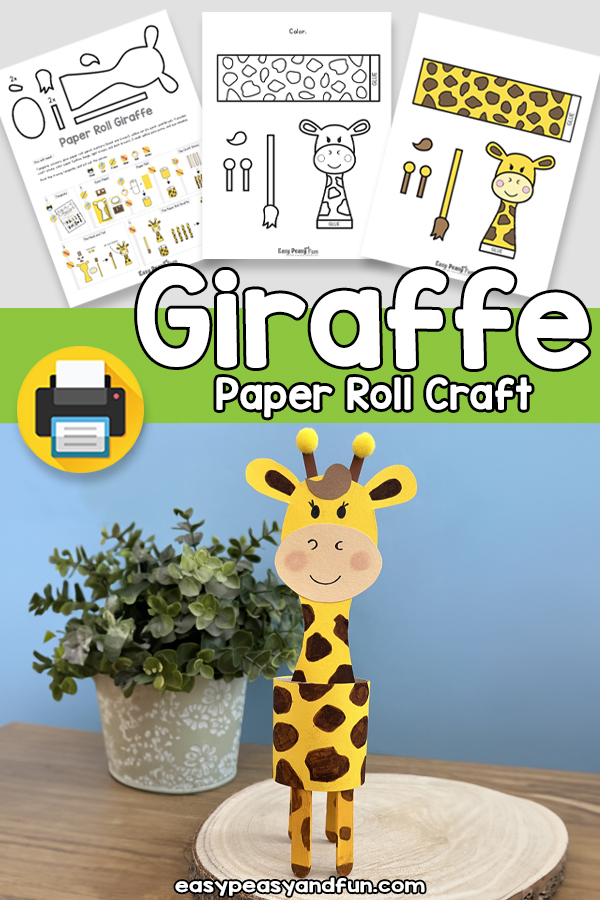
Get the Paper Roll Giraffe Template
The printable paper roll giraffe template is available to members of the Easy Peasy and Fun membership.
To access the template, log in to your account or become a member.
Already a member? Log in here.
Want instant access to all of our printable crafts, activities, and resources?

With thousands of crafts, activities, worksheets, coloring pages, and drawing tutorials to print, you will always have just the resource you need at your disposal. Perfect for parents and teachers alike!