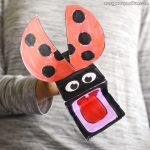
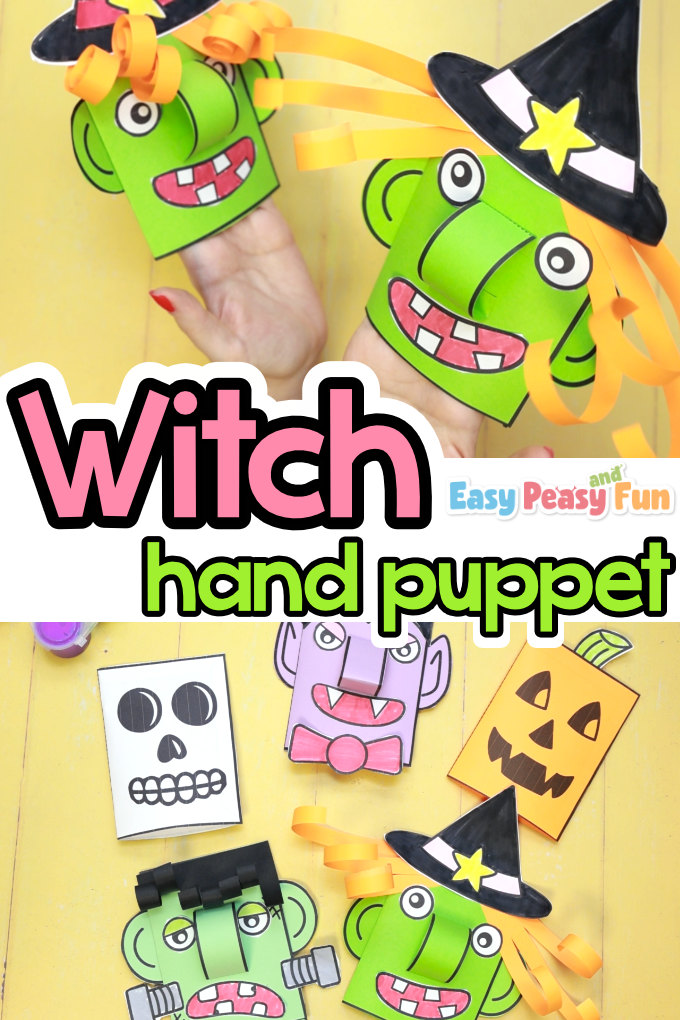
Who wants to build a witch puppet? Making puppets is always fun; it’s a great Halloween activity (especially for kindergarten) and not only do kids have fun making this Halloween craft, but they will also have a ton of fun playing with it.
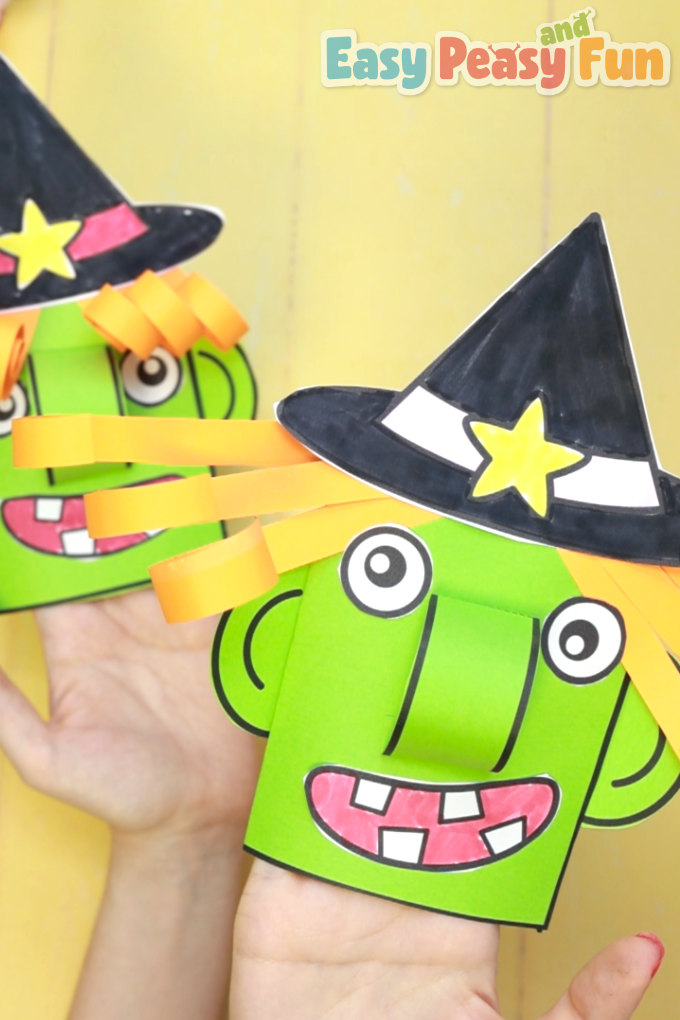
What makes this Halloween puppet stand out is it’s got a poppy nose and cool-looking hair! Your kids can make these puppets in any colors they want (it comes as a black-and-white template as well as a pre-colored one) so they can end up with many unique-looking witches.
*this post contains affiliate links*
Halloween is a fun holiday for all ages! There are many activities and Halloween crafts you can do at your home or in your classroom.
Halloween puppets are something we really love making (and sharing), the kids love to do them and once they are done, the fun is just beginning.
If you are making this in the classroom, also print out our Halloween coloring pages to have something at hand for early finishers.
How to Make the Build a Witch Puppet Template
What you need:
- our printable template (comes with 5 Halloween monsters)
- scissors
- glue
- coloring supplies
Step by Step Tutorial
Print out the template. You can use regular print paper, however, heavier print paper will be even better.
You can print the already colored-in puppet, but we do think the black-and-white template is more fun. We printed the main puppet part on green paper and the rest on white paper.
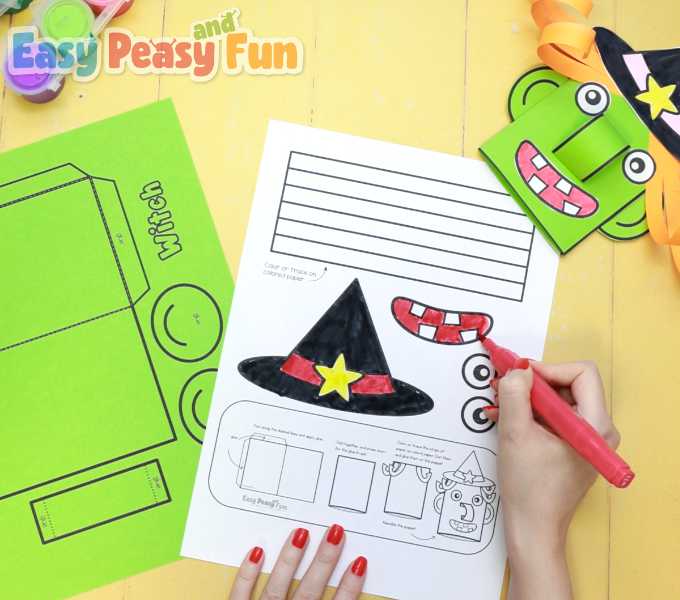
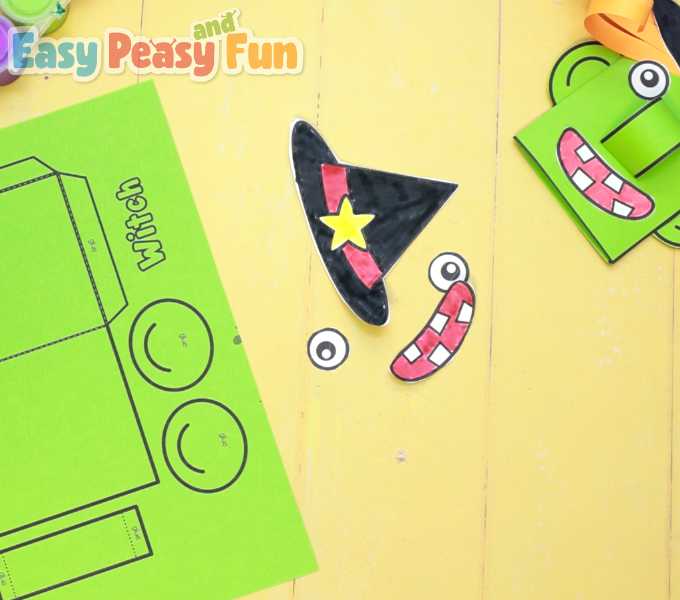
The first thing to do is to color in the witch’s hat, teeth, and eyes (or leave them white). The kids can color in the paper strips for the hair too, however, this craft will look even better if they trace the hair on colored paper.
*if you are making this as a classroom Halloween craft, we have included the version where you can print multiple parts on the same sheet of paper.
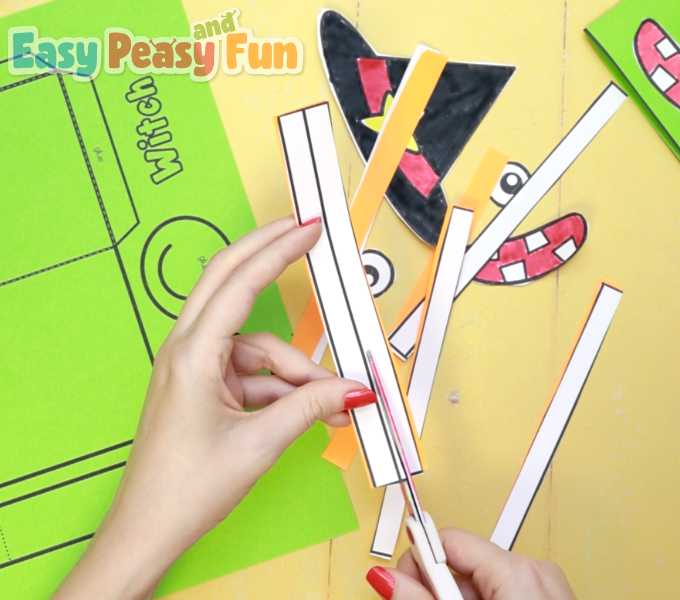
Cut out the paper strips rectangle and place it on top of orange (or other color) paper. Cut the paper strips.
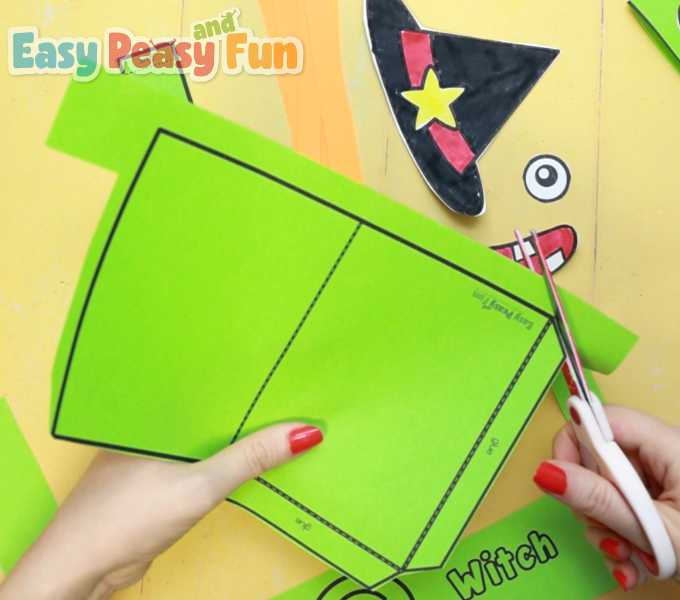
Let’s make the puppet body. Cut out along the outline. Also, cut the small rectangle for the nouse and two round ears.
Fold along the dashed lines.
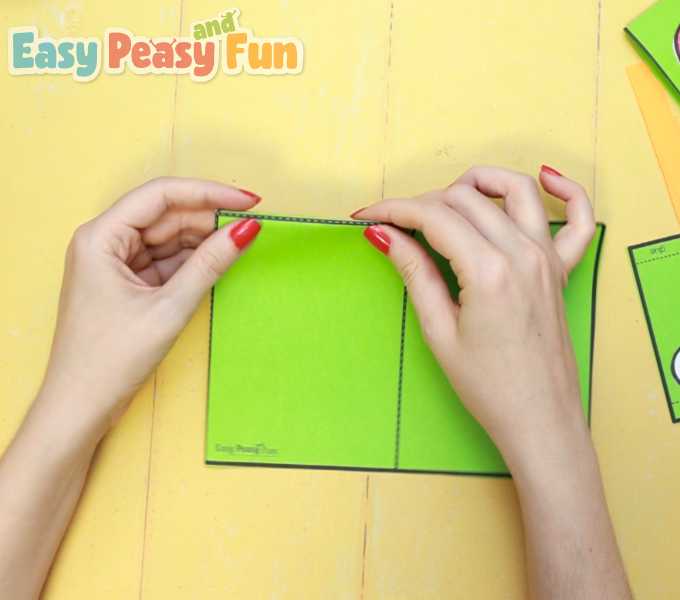
Make sure the folds are crisp, run your fingers over them.
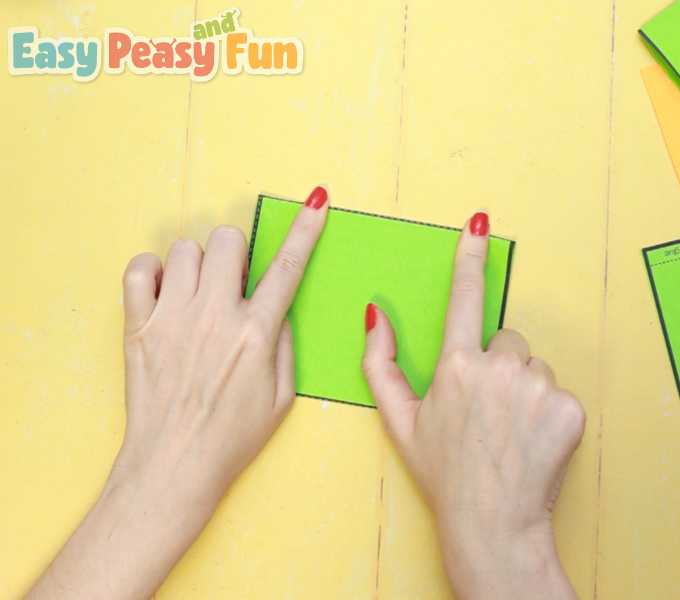
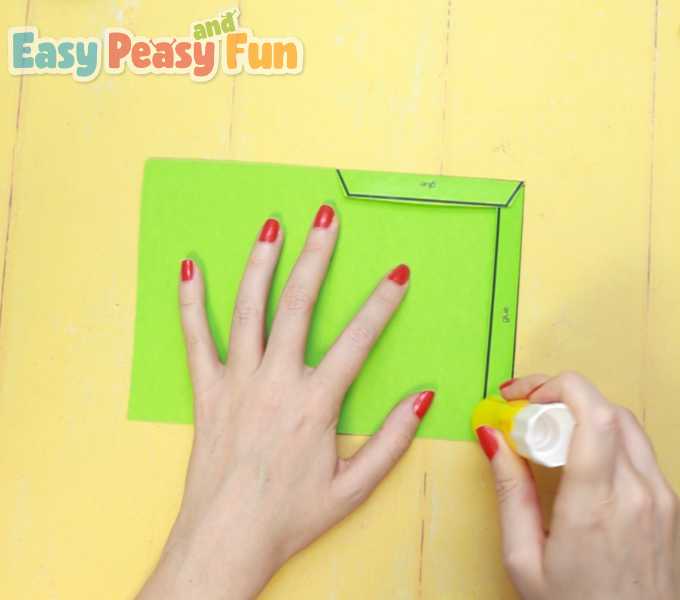
Flip over and you will see the flaps marked with the word glue. Apply glue on them.
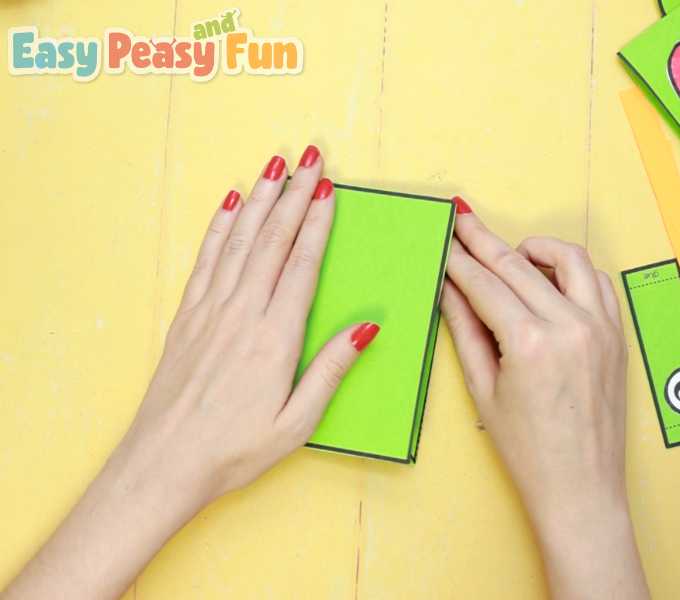
Now close up the “card”. Gently press down for the glue to set.
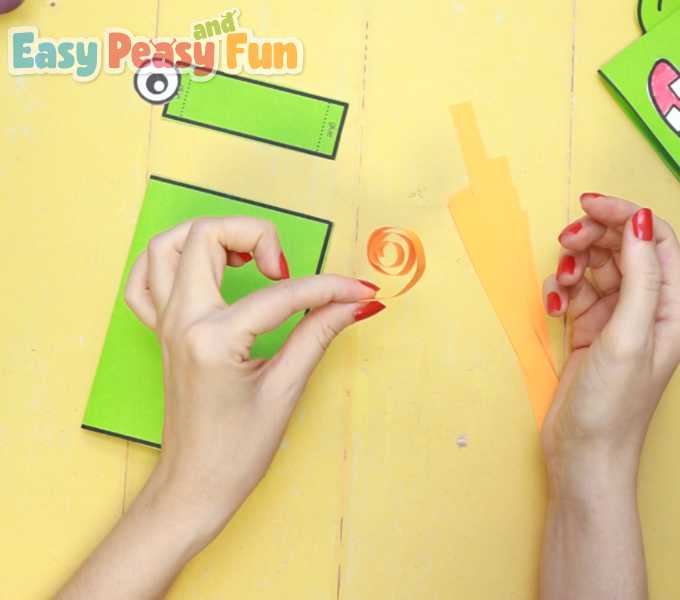
It’s time to build a witch puppet. Take the orange (or any other color) paper strips and, if you want to give your witch curls, curl them.
Build a Witch Puppet
Stick them on the top of the puppet (on the side with the closed ends).
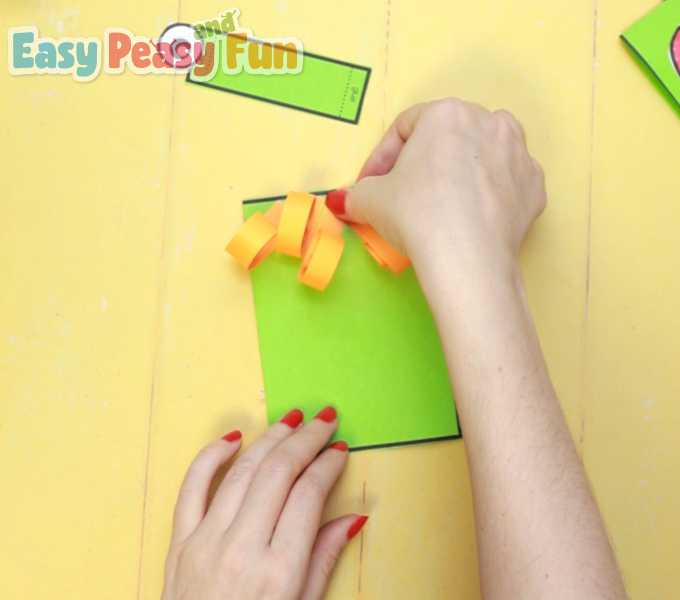
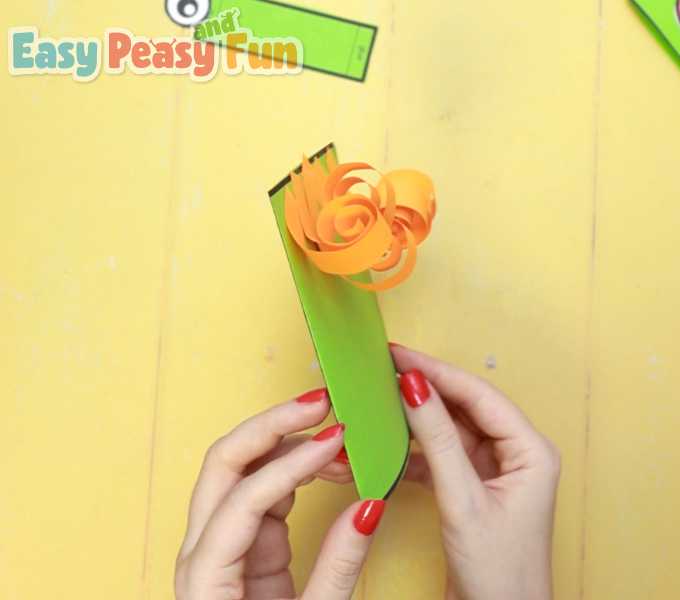
The hair is looking all fancy, isn’t it?
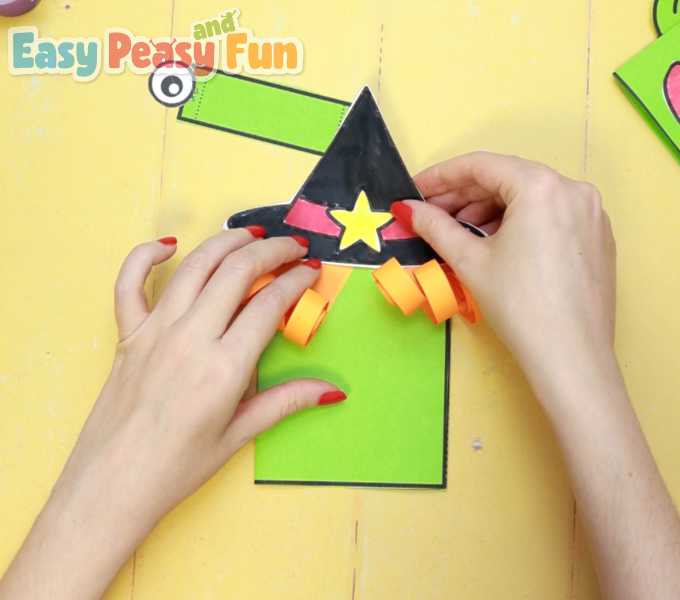
Glue the witch’s hat on top of it.
Next, take the small long rectangle, fold it along the dashed lines, and apply glue on the designated areas. Stick it in the middle of the puppet.
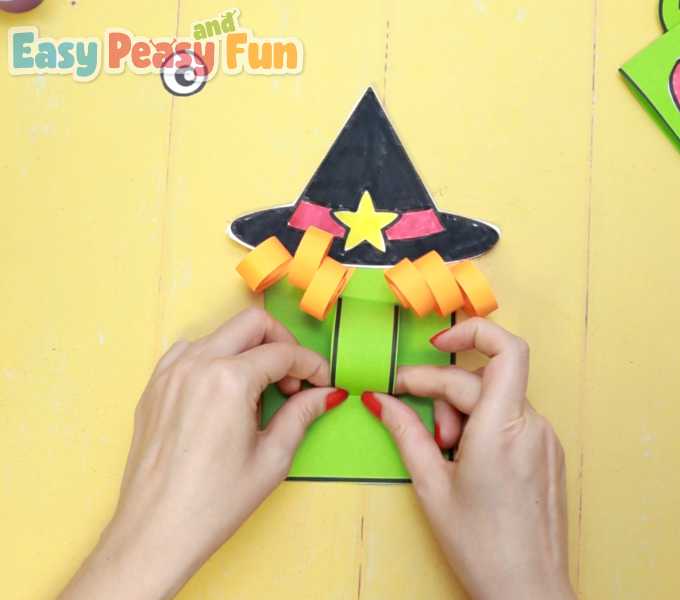
This witch craft for kids now has a nose.
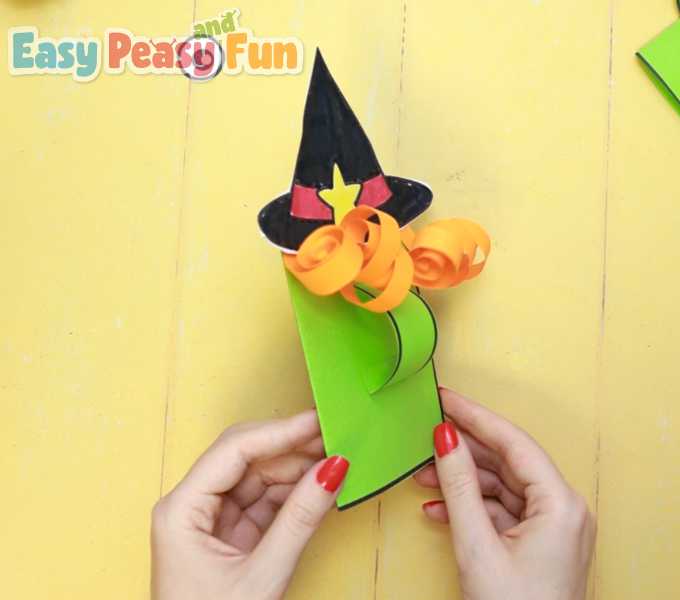
We’re almost there! Glue the yes and don’t forget the ears.

Last but not least a big grin.

Now all this Build a Witch Puppet craft needs is a hand to bring it to life.

Oh, how fun!
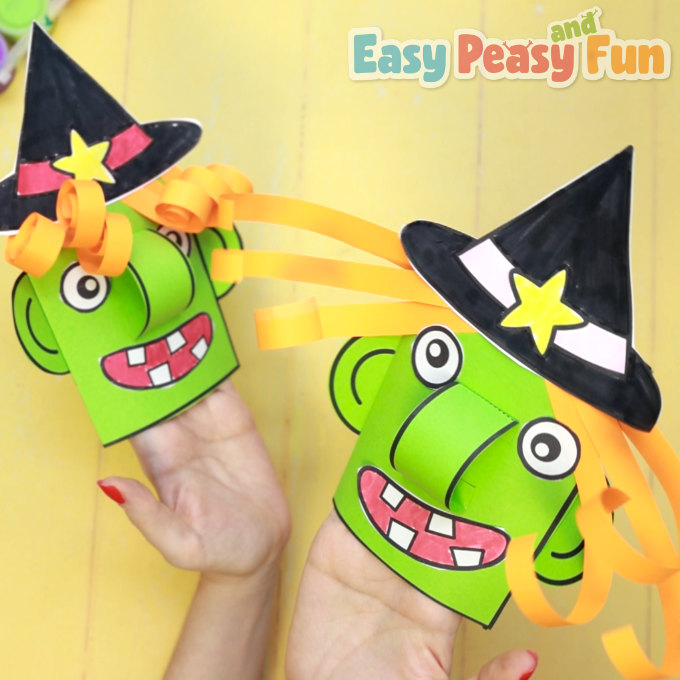
Be sure to make all of the witch’s friends as well!
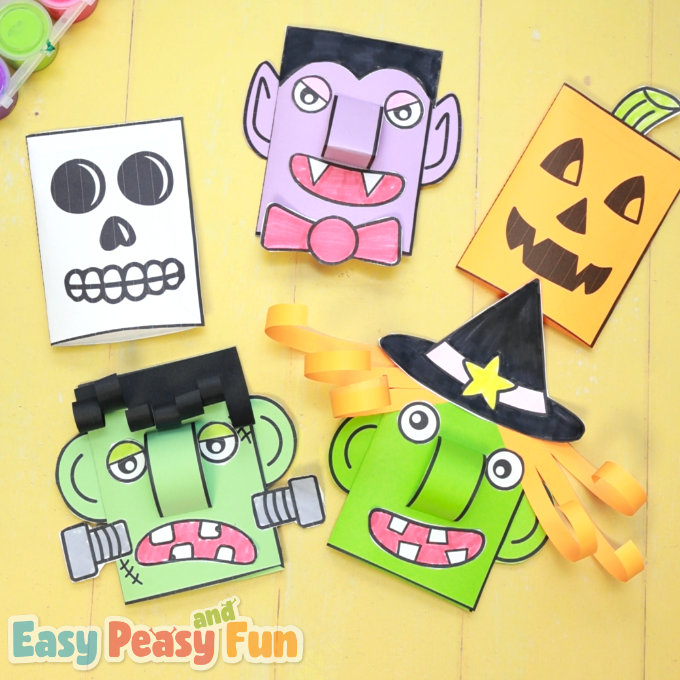
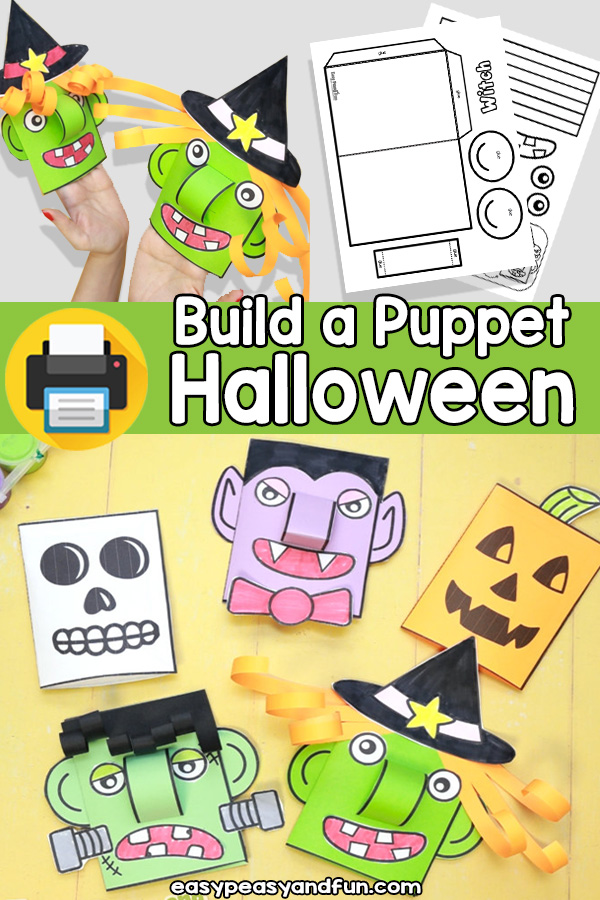
Get the whole set of Halloween Puppets
Want the whole set with 5 cool Halloween characters? It is available to members of the Easy Peasy and Fun membership as well as in our TpT store.
To access the template, log in to your account or become a member.
Already a member? Log in here.
Want instant access to all of our printable crafts, activities, and resources?

With thousands of crafts, activities, worksheets, coloring pages, and drawing tutorials to print, you will always have just the resource you need at your disposal. Perfect for parents and teachers alike!

