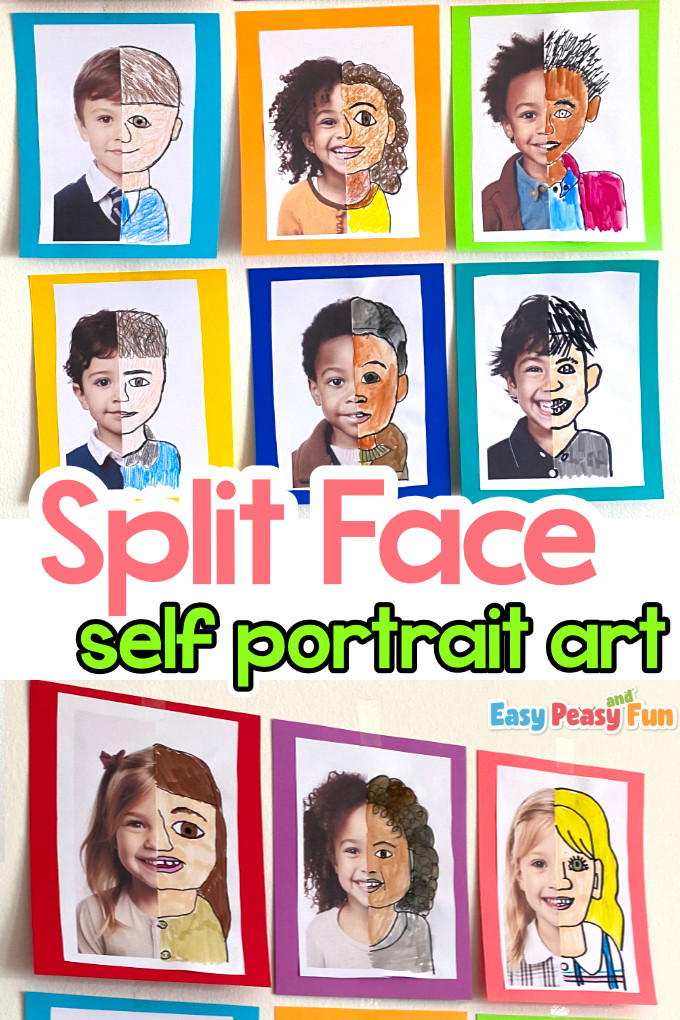
Split face self portrait art is a wonderful all-about-me activity that can be done with kids of all ages. It’s suitable for preschool, kindergarten, and older kids, the only difference between age groups being the size of the canvas the kids work on and the supplies they will be using.
With this being a half photo, half drawing activity it is a stress-free project that also allows you to talk about symmetry as well as features that make each child unique.
*this post contains affiliate links*
50 paper crafts your kids can actually do themselves

No fancy supplies — just paper, scissors, and a little imagination.
Be the first to get it on release day — and lock in the lowest price guaranteed.
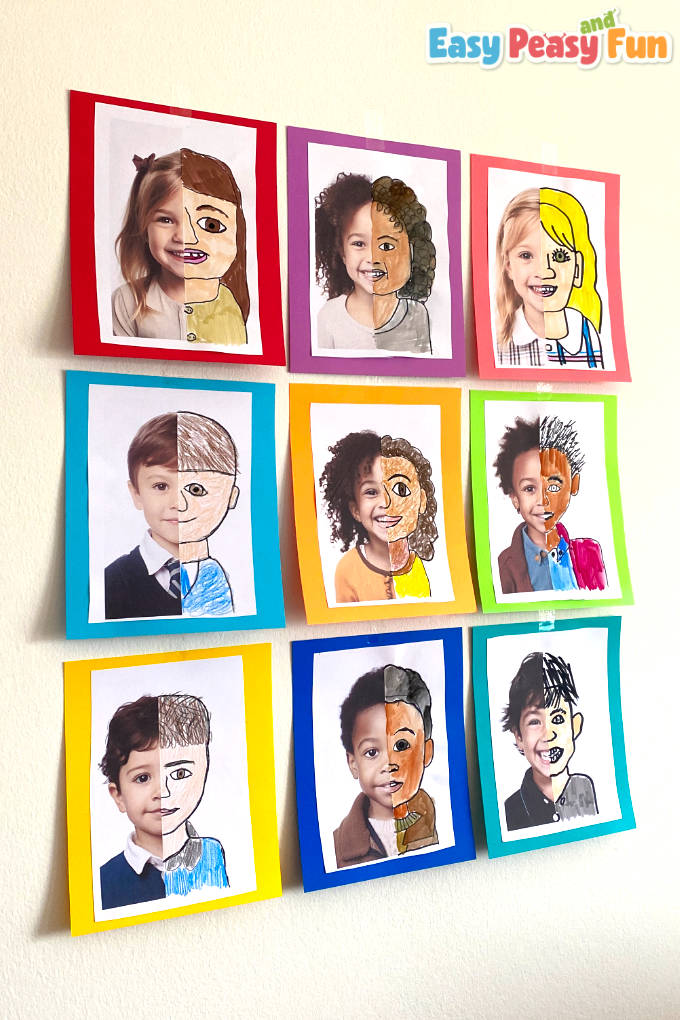
Split Face Self Portrait Art
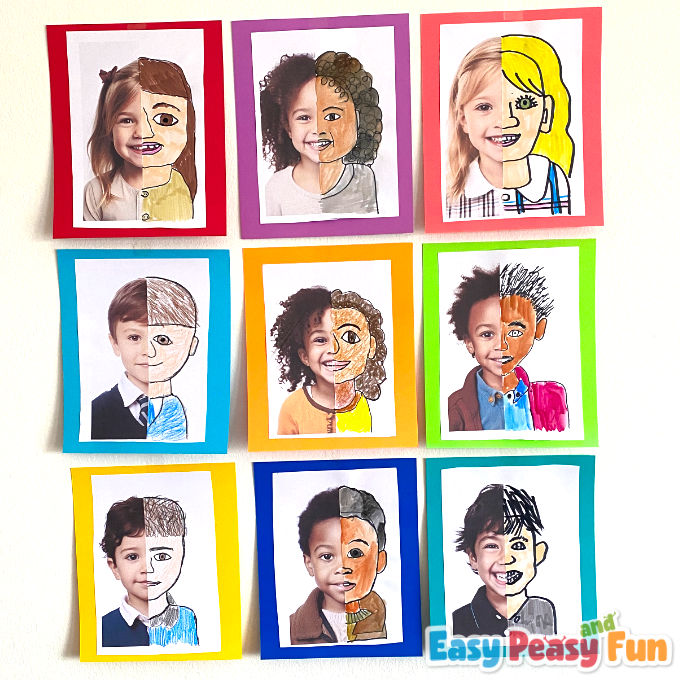
Unlike our paper plate self-portrait art idea, this half photo, half drawing self portraits do require a little bit of beforehand planning. But once done, they make the most gorgeous display in the classroom and an exciting bulletin board.
Tip: make this self-portrait activity at the start of the school year and then again at the end of the school year, so kids can see how far they have come as far as their skills go.
How to make Half Photo, Half Drawing Self Portraits
What you need:
- printed photos of kids, with the half of photo being blank
- coloring supplies (pencils, crayons, watercolors, markers, whatever is age appropriate for the group you are working with)
- glue
- scissors
- colorful backdrop paper
Making the half covered photos
If you are not familiar with photo editing software, don’t worry – we are showing you an easy way to make photos using Google Docs that is available to everyone and is free to use.
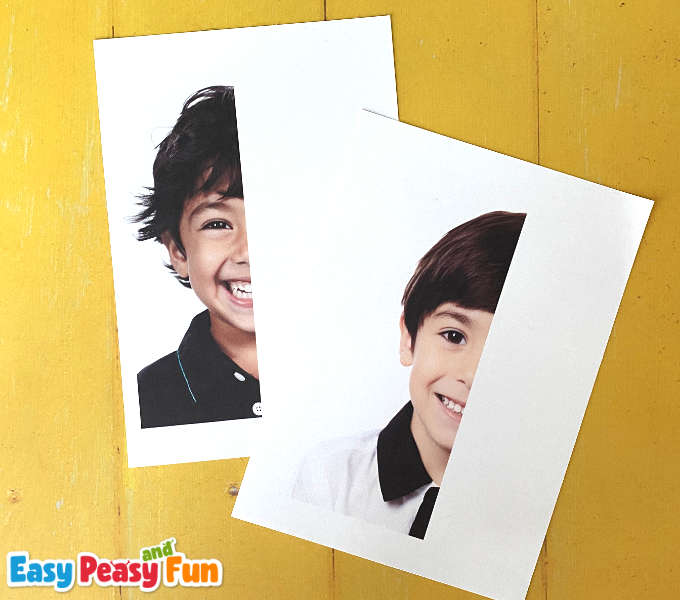
But first – you either need to have a photo session with your kids (ideally with a white background to make this project printer-friendly) or ask the parents to send you suitable images.
Once you have your images, go to Google Docs (or similar) and create a new document. Insert the image (in Google Docs, navigate to insert, image, and choose the location of your images).
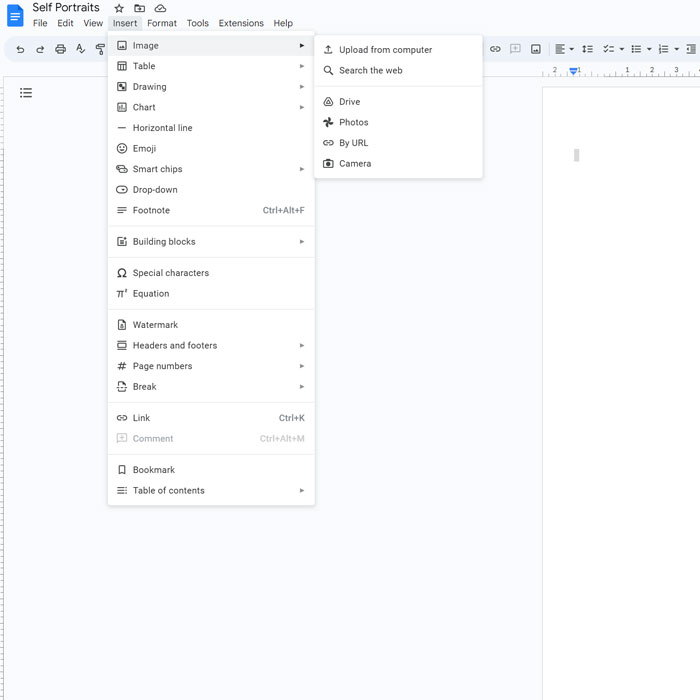
Once your image is in, you can drag and drop to resize it. You can also add two images (landscape mode is best then) per page of you are working with older kids.
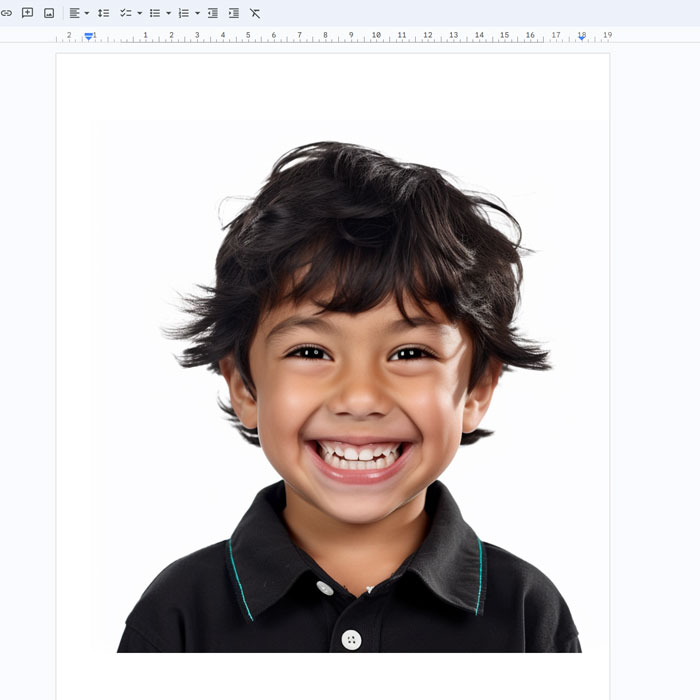
Next we will be adding a white rectangle shape to the sheet and this will cover half the face.
Go to insert > drawing > new.
This will open a new pop up window where you can “draw”.
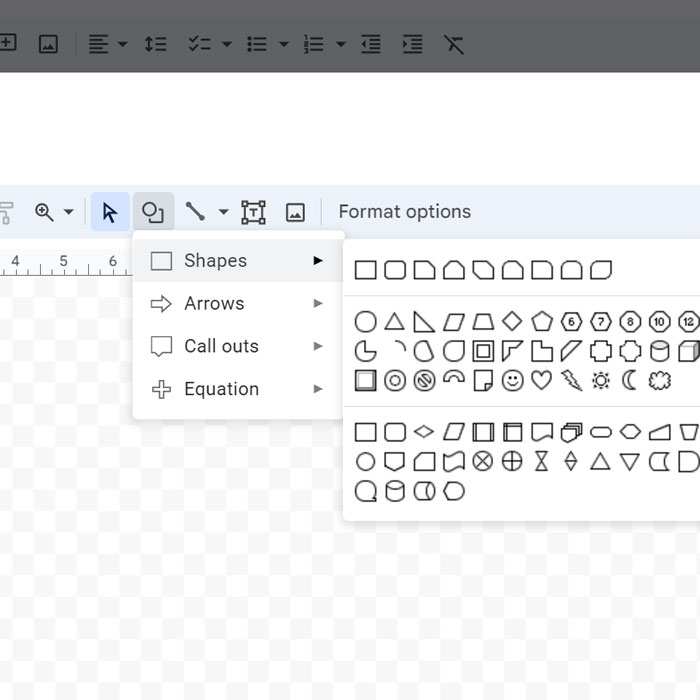
Find the circle and square icon that opens up your options for shapes. Go with shapes and choose a rectangle shape.
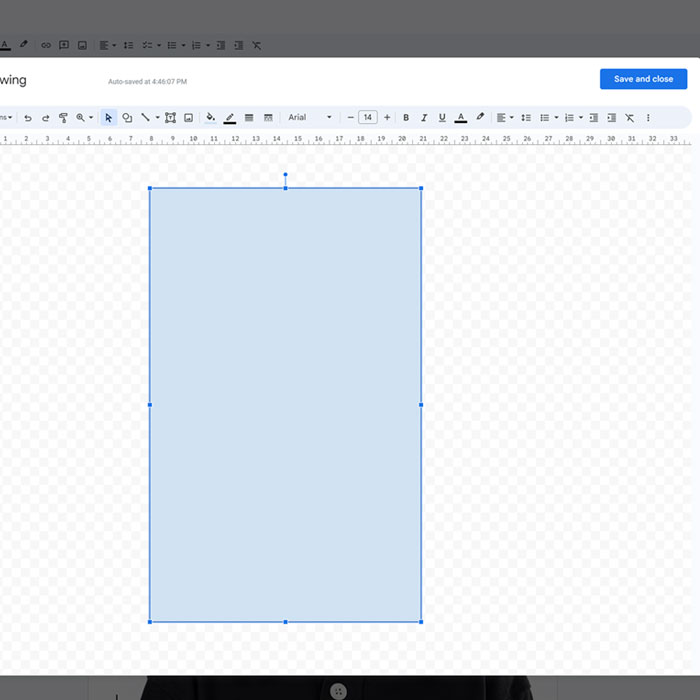
Freestyle a rectangle, you can always reshape it later it doesn’t really matter that much. The rectangle might be blue-colored with a gray line by default, before hitting save and close, choose the white color of the fill (paint bucket icon) and the white color for the outline (the pen icon next to the paint bucket icon). Hit save and close.
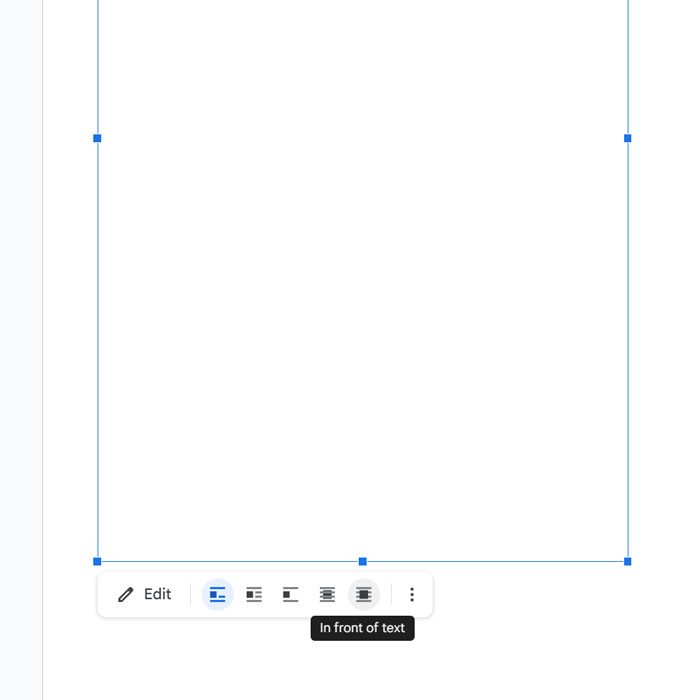
The rectangle will be placed on another page (before the photo or after the photo) by default. We need to place it on top of your portrait photo. In order to do that, click on the white rectangle and an edit menu will appear. Hower across icons until you find the one that says “in front of text”, and click it.
Once you do, you will be able to drag and drop the rectangle on top of the portrait (it will probably jump on the page with the portrait as soon as you click it).
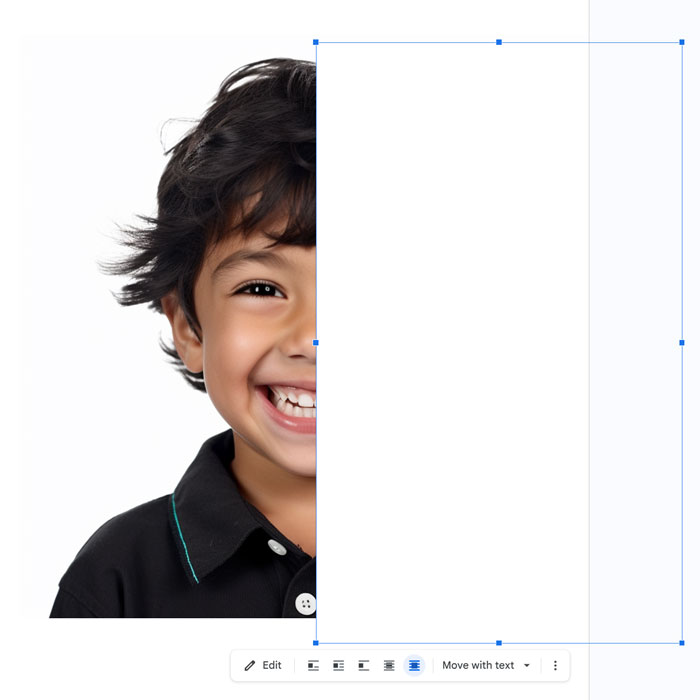
Position the rectangle in a way that it covers half of the face (you can also make the rectangle longer or wider if needed by clicking and dragging any of the sides).
Once done, just print the half photos.
Step by Step Split Face Self Portrait Tutorial
Once you have the photos ready and printed you can start this self portrait art lesson with your kids.
Start by handing out the printed half pictures to students, each getting the half image of themselves. You can take this opportunity to also talk about symmetry.
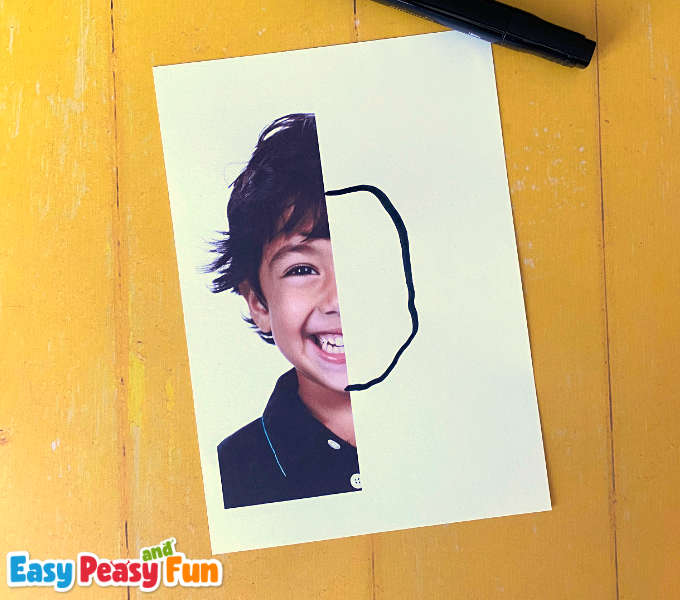
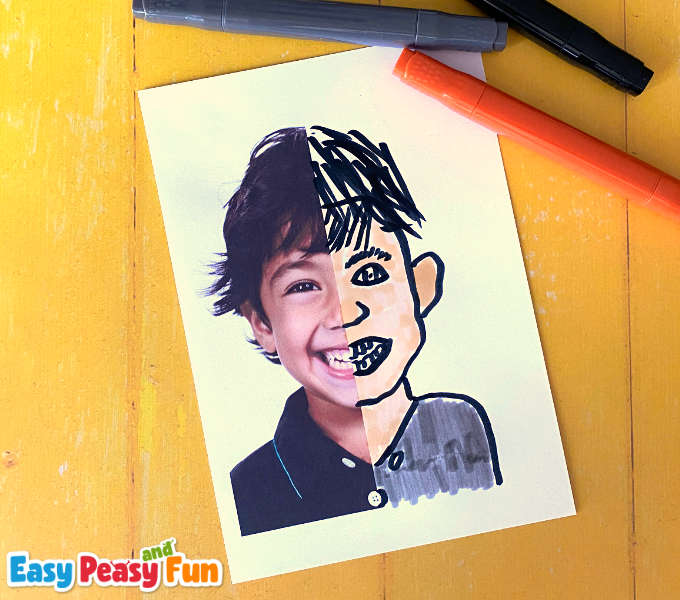
Let the kids draw their faces. Any drawing supply goes, however using a black marker will have the most visual impact.
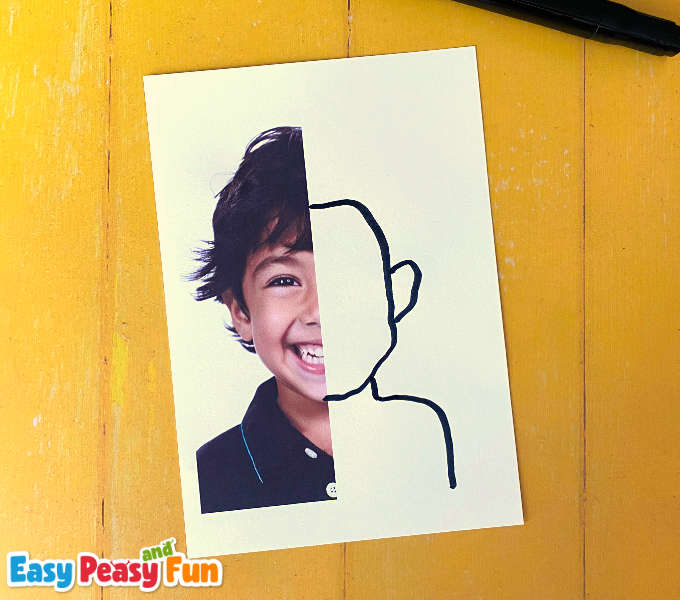
This is such a fun and no stress art activity.
You can also distribute small mirrors to make the task more fun.
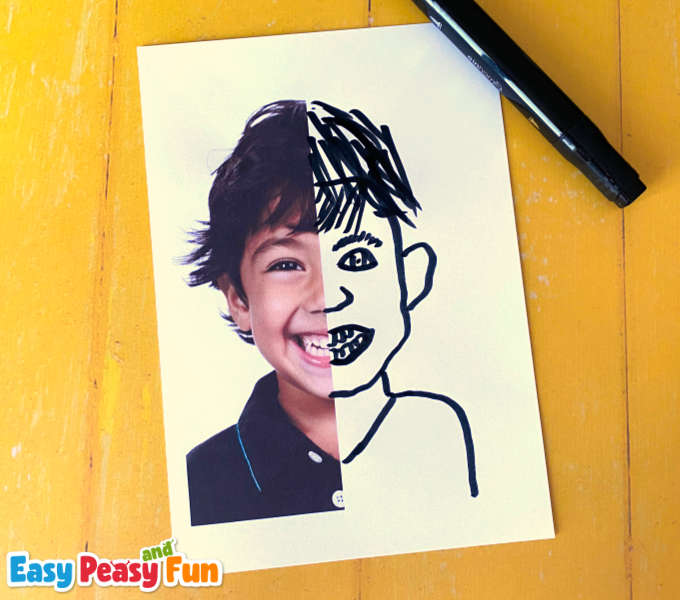
Once the kids are done with the drawing, let them color in their self portrait as well.
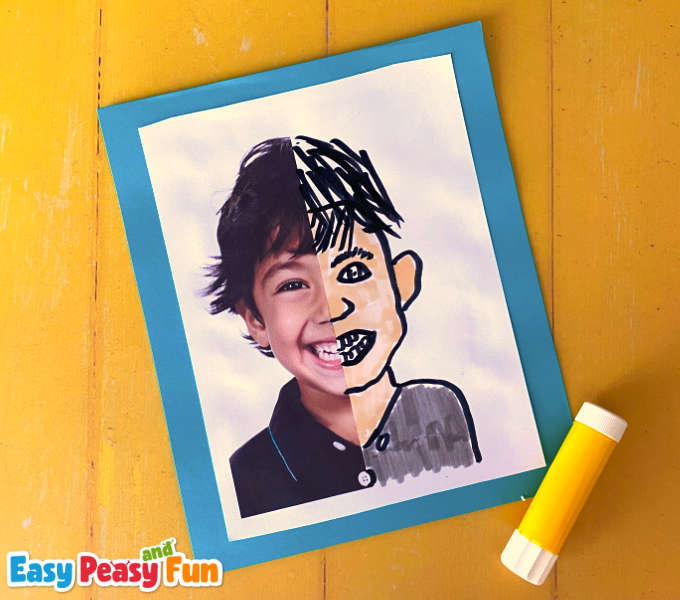
Glue the split face self-portraits on a sheet of colorful cardstock (trim the self-portraits if needed). Display your kid’s art.
Want instant access to all of our printable crafts, activities, and resources?

With thousands of crafts, activities, worksheets, coloring pages, and drawing tutorials to print, you will always have just the resource you need at your disposal. Perfect for parents and teachers alike!