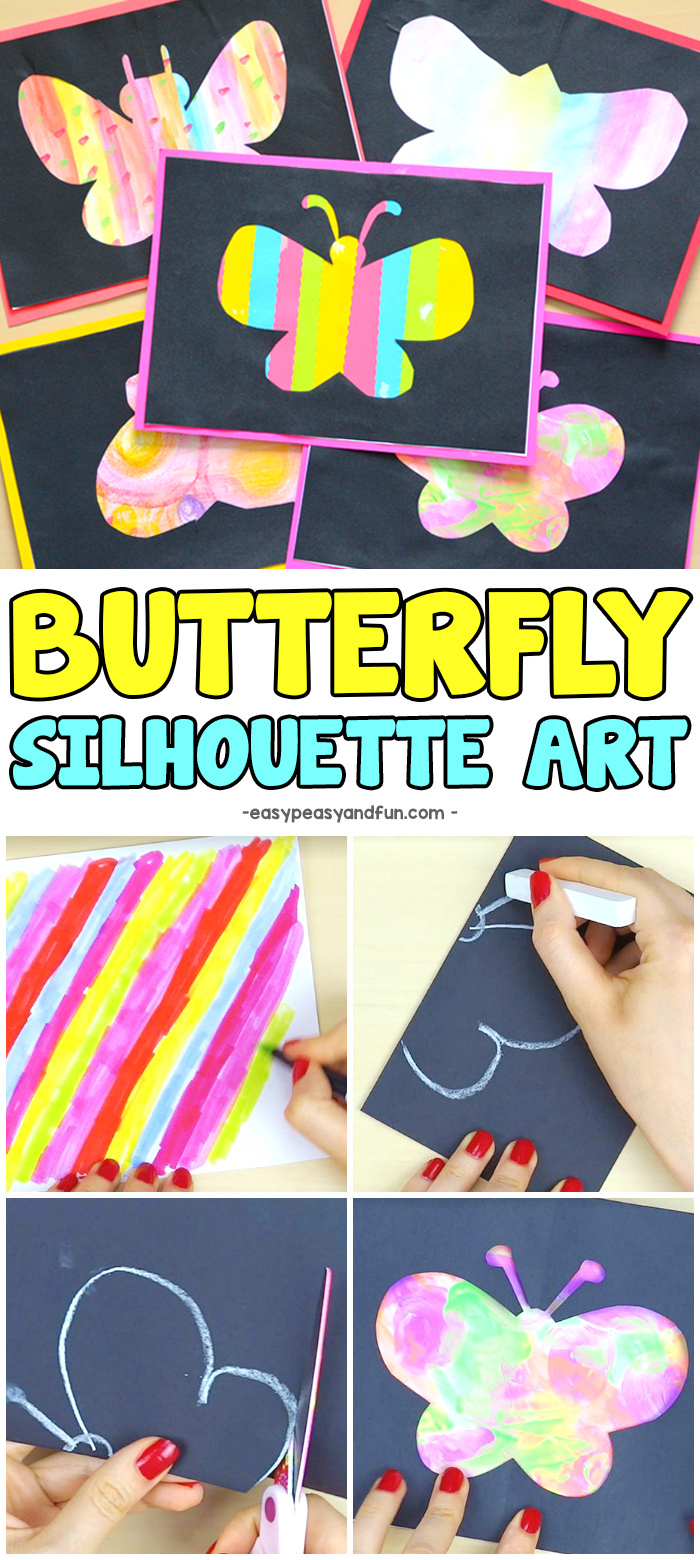
Bring out all your art supplies and let’s make some pretty butterfly silhouette art.
There are many different ways you can approach this project and many art techniques you can use.
This easy art project is perfect to make in spring time, as butterflies are a popular theme.
There are many key points you can talk about when making this, symmetry, negative space and the technique used to paint the base paper.
To make this project, you can first teach the kids how to draw a butterfly, you can have them freestyle the butterfly or you can even use the handy butterfly template (grab it at the end of this tutorial).
How to Make Butterfly Silhouette Art
What you need:
- black paper
- template optional (available at the end of this tutorial)
- art paper
- coloring supplies / torn paper
- glue
- scissors
Follow the Step by Step Tutorials
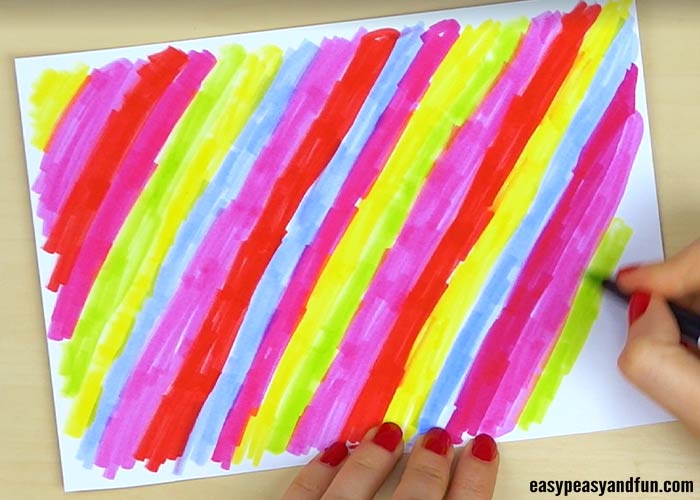
Prepare your work area. Chose the supplies for coloring the base of your butterfly silhouette art project.
You can use a variety of materials;
– watercolors markers crayons chalk pastels paints paper
Color the base. Let dry if necessary.
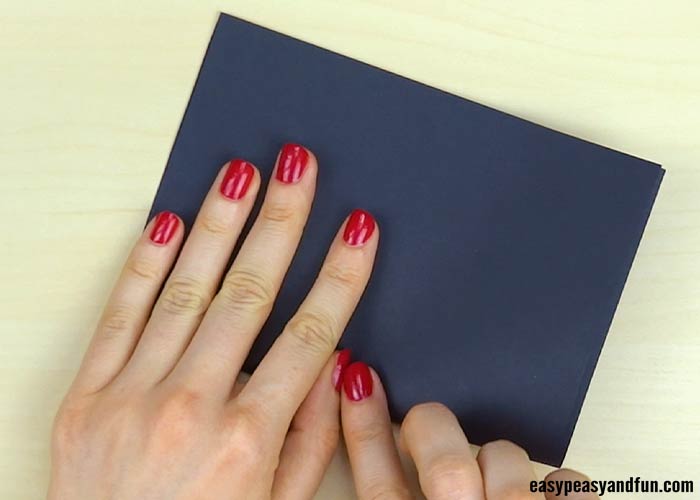
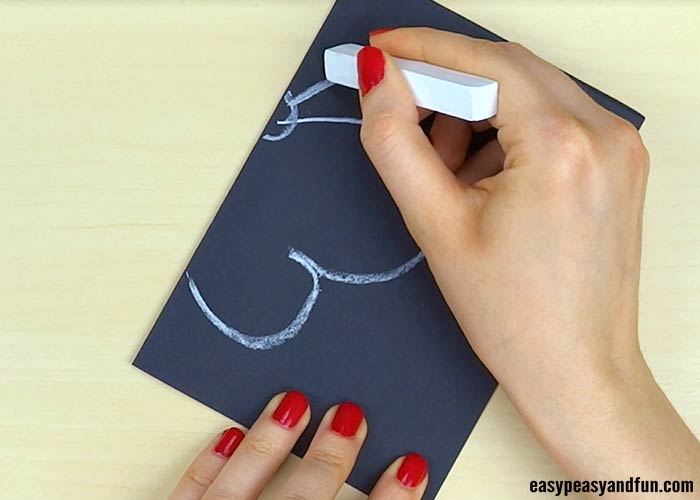
Fold the black paper in half, draw the butterfly half on the paper (white chalk is best).
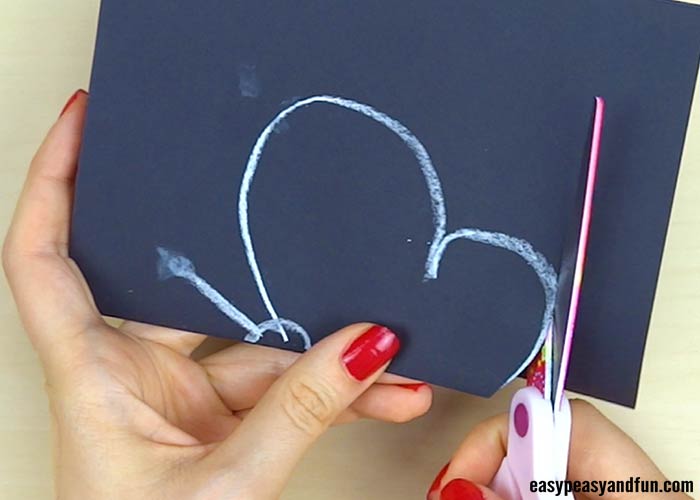
Cut out the butterfly silhouette. You can also use our template.
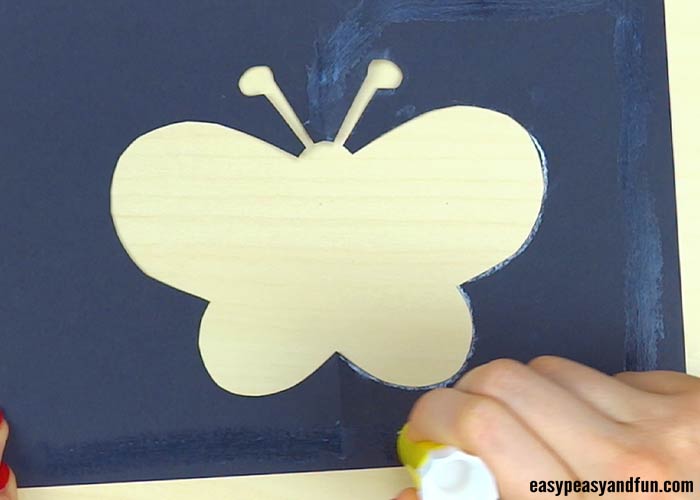
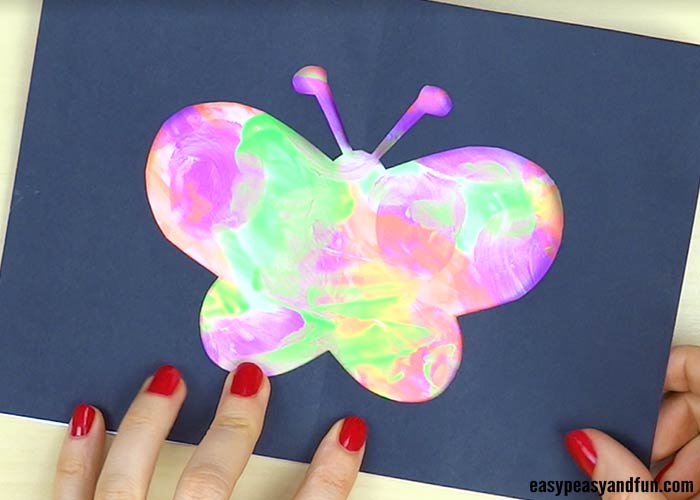
Apply glue on the black paper and place it on top of the colored paper.
All done!
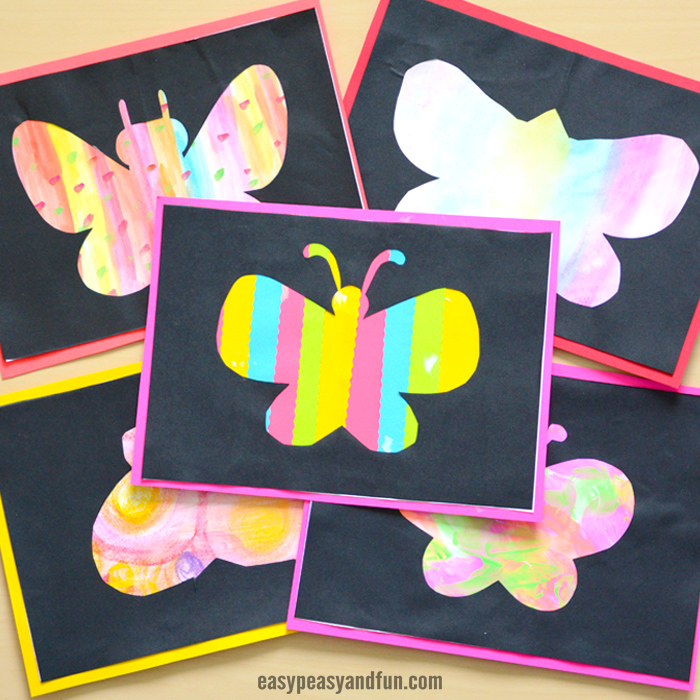
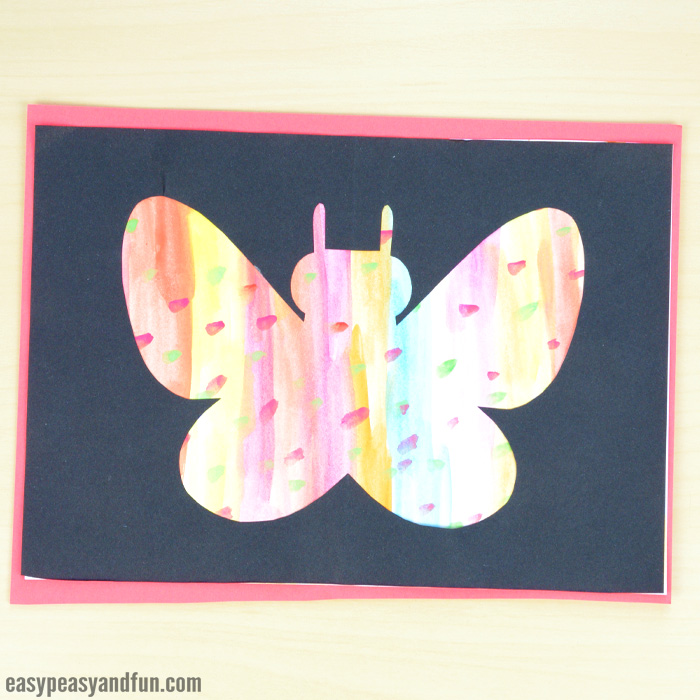
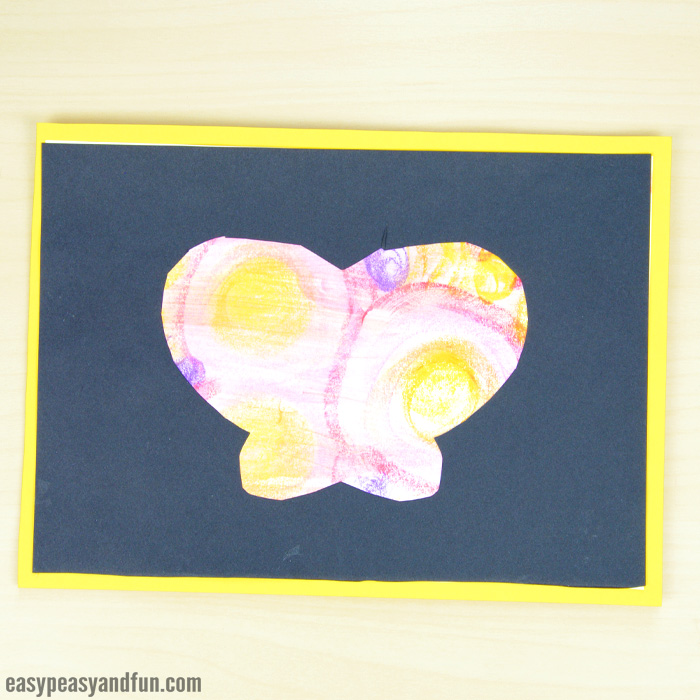
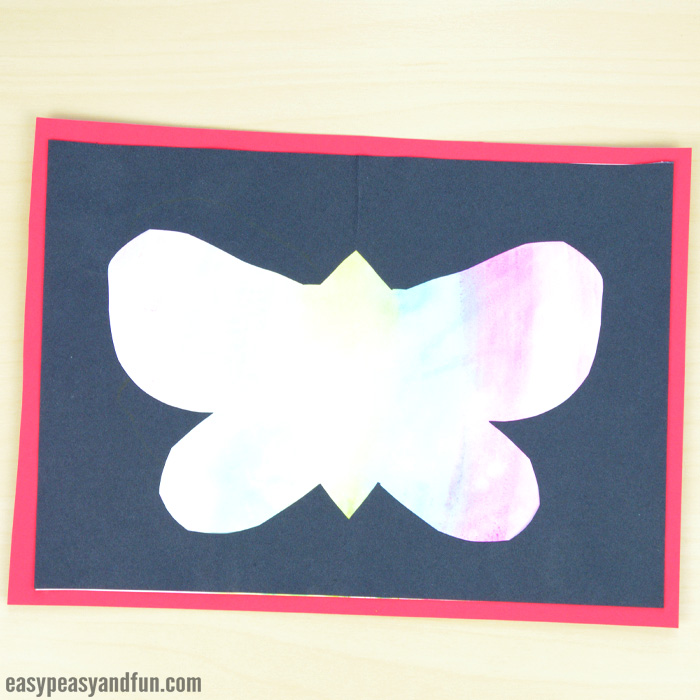
A Few Examples Of Butterfly Silhouette Art
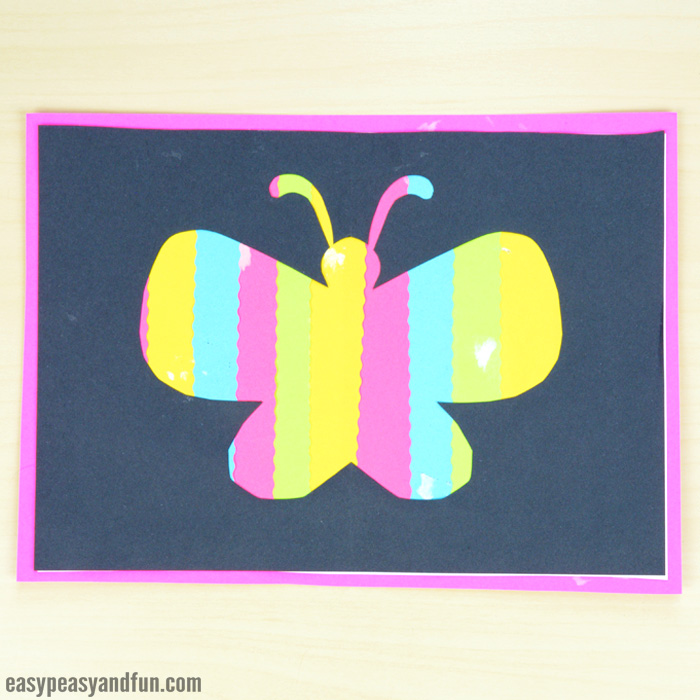
Done with strips of colorful paper.
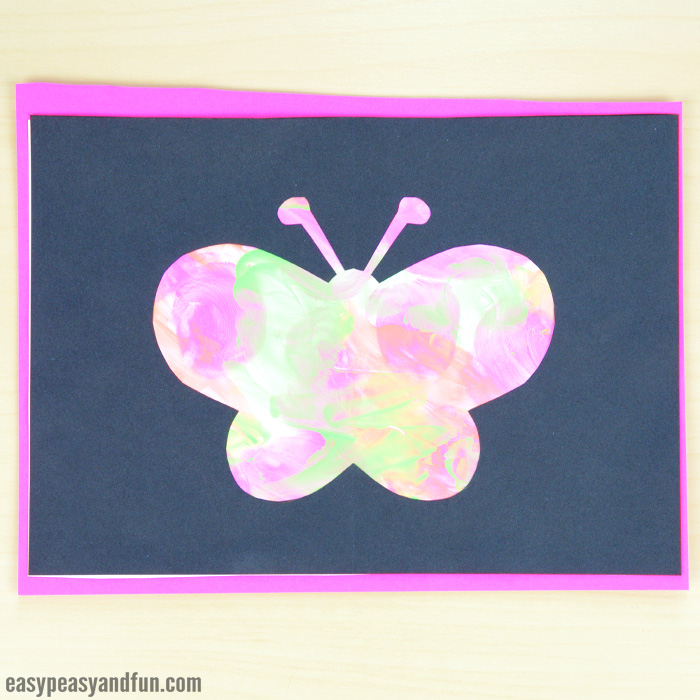
With crayola paints.
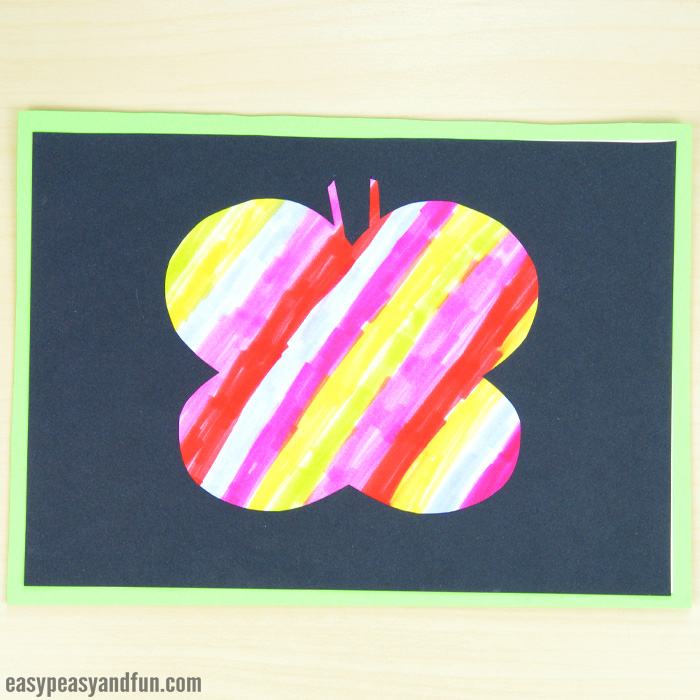
Colored with markers.
Watercolors were used to make this one.
Oil pastels were used to make this one.
Another one with watercolors.
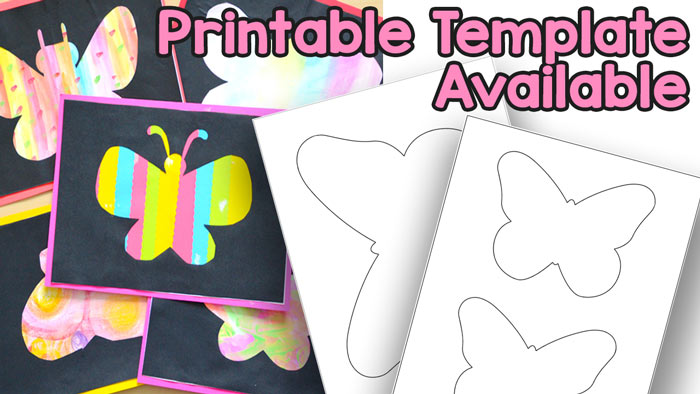
Get the Butterfly Silhouette Template
Click to get the printable template: Butterfly Silhouette Art Template
Want instant access to all of our printable crafts, activities, and resources?

With thousands of crafts, activities, worksheets, coloring pages, and drawing tutorials to print, you will always have just the resource you need at your disposal. Perfect for parents and teachers alike!

