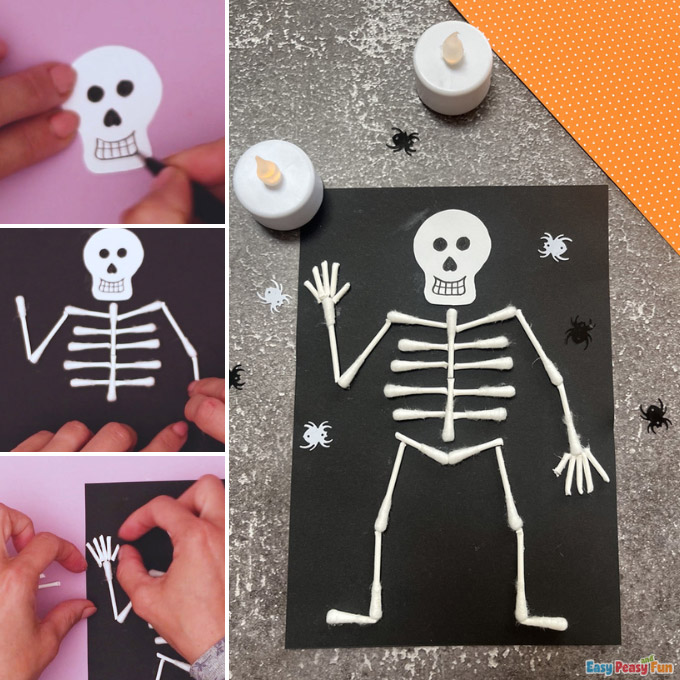
We will show you a spooktacular way to create a fun Halloween creation using a simple household item – Q-tips! Join us in making a Q-tip skeleton craft!
By cutting these cotton swabs in half and arranging them on black paper, your kids will be making a wonderful Halloween display that will also help them learn about human anatomy.

*This post contains affiliate links*
50 paper crafts your kids can actually do themselves

No fancy supplies — just paper, scissors, and a little imagination.
Be the first to get it on release day — and lock in the lowest price guaranteed.
Halloween crafts are fun to make (check out our Halloween corner bookmarks and Halloween movable crafts) and we have a bunch of them!
And we’re sure kids will love to spend some time coloring our Halloween coloring sheets!
Ready to craft with your kids?
Grab those materials, dive into this Q-tip skeleton craft, and bring this little bony buddy to life!
How to Make the Q-tip Skeleton Craft
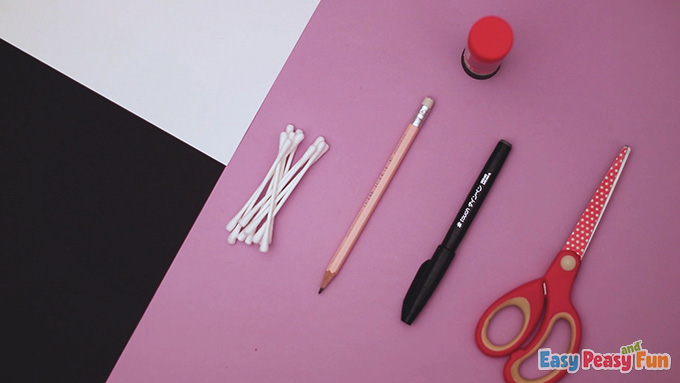
What you need:
- pencil
- scissors
- glue
- black paper
- white paper
- black marker
- Q-tips with paper handle (easier to cut and better for the environment)
Step by Step Tutorial
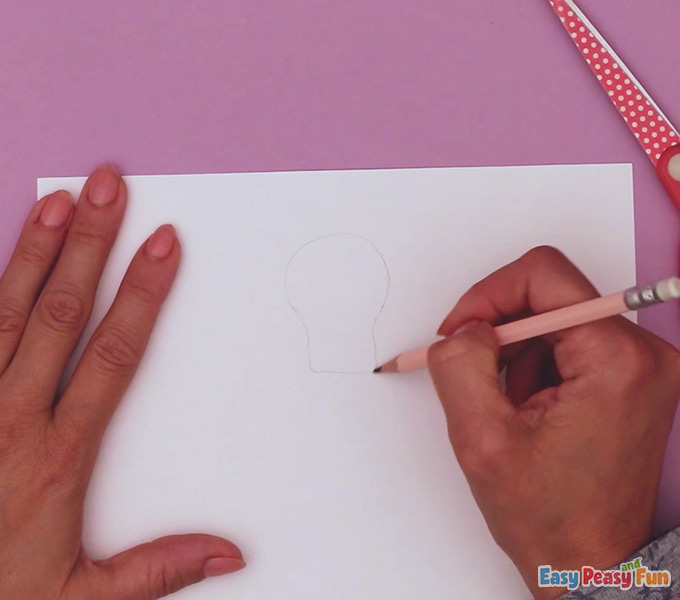
The Skull
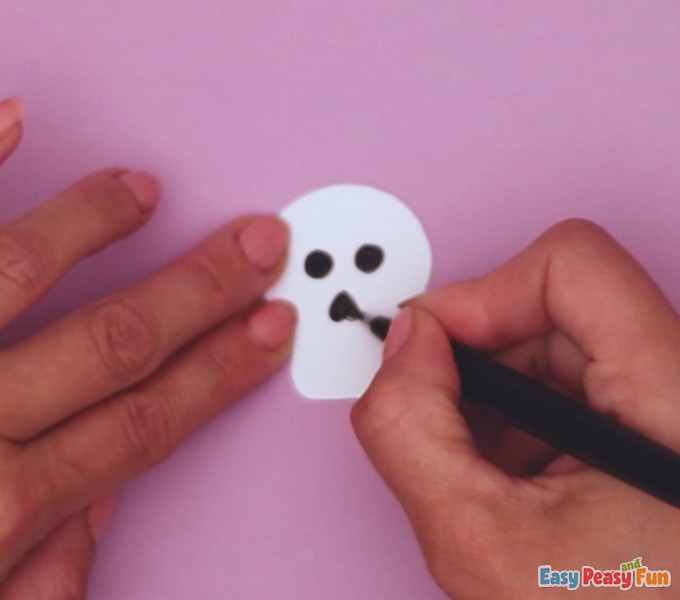
Have kids draw a skull on white paper and cut it out.
Le them continue by drawing two dots for the eyes and a nose.
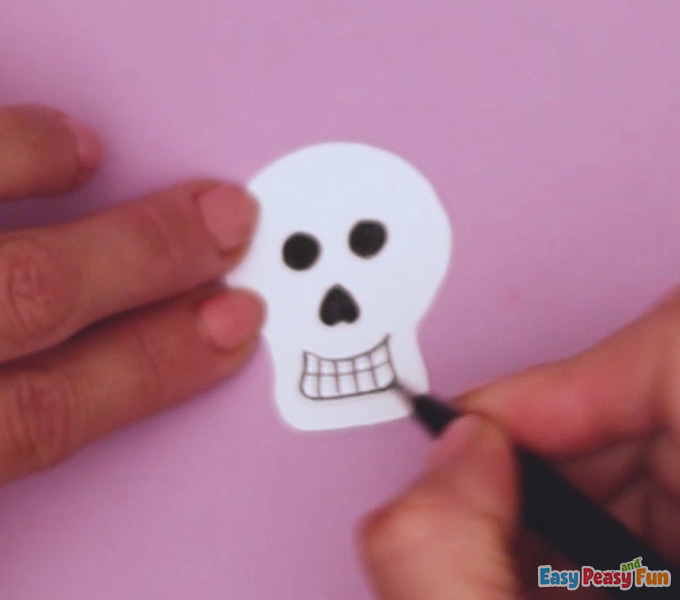
Have them draw some teeth, too!
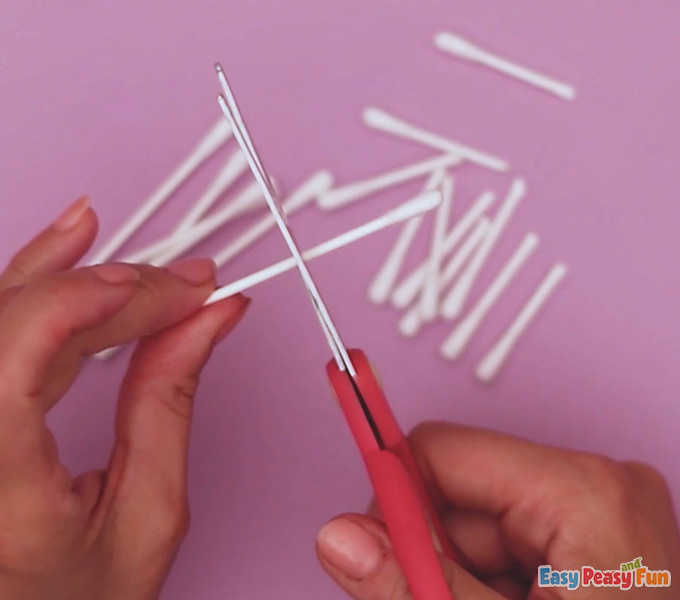
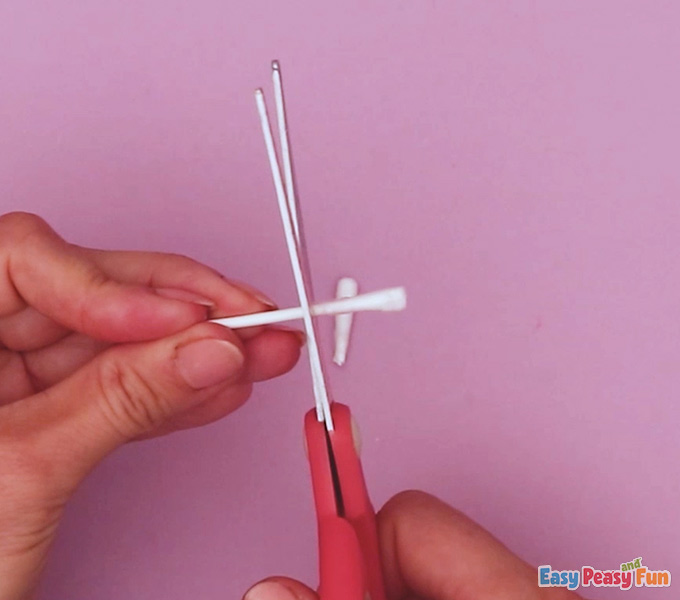
The Bones
Have the kids cut the Q-tips in half.
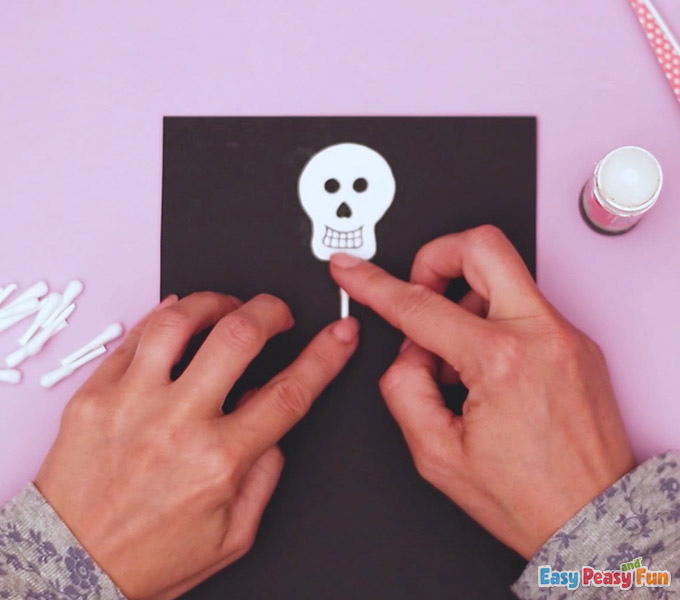
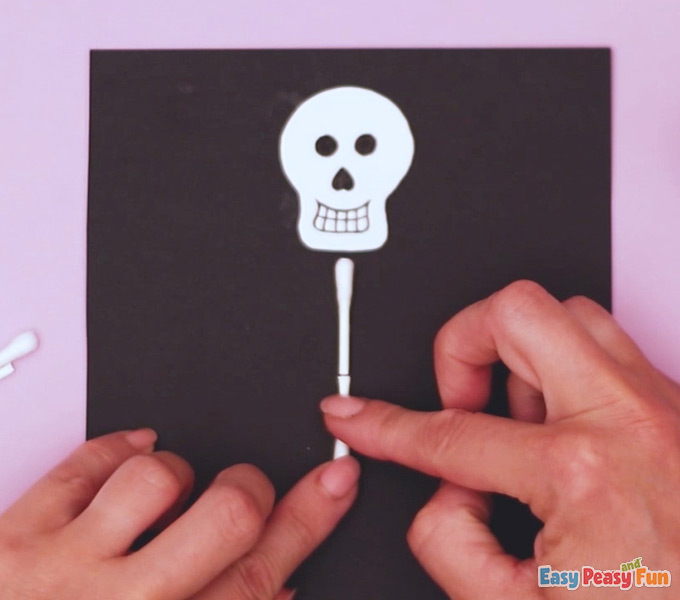
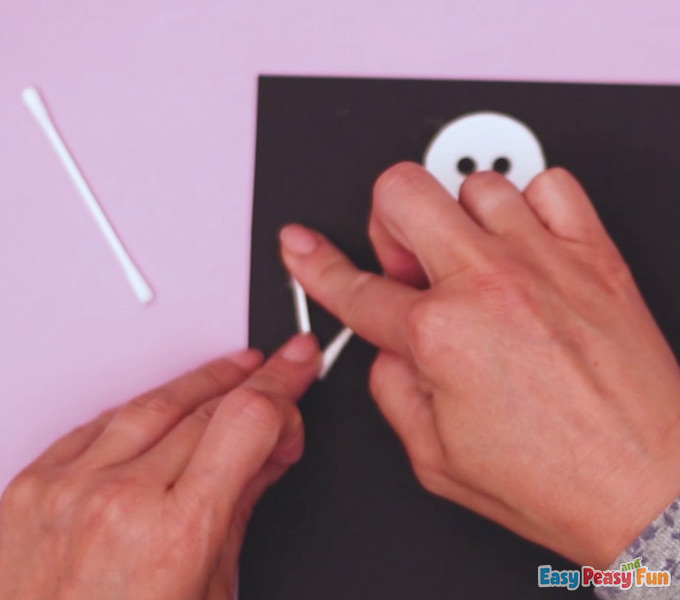
The Neck
It’s time to start assembling the Q-tip skeleton.
Let the kids glue the skull on black paper and the first half of one Q-tip as a neck.
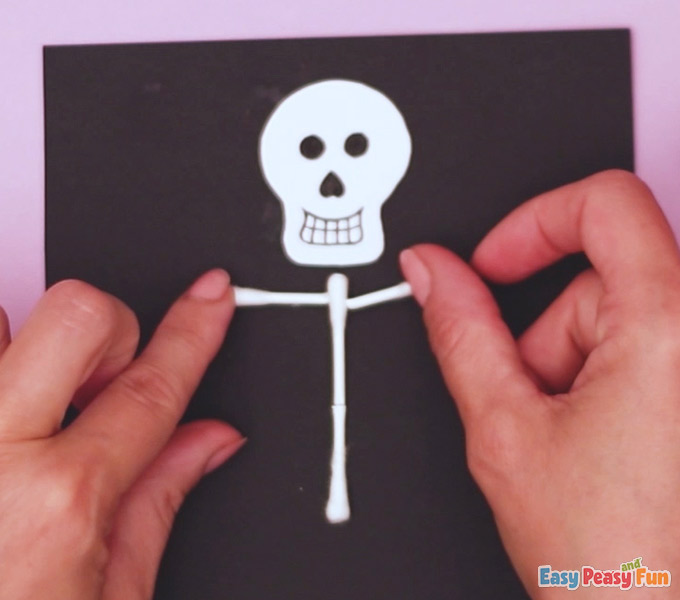
The Spine
They need to add another half of a Q-tip – this will be the skeleton’s spine.
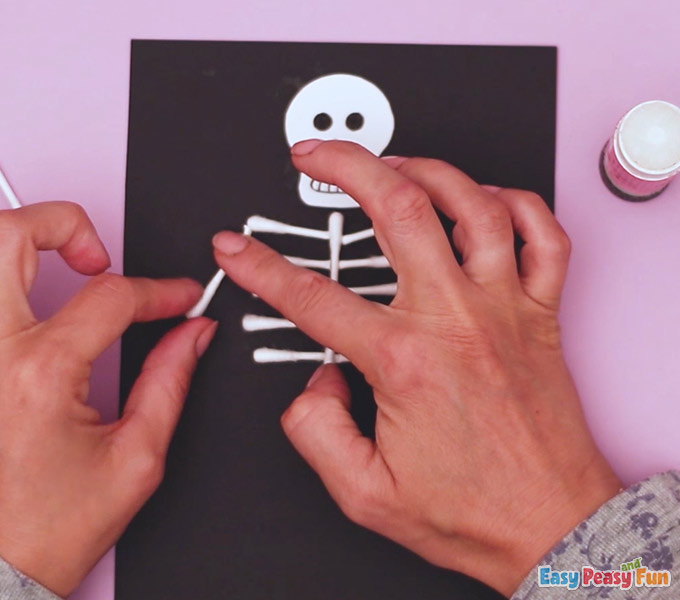
The Shoulders
Next glue on two Q-tip halves to create the shoulders.
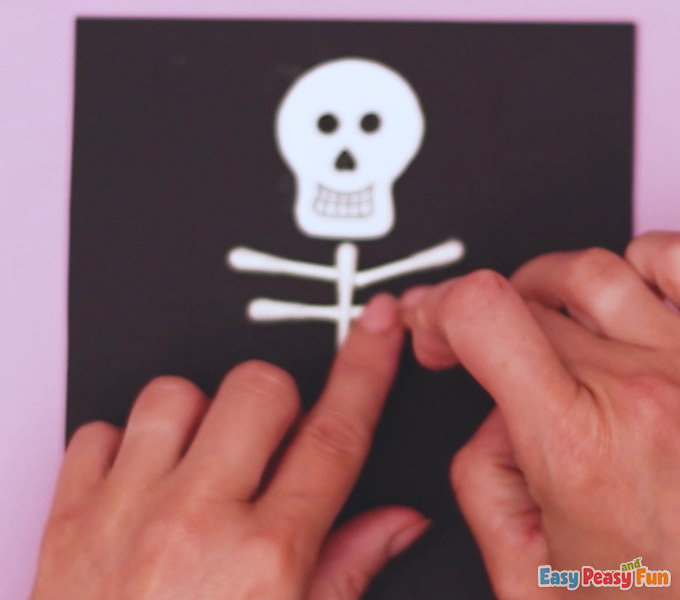
The Ribs
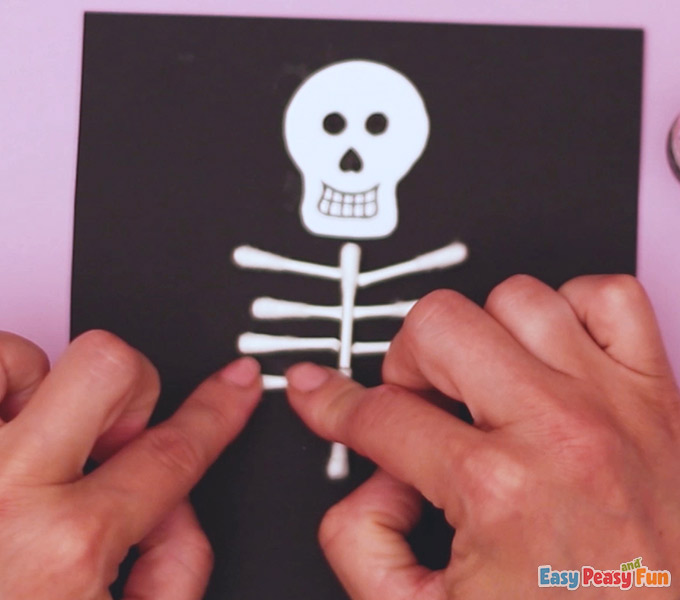
Then, add another two under the shoulders to create the ribs.
Have them add two more rows of Q-tips.
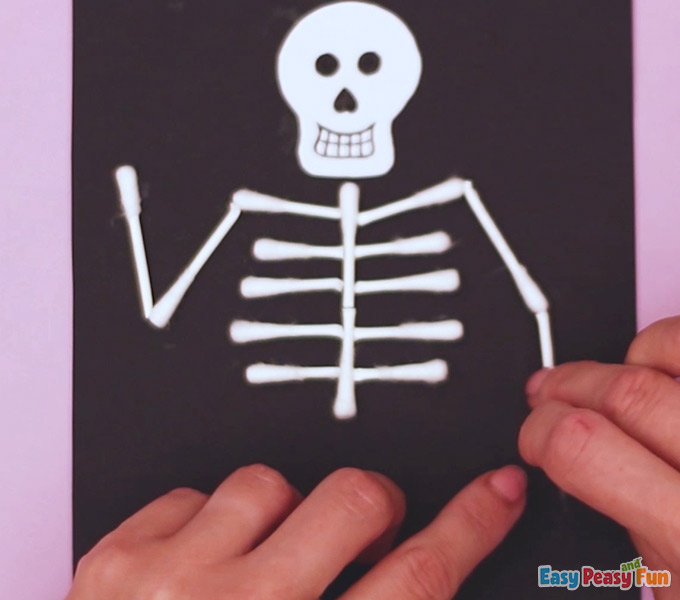
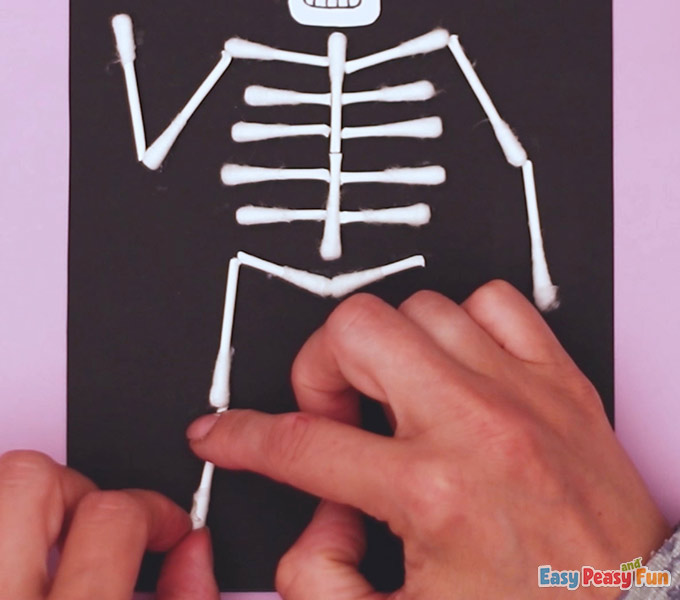
The Arms
To create the arms, let them glue half of a Q-tip diagonally from the shoulders down.
Then add another half turned upward.
Children can repeat the process to create the other arm facing downward.
The Pelvis
To create the skeleton’s pelvis, they’ll glue two halves of W-tips slightly upward – facing the ribs.
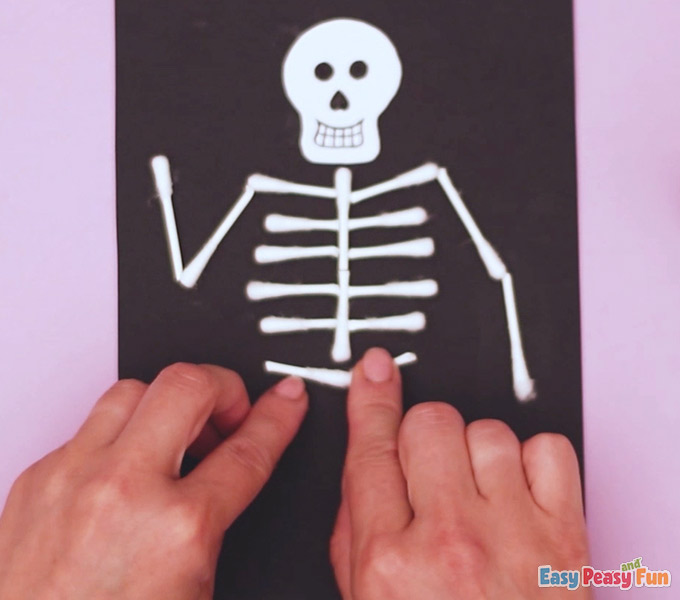
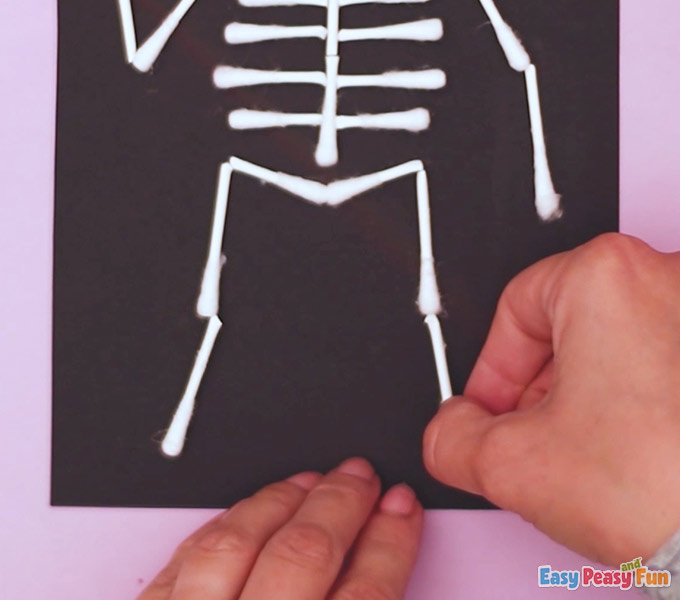
The Legs
Next, have the kids create the leg in the same fashion as they did the arms.
Next comes the other leg.
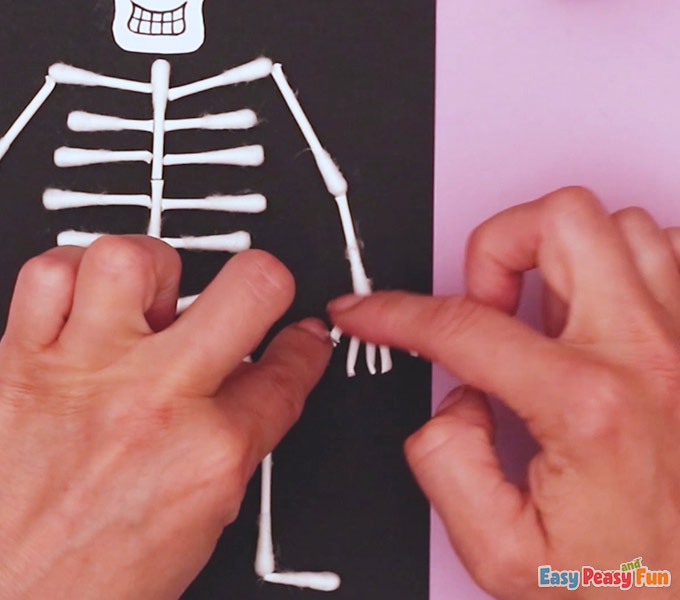
The Feet and Hands
The skeleton needs feet and hands, so kids need to cut the ends of the Q-tips (the cotton part) off.
Have them glue the feet.

They can cut more Q-tips to create five fingers for each hand.
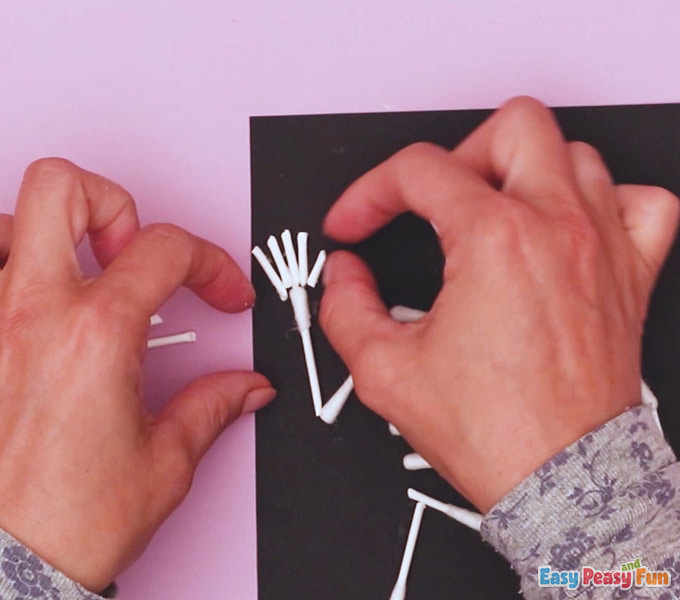
Have them press their fingers gently so they’ll stick to the black paper.
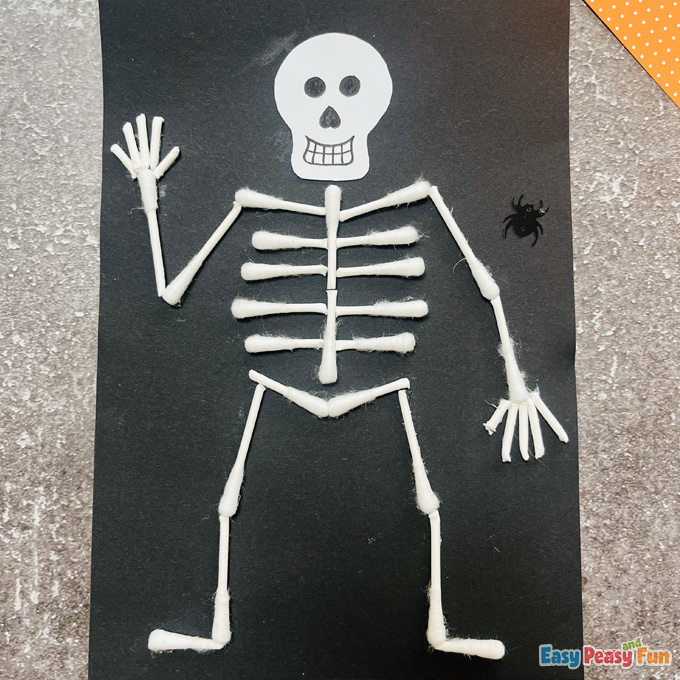
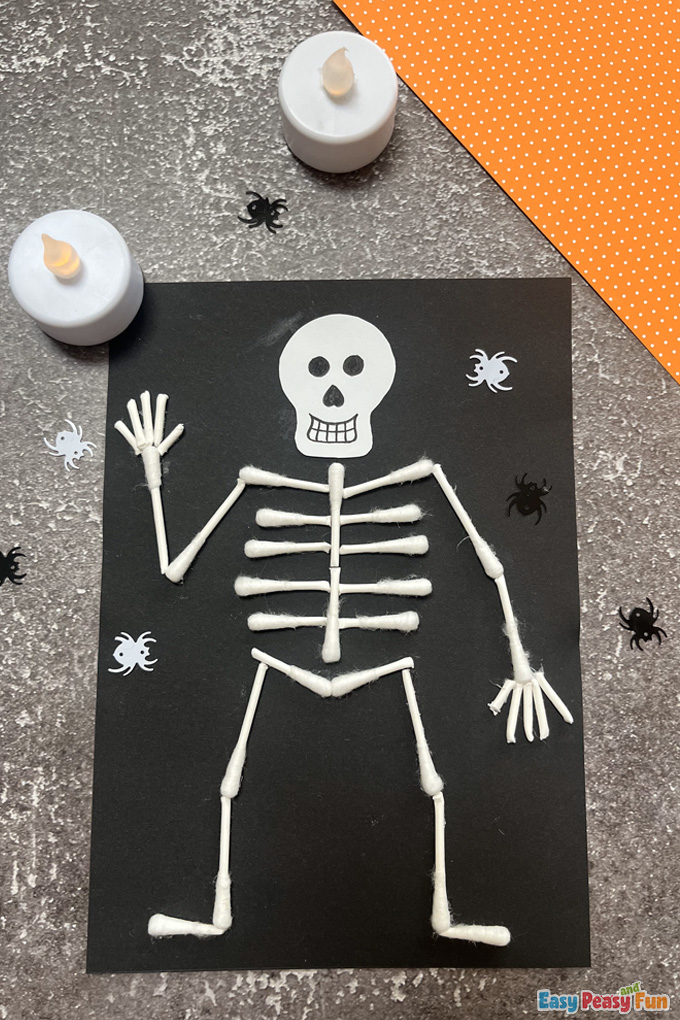
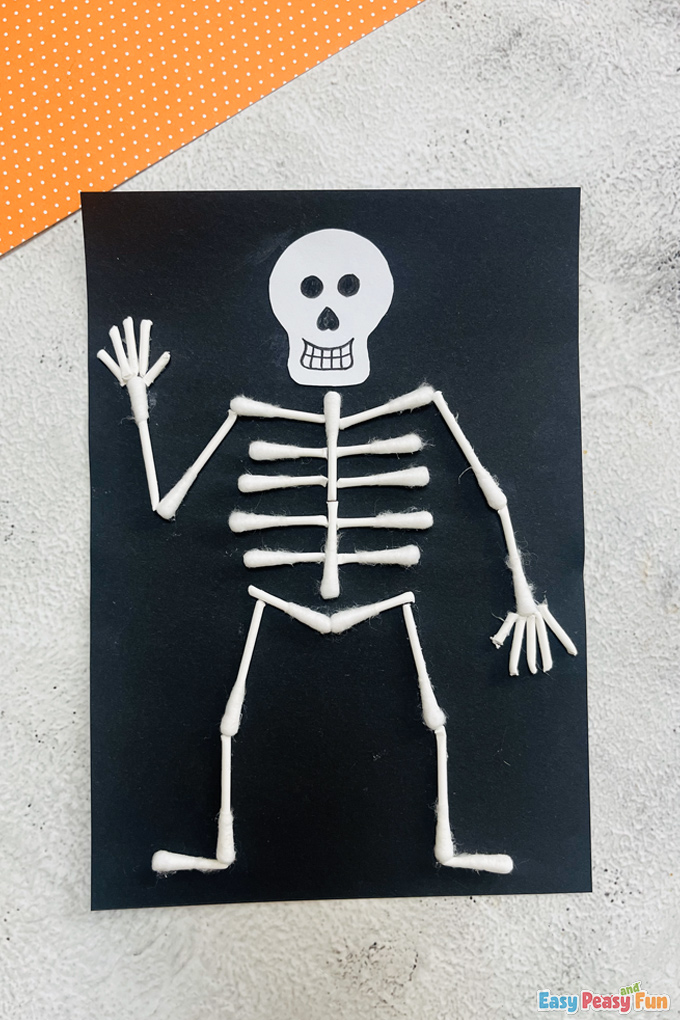
The Q-tip skeleton craft is finished!
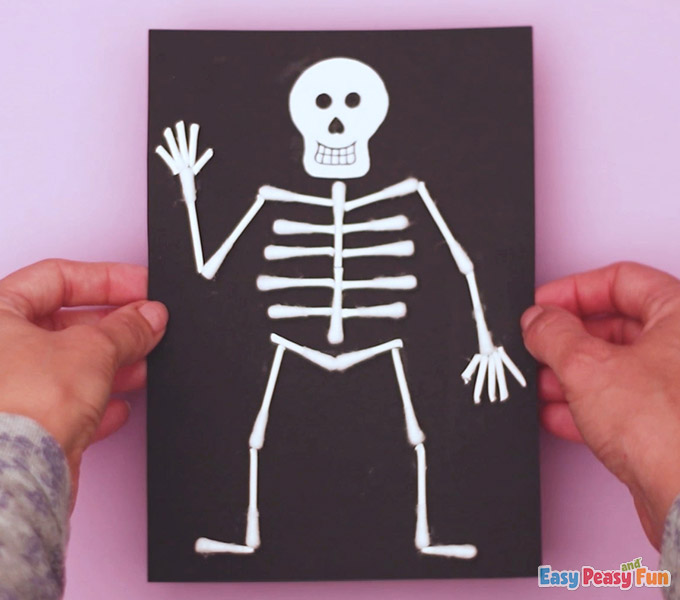
Isn’t it spooky-cute?
Have a happy Halloween crafting together with your kids!
And make many Q-tip Skeleton Crafts!
Want instant access to all of our printable crafts, activities, and resources?

With thousands of crafts, activities, worksheets, coloring pages, and drawing tutorials to print, you will always have just the resource you need at your disposal. Perfect for parents and teachers alike!