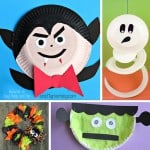
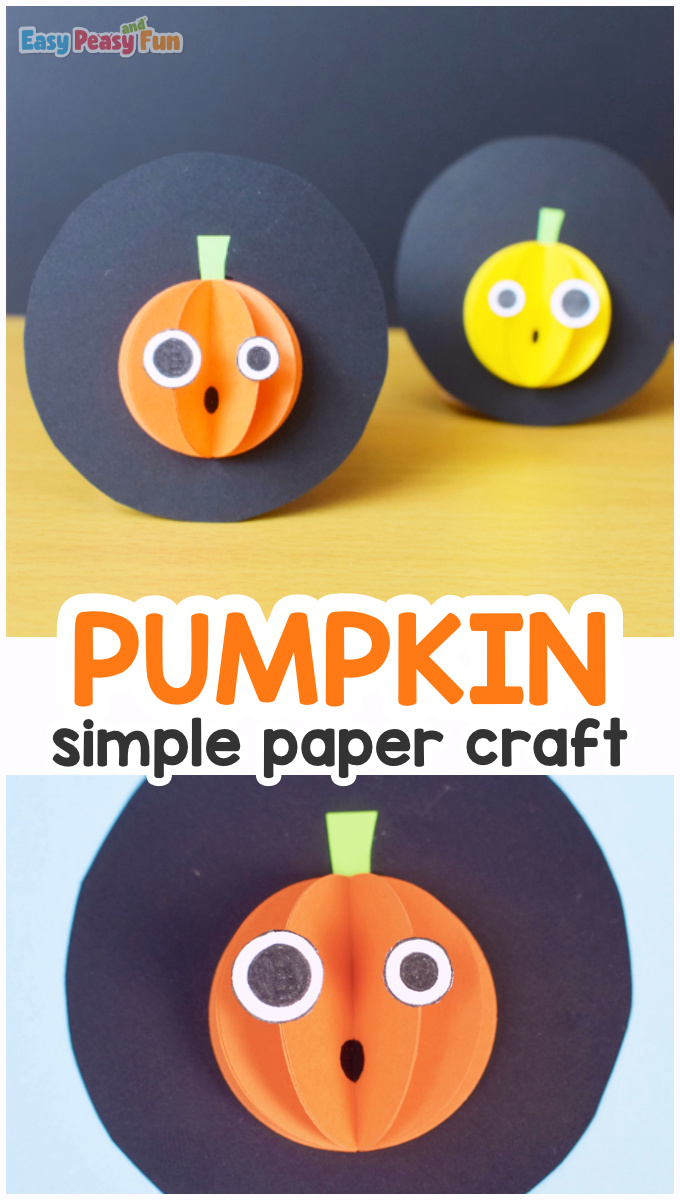
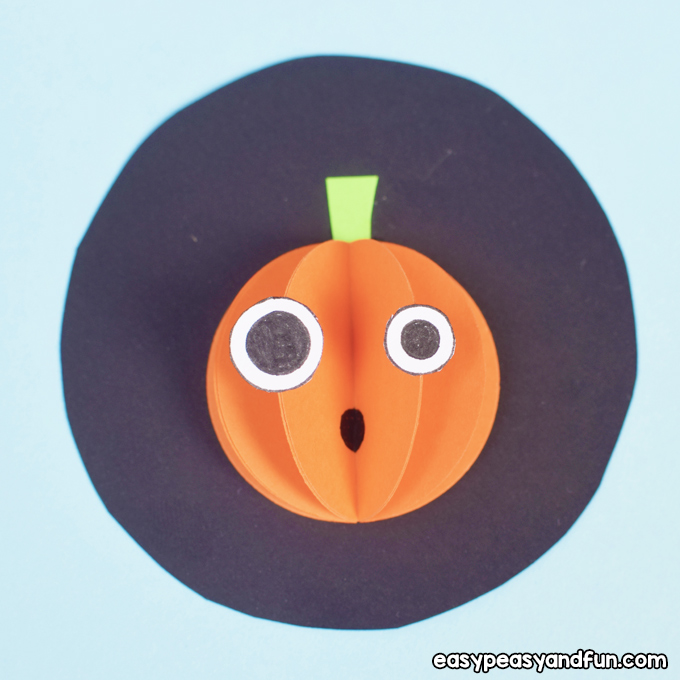
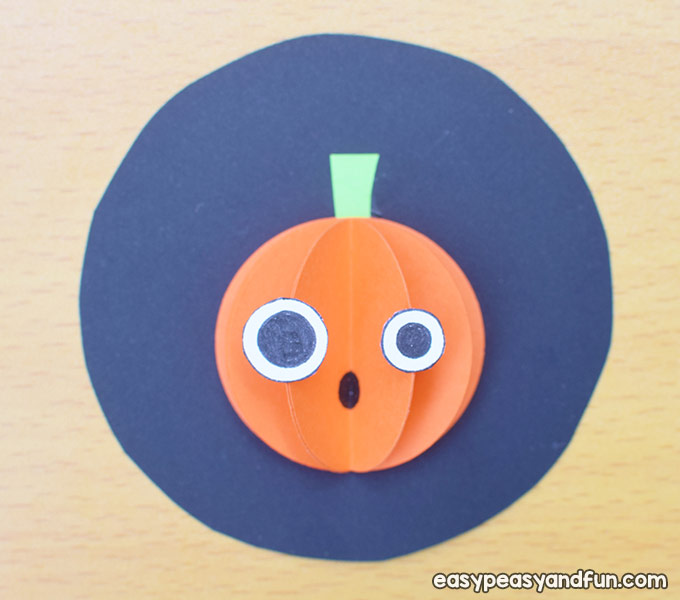
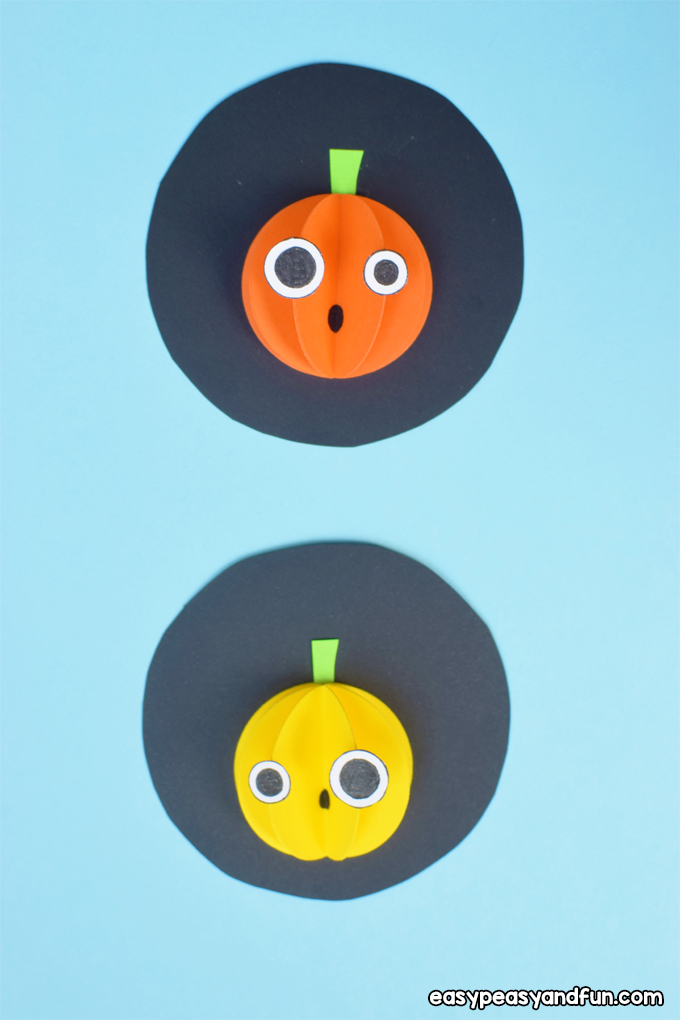
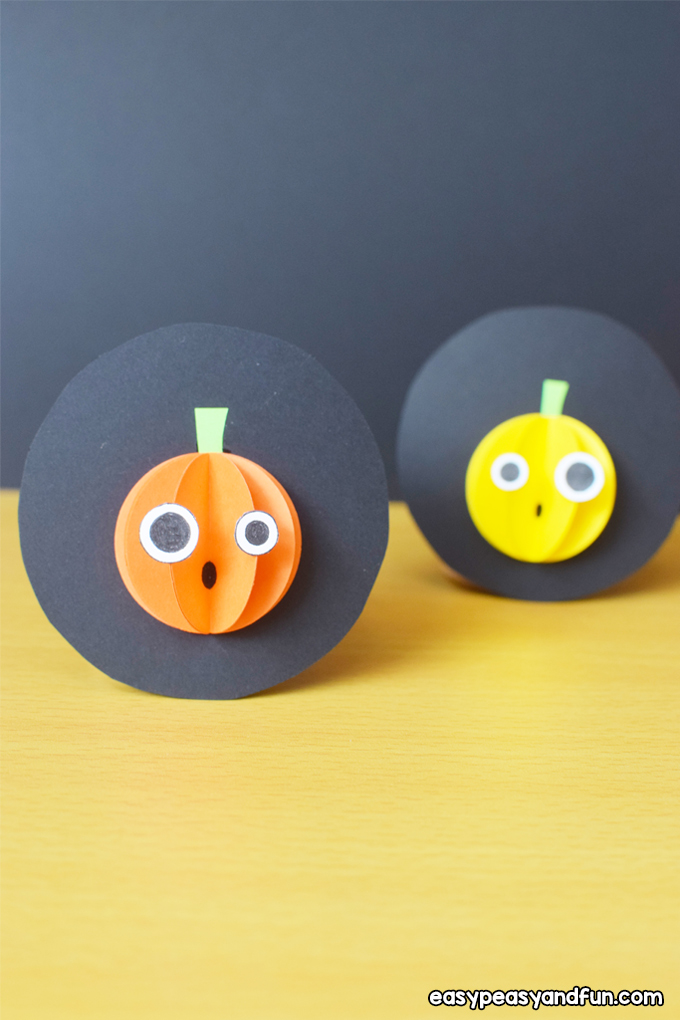
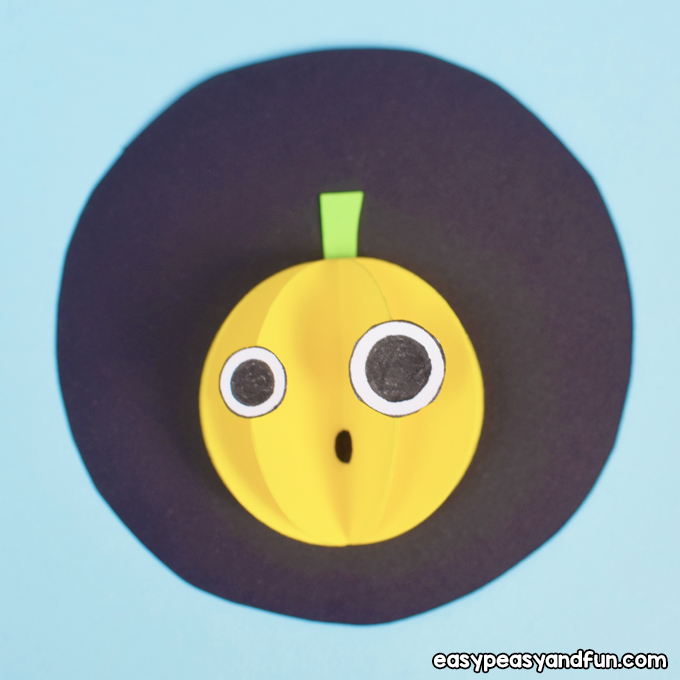
Learn how to make the cutest Halloween Paper Pumpkin Craft – these cute pumpkins work well as card decorations, in case you are looking to make some Halloween cards.
Super easy to make both for young kids and older ones too.
*this post contains affiliate links*
31st of October is coming and we are so excited to show you today’s project.
It would be a Halloween craft and we find it super cute and super easy to make.
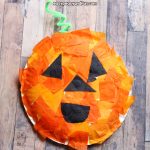
Our favorite thing to do for Halloween is to carve silly faces on tons of pumpkins and then put some candles inside.
After we do that, we turn the lights off, light the candles and enjoy a good laugh.
We bet you don’t find Halloween super spooky.
If you do, we hope you will be at ease making these paper pumpkins, because they are not scary at all.
How to Make Halloween Paper Pumpkin Craft
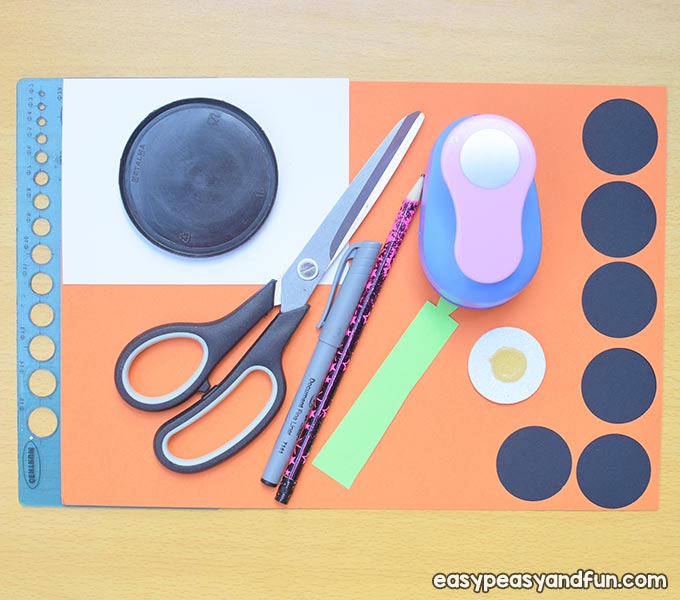
What you need:
- black color cardstock
- orange color cardstock
- green color cardstock
- circle puncher
- circle object
- scissors
- glue
- hot glue
- pencil
- black liner
- ruler with circle shapes
Step by Step Instructions
Let’s start!
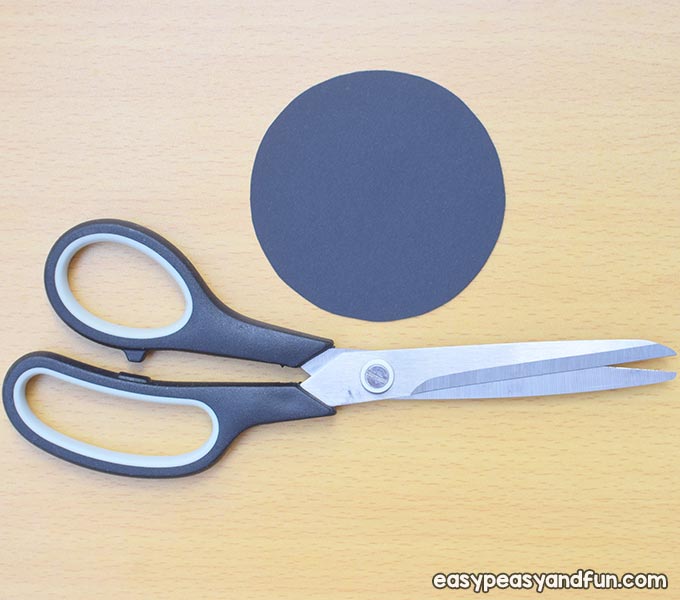
Draw one circle on the black cardstock. Use the circle object.
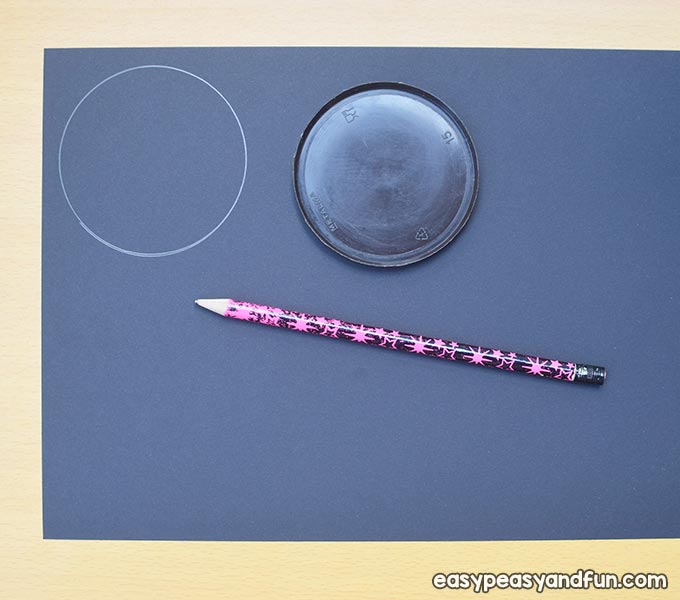
Cut out the circle shape using scissors.
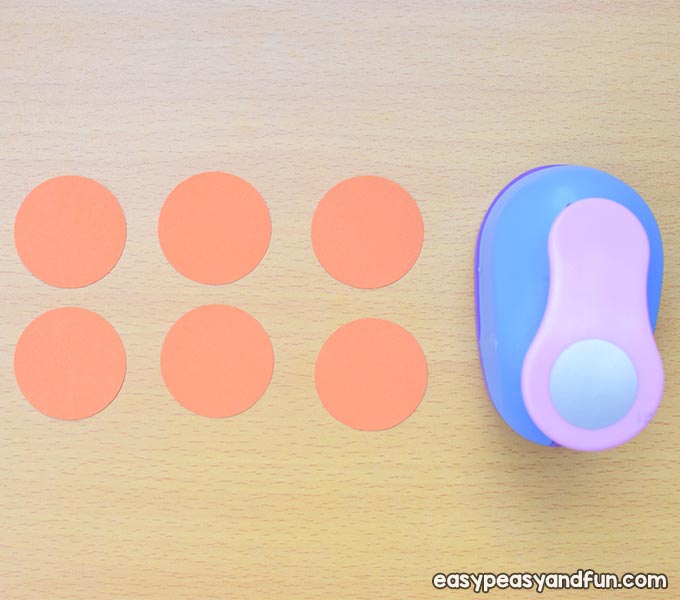
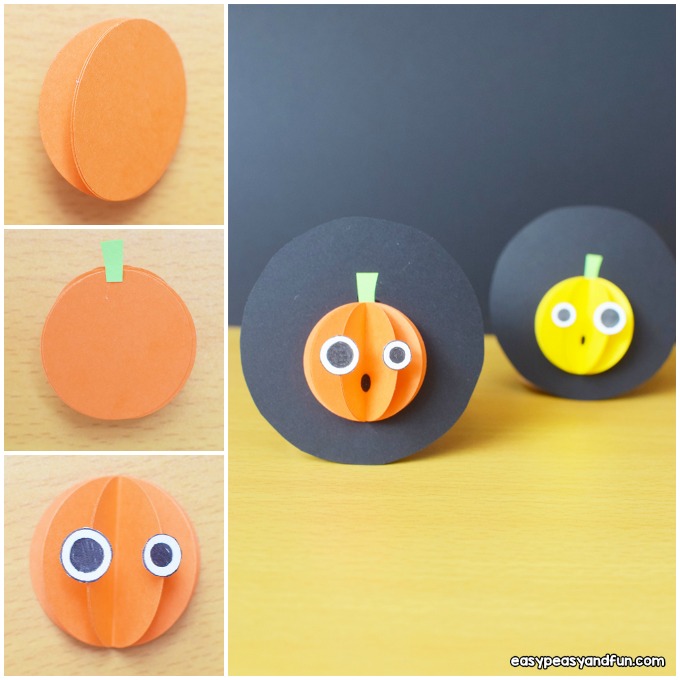
Punch out six orange circles using the circle puncher.
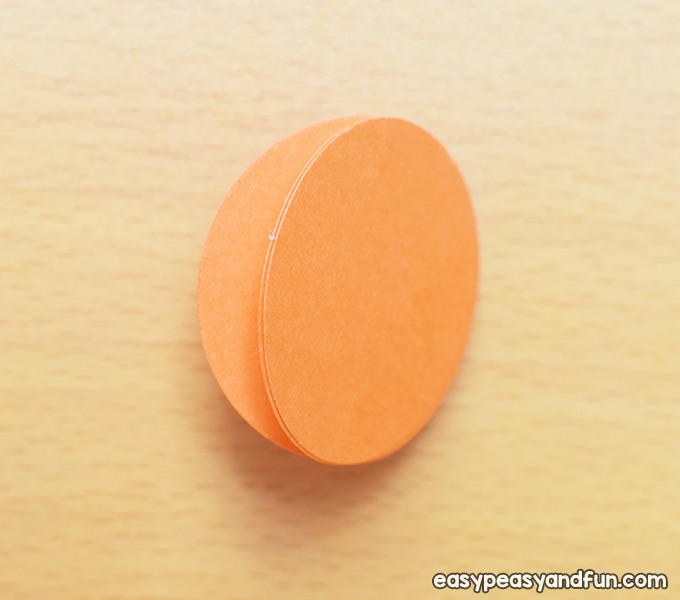
Fold five of the circles in half.
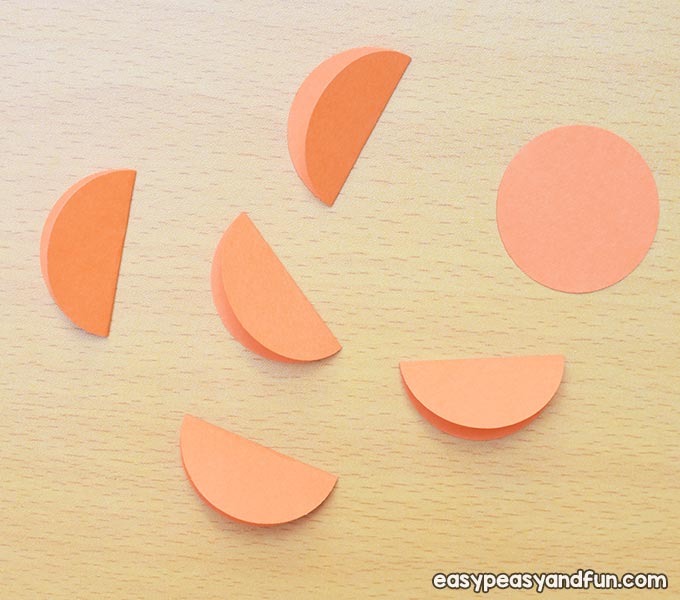
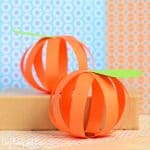
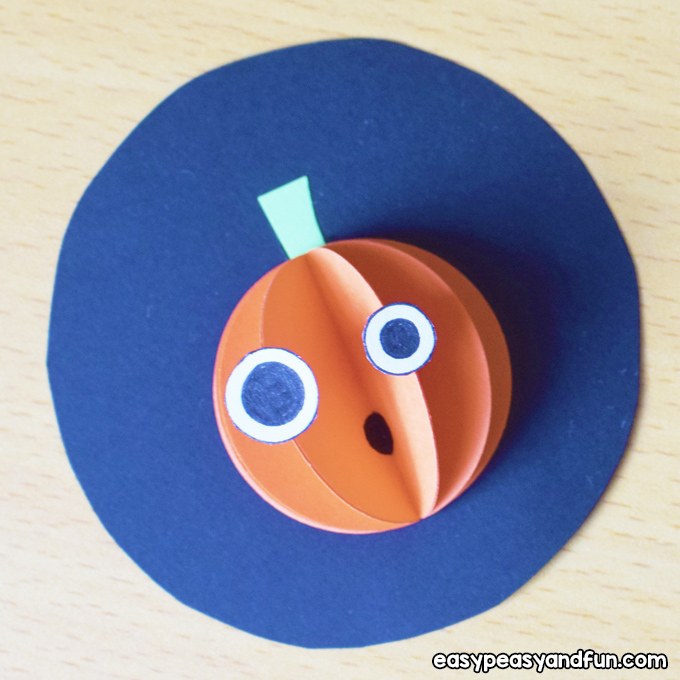
Apply some glue and glue the folded pieces together as shown in the picture.
That would be the pumpkin.
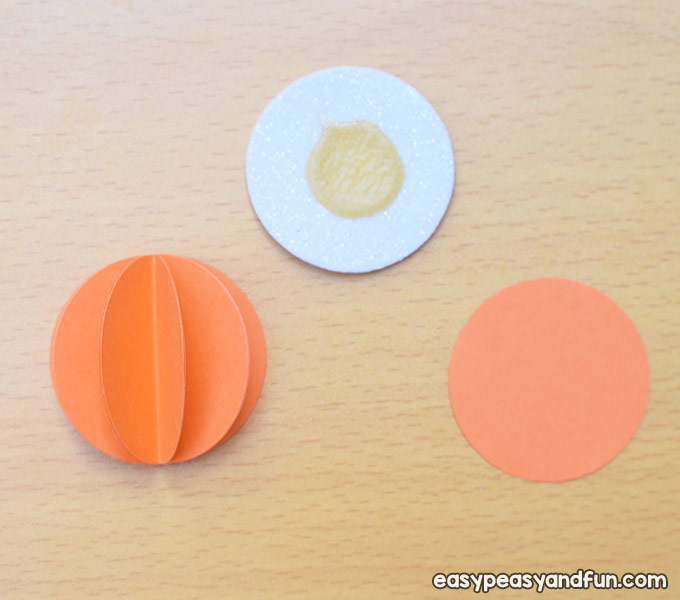
Apply some glue and glue the pumpkin on the sixth circle.
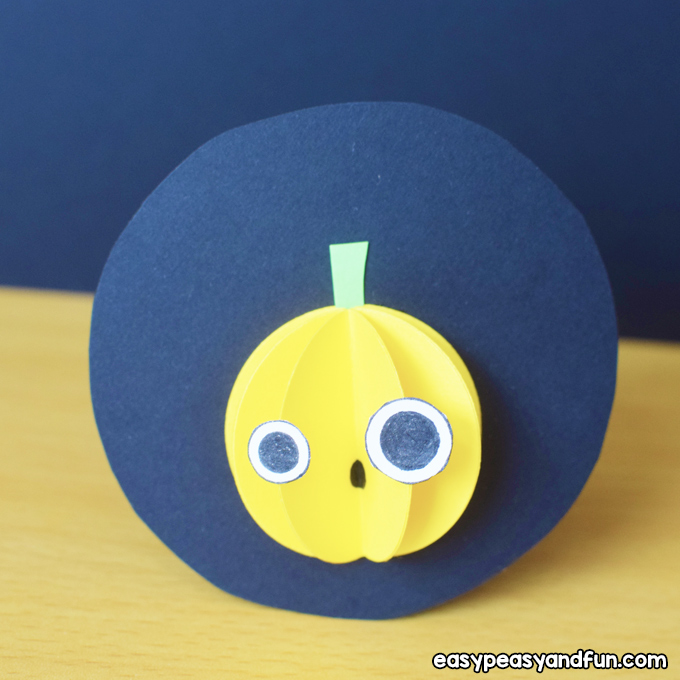
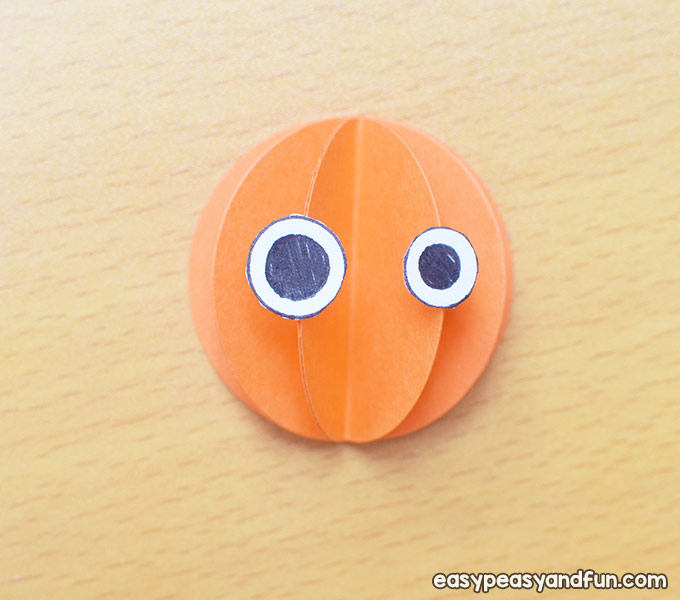
Draw two different-sized eyes using the ruler with circle shapes and glue them on the pumpkin.
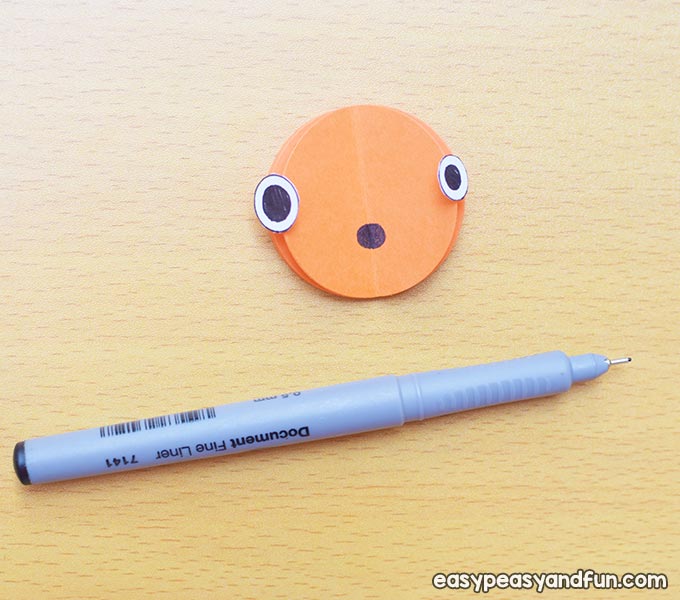
Draw a circle mouth on the inside using the black liner.
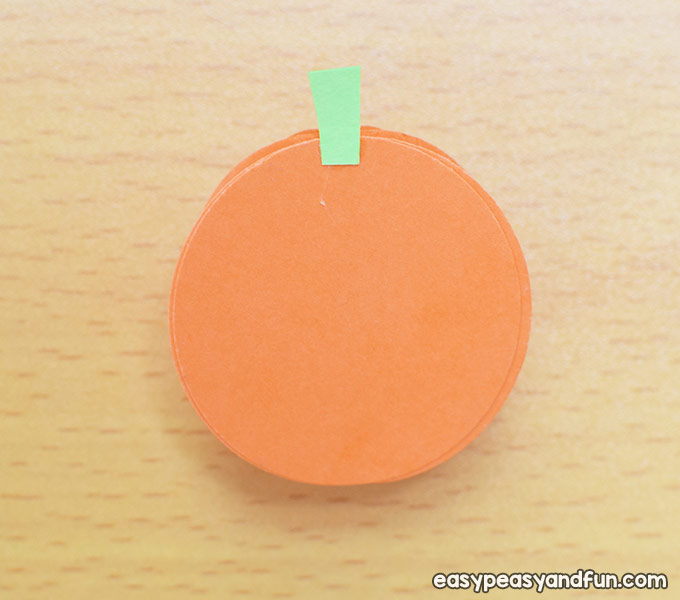
Cut out a small green stem and glue it on the back of the pumpkin.
Put some glue on the back of the pumpkin and attach it to the black cardstock.
All done!
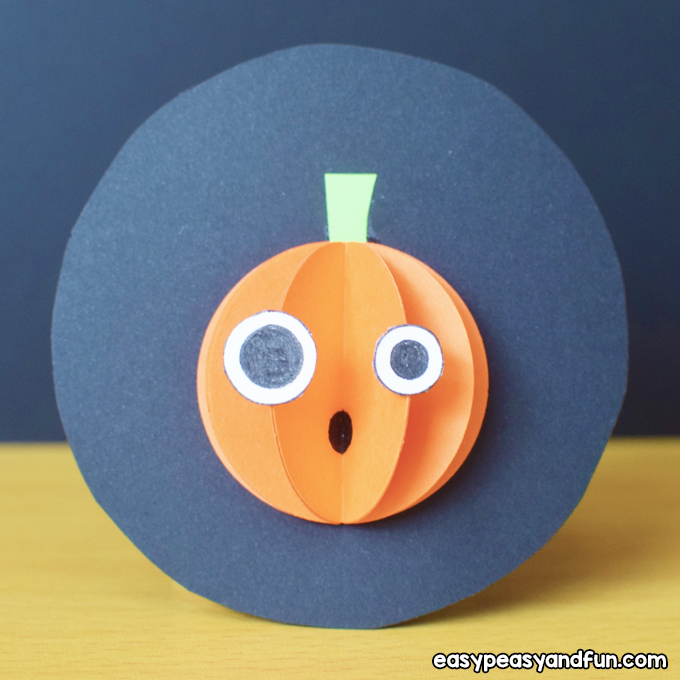
We really like how this project turned out!
 What about you?
Stay tuned for more and don’t forget to check the other Halloween crafts we provide here at Easy Peasy and Fun!
And feel free to share the ones you like with your friends!
Have fun crafting!
Want instant access to all of our printable crafts, activities, and resources?

With thousands of crafts, activities, worksheets, coloring pages, and drawing tutorials to print, you will always have just the resource you need at your disposal. Perfect for parents and teachers alike!