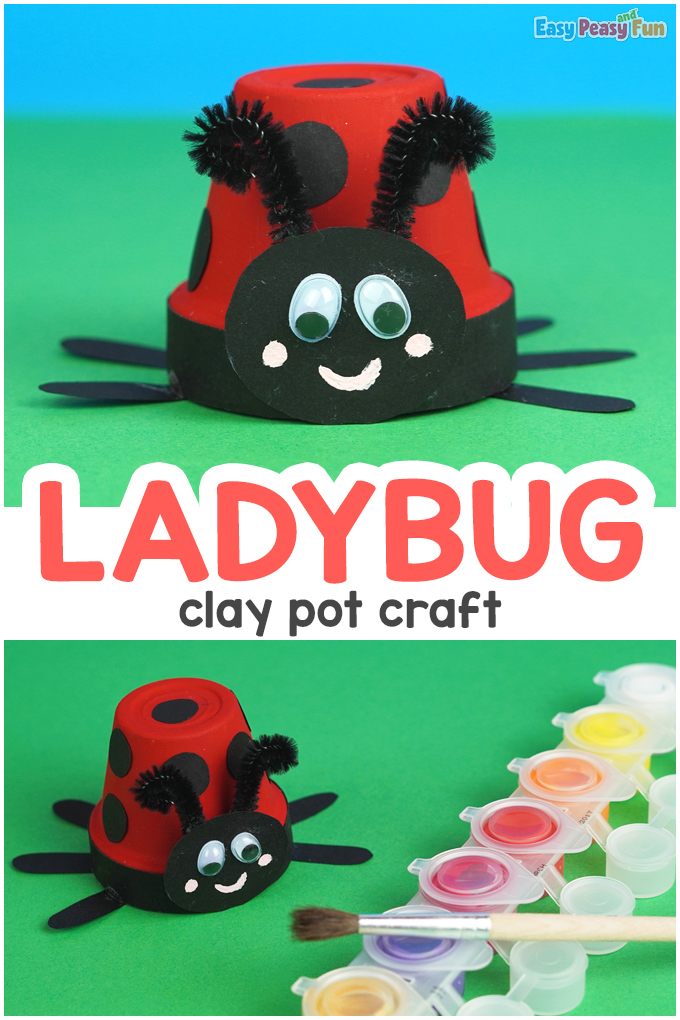
Spring is the perfect time to create a ladybug clay pot craft with your young ones, plus it looks so adorable and is easy to make.
With all the planting flowers and vegetables at this time of the year, you are sure to be left with one or two spare terra cotta pots.
*This post contains affiliate links*
50 paper crafts your kids can actually do themselves

No fancy supplies — just paper, scissors, and a little imagination.
Be the first to get it on release day — and lock in the lowest price guaranteed.
Spring Crafts bring us a lot of joy and inspiration – learn with our 3D Ladybug Life Cycle Craft or get creative with the Frog 3D Coloring Page.
After your kids are done crafting, have them learn How to Draw a Ladybug in only six easy steps.
Our ladybug can be made with a clay, paper or a plastic pot.
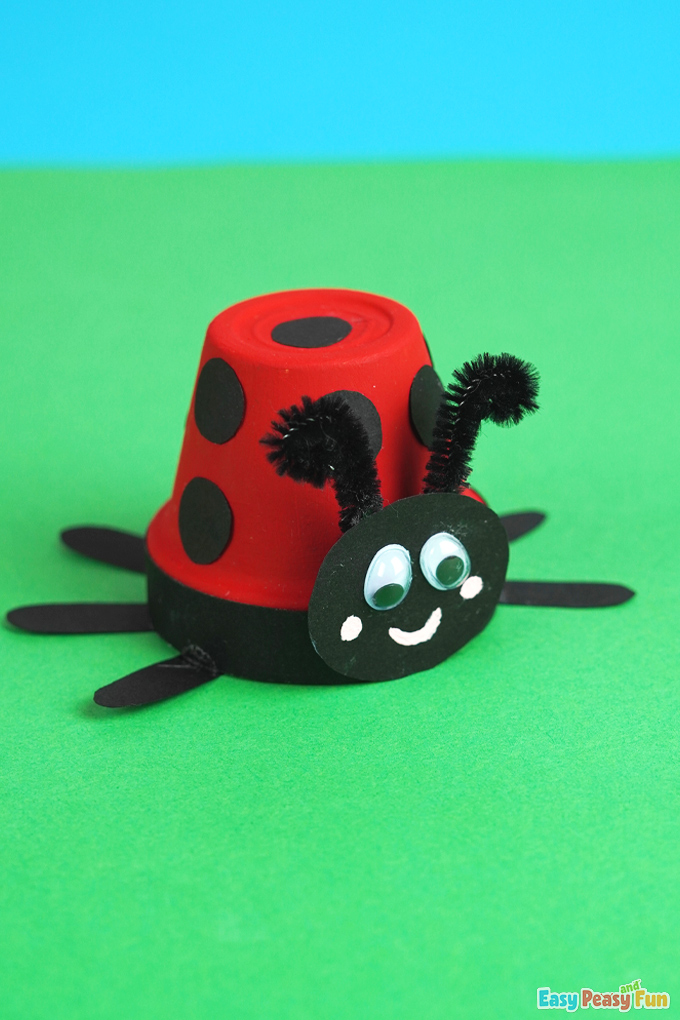
Kids get a kick out of making a ladybug they can play with and enjoy for days to come!
You can even place some treats or a hidden message under it!
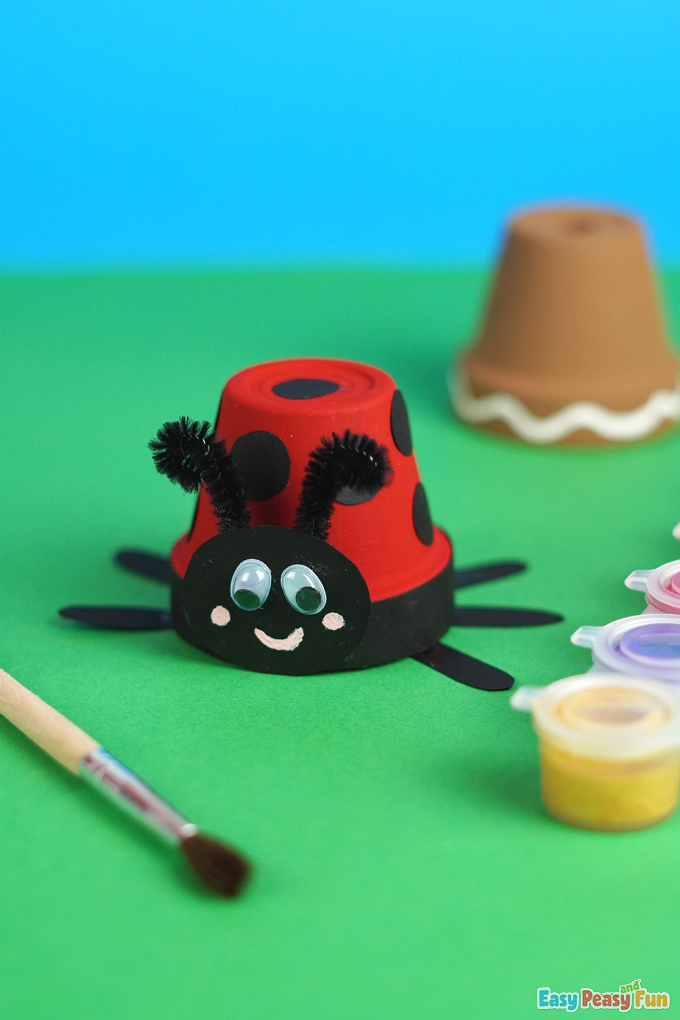
This step-by-step tutorial will help you make a clay pot ladybug craft in no time.
How to Make the Ladybug Clay Pot Craft
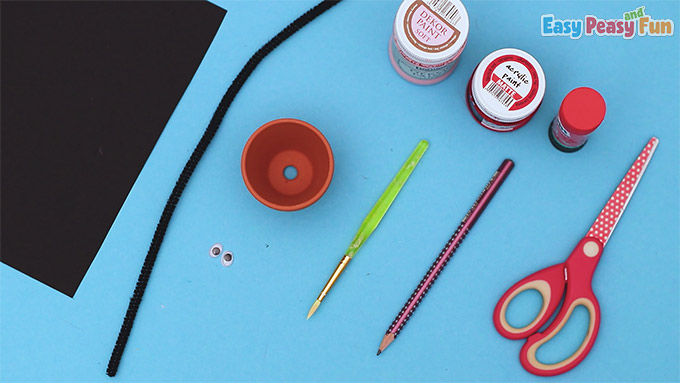
What you need:
- scissors
- glue
- pencil
- pot (made of clay, plastic, or paper)
- black paper
- acrylic paint (red and pink)
- paintbrush
- googly eyes
- black pipe cleaner
Step by Step Tutorial
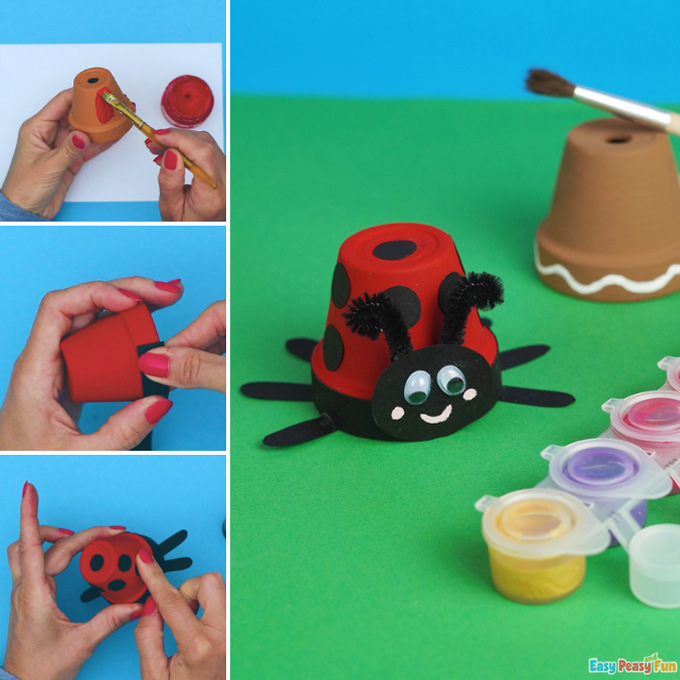
The Body
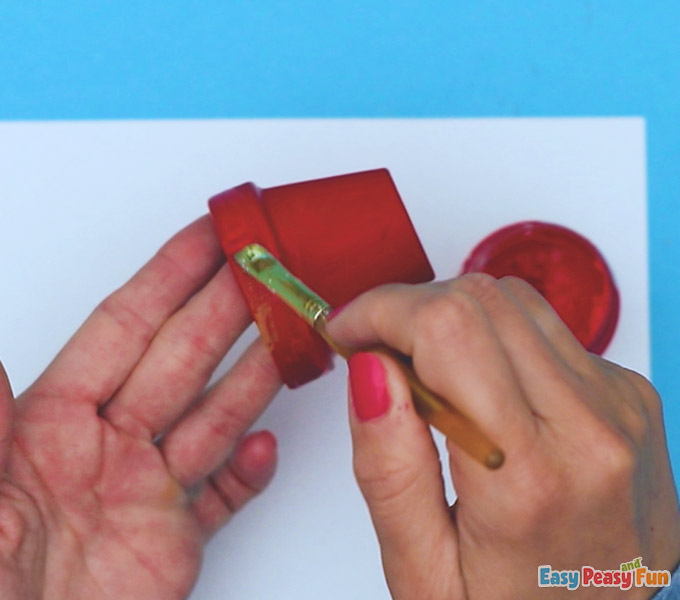
Paint the clay pot red.
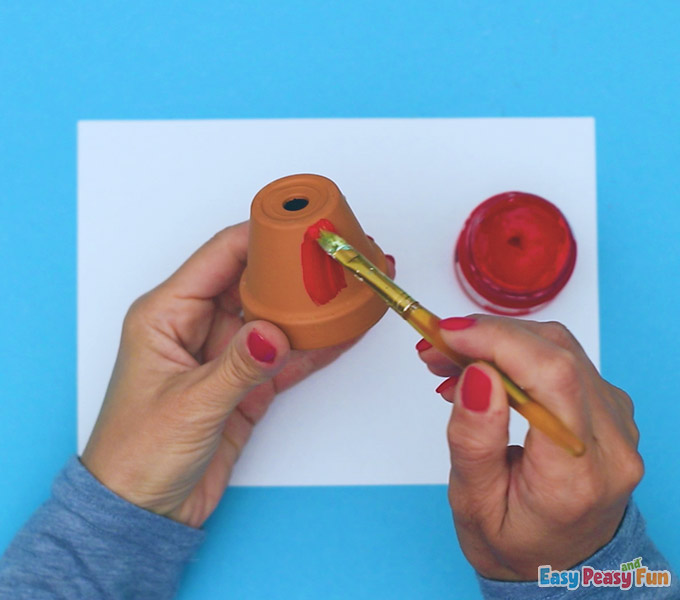
You may need to place a few layers of paint on the pot to cover it fully.
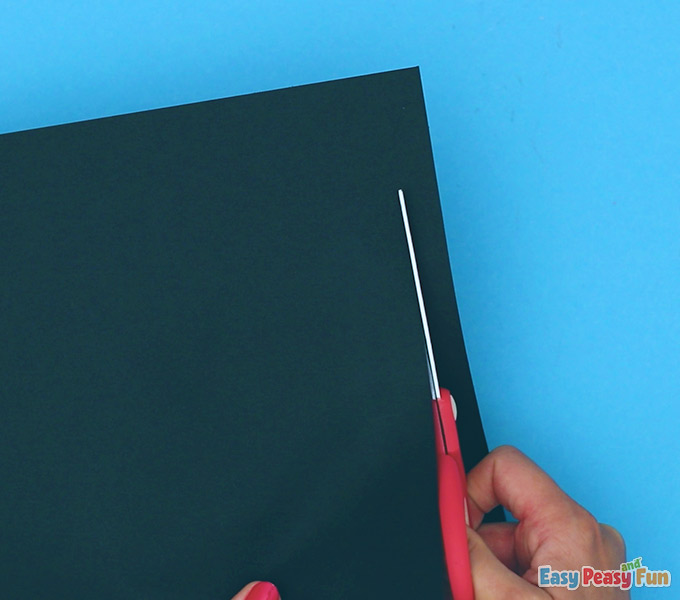
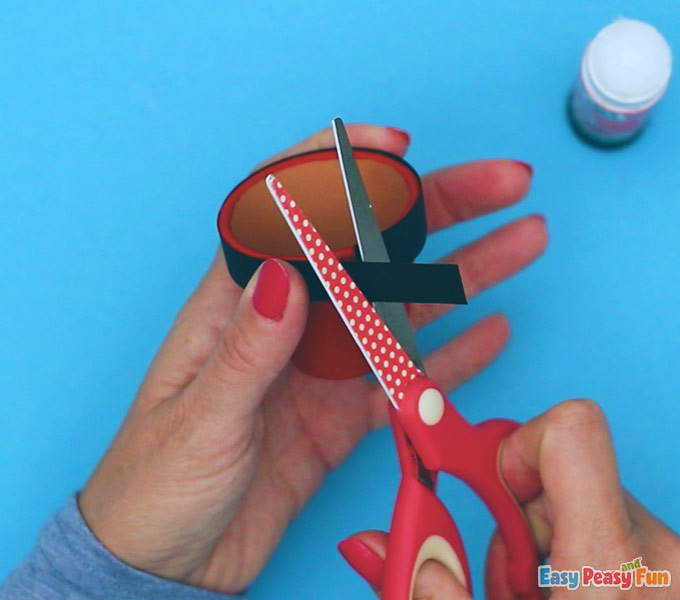
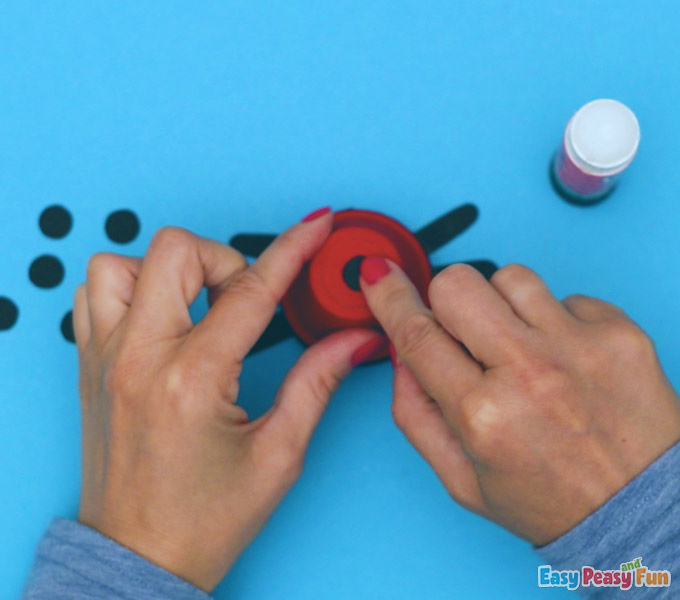
Cut a strip of black paper.
Apply glue to the edge of the pot.
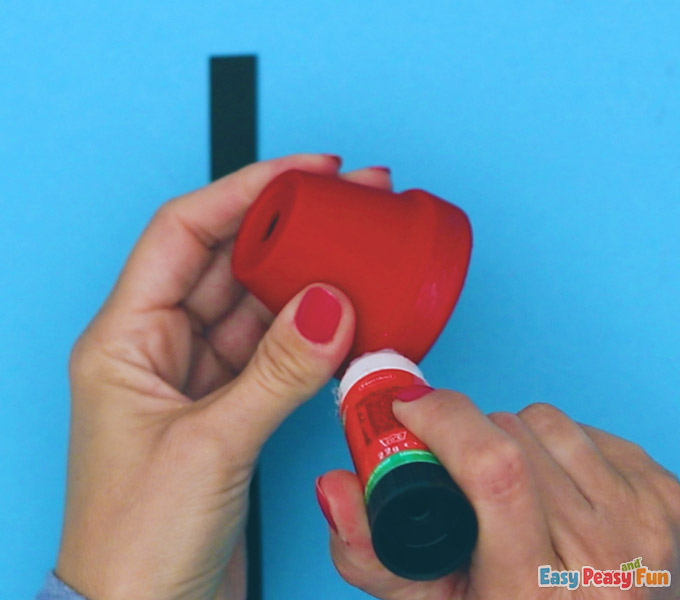
Start gluing your black strip around it.

Trim the piece of paper so it aligns with the edge of the pot.
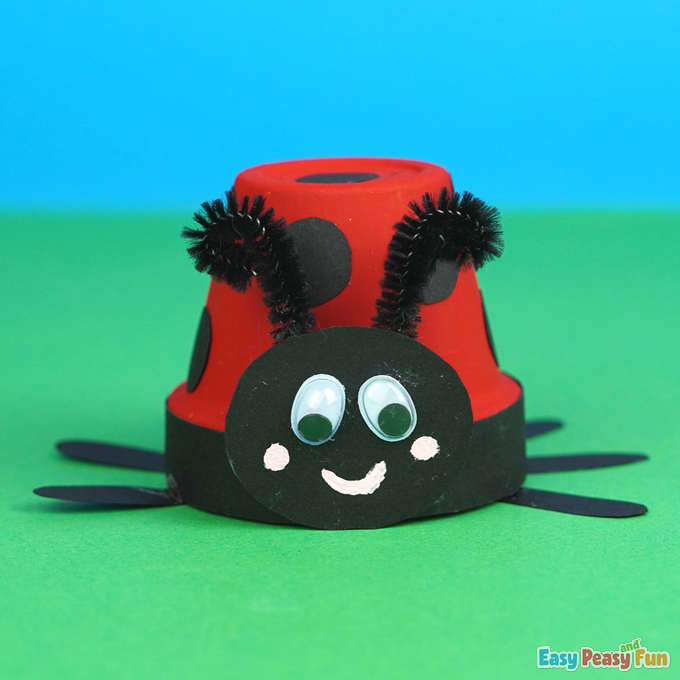
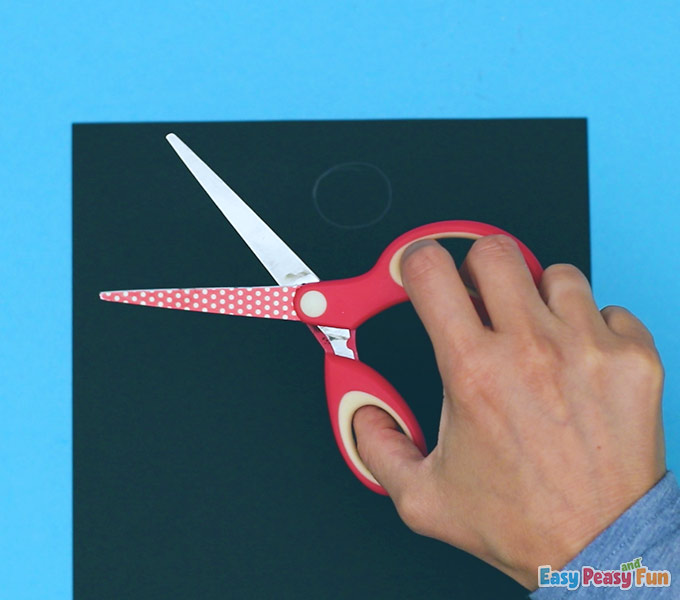
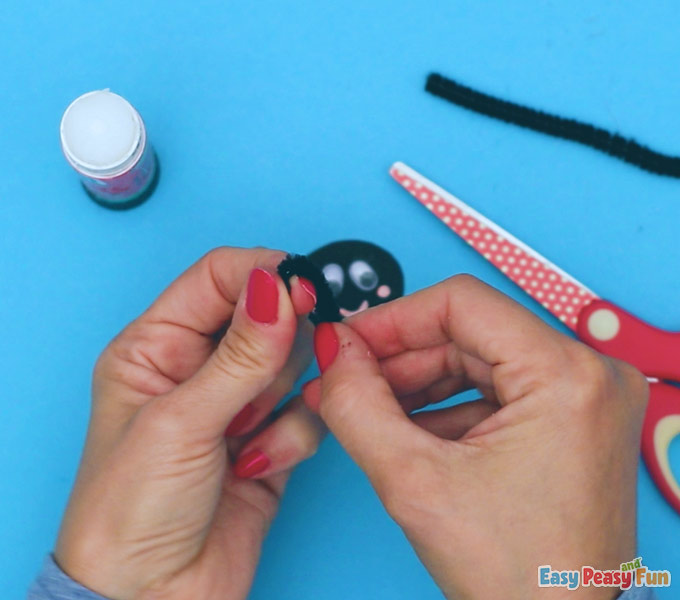
The Head
You are going to draw the ladybug’s head on the black piece of paper.
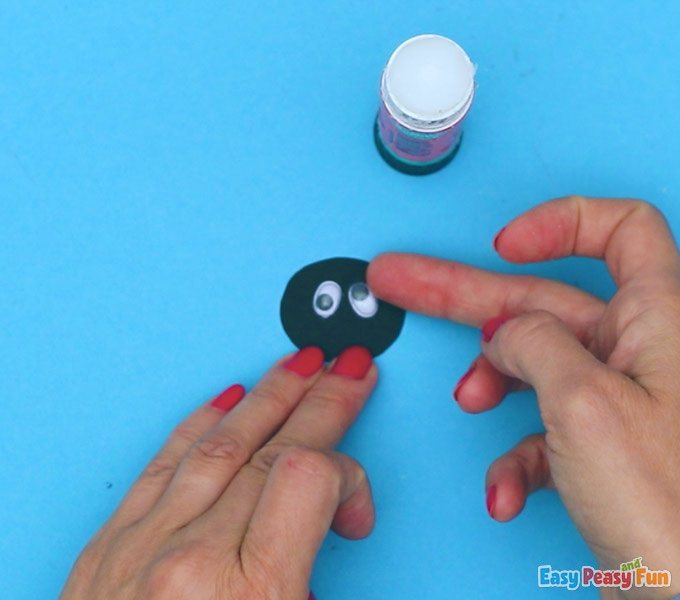
Go ahead and cut out the lady bug’s head and glue on the googly eyes.
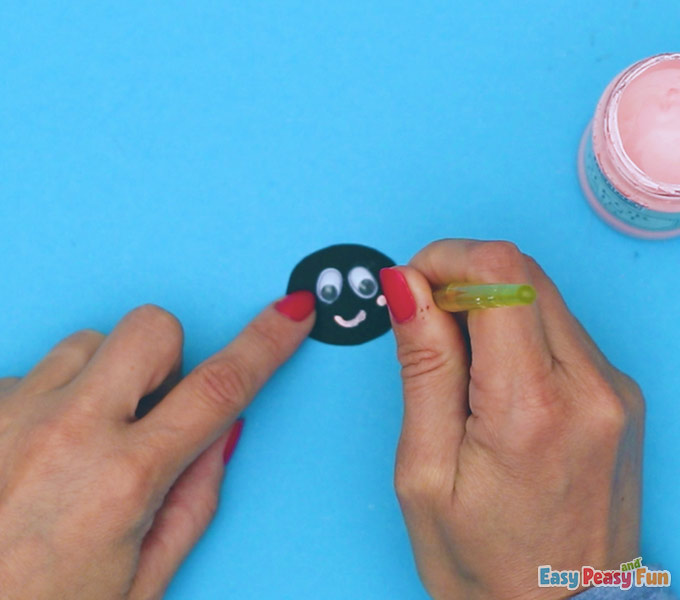
Draw a smiley face and cheeks on the ladybug’s face.
The Antennae
Take a pipe cleaner and cut it in half.
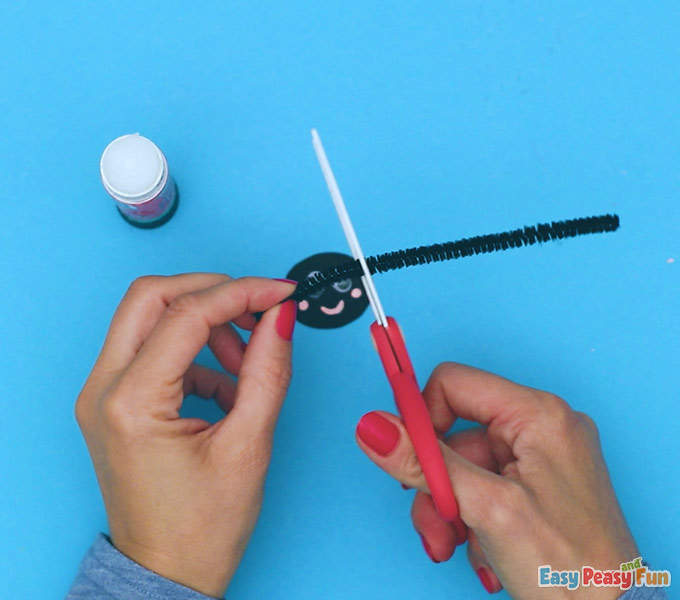
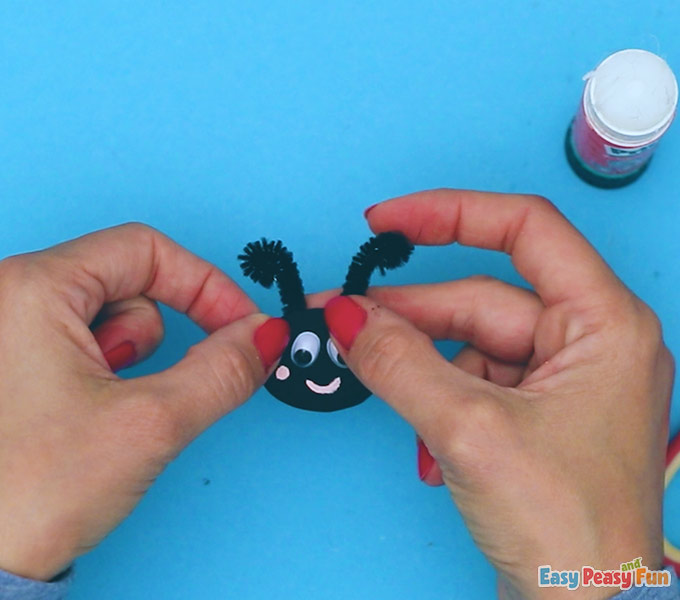
Curl the pipe cleaner like an antenna.
Glue both antennae on the ladybug’s head.
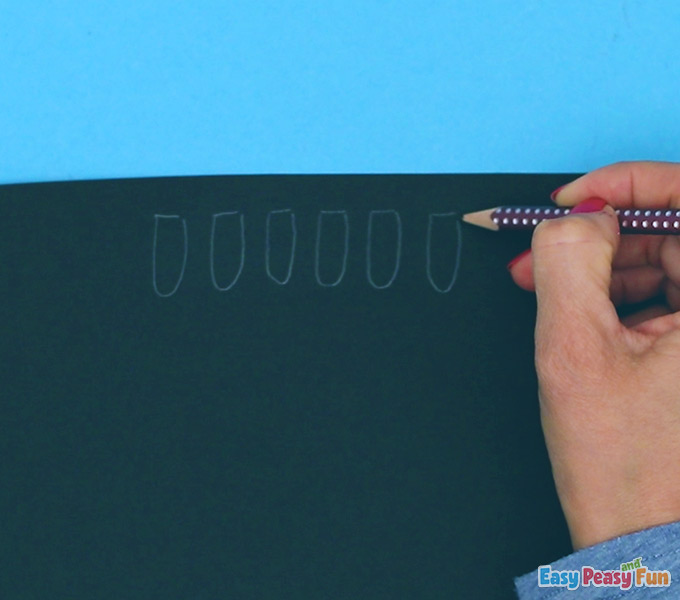
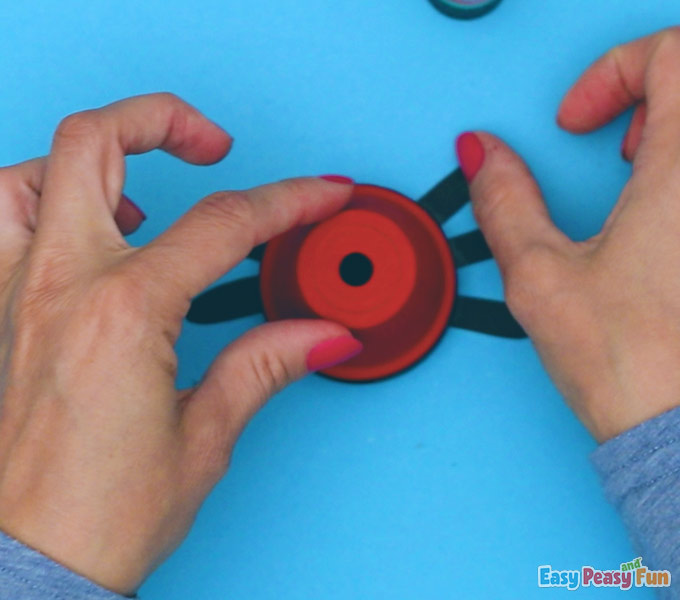
The Legs
Next, draw six legs onto the black paper and cut them out.
Start gluing them onto the ladybug.
You can fold each leg a bit, so it is easier to glue them to the inside.

Glue all six of them.
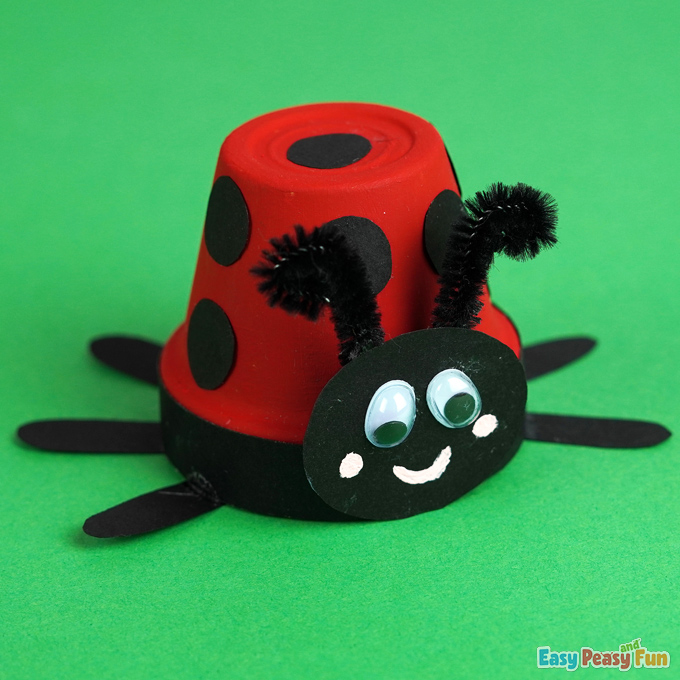
The Spots
You are now going to draw circles onto the black piece of paper.
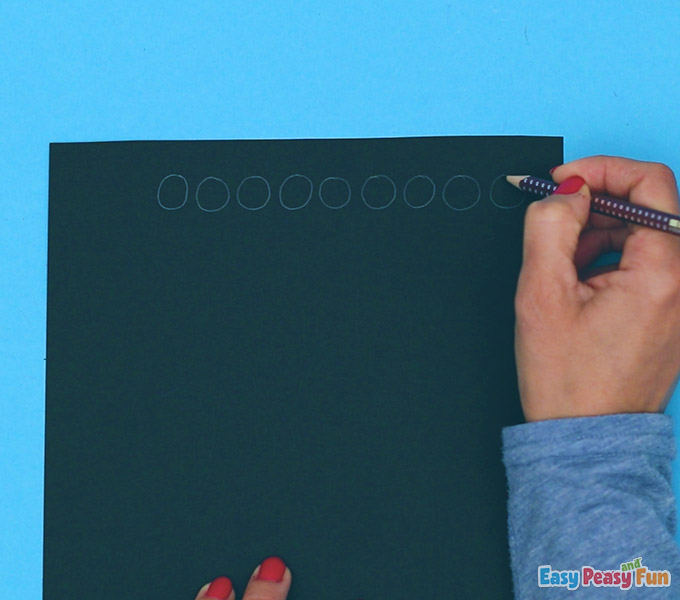
These are going to act as the ladybug’s spots.
Glue as many spots on as you like.

Attach the head on the lady bug’s body.
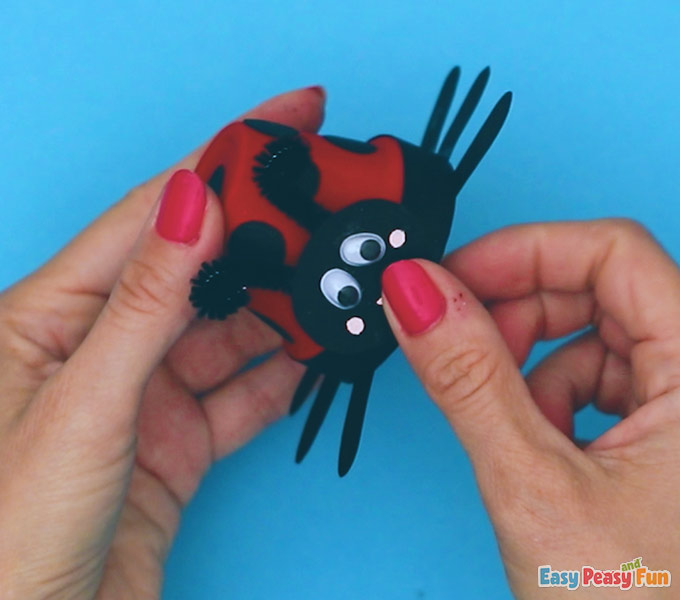
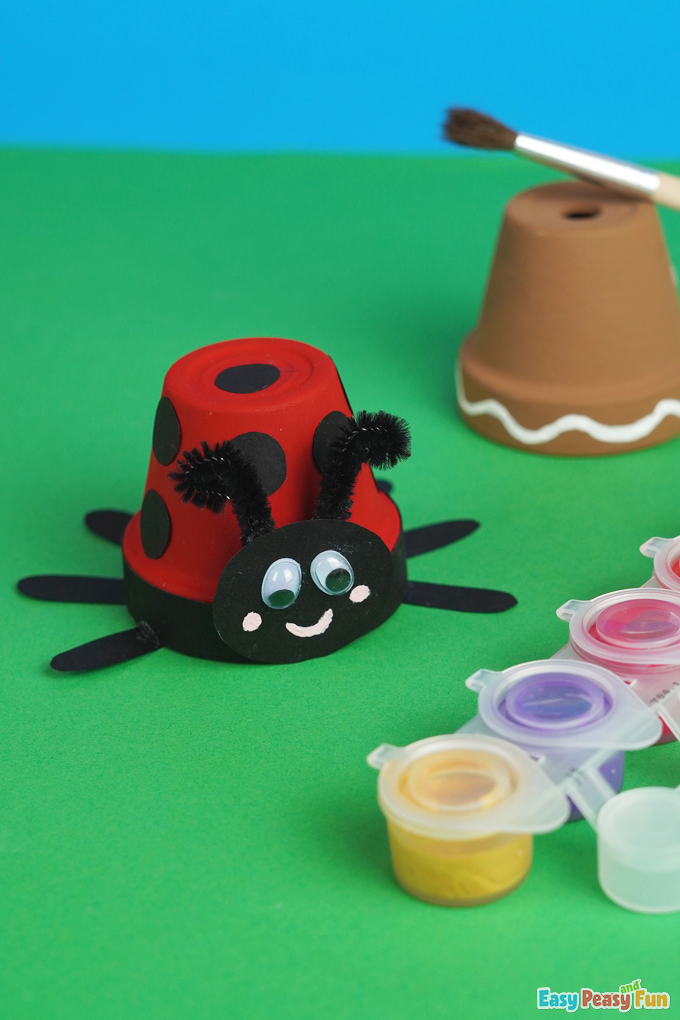
The final product is a fantastic ladybug!
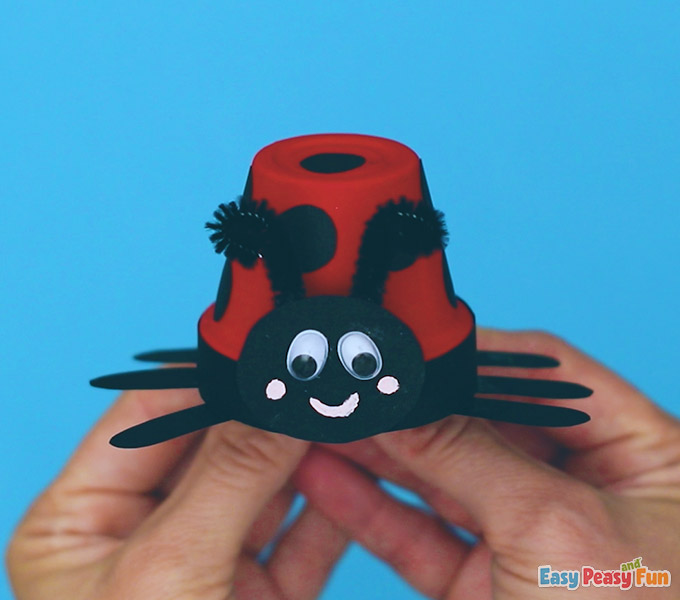
You can use it as decor around your house.
Make as many ladybugs as you’d like.
We think ours look amazing!
Share your ladybugs with us, we’ll be happy to see what you made!
Want instant access to all of our printable crafts, activities, and resources?

With thousands of crafts, activities, worksheets, coloring pages, and drawing tutorials to print, you will always have just the resource you need at your disposal. Perfect for parents and teachers alike!