Biology doesn’t have to be hard, especially when it comes to learning about the life cycles of different animals and plants. With this ladybug life cycle craft, your kids will be exploring all the different stages of this adorable bug’s life cycle in a very hands on way.
*this post contains affiliate links*
50 paper crafts your kids can actually do themselves

No fancy supplies — just paper, scissors, and a little imagination.
Be the first to get it on release day — and lock in the lowest price guaranteed.
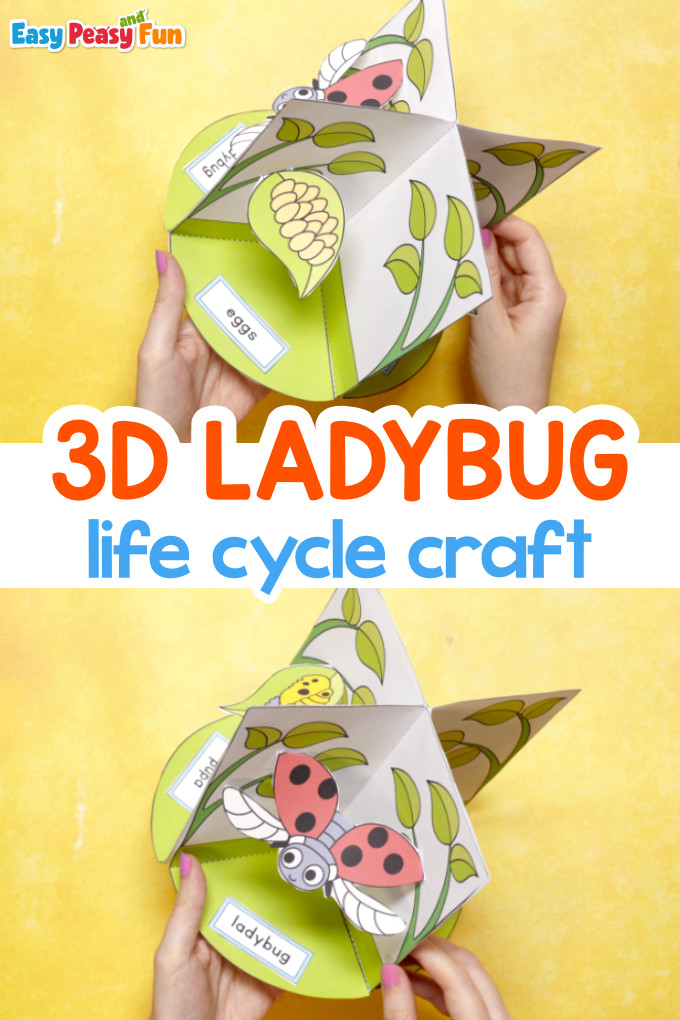
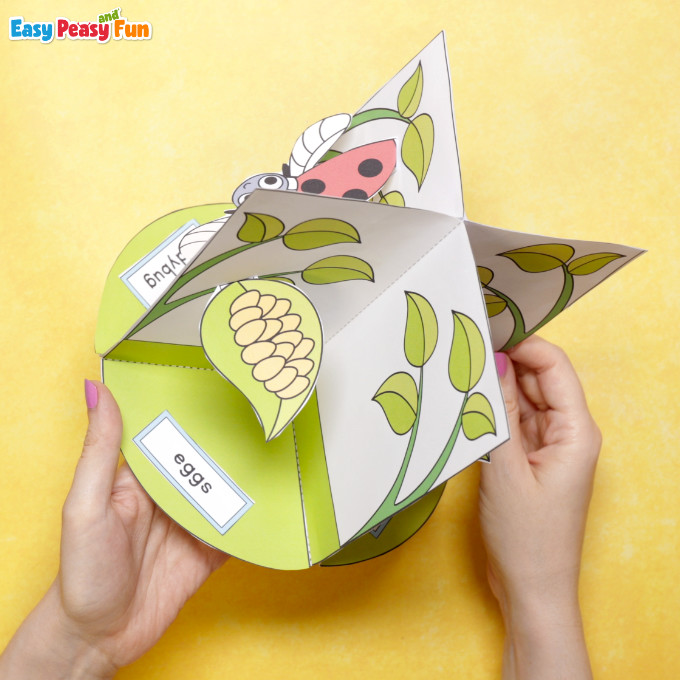
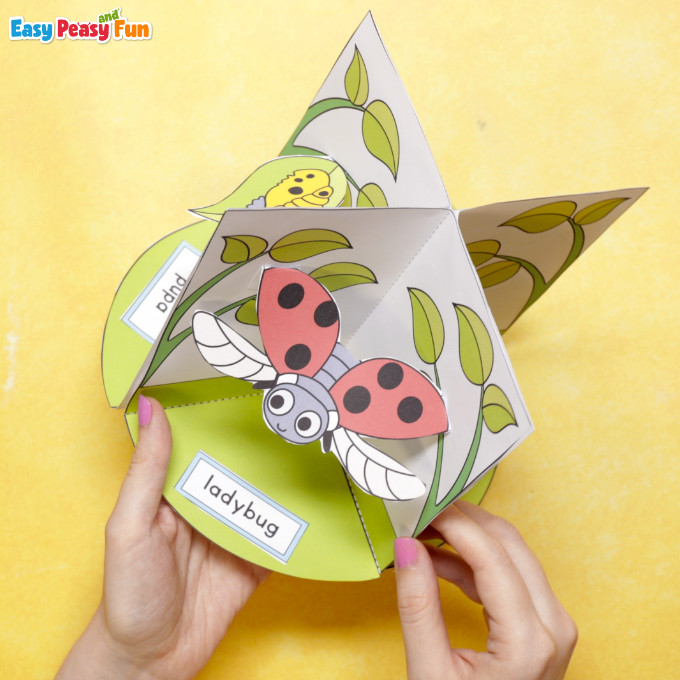
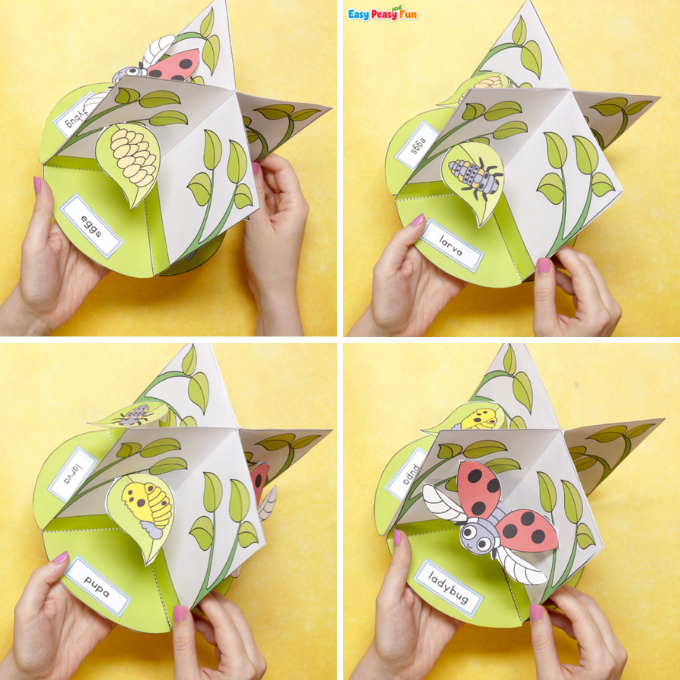
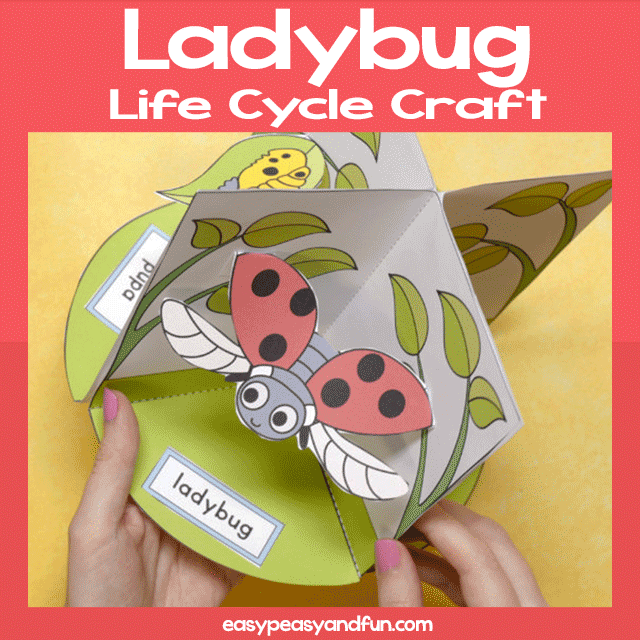
From the little eggs on the leaves…
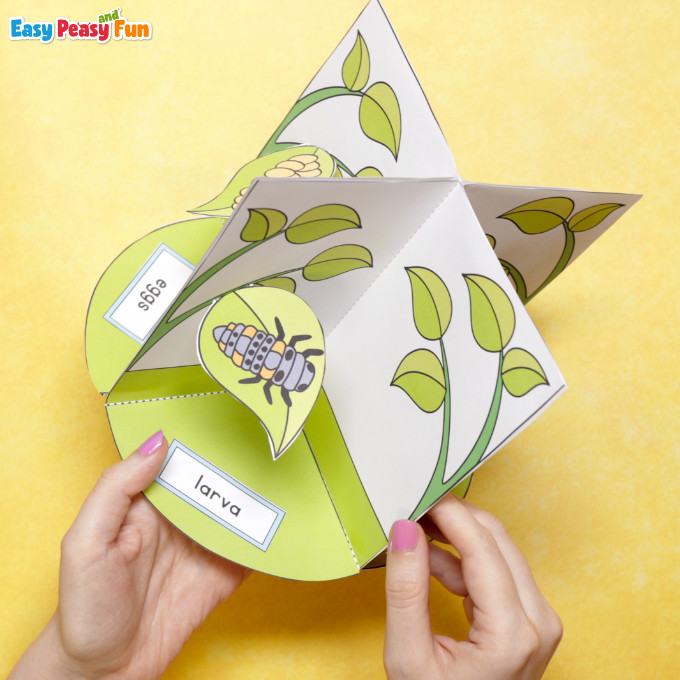
…to larva that hatches from them…
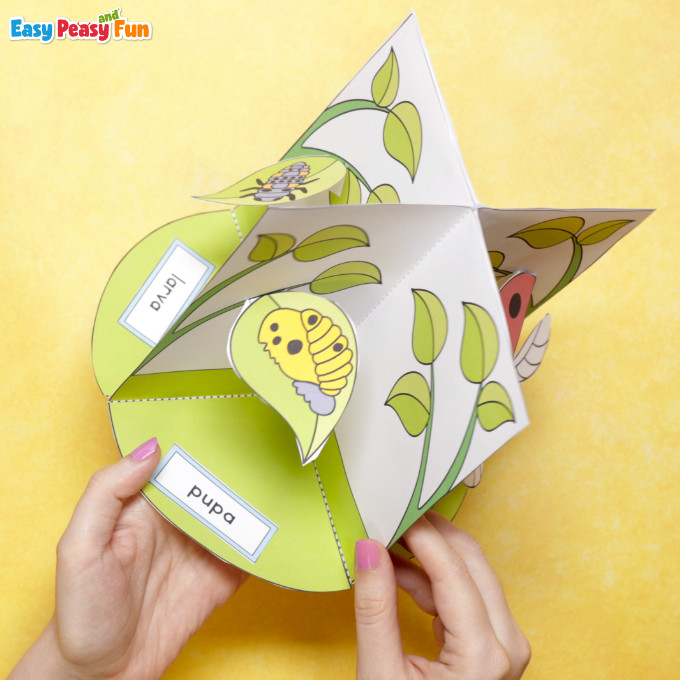
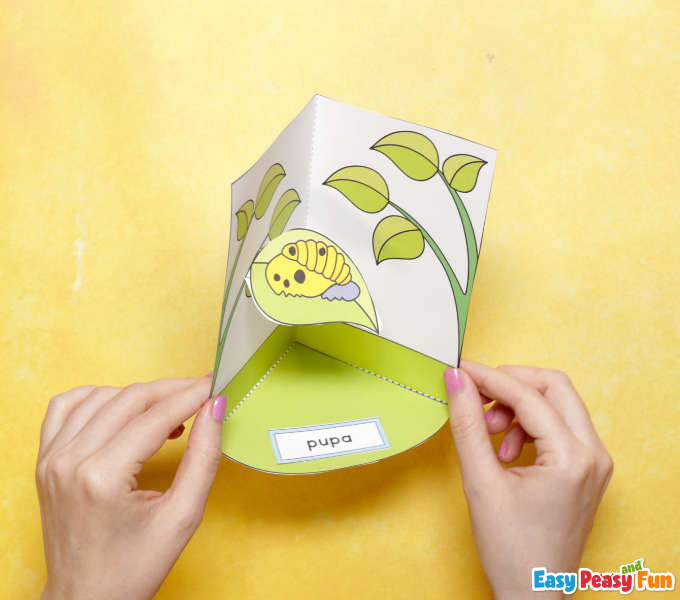
…turning into a pupa…
…and growing into an adult ladybug.
How to make 3D Ladybug Life Cycle Craft
What you need:- our ladybug life cycle model template
- heavier print paper / cardstock
- scissors
- glue
- optional: coloring supplies if printing the black and white version
Step by step tutorial
Print out the templates – the pre-colored one or the black and white 3d ladybug life cycle diorama. With the black and white template, the first step you need to take is to color it in.
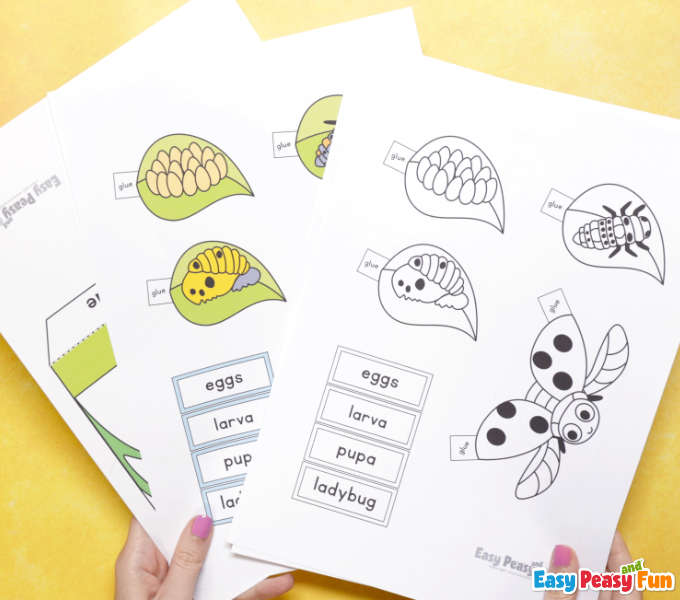
Once colored, cut out the template parts – the backgrounds…
…and the stages of the life cycle.
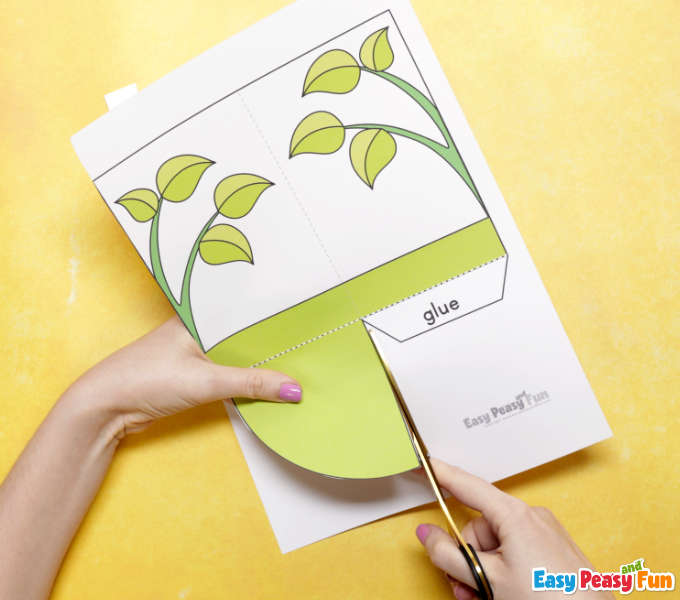
Take the background and fold it along the dashed lines.
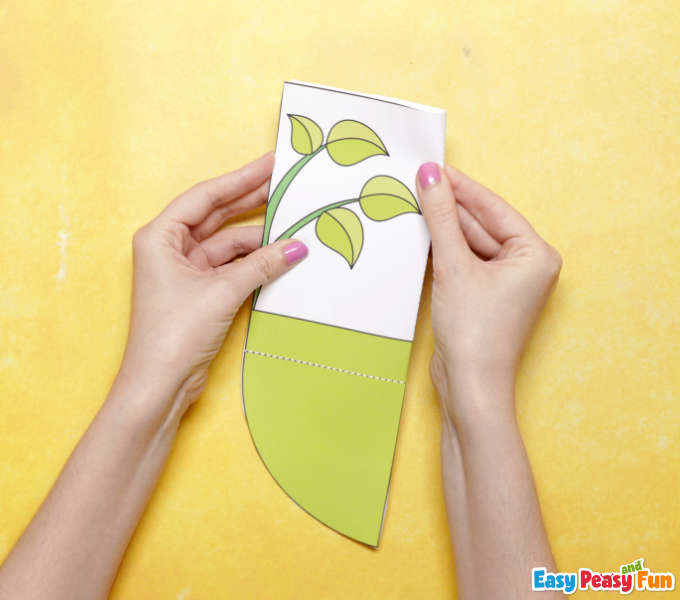
Make sure the folds are nice and crisp.
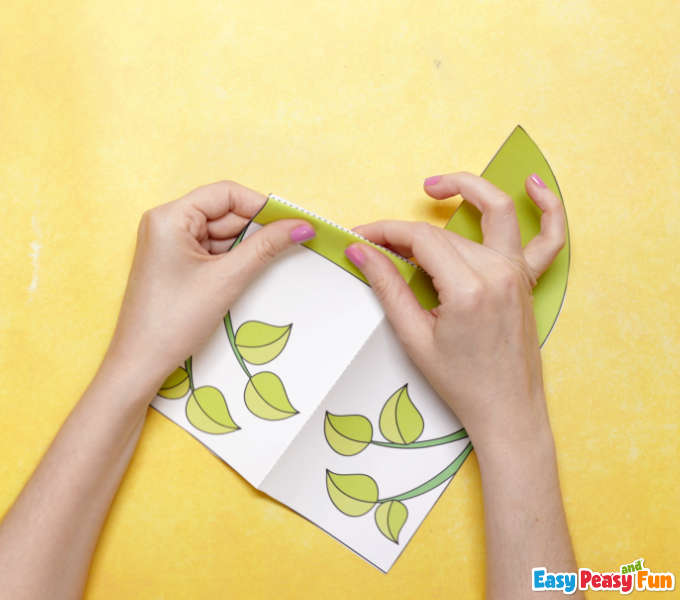
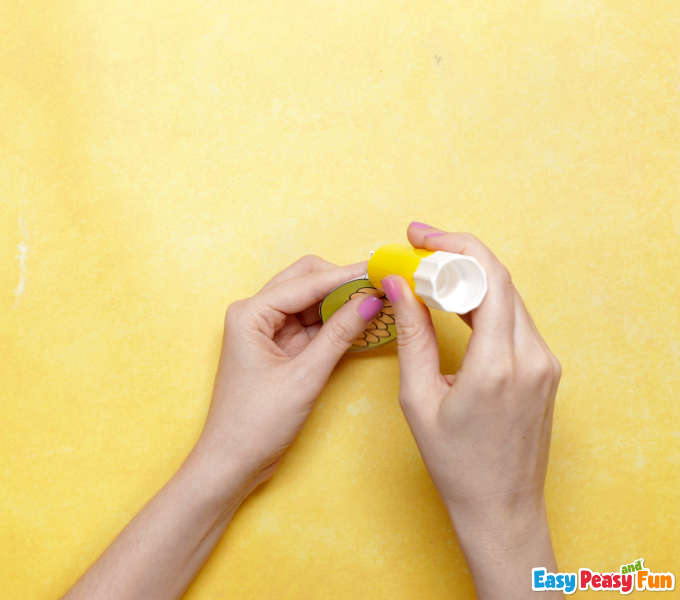
Apply glue in the designated area.
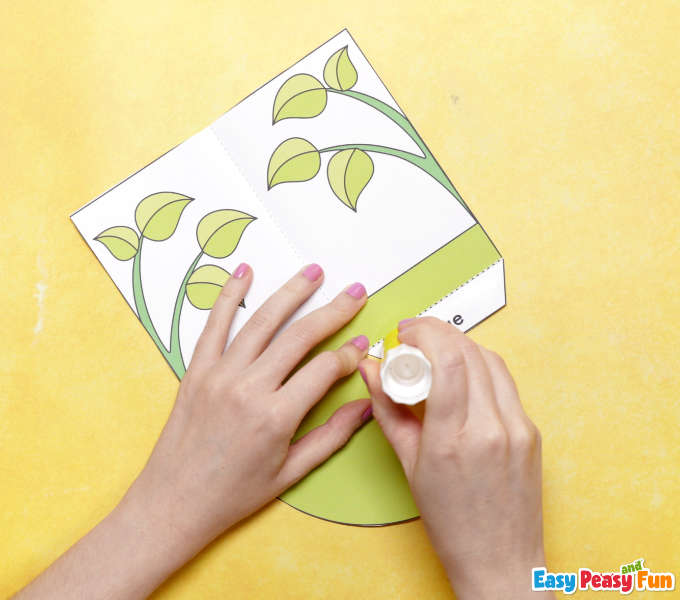
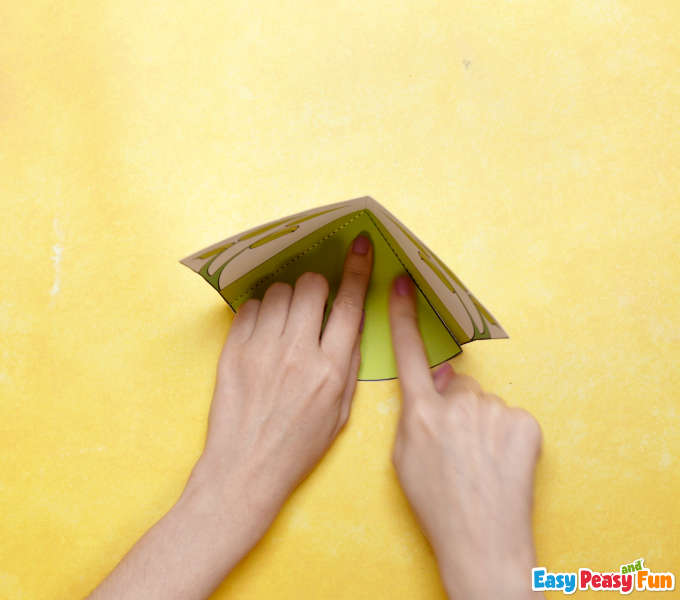
And glue together the background. Repeat three more times so you have four backgrounds, one for each stage of the life cycle.
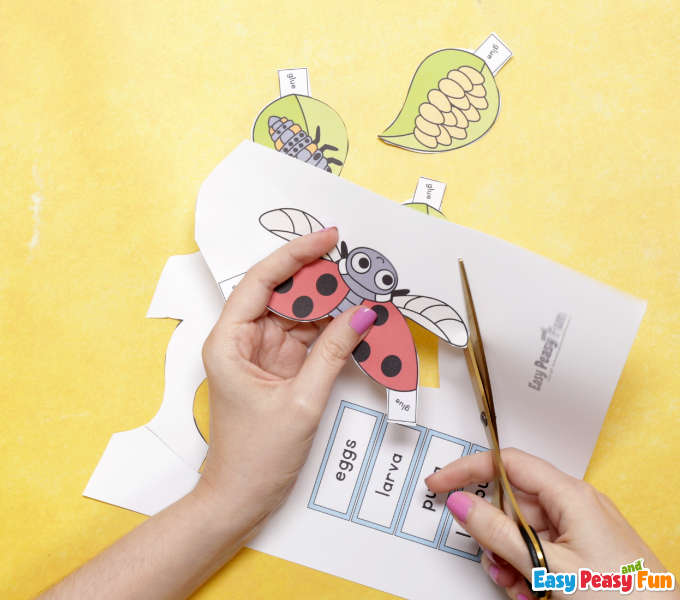
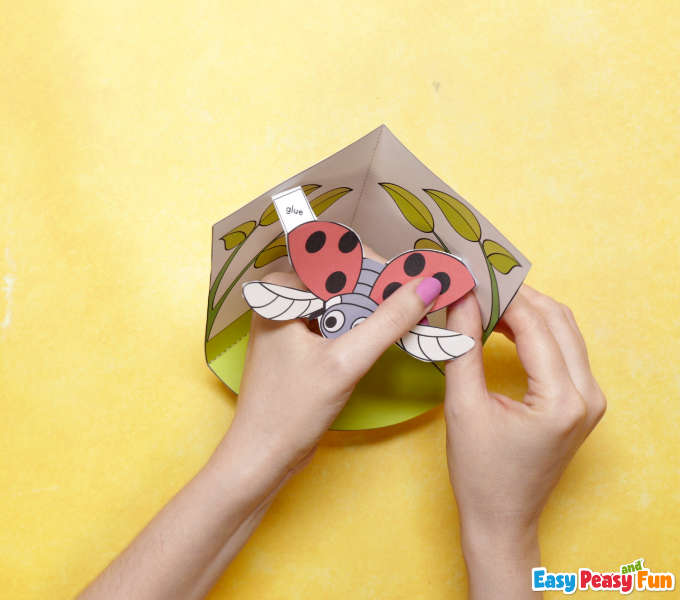
Let’s make the first stage. Apply glue on the designated area…
…and stick the leaf with the eggs on the background.
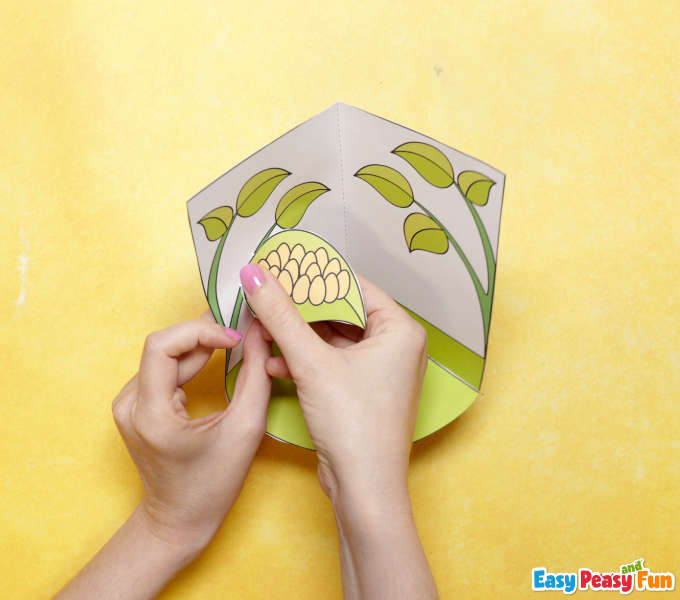
Optionally add the label for the stage of the life cycle.
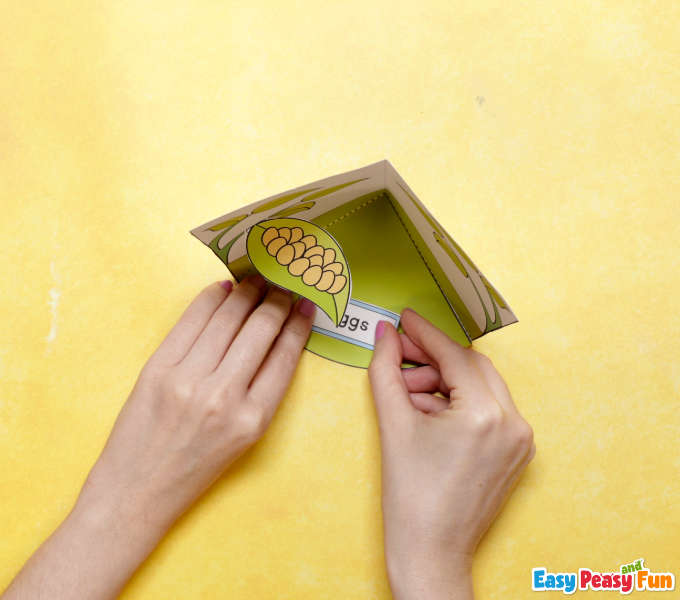
Next comes the larva.
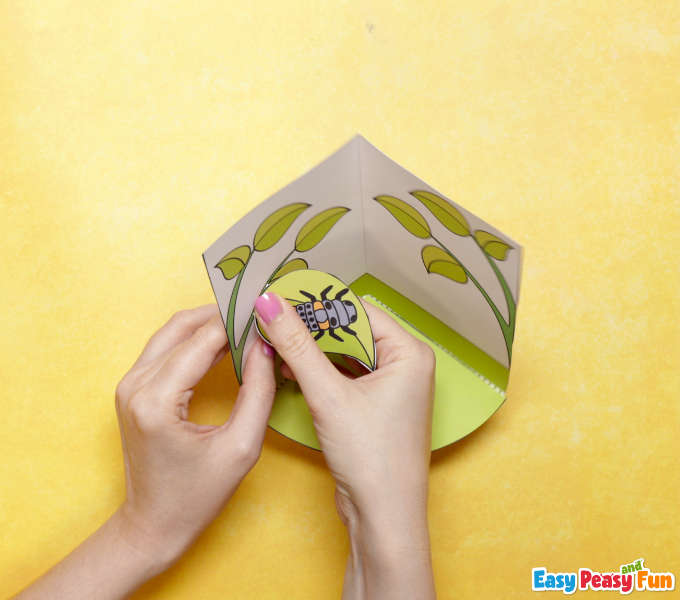
And the puppa…
And lastly the fully grown ladybug.
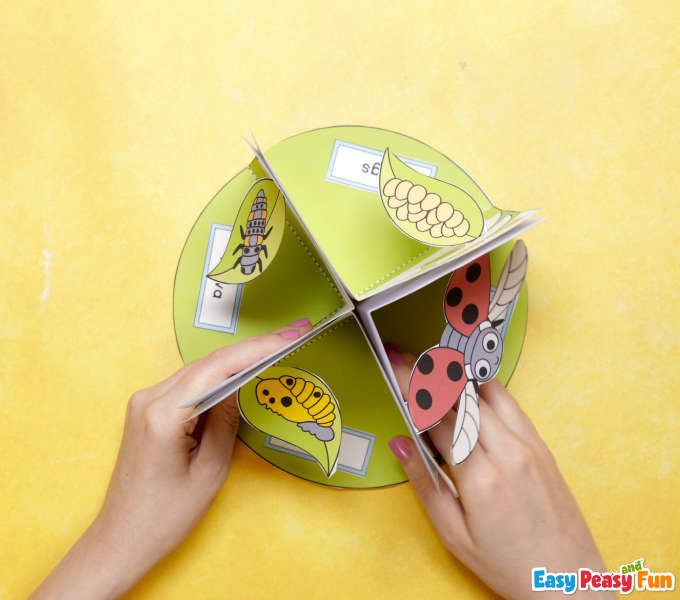
Now take the first two stages of the life cycle and stick them together.

Add the thrid and the fourth. Allow the glue to set (you can use clothespins to keep the parts together while the glue works its magic).
All done!
Get the 3D Ladybug Life Cycle Craft Template
Want instant access to all of our printable crafts, activities, and resources?

With thousands of crafts, activities, worksheets, coloring pages, and drawing tutorials to print, you will always have just the resource you need at your disposal. Perfect for parents and teachers alike!