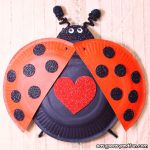
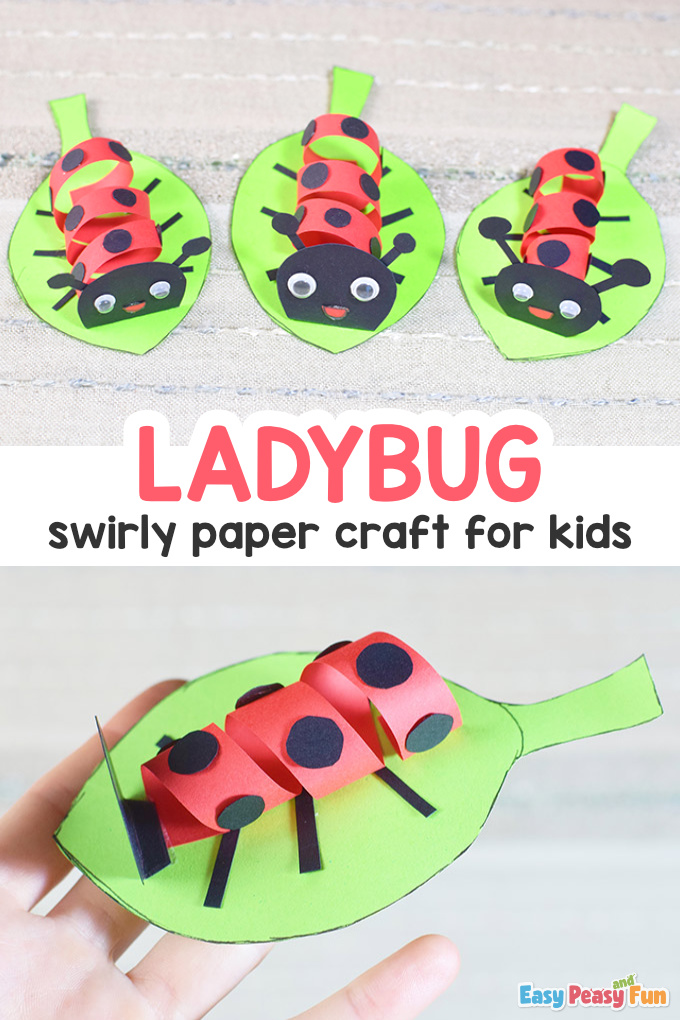
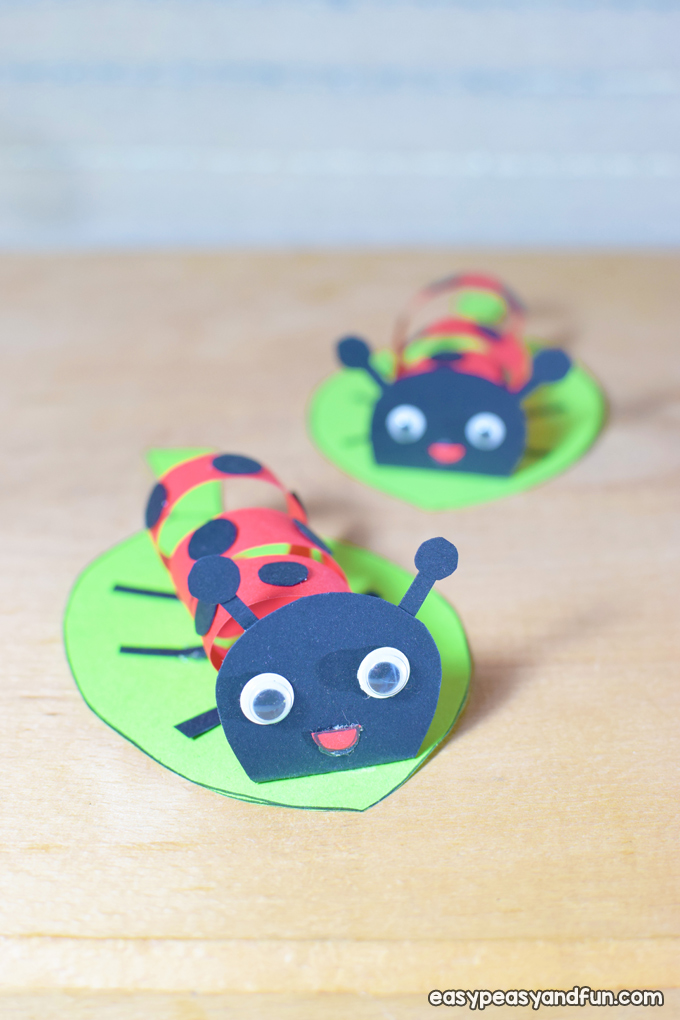
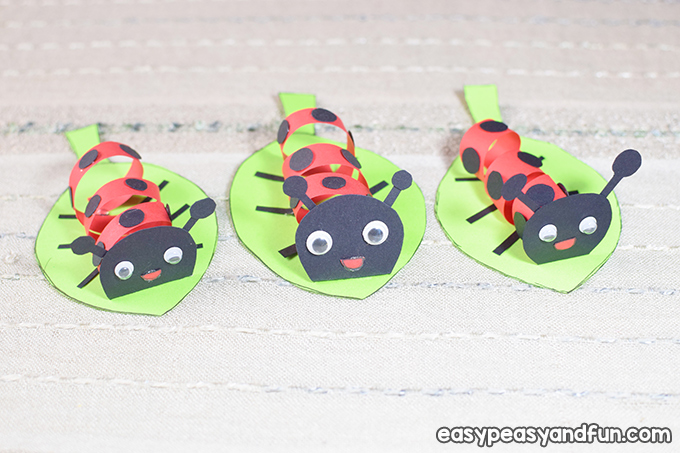
Since we love ladybugs so much, we are really happy to share this swirly paper ladybug craft tutorial with you. It comes with a twist.
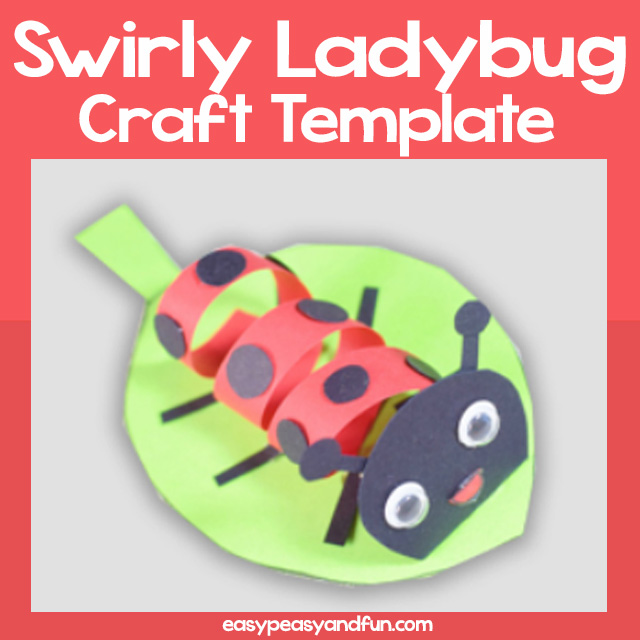
While this bug craft can be done without a template, we have created one for it (both single craft and classroom edition) that you can grab from our membership area.
*this post contains affiliate links*
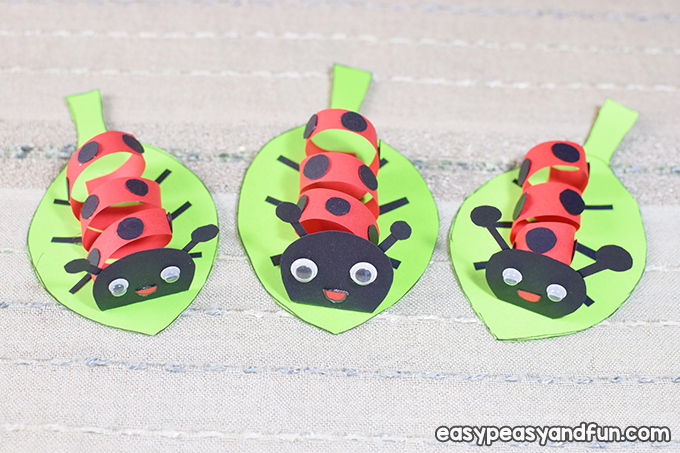
We find it really interesting that there are tons of ways to make a ladybug from the same materials – isn’t that awesome?
We used paper again for our ladybug today and you can see how different she turned out from all of the other ladybugs we have created so far!
If you like ladybugs as much as we do (and we absolutely love them), go grab your tools and jump right in.
How to Make Swirly Paper Ladybug Craft
What you need:
Optional: template from our membership library
- green color paper
- red color paper
- black cardstock
- glue or hot glue
- self-adhesive googly eyes
- scissors
- black liner
- pencil
Let’s craft!
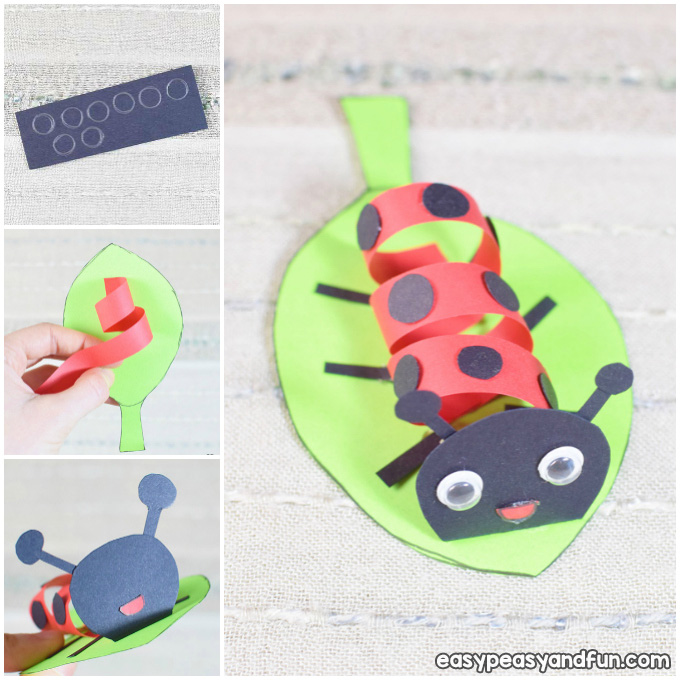
Step by Step Instructions
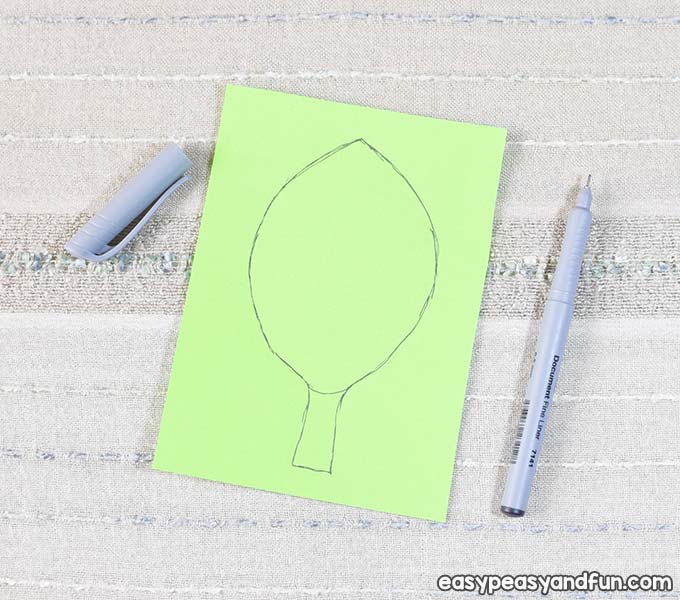
Draw one leaf on the green color paper.
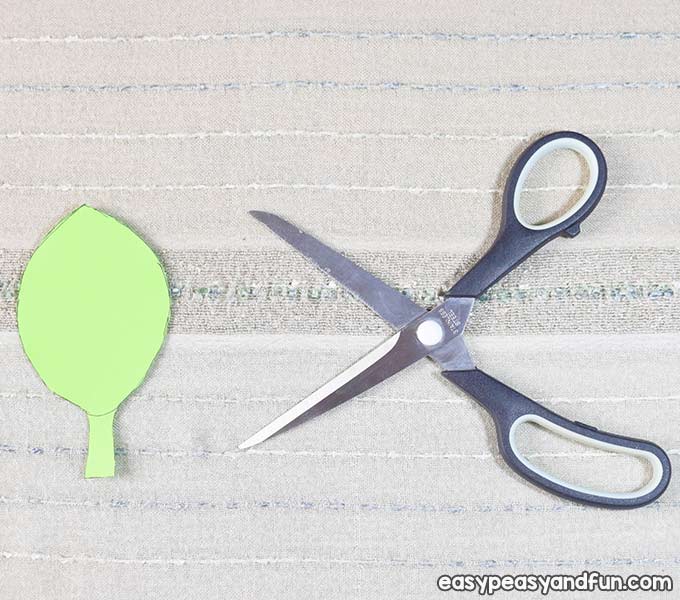
Cut out the leaf using scissors.
Cut out one red stripe (A4 landscape – cut vertically).

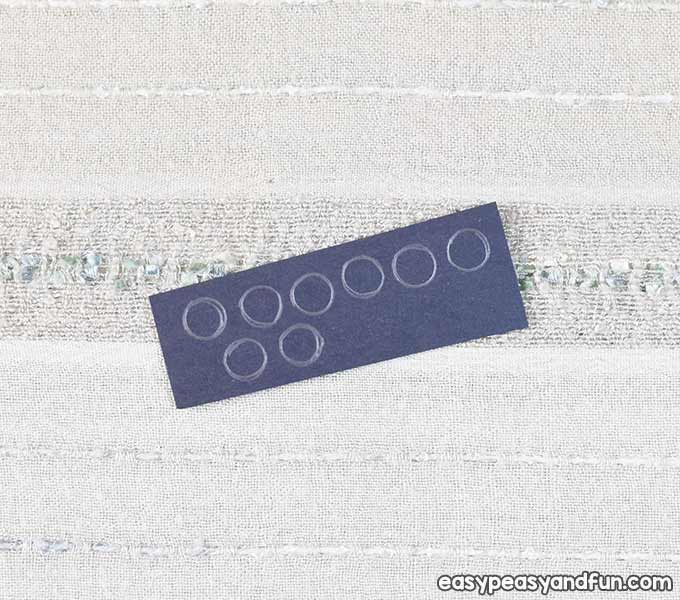
Draw 8 freehand circles on the black cardstock.
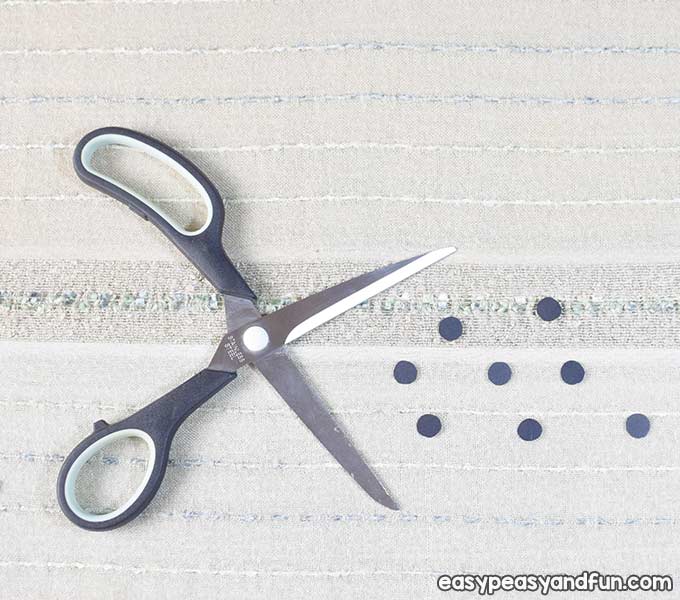
Cut out the black circles using scissors.
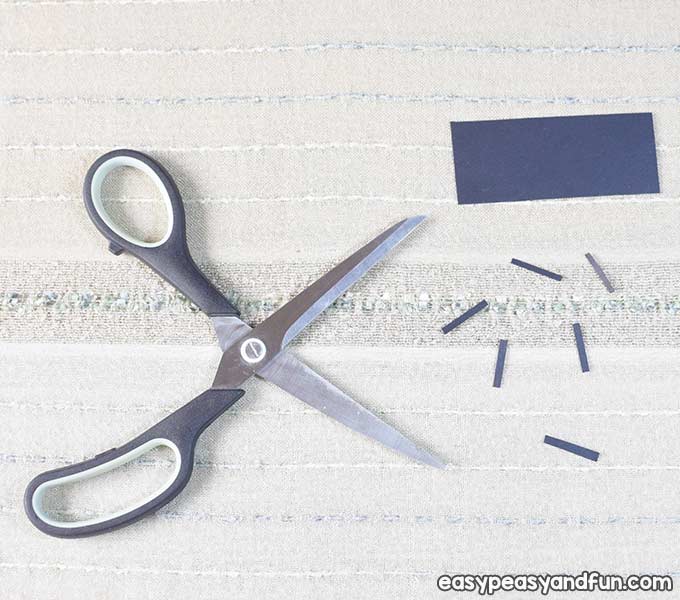
Cut out 6 thin black cardstock rectangles.
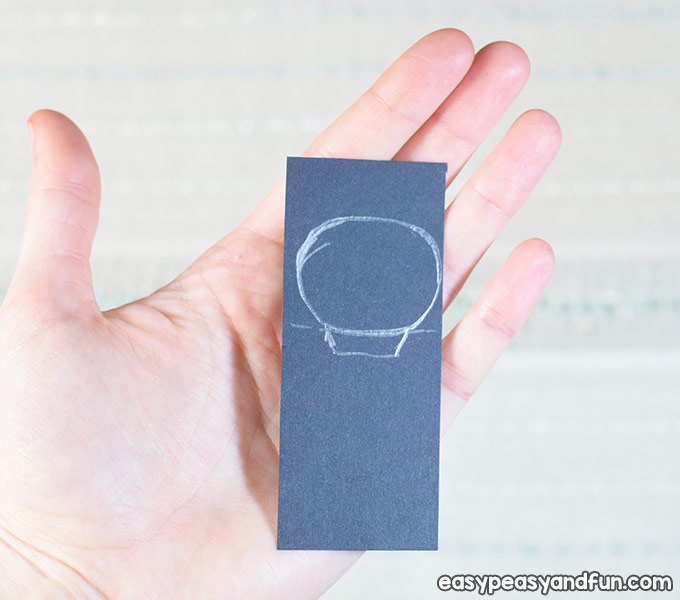
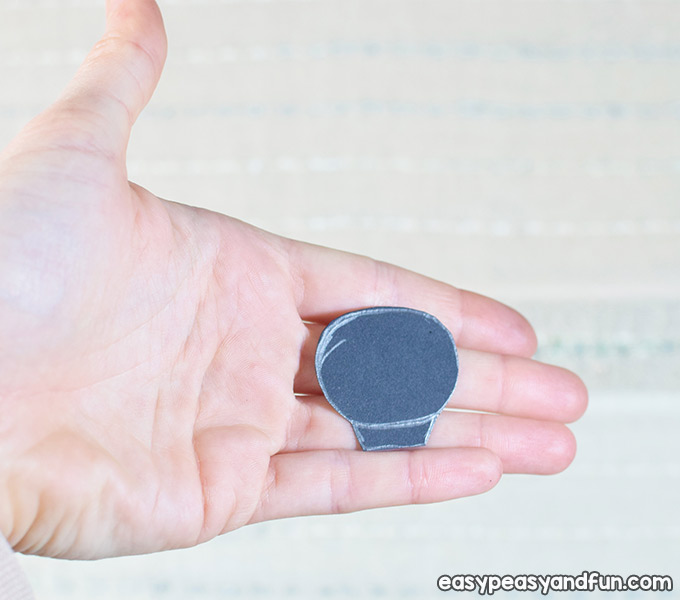
Draw a lady bug’s head on the black cardstock and extension below it.
Cut out the head using scissors.
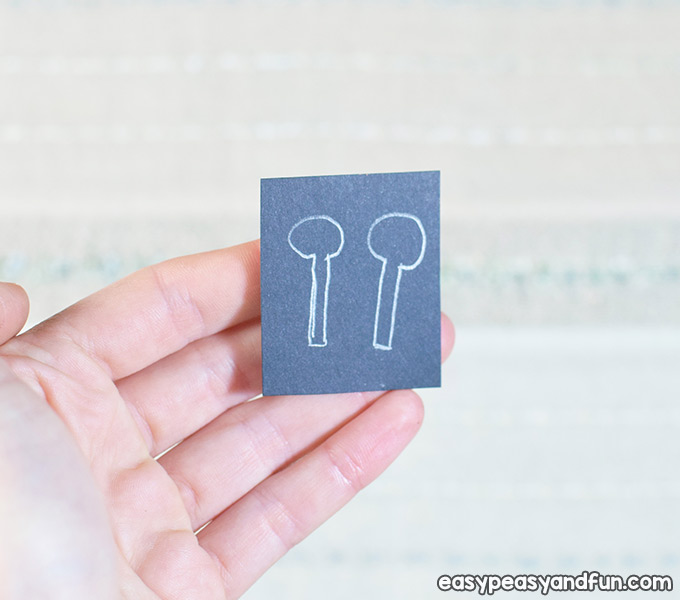
Draw two antennae on the black cardstock with circles on top.
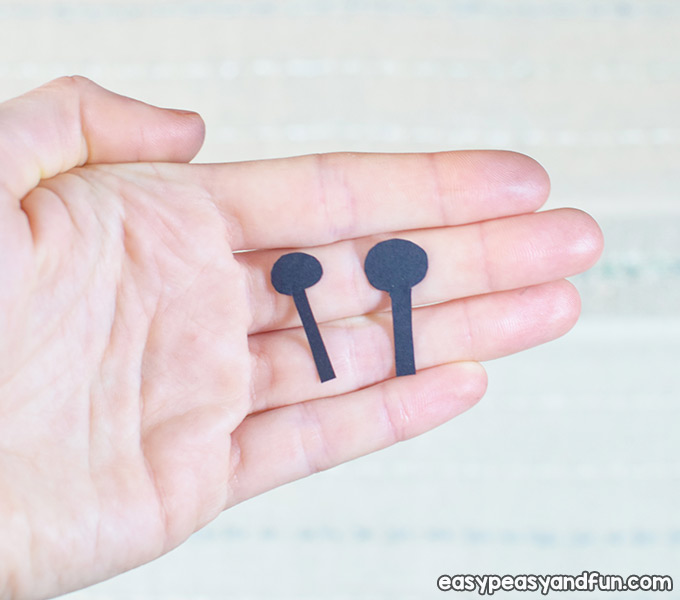
Cut out the antennae using scissors.
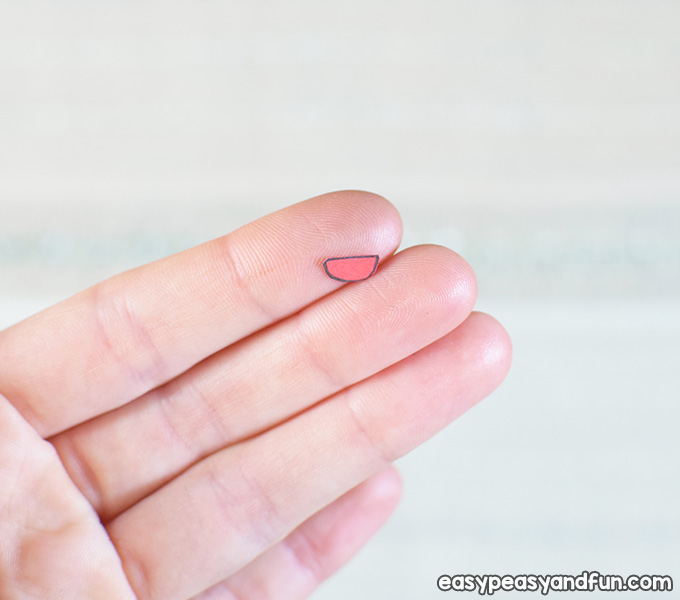
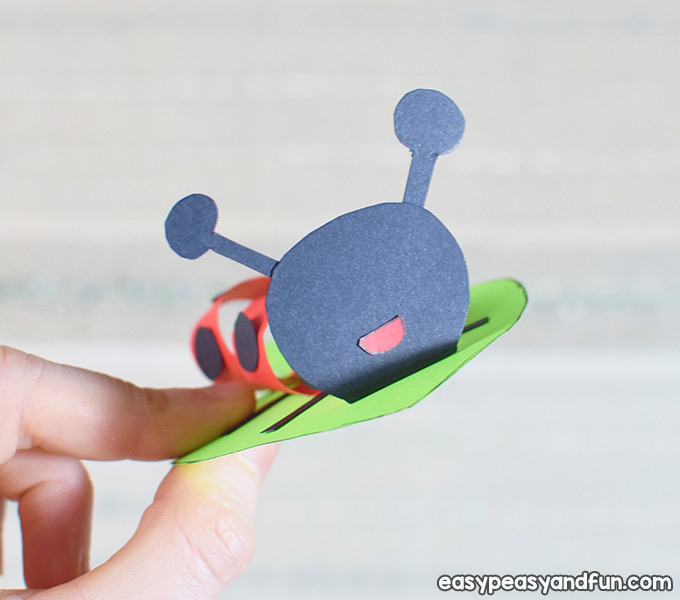
On the red color-paper draw a tiny smiling mouth.
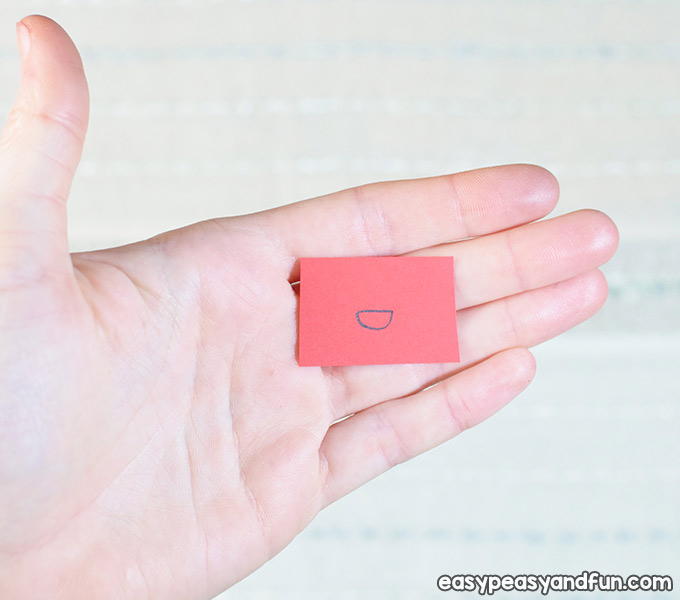
Cut out the tiny mouth using scissors.
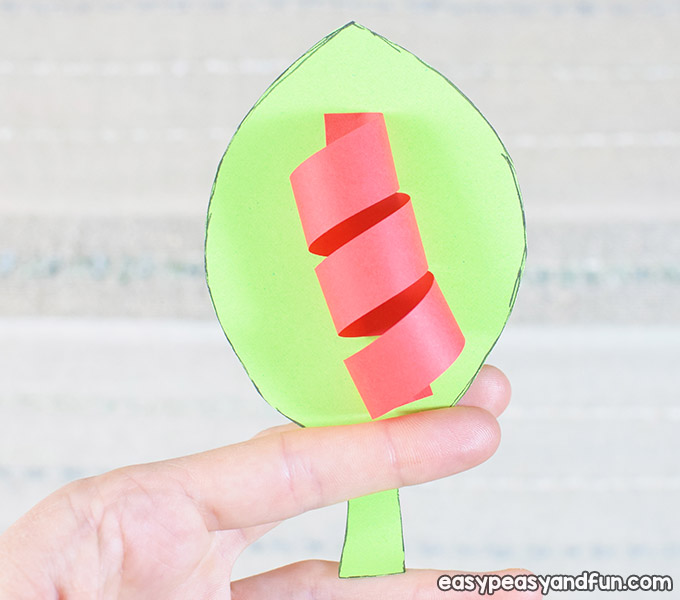
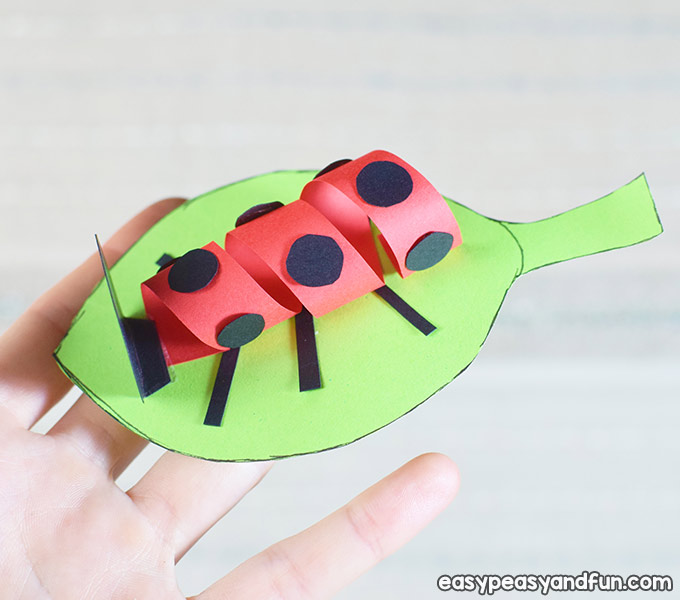
Apply some glue on the leaf and glue one end of the red stripe.
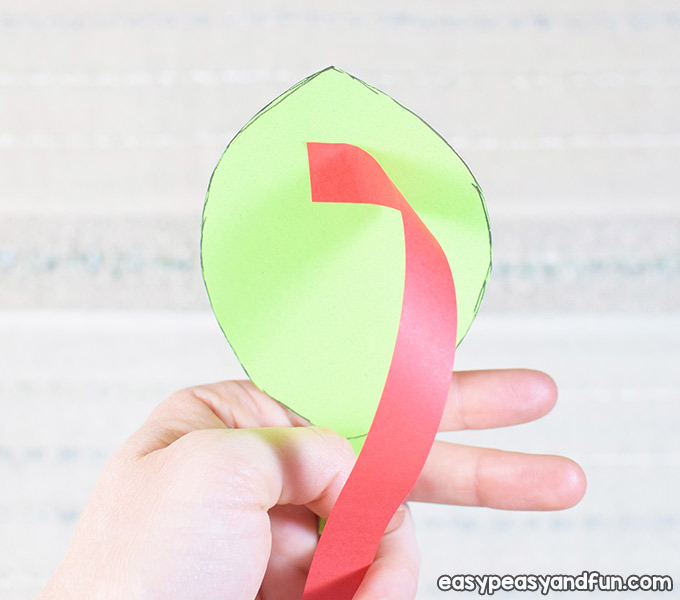
Now form a circle with the red stripe, then seal with the glue.
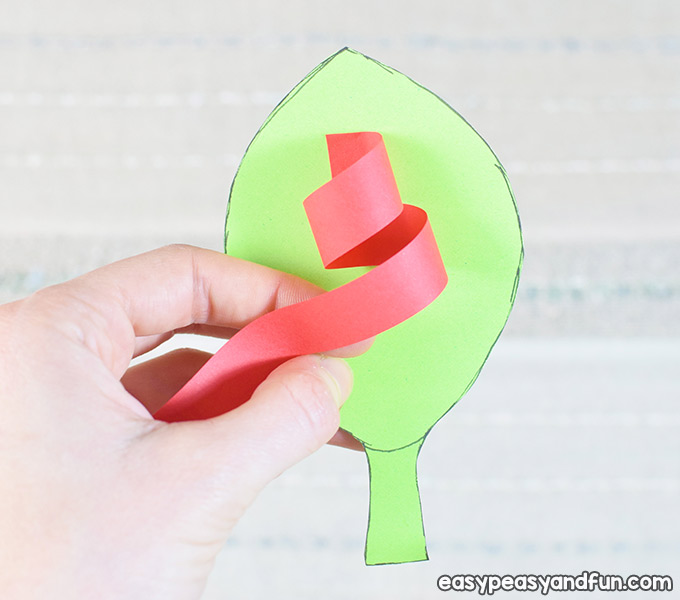
Form another circle with the red stripe and seal with the glue.
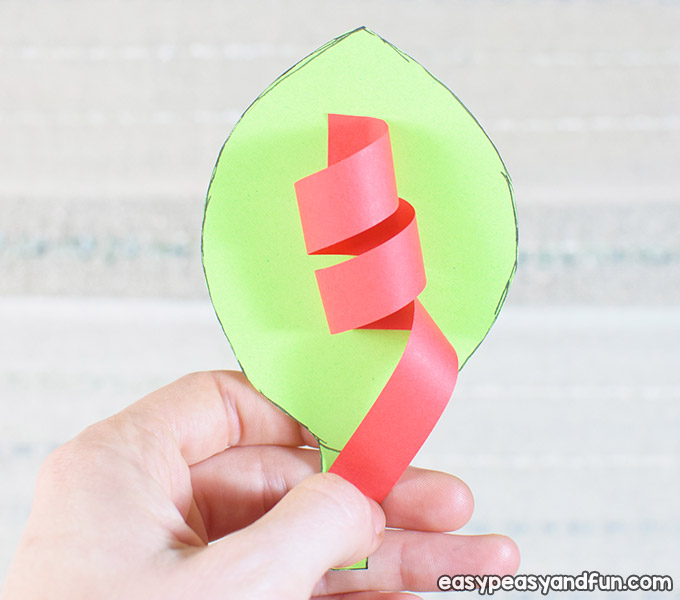
Form the third circle with the red stripe, seal with glue and cut out the excess paper.
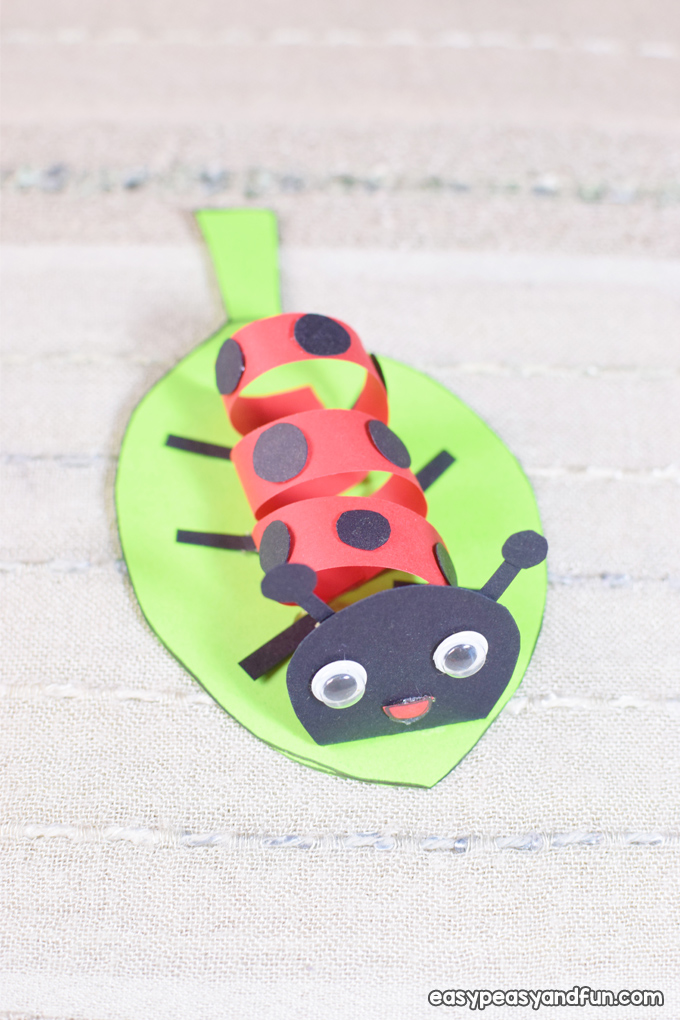
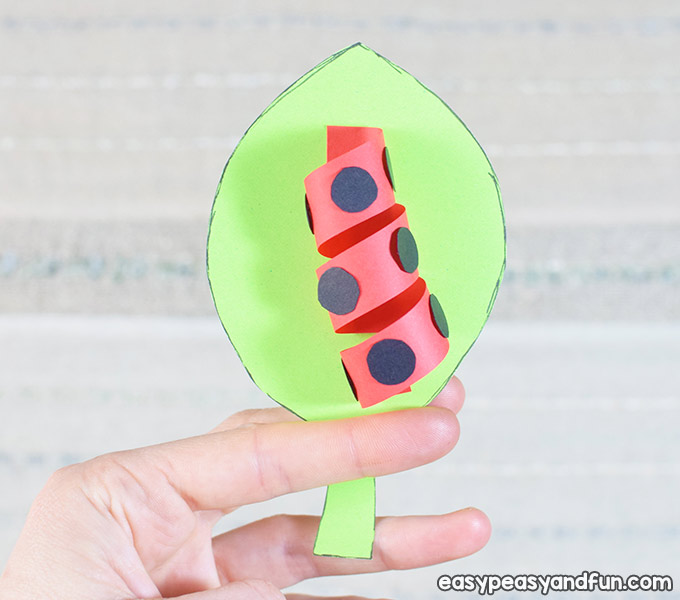
Start adding the black dots. Add three dots on the first red circle.
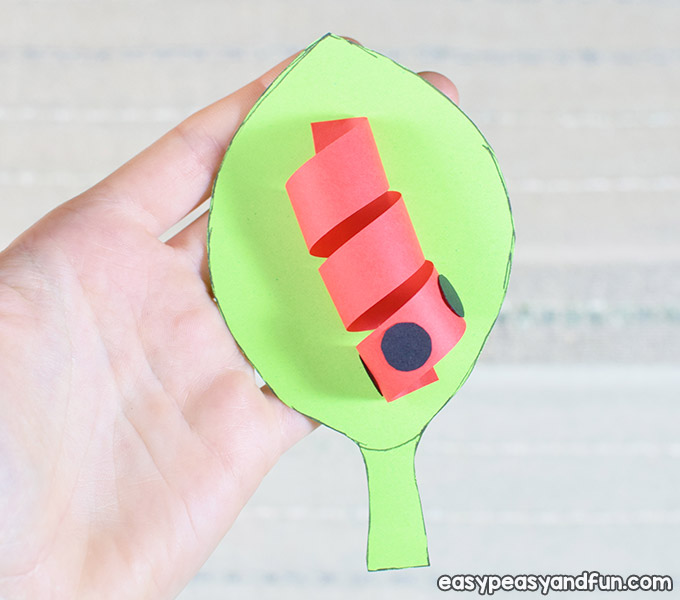
Add two black dots on the middle red circle and three black dots on the third red circle.
Attach the legs (the thin rectangles).
Place three on each side of the lady bug’s body.
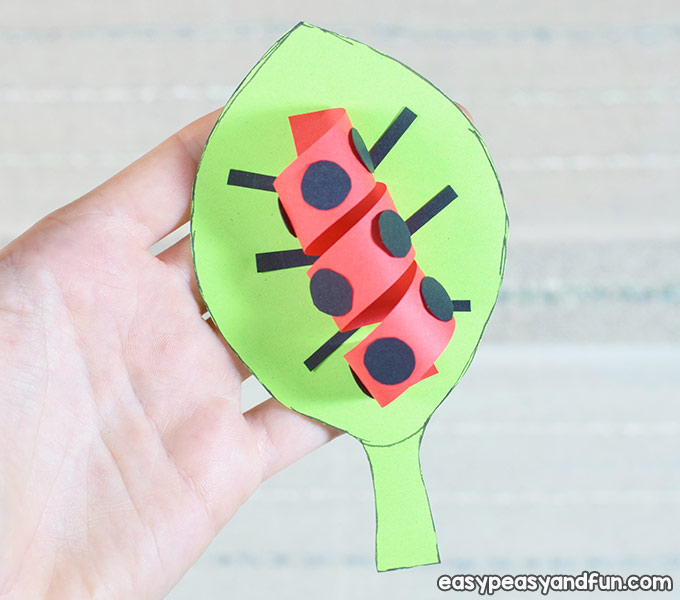
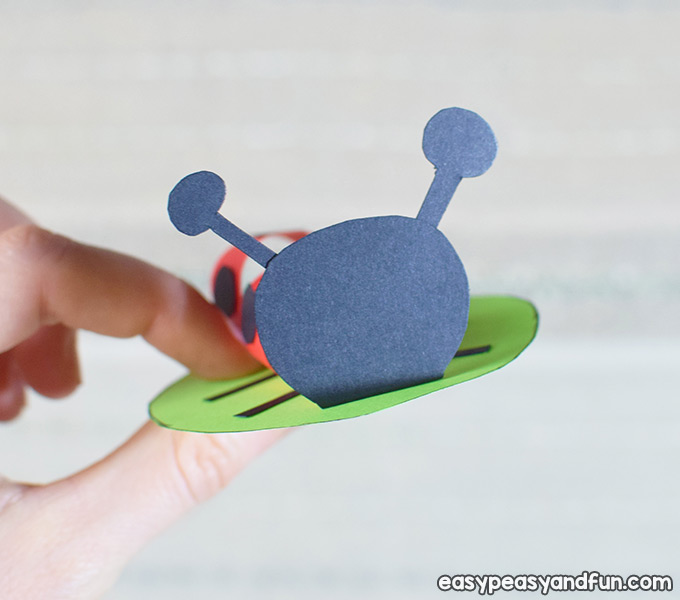
Crease where marked (between the head and the extension) and glue the head.
Add the two antennae on top of the head using glue.
Glue the smiling mouth.
Attach the self-adhesive googly eyes on the head.
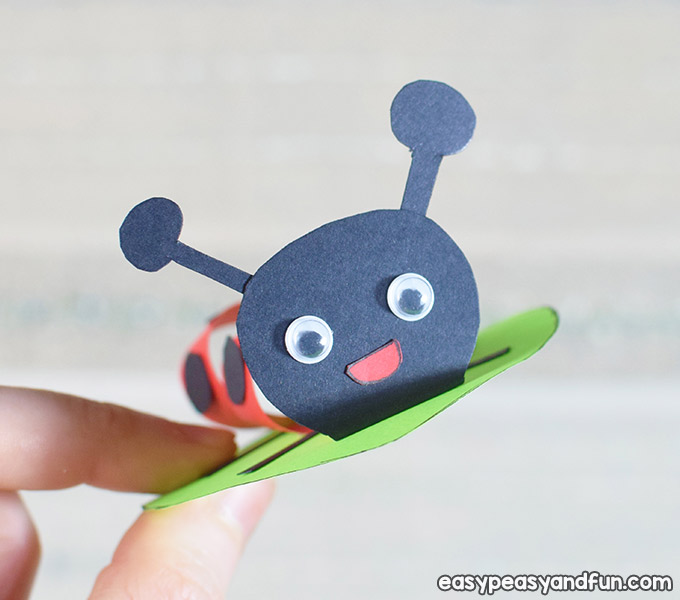
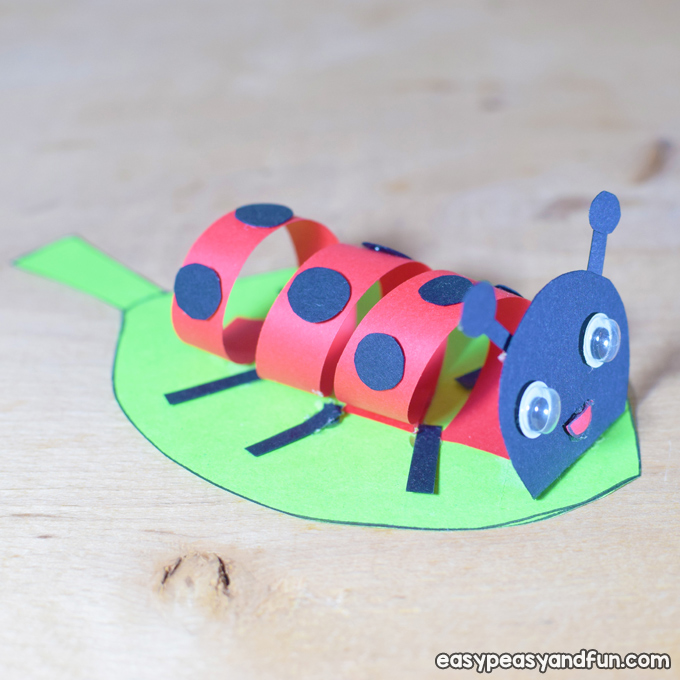
Done!
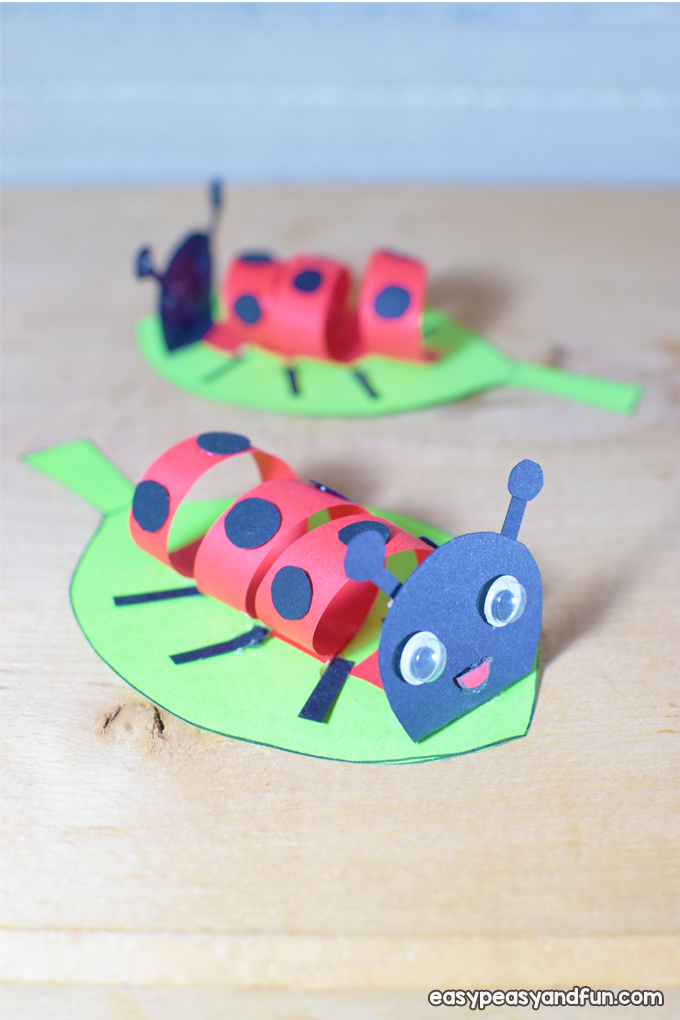
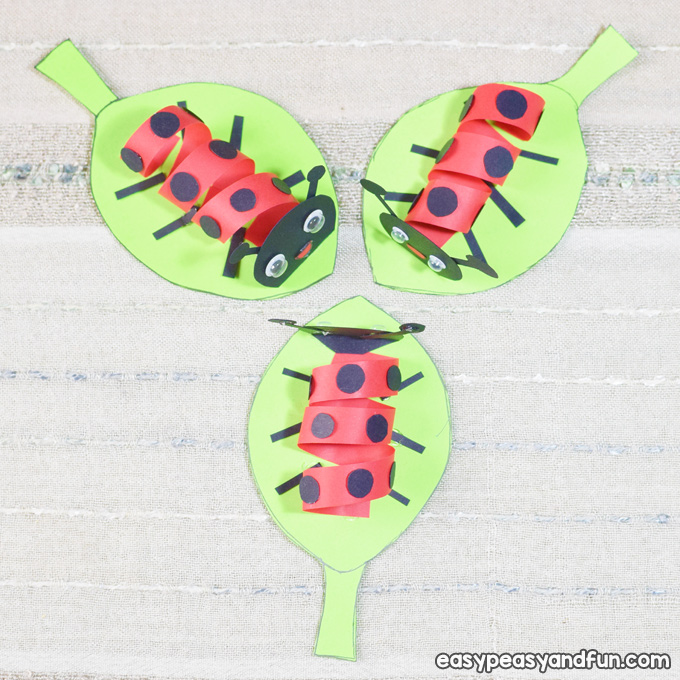
Our ladybug is ready to rest on this green leaf after a long flight today.
So let’s make a safe space in our room and let her enjoy her life.
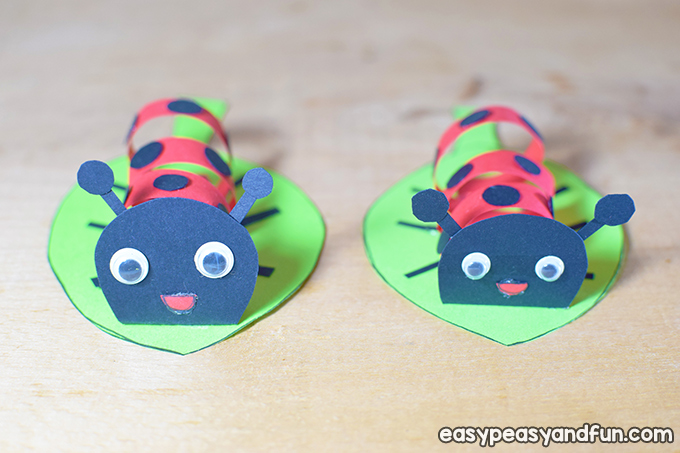
Aren’t they adorable?
Make as many as you want.
Happy crafting!
Get the Swirly Ladybug Craft Template Here
Want instant access to all of our printable crafts, activities, and resources?

With thousands of crafts, activities, worksheets, coloring pages, and drawing tutorials to print, you will always have just the resource you need at your disposal. Perfect for parents and teachers alike!