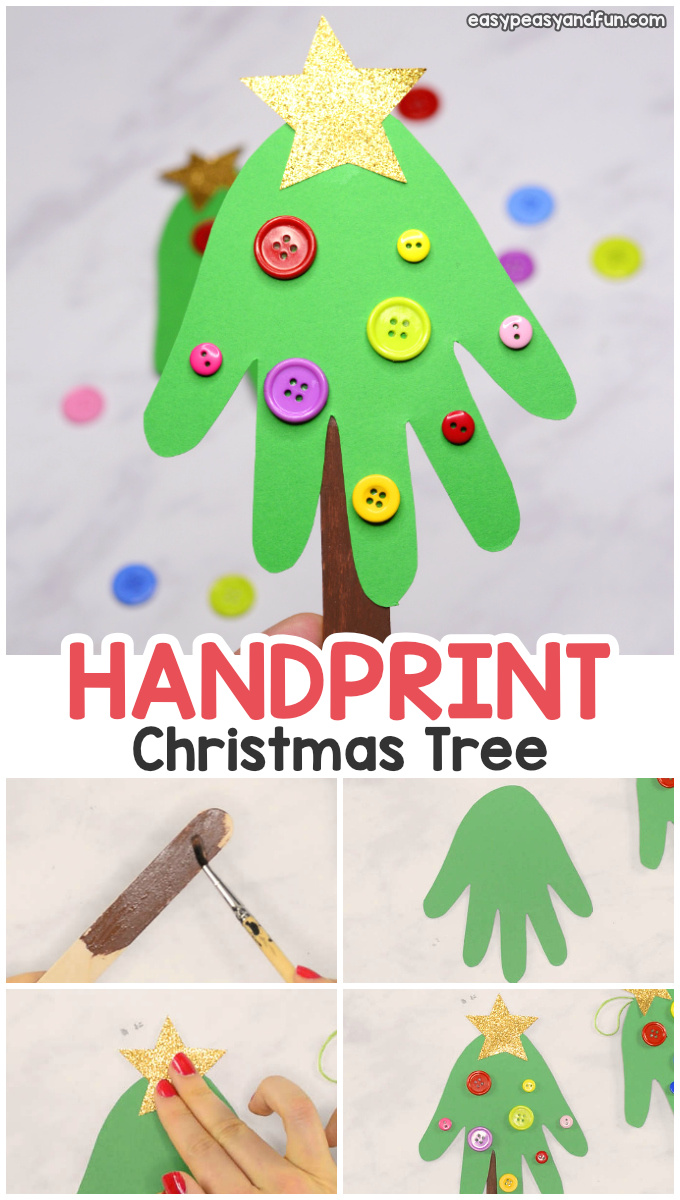
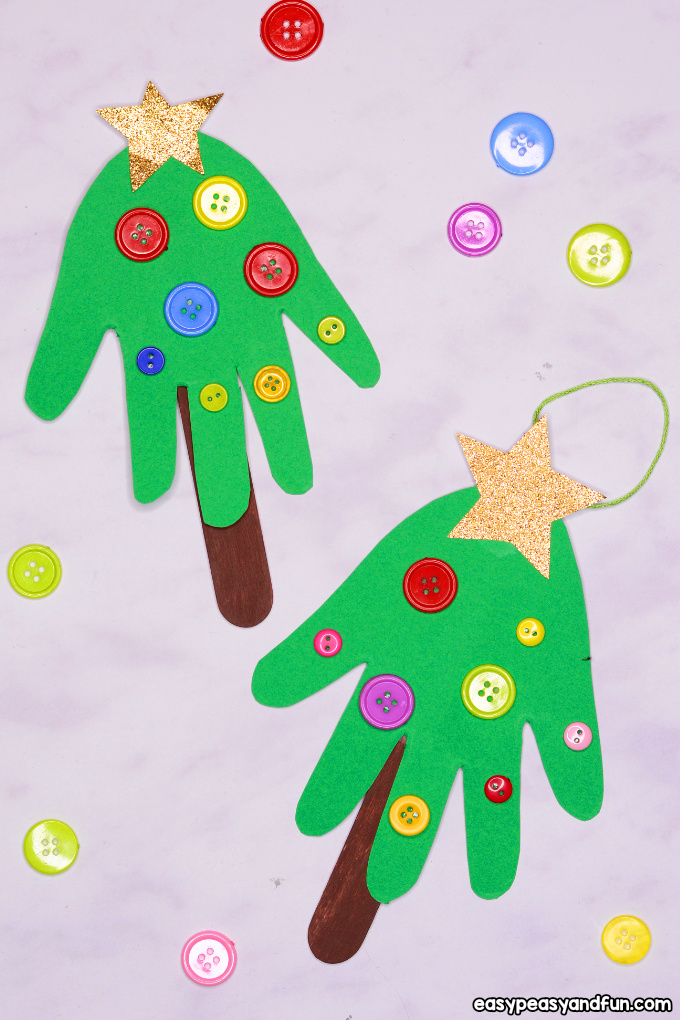
This handprint Christmas tree craft makes a wonderful ornament for your tree and a keepsake to treasure for years to come. Why not make one each year and see the little hands change throughout the years? Oh so precious.
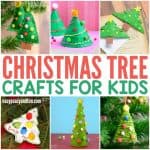
We’ve got plenty more of jolly ideas – browse through some of our best Christmas craft ideas for kids.
*this post contains affiliate links*
What we love about this simple craft the most is that it’s just so versatile! Use a bit of yarn and hang it on a tree as an ornament, make a dozen and make a garland… Also why hang them? It will look great on a DIY Christmas card too!
How to Make a Handprint Christmas Tree DIY Ornament
What you need:
- green paper (cardstock)
- yellow paper or gold paper star
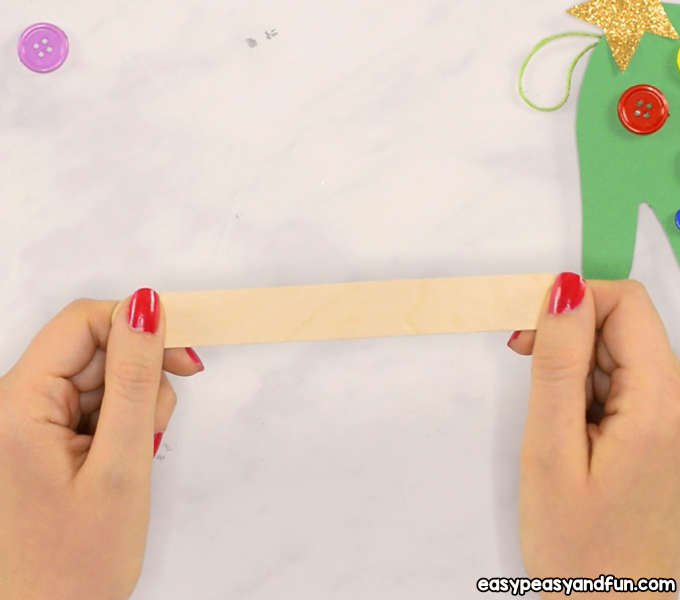
- jumbo craft stick
- buttons, gemstones or paper
- scissors
- pencil
- glue
- brown paint
- yarn for hanging and clear tape or washi tape
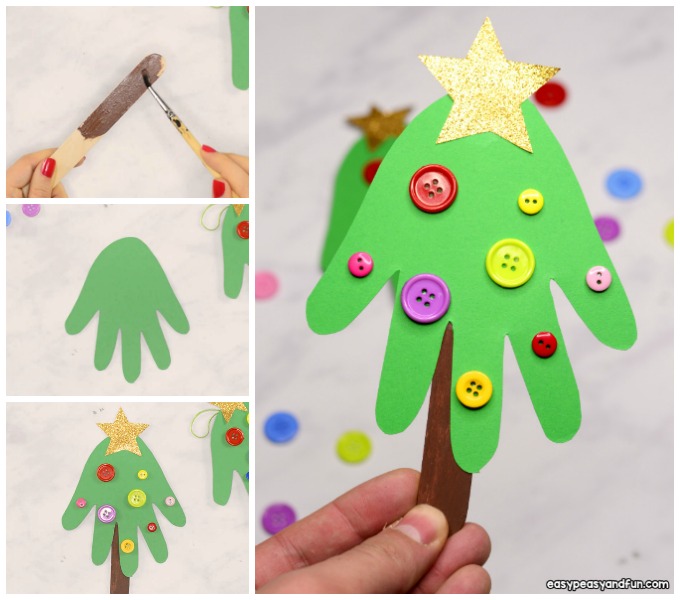
Start by painting the jumbo craft stick with brown paint. Set aside to for the paint to dry.
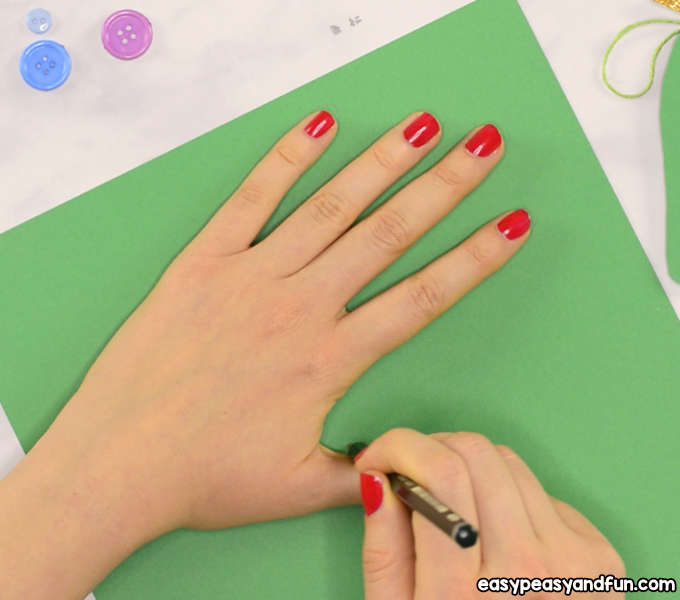
While you wait for the paint to dry, it’s time to make the tree. Trace around your hand (fingers nicely spread) with pencil.
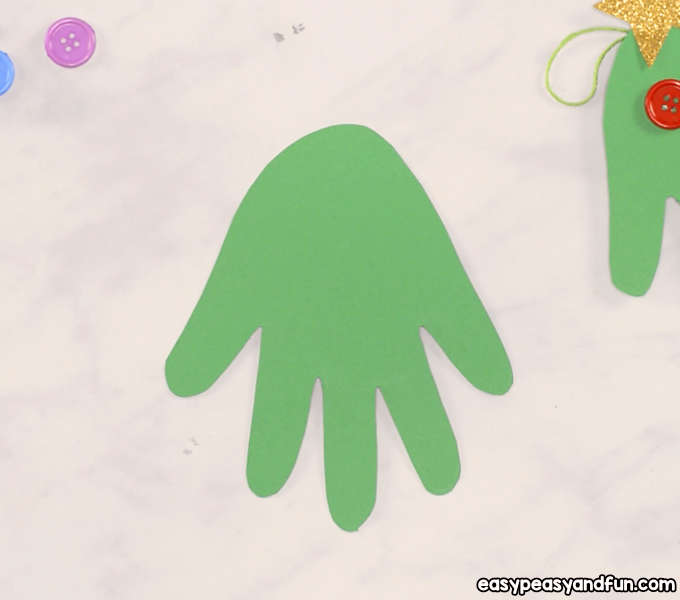
Cut along the head outline.
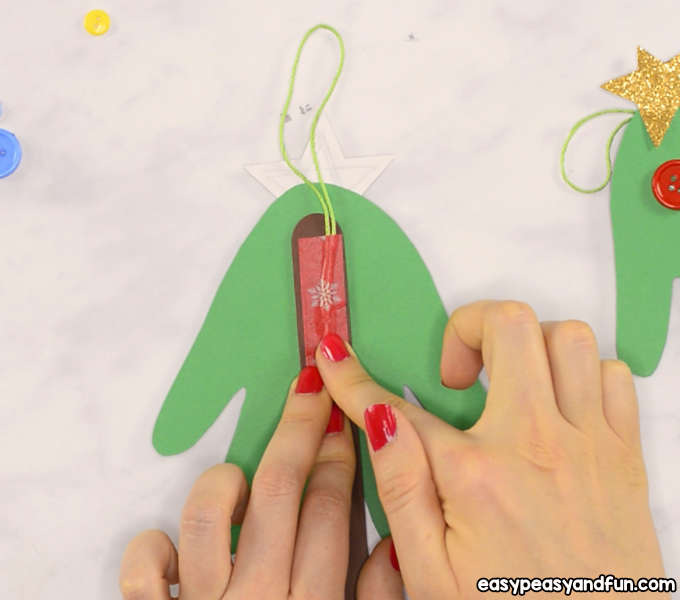
If the paint is already dry, apply glue on the top part of the craft stick. If it’s not jet dry skip this step for not and go straight to decorating the mini Christmas tree.
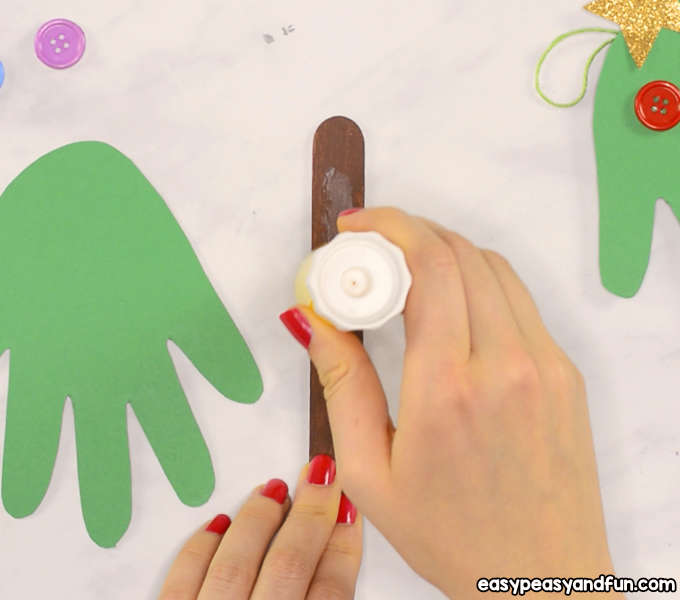
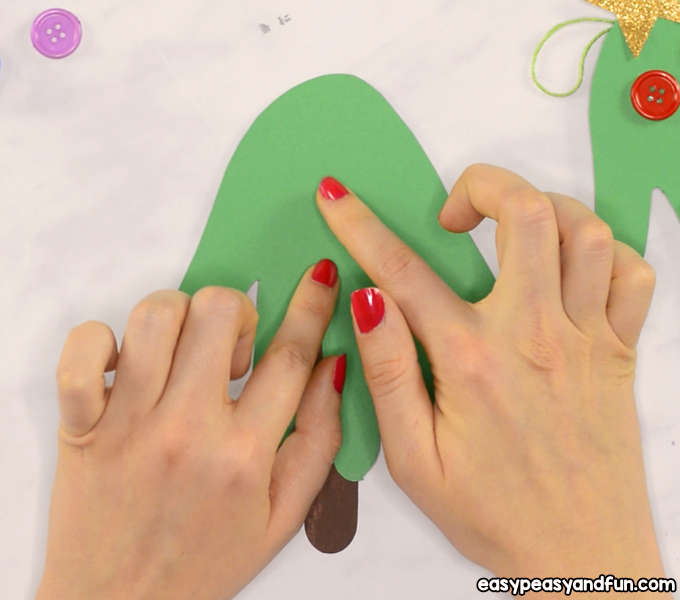
Stick on the hand outline on the craft stick.
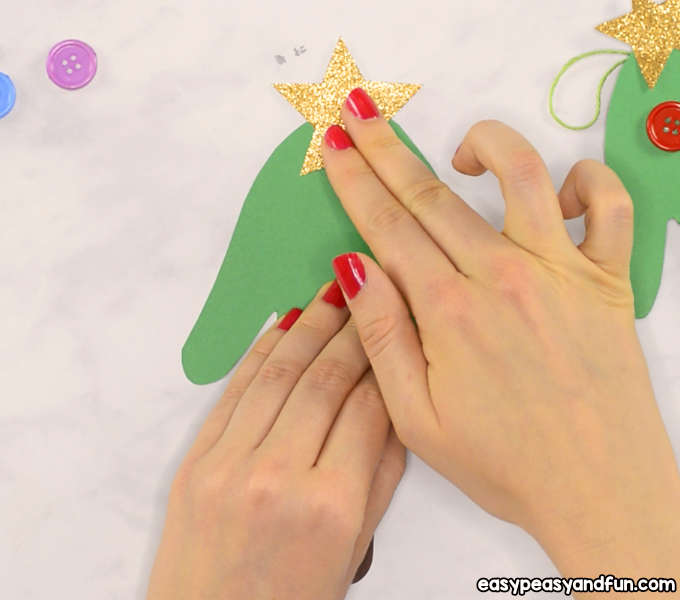
Decorate the tree! Glue a shiny star on the top of the tree.
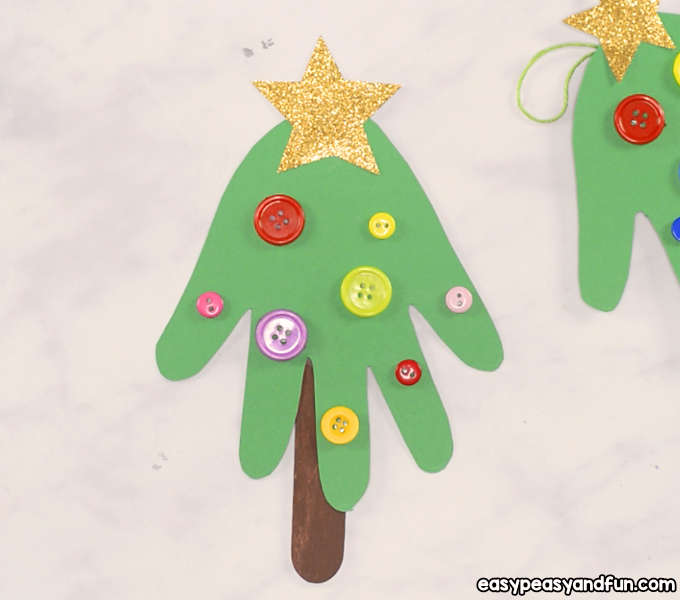
Make little baubles out of buttons or gemstones (or any handy mini bauble like material).
If you want to turn this Handprint Christmas Tree craft into an ornament, flip it around and attach yarn for hanging on the back (top) of the craft stick.
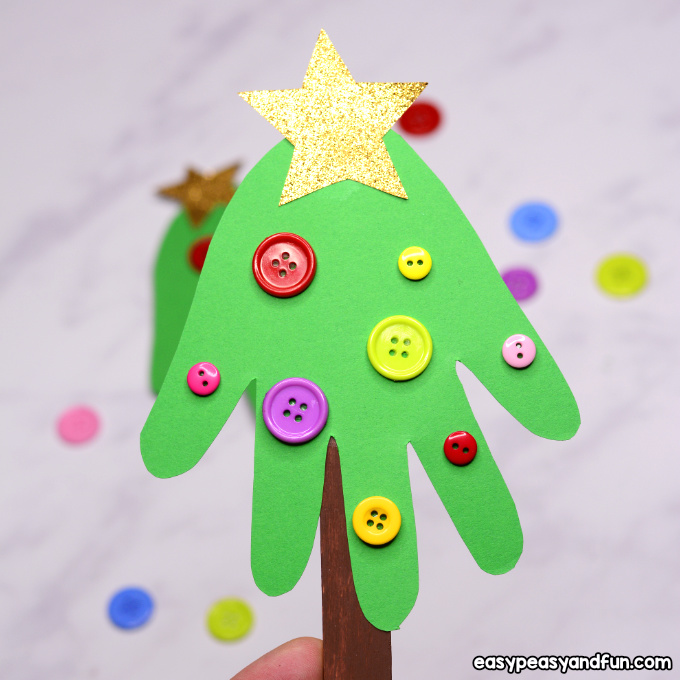
All done!
Your Handprint Christmas Tree ornament is ready to be displayed on your Christmas tree or gifted to family and friends (we know grandparents are going to love this one).
Want instant access to all of our printable crafts, activities, and resources?

With thousands of crafts, activities, worksheets, coloring pages, and drawing tutorials to print, you will always have just the resource you need at your disposal. Perfect for parents and teachers alike!