Do you want to make a snow globe? It’s super easy.
With just a few basic materials, you will create a snow globe that allows a child to enjoy winter all year long.
*This post contains affiliate links*
We love making all kinds of Christmas Crafts for Kids (have a look at our Photo Snowglobe Craft for Kids and DIY Tabletop Paper Christmas Tree).
Snow is fascinating to kids!
Now you can make this cardboard snow globe craft to help bring fun to their crafting lives.
How to Make the Cardboard Snow Globe Craft
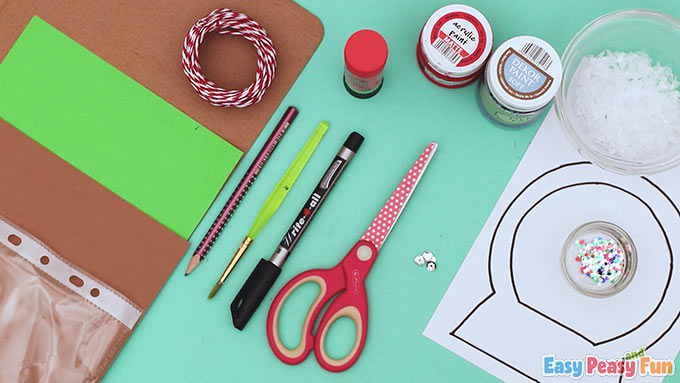
What you need:
- cardboard
- pencil
- acrylic paint (blue and red)
- paintbrush
- pencil
- color papers (green and brown)
- artificial snow
- glue stick
- twine string
- scissors
- star-shaped confetti
- shiny beads
- transparent foil or a sheet protector
Step by Step Tutorial
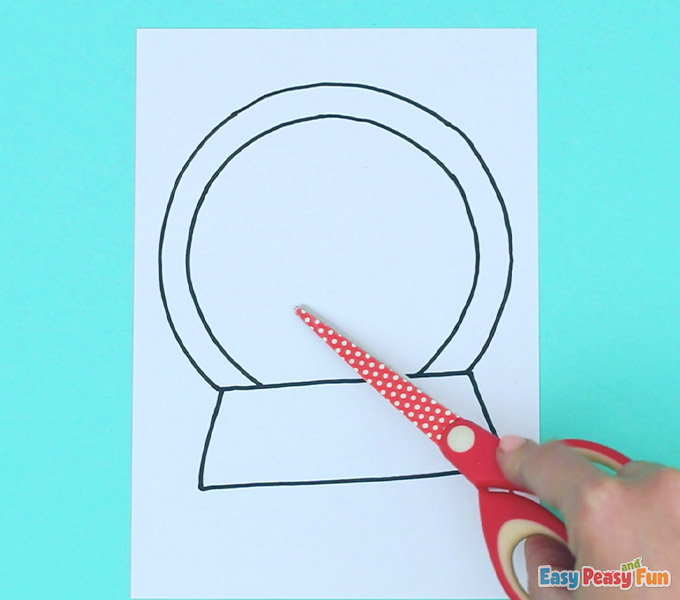
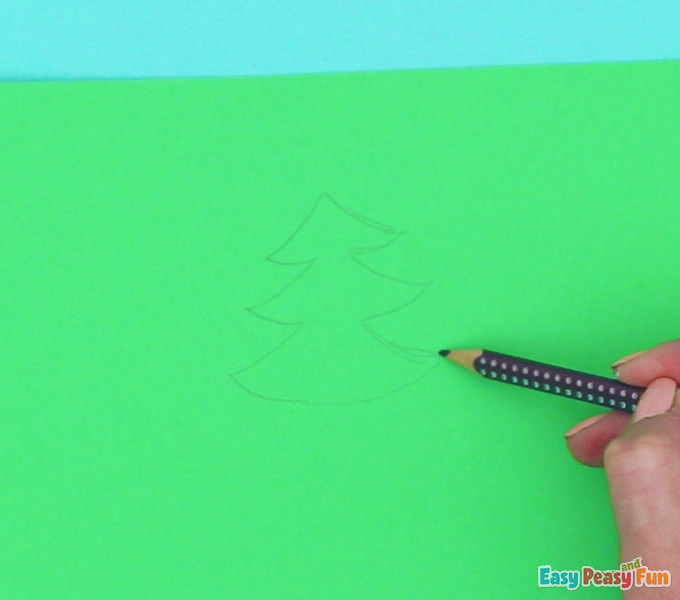
Go ahead and print out the snow globe template, then cut it out.
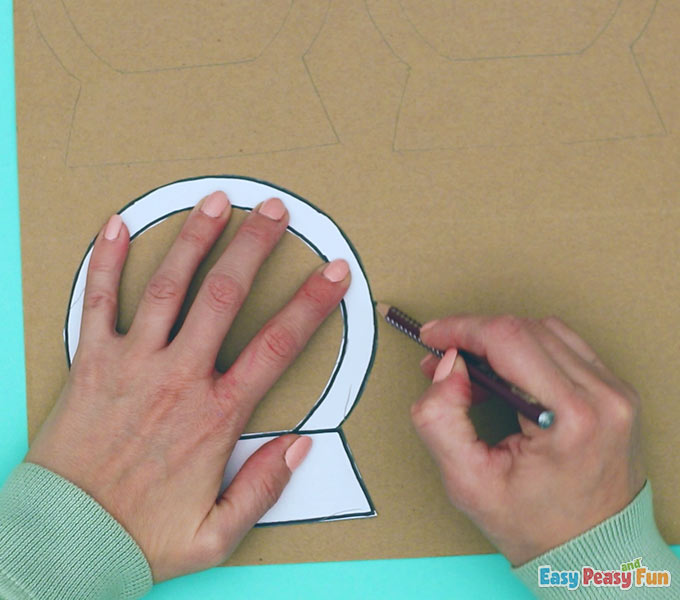
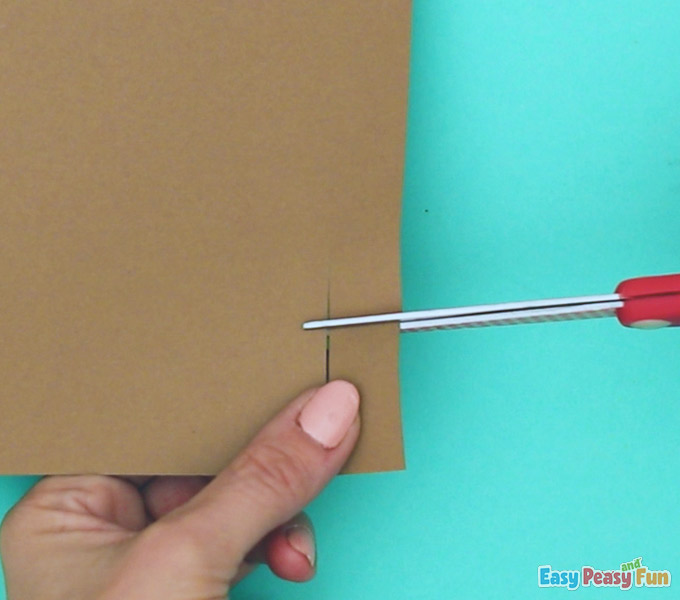
Trace the template onto the cardboard three times and cut them out.
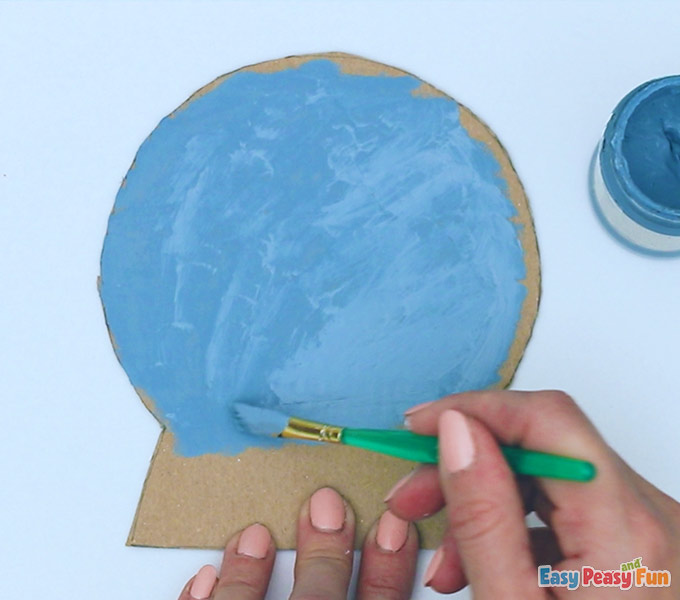
The Background Part
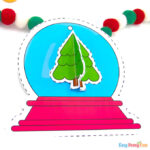
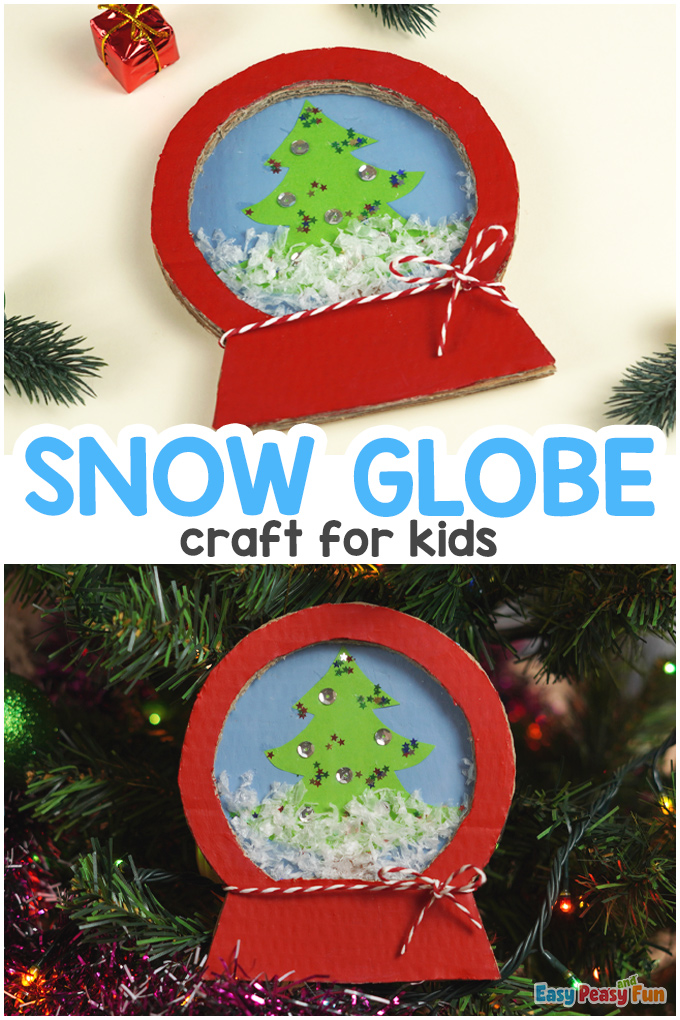
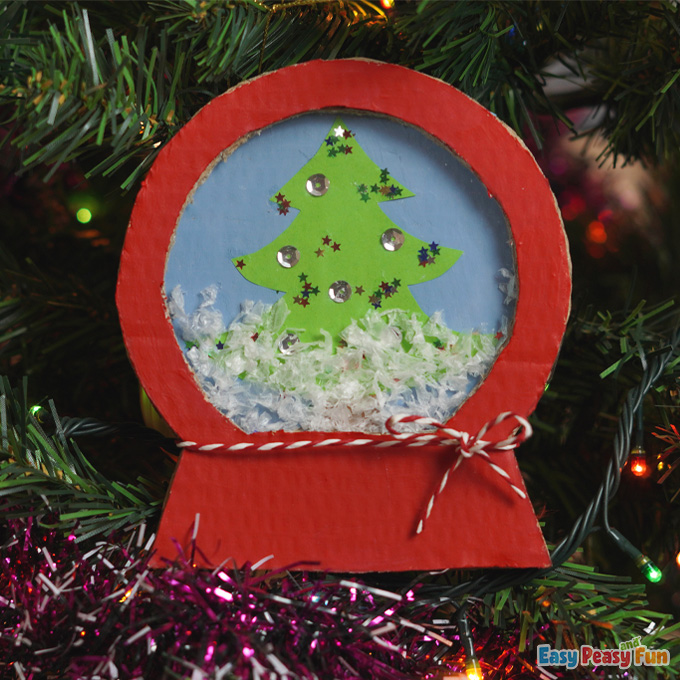
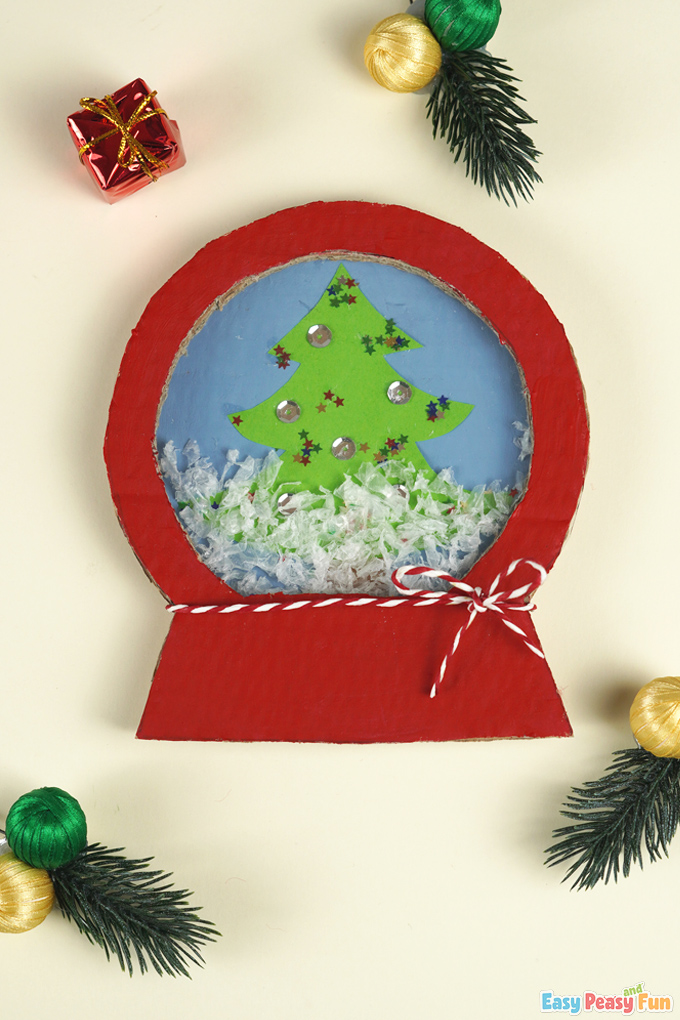
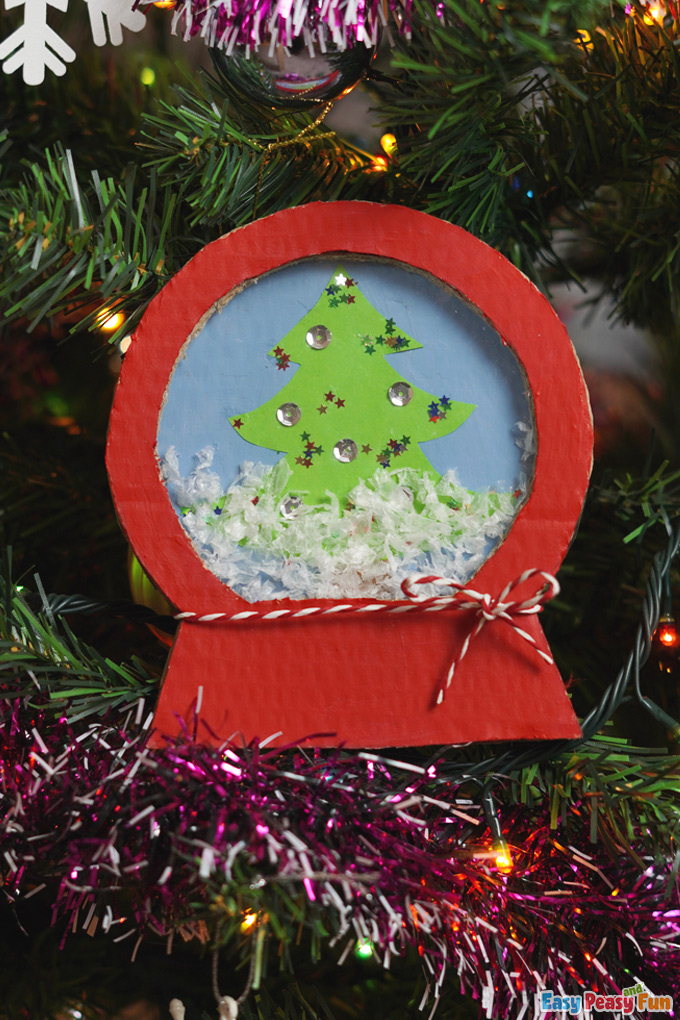
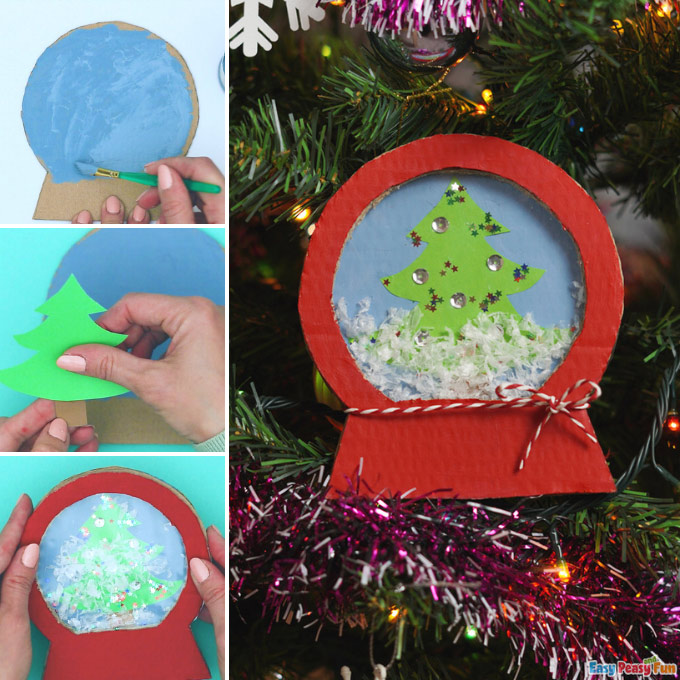
Paint one cardboard sheet with blue.
You just made the background of the snowglobe.
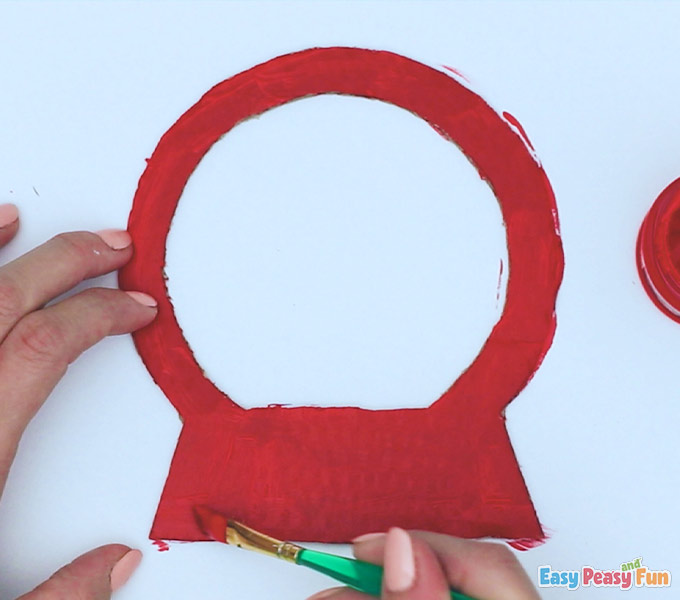
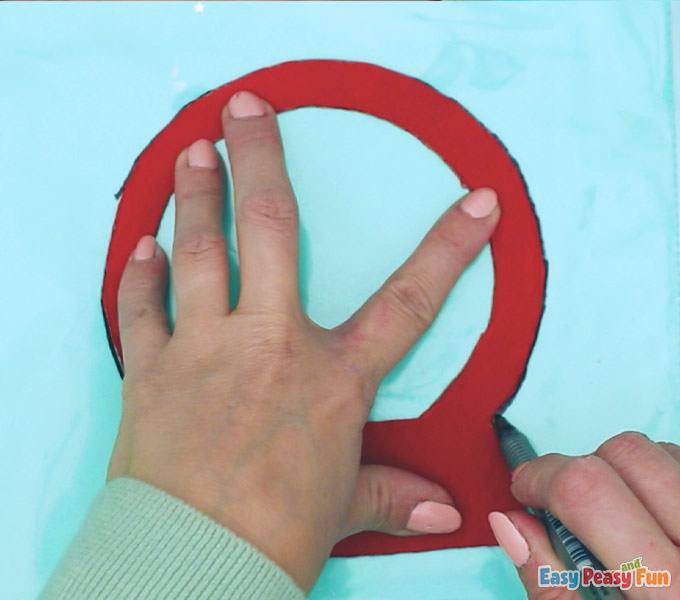
The Top Frame
We will need two frames, so cut out the inner parts on two cardboards.
Now use one of the cardboards that has an empty inner part.
Paint it red.
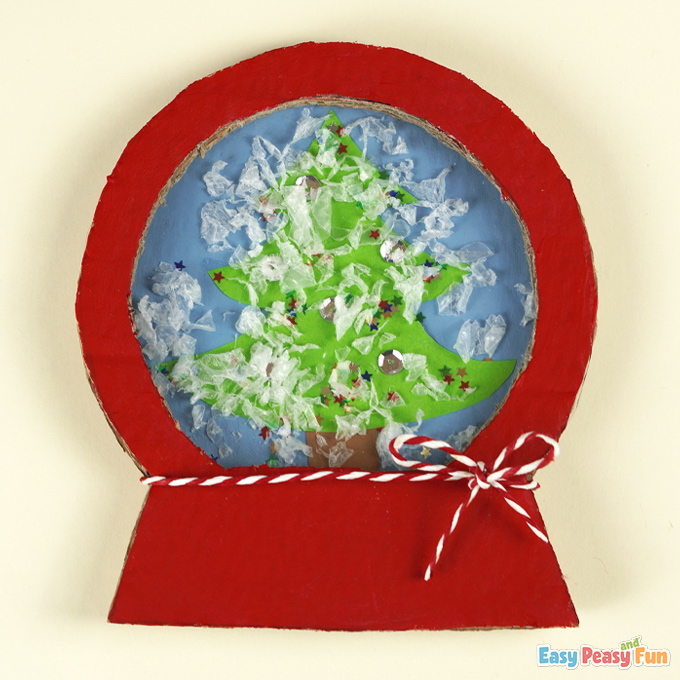
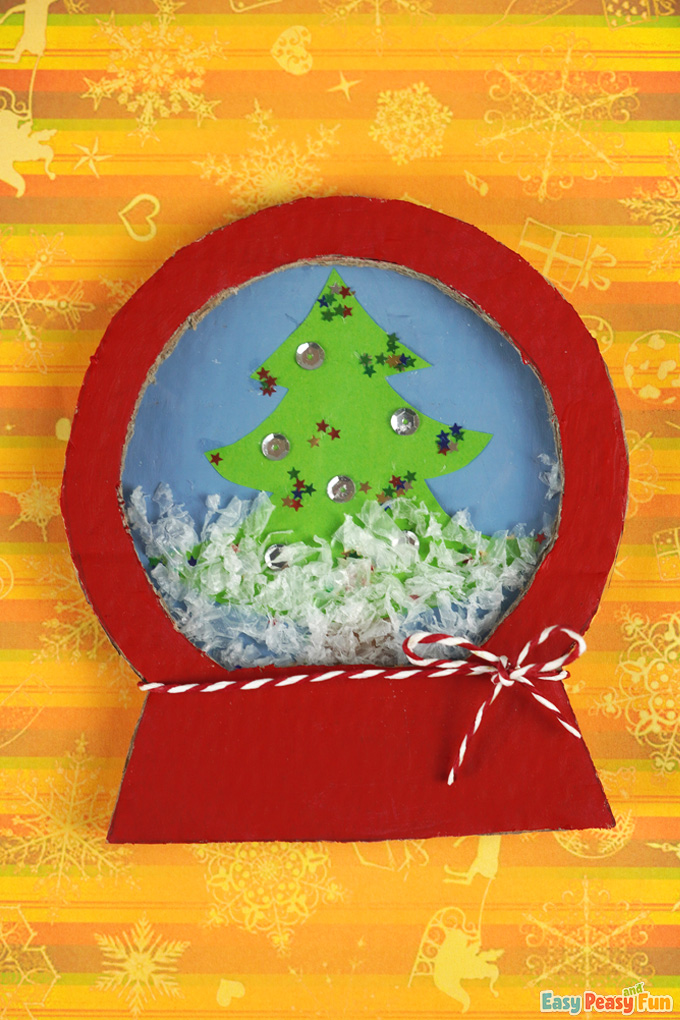
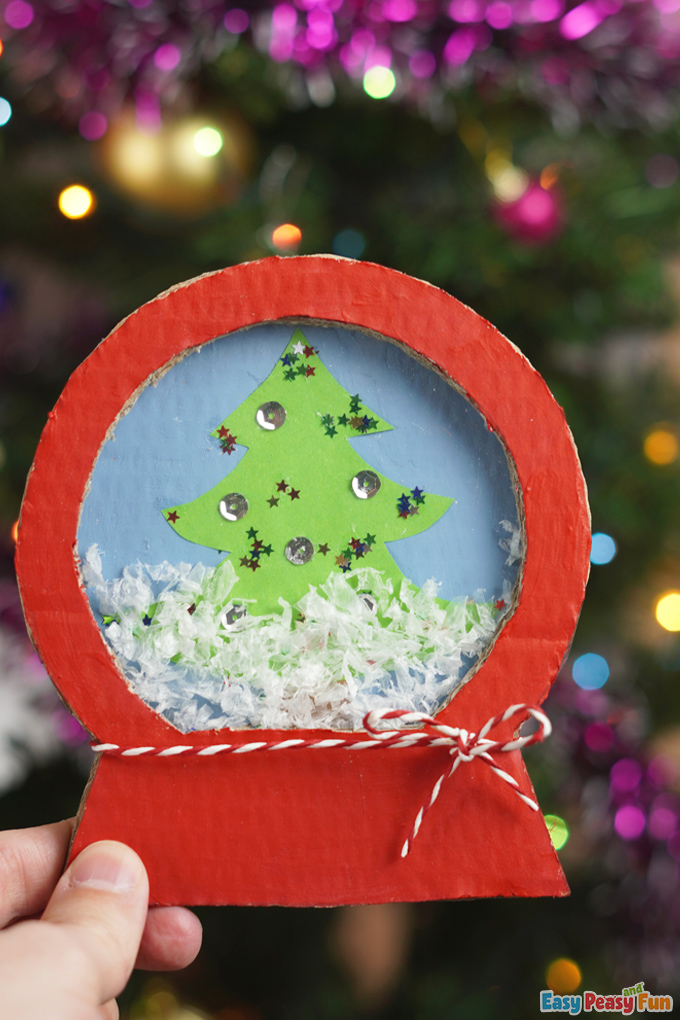
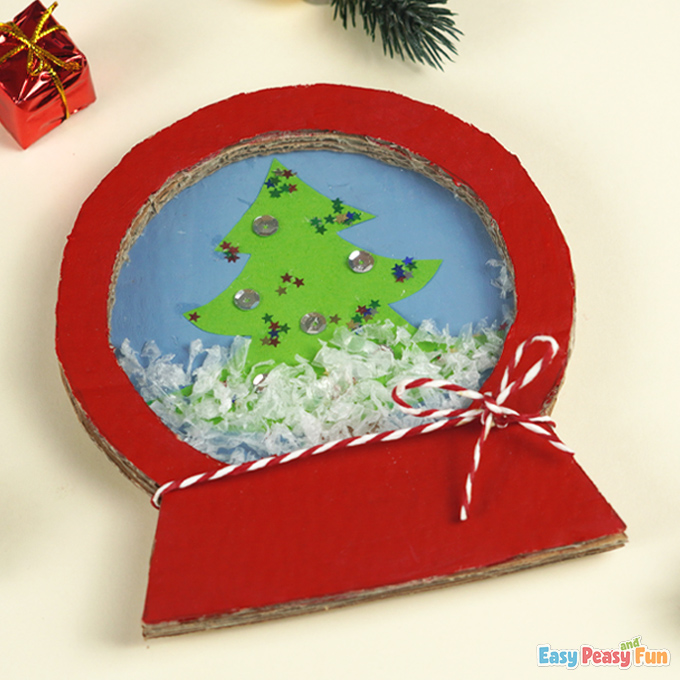
The Christmas Tree Design
Draw a pine tree on green paper and cut it out.
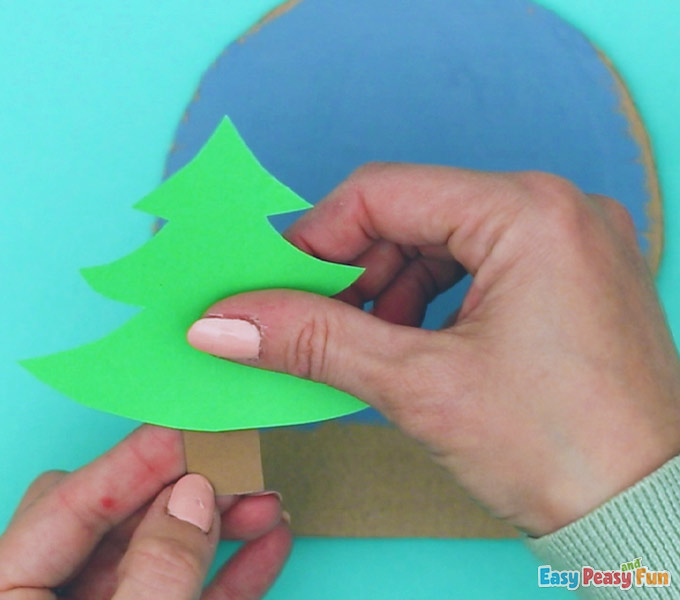
Cut out the tree trunk for your tree.
Add the Christmas tree to the trunk.
Add tiny shiny beads (gem sequins) to the tree.
At this point, you can add whatever decorations you’d like!
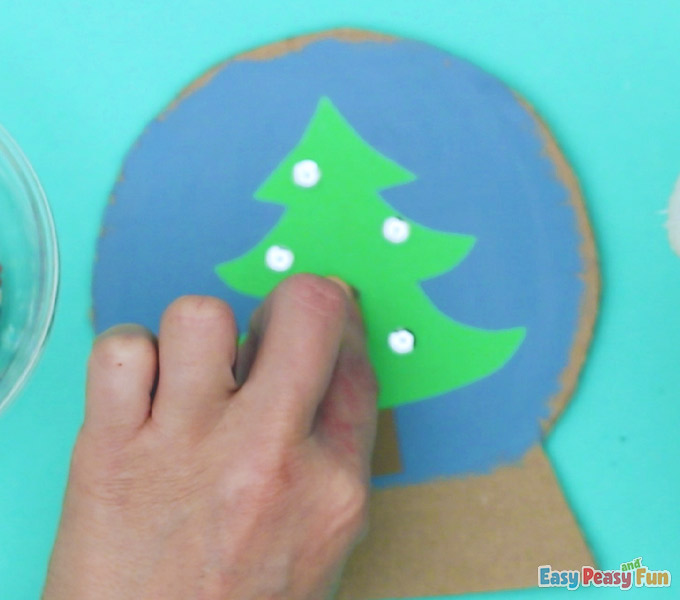
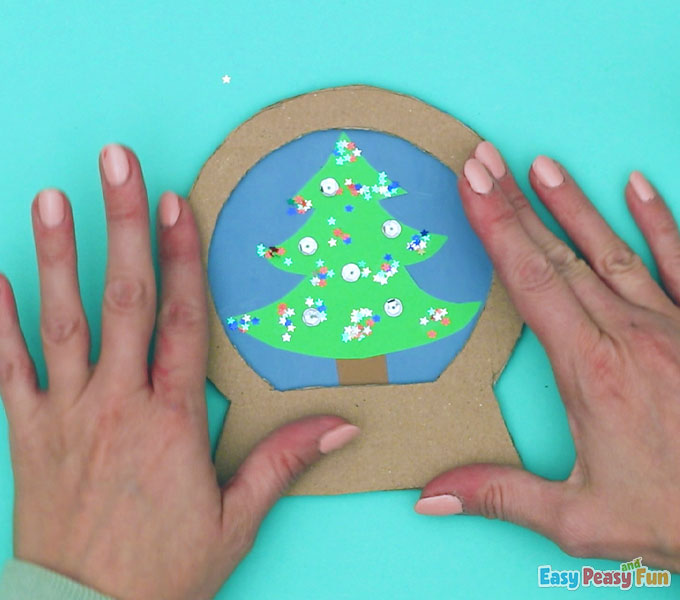
Glue the tree to the cardboard that you’ve painted blue and add some star-shaped confetti to it.

The Middle Frame
It’s time to use our second frame (the cardboard that we’ve cut out the inner part).
Glue it on top of the blue cardboard that has a tree.
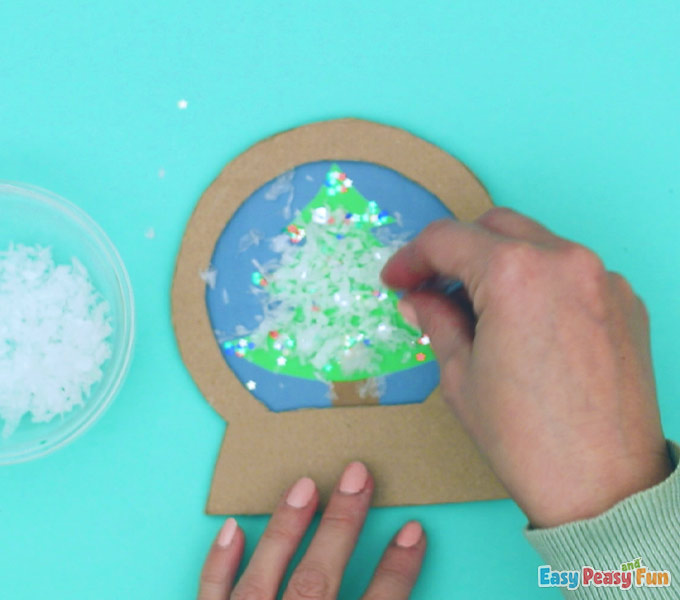
Take artificial snow and add it to the design.
Throw the pieces into the center – do not glue the snow because we want the flakes to move around when we finish our project.
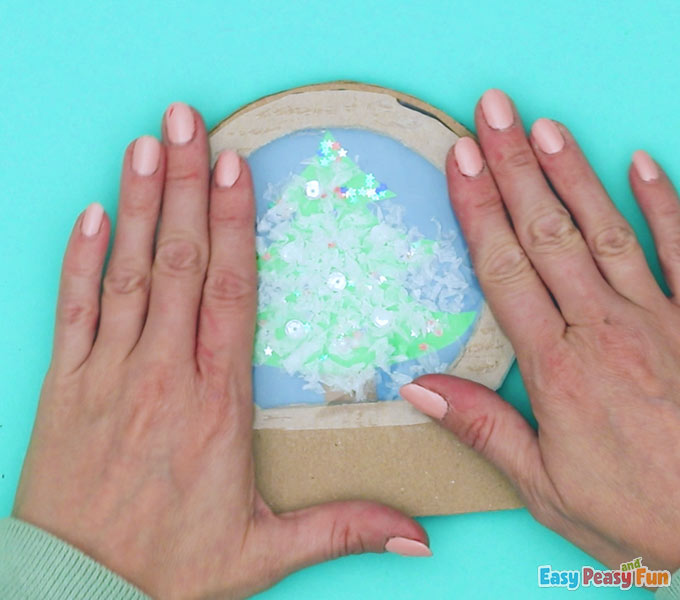
The Transparent Part
Trace around the red frame with a marker onto the transparent foil – you can use a sheet protector or any other transparent material.
We need a piece of transparent foil that is bigger than our “hole” in the frame.
Our transparent foil should cover the part where our tree is.
Cut out the foil and glue it over the cardboard frame.
Now our snowflakes are caught in between and can move freely.
Glue the red frame on top of it.
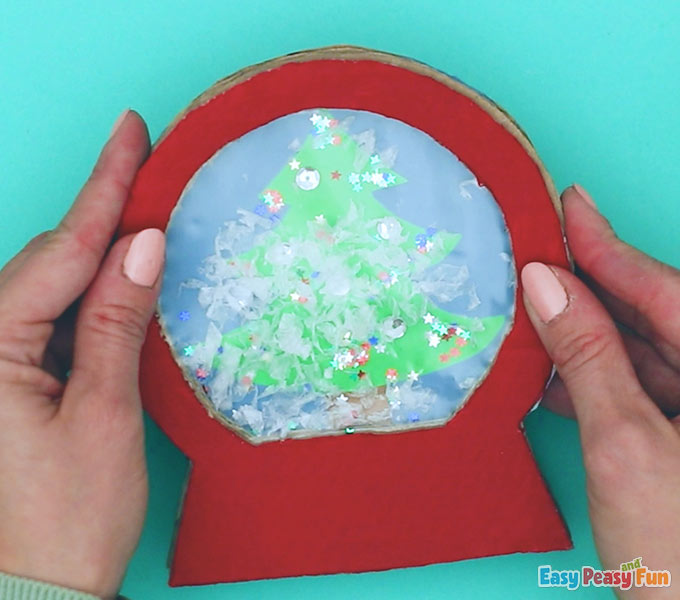
Now with everything together, you’re going to add the twine.
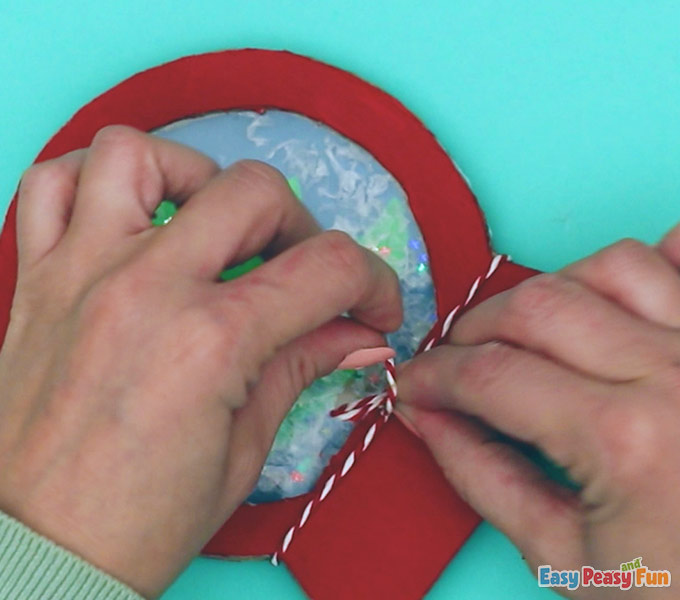
Once you add the twine, you have a beautiful cardboard snow globe craft that you can enjoy for the holidays.
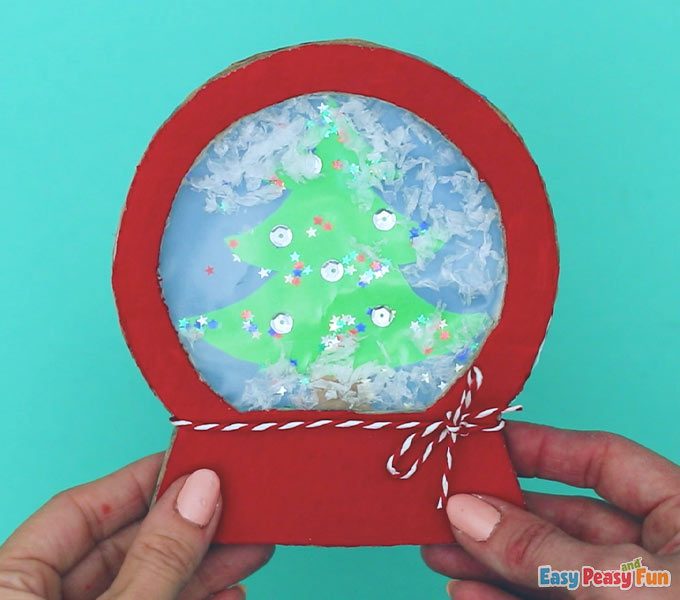
The great thing about this activity, you can add whatever you want into the middle of the globe.
Go on and shake your snowglobe.
Isn’t it beautiful?
Have fun crafting your very own Christmas tree snowglobe.
Enjoy!
Want instant access to all of our printable crafts, activities, and resources?

With thousands of crafts, activities, worksheets, coloring pages, and drawing tutorials to print, you will always have just the resource you need at your disposal. Perfect for parents and teachers alike!