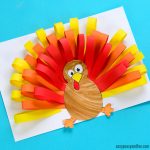
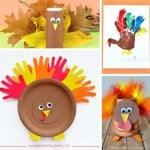
It’s turkey time! We have a super simple paper turkey craft tutorial to share with you, one that will be loved by kids both small and big.
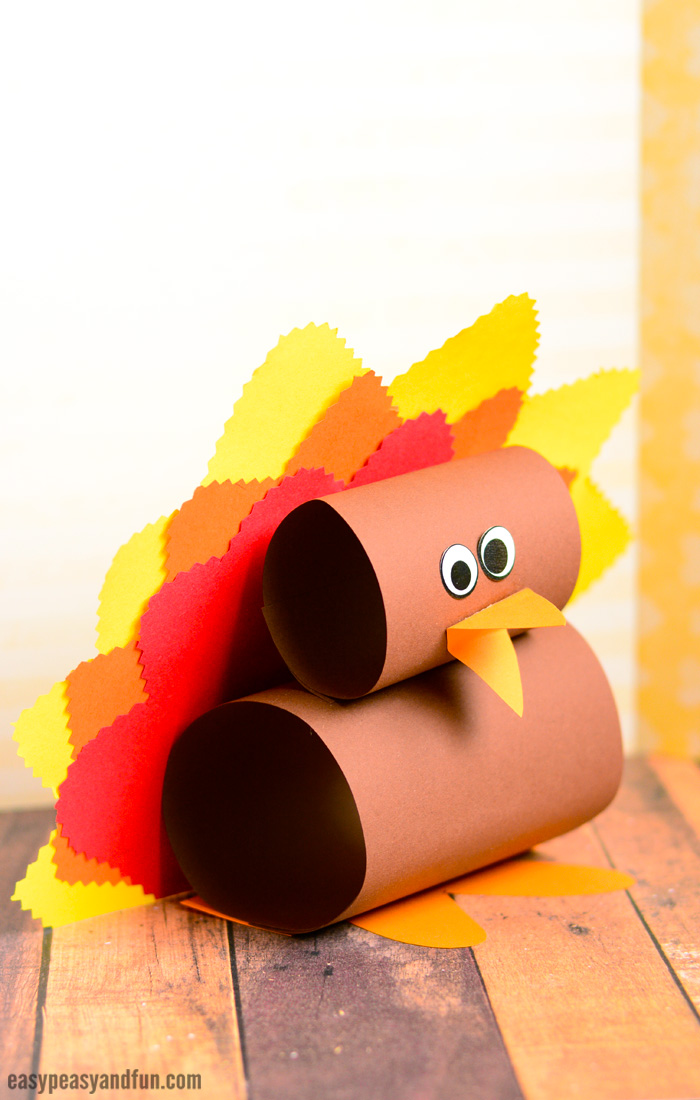
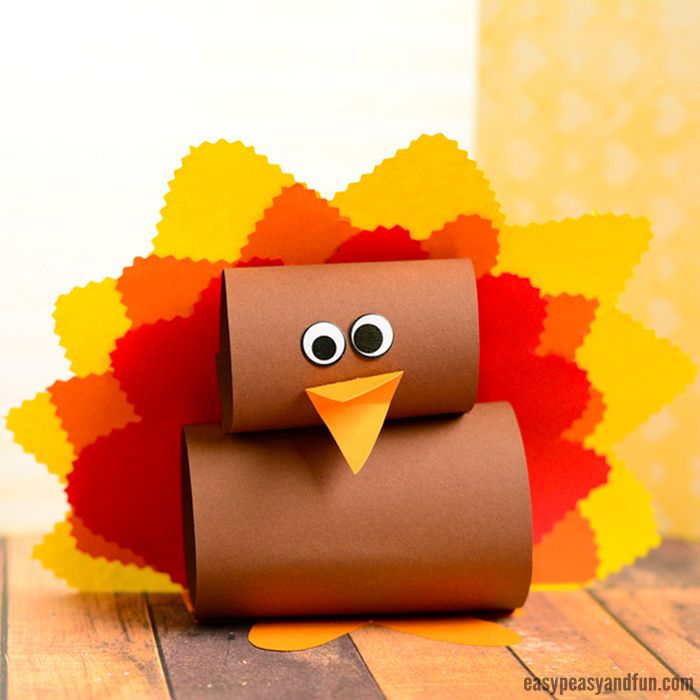
This little fellow, if done with the legs will be able to stand on it’s own, which makes it a wonderful fall decoration.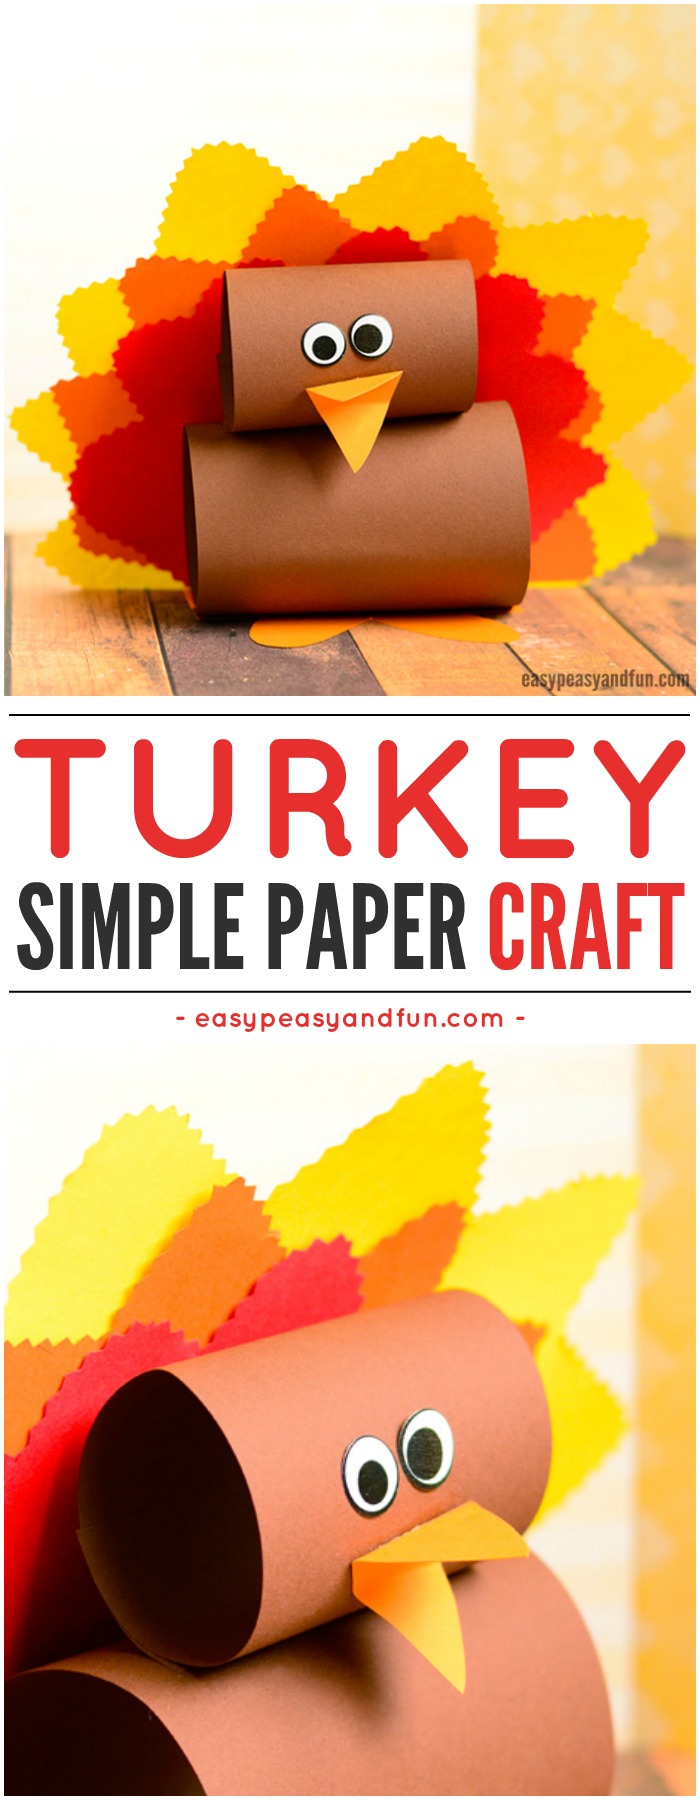
*this post contains affiliate links*
We do love making fun little turkey crafts, even more so if the materials we use are on the frugal side – like paper, we do love crafting with paper.
This little one will be done in no time, you can use regular print paper or construction paper to make it. We have ours standing proudly, on it’s own, on the shelf but you could also make a few and with some thread through their heads make a wonderful DIY fall garland.
Need to take it to a whole new level?
Why not make a giant one out of cardstock or other heavier paper (poster paper) and have a giant turkey craft sit in your classroom or in your home. We’re pretty sure the kids will love taking part in such a project.
Sounds fun right? OK let’s get crafting!
 How to Make a Simple Turkey Craft
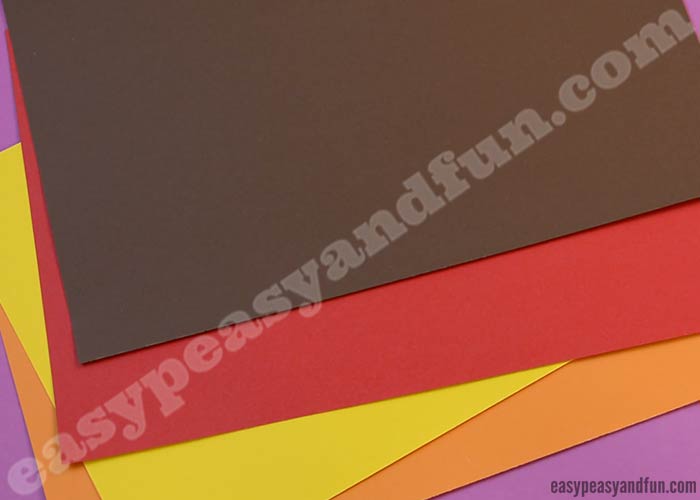
What you need:
- brown paper (regular paper or construction paper)
- red paper
- orange paper
- yellow paper
- wiggle eye stickers or googly eyes
- glue
- scissors
- pencil or crayon
Optional: zig-zag pattern scissors
Watch the Video
Follow the Step by Step Instructions with Pictures
Cut a wide strip out of brown paper.
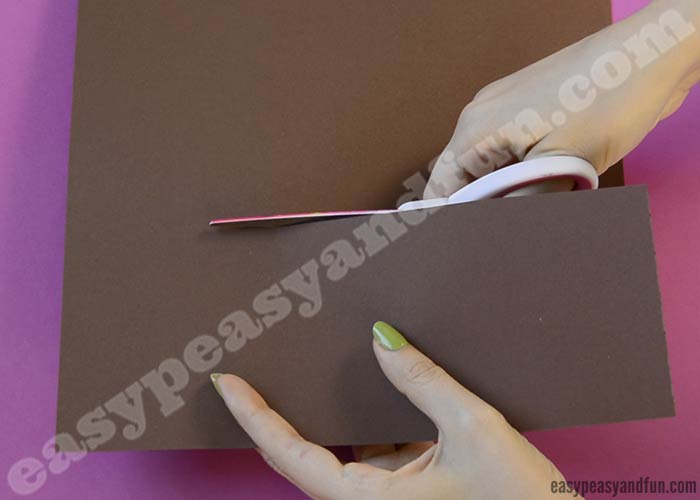 Cut another strip that is thinner and a bit shorter than the first one.
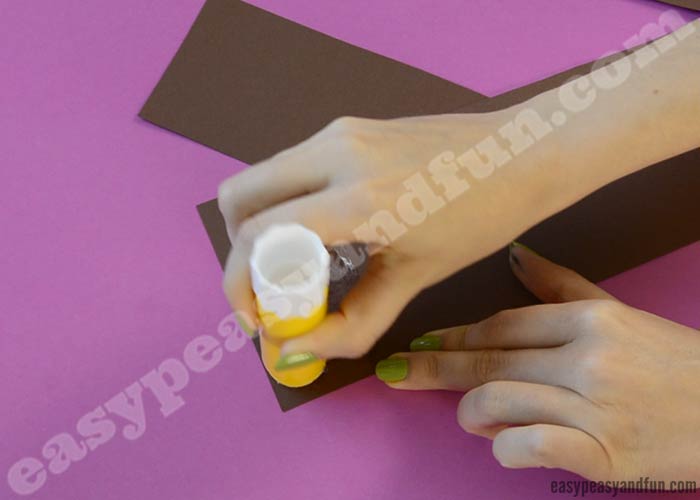
 Apply glue on one end of the strip.
 Roll it into a roll, let the glue set.
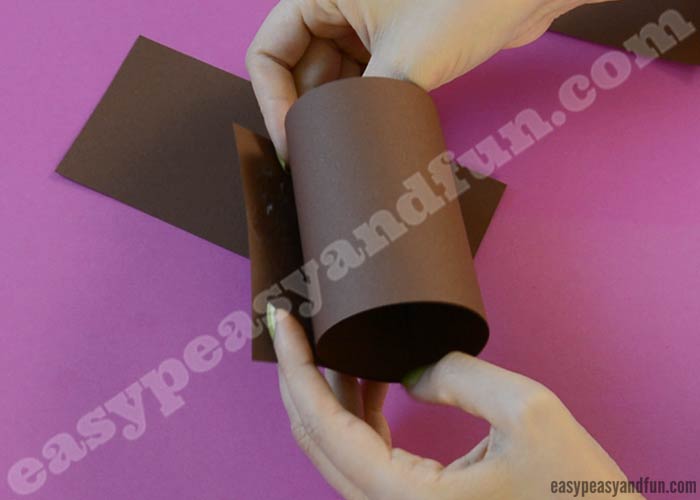 Do the same with the other.
If you are working with construction paper, the glue will take a while longer to set – we usually use clothespins to hold the paper in place while the glue dries.
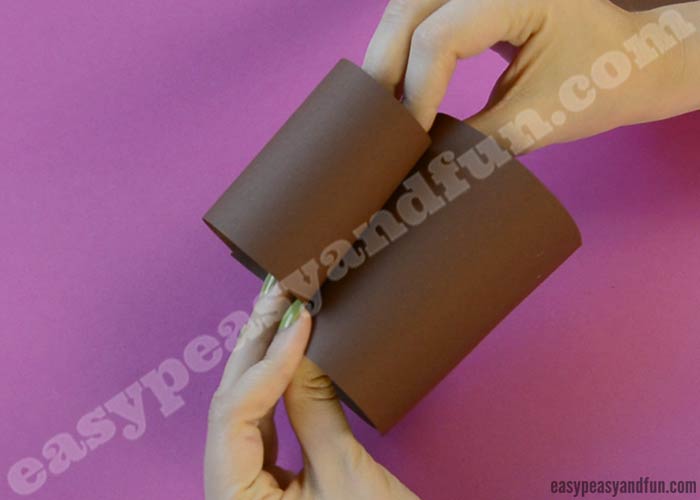
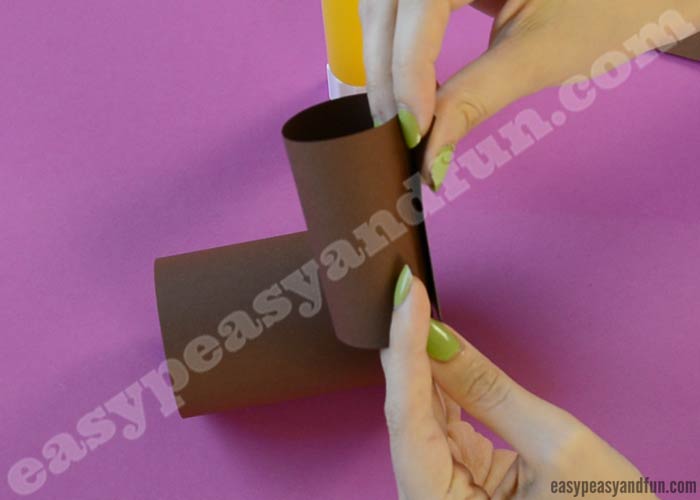 Glue the two roles together, one on top of the other.
You just made the turkey body.
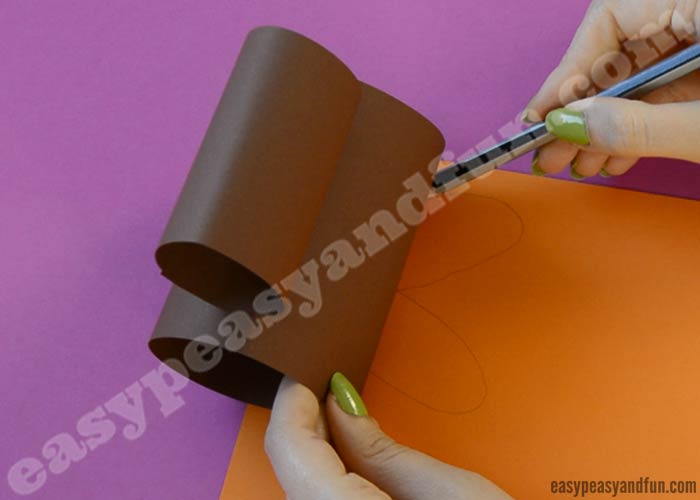
 Place the body on a sheet of orange paper, trace around it and also draw two turkey legs.
 Cut out the legs and base out of orange paper.
Apply glue on the base.
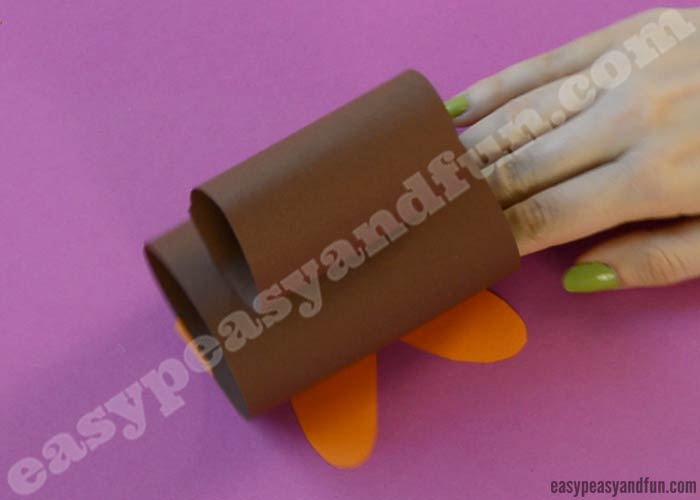
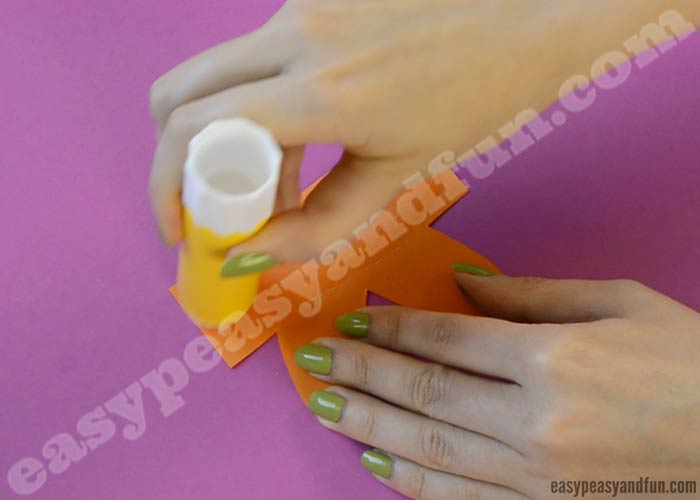 Press the turkey body on to the base and wait (or use a clothespin) for the glue to set.
 Cut a little beak out of orange paper.
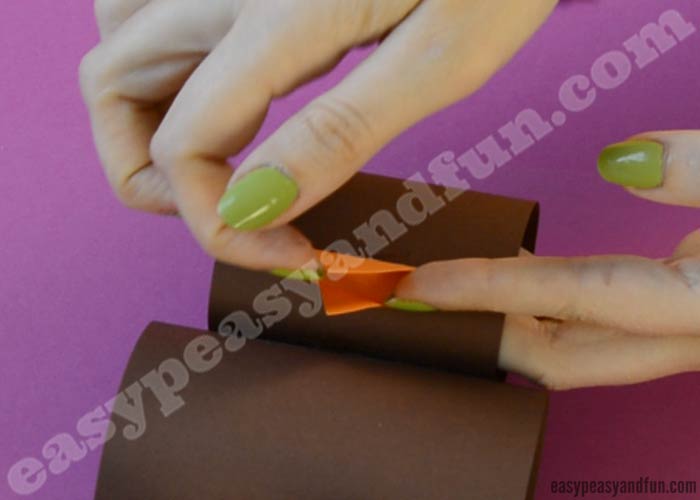
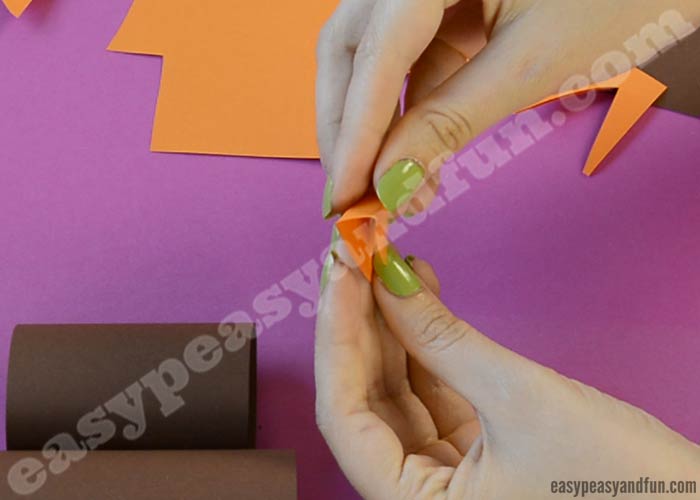 Glue it onto the turkey head.
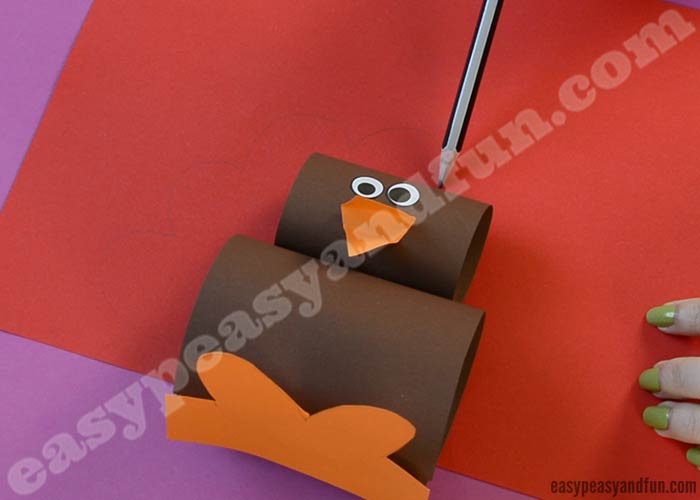
Also stick two eyes on the head.
 Place the turkey on top of a sheet of paper (we choose red to be the first one).
Draw a tail around the body.
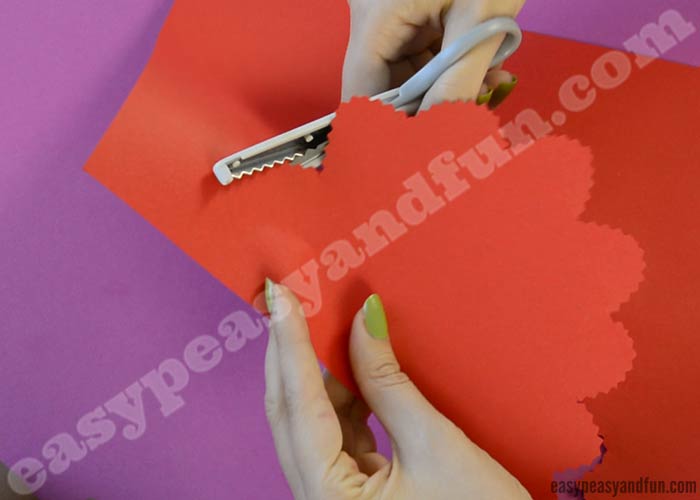
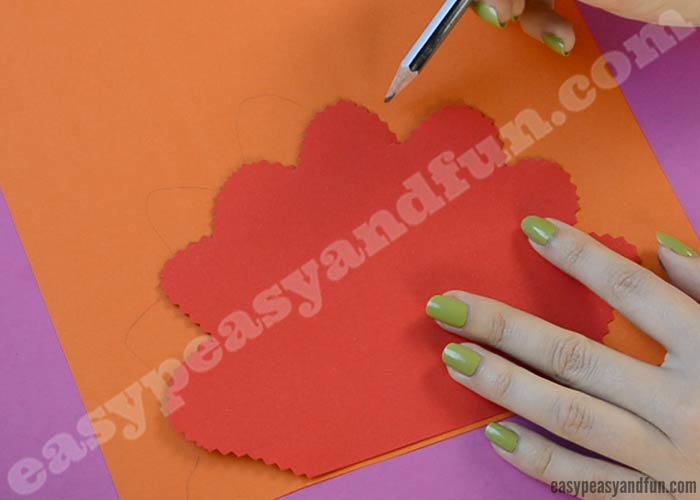
 Cut out the tail – you’ll achieve a nice little effect if you use zig zag (or similar) patterned scissors.
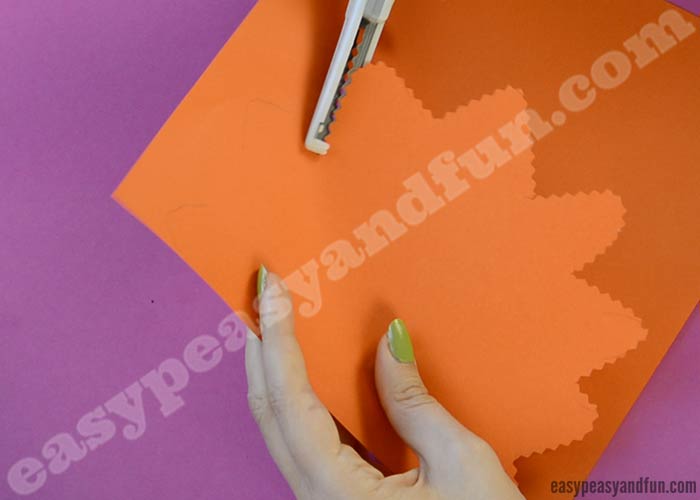
 Now place that tail on top of another sheet of paper (next in line was orange).
Draw feathery tail around the first one.
 Cut it out.
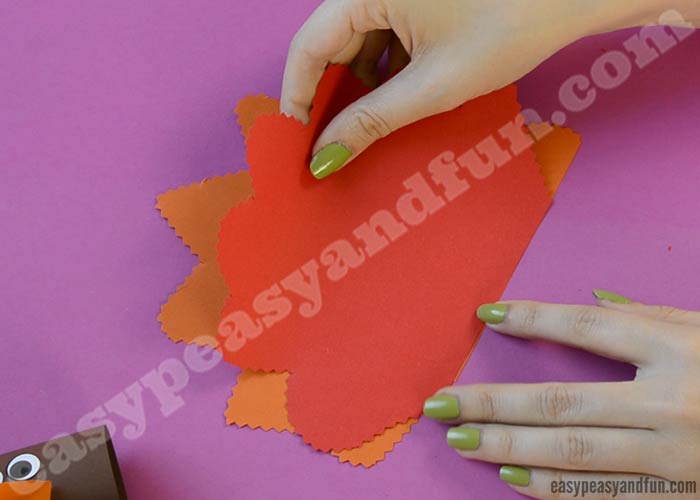
 Glue the first ail on top of the second one.
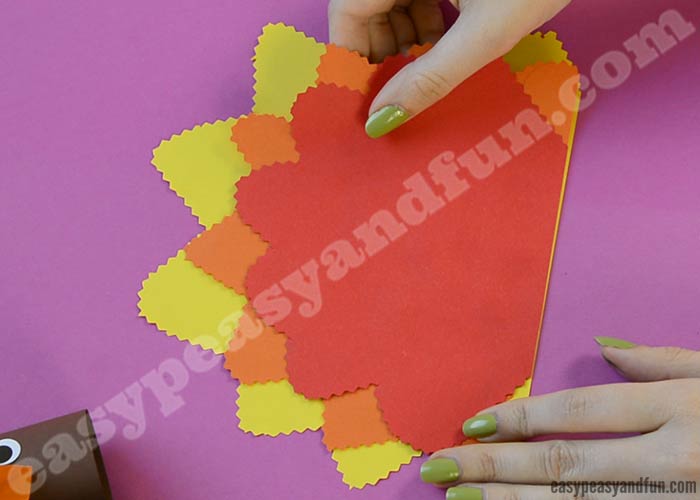
 Now make another (or even more)
 Glue them all together.
 Apply a generous amount of glue on the middle of the first tail.
 Press on the turkey body.
Hold together for a while for the glue to set.

All done! Such a wonderful little turkey don’t you think!
We do oh so love ours!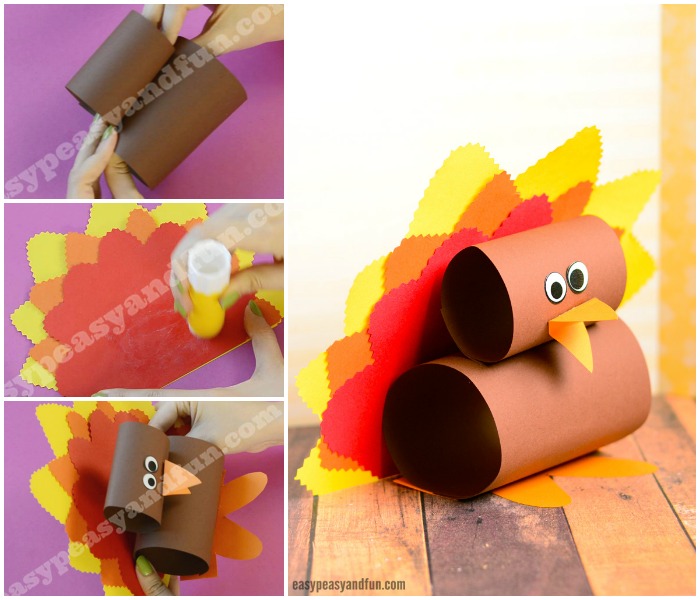
Want instant access to all of our printable crafts, activities, and resources?

With thousands of crafts, activities, worksheets, coloring pages, and drawing tutorials to print, you will always have just the resource you need at your disposal. Perfect for parents and teachers alike!