Learn how to make an origami apple, a fun origami that is perfect for fall and harvest time!
We love origami, there is just something special about transforming a simple square or a sheet of paper into a little work of paper art. If you’re a novice or have kids eager to explore the wonders of origami, our step-by-step tutorial is the perfect way to give this timeless art a go. It really is super easy, and we also have a handy printable Apple original diagram you can use if you are making this in the classroom.
Join us as we guide you through each fold, making the art of origami as easy as pie – or in this case, as easy as crafting your very own origami apple! Even complete beginners can fold this origami apple.

*This post contains affiliate links*
Hi, I'm Andreja from Easy Peasy and Fun — and I just wrote a book!
50 paper crafts your kids can actually do themselves
CRAFTS
I designed every project so kids can do it themselves — no fancy supplies, just paper, scissors, and a little imagination.
“If you need easy crafts to keep busy, Andreja delivers with this book!”
📚 As an indie author, your pre-order genuinely helps me — it counts toward first-week sales, which is how new books get noticed. Thank you!
Paper folding offers a lot of benefits for young minds. Beyond the sheer joy of creating something beautiful with their hands, kids gain valuable cognitive and motor skills through the precise folds involved in origami. This ancient paper-folding practice enhances concentration and nurtures patience and perseverance as kids follow step-by-step instructions.

As young crafters bring paper to life, they also experience a boost in self-esteem and a sense of accomplishment, making origami an enriching and enjoyable activity for kids and beginners alike.
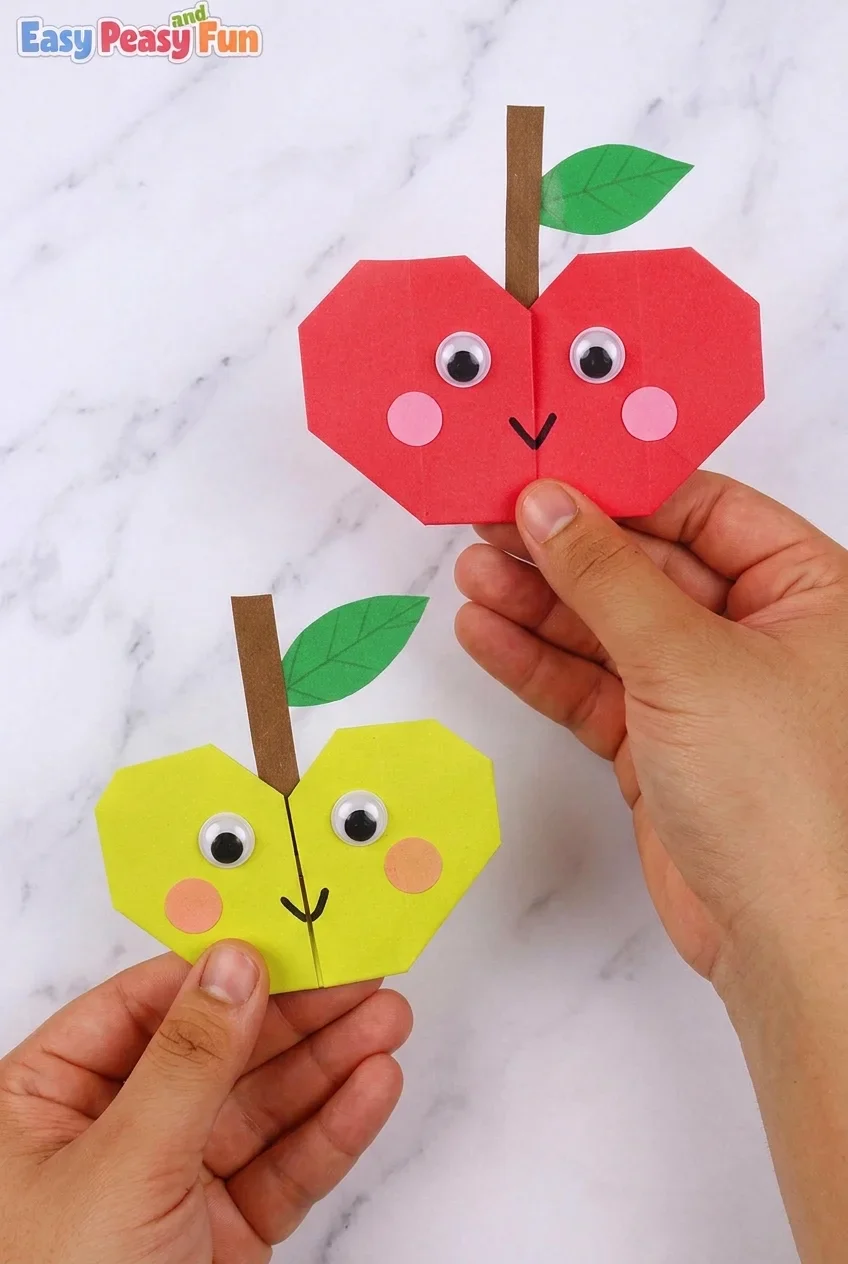
How to Make the Origami Apple
What you need:
- origami paper or square paper in apple colors
- scissors
- glue
- color paper (brown, and green)
- optional: googly eyes, markers
Tip: If you are making this paper craft with a large group of students, I recommend grabbing a pack of one color (red) origami paper. This way, you are not left with a bunch of papers in colors you won’t be using for a while.
Step by Step Tutorial
Ready to learn how to fold an origami apple? Let’s go!
Start with off with a square piece of paper (origami or regular print paper in the color of the apple).
Any size will do, my personal recommendation is to use a larger piece of square paper if you are a beginner or if you are making this with a group of younger kids. The standard larger size origami paper is roughly 6 x 6 inches (15 x 15 cm). If you don’t have origami paper, you can make a large square from 8.5 x 8.5 (21 x 21 cm) print paper. Larger square paper makes it easier to do the smaller folds.

Fold diagonally to make a triangle, then unfold. Repeat along the other diagonal. Once you unfold, you should see an X fold across the square.

Next, take hold of one corner and fold it down so that the corner touches the center of the square. It should land where the two folds you created in the previous steps meet.

Now take hold of the corner opposite the one you just folded and bring it all the way to the top.
The corner should land on the top edge of the fold you made in the previous step.

You should have a hexagon-like shape in front of you now.

Place the finger of your left hand at the bottom center. With your right hand, grab the bottom-right corner and bring it to the top center.
It should be touching the tip of the square (the corner you folded up to the top in the previous step).
Run your fingers across this new fold to make it crisp.

Repeat the folding process with the left side to create a heart-like shape.

Flip over the paper.

We’re almost done.

Take hold of one of the top corners and fold it downward; the corner (the tip) should touch the folded paper on the back.

Repeat the process on the other side.
Next, fold the two corners of the left and right side inward.

Flip the paper again.

Have kids fold the bottom part backward to complete the apple shape.

Now we just add a few non-origami details to this project to complete the apple.

Cut out a leaf shape out of green paper.

Cut out a rectangle shape out of brown paper for the stem. Glue the leaf on the stem.

Now, have them glue the stem and the leaf to the back side of the apple.

All done!

How do you like the origami apples your kids made?

They are delicious looking.
Simple Ways to Make this Origami Even More Fun for Kids
Now the folding itself is fun, but you can make things even more fun for kids by having them personalize the apples and give them personality.
A pair of googly eyes, some pink paper and markers can make wonders.
I recommend using a paper punch for rosy cheeks, but cutting out little circles is an option as well. Alternatively, you can have the kids use acrylic markers like Posca to draw the rosy cheeks as those have excellent coverage and will stand out on colored paper.
For the eyes, the kids can also use a black marker or, again, a hole puncher and punch black paper for the eyes.
A darker green marker can be used to add extra details to the leaves.
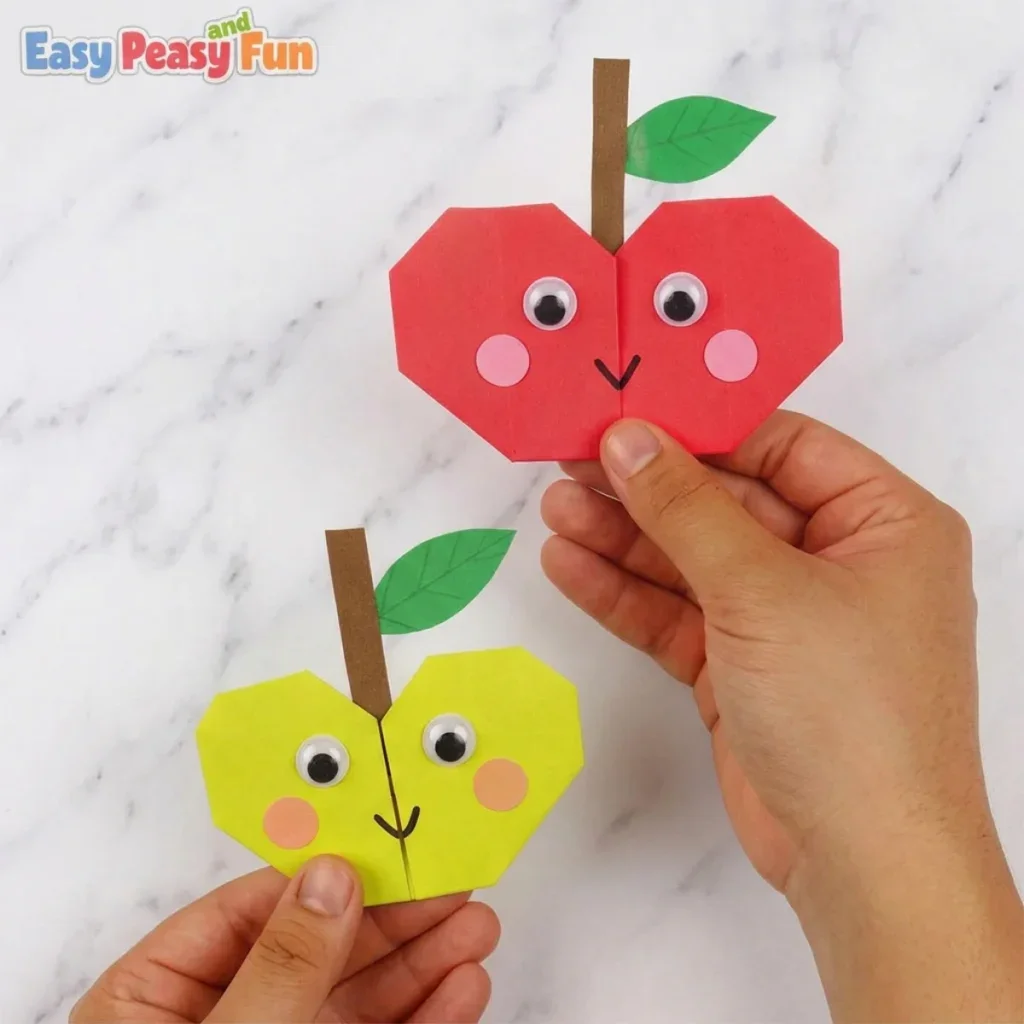
These make for a cute fall craft for kids.
Free Printable Origami Apple Diagram
All the steps in a handy printable PDF. This is perfect if you are having a group craft session – in the library or in the classroom as you can hand these out to the kids. Easy-peasy!

More Apple Crafts and Activities to Explore
If you are setting up an apple-themed lesson or have an apple-themed (or harvest-themed) event, these are some of the projects that are easy to incorporate:
- How to Draw an Apple – A simple step-by-step guide
- Paper Plate Apple Craft
- Apple Pop Up Card
Want instant access to all of our printable crafts, activities, and resources?
With thousands of crafts, activities, worksheets, coloring pages, and drawing tutorials to print, you will always have just the resource you need at your disposal. Perfect for parents and teachers alike!