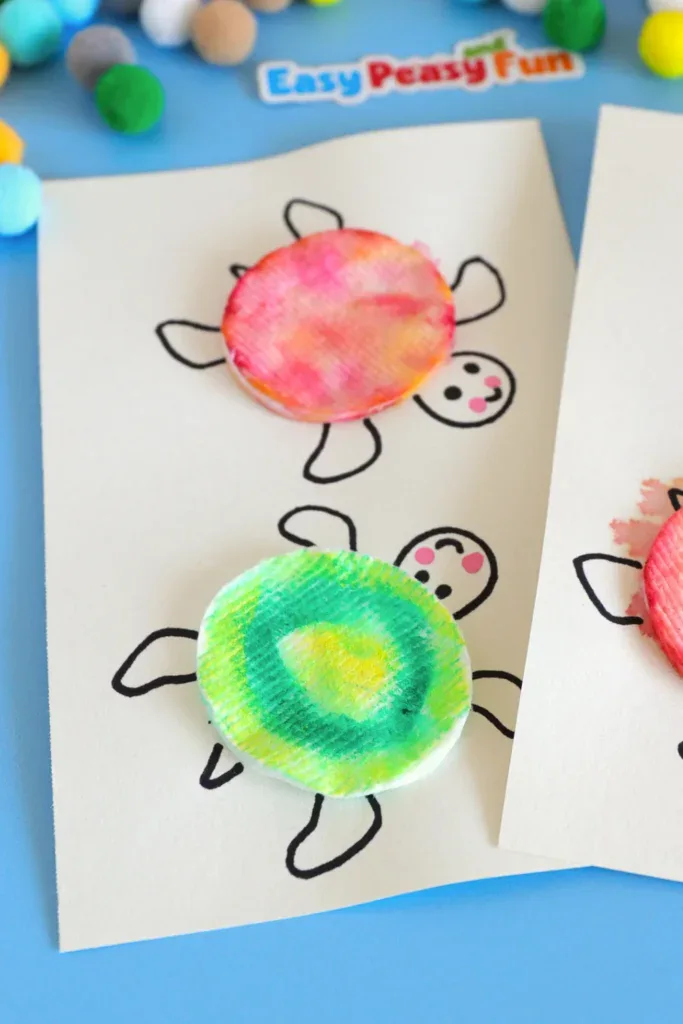
Get ready for some summer fun with our colorful cotton pad turtles! This easy craft project is a fantastic way to turn simple household items into adorable little sea friends that are perfect for kids of all ages.
Not only is this project great for developing fine motor skills through precise marker placement and pipetting, but it also opens up endless opportunities for imaginative play.
Related: Summer Crafts and Activities for Kids
*This post contains affiliate links*
50 paper crafts your kids can actually do themselves

No fancy supplies — just paper, scissors, and a little imagination.
Be the first to get it on release day — and lock in the lowest price guaranteed.
These cute turtles make wonderful classroom decorations, personalized handmade cards, or a fun afternoon activity to brighten up a rainy day.

How to Make the Colorful Cotton Pad Turtles
What you need:
- liquid glue
- white cardstock
- cotton pads
- markers (red, yellow, black, and pink)
- pippette or a straw
- water
Step by Step Tutorial
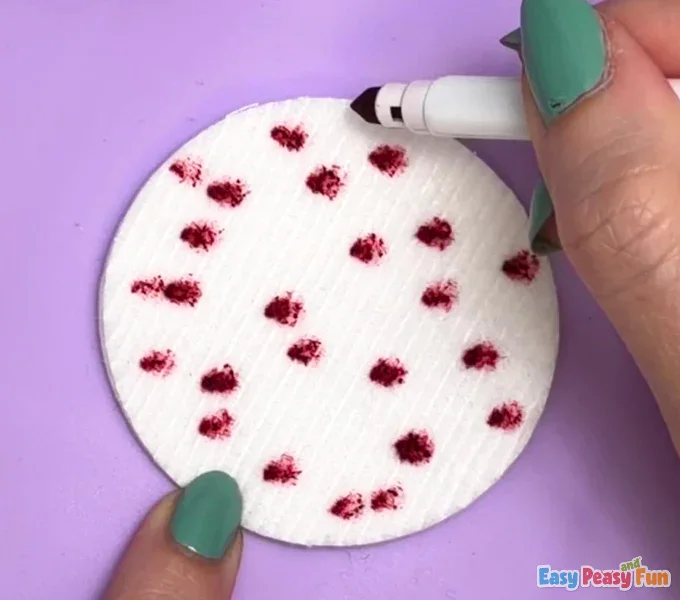
Start by taking one cotton pad and using a marker to create several colorful dots all over the surface. We chose red for our first color to make the pattern pop.
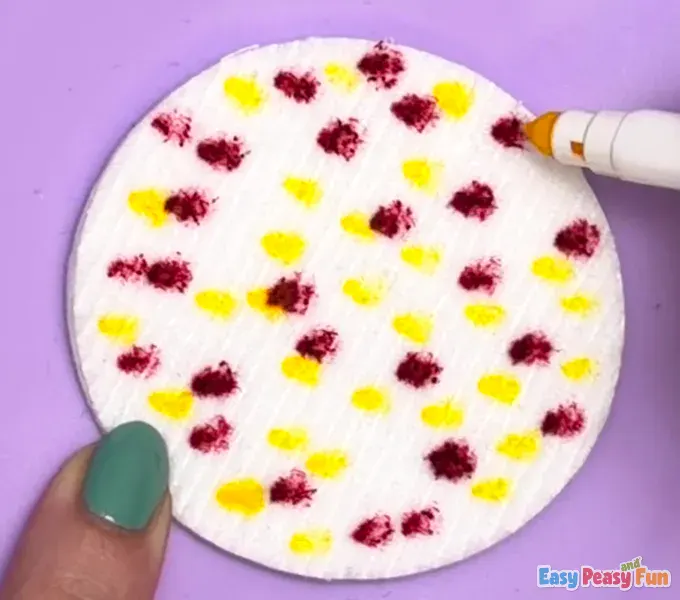
Continue adding more color to your design by using a yellow marker to draw additional dots around the red ones.
Now it is time to watch the magic happen! Use a pipette to gently drop small amounts of water directly onto your colorful marker dots.
No pipette? No worries, just dip a straw into water, cover the top with your finger, hold it over the pad and release!
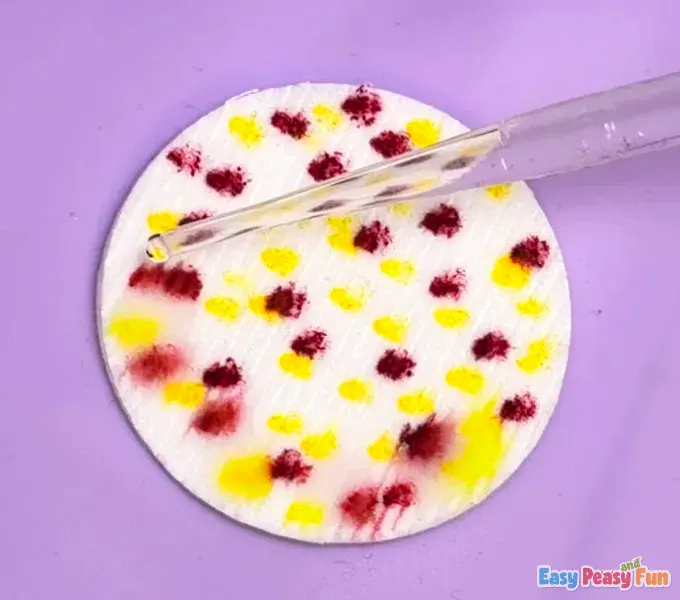
If the colors haven’t started to spread yet, carefully add a few more drops of water as needed. Be sure to saturate the area enough so the colors begin to bleed and blend together.
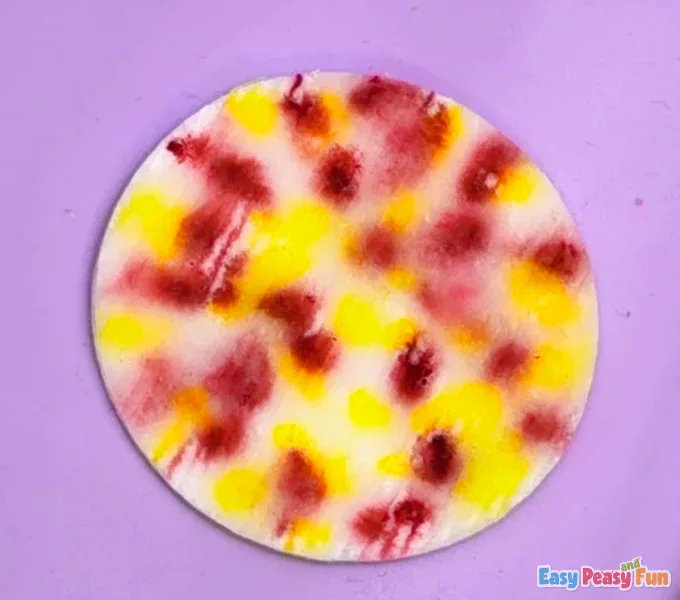
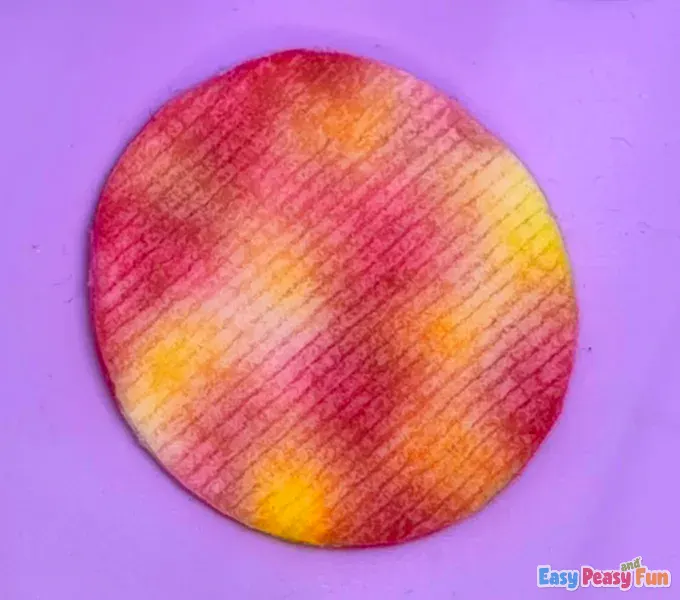
Watch as the colors diffuse beautifully across the cotton pad to create a tie-dye effect for your turtle’s shell.
Set the pad aside for a moment to let it dry completely before moving on to the next step.
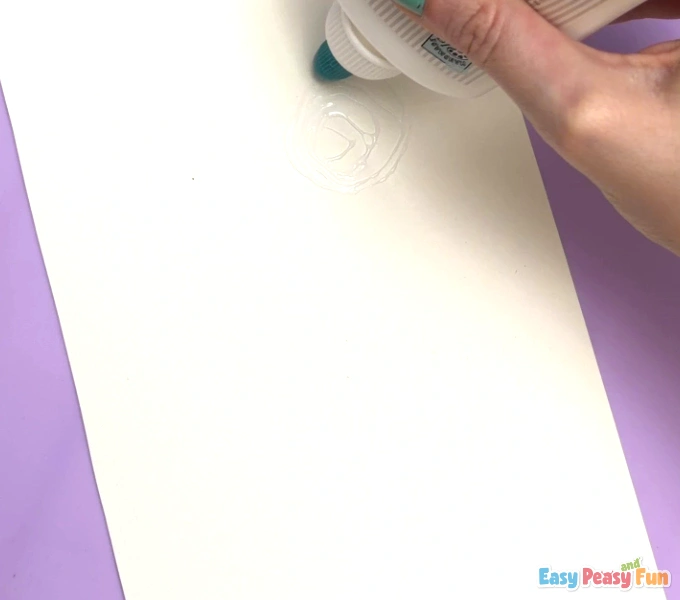
Prepare your background by taking a sheet of white cardstock and applying a small circle of liquid glue near the top. This will be the perfect spot to mount your colorful turtle shell.
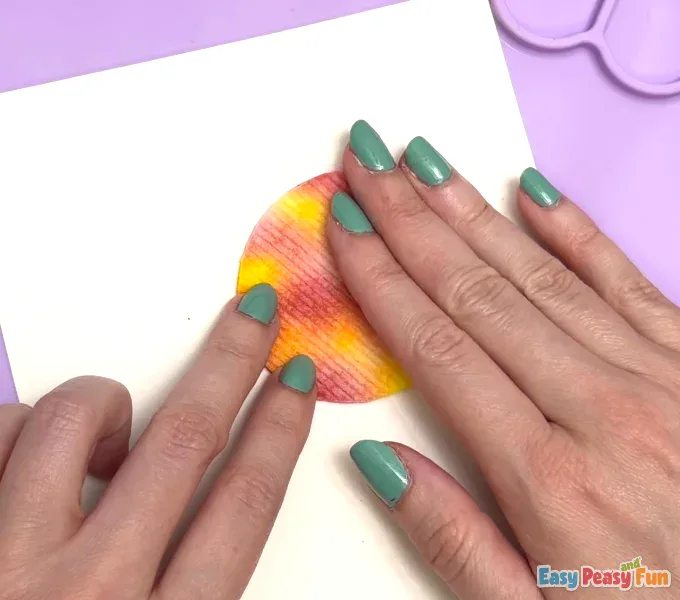
Carefully pick up your dried, decorated cotton pad and press it firmly onto the circle of glue you just created.
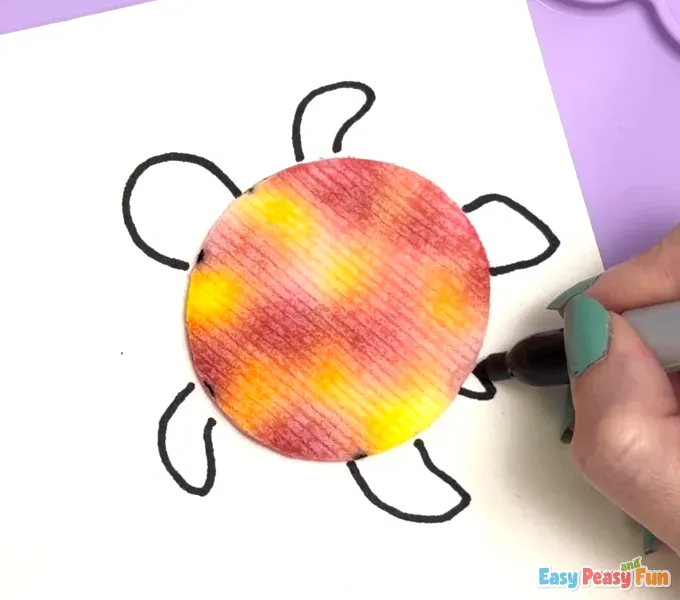
Using a black marker, draw the turtle’s head, four legs, and a small tail around the cotton pad shell. These simple shapes will instantly transform the pad into a cute little turtle.
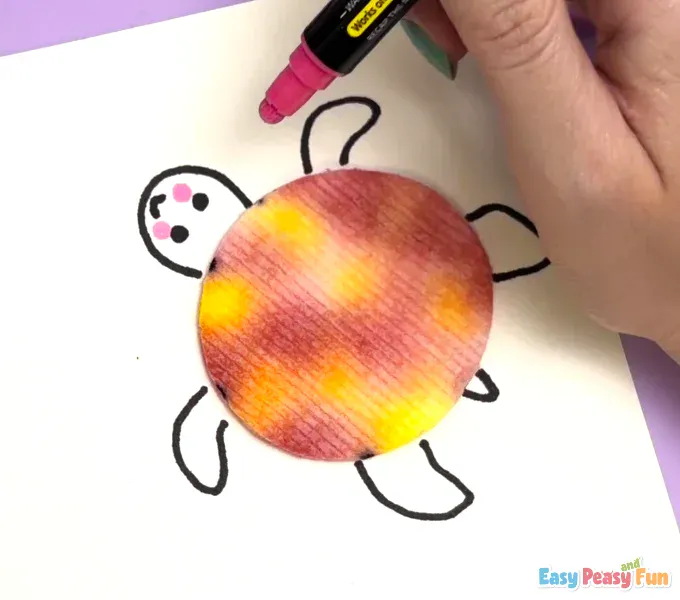
Bring your turtle to life by drawing a sweet, smiling mouth and two eyes on its head.
Finish off the look by adding two cute, rosy pink cheeks for extra personality.
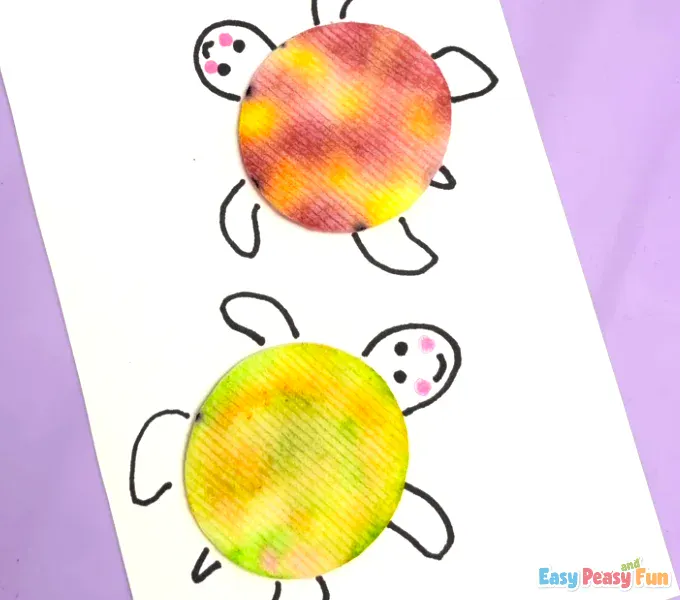
Create a second turtle by repeating all the previous steps with a new cotton pad. Once finished, glue this one near the bottom of your cardstock to complete your turtle family.
More Fun Turtle Project Ideas
- Yarn and Watercolor Turtle Art
- Bubble Wrap Turtle Art
- 3D Paper Turtles
- Egg Carton Turtles
- Turtle Clothespin Puppets
Want instant access to all of our printable crafts, activities, and resources?

With thousands of crafts, activities, worksheets, coloring pages, and drawing tutorials to print, you will always have just the resource you need at your disposal. Perfect for parents and teachers alike!