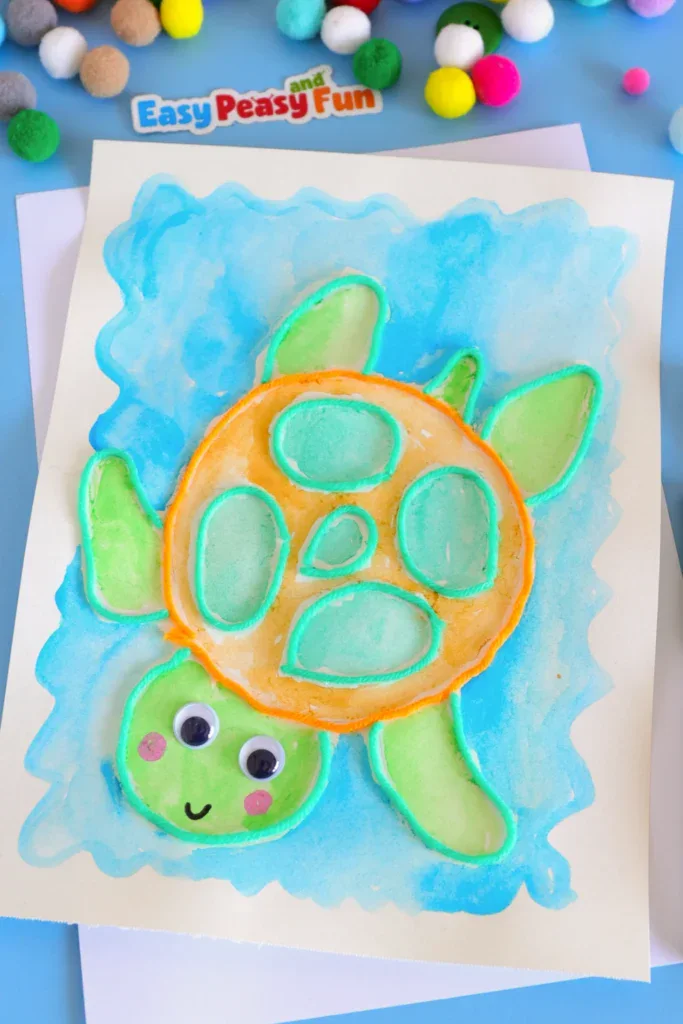
If you’re looking for an easy summer art project that combines texture, color, and a whole lot of charm, this turtle yarn and watercolor art is just the thing! Kids will love pressing yarn along the glue lines, splashing watercolors, and watching an adorable sea turtle come to life right before their eyes.
It’s a beautiful mix of fine motor practice and creative expression, and the result is so pretty, you’ll have no choice but to frame it and hang it on the wall. Grab your supplies and let’s make some art!
*This post contains affiliate links*
50 paper crafts your kids can actually do themselves

No fancy supplies — just paper, scissors, and a little imagination.
Be the first to get it on release day — and lock in the lowest price guaranteed.
This project is the perfect addition to your lineup of summer crafts and activities for kids. It’s easy to set up, fun from start to finish, and keeps little hands busy in the most creative way!
Between pressing the yarn into place and painting with watercolors, there are so many textures and techniques to explore, making it one of those art ideas for kids that sneaks in skill-building while feeling like pure play.

Whether you’re looking for a rainy-day indoor activity or a fun outdoor art session, this sweet little sea turtle craft is sure to be a hit with preschoolers and kindergarteners alike.
Related: Ocean animal crafts
How to Make the Turtle Yarn and Watercolor Art
What you need:
- watercolor / art paper (regular paper will work as well)
- painter’s tape (low-tack, paper-safe tape)
- pencil
- craft glue
- yarn scraps (orange and green)
- watercolor paints (yellow, green, and blue)
- paintbrush
- googly eyes
- markers (pink and black)
Step by Step Tutorial
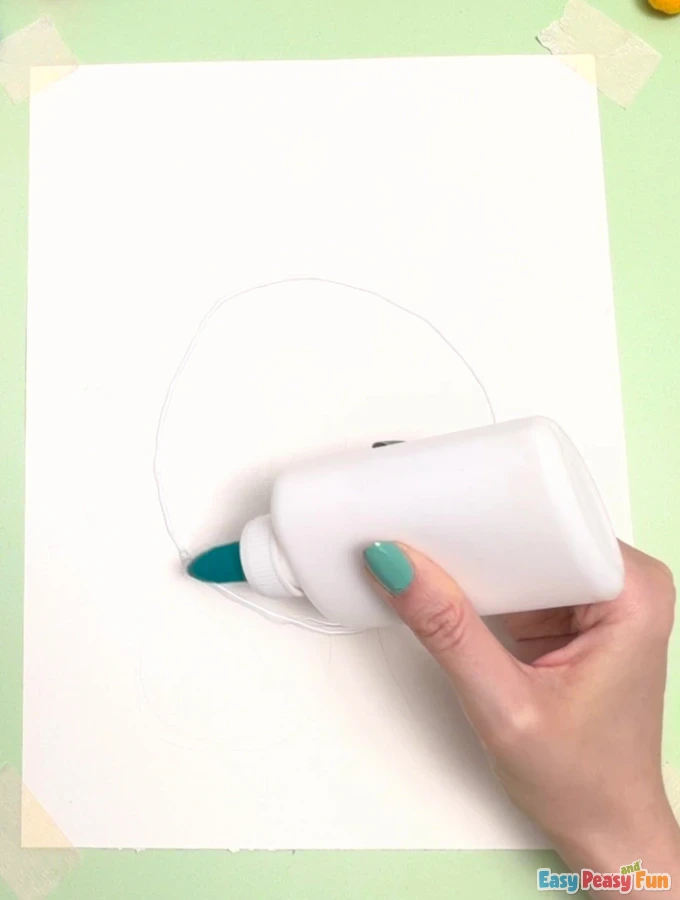
Start by securing the sheet of paper on the desk with painter’s tape (the kind that lifts off cleanly without tearing).
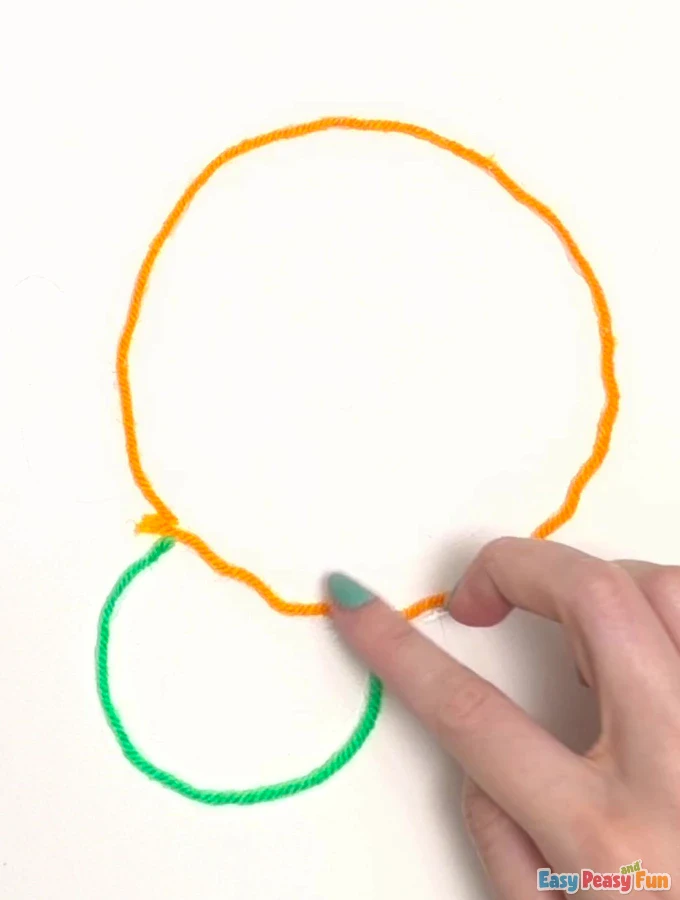
Use a pencil to draw a large circle for the turtle’s body, then trace over it with a line of craft glue.
This might help: How to Draw a Turtle
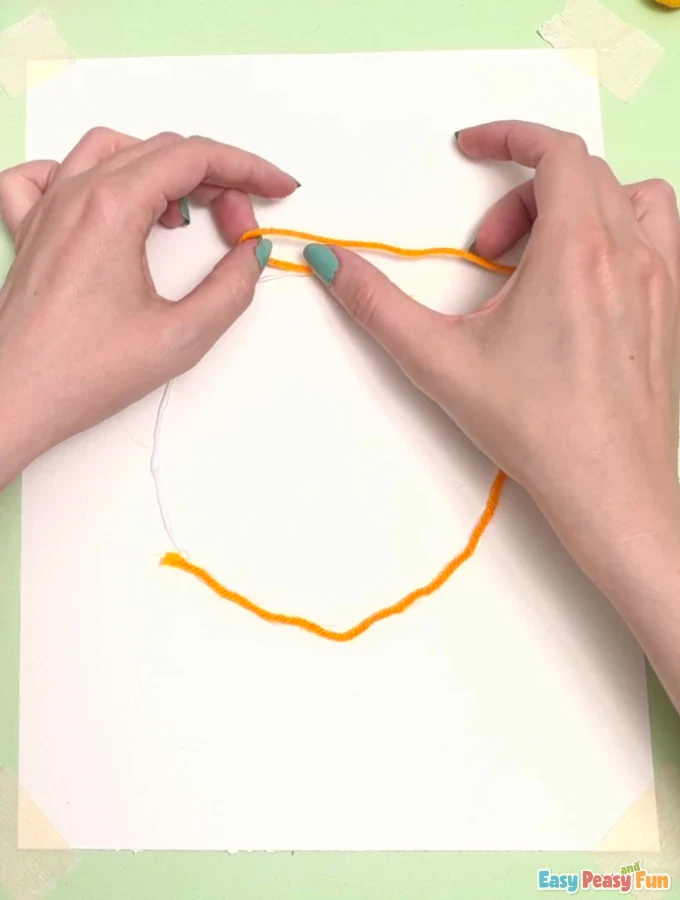
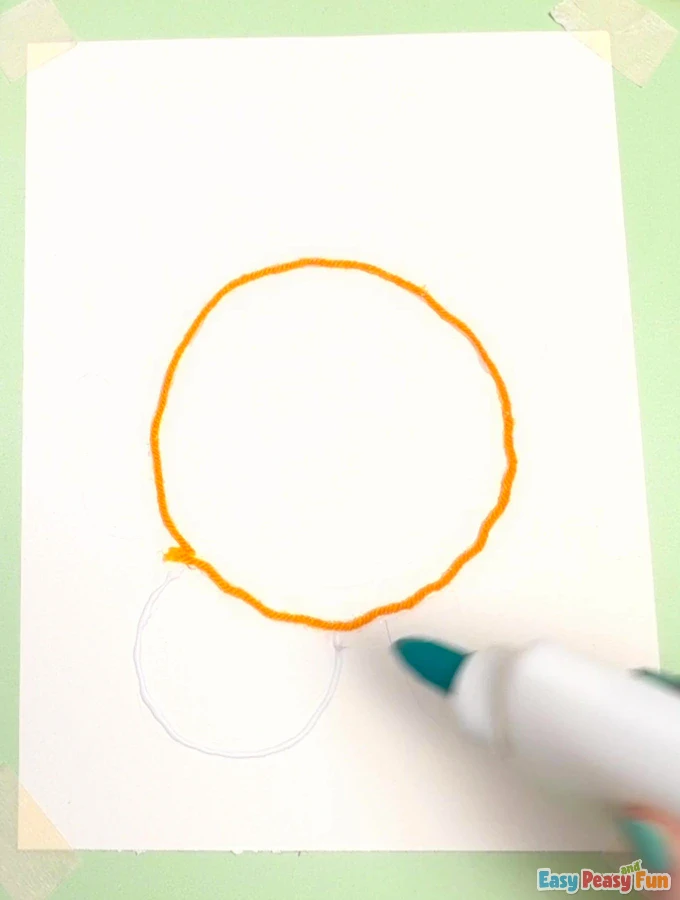
While the glue is still wet, press a length of yarn along the glue line. We chose a bright orange to make it pop!
Sketch the turtle’s head, legs, tail, and shell pattern with a pencil, then trace each shape carefully with glue, just like you did with the body outline.
Press a piece of green yarn along the glue line for the turtle’s head, following the curve.
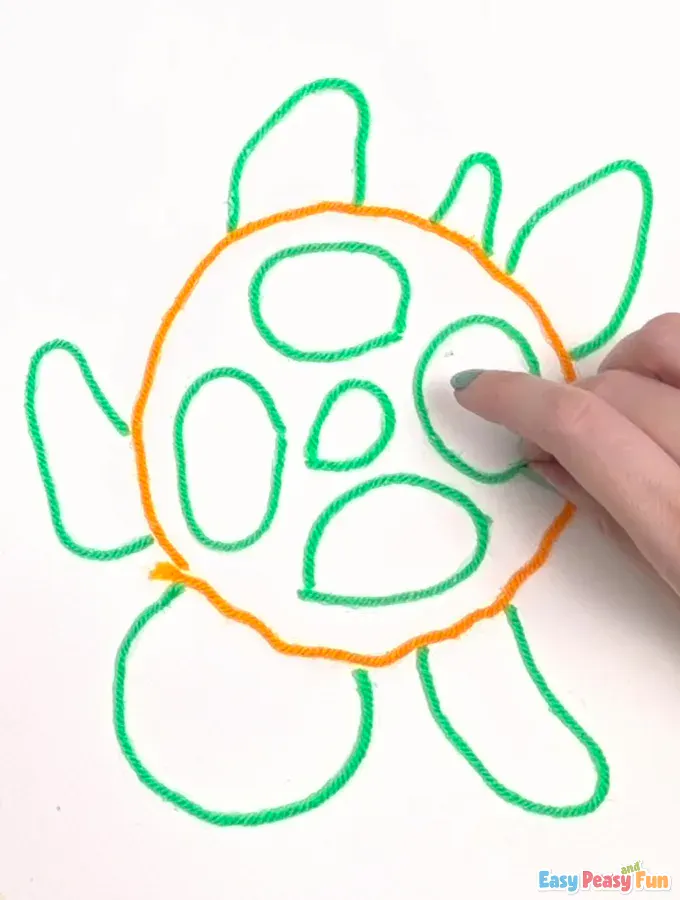
Continue adding green yarn along the glue lines for the legs, tail, and shell details until all your traced lines are covered.
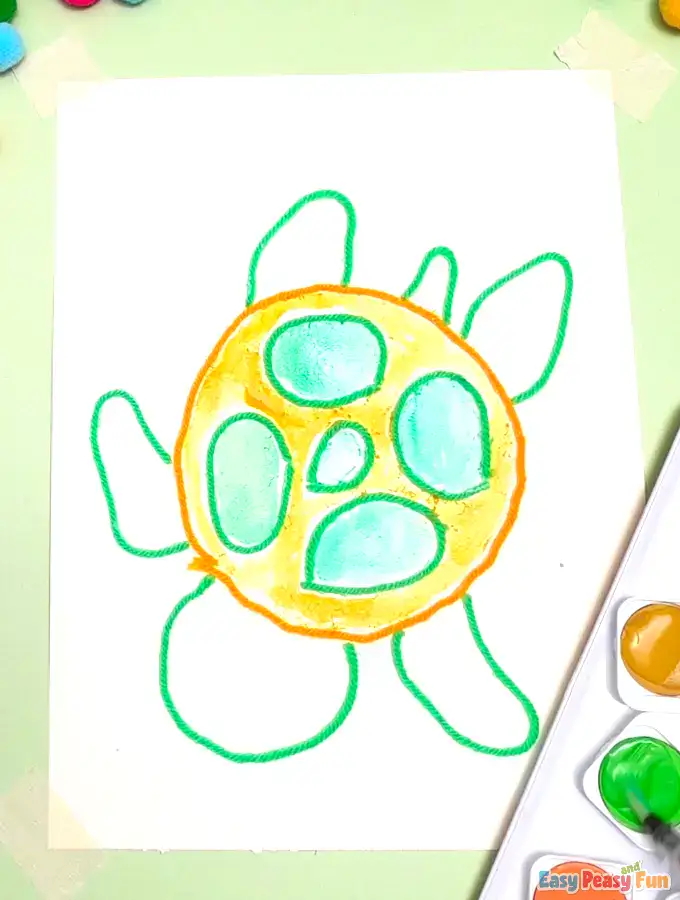
Once the glue is dry, use yellow watercolor to paint the sections of the turtle’s shell, and let the color fill the spaces between the yarn lines.

Go back in with a darker green watercolor and paint the inner shell shapes to give the turtle’s back beautiful depth and detail.
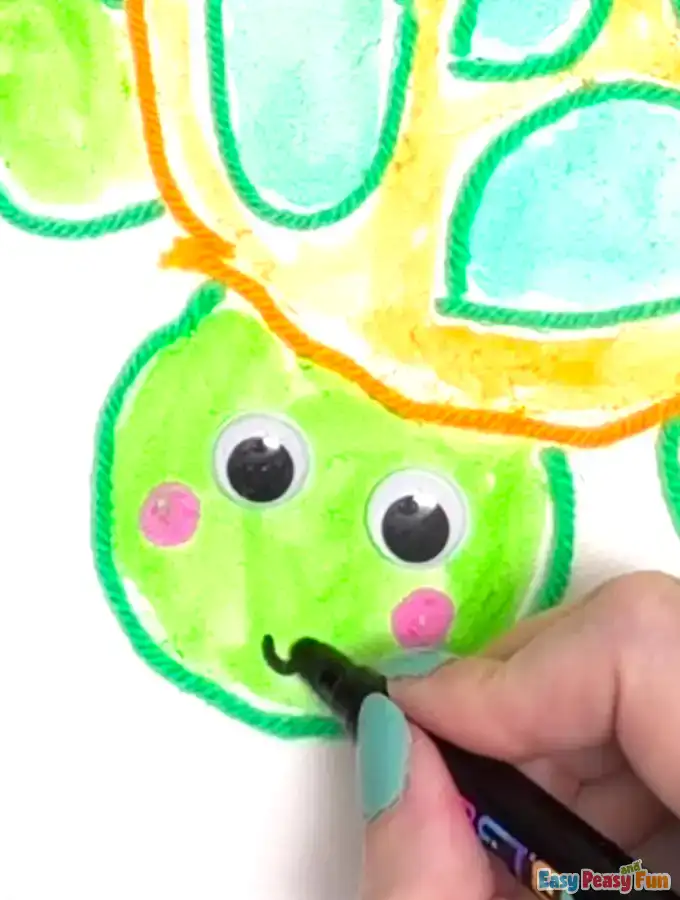
Paint the head, legs, and tail with green watercolor, letting the yarn outlines frame each section.

Glue on two googly eyes, add rosy cheeks with a pink acrylic marker, and finish the face with a smile drawn in black marker.
Finally, paint the background around the turtle in blue watercolor to bring the ocean to life around your little sea turtle!
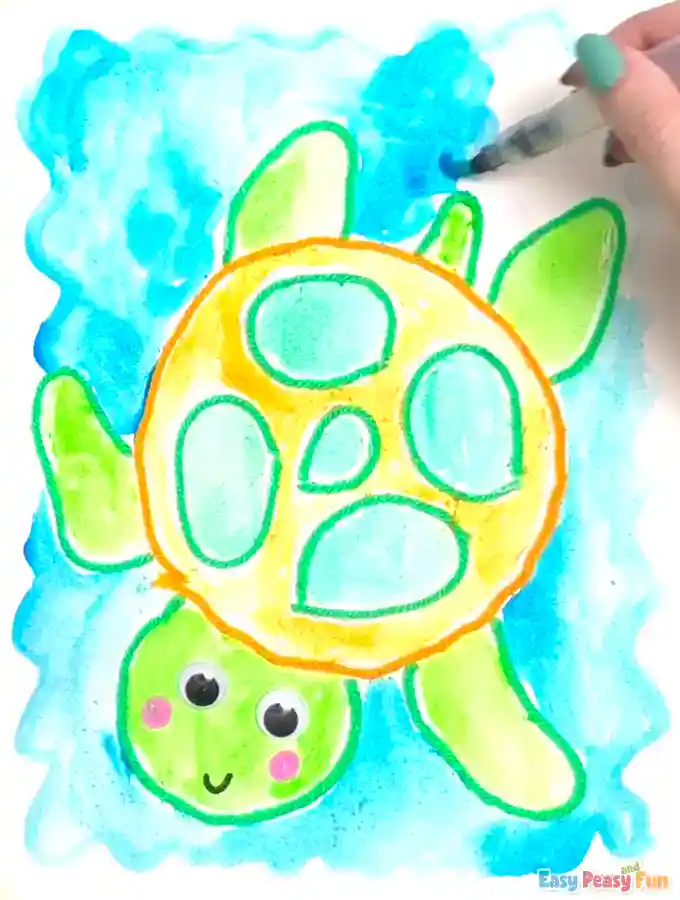
All done!
Want instant access to all of our printable crafts, activities, and resources?

With thousands of crafts, activities, worksheets, coloring pages, and drawing tutorials to print, you will always have just the resource you need at your disposal. Perfect for parents and teachers alike!