When most people think of princesses, they think of fairytale characters like Cinderella or Sleeping Beauty.
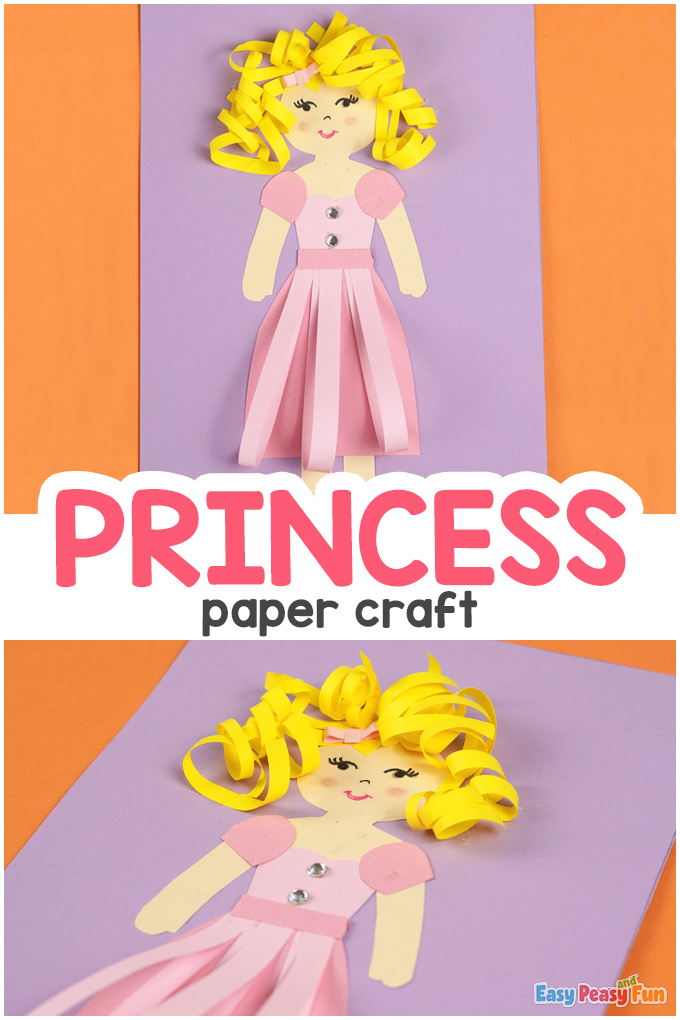
Spend time creating this Princess Paper Craft with your kids! They’ll love all the colors, the curly hair, and of course, the sparkly rhinestones.
*This post contains affiliate links*
Our collection is full of Crafts for Kids (check out our Community Workers Dress Up Dolls, or make your own Paper House – My Family Craft).
This princess paper craft is perfect for any child who loves fairytales and wants to create a storybook character.
The craft is simple enough that kids can do it independently, with a bit of help from parents, of course.
How to Make the Princess Paper Craft
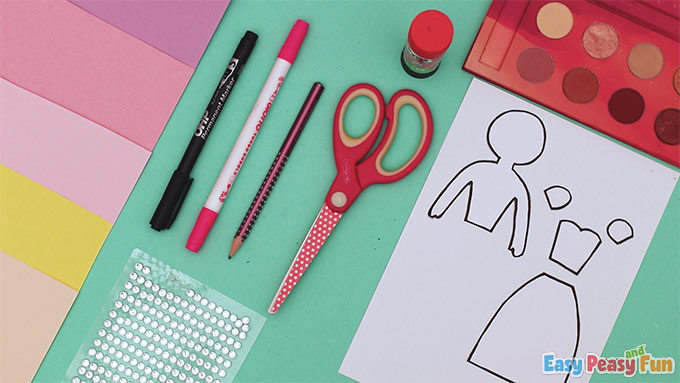
What your need:
- template
- scissors
- glue stick
- pencil
- black and pink marker
- two rhinestones
- color papers (purple, two shades of pink, yellow, and body-colored)
- eyeshadow
Step by Step Tutorial
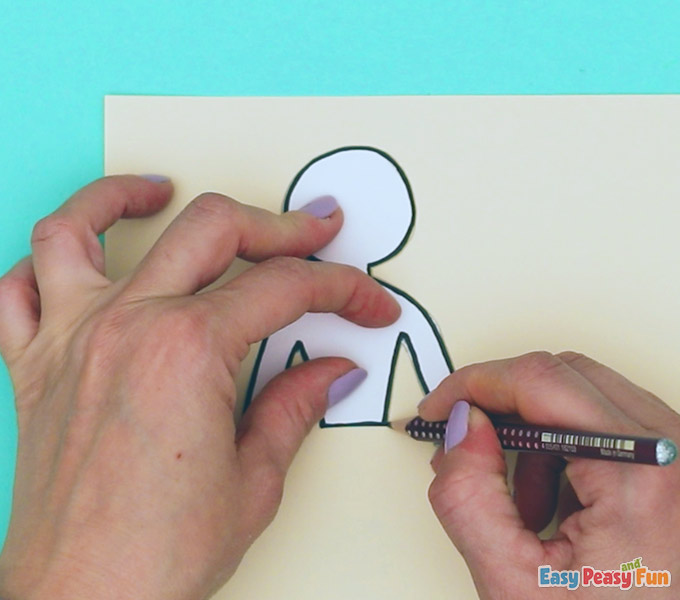
The Body
Cut out the template. Start tracing the body template onto the body-colored paper.
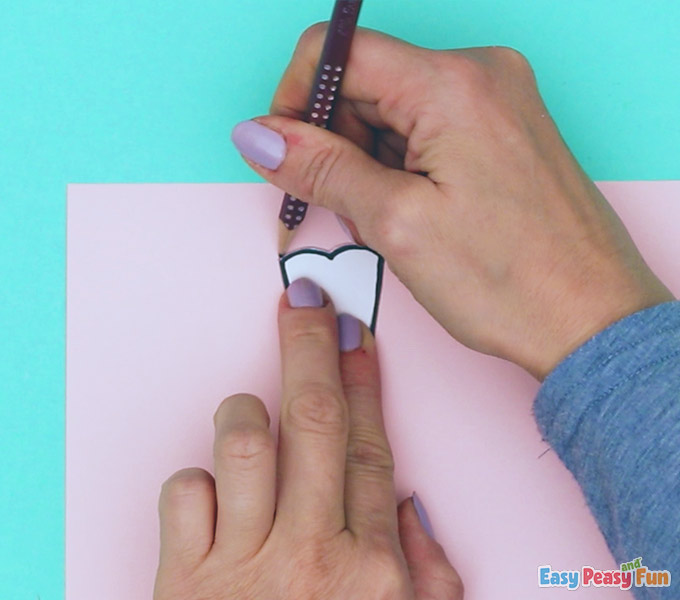
The Dress
You are going to use pink paper to trace her dress.
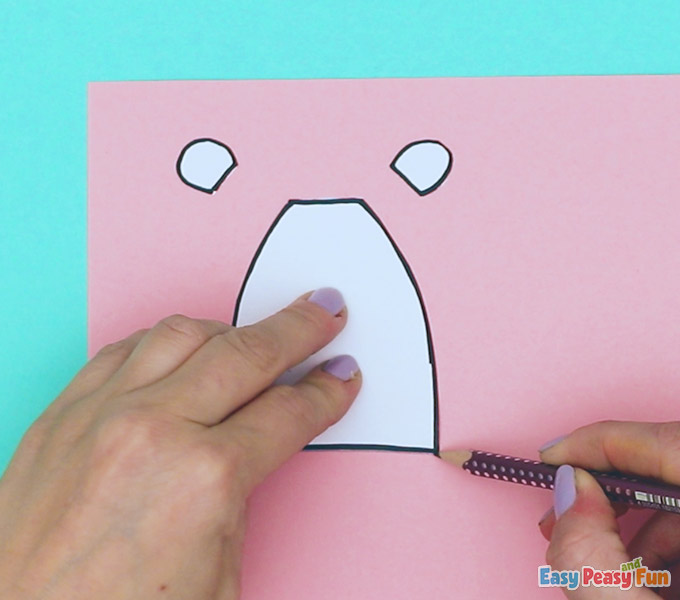
Trace the upper part of the dress.
Glue the top of the dress to the body.
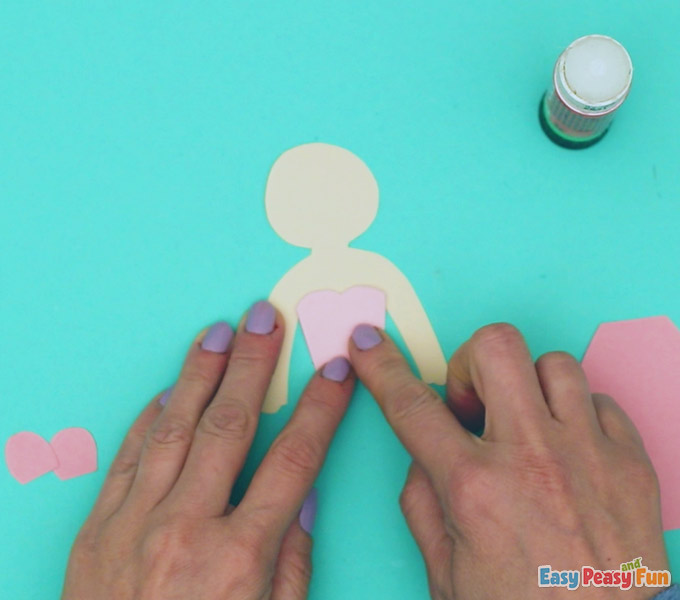
Glue the sleeves and the bottom part of the dress to the body.

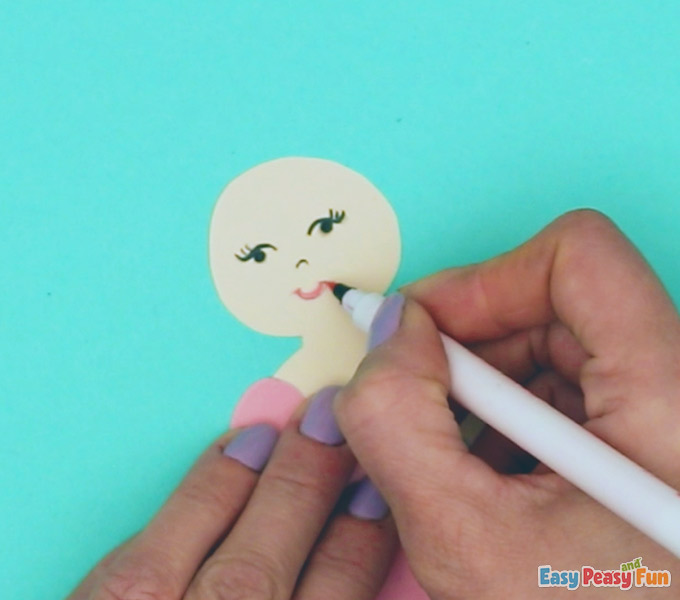
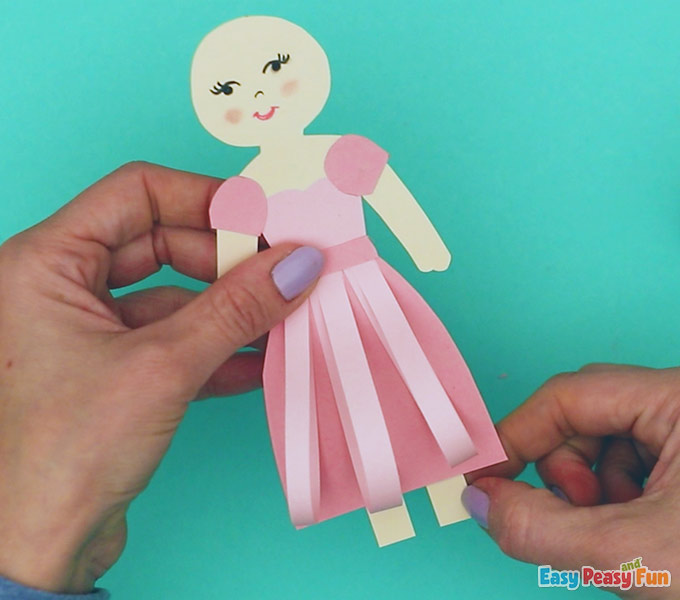
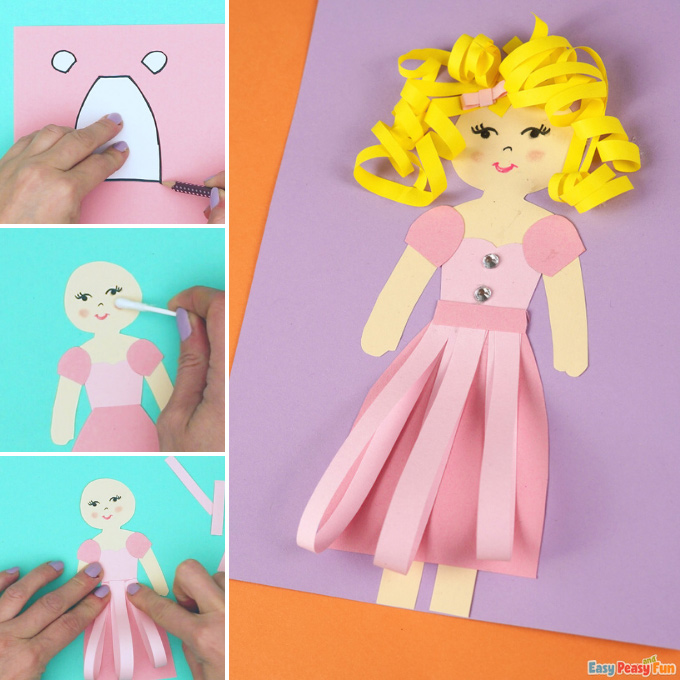
The Face
Draw eyes and nose with a black marker and the mouth with the pink marker.
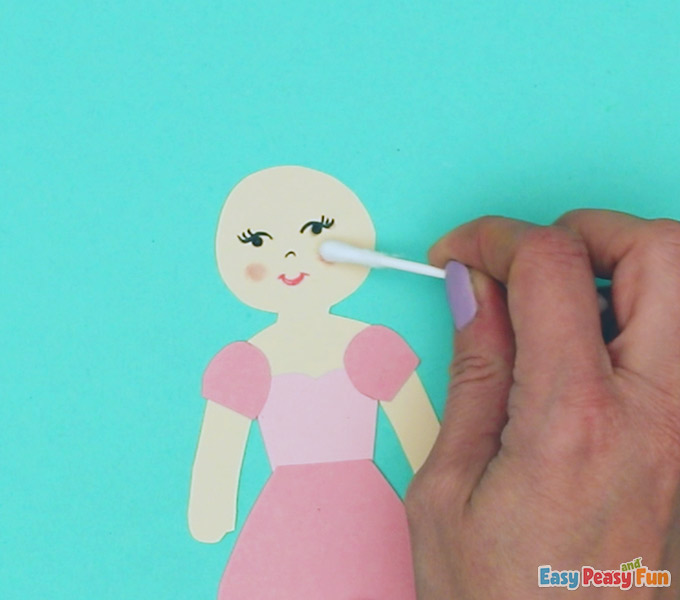
Add blush with eyeshadow using a q-tip.
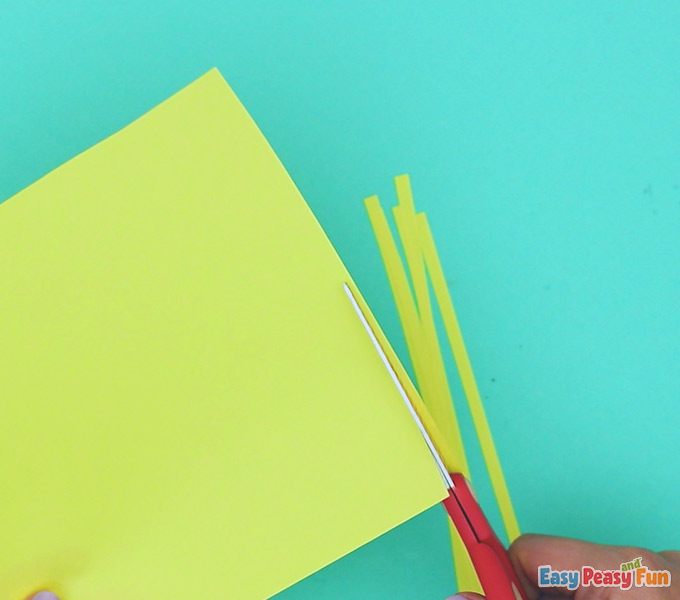
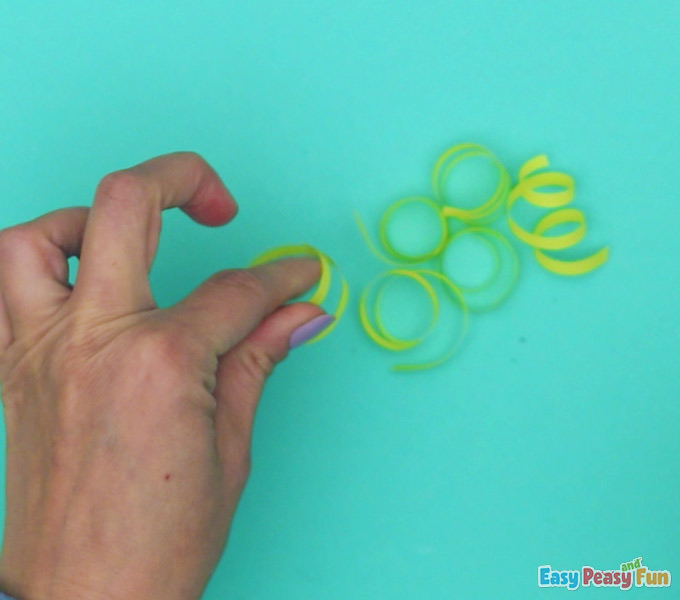
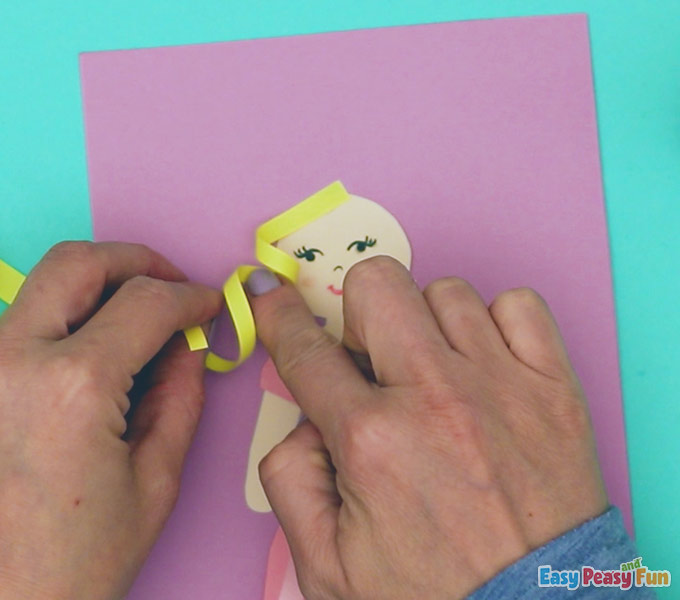
The Hair
Cut thin strips of yellow paper.
Use scissors to pull each strip along, so it curls up.
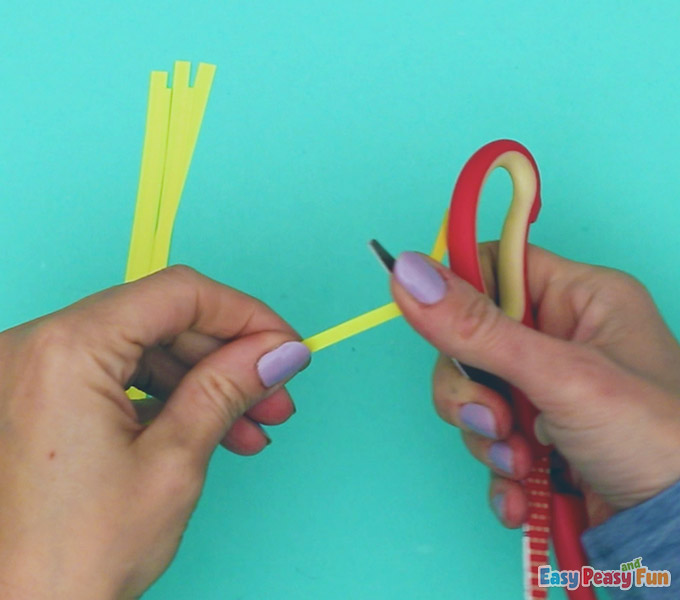
Complete this process until you have a bunch of curled strips.
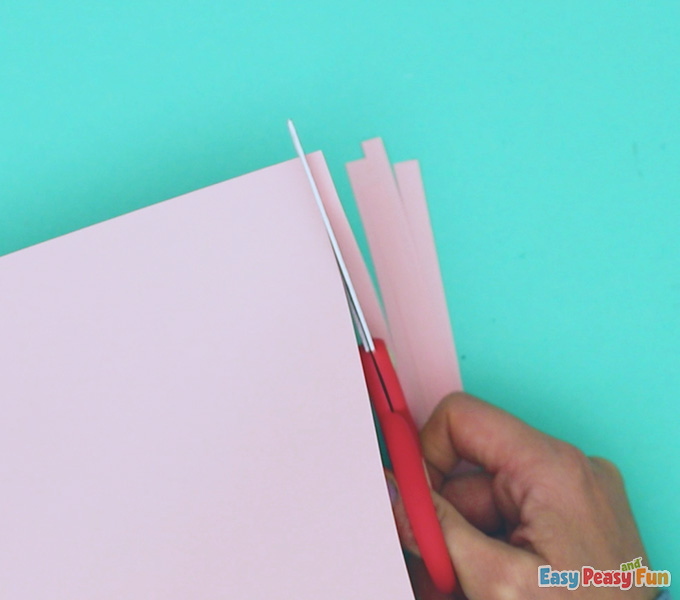
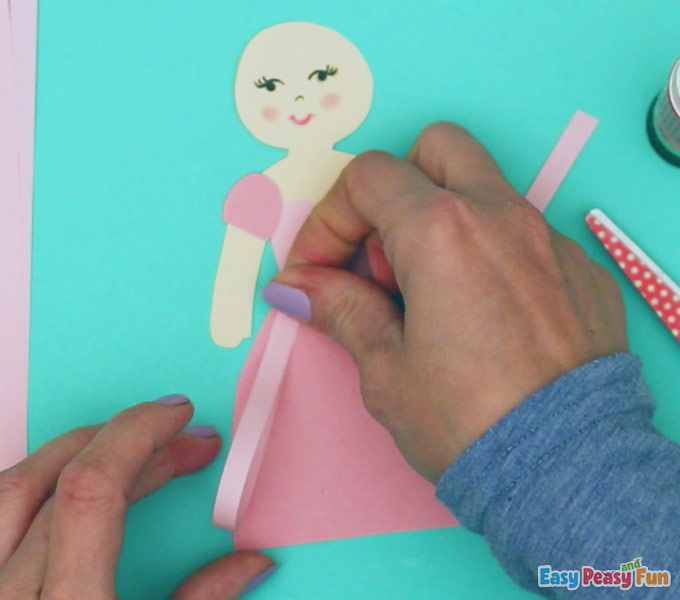
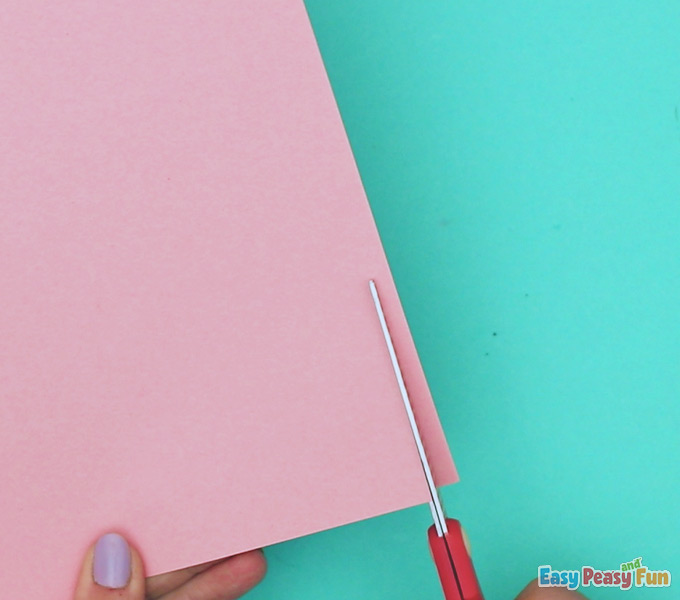
The 3D Dress Effect
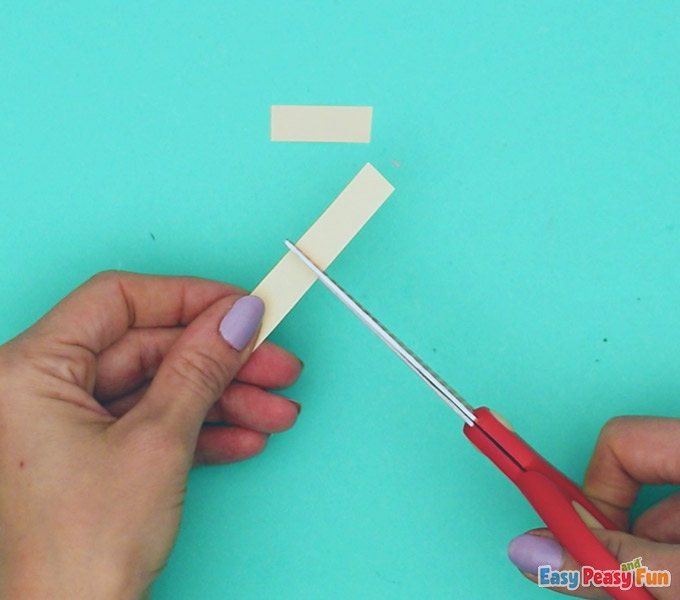
Cut strips of pale pink paper.
Fold in half to the length of the dress.
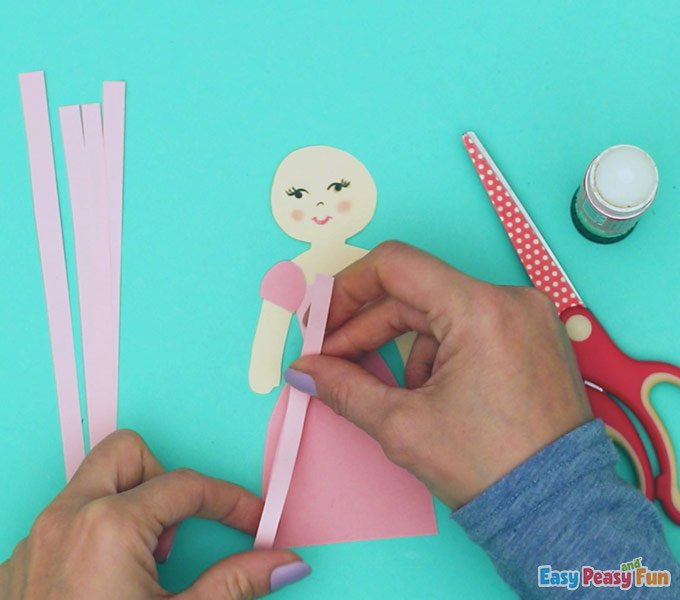
Cut off the excess.
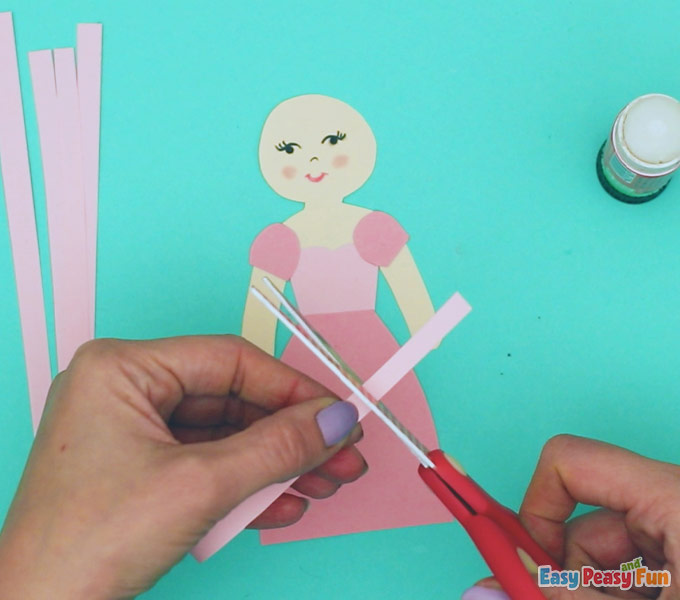
Glue to the dress.
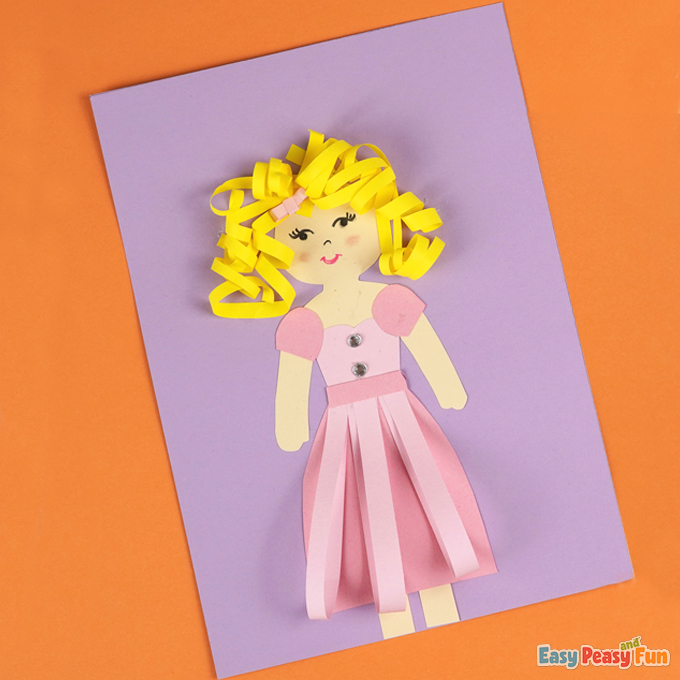
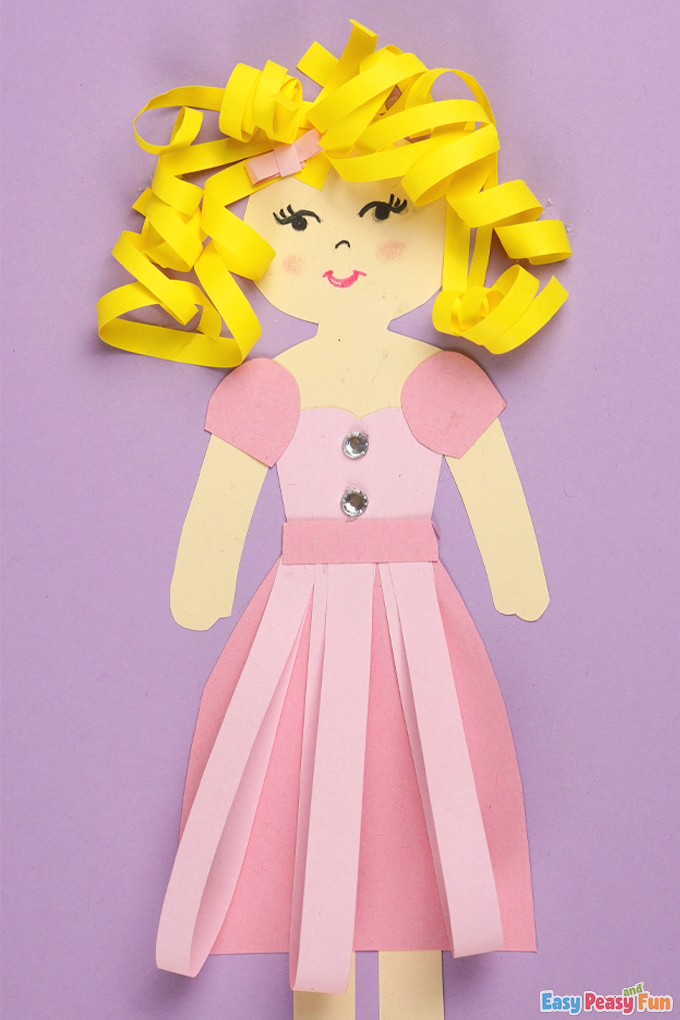
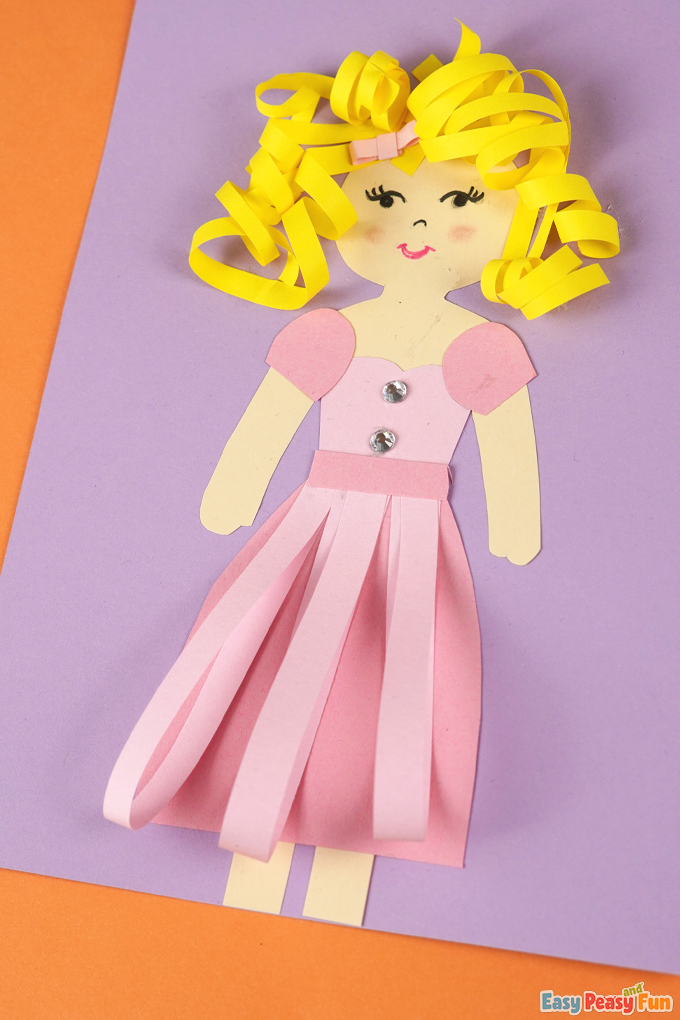
The princess dress should look like in the picture below.
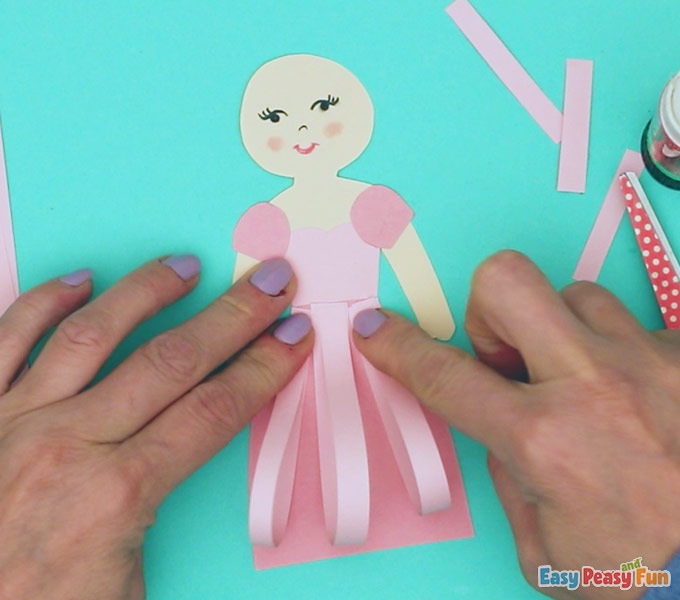
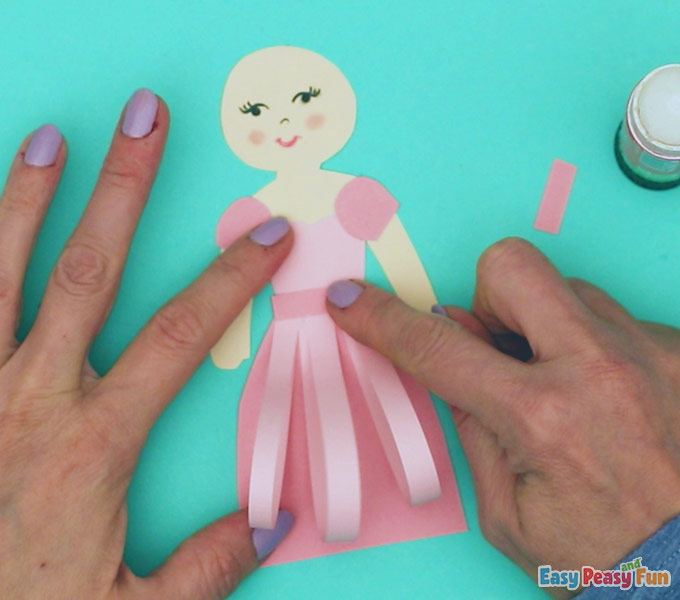
The Belt
Cut a strip of darker pink paper to make a belt.
Glue the belt onto the princess.
The Legs
Start cutting a strip from the body-colored paper.
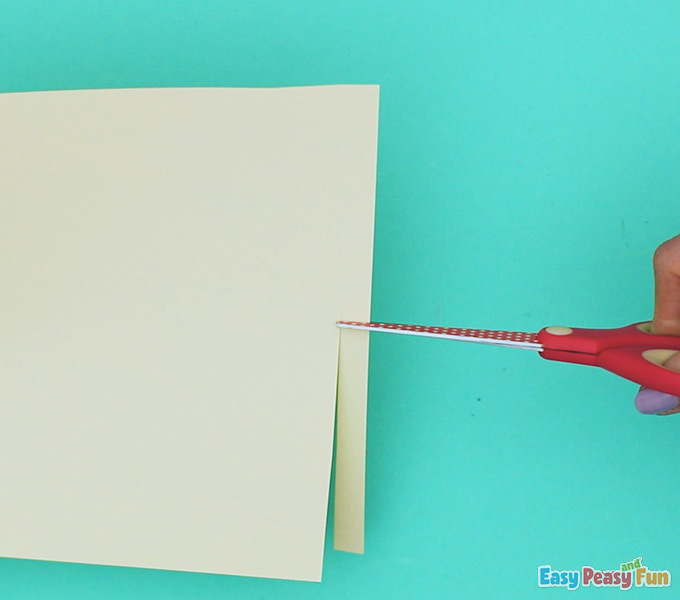
Cut in half to get two strips.
You are going to glue these strips for the legs of the princess.
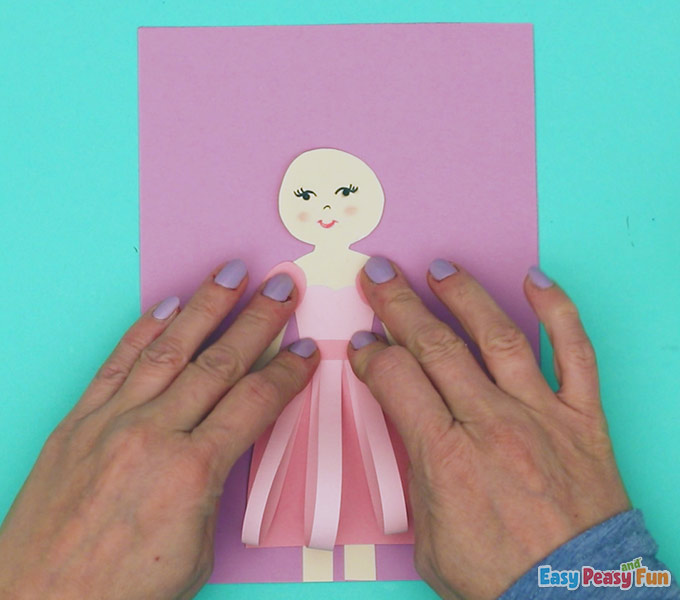
Take the entire princess and glue her to a purple piece of paper.
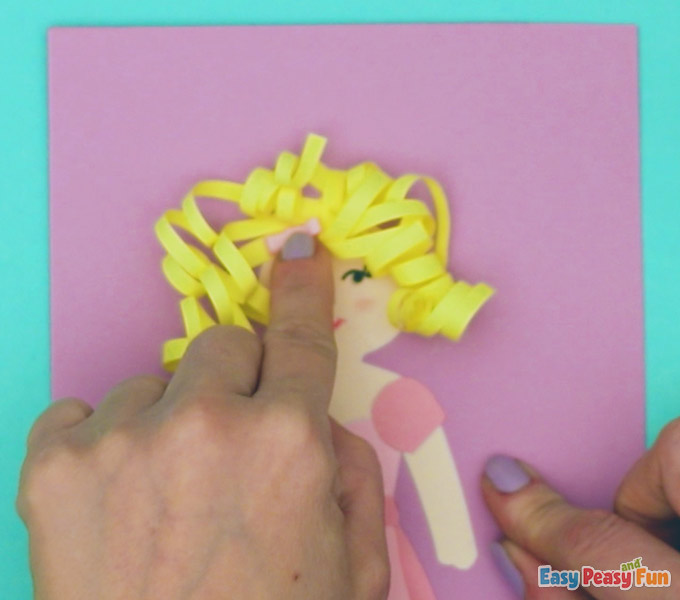
Gluing the Hair
Start gluing the curly blonde hair to the princess.
Keep adding the curly hair to the princess.
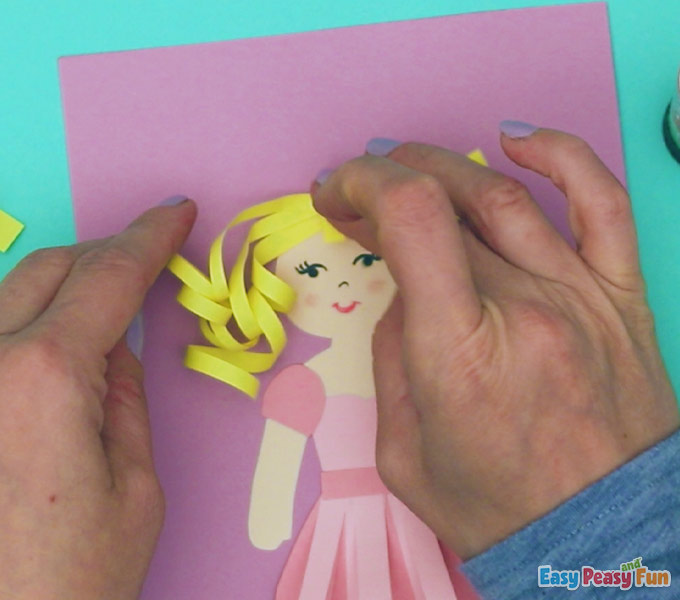
Do it on both sides, so her hairdo looks pretty.
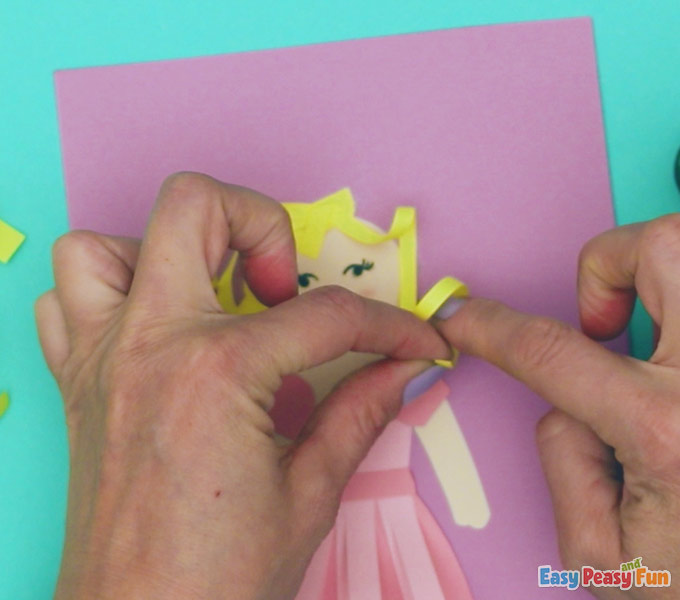
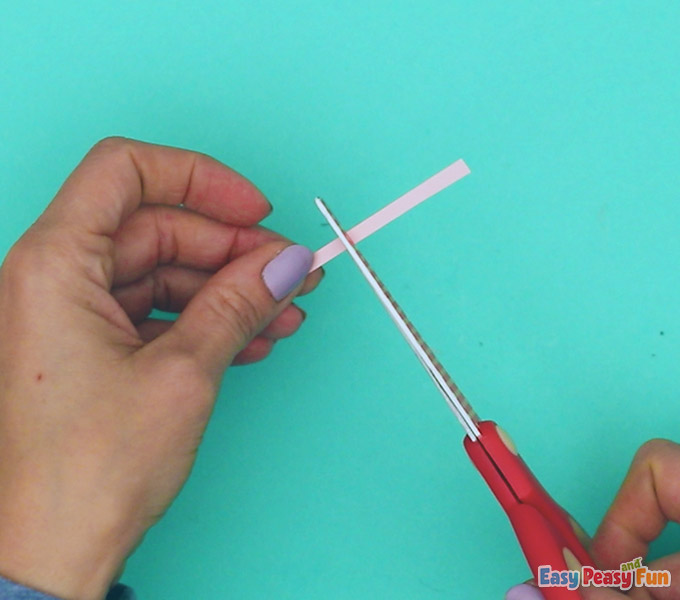
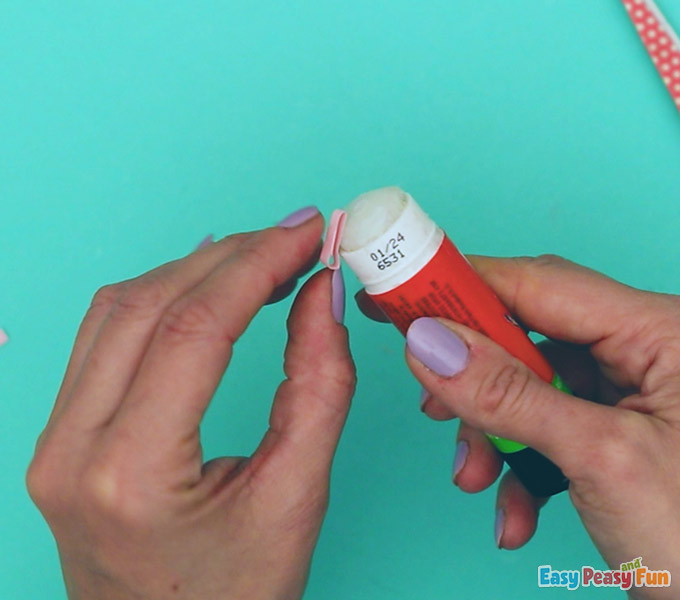
The Bow
For a final touch to the princess, cut a thin strip of pink paper.
Cut the strip in half.
Fold both pieces of pink paper in half.
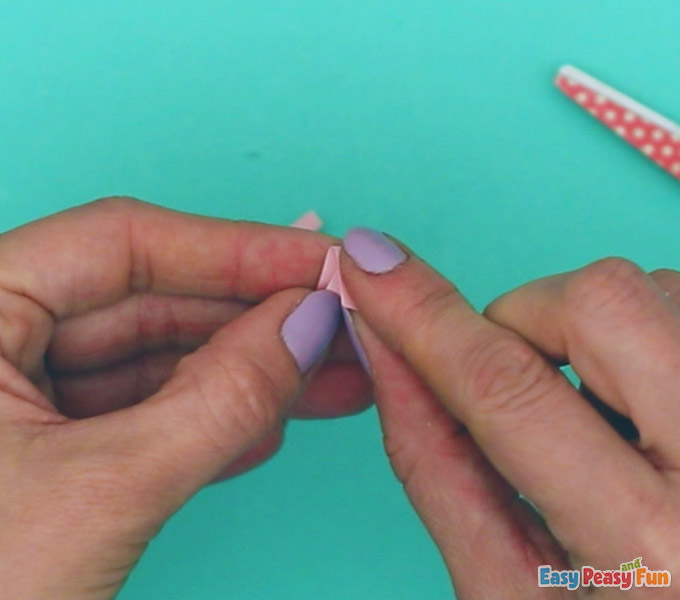
Glue a loop from one strip.
Prepare the other tiny strip to wrap it around.
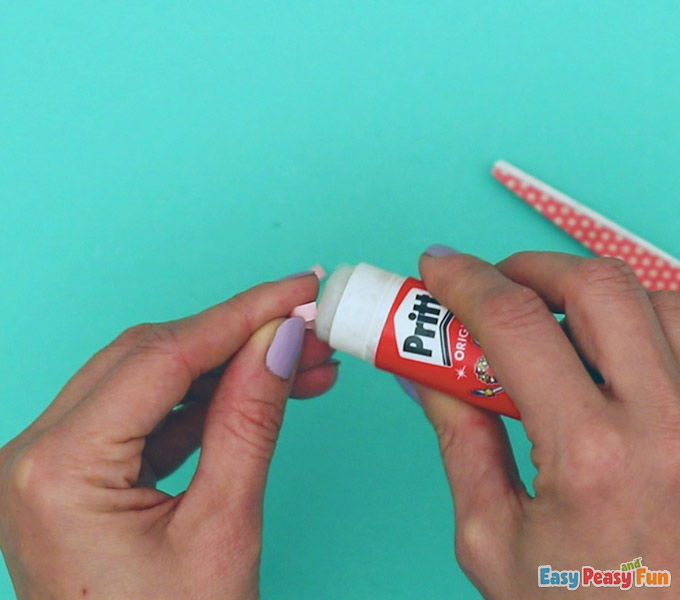
Add glue.
Place the two pieces together in a “+” sign to make a bow.
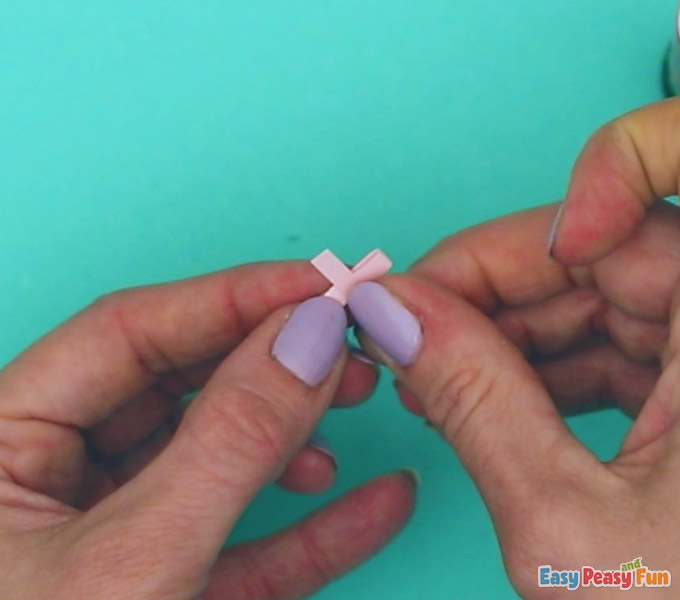
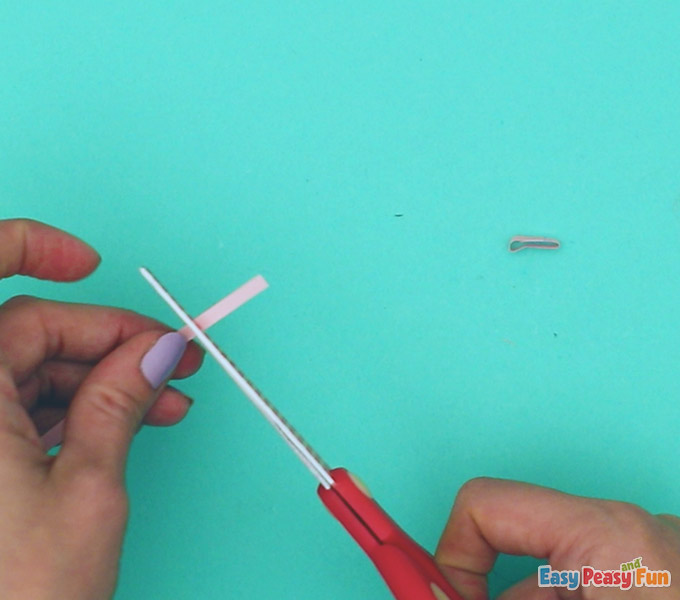
Cut off the excess of the bow.
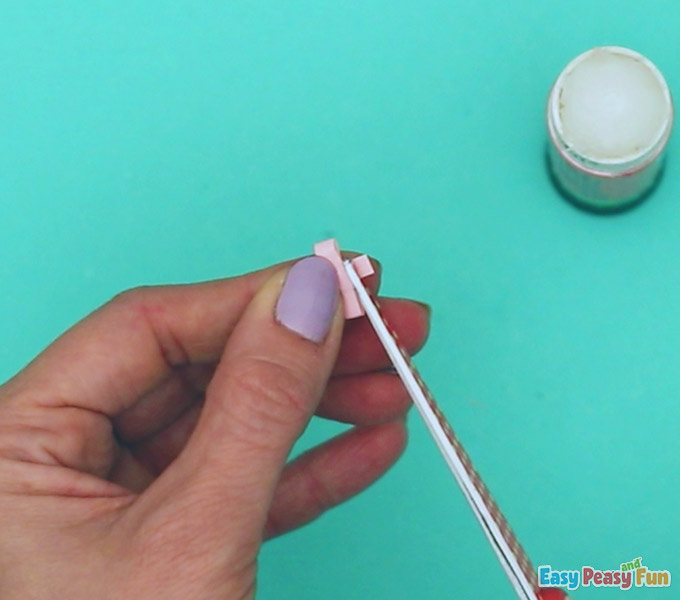
Glue the bow to the princess’s hair.
To make the dress stand out, you can add two rhinestones.
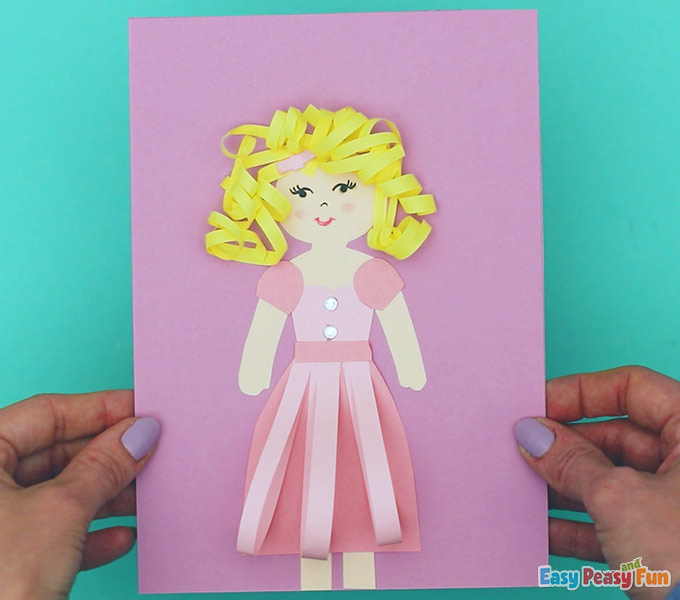
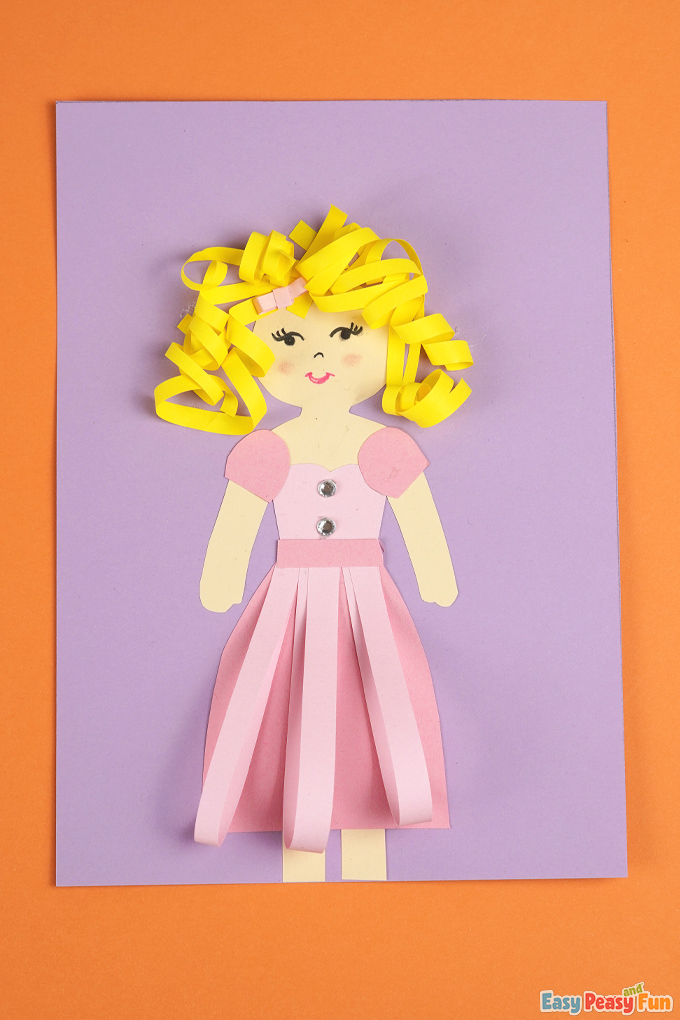
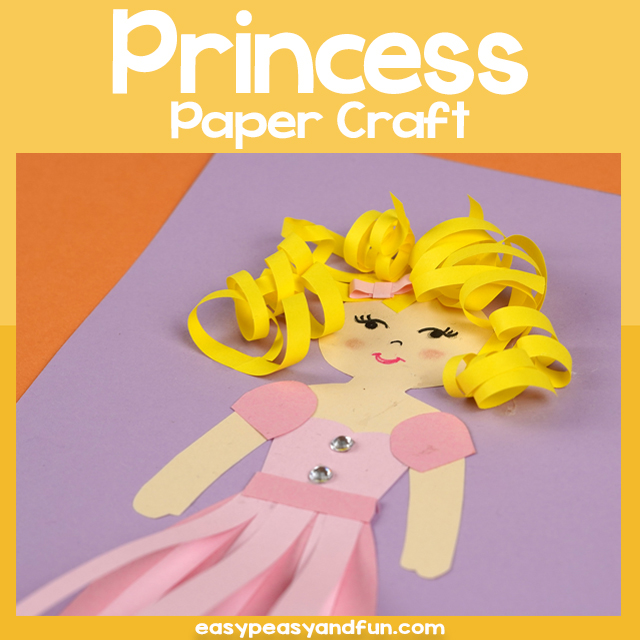
The final look is this princess paper craft!
She is fun to look at and even more adorable to play with!

There are many ways to personalize the princess, from her hairstyle to her eye color.
Let your child’s imagination run wild!
Get Your Princess Paper Craft Template Here
Want instant access to all of our printable crafts, activities, and resources?

With thousands of crafts, activities, worksheets, coloring pages, and drawing tutorials to print, you will always have just the resource you need at your disposal. Perfect for parents and teachers alike!