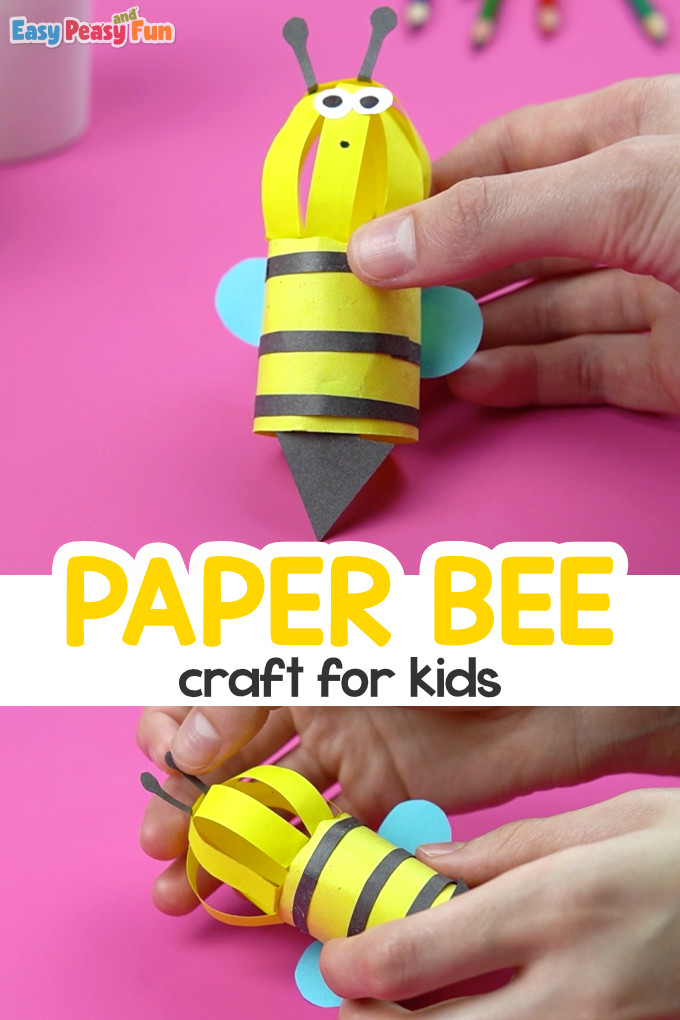
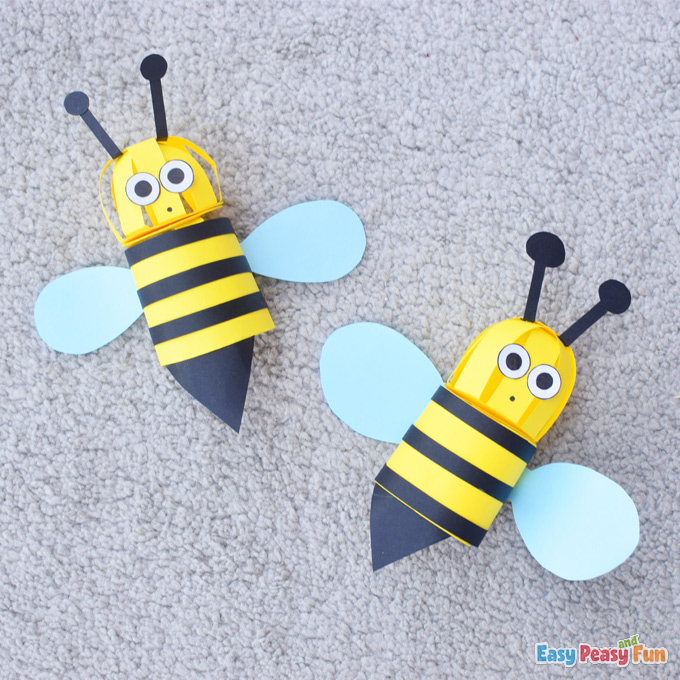
Do your kids love bugs? Spring is all about warmer weather, flowers, and of course bugs, so why not make a cute 3D paper bee craft.
Bring the season to life while making this simple paper craft with the young ones. You can make a few and hang them as a garland.
*this post contains affiliate links*
50 paper crafts your kids can actually do themselves

No fancy supplies — just paper, scissors, and a little imagination.
Be the first to get it on release day — and lock in the lowest price guaranteed.
We love creating different crafts, so check out our Spring Crafts Collection, have a look at the Movable Bird Paper Doll, or make your own Frog Puppet out of paper.
This 3D paper Bee craft will be perfect to make with your kids and if you like to craft a one that can make full circles with its head, go grab your tools and join us crafting.
How to Make 3D Paper Bee Craft
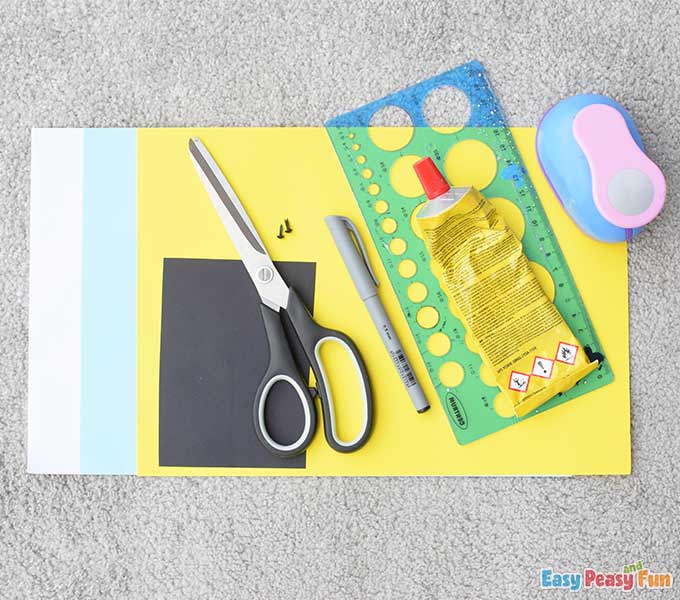
What you need:
- pencil
- black liner
- black cardstock
- white cardstock
- yellow cardstock
- blue cardstock
- split pin
- scissors
- glue
- ruler with circle shapes
- circle puncher
Let’s craft!
Step by Step Tutorial
The Bee’s Body
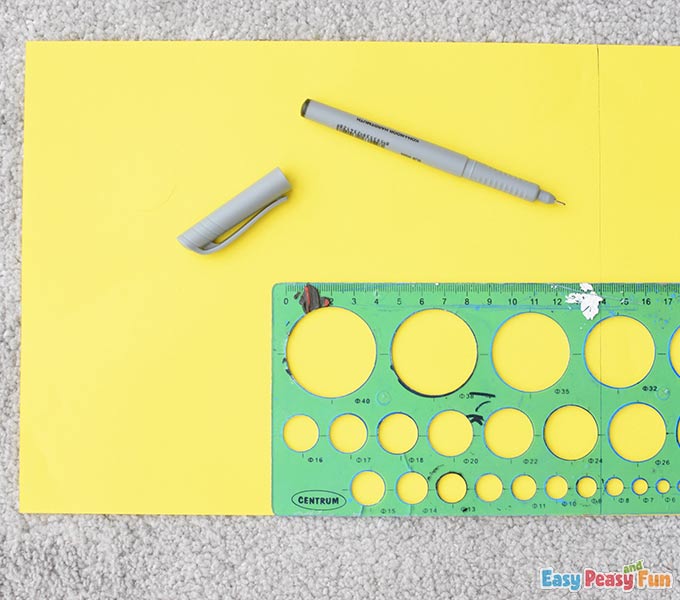
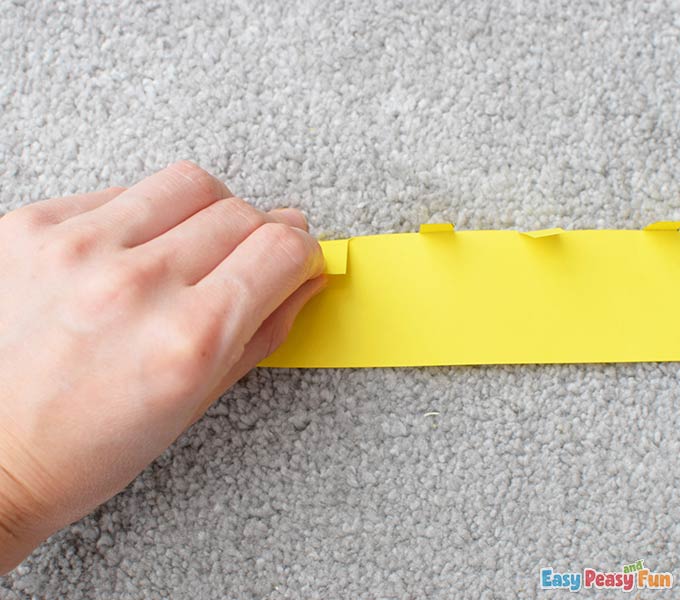
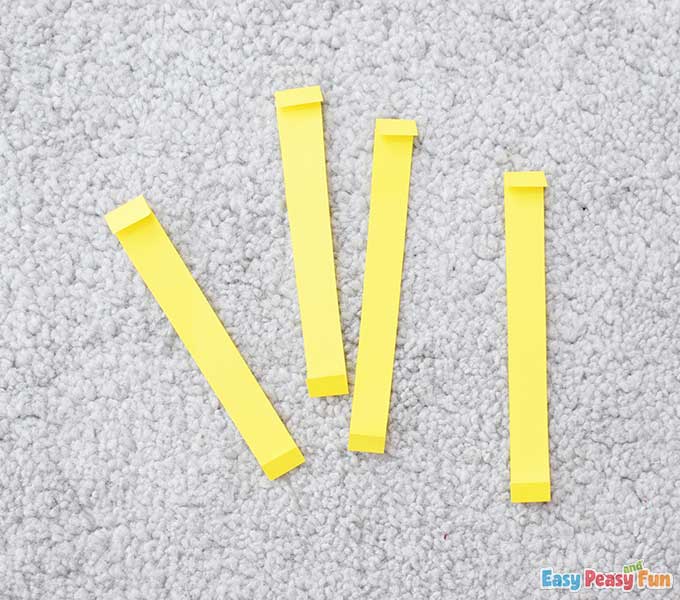
Take the yellow cardstock and mark one 4 cm wide strip.
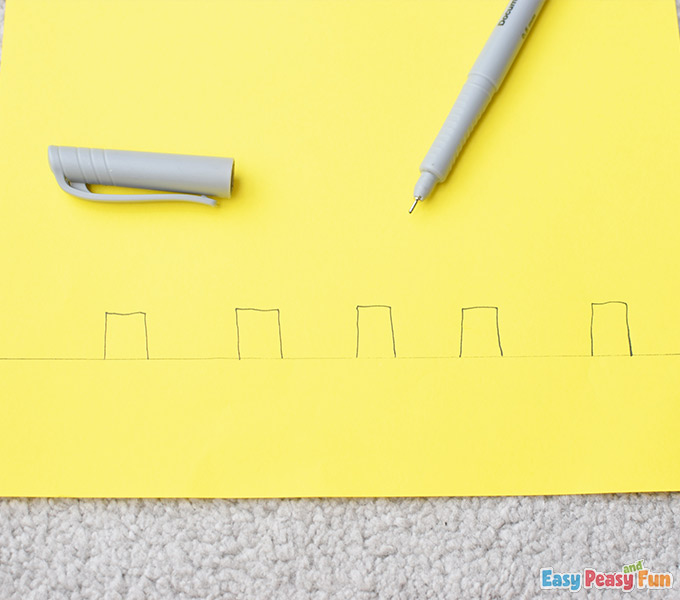
Draw a few small rectangles as shown in the picture.
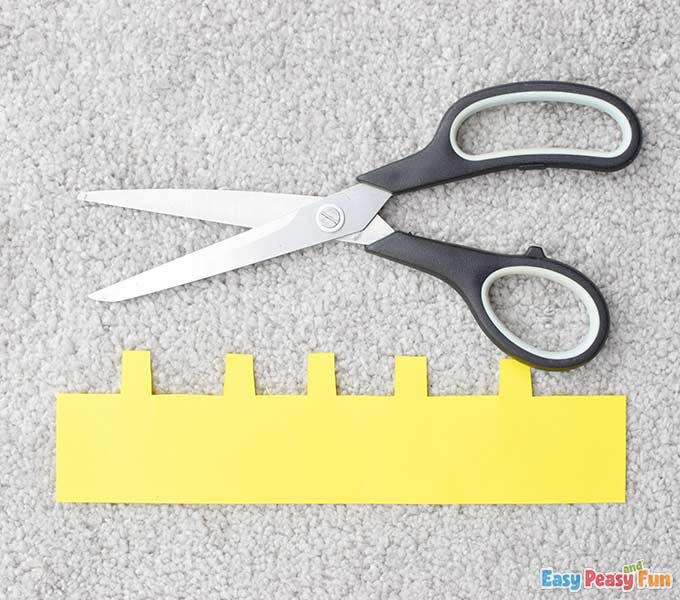
Cut out the yellow strip (both with the rectangles) by using scissors.
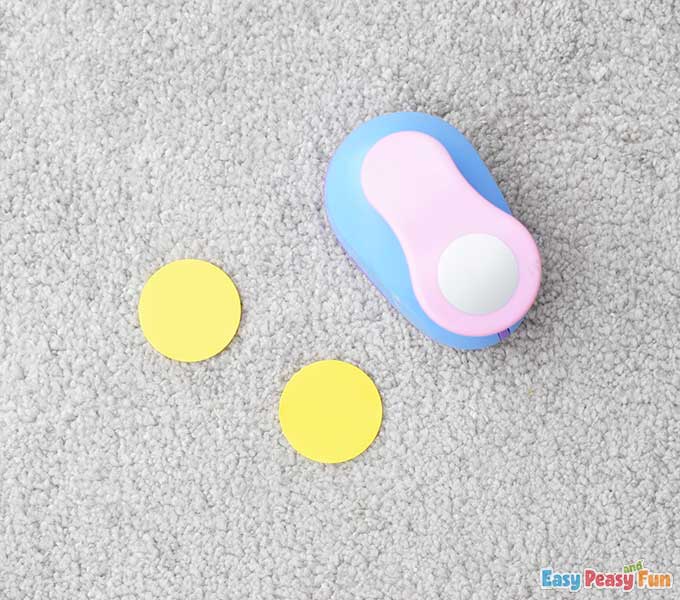
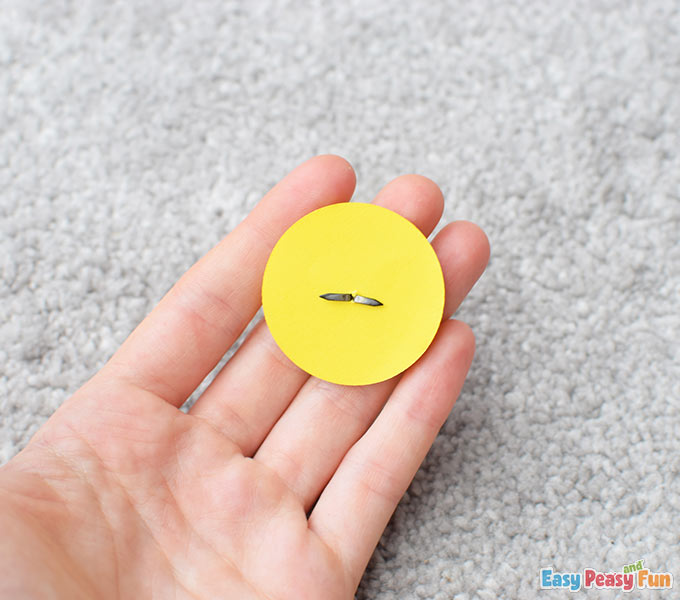
Punch out two yellow circles.
Connect the circles using a split pin.
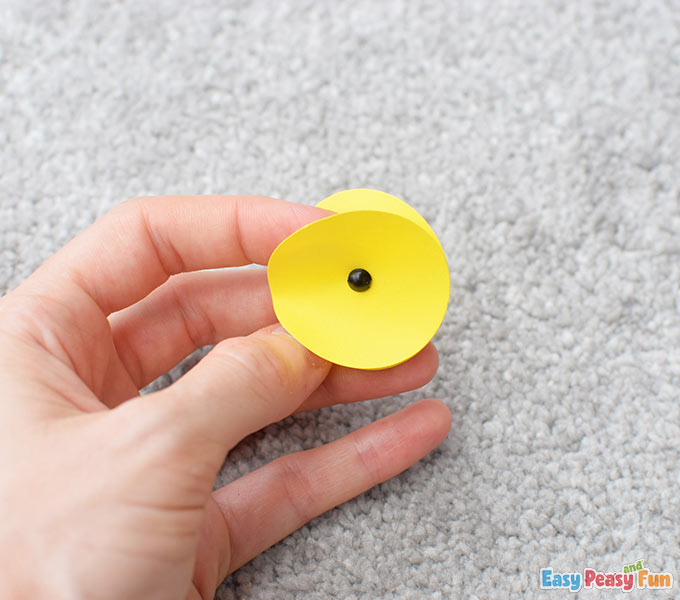
Split the ends of the split pin to secure the circles together.
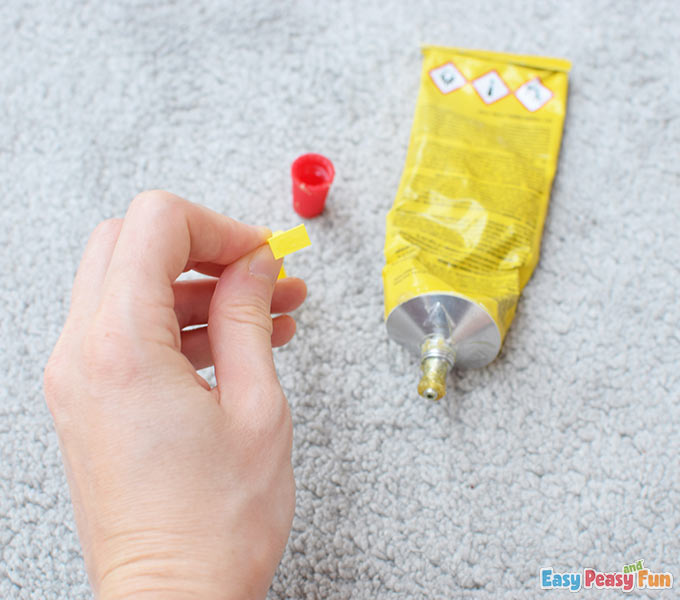
Take the yellow strip and fold the rectangles.
Apply some glue on the rectangles, glue them to one of the circles and start wrapping the strip around the circles.
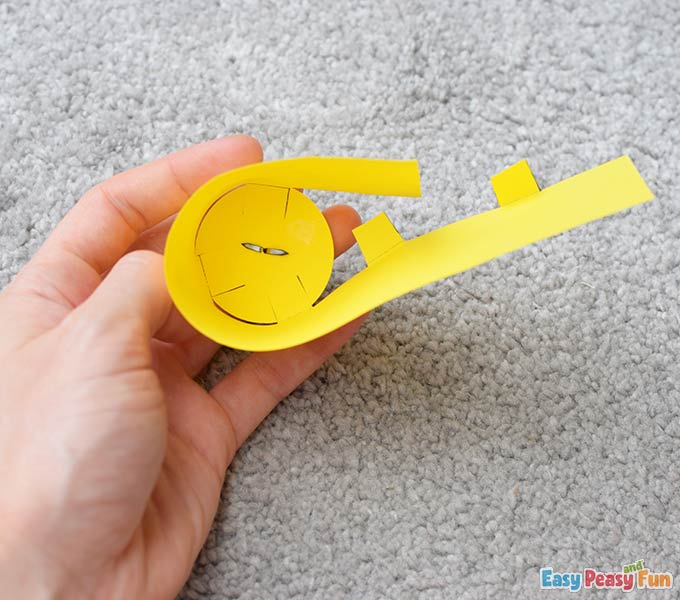
Continue with the wrap.
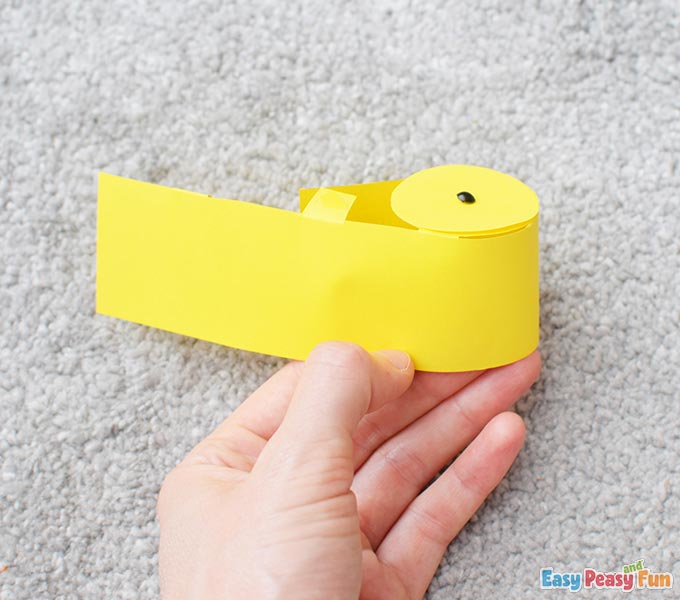
Apply some glue on the corner line of the stripe and press the paper with your fingers until the glue is set.
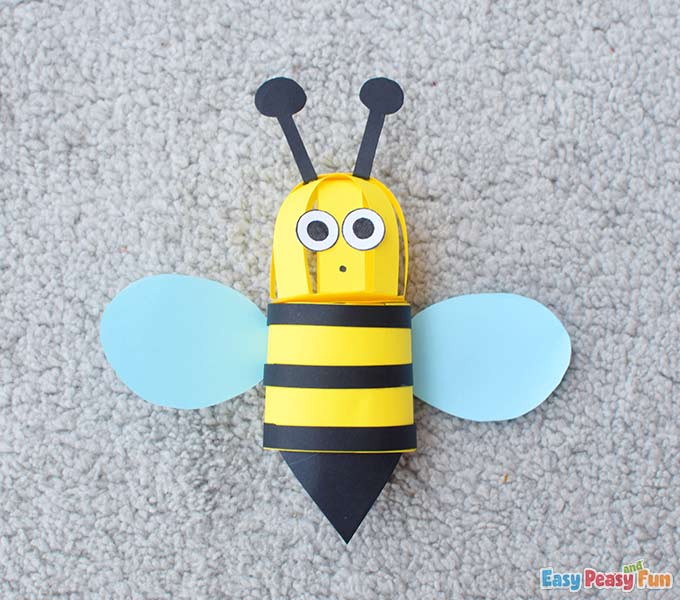
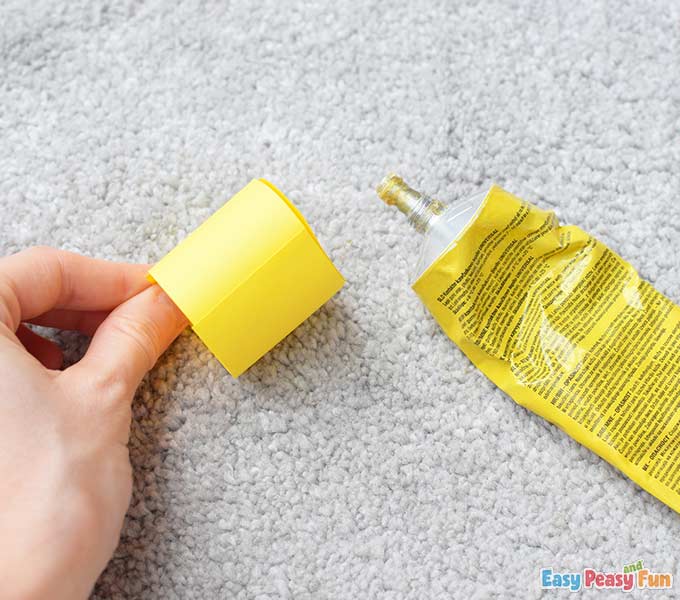
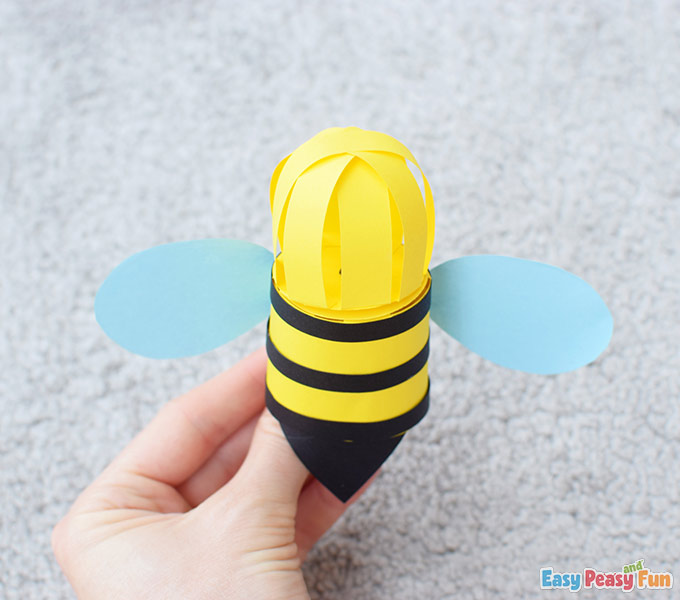
This would be the body of the bee.
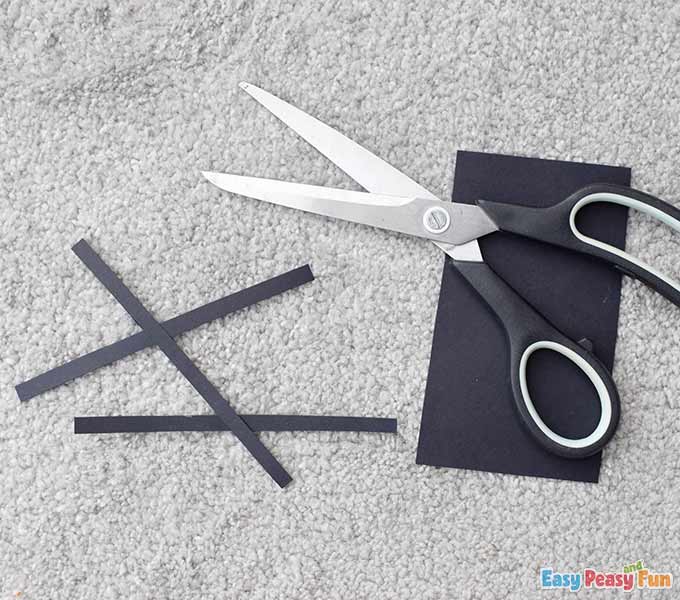
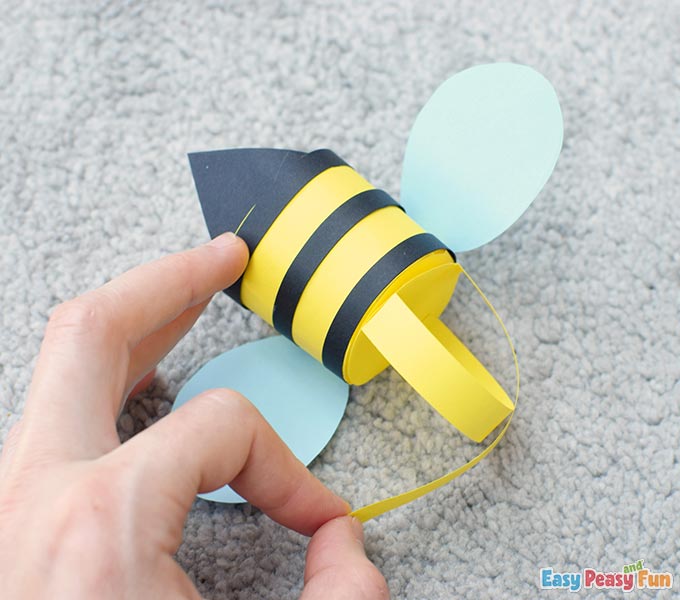
Take the black cardstock and cut three 1 cm wide strips.
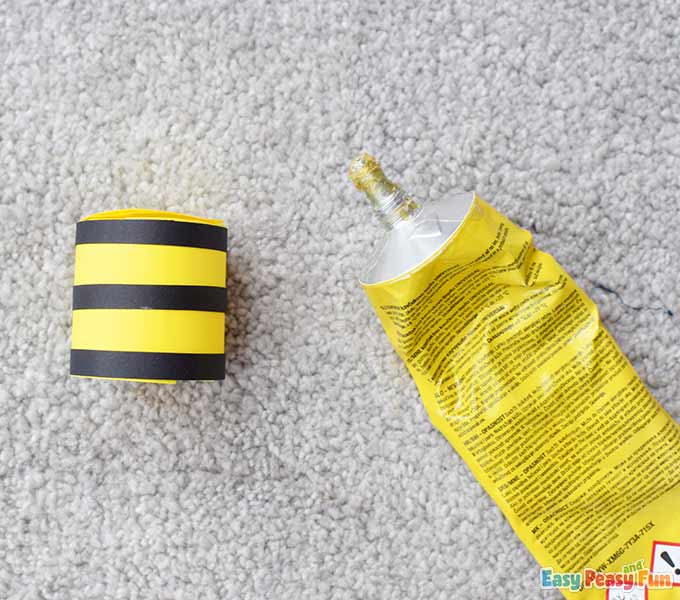
Glue the strips to the yellow body.
The Bee’s Sting
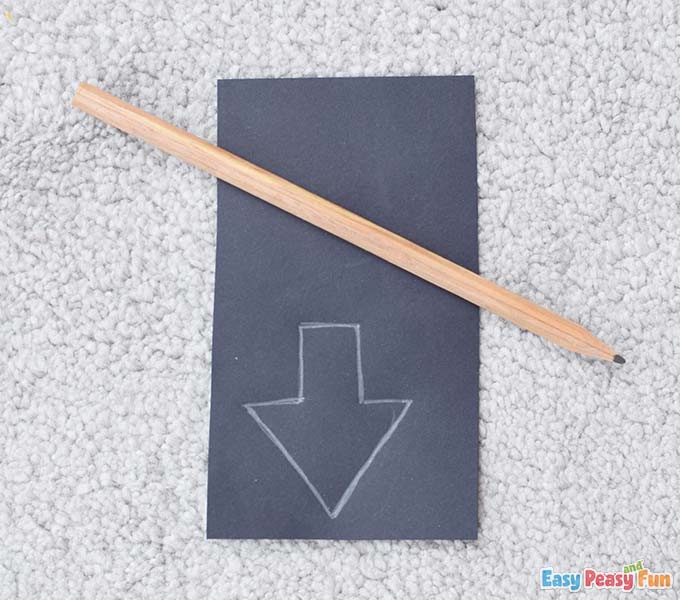
Now draw an arrow on the black cardstock.
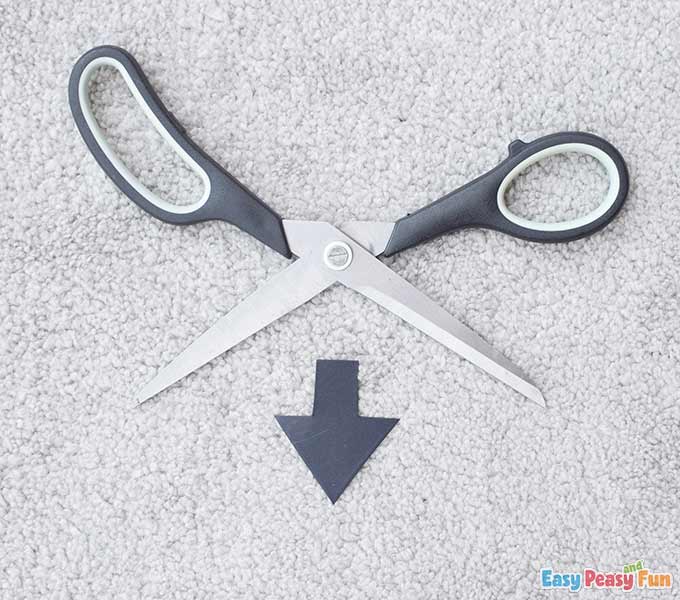
Cut out the arrow using scissors.
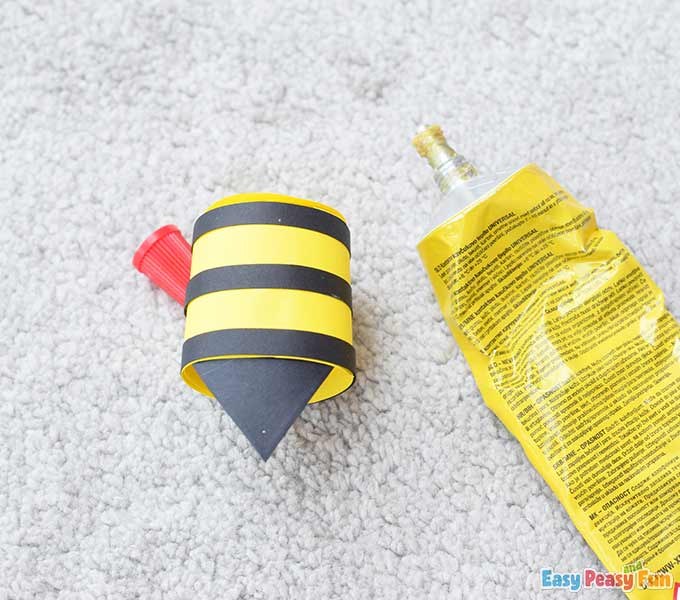
Apply some glue on the bottom part of the arrow and glue it inside the yellow body.
Leave the pointy part of the arrow outside as shown in the picture. That is the bee’s sting.
The Wings
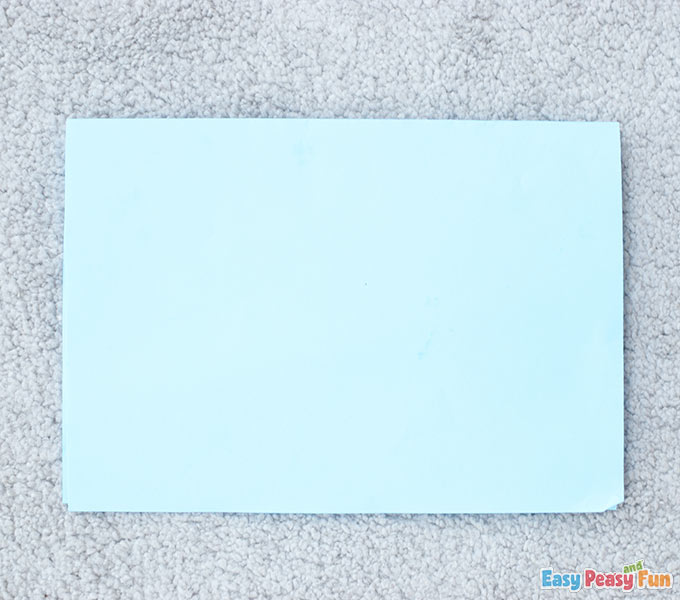
Take the blue cardstock and fold it in half.
Draw a 2 cm rectangle (the crease should be the starting point) followed by a tear shape.
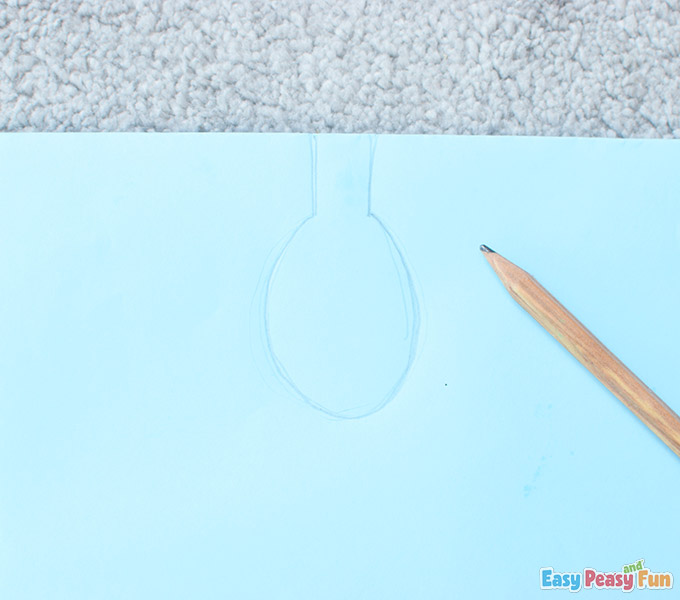
Cut out this shape using scissors.
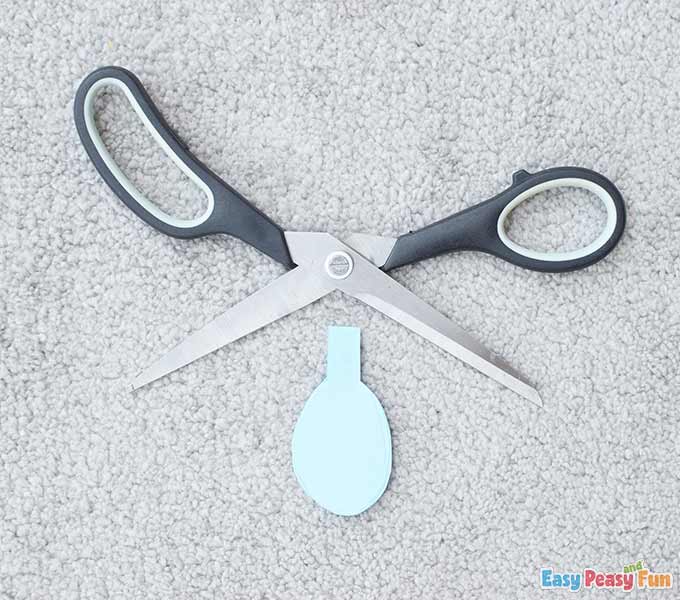
Open the folded piece. Those would be the bee’s wings.
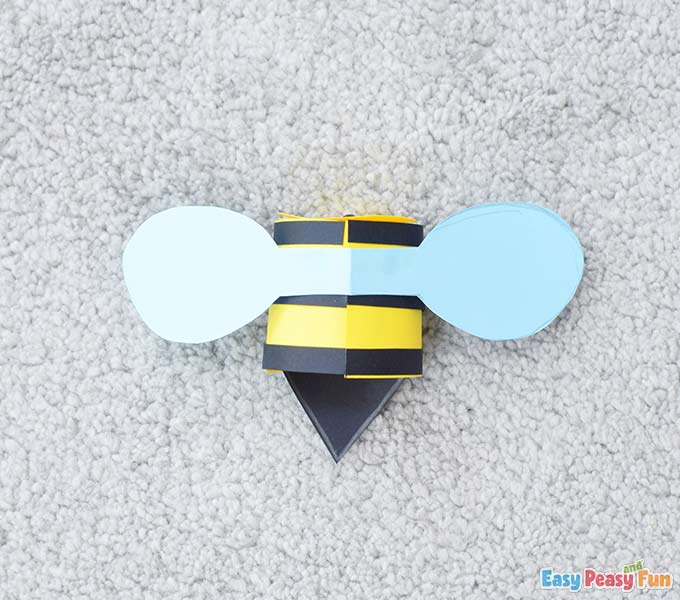
Now apply some glue over the rectangles.
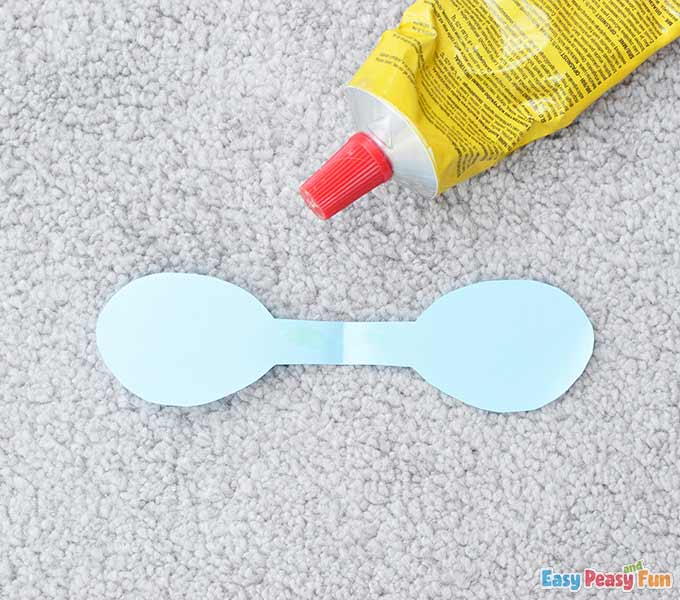
Attach the wings on the back of the bee’s body.
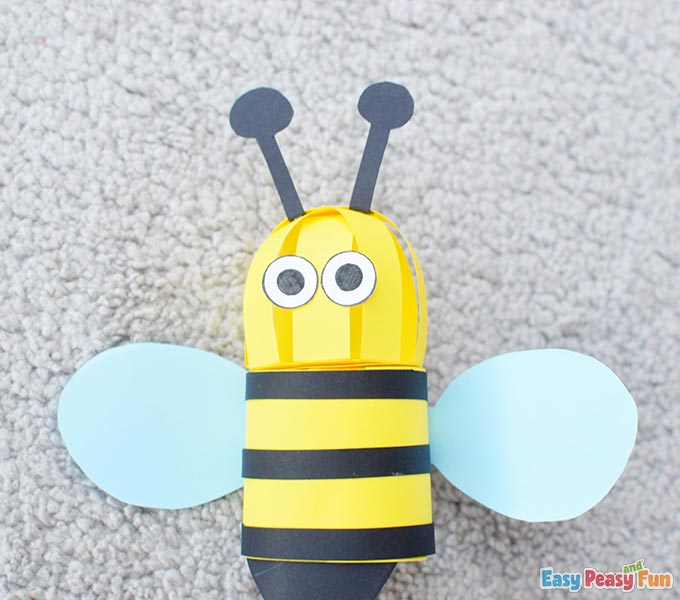
The Bee’s Head
Take the yellow cardstock and cut out four 1 cm strips then fold the ends of these strips as shown in the picture.
Apply some glue on the folded ends.
Start gluing them on the upper circle.
Make an X shape first.
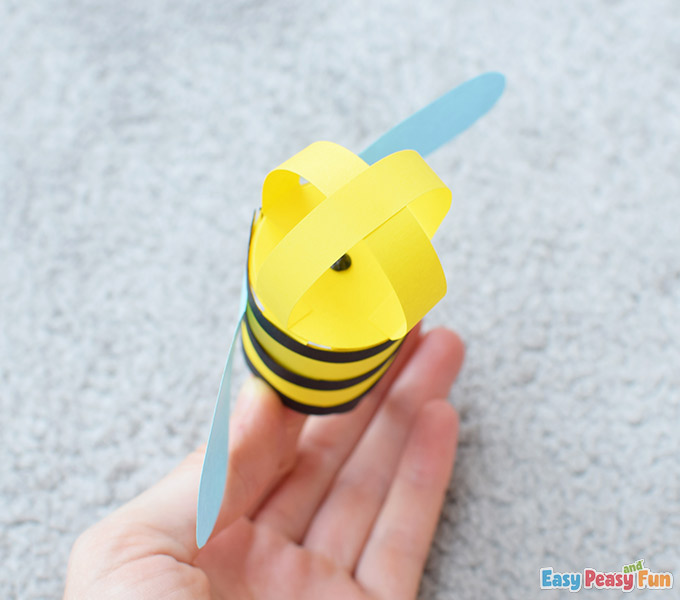
Glue the rest of the strips.
We have just finished crafting the bee’s head.
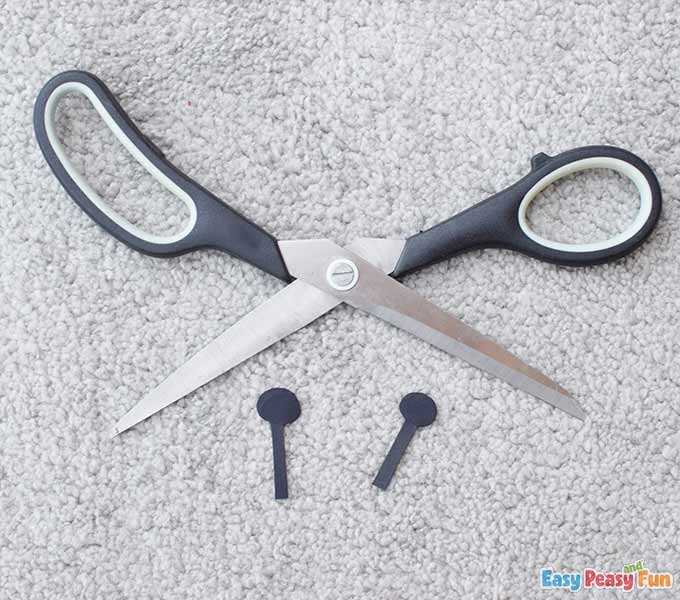
The Antennae
Draw two antennae on the black cardstock.
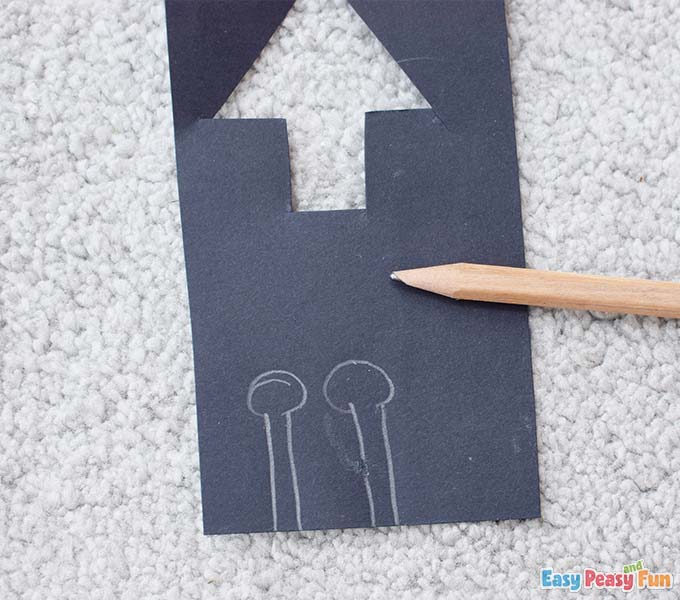
Cut out the antennae using scissors.
Fold the bottom parts of the antennae and add some glue on them.

Glue the antennae on the bee’s head.
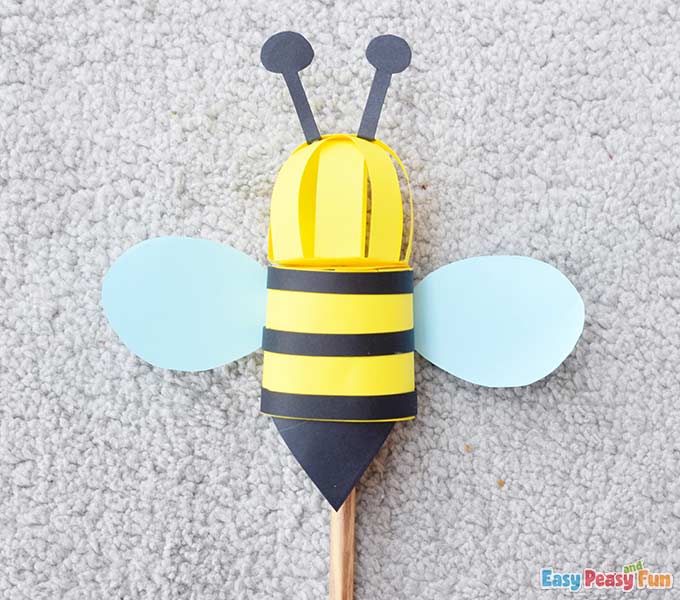
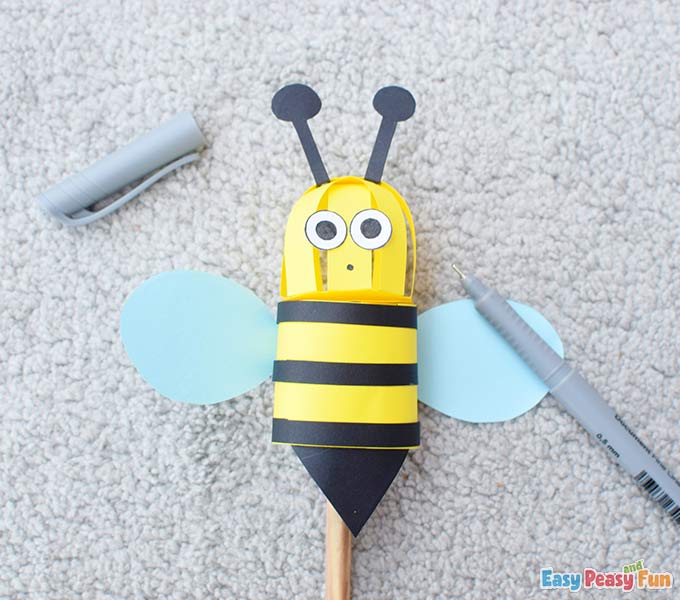
The Eyes
Draw two circle eyes. We made these eyes using the black liner and the ruler with circle shapes.
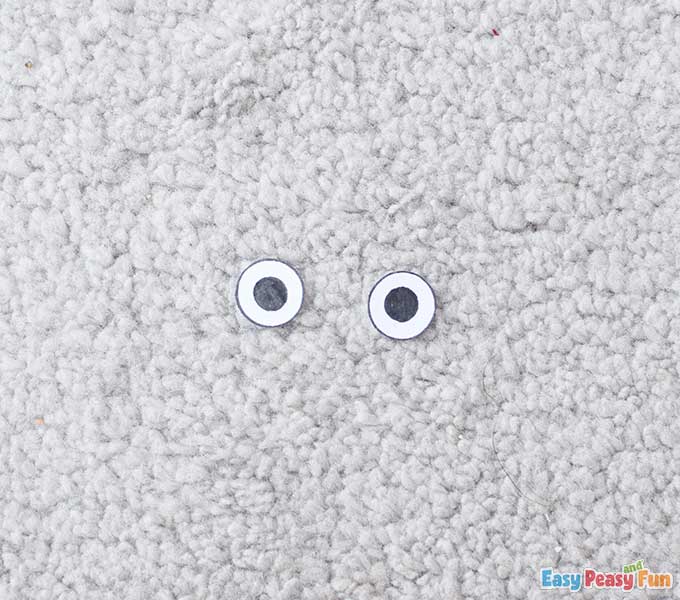
Glue the eyes on the head. Place them next to each other to make the bee look funny.
Draw a circle mouth using the black liner.
You’re done!
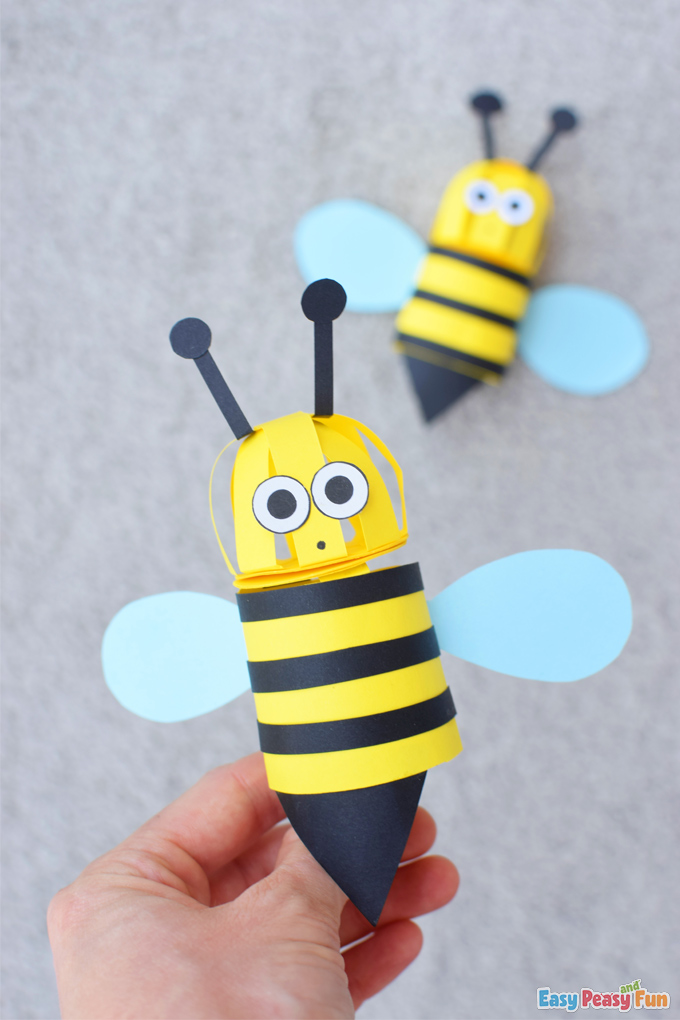
We find this bee to be so cute.
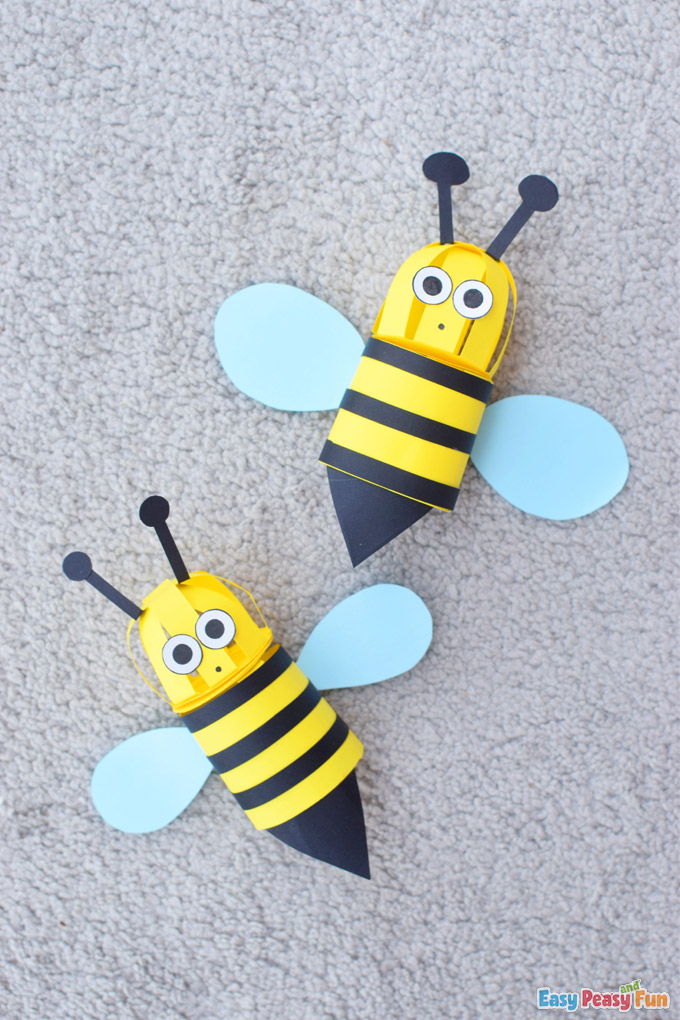
We hope you enjoyed making it!
Now move its head in circles.

Want instant access to all of our printable crafts, activities, and resources?

With thousands of crafts, activities, worksheets, coloring pages, and drawing tutorials to print, you will always have just the resource you need at your disposal. Perfect for parents and teachers alike!