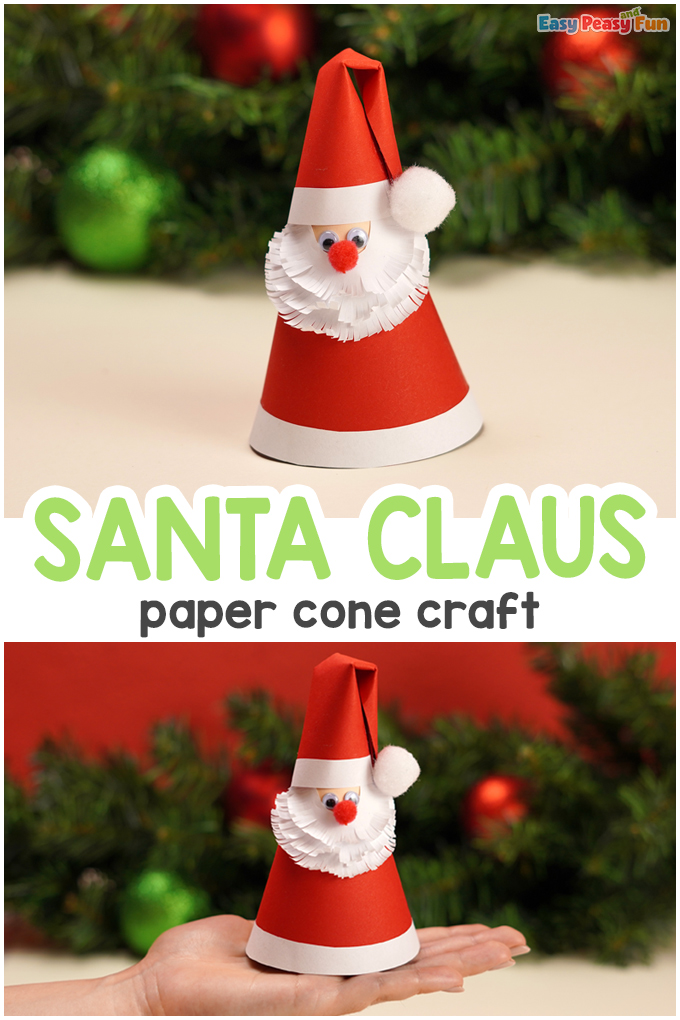
Seeing tiny cute Santas around the house this holiday season is wonderful. This Paper Cone Santa Claus Tutorial is going to teach you how to make your very own Santa.
*this post contains affiliate links*

This little Christmas craft can be used as a DIY Christmas tree topper too.

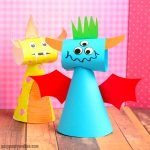
There are lots of Santa crafts to make this year, but this one is super cute and important. Plus, he is simple to make.
How to Make a Paper Cone Santa Claus Tutorial
What you need:
- Red and white pom poms
- White construction paper
- Red construction paper or cardboard
- Glue
- Scissors
- Googly eyes
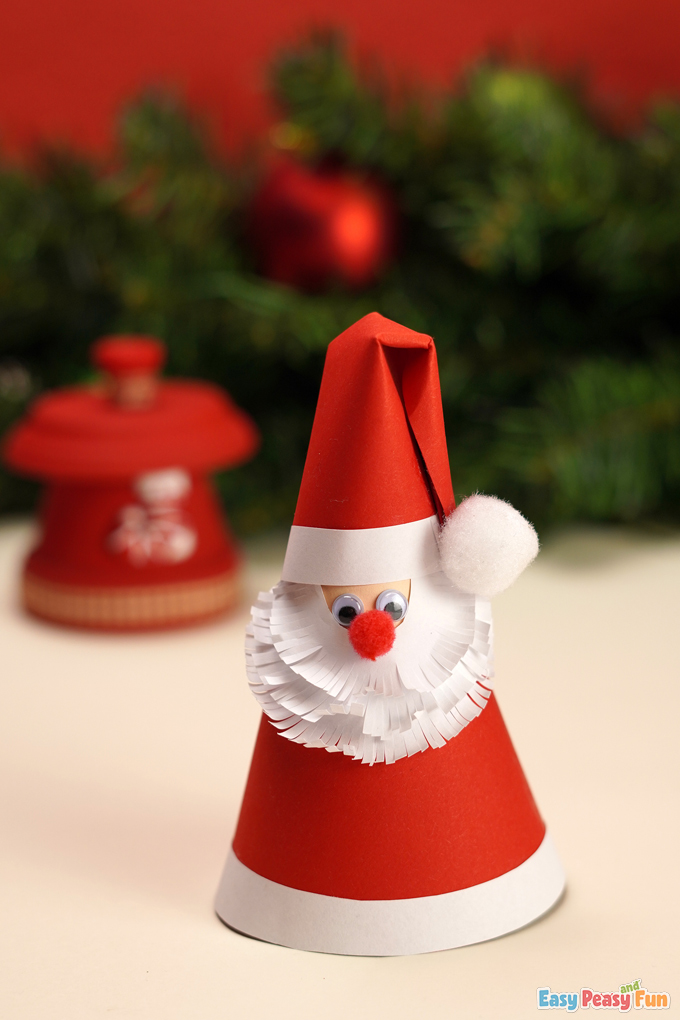
Take a good look at this Santa because before long you will have a few in your own home, making the holidays that much more real!
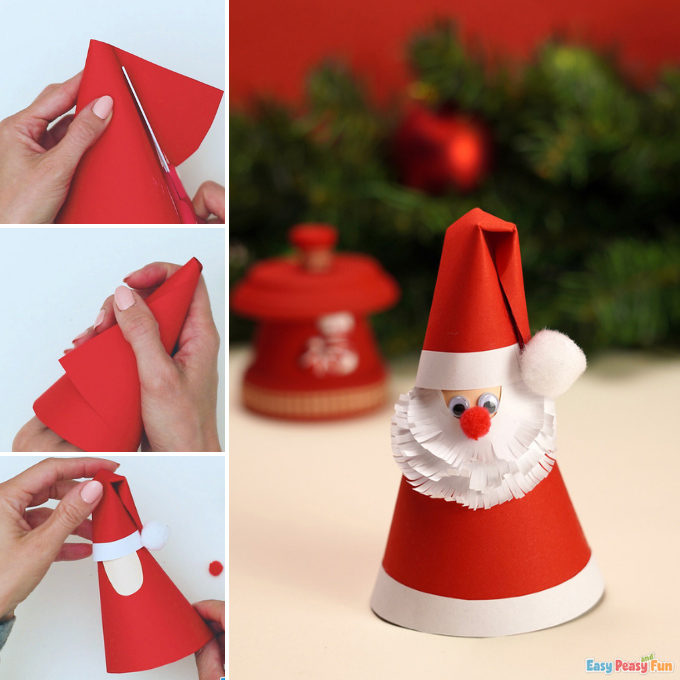
Step-by-Step Tutorial
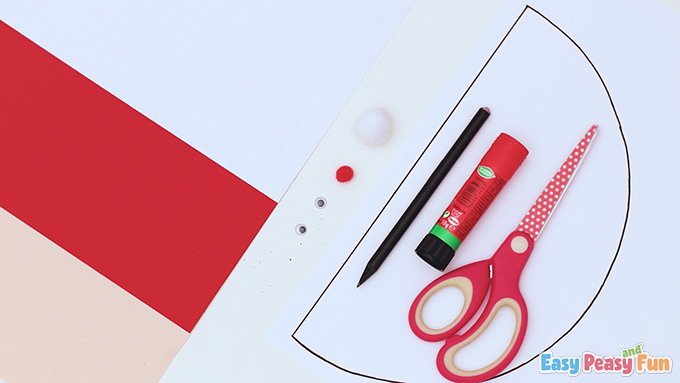
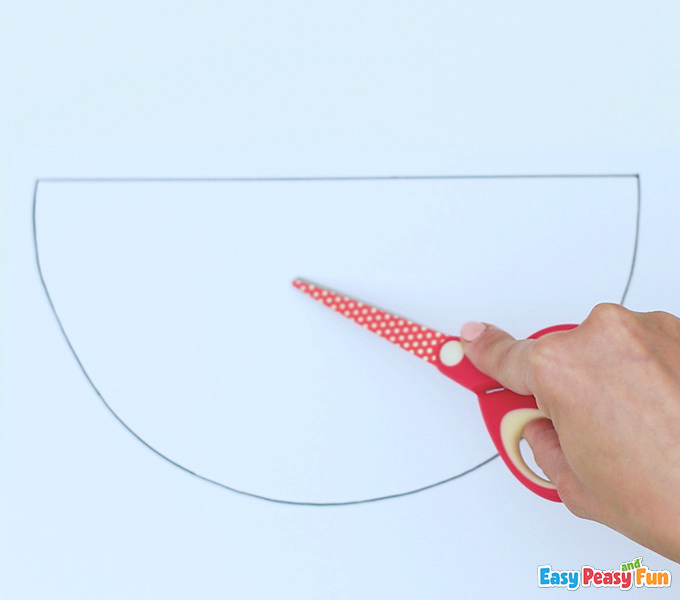
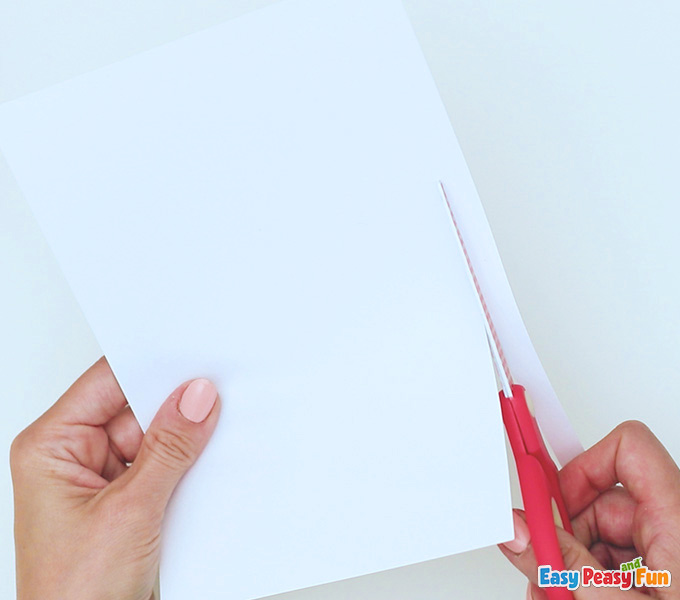
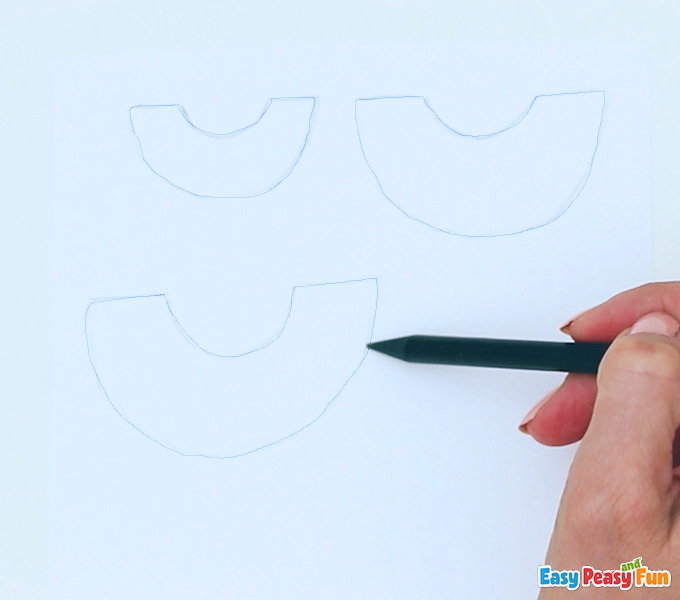
Cut out the half circle that will be used as stencil (this is especially handy if you will be making more than one).
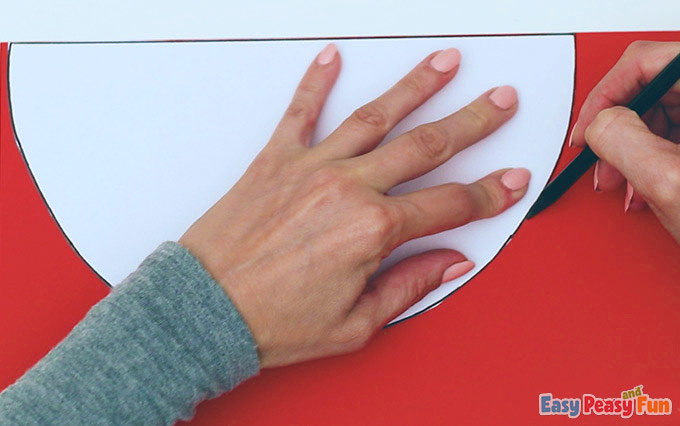
Draw around the template on the red cardboard twice and cut it out.
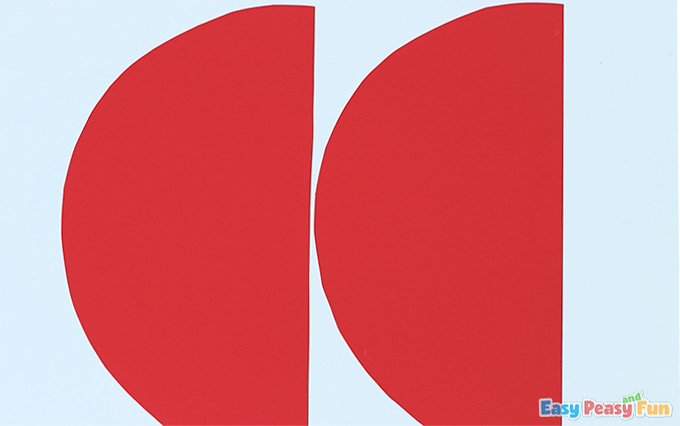
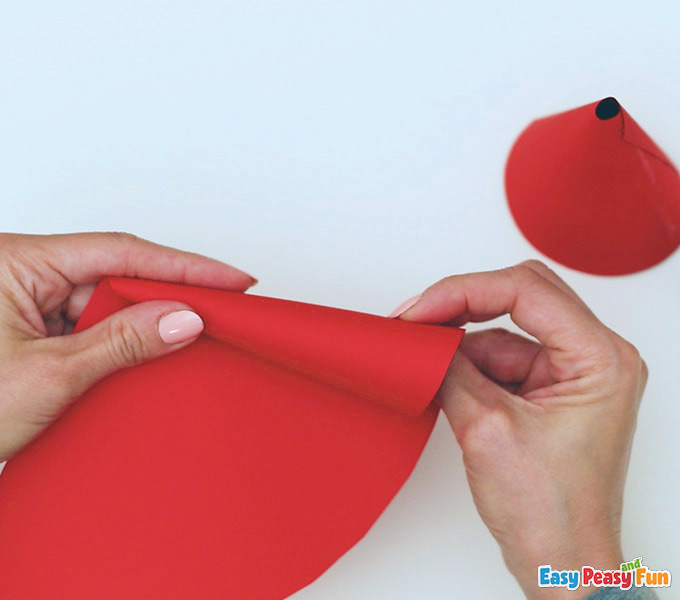
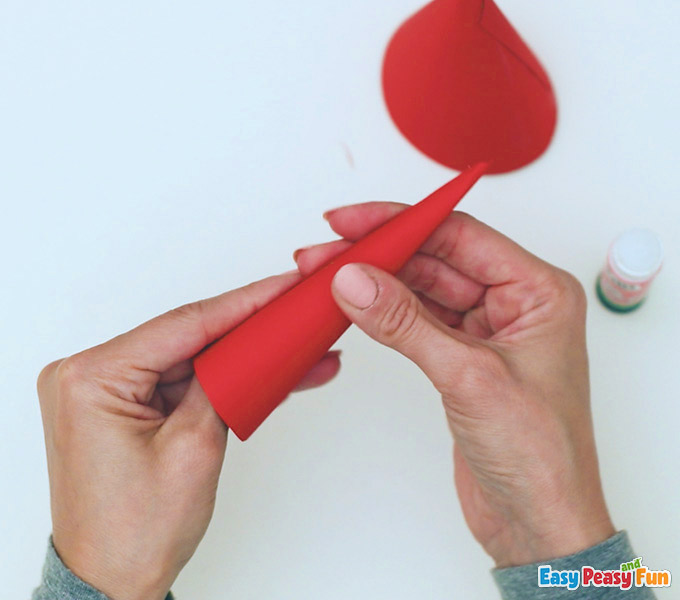
Make two cones. One is going to be for the Santa body and one for the Santa’s hat.
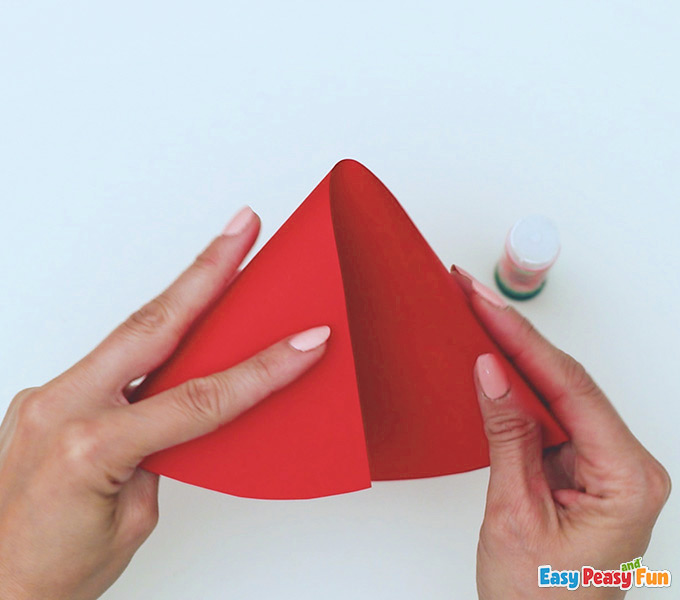
You are going to take both pieces of red paper and make them into cones.
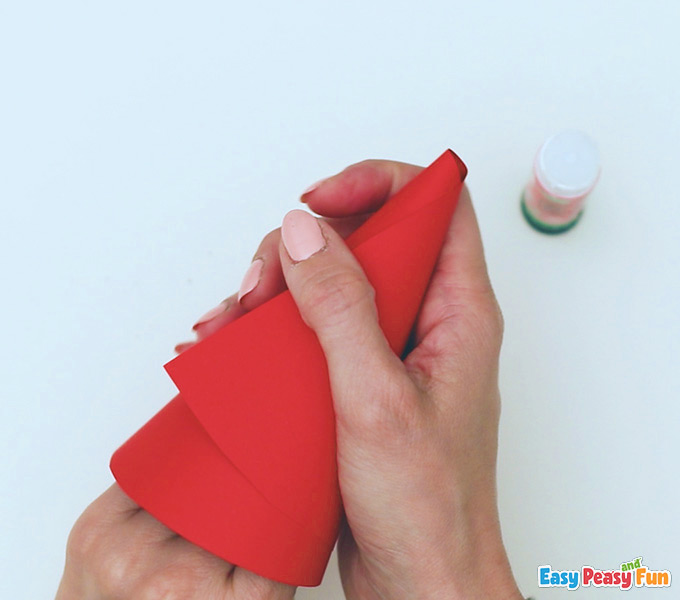
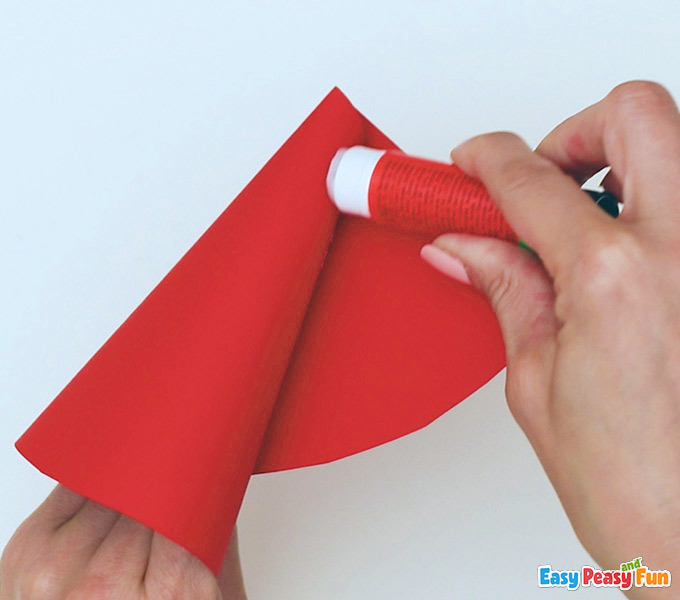
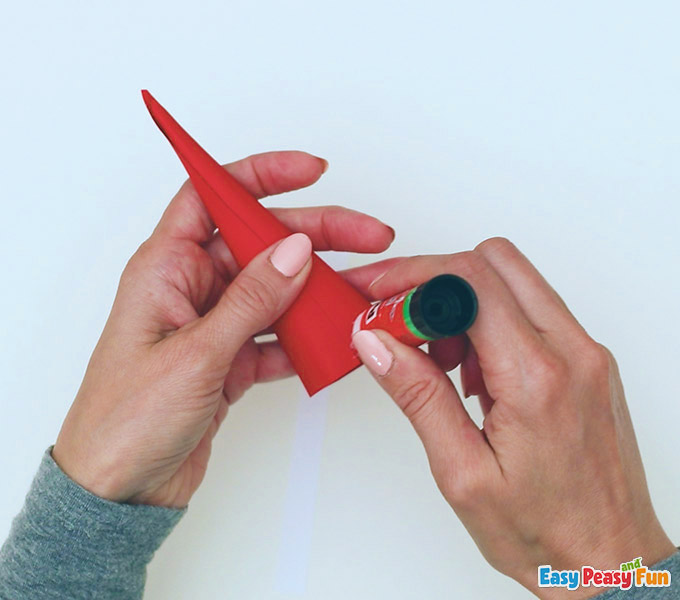
When you are done rolling the cones up, you will need to glue them down.
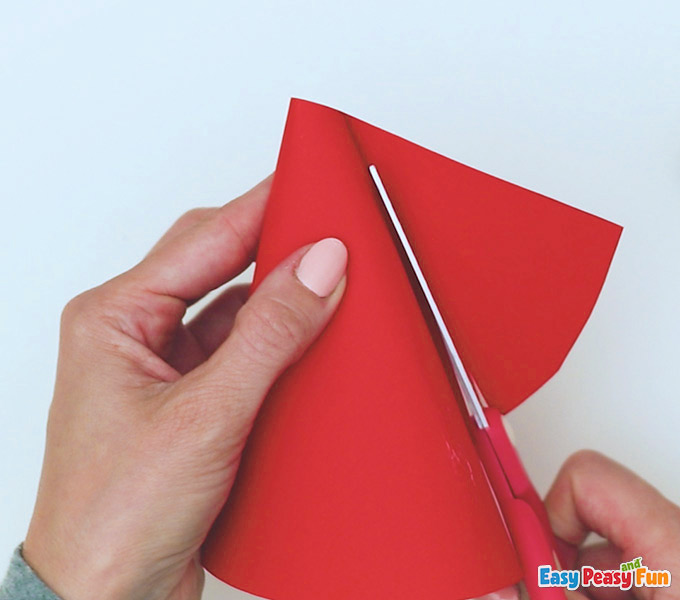
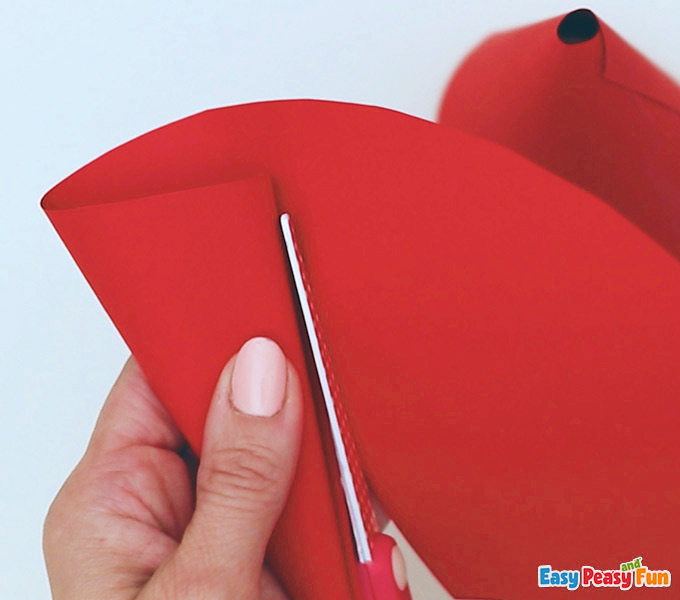
You can cut off any excess pieces of the cone that you no longer need.
Press nice and firm to make sure the cone stays!
Don’t forget you need a cone for the hat and for the body.
Trim off any excess red paper you don’t need on the cone.
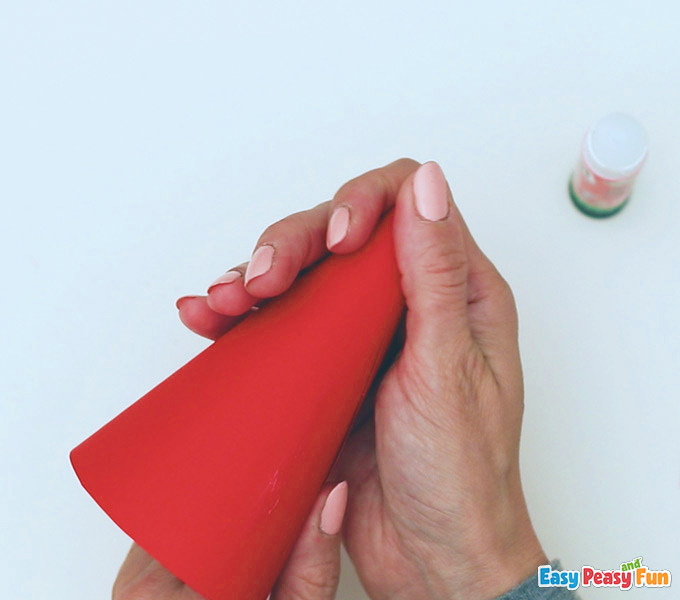
The hat is going to need cut down a little.
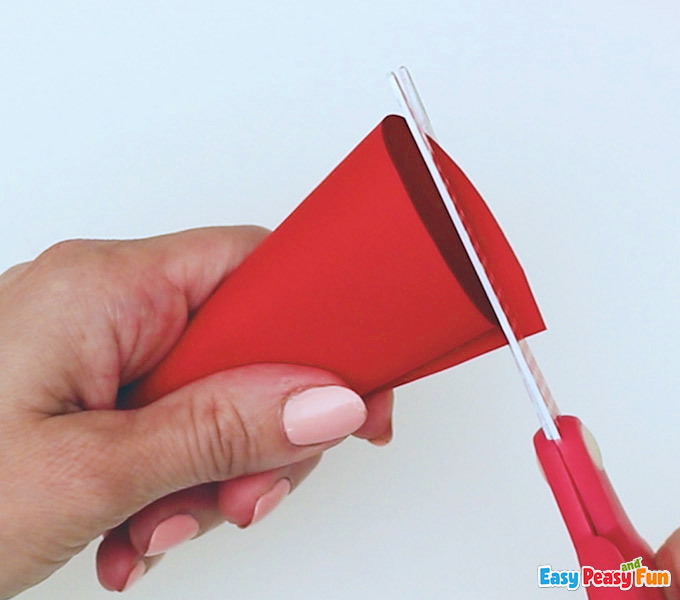
The hat should be smaller than the body but also fit on top of the body as a hat.
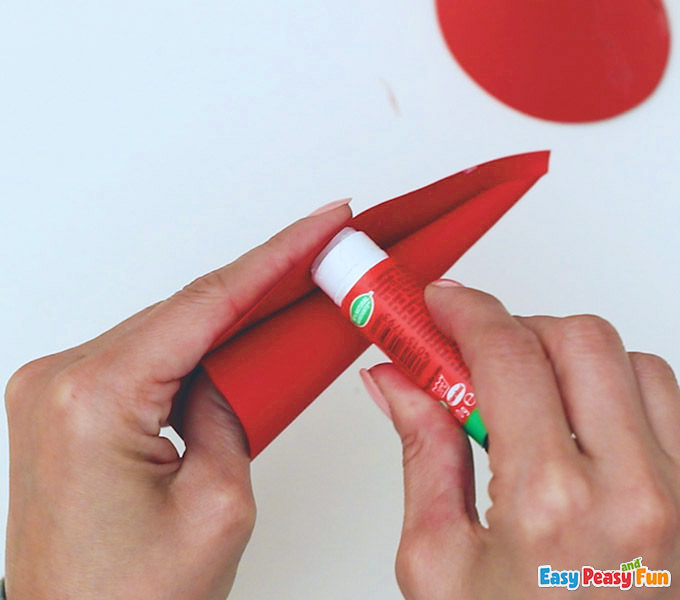
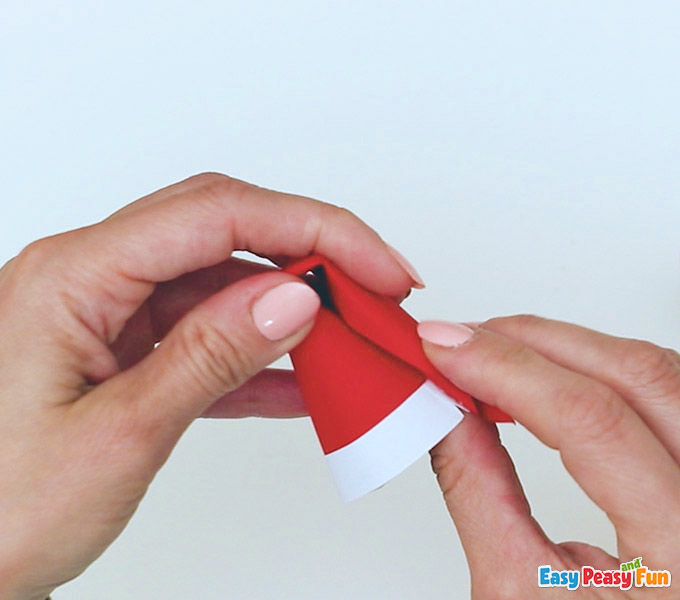
Glue the red cone (aka the hat) down so that it stays. Allow drying thoroughly.
Decorate the hat
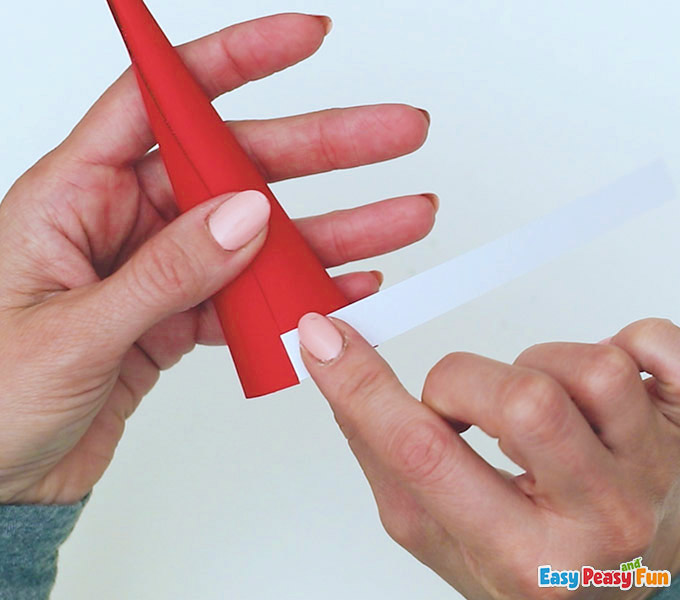
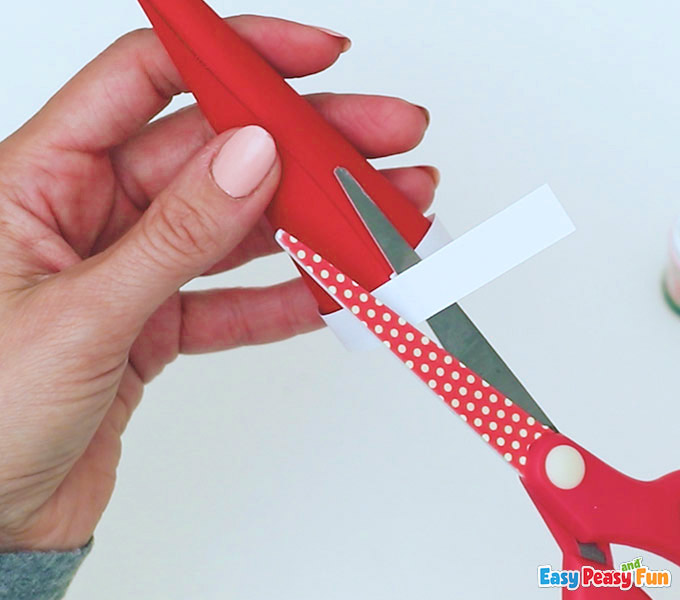
Cut a thin stripe on the white paper and glue it to the bottom of the hat.
Glue the bottom of the hat.
Glue the white strip of paper to the bottom of the hat.
Cut off the extra end of the white strip of paper.
Glue the end pieces together.
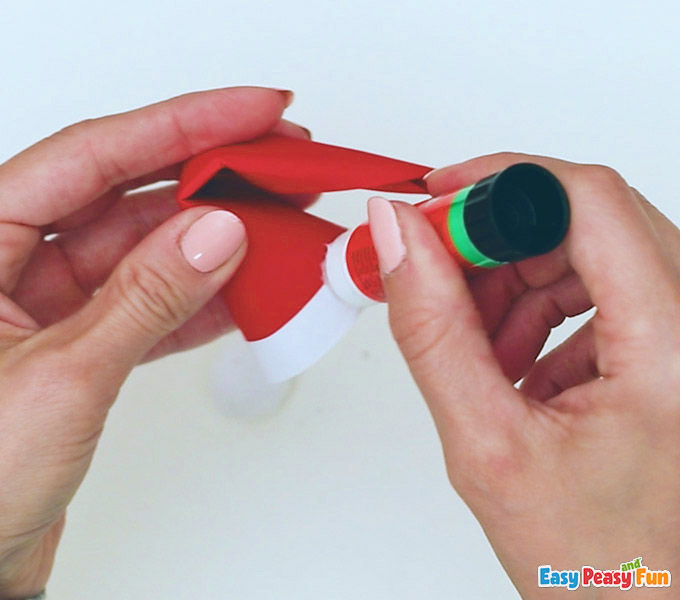
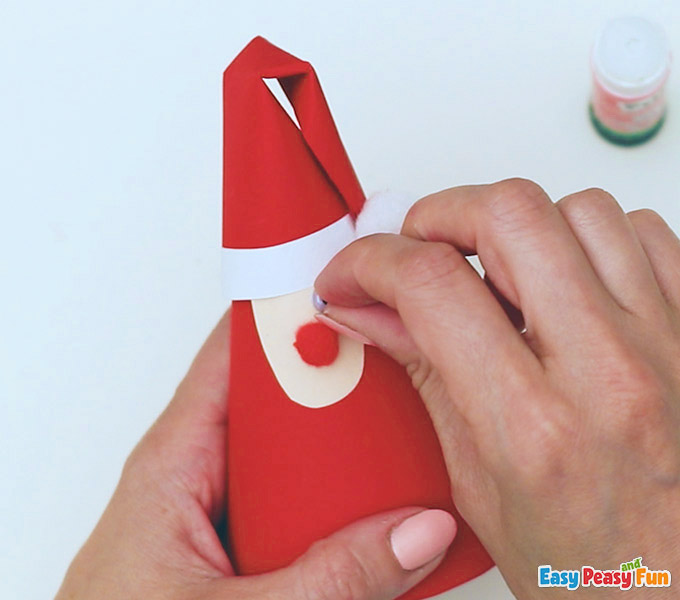
Fold down the hat and glue it in place as shown below.
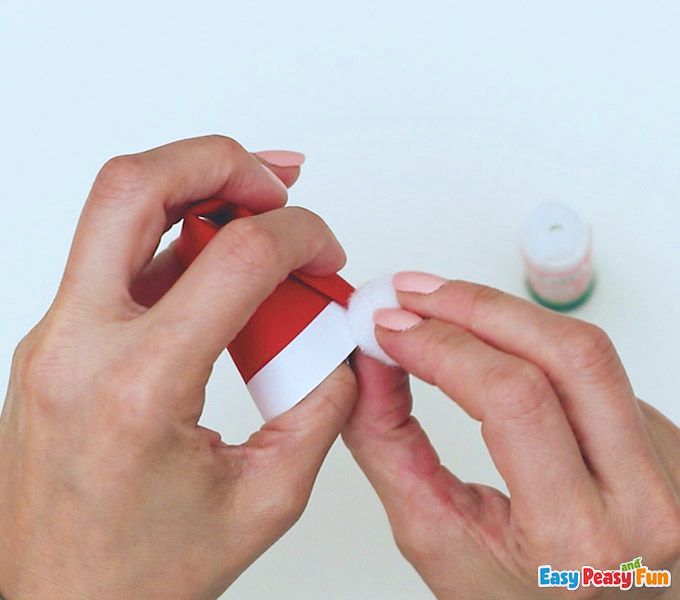
Add the white pom pom to the bottom of the hat.
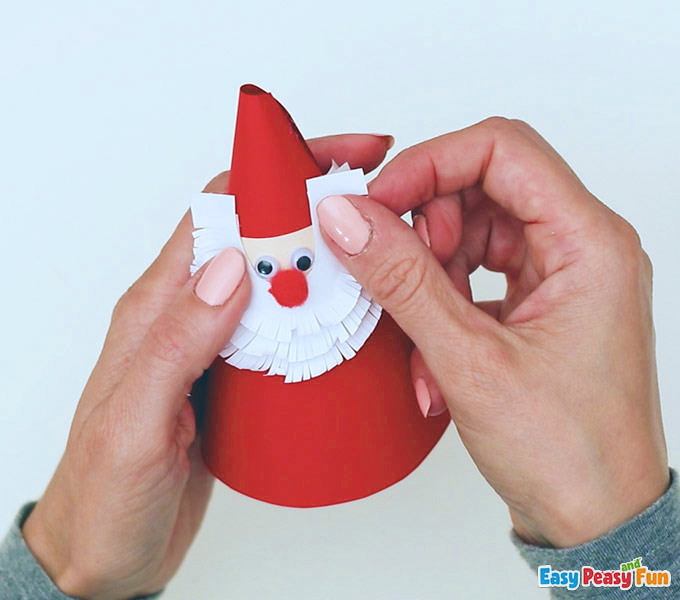
Next, you are going to make the Santa face.
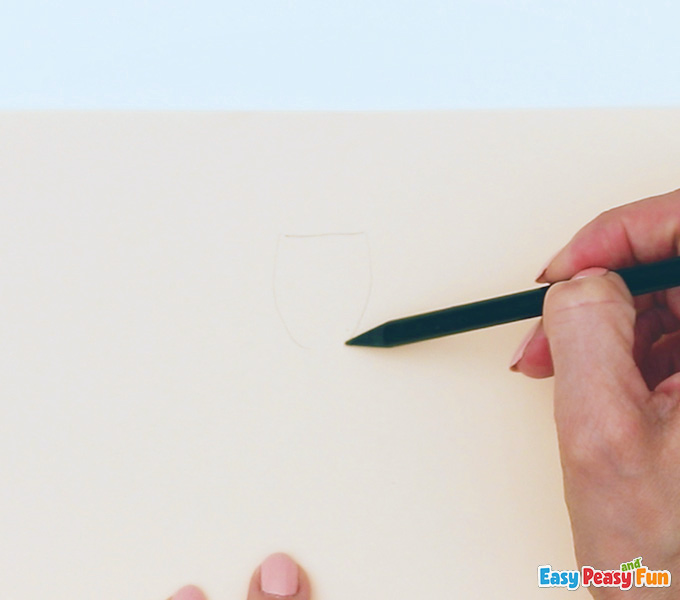
The face is an important part of Santa! But he also needs three layers of white for his beard.
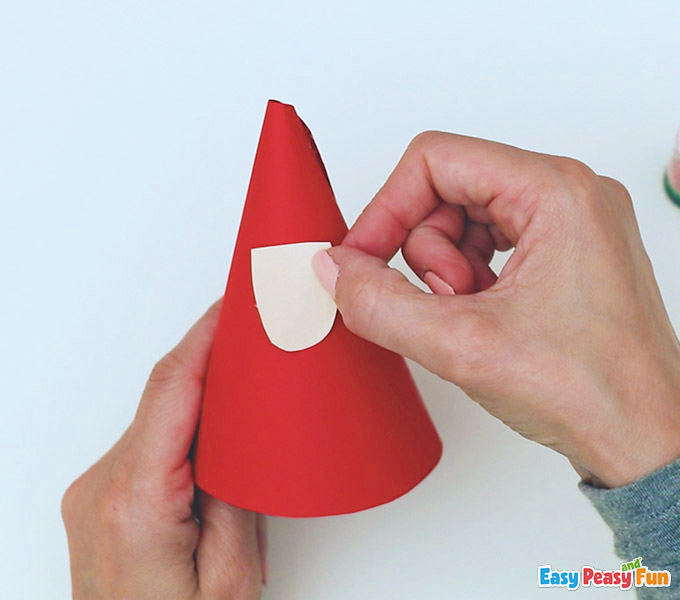
Glue the face onto the body.
Add Santa’s hat to his body.
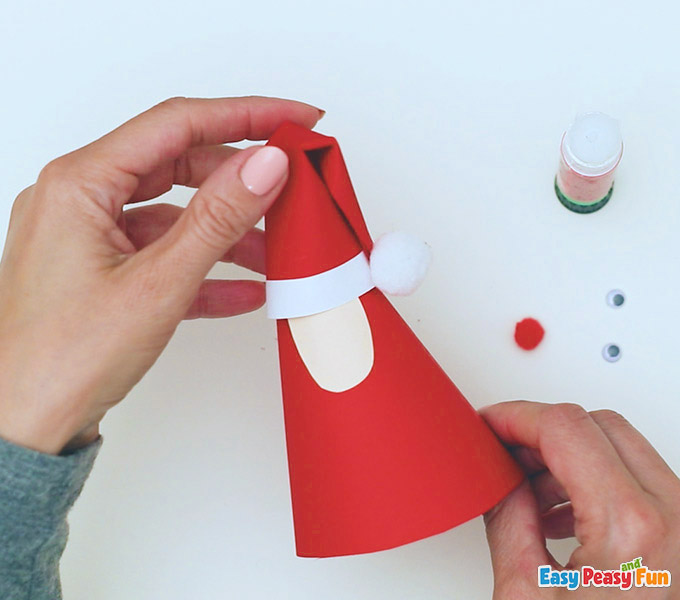
Glue on Santa’s eyes and nose.
Next, you are going to fray two layers of beard for Santa.
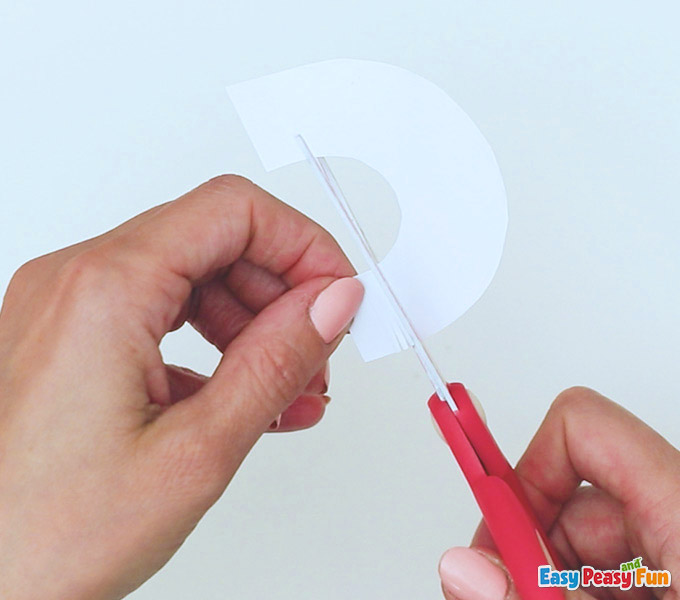
Keep fraying the beard, you are doing a fantastic job.
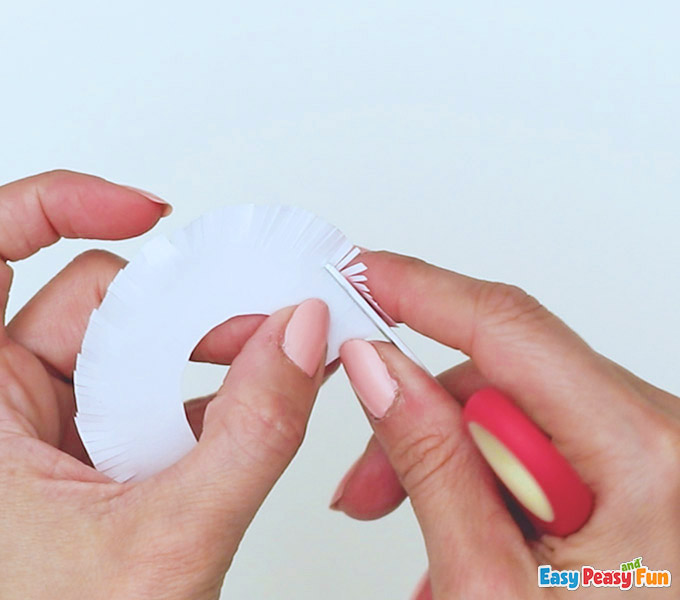
You are now going to layer Santa’s beard onto his face.
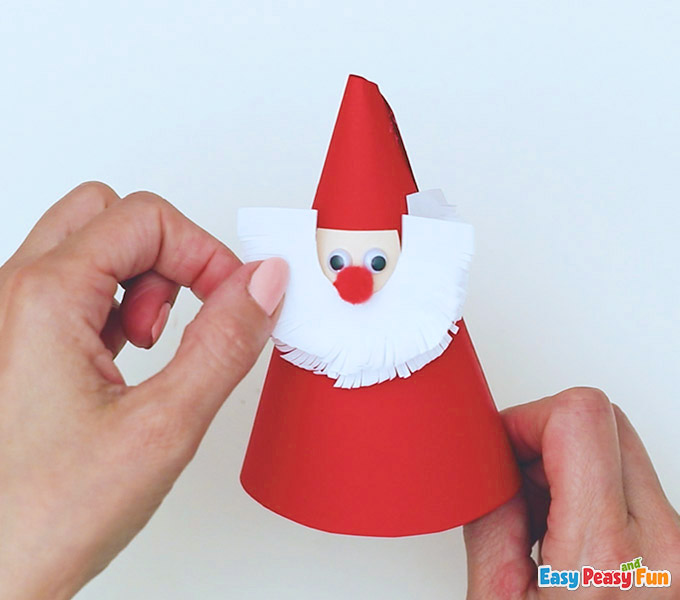
Don’t forget to glue them down really good.
Next you are going to cut a thick white strip for the bottom of Santa’s suit.

Now you have a complete Santa for decorating your home.
Want instant access to all of our printable crafts, activities, and resources?

With thousands of crafts, activities, worksheets, coloring pages, and drawing tutorials to print, you will always have just the resource you need at your disposal. Perfect for parents and teachers alike!