Create a wonderful winter scene by making this adorable and easy paper circle red cardinal craft with your kids. This is a great winter classroom craft as once your kids are done making their scene it can be used as a fun bulletin board display.
This one is really easy to make, so it is suitable for kids in preschool and kindergarten as well.

*This post contains affiliate links*
How to Make the Paper Circle Red Cardinal Craft
What you need:
- pencil
- scissors
- glue stick
- color paper (light blue, brown, red, and orange)
- black marker
- white chalk marker
- two googly eyes
Step by Step Tutorial
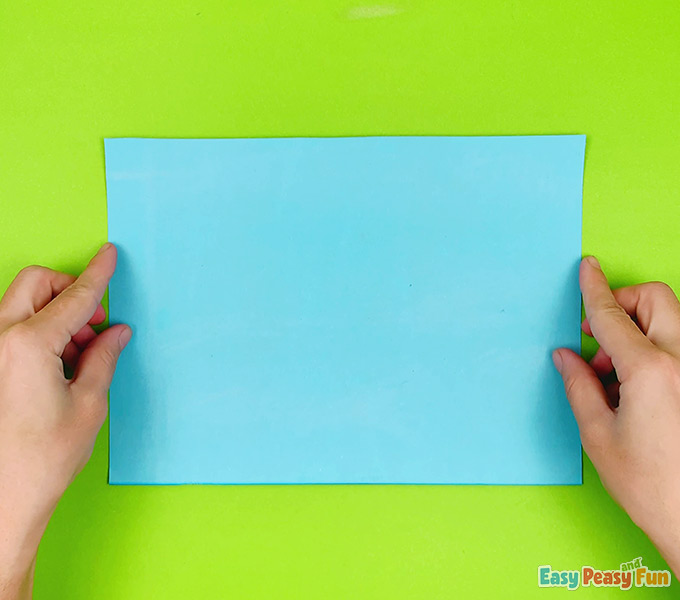
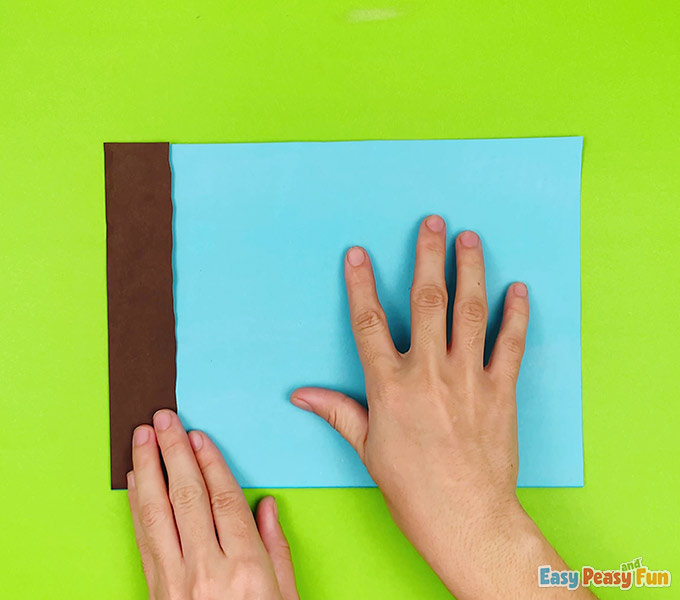
Start with a sheet of blue paper for the background. It’s best to use construction paper for this. You can secure it to the table with tape.
The Tree
Have kids cut out a wider strip of brown color paper. They can use wavy scissors to cut along one side of it to make the tree trunk look more natural or keep it simple and straight.
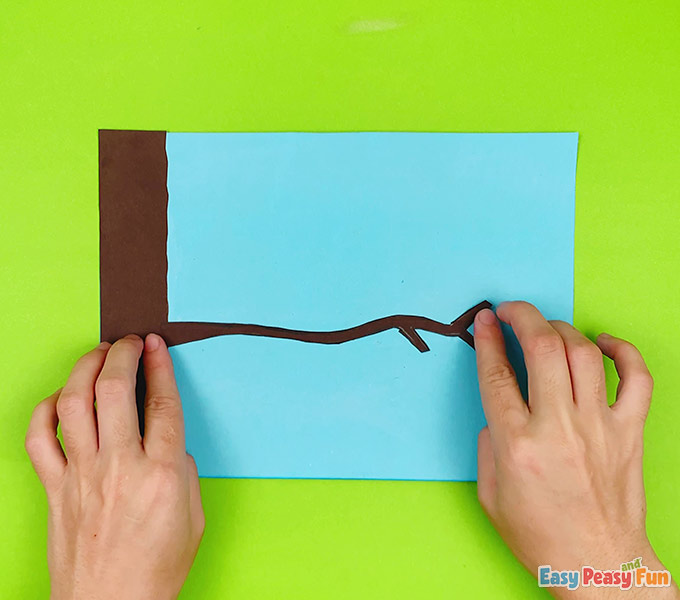
Apply glue on the paper strip and stick it on the background (on the left edge or on the right one).
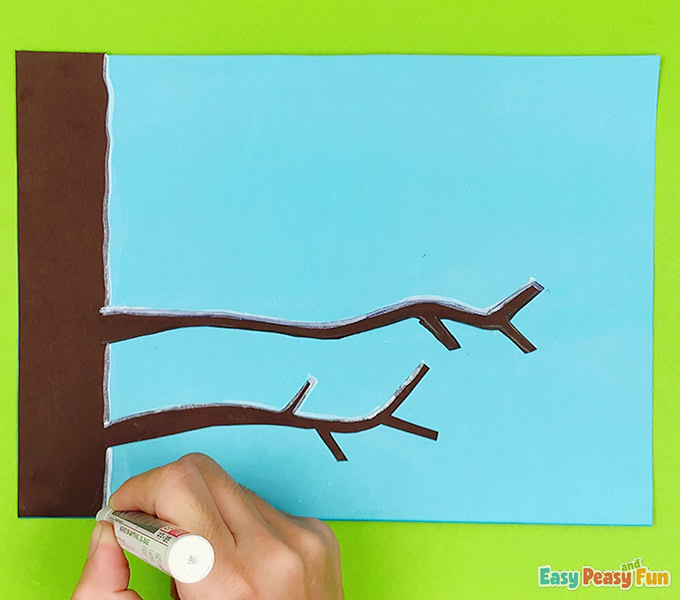
The Branches
Draw a long branch on brown construction paper.
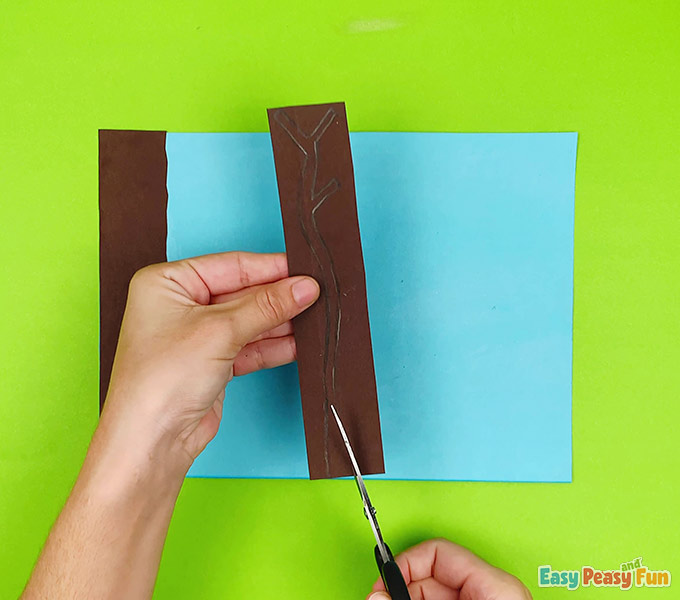
Cut it out and glue it on the background paper.
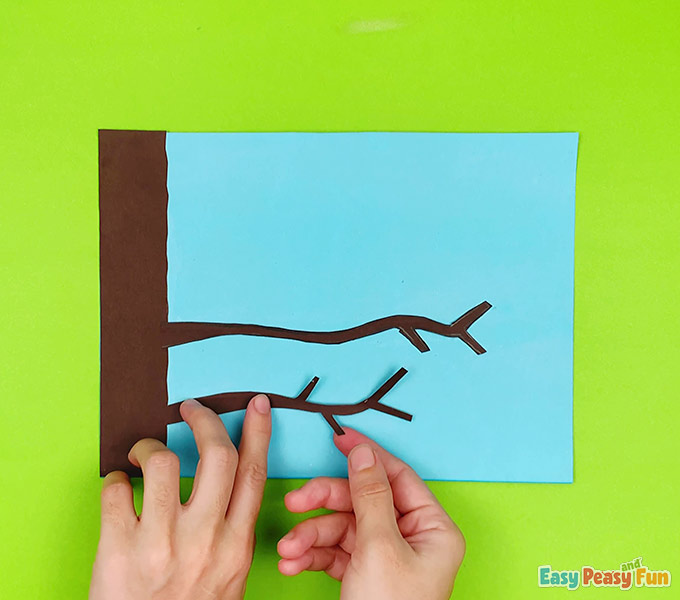
Have them create another (shorter) branch and glue it below the first one.
Tip: Instead of using brown construction paper, your kids can also paint the tree and the branches (or branches only) with paints or markers.
The Snow
With a white chalk marker, have the kids draw lines on the edges of the tree and on the top of each branch.
The Red Cardinal Bird
It’s time to create the red cardinal birds!
Cut out a red circle. If you are making this as a classroom project we suggest you use a large round paper punch. For younger kids punch out the circles beforehand and older kids (kindergarten+) will love making the circles on their own.
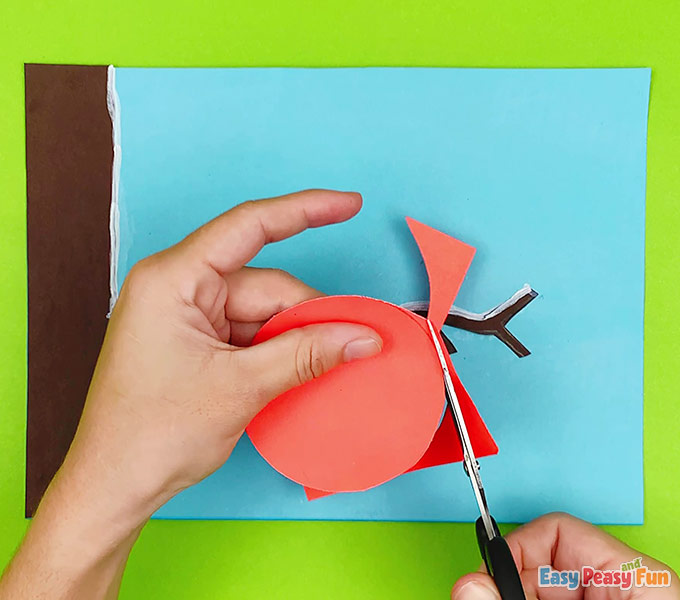
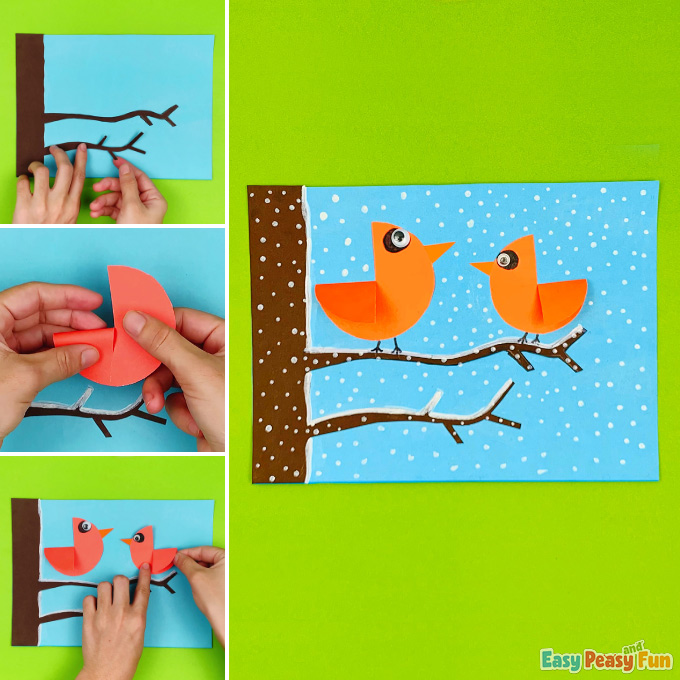
The Wing
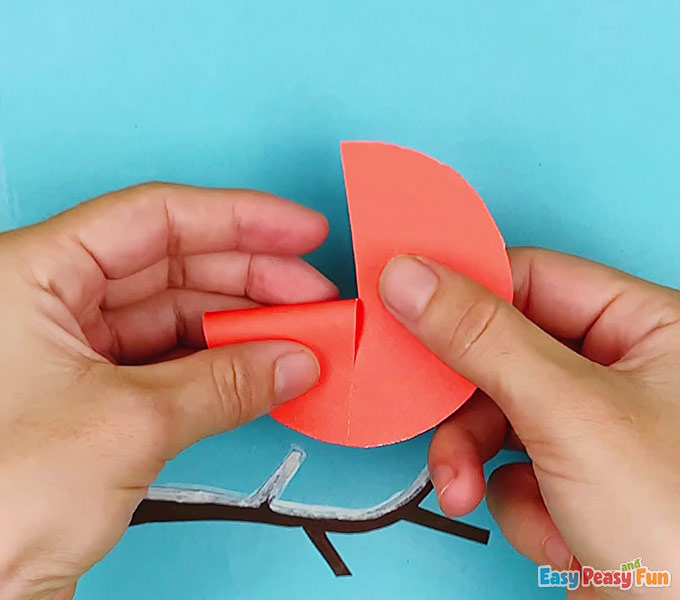
Cut into the circle, from the edge to the middle.
Tip: to make things easier, fold the circle in half two times to make the creases which kids can use as a guide where to cut.

Now fold one-fourth of the circle downward.
The Eye
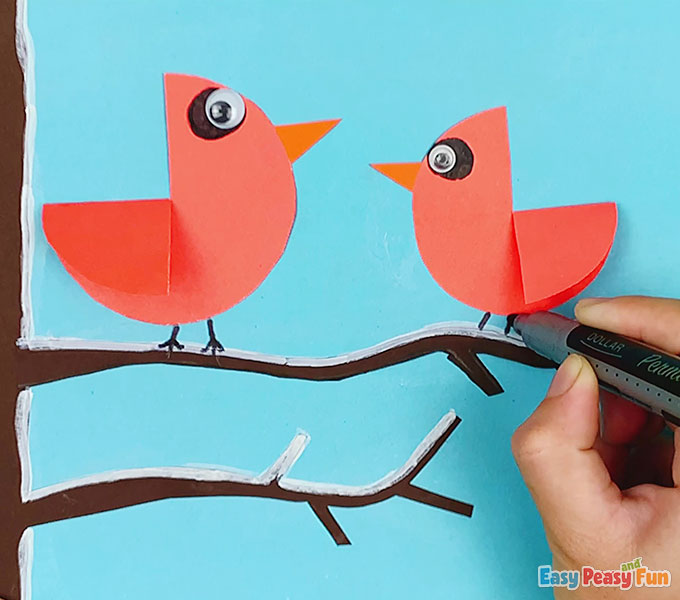
Draw a big black dot for the cardinal’s eye, it is after all one of this bird’s most important traits.
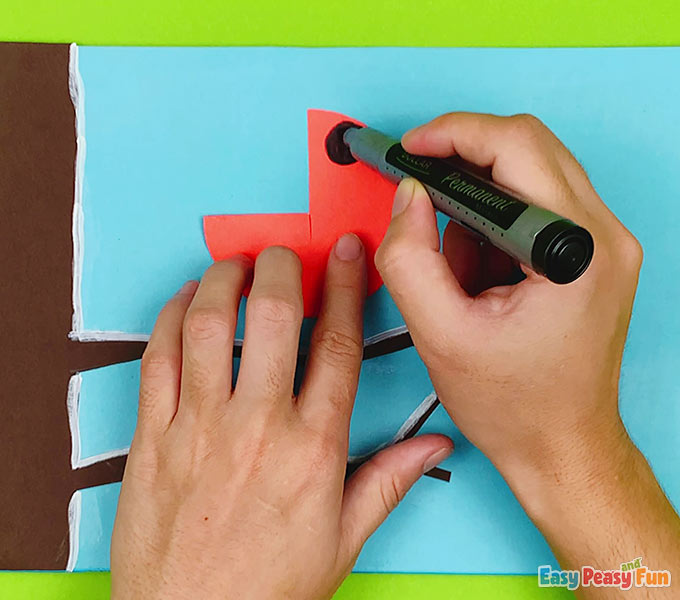
Let the kids glue on one googly eye or googly eye sticker.
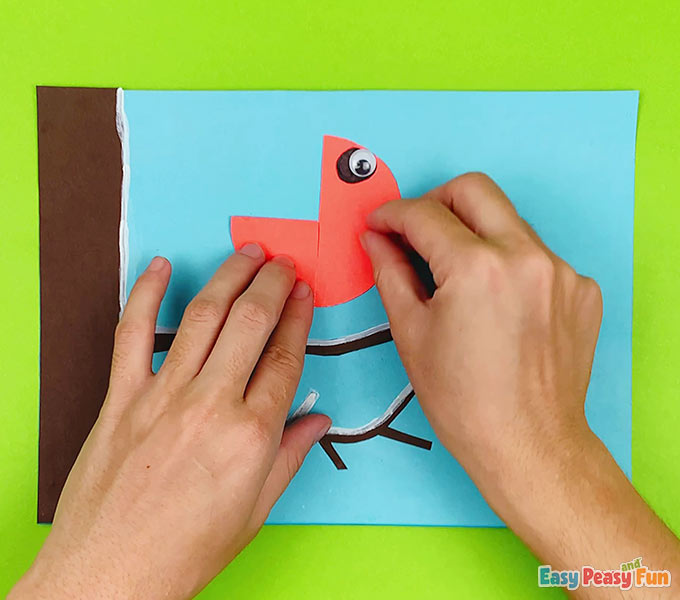
The Beak
To make a beak, have the kids cut out an orange or yellow triangle and glue it to the bird.
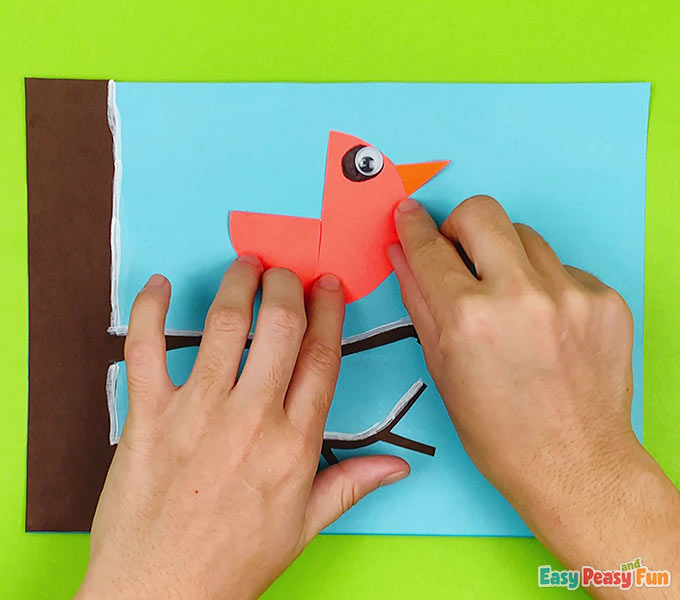
The cardinal bird is almost done. Have children glue it near the tree, just above the branch.
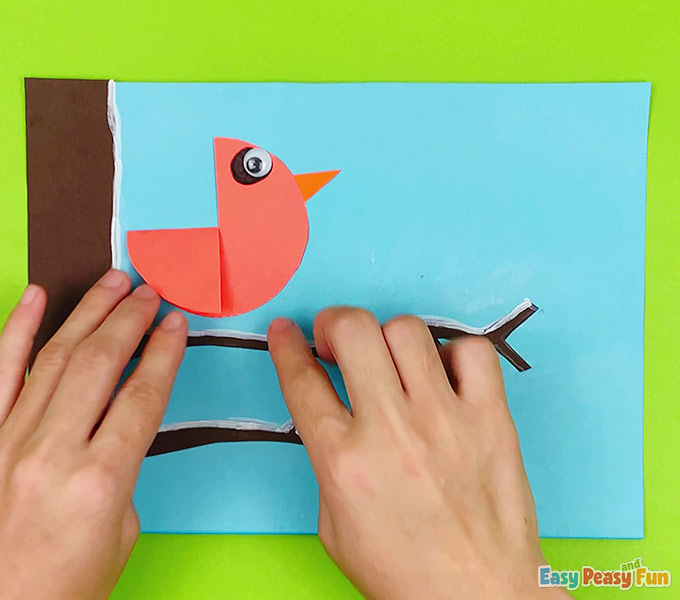
Following the steps above, kids can create another red cardinal bird or two and glue it to the end of the branch facing the first bird. If they want they can just make one bird.
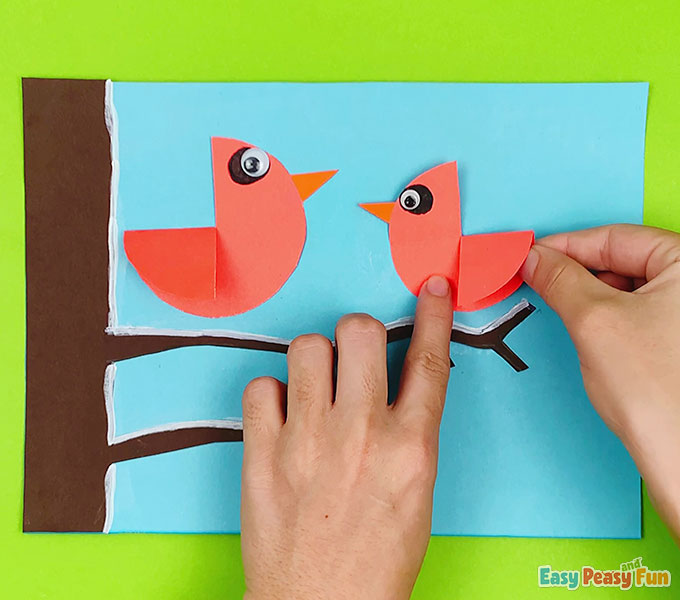
The Feet
Draw the feet using a black marker, making simple lines.
The Snowflakes
Have them kids draw little dots with white chalk marker.
Tip: for a great fine motor exercise they can also use Q-tips and dip them in paint to make the snowflakes.

The paper circle red cardinal bird craft is completed!
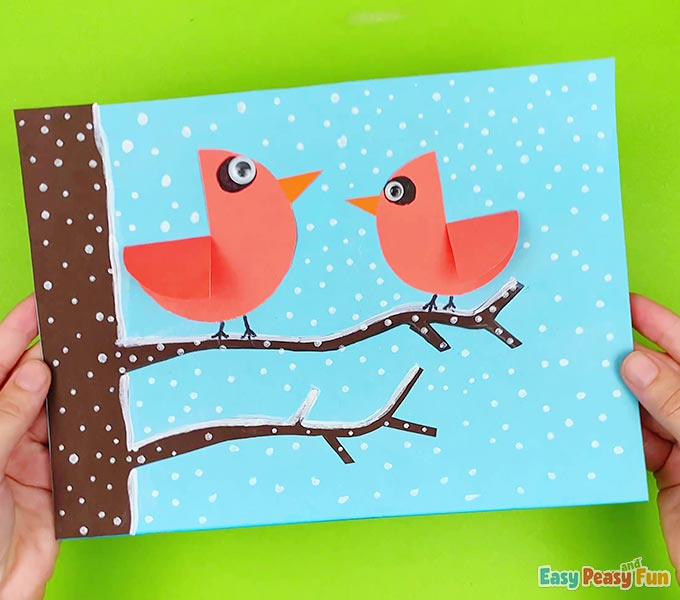
What a fun and easy idea, right?
Want instant access to all of our printable crafts, activities, and resources?

With thousands of crafts, activities, worksheets, coloring pages, and drawing tutorials to print, you will always have just the resource you need at your disposal. Perfect for parents and teachers alike!