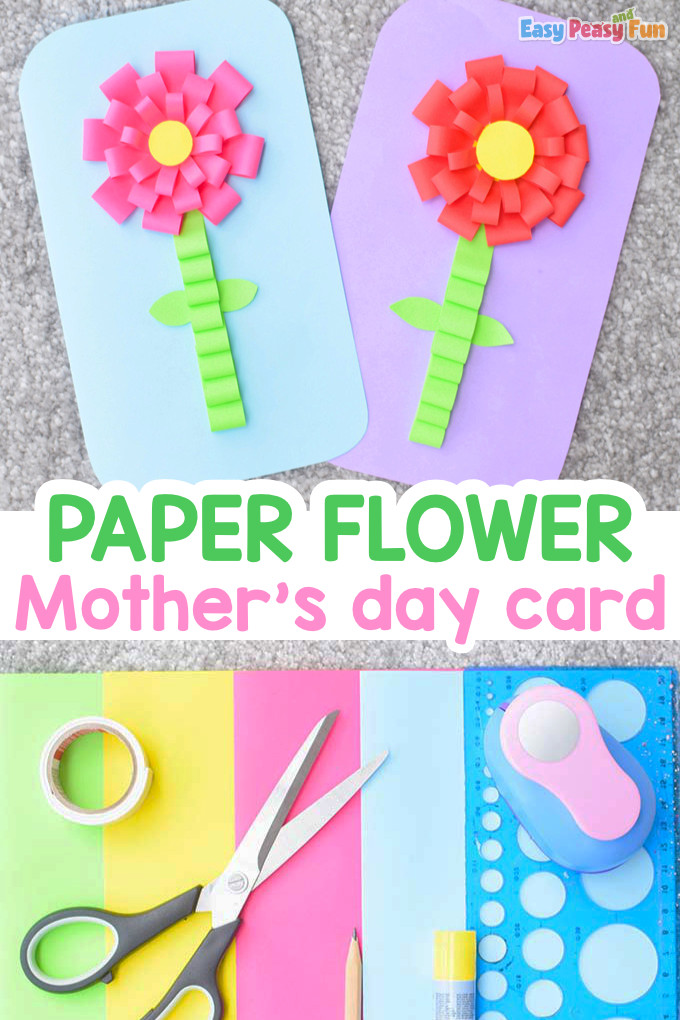
If you want to create a wonderful Mother’s day card this Mother’s Day flower card won’t fail to impress.
Everyone loves to receive a card, and this one is perfect has a flower that will never wilt so what is there not to love.
*this post contains affiliate links*
50 paper crafts your kids can actually do themselves

No fancy supplies — just paper, scissors, and a little imagination.
Be the first to get it on release day — and lock in the lowest price guaranteed.
Show appreciation for all mothers by making a cute craft – we’ve got plenty of Mother’s Day crafts so we are sure you’ll easily find one your kids will love making (be sure to check out our Handprint Butterfly Mother’s Day Craft and make an Egg Carton Flowers Craft).
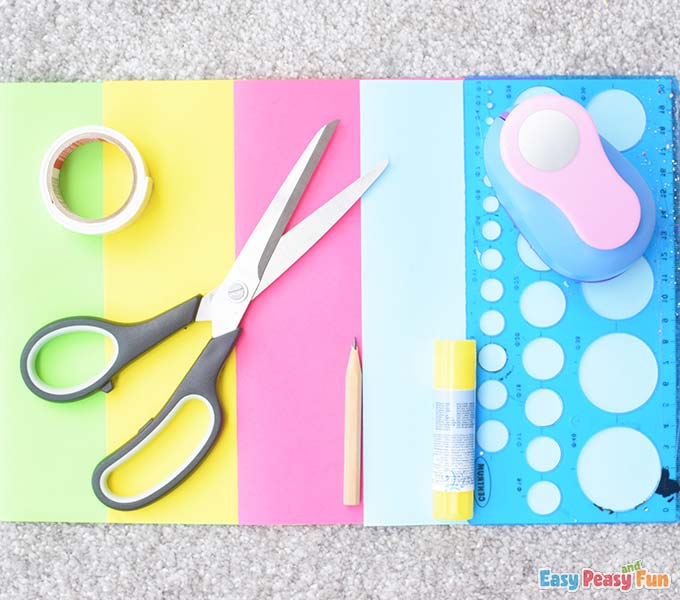
We bet you already have the tools you need for making this card in your drawers (you will mainly need paper, glue, and scissors), so let’s get crafty right away.

How to Make Mother’s Day Flower Card
What you need:
- blue color paper/cardstock for the card (or any color you like)
- pink/red color paper for the flower (or any color you like)
- yellow color paper
- green color paper
- glue
- double-sided foam tape
- scissors
- circle puncher
- pencil
- ruler with circle shapes
Step by Step Tutorial
The Card
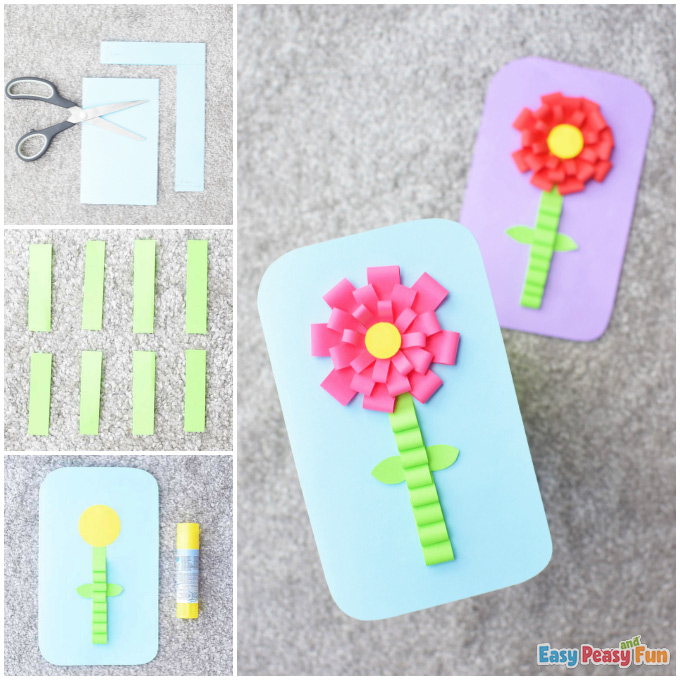
Take the blue color paper …
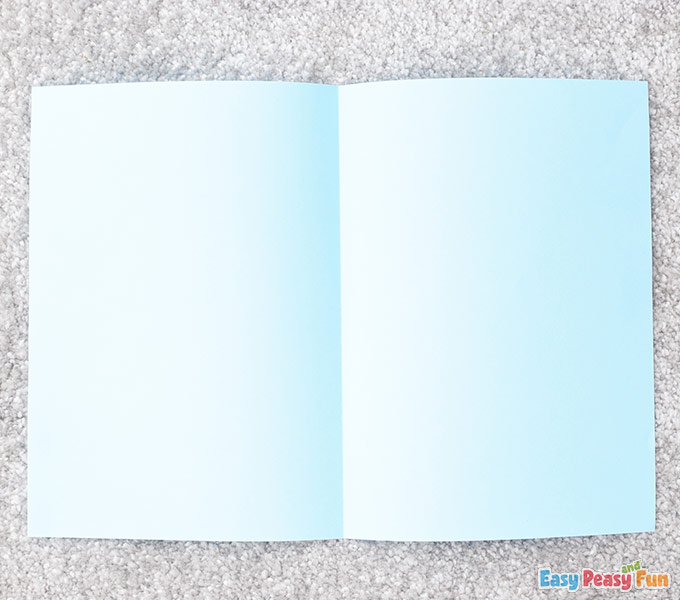
… and fold it in half.
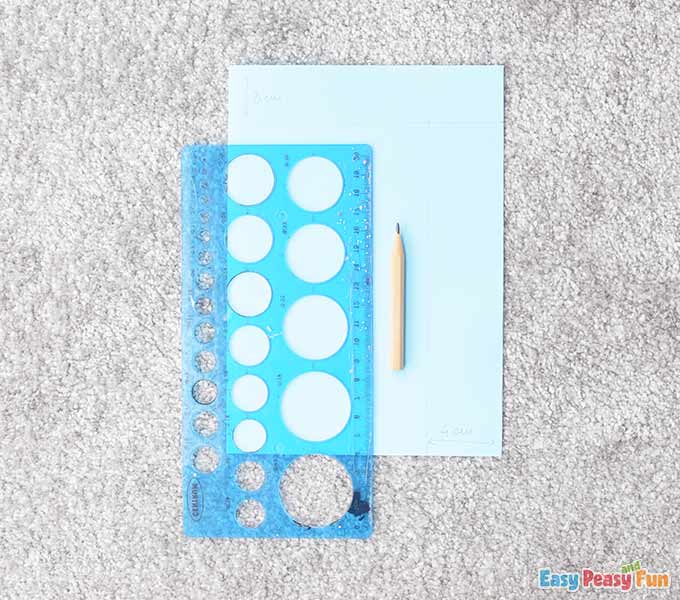
Measure 4 cm horizontally and 3 cm vertically, then draw lines.
Our marks are a bit pale on the picture, but hopefully, you will see them.
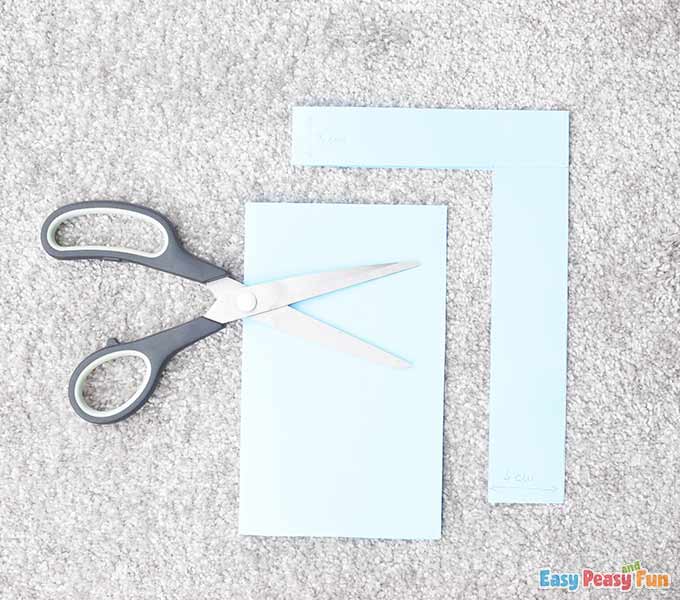
Next, cut along the marked lines using your scissors.
This is the card. It should open like a book.
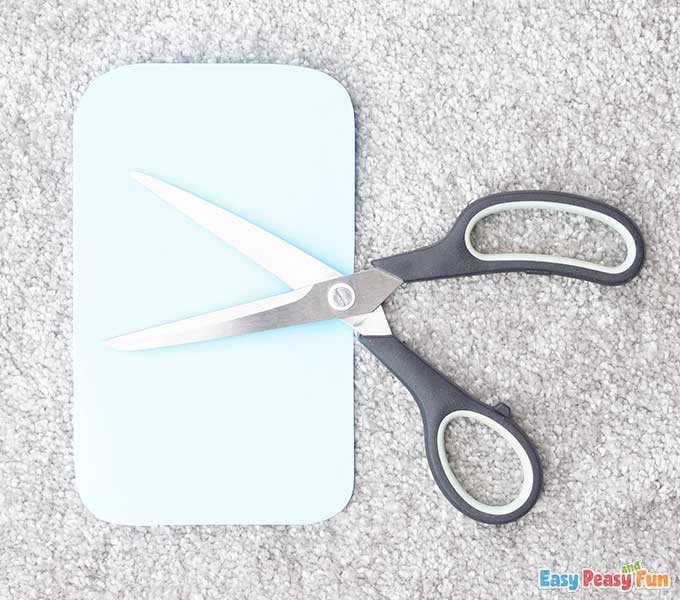
Take your scissors again and round all of the corners.
The Flower Stem
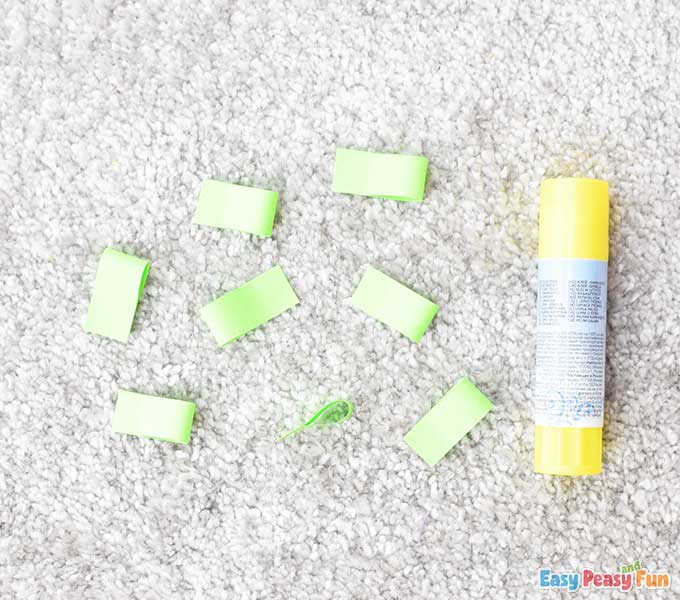
Take the green color paper and cut two 1 cm strips.

Divide each green strip into four parts, to make eight parts in total.

Bend each green piece and glue its ends together. See the picture for guidance.
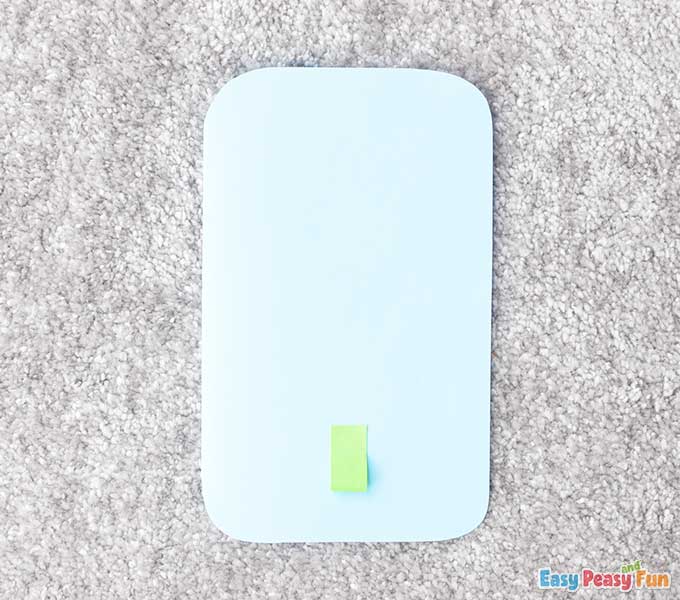
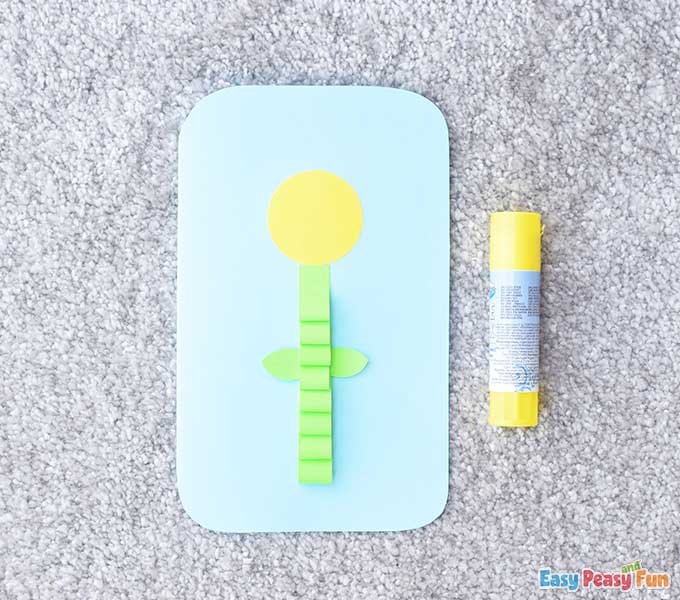
Now we will start forming the stem. Start from the bottom of the card and glue one green piece on the blue cardstock.
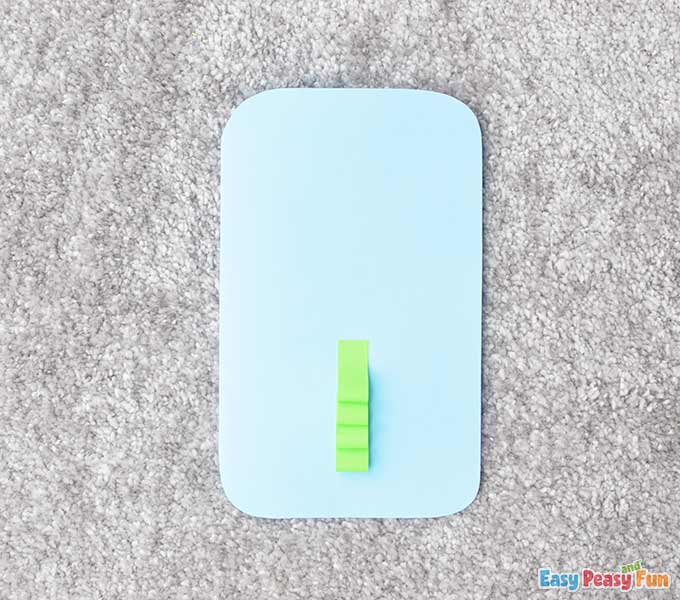
Continue by gluing more green parts above it.
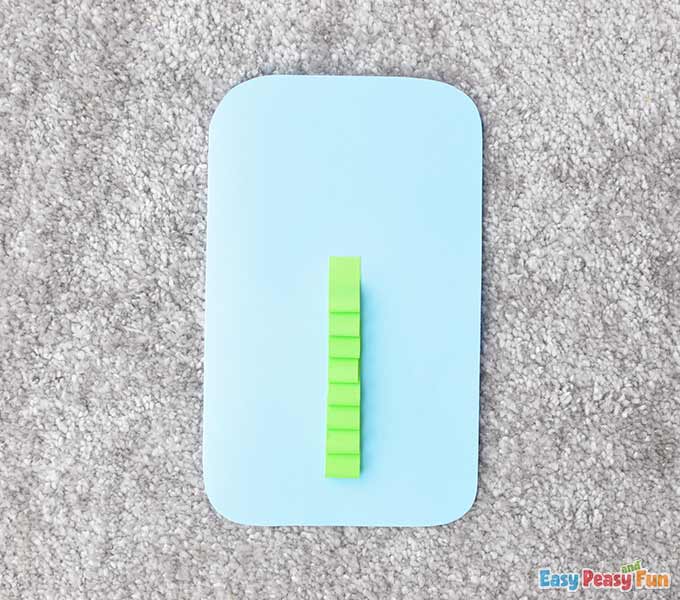
Complete the stem by gluing the rest of the green parts.
The Leaves
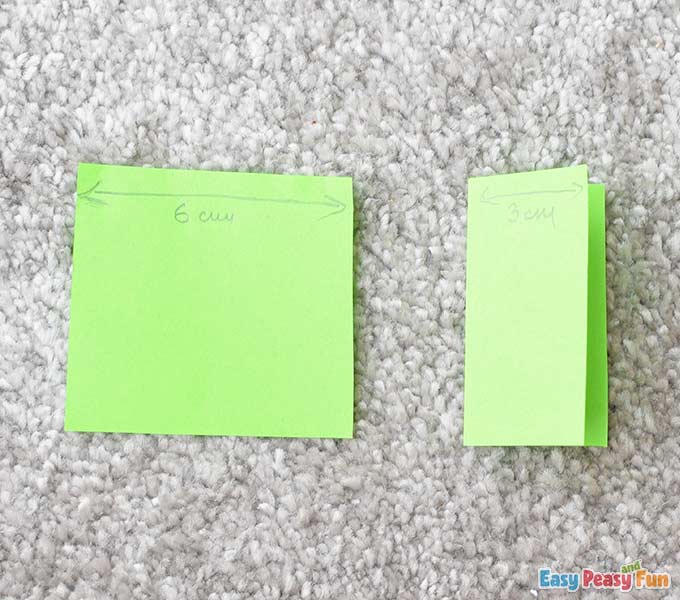
Cut out one 6 cm square and fold it in half.
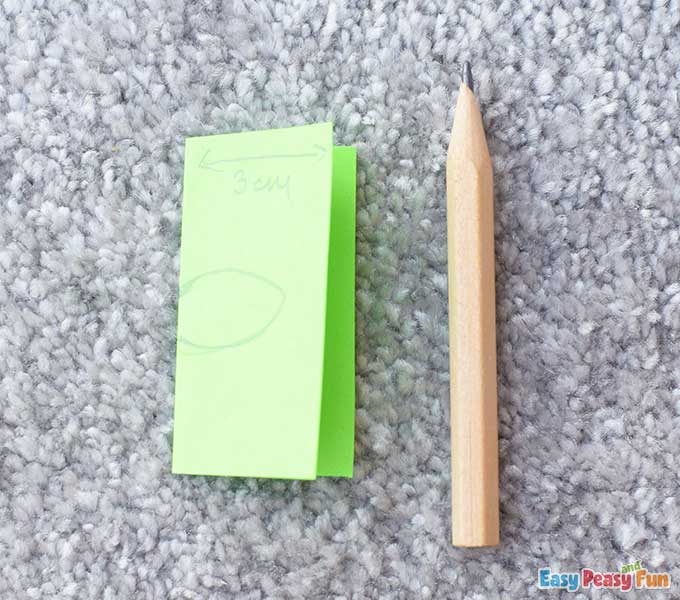
Draw one leaf with your pencil as shown in the picture.
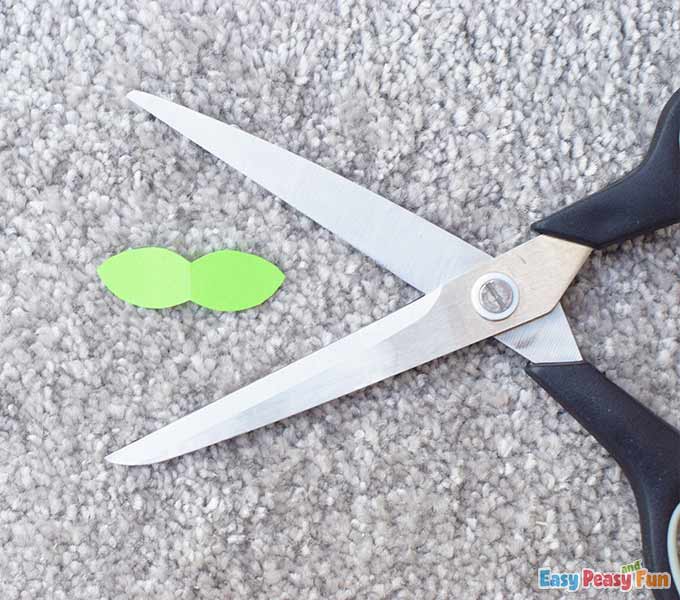
Cut out the leaf and open the folded green paper. You should have two green leaves connected to each other.
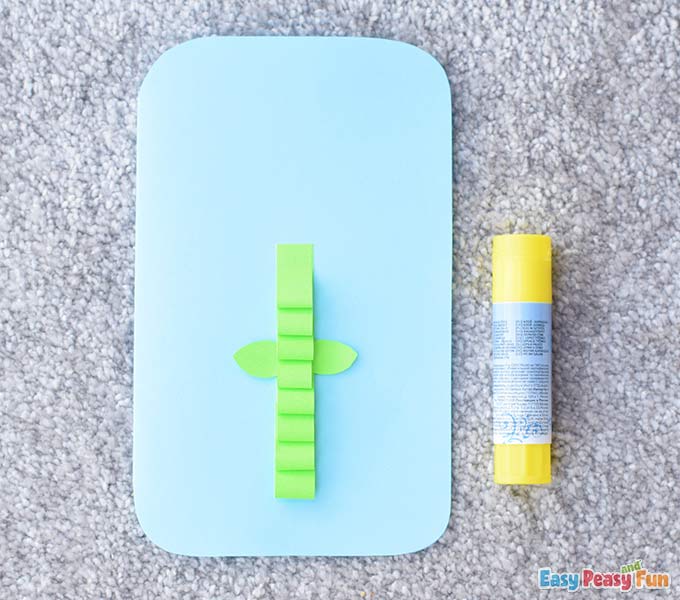
Apply some glue on the back of the leaves and glue them under one of the stem parts (somewhere the middle of the stem).
The Flower
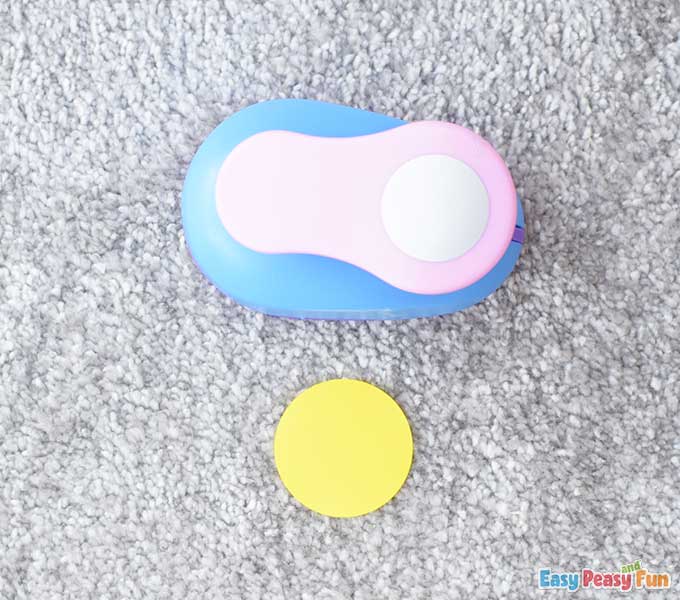
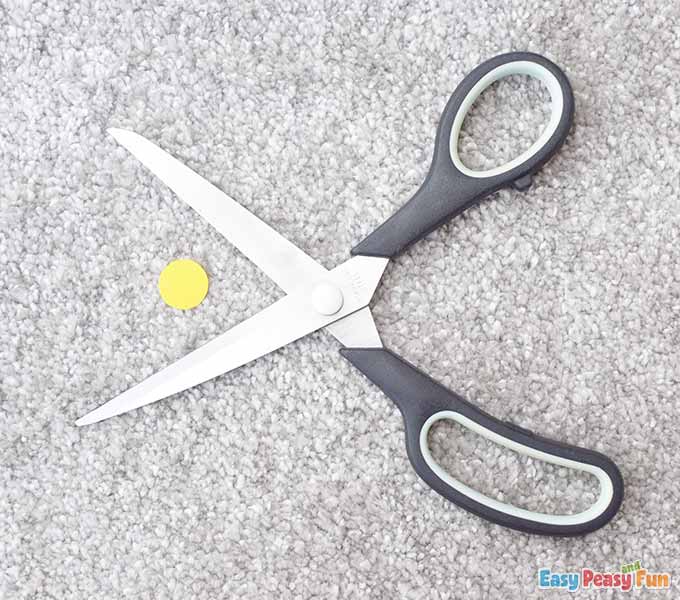
Punch one yellow circle using the circle puncher.
Glue it on top of the stem.
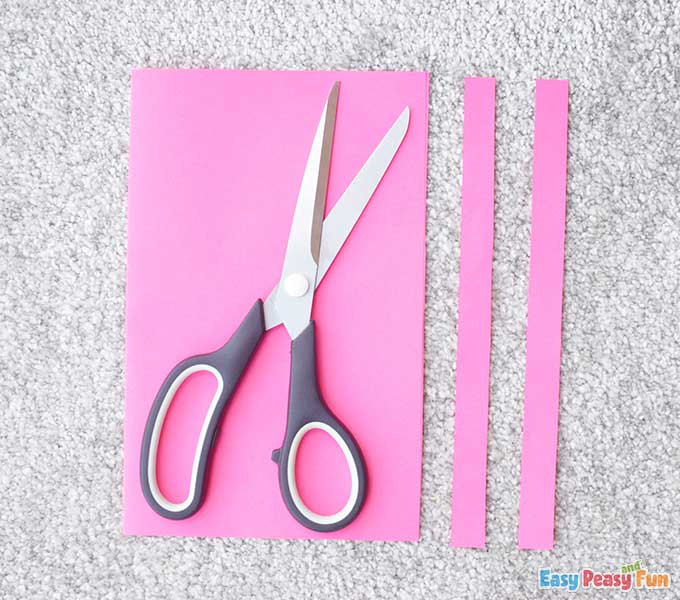
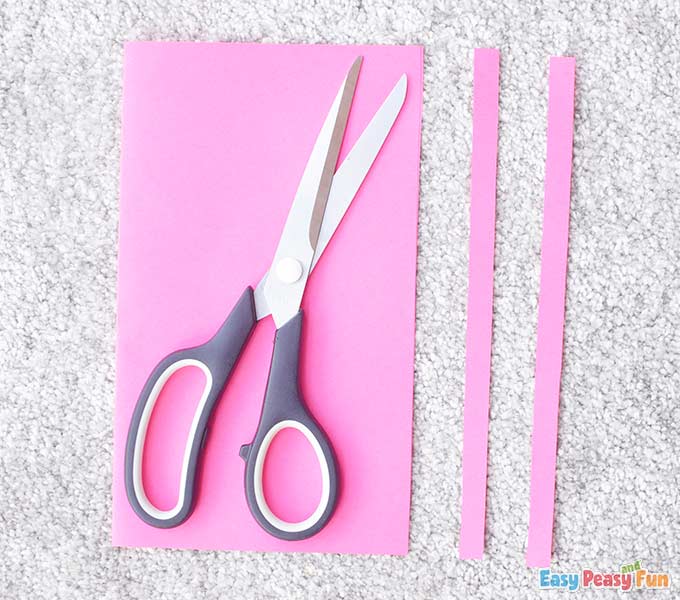
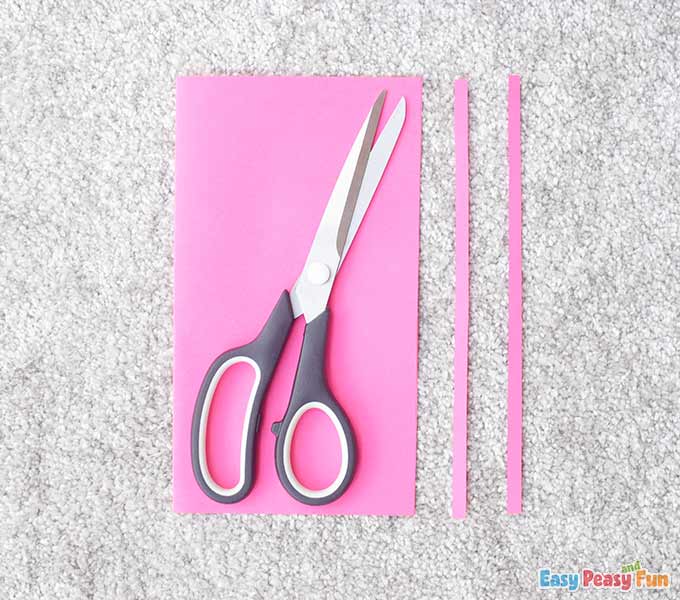
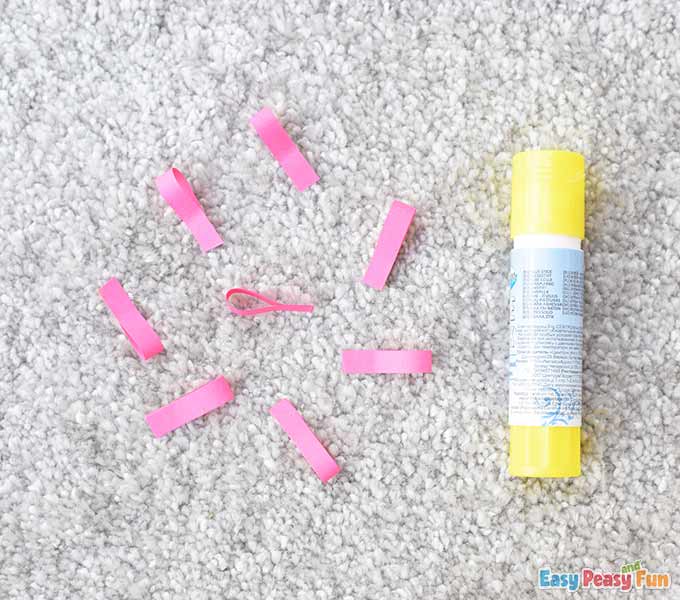
Take the pink color paper and cut out two 1,5 cm strips using your scissors.
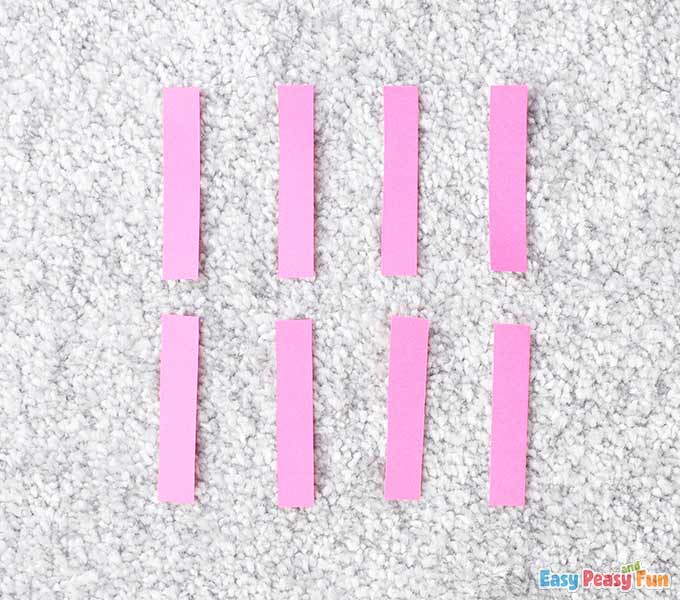
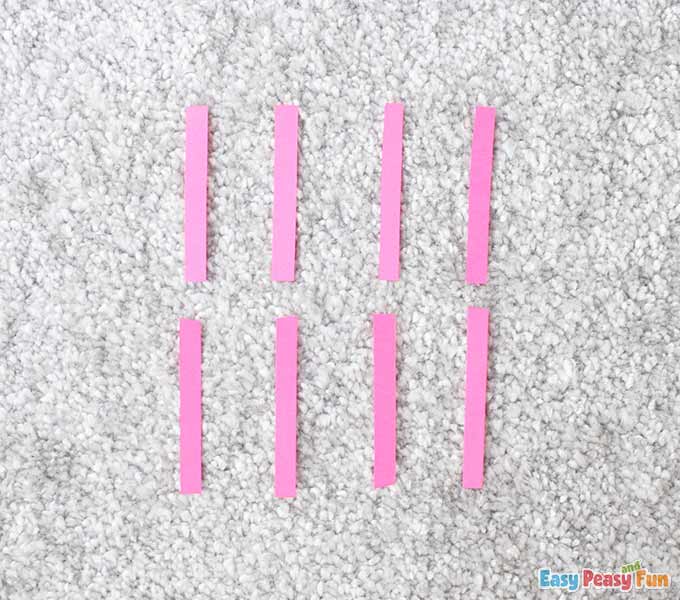
Divide each pink stripe into four parts, that would be eight parts in total.
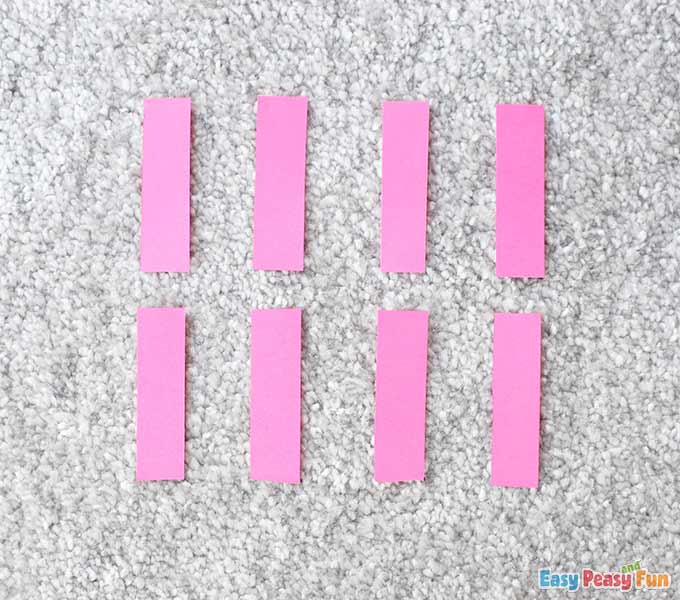
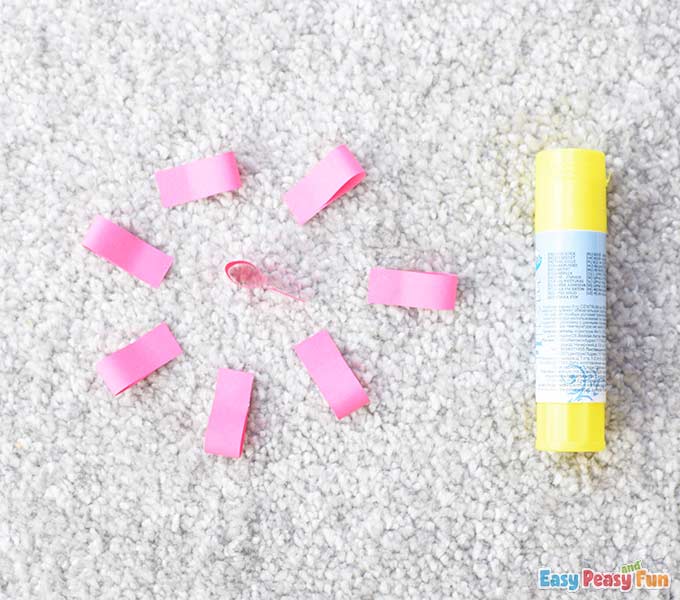
Bend each pink piece and glue its ends together as we did with the green color paper previously.
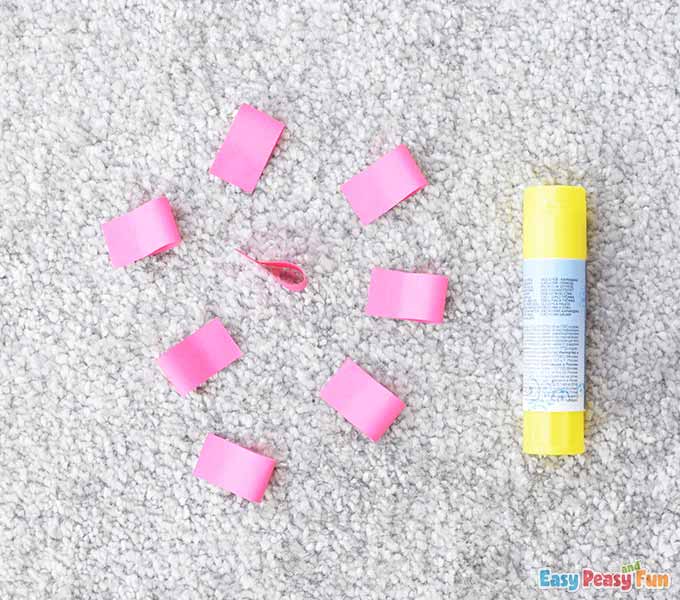
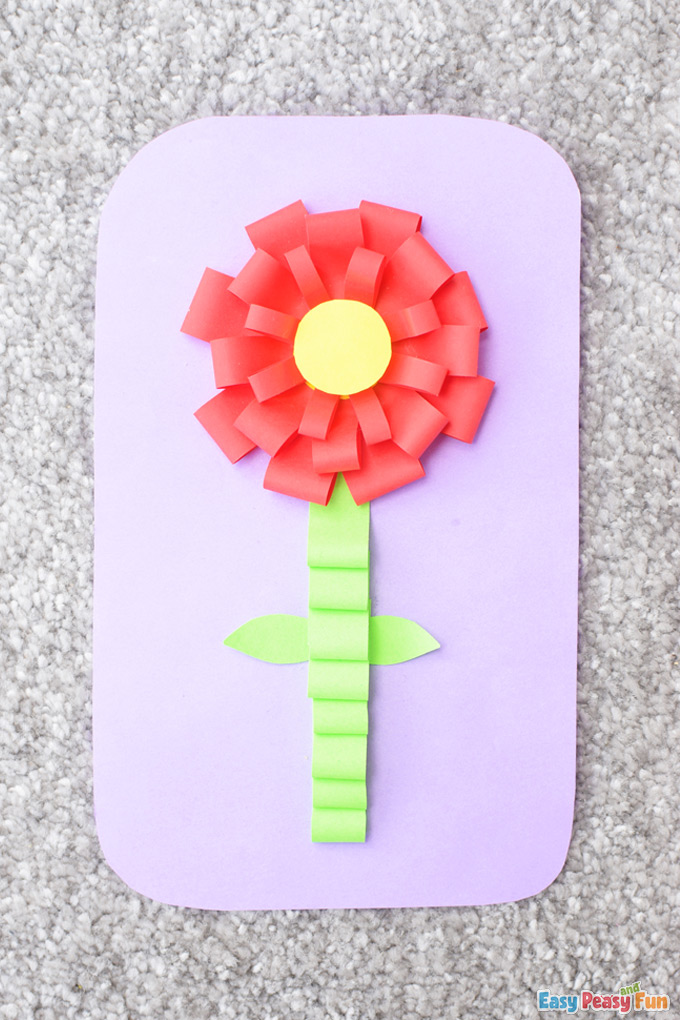
Arrange the pink pieces as shown on the picture and glue them on the yellow circle.
Now cut two pink 1 cm strips.
Divide them again into four parts, so you’ll have eight parts in total.
Bend them and glue their ends together.
Arrange them “inside” the first pink flower row and glue them on the yellow circle.
Now cut two more pink strips. Make them 6 mm wide.
Divide them into four parts, to get eight parts in total.
Bend them and glue their ends together as we did with the previous ones.
Arrange them “inside” the second flower row and glue them using a quality glue so they stay in place.
Take the ruler with circle shapes and trace one small circle on the yellow color paper that would fill the middle of the flower.

Cut out the yellow circle using scissors.
Apply some layered double-sided foam tape on this circle.
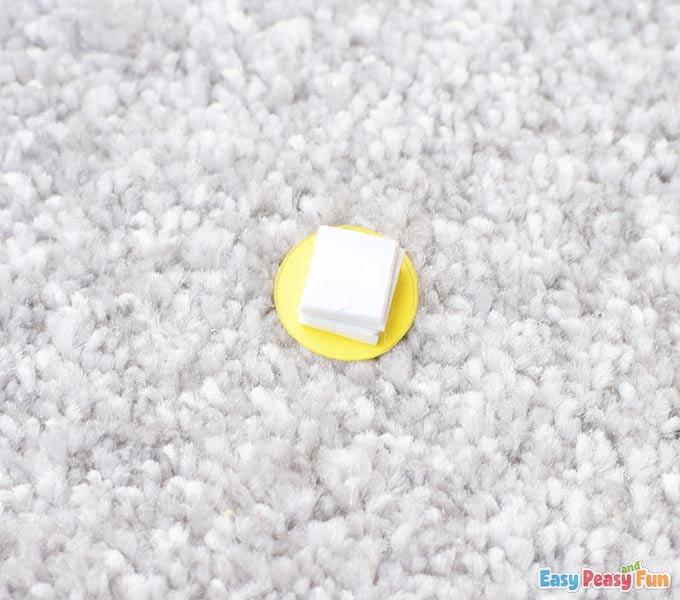
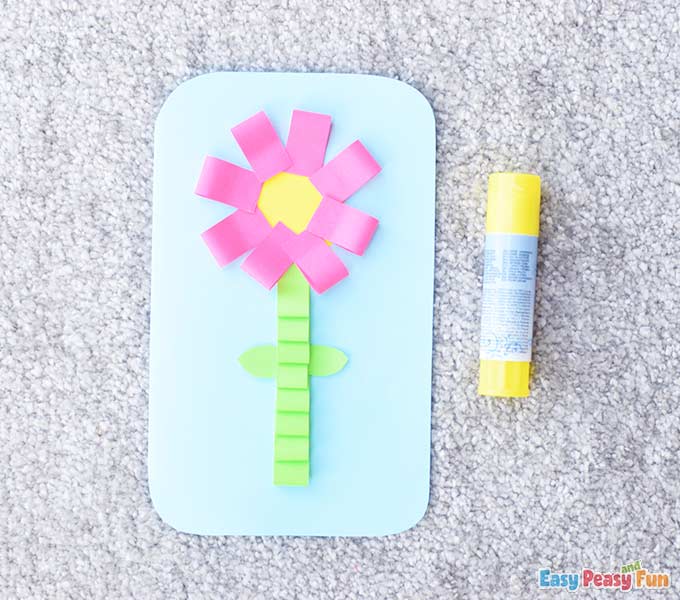
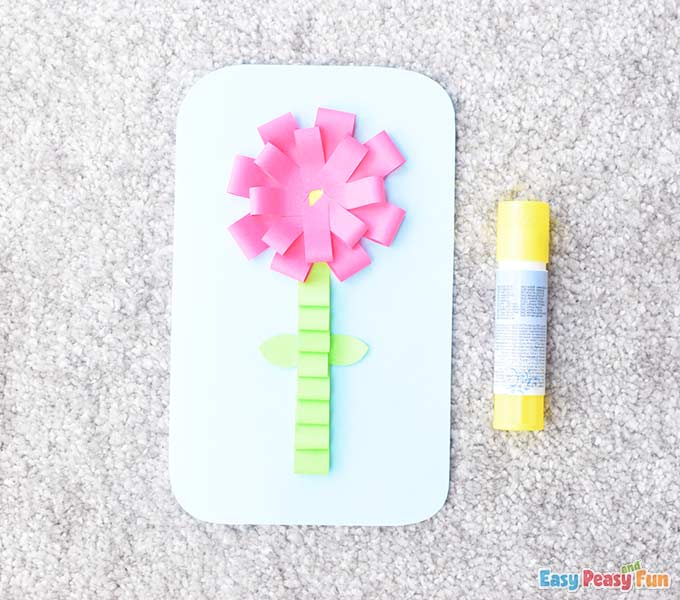
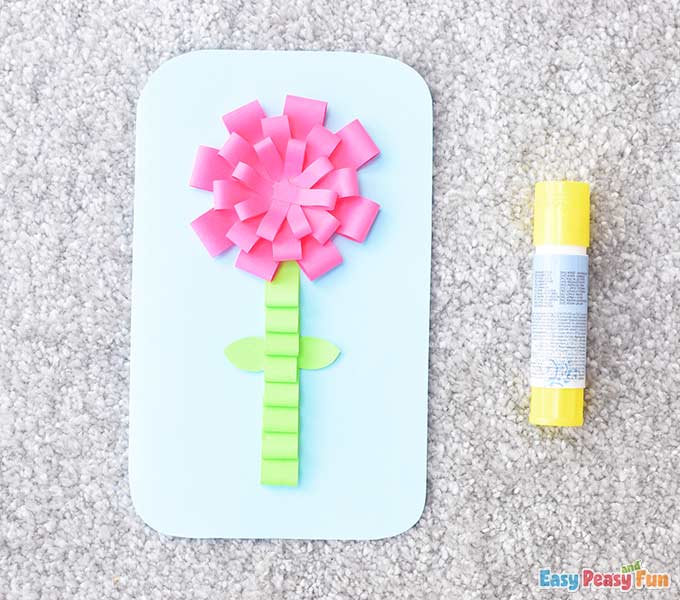
Attach the circle in the middle of the flower as shown in the picture.
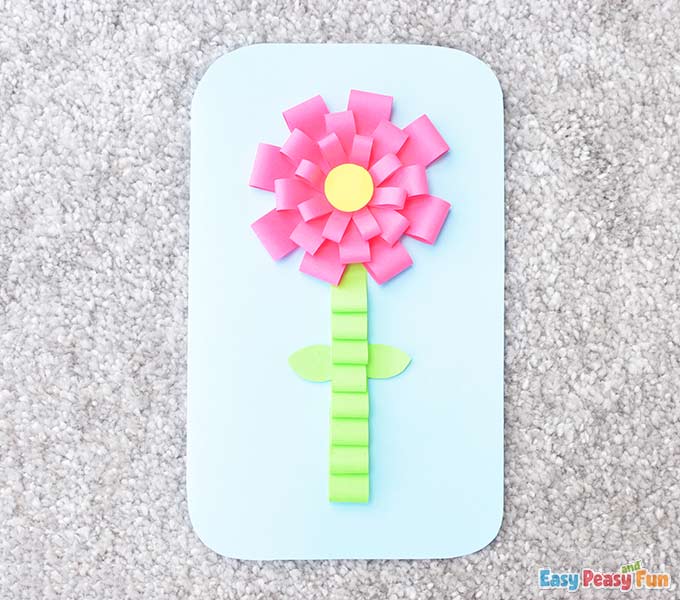
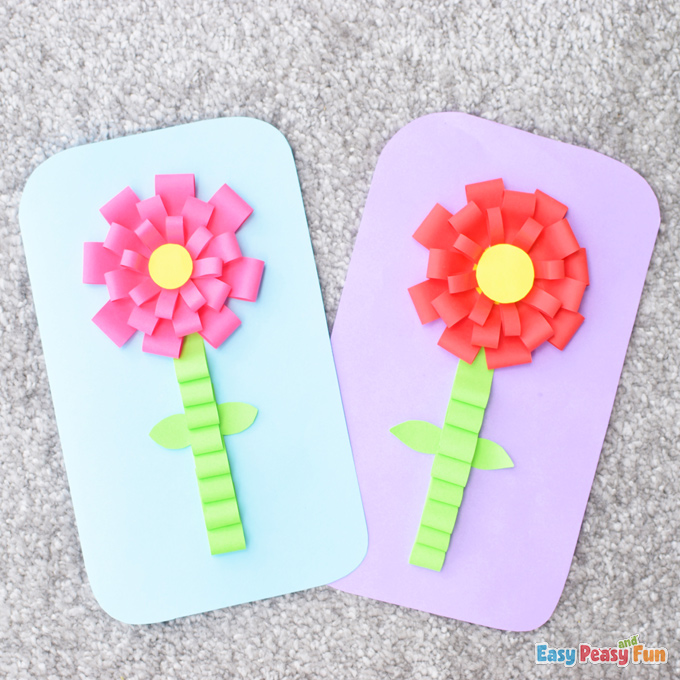
And you’re all done!
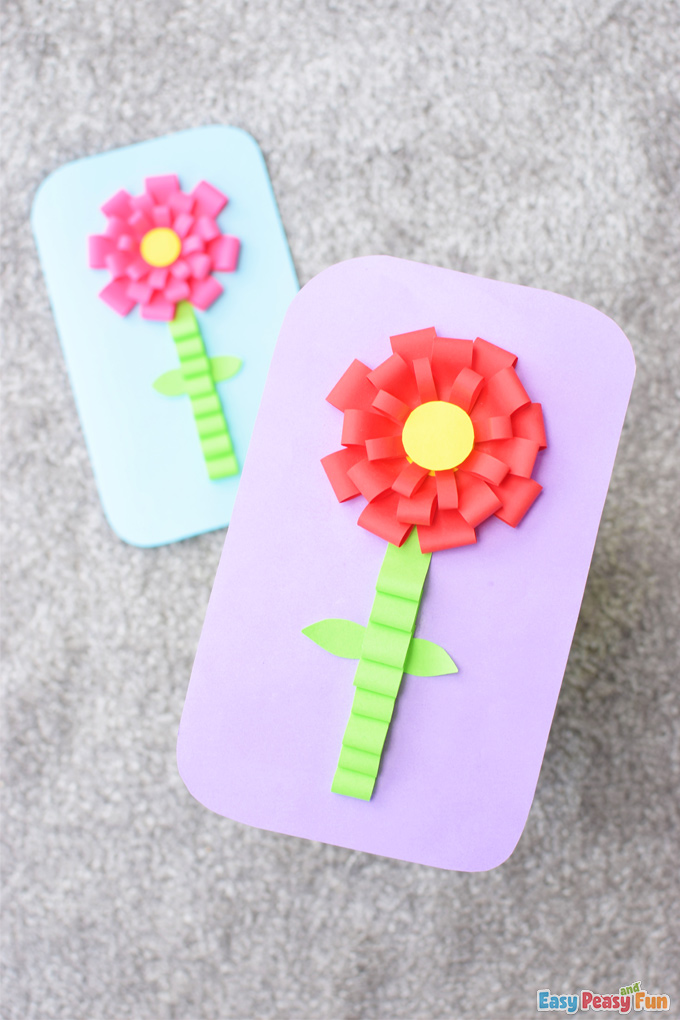
You can make as many as you like in different colors too.
Now think of a message you would like to write inside, write it, and the Mother’s Day card is ready.
Want instant access to all of our printable crafts, activities, and resources?

With thousands of crafts, activities, worksheets, coloring pages, and drawing tutorials to print, you will always have just the resource you need at your disposal. Perfect for parents and teachers alike!