Learn how to make salt dough with the help of our easy no-fail recipe (as well as tricks to help the ornaments your kids make last for years). Salt dough creations have been used for making precious crafting memories with kids for many generations; you can create wonderful keepsakes and homemade ornaments. Plus it’s an inexpensive project that kids genuinely love.
It’s really easy to learn how to make salt dough, and with our recipe, you can start making your first batch right away as chances are you already have all the ingredients you need in your kitchen pantry.
*this post contains affiliate links*
50 paper crafts your kids can actually do themselves

No fancy supplies — just paper, scissors, and a little imagination.
Be the first to get it on release day — and lock in the lowest price guaranteed.
While salt dough projects are most popular around Christmas time (who doesn’t love a pretty keepsake or ornament made with a hand print), crafty projects with salt dough can be made all year round.
We go beyond just sharing the best salt dough recipe, you’ll also find some tried and true tips and tricks to help you make the best salt dough ever, each and every time! Not only will it be great to work with it will also make ornaments that will last you for years to come.
Most of us remember making these homemade ornament or salt dough crafts with our families around Christmas. It’s a type of craft that is made to build bonds and one a whole family can enjoy.
Related: easy play dough recipe

I do admit I was a bit mind-boggled as to why we couldn’t eat these cookies, but loved them way more than I did “the eating kind”. The sense of pride when I saw my DIY ornament can not be described in words. And it lasted for years!
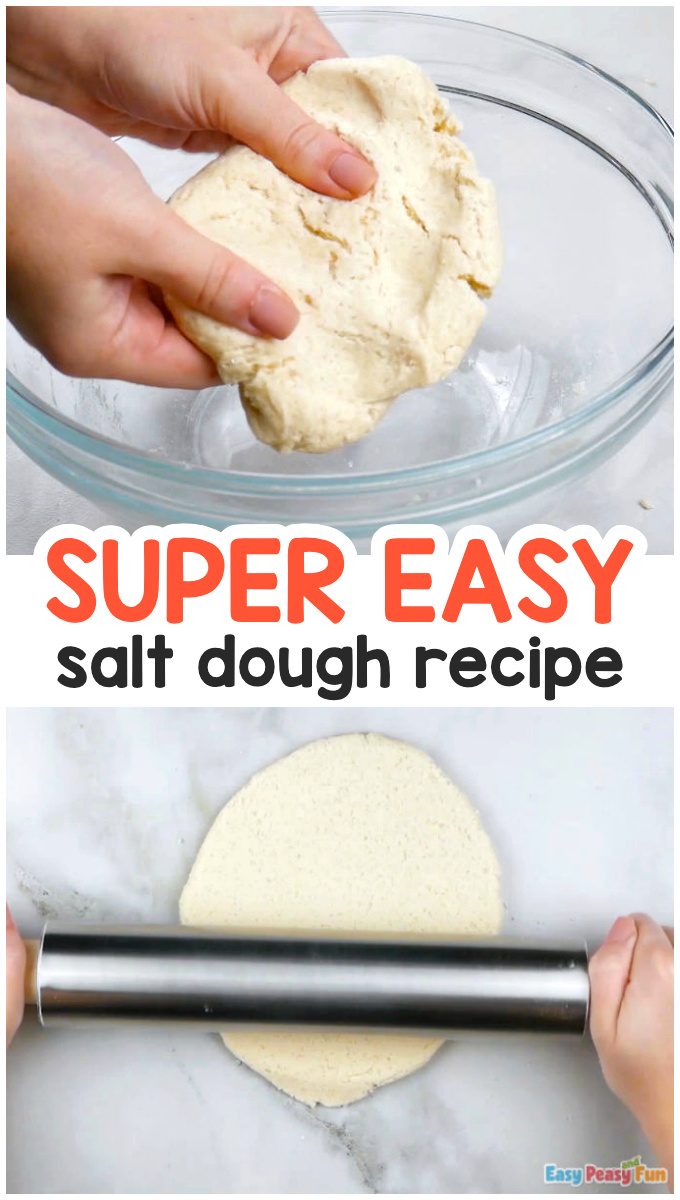
How to Make Salt Dough – the Super Easy Recipe (and Video)
To make the dough you will need the following ingredients:
- flour (1 cup) – all purpose flour is great, do NOT use self-rising flour
- half a cup of salt (1/2 cup)
- water – lukewarm (1/4 to 1/2 cup – start with 1/4 and add more if needed)
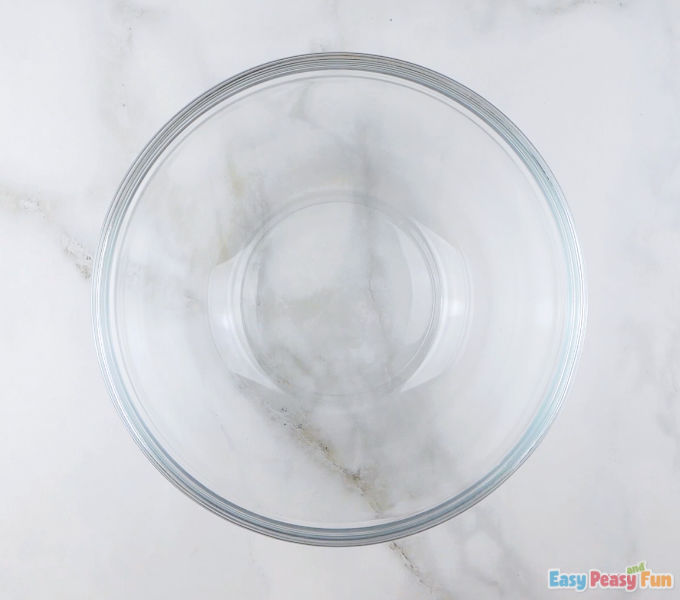
- large bowl
- baking sheet / parchment paper
-
cookie cutters (optional)
If you want to make a batch of salt dough increase the amount of ingredients, keeping the rations the same.
Step by Step Tutorial
Following these simple step, your first batch will soon be ready. Make sure the bowl you are using is large enough to make mixing easier.
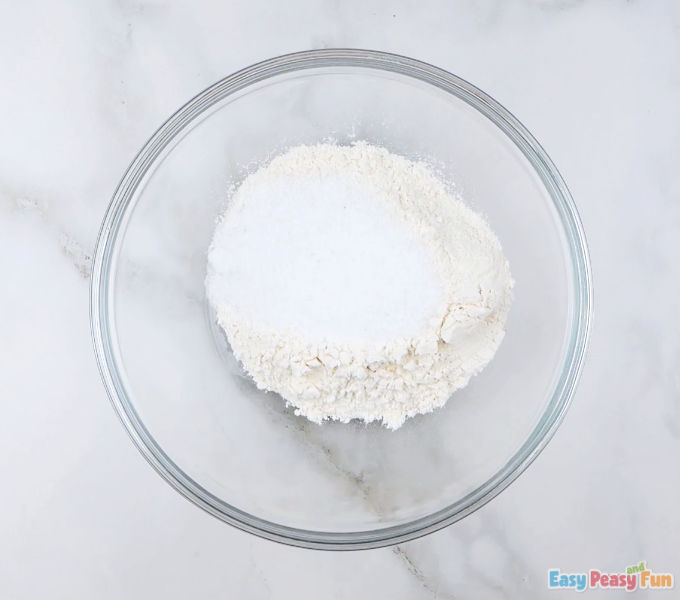
Add one cup of flour to the bowl.
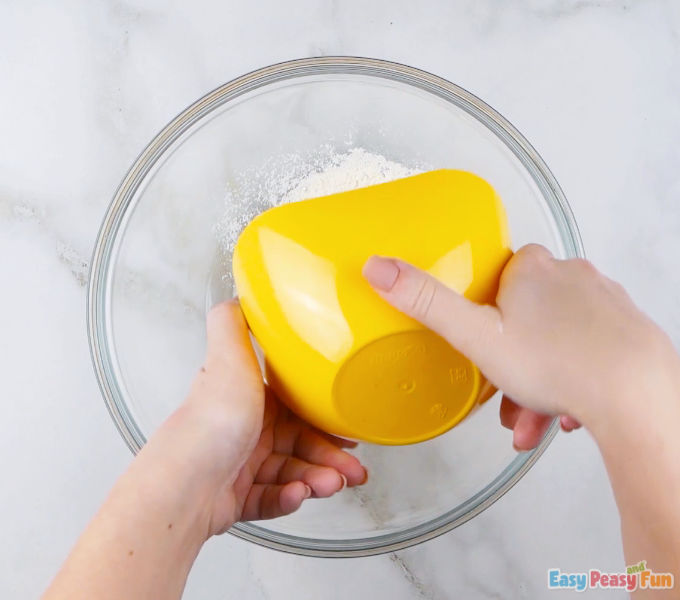
Add half cup of salt to the bowl.
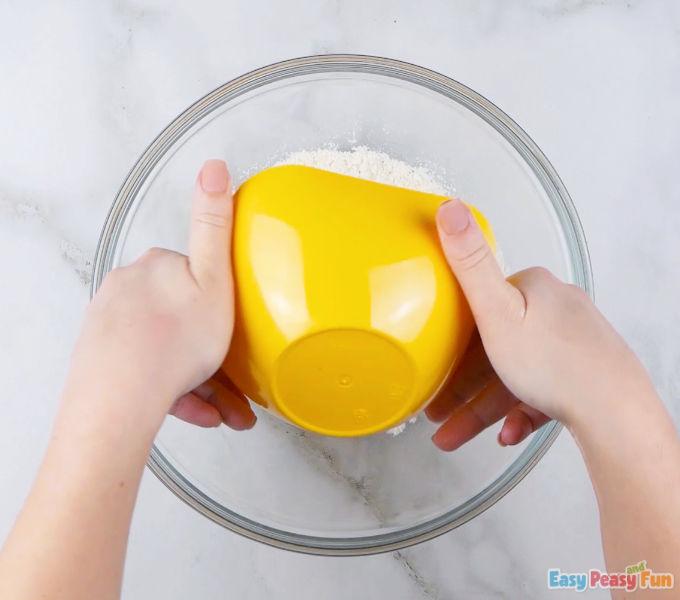
Mix flour and salt.
Quick tip: you can also mix in a little bit of cinnamon at this stage, it will make your creations brown and will give them the most festive scent.
This is important!
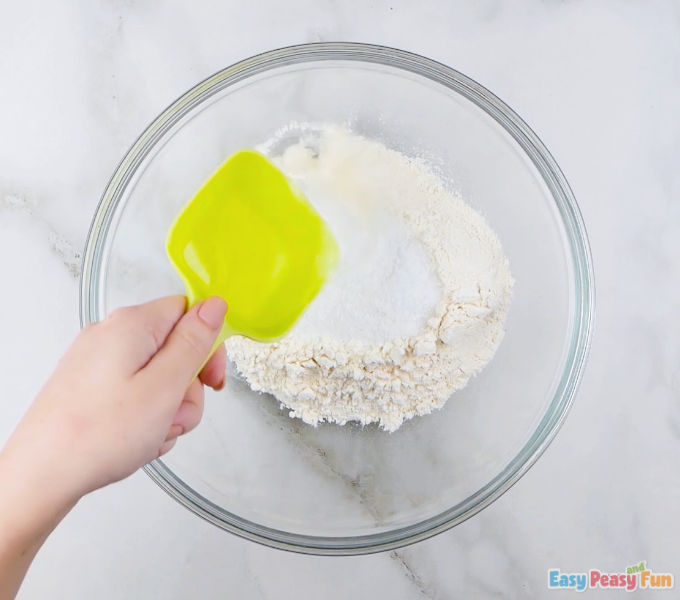
Slowly add water, mix well as you are adding it – don’t just pour in all the water at once.
Tip: warm water (not hot) will be easier to mix in.
Tip 2: you can also add food coloring if you want at this stage.
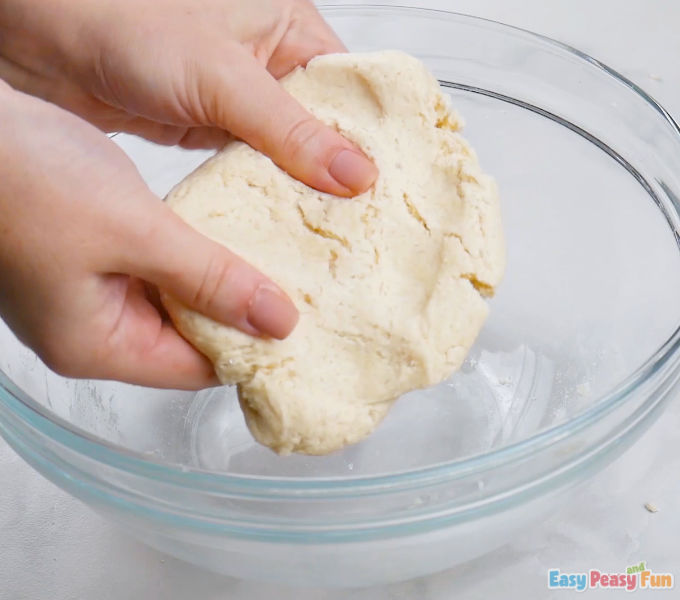
Once you have added all the water, knead the dough for about 10 minutes, until you get an even doughy consistency.
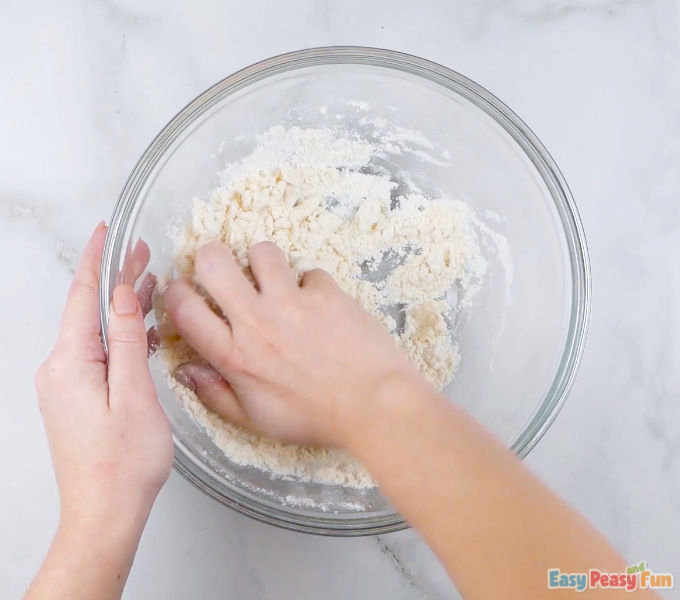
The dough should not be sticky!
Roll the dough with a rolling pin (ideally to 1/4 inch) and make your keepsakes or ornaments.
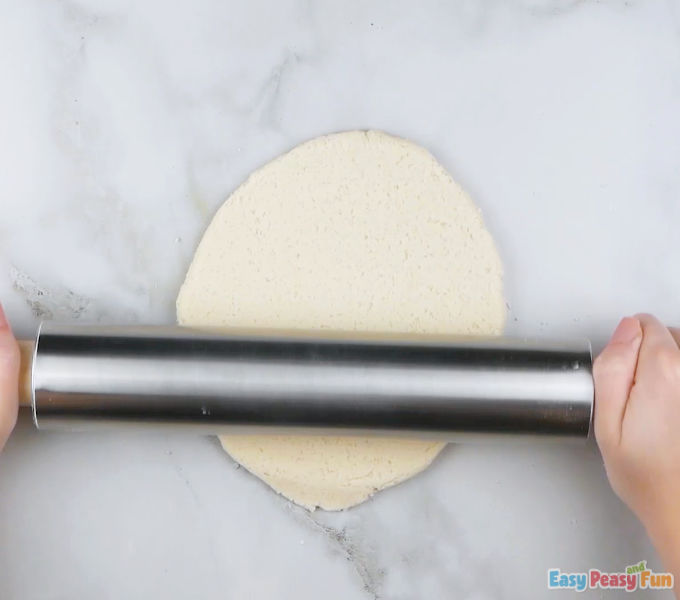
Once the dough is rolled you can use cookie cutters to make a variety of shapes and salt dough decorations.
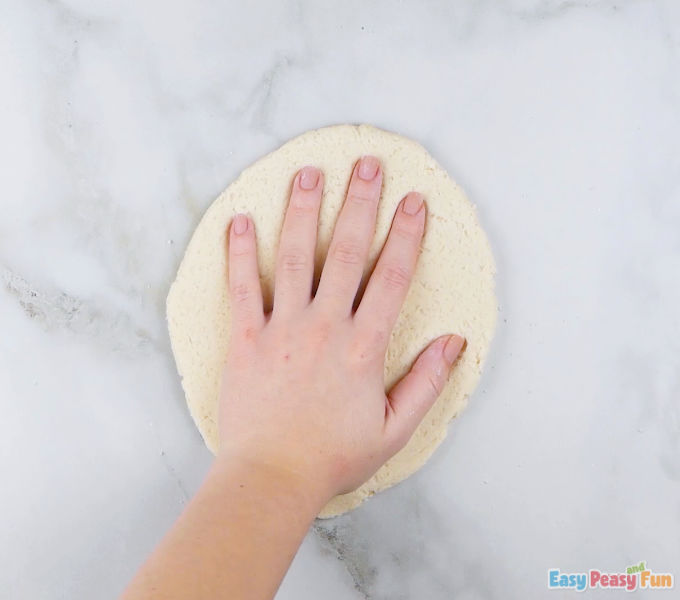
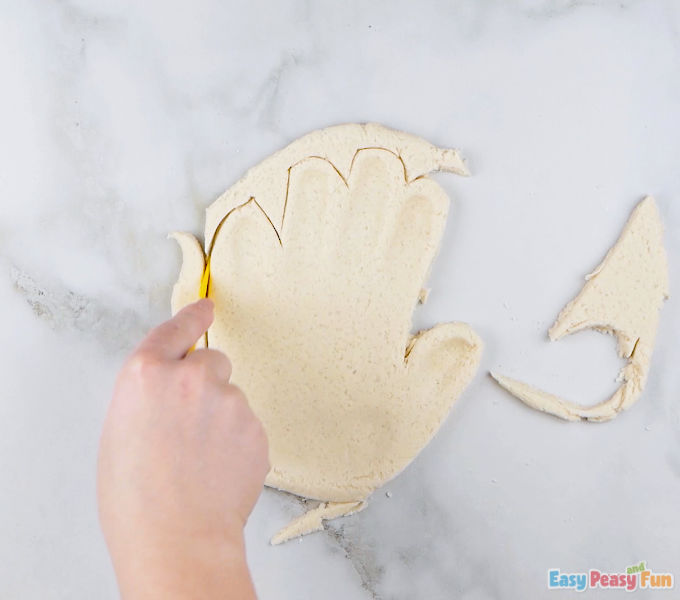
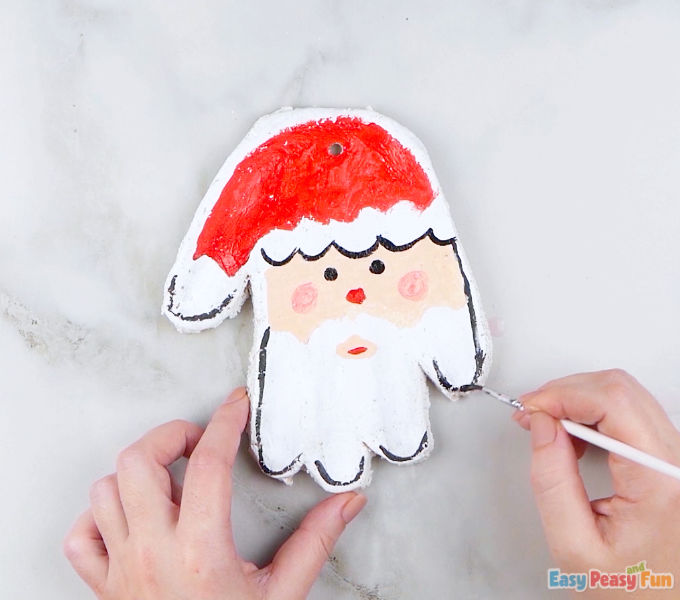
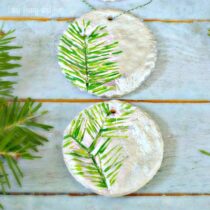
Or use your hand as a stencil for a wonderful handprint keepsake. There really are many options; your kids can use bubble wrap to make textures, rolling pins with textures, rubber stamps, and nature materials. This really can be a creative and fun activity.
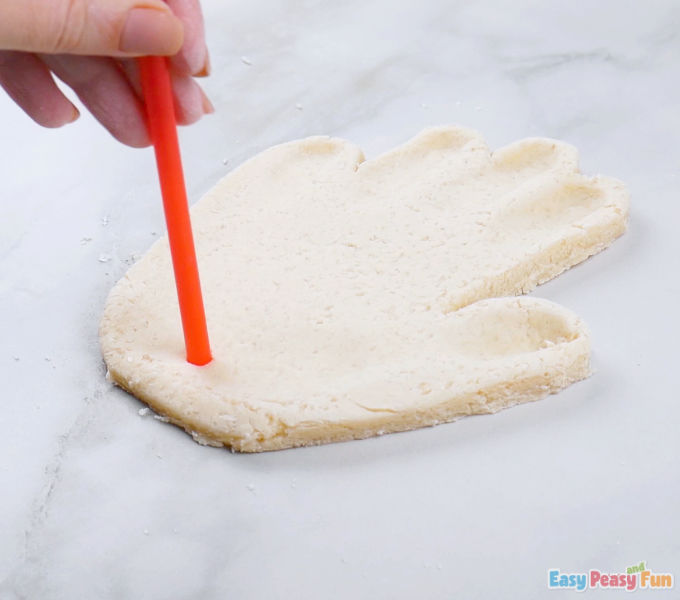
If you are making an ornament for hanging, be sure to poke a small hole (you can use a straw) before baking the dough.
Dry / bake, color, seal (optional). Baking will last for 2-3 hours at at about 200 degrees F / 100 degrees Celsius (check as it bakes and turn them over half way through).
If younger kids are coloring these homemade salt dough ornaments, let them use tempera paints or similar non-toxic paints, if an adult or older child will be coloring, using a craft paint (acrylic) works out really well.
We are sure making salt dough handprint ornaments will become one of your favorite holiday traditions.
How do you cook salt dough? How long do you put salt dough in the oven?
Now that you have learned how to make salt dough, it’s time to bake it. As with all recipes that require baking in the oven, your oven is a factor (and could need a temperature and bake time that’s a bit different than what works for me (a bread I baked following my mother in laws recipe to the point – her family recipe – that turned black (severely burned) is great evidence.
For best results, I suggest checking in on how things are going when you are making your first batch.
What I do recommend is baking at about 200 degrees F / 100 degrees Celsius. Bake for about an hour and check. Turn the ornaments, and bake for another hour. If the dough isn’t dry yet, bake for another hour and check as it bakes.
This is the best way to avoid any accidents.
Can you put salt dough in the microwave?
Yes, you absolutely can! Place the dough keepsake or ornament in the microwave and heat for 15 seconds. Repeat. Then heat for 20 seconds. Repeat until the dough is dry (this depends on dough thickness – around 6 rounds will usually do).
How about air dry?
If your kids have that kind of patience, yes you can. But the dough has to be thin to air dry and it will take several days for it to completely dry out. It has to be stored in a dry place so that it does not mold.
How do I keep my salt dough from puffing up?
You followed this simple salt dough recipe, you were excited to make your ornaments, and then, when they came out of the oven they were all puffed up. It can happen. Why does this happen? Some flour has baking powder mixed in and it will raise a bit (be sure to use plain flour, using self-raising flour by accident has been known to happen ;). Also make sure you dry your ornaments at low temperatures in the oven – if the suggested temperature doesn’t work out, use a lower temperature and dry them longer or leave them to air dry.
How do you color salt dough? What do you paint them with?
You can color the dough as soon as it’s hardened/dry. A variety of colors can be used, acrylic is best in my opinion as they are really durable. The more colors the more fun.
You can also use glitter – apply Modge Podge (or a homemade alternative) or glue on areas you want to glitter up and pour glitter on.
How do you seal salt dough?
Your dough needs to be completely dry / baked before you can seal it.
If you painted them with acrylic paints, they do the job of sealing to some level, if you want to take it a bit further it’s best to use craft sealer. Mod Podge works great as a sealer and you can also buy craft varnish (glossy or mat) to seal dough.
On its own will last for a long time without sealing too, if you handle it properly! Sealing will add a nice look to them though, especially if you want them to be glossy.
How long can you keep salt dough ornaments? Tips to getting them last decades!
Not kidding! Your dough can easily last for decades. The key is to keep it away from getting damp. If you store them in dry areas (you can store them in a box and add silica packets – those small packets you usually get in shoe boxes or in handbags as those keep the dampness at bay).
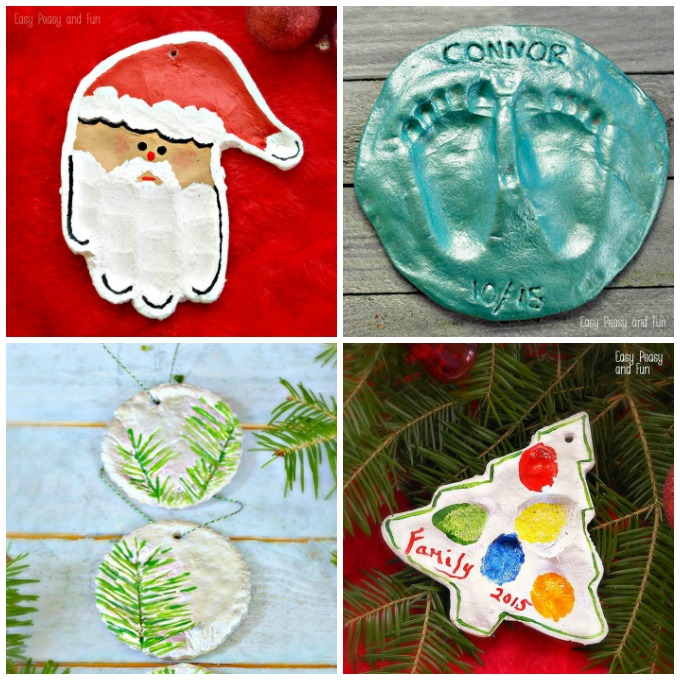
What can you make out of salt dough? Oh, do we have a few great ideas for you!
So now you know how to make dough but need ideas on what to make with dough. Worry not we got you covered.
You are ready!
We are sure you will make the best batch now and that the end result will be amazing. Happy crafting.


How to Make Salt Dough
Materials
- flour (1 cup) – all purpose flour is great, do NOT use self-rising flour
- half a cup of salt (1/2 cup)
- water – lukewarm (1/4 to 1/2 cup – start with 1/4 and add more if needed)
Tools
- large bowl
- rolling pin
- optional cookie cuters
Instructions
- Mix dry ingredients
- Slowly add water and stir and mix as you are adding it
- Knead the dough until the dough has an even consistency (about 10 minutes if kneading by hand)
- Roll the dough (ideally to 1/4 inch)
- Make the desired ornament
- Bake at about 200 degrees F / 100 degrees C - after about an hour carefully turn the ornament and bake for another hour. Check if it's done, if not bake for another hour, checking every once and a while.
Want instant access to all of our printable crafts, activities, and resources?

With thousands of crafts, activities, worksheets, coloring pages, and drawing tutorials to print, you will always have just the resource you need at your disposal. Perfect for parents and teachers alike!