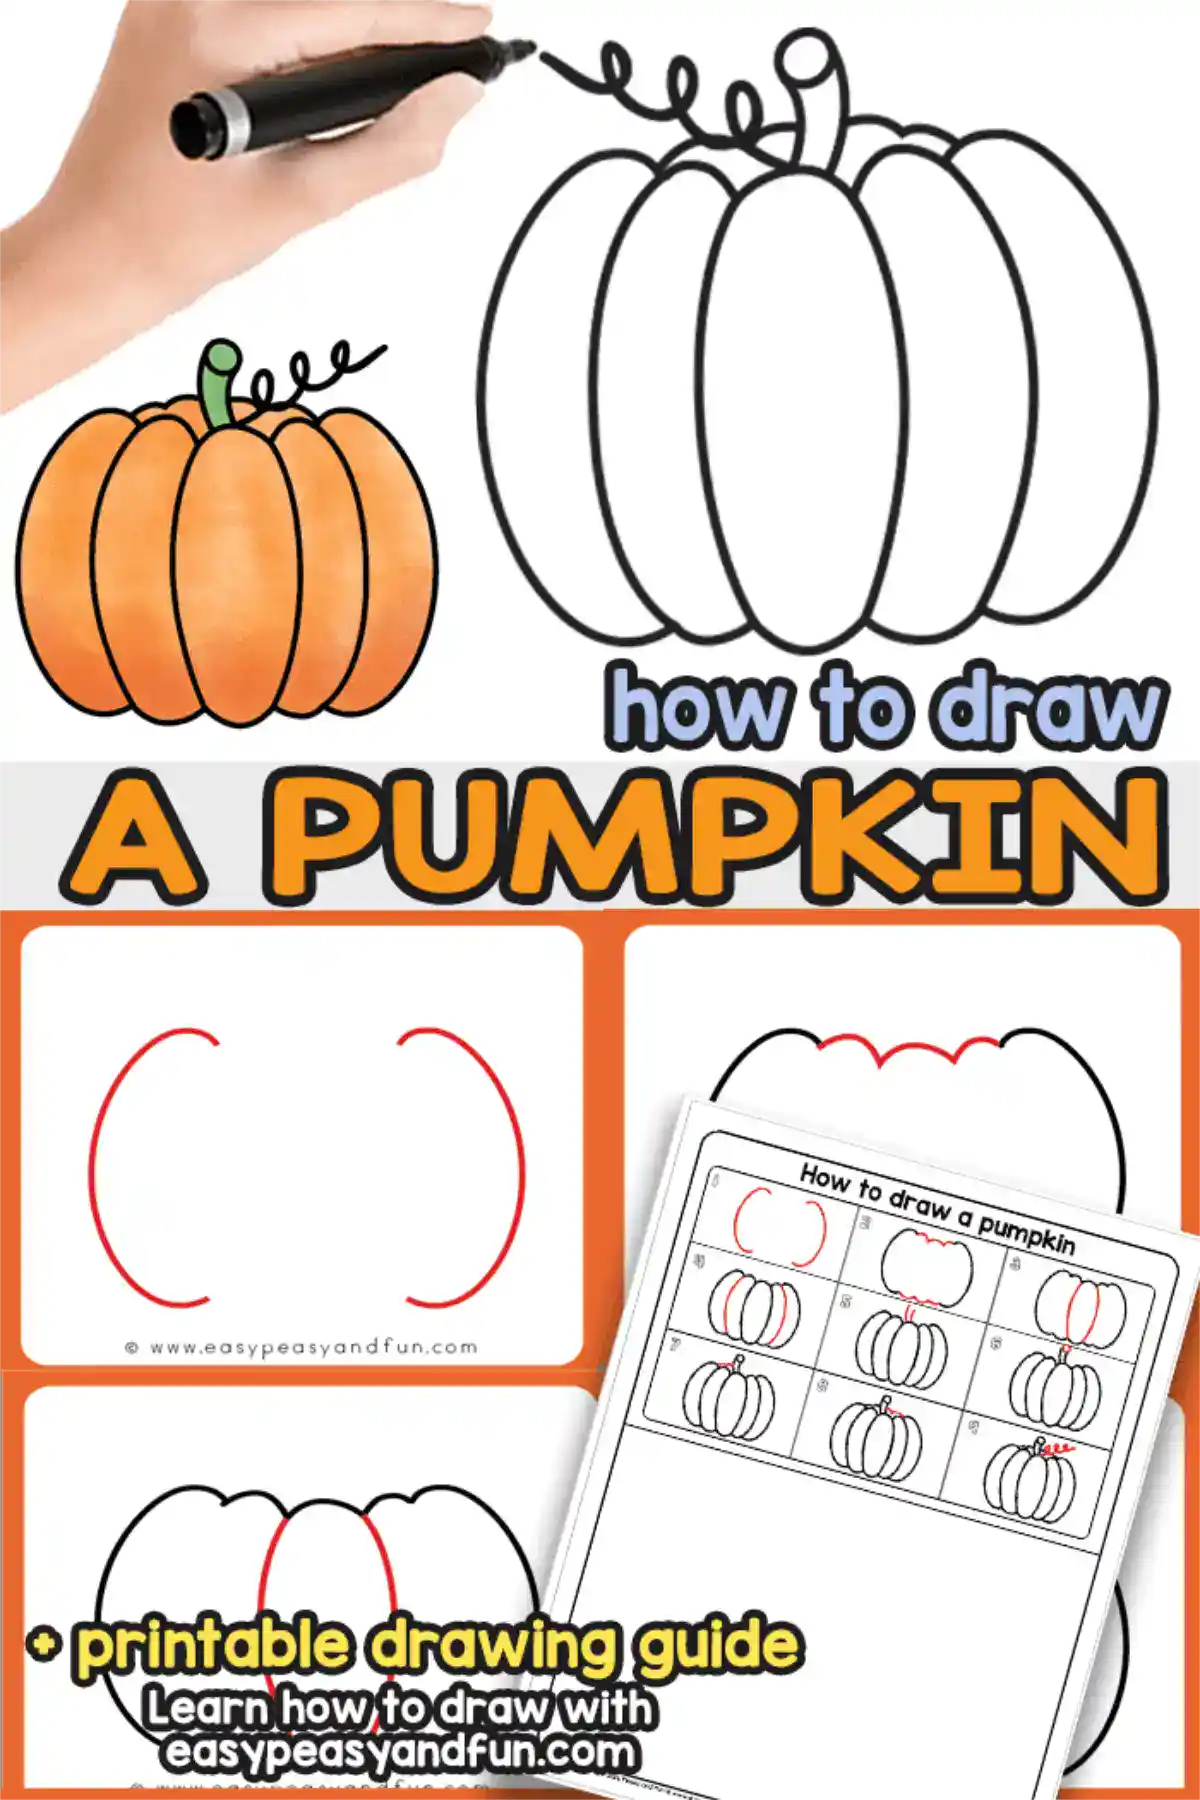
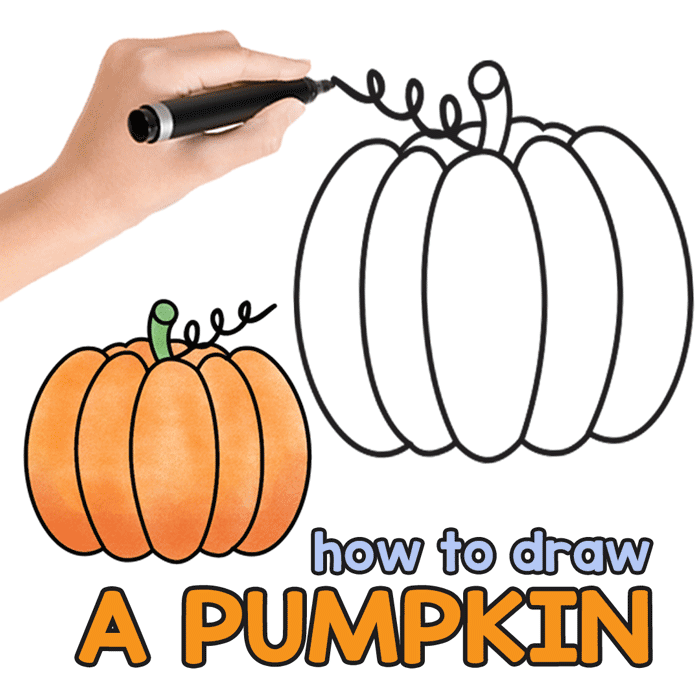
Whether you’re drawing for fall or Halloween, this step-by-step pumpkin drawing tutorial will make the task easy peasy. You are just a few steps away from learning how to draw a simple pumpkin that looks both cute and realistic.
As with our other easy how to draw tutorials, I am breaking the drawing into simple steps that everyone can follow so you can easily use this with your kids in the classroom of any grade (or for yourself).
*this post contains affiliate links*
Hi, I'm Andreja from Easy Peasy and Fun — and I just wrote a book!
50 paper crafts your kids can actually do themselves
CRAFTS
I designed every project so kids can do it themselves — no fancy supplies, just paper, scissors, and a little imagination.
“If you need easy crafts to keep busy, Andreja delivers with this book!”
📚 As an indie author, your pre-order genuinely helps me — it counts toward first-week sales, which is how new books get noticed. Thank you!
Fall is the best time of the year for all kinds of pumpkin activities! You might think that they are tricky to draw, especially because of their ribs, but with our tutorial you will be drawing pumpkins in no time. And if you’d prefer something more spooky, be sure to also check my how to draw a Jack-o-Lantern drawing tutorial.
We will be showing you a super easy way to make a realistic one, and the steps will build a good foundation for you to draw different shapes of pumpkins – tall, chubby, thin… All kinds, really.
Ready to make your pumpkin drawing? Let’s start!
How to Draw a Pumpkin Tutorial
What you need:
- pencil or marker
- our pumpkin directed drawing printable (optional)
- paper
- coloring supplies (optional)
Step by Step Pumpkin Drawing Instructions
Step 1
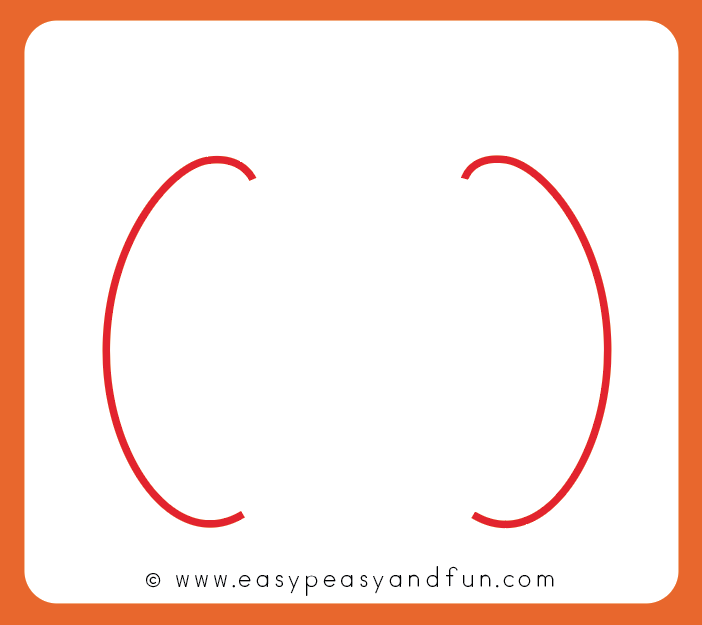
Start by drawing two curved lines – make a letter C on the left and an inverted C on the right.
Step 2
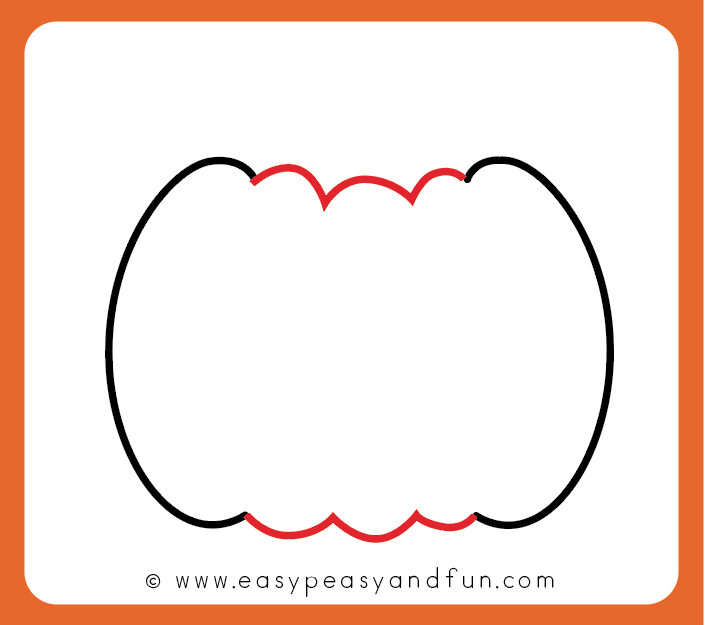
Connect the endpoints at the top and bottom by drawing 3 arches between them (3 on top and 3 on the bottom).
Step 3
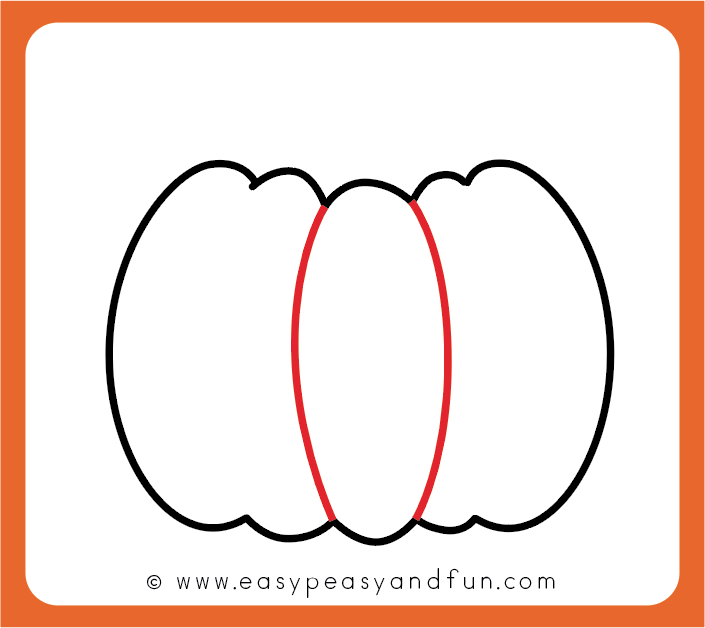
Take a look at the middle arch on top and on the bottom.
Draw two curved lines to make the first rib of your pumpkin. This one can be a bit wider.
Step 4
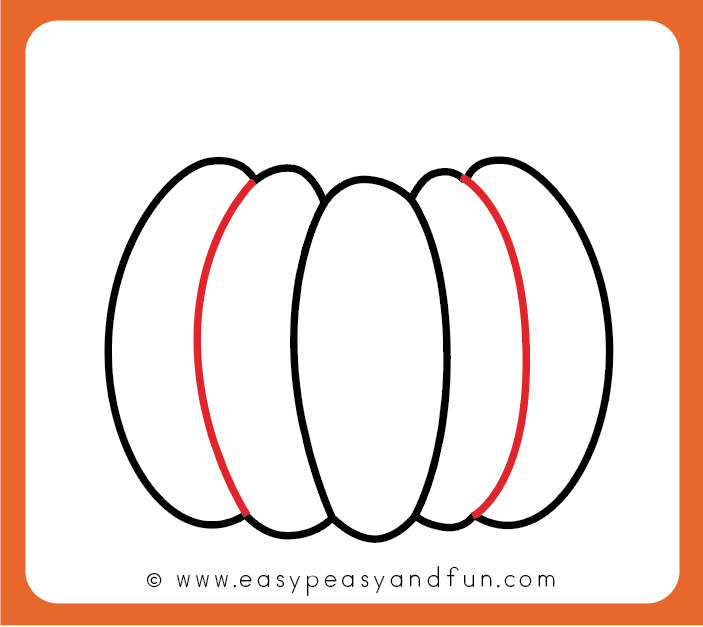
Draw two more curved lines. You can already see your pumpkin taking form.
Step 5
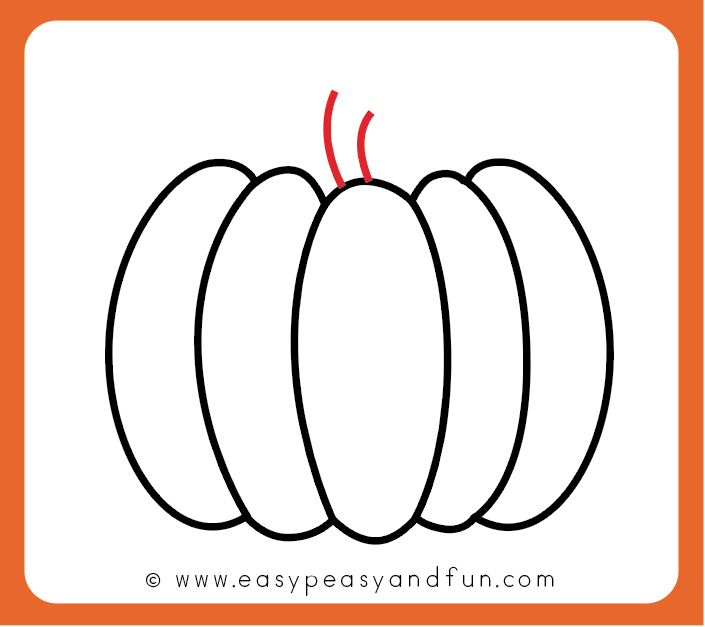
From the middle arch, draw two curved lines for the stem.
Step 6
Draw a circle on top of the stem to complete it.
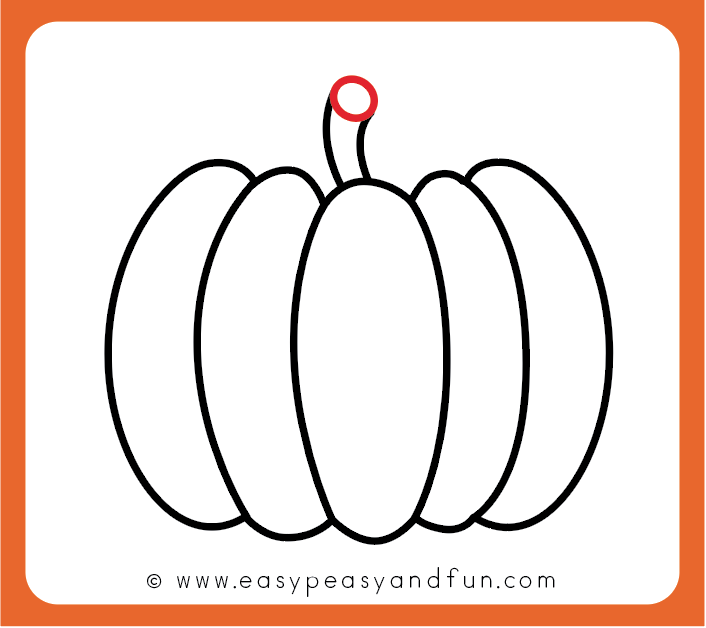
Step 7
Add an arched line on the left…
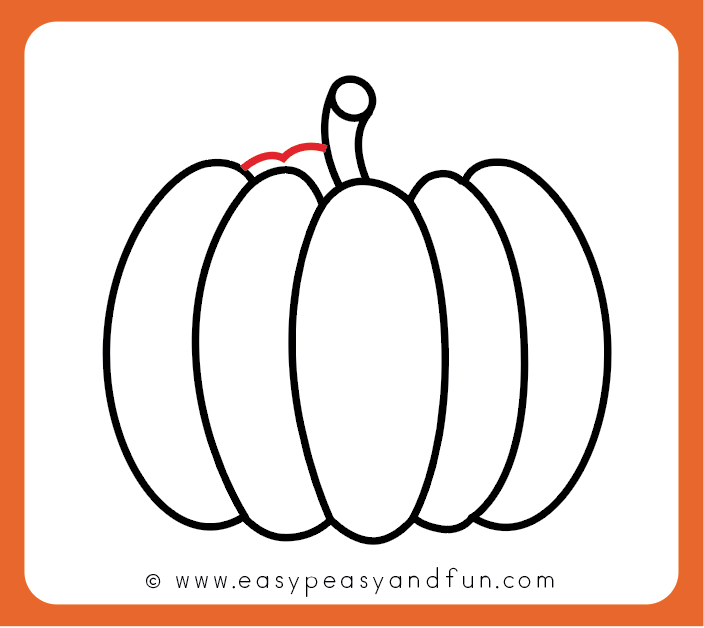
Step 8
Draw another arched line on the right.
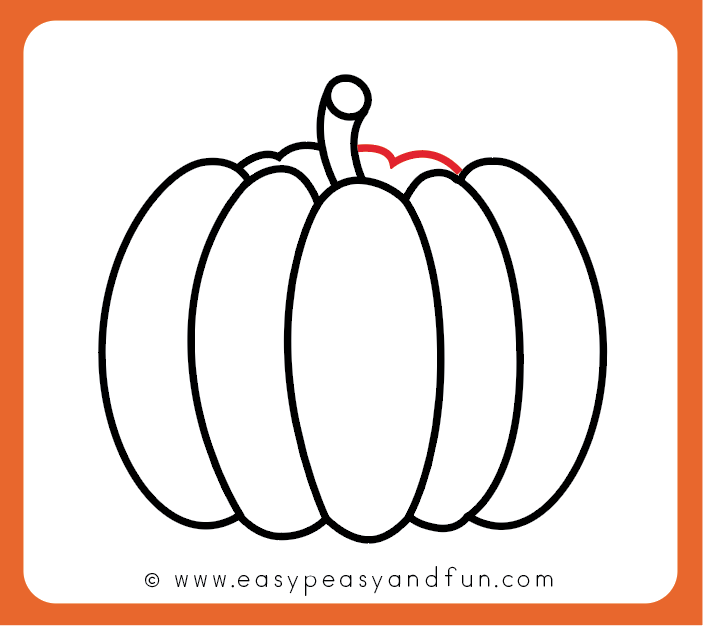
Step 9
Draw a vine. All done, you have learned how to draw a pumpkin.
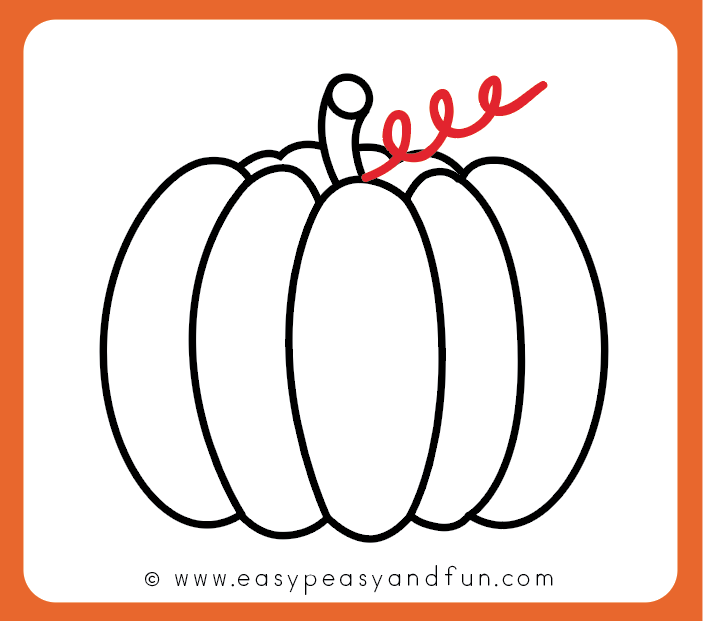
Step 10
Color your pumpkin drawing.

More Fall Themed Directed Drawing Guides
Printable Drawing Guide
To access the template, log in to your account or become a member.
Already a member? Log in here.
Want instant access to all of our printable crafts, activities, and resources?
With thousands of crafts, activities, worksheets, coloring pages, and drawing tutorials to print, you will always have just the resource you need at your disposal. Perfect for parents and teachers alike!