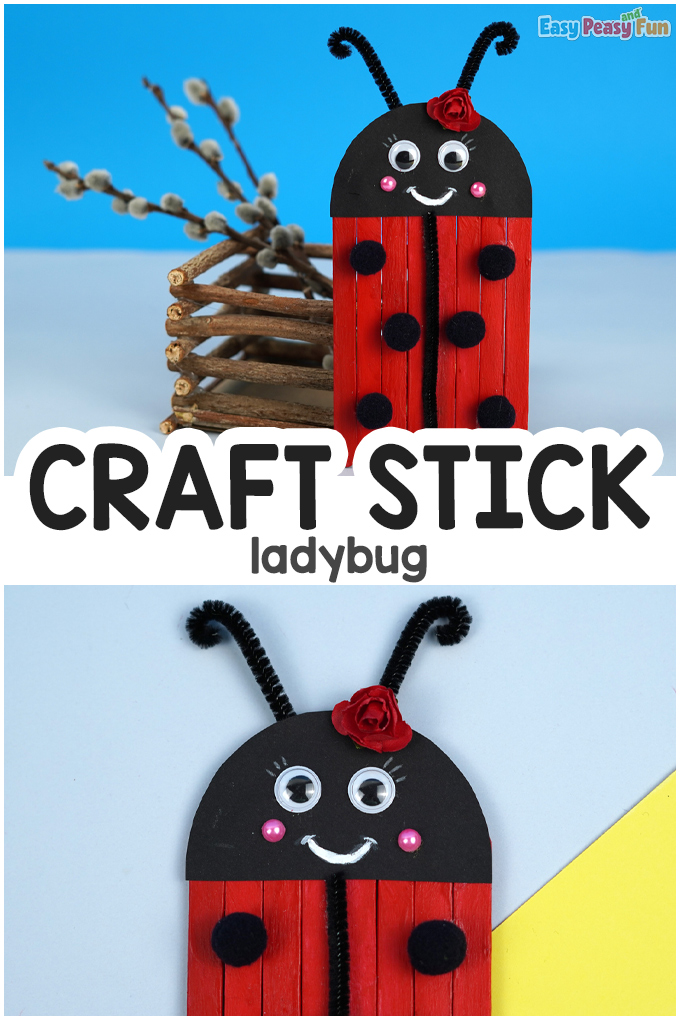
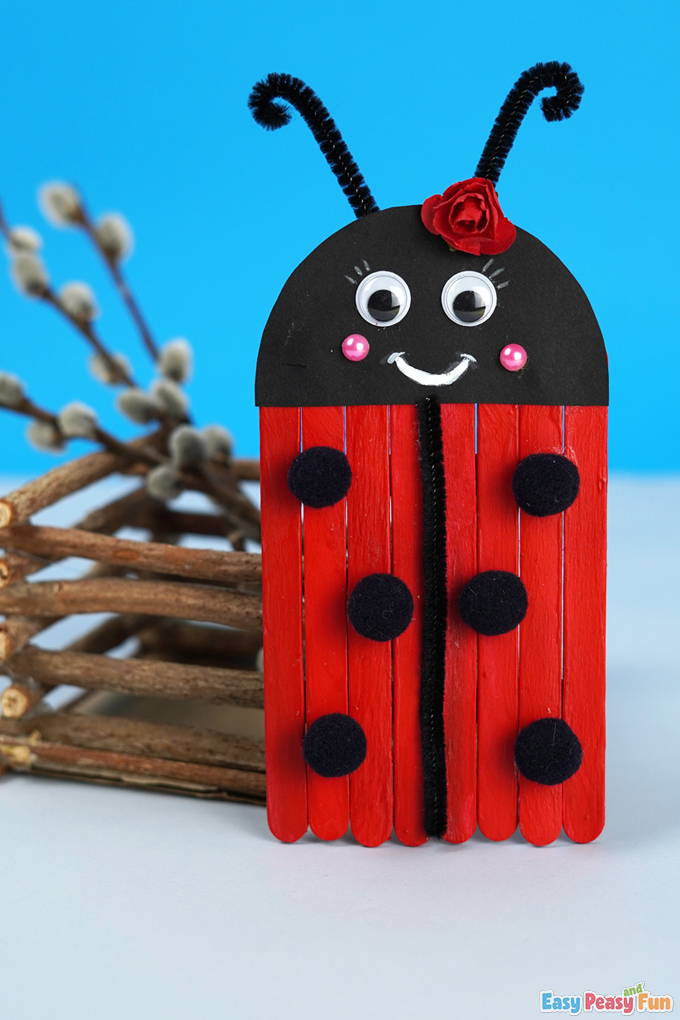
Create the most adorable Craft Stick Ladybug using simple supplies.
The kid-friendly craft will keep everyone entertained, leaving you with happy-looking ladybugs that will surely smile on your face!
*This post contains affiliate links*
50 paper crafts your kids can actually do themselves

No fancy supplies — just paper, scissors, and a little imagination.
Be the first to get it on release day — and lock in the lowest price guaranteed.
We love making Spring Crafts for Kids (check out our Paper Lantern Frog or make a Movable Bird Paper Doll).
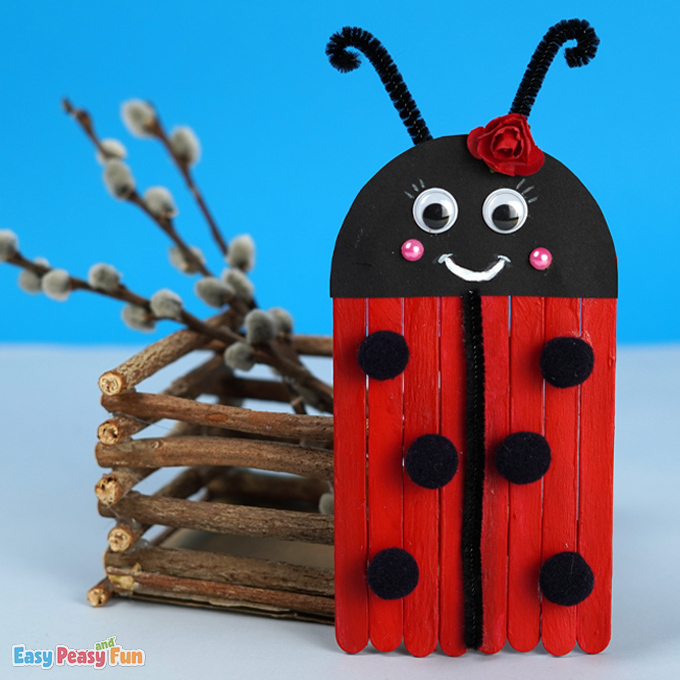
You can customize your ladybug to your liking with different embellishments, including other flowers and gems for the face.
Let’s create the cutest little ladybugs with this simple, kid-friendly craft.
How to Make the Craft Stick Ladybug
What you need:
- 9 craft sticks
- black paper
- glue stick
- red acrylic paint
- paintbrush
- black pipe cleaner
- black pom-poms
- artificial flower
- googly eyes
- white chalk marker
- pink decor (flat beads)
- pencil
- scissors
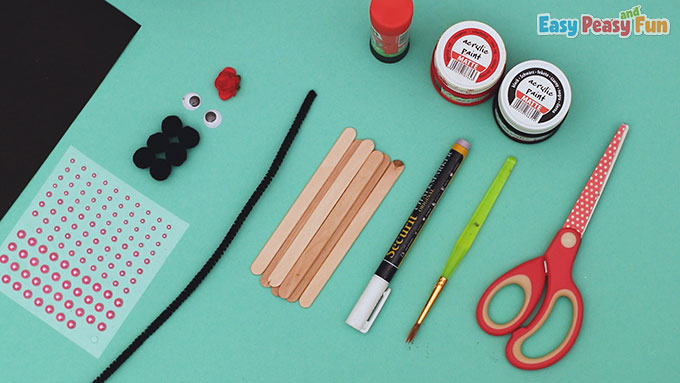
Gather your supplies on a flat surface, such as your kitchen or dining room table.
Step by Step Tutorial
Grab one of your craft sticks and make a cut in the center of the stick with your scissors – this will help us break it in half.

Carefully bend the craft stick and break it.

Grab your paintbrush and begin painting all the craft sticks with red paint.
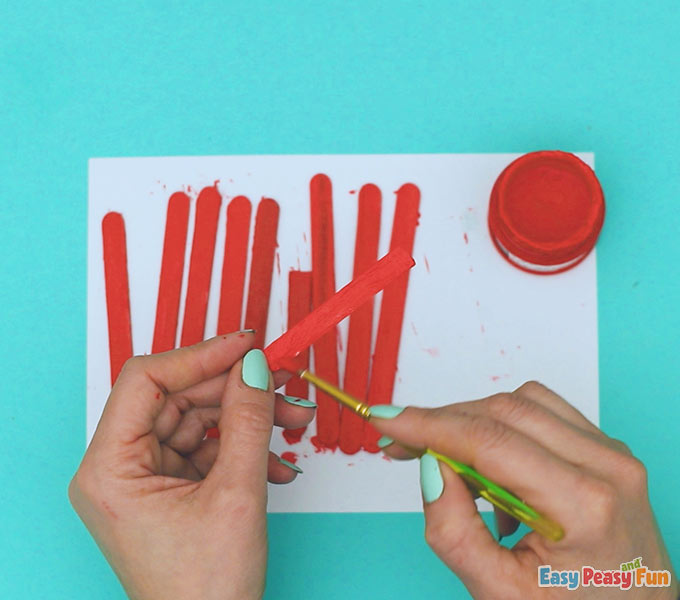
Place the craft sticks off to the side to dry.
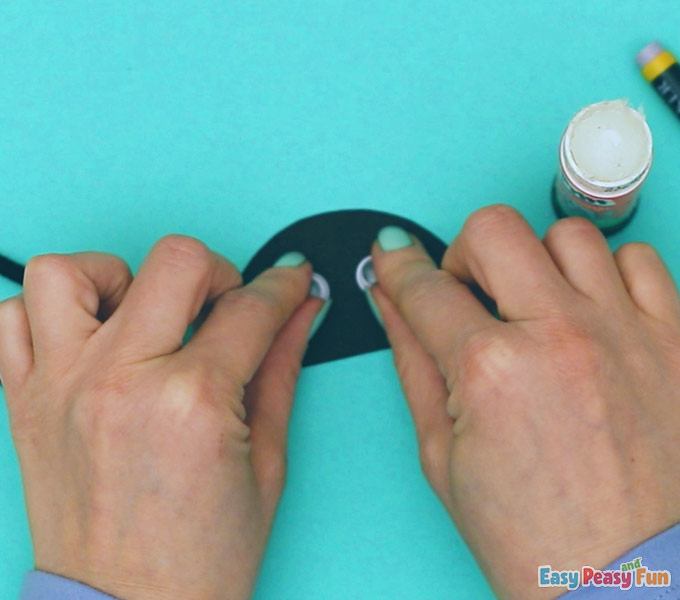
In the meantime, grab your black construction paper and pencil, drawing a half-circle.

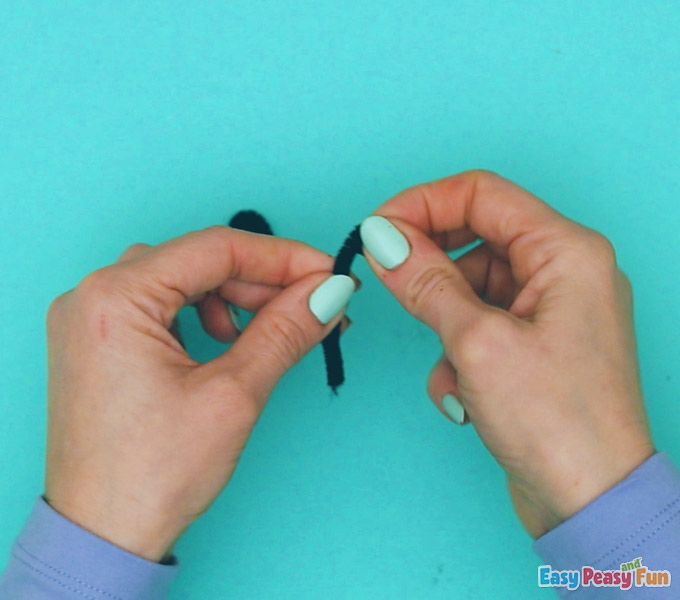
Grab your pipe cleaners and bend two of them to create antennae.
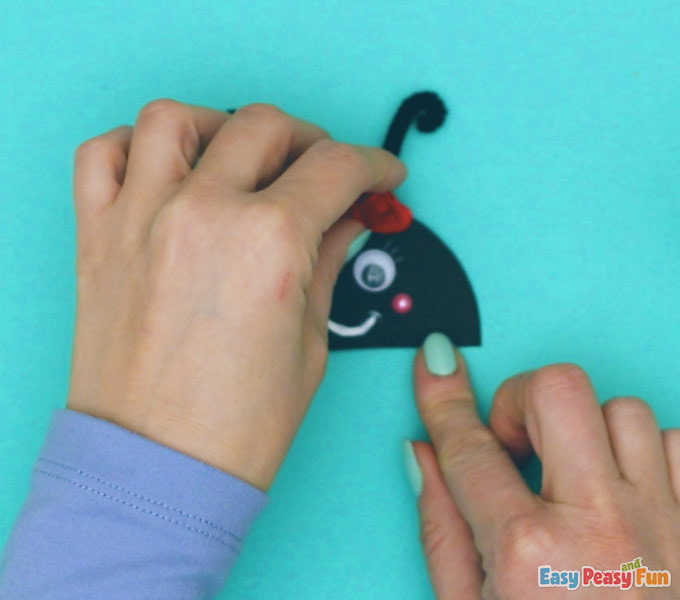
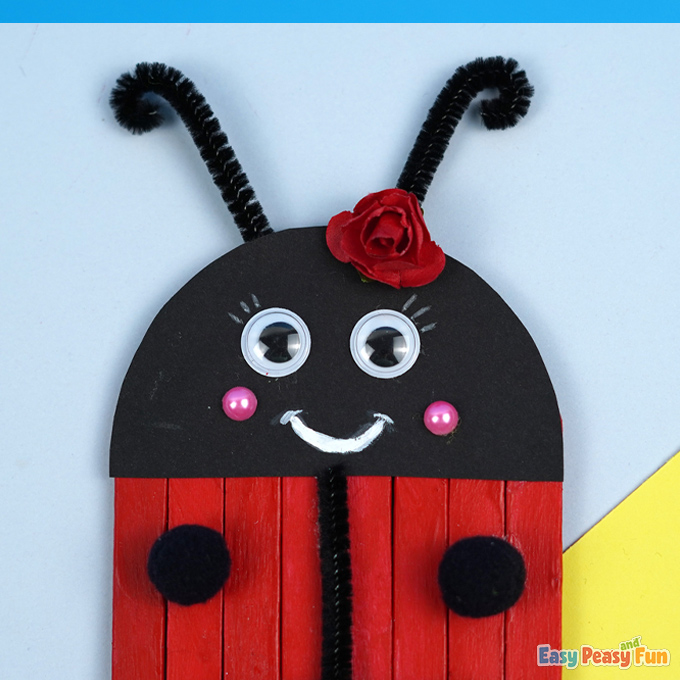
Take the glue and apply the googly eyes onto the black half-circle – to the ladybug’s head.
Glue your two antennae to the back of the head using your glue stick.

Use your white marker to draw a smiling face on the head of the ladybug.
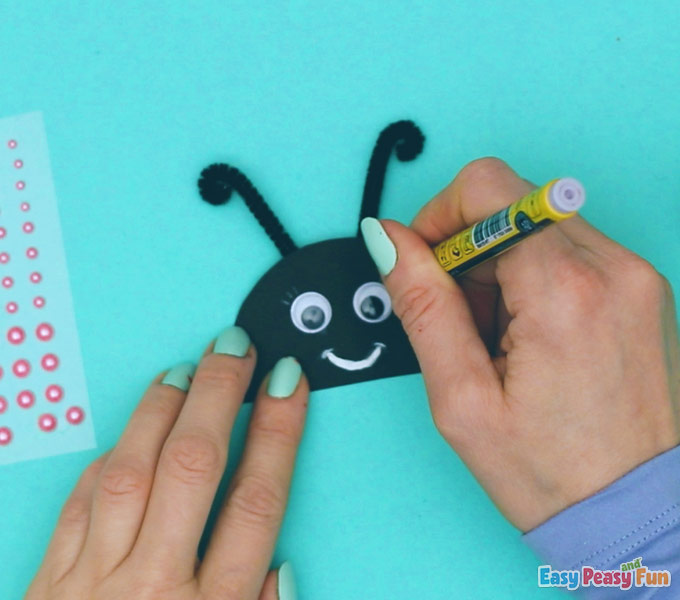
Glue on your embellishments to make the ladybug look even more adorable.
We glued tiny flat beads for the cheeks and an artificial flower for decoration.
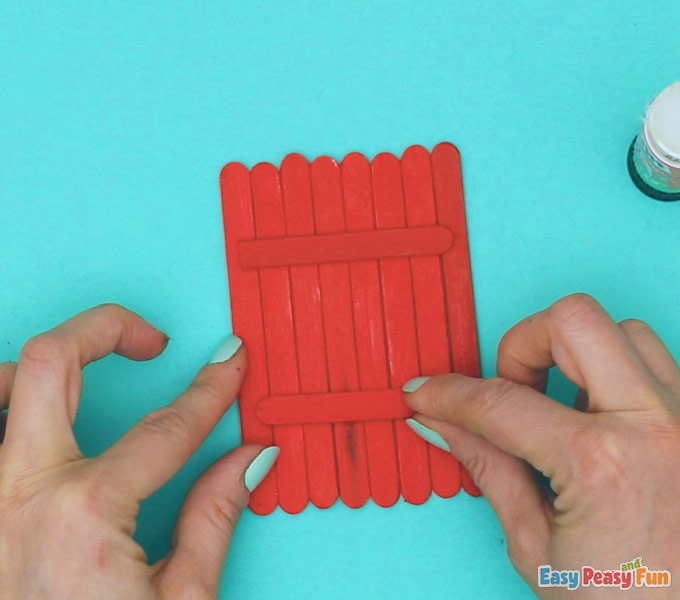
Glue the 8 whole craft sticks together using the two halves we broke before to create what will look like a mini fence.
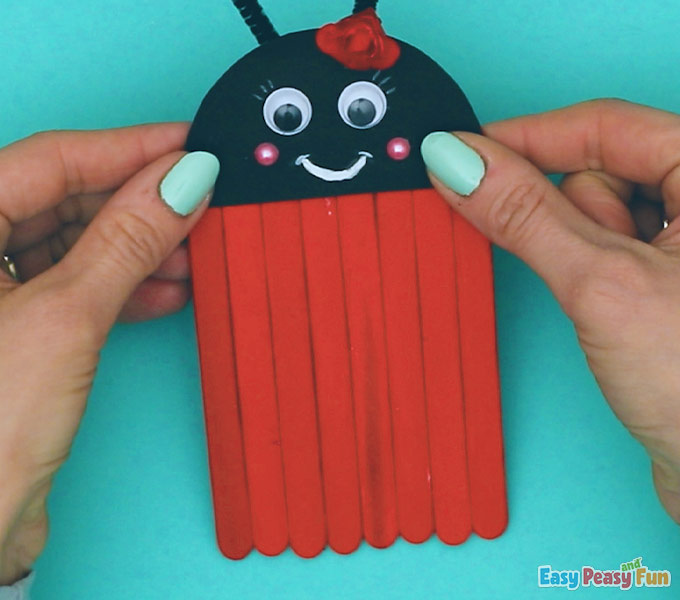
Paste your ladybug’s head to the craft stick body to the front of the body.
Place the pipe cleaner down the center of the ladybug’s body.
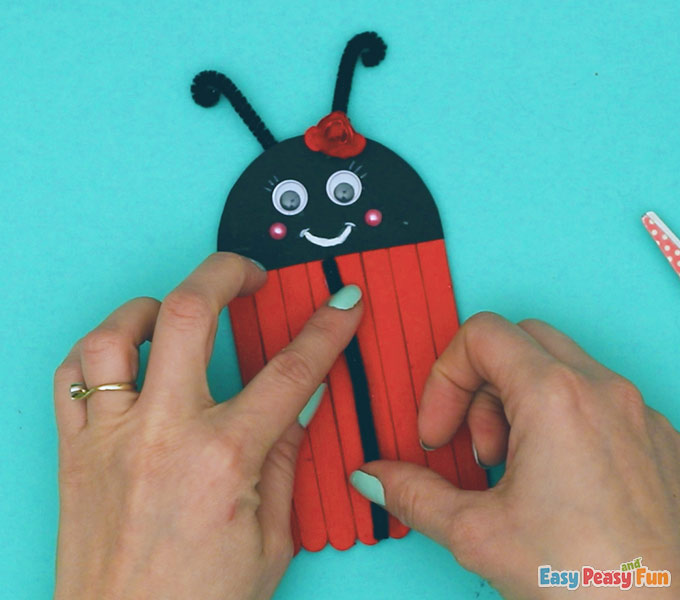
Glue your black pom-poms throughout the red craft sticks.

Let the glue dry a bit.
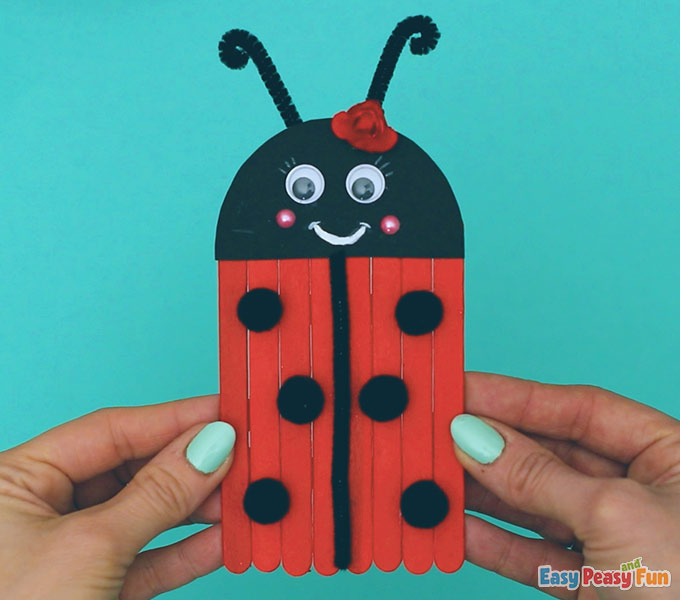
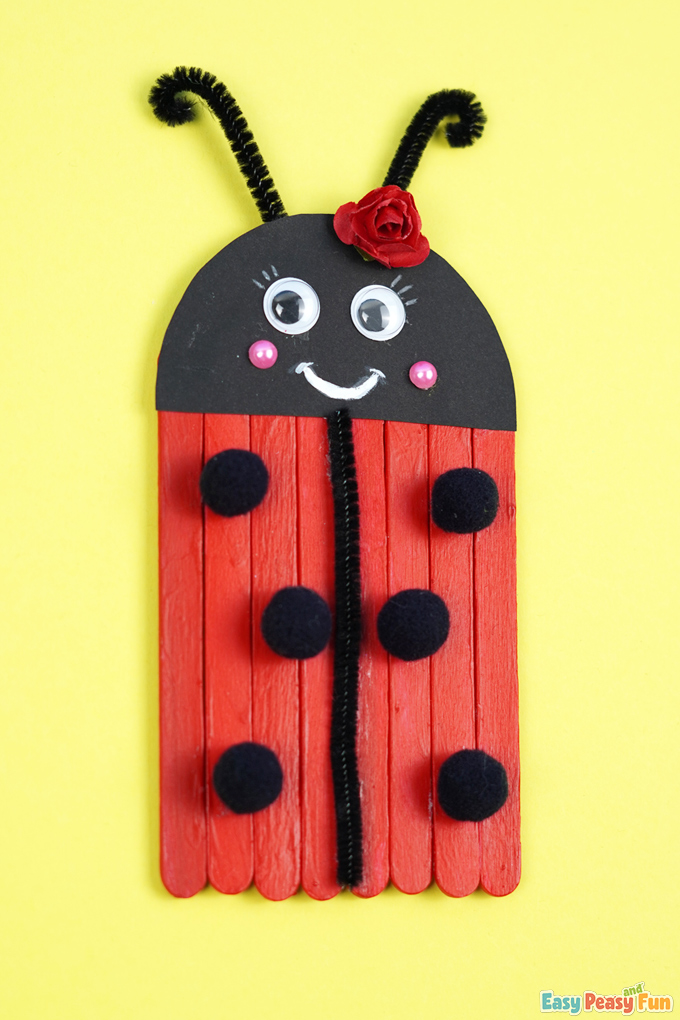
Isn’t it cute?!
We love how our ladybug turned out!
Have a happy spring!

And stay tuned for more crafts!

Want instant access to all of our printable crafts, activities, and resources?

With thousands of crafts, activities, worksheets, coloring pages, and drawing tutorials to print, you will always have just the resource you need at your disposal. Perfect for parents and teachers alike!