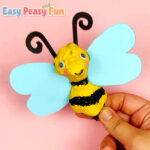
Don’t throw away bubble wrap, recycle it to make this fun bubble wrap beehive craft. It’s an easy art project that is perfect for kids to make in spring or when you are talking about the most beneficial bug, the bee.
We love it when crafts for kids have a recycling element to them.
*This post contains affiliate links*
Bees are on of the most important bugs in the world. Celebrate bees by making this simple bee art with your kids. This honeycomb craft is made by printing the bubble wrap, which is a fun process for kids to explore.
Related: bee coloring pages – how to draw a bee
How to Make the Bubble Wrap Beehive Craft
What you need:
- pencil
- scissors
- glue
- bubble wrap
- yellow paint
- paintbrush
- white paper
- black cardstock
- color paper (yellow and blue)
- black marker
Step by Step Tutorial
The Beehive
To start, you will need a sheet of white paper. You can use regular print paper, however using cardstock or children’s art paper is a better choice.
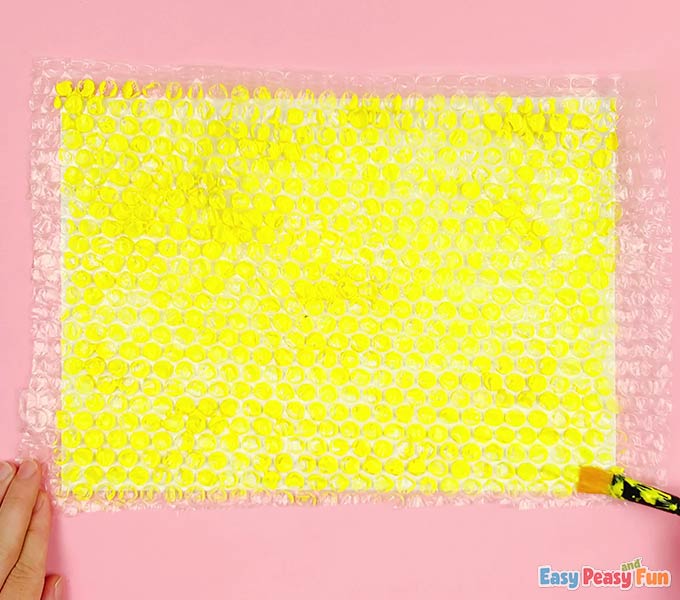
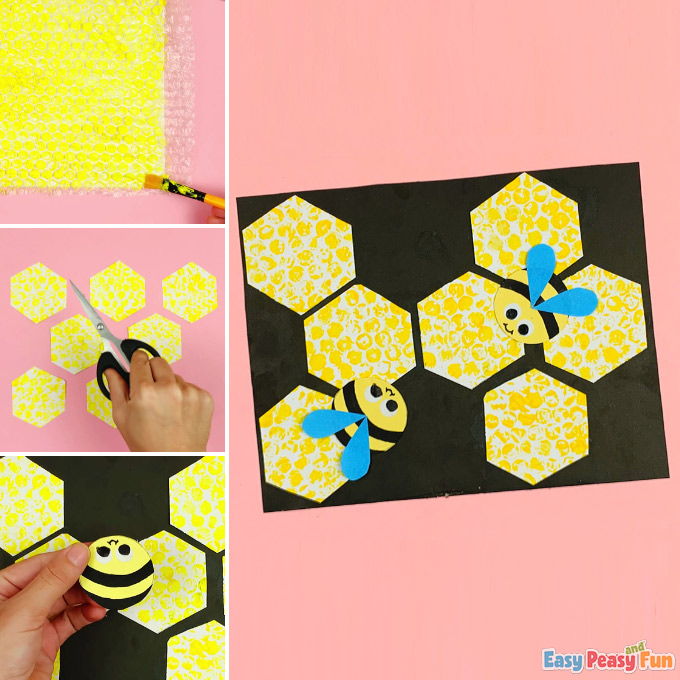
Now comes the bubble wrap. It can be as large as the paper itself or it can be smaller, both work out fine.
If you have smaller pieces, your kids will need to “stamp” them multiple times.
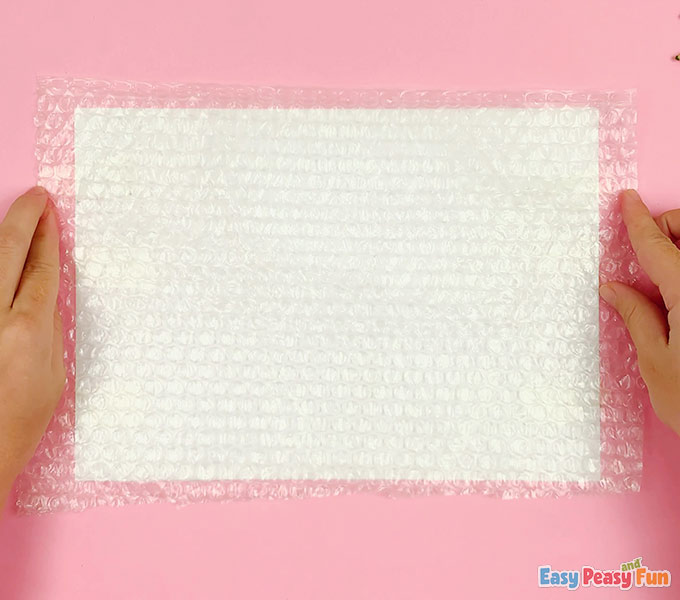
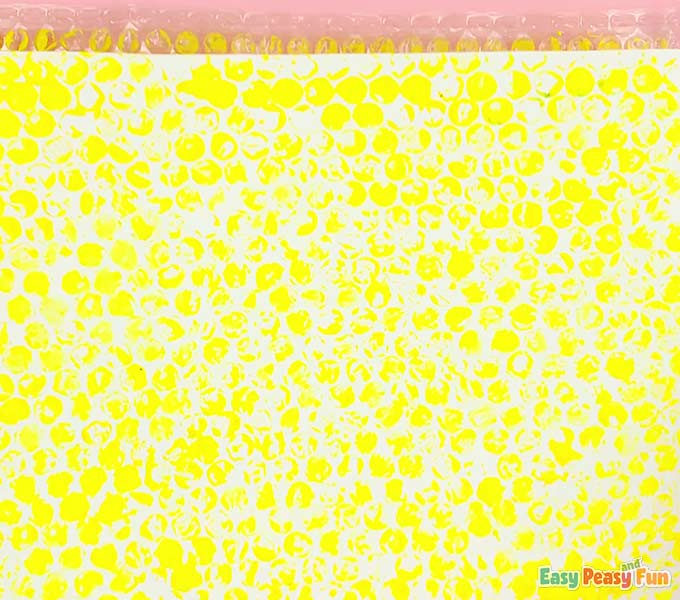
Using yellow paint, have them color the bubble wrap. We used slightly watered-down acrylic paint (this makes it dry slower). Other paints work as well.
Now comes the fun part!
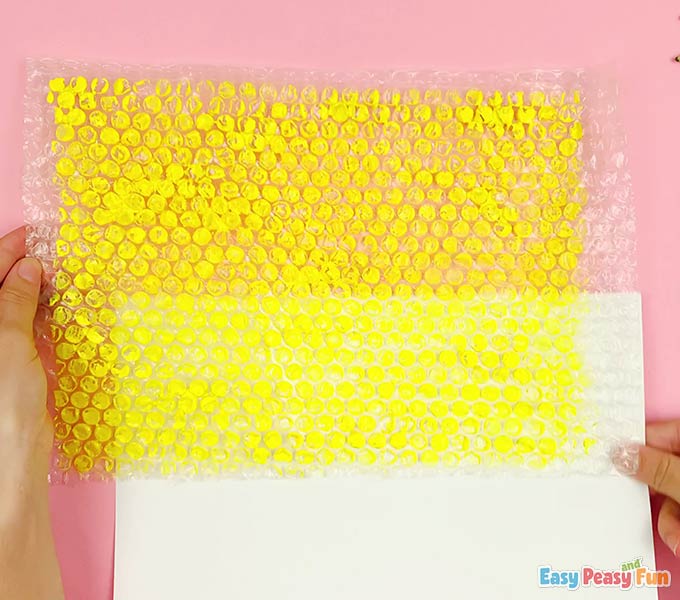
Press the bubble wrap on paper (or press the paper on the bubble wrap) to make prints.
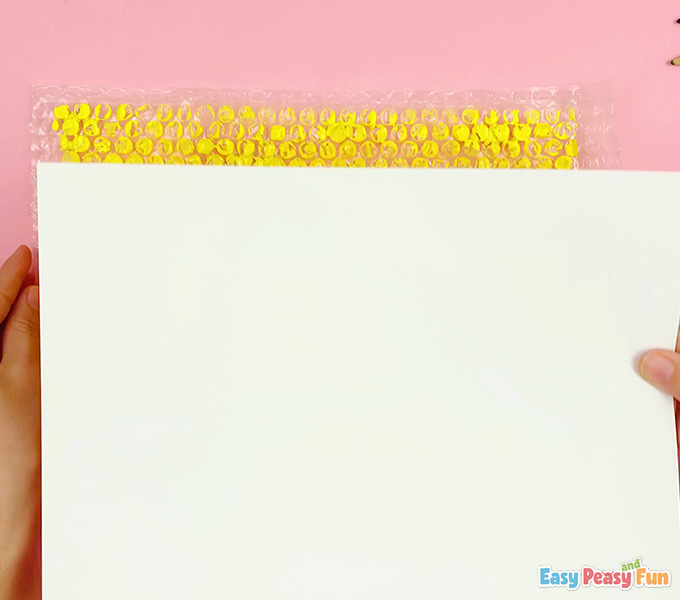
Run your hands across the paper or bubble wrap to make sure the prints are made.
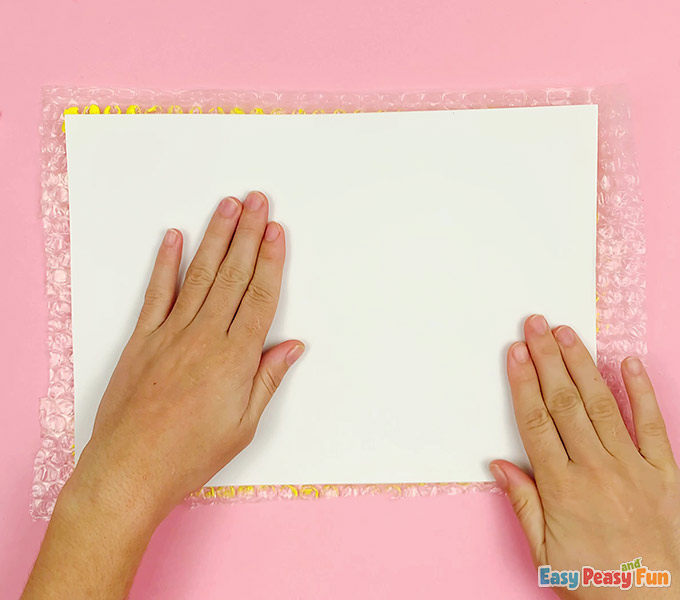
It’s time to remove the bubble wrap.
The white sheet should be full of yellow dots now.
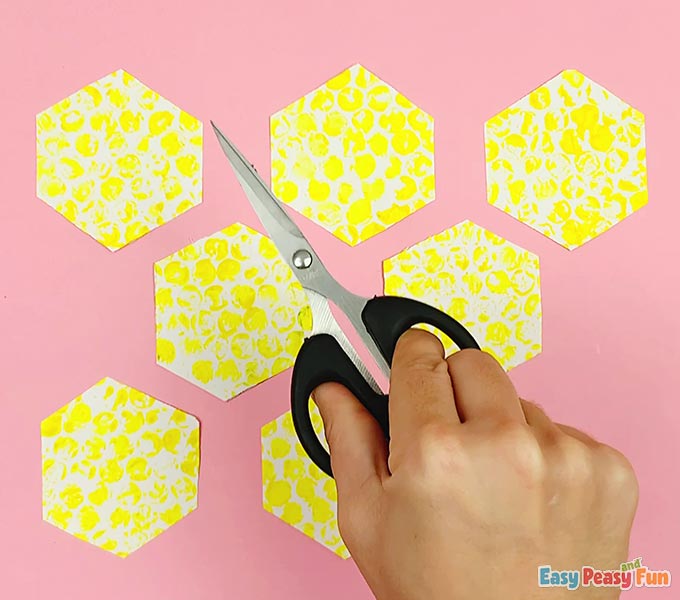
Cut out hexagons out of bubble wrap printed paper.
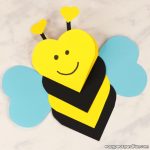
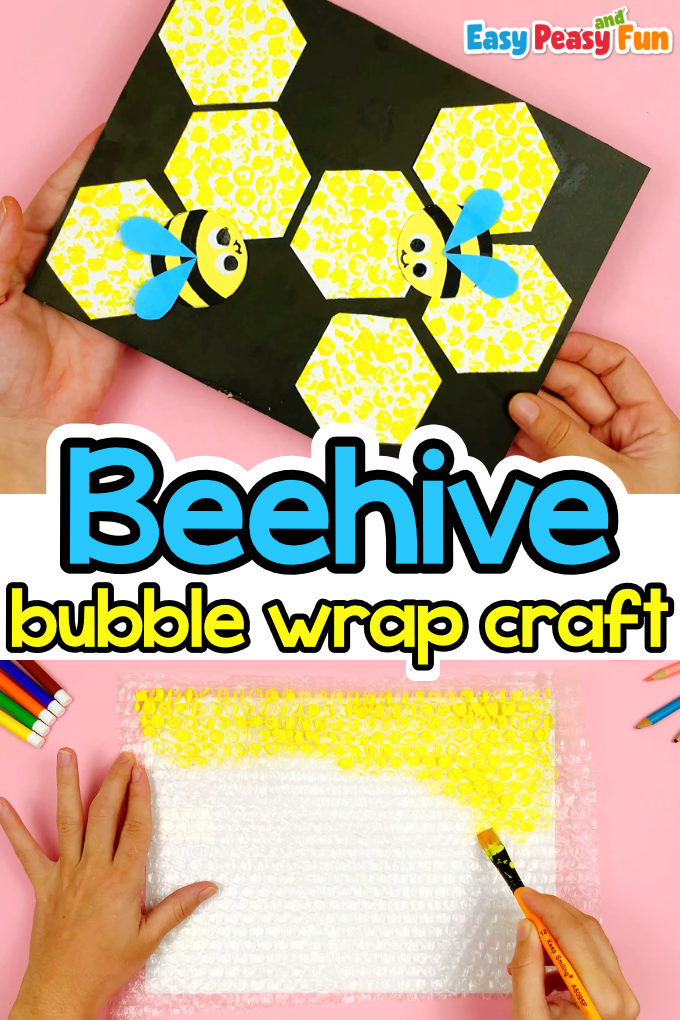
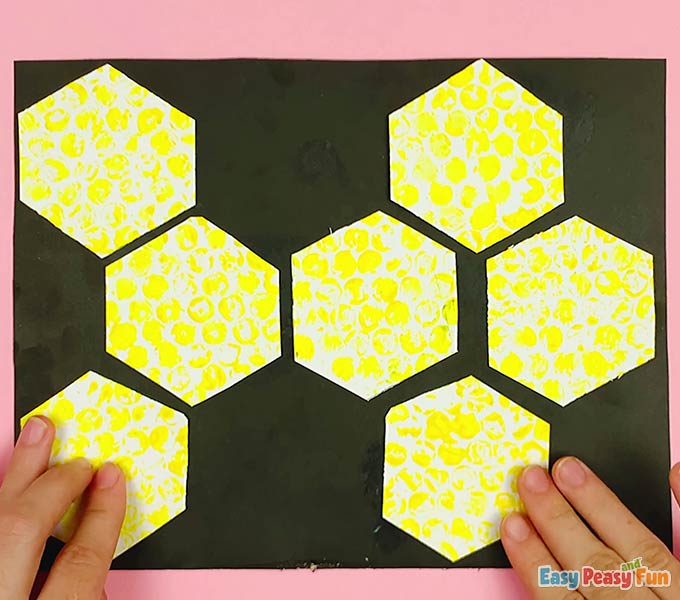
We made our bubble wrap beehive craft on black paper as it gives a nice contrast to the printed hexagons but other colors can be used as well.
Apply glue on the hexagon or on the background paper and stick the printed hexagons on the background.
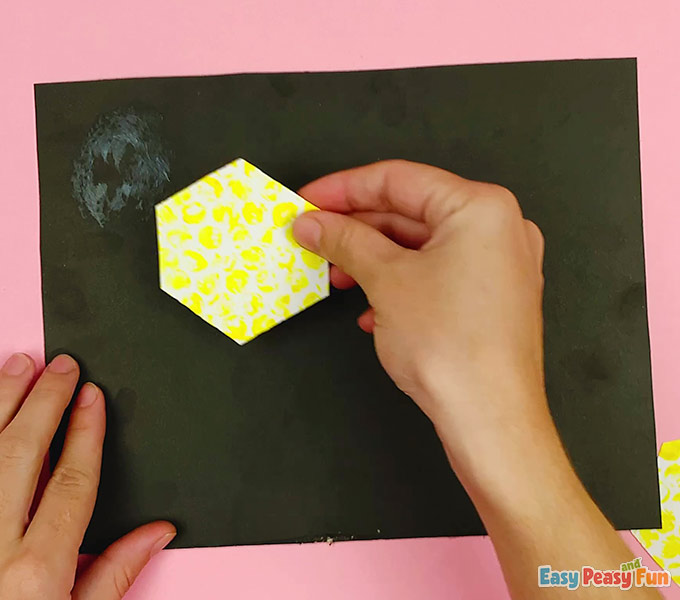
Fit as many as you wish on the background. It’s OK to leave blank spaces.
The Bee
The bee hive needs some bees! There are many ways you can make them – you could even add a toilet paper roll bee to this project.
We’ll show you how to make a simple one out of paper.
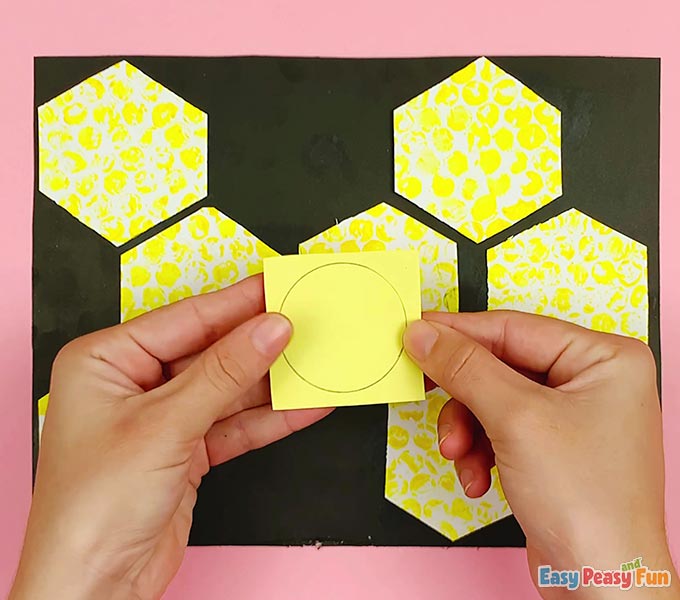
Cut out a small circle out of yellow paper (you can also use a circle paper punch). Add two googly eyes or two white small circles.
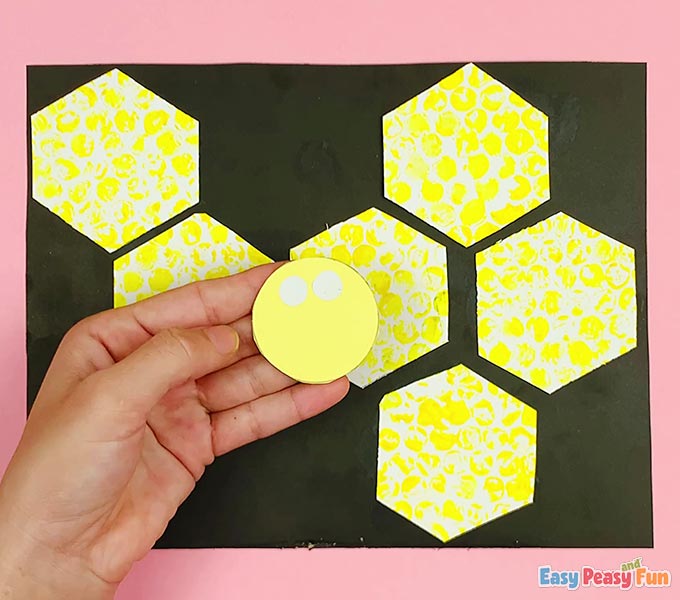
With a marker, draw all the details – the lines, the mouth (any finish up the eyes if necessary).
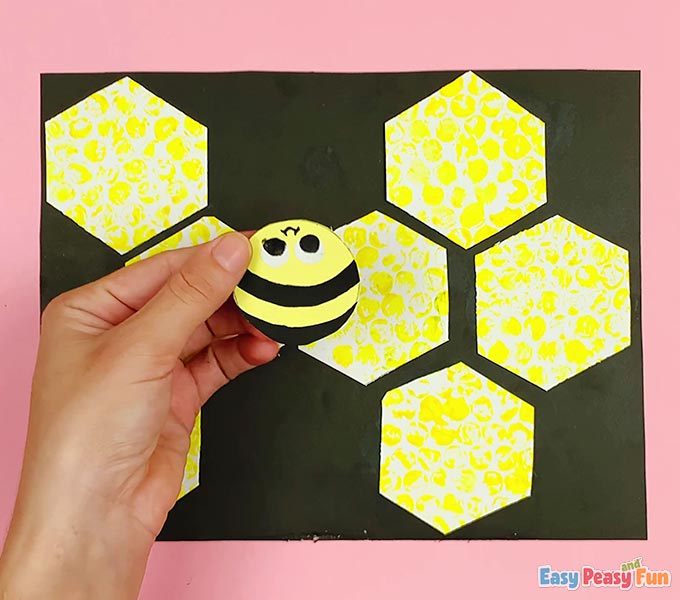
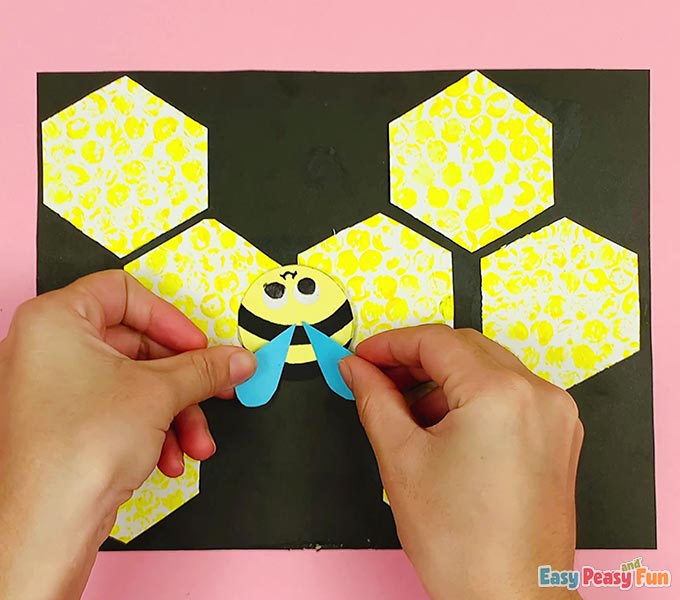
The bee is still missing the wings. Have kids cut two drop-like shapes out of blue color paper and glue them to the bee.
To create another bee, have them follow the same steps as before.
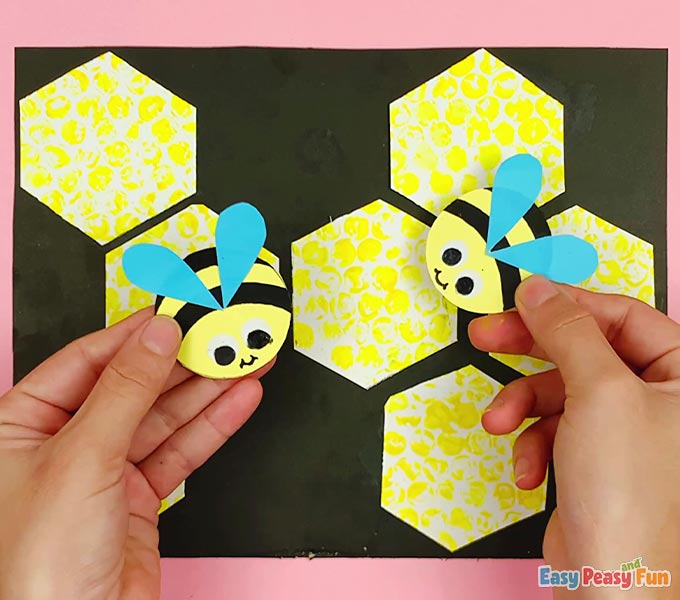
Glue the bees onto the hive.
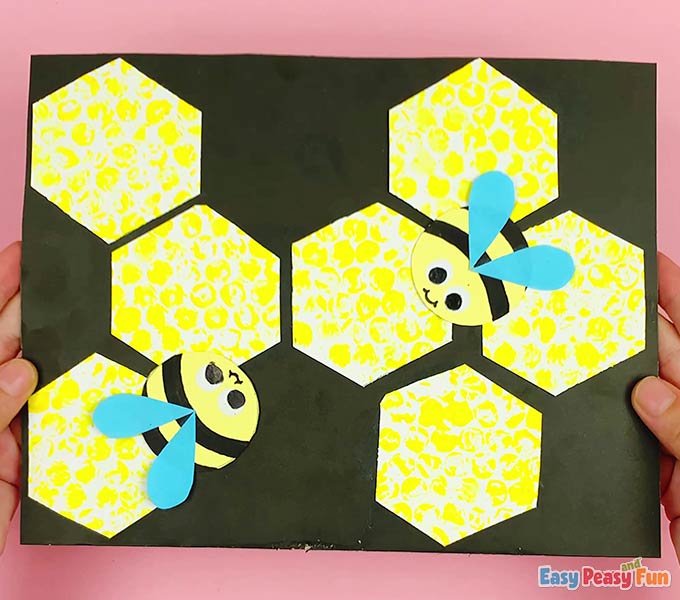
Aren’t they adorable?
Want instant access to all of our printable crafts, activities, and resources?

With thousands of crafts, activities, worksheets, coloring pages, and drawing tutorials to print, you will always have just the resource you need at your disposal. Perfect for parents and teachers alike!