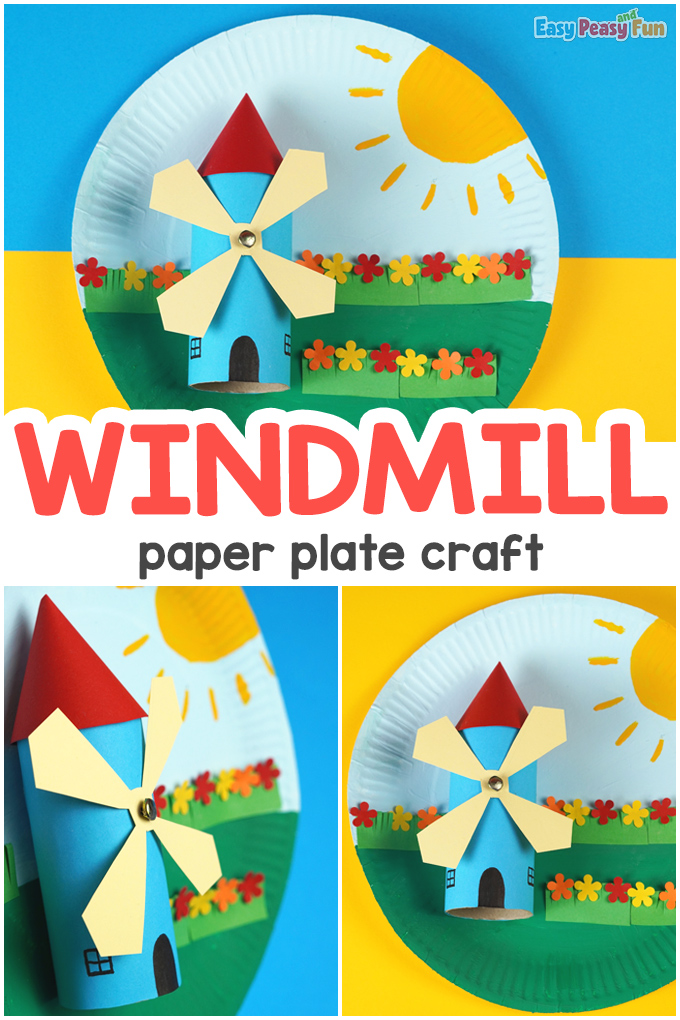
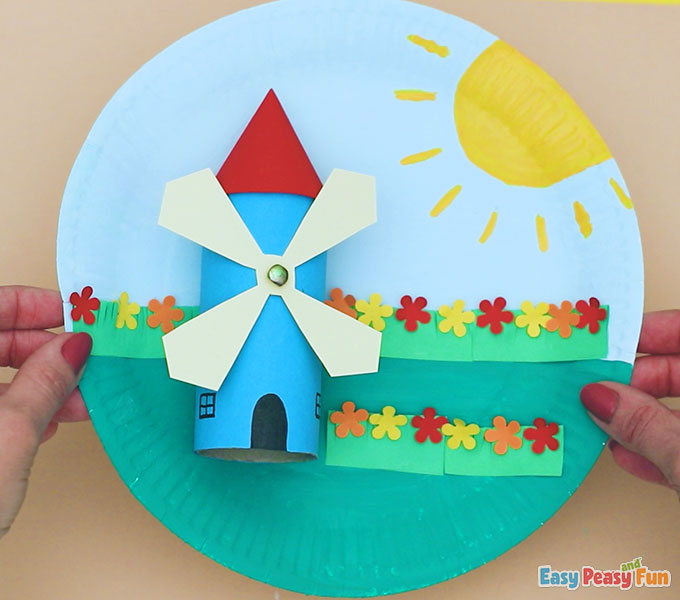
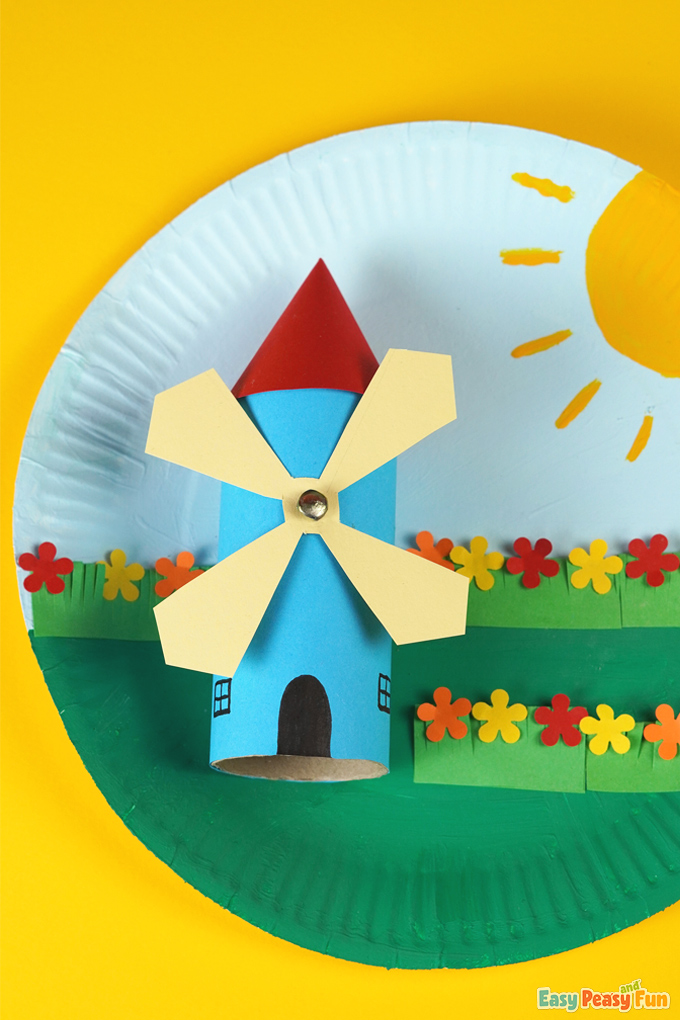
Are you running out of fun ideas to do for craft time? This Windmill Paper Plate Craft is not only a fun craft to do, it’s super simple. You are about to experience just how fun windmills really are!
*This post contains affiliate links*
50 paper crafts your kids can actually do themselves

No fancy supplies — just paper, scissors, and a little imagination.
Be the first to get it on release day — and lock in the lowest price guaranteed.
This craft is a hit with kids because there are so many colors involved. If you enjoy a bright and cheery craft, then this one is for you!
How to Make a Windmill Paper Plate Craft
What you need:
- Paper plate
- Green, blue, yellow acrylic paint
- Paintbrush
- Paper roll
- Creme, red, blue, red, yellow, orange, green papers
- Pencil
- Glue stick,
- Scissors,
- Milton
- Black marker
- Paintbrush

Step by Step Tutorial
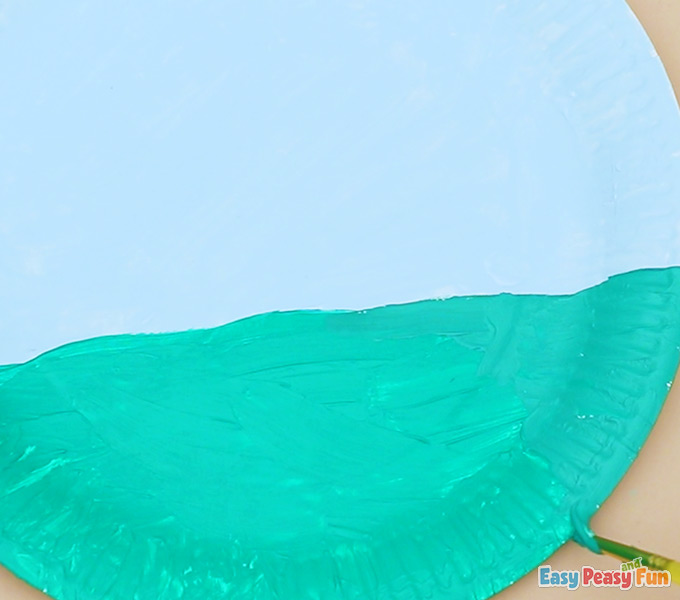
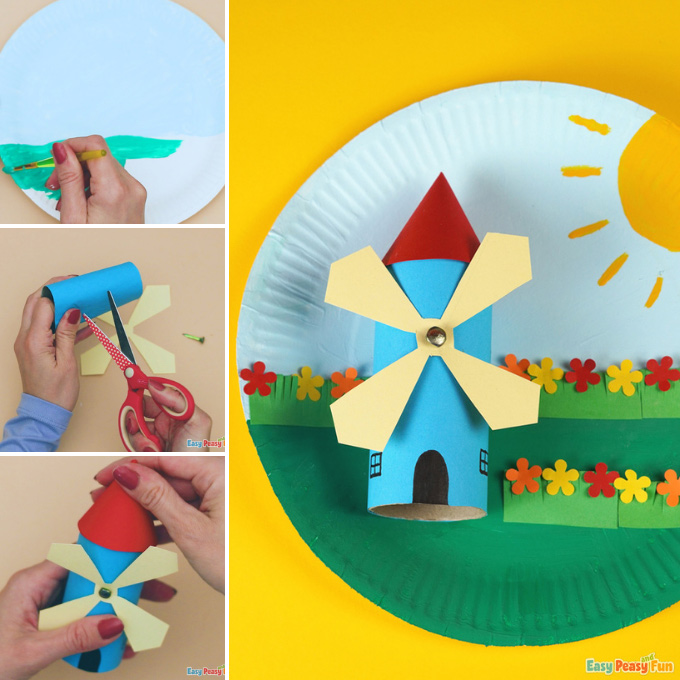
Paint the top of a paper plate blue.
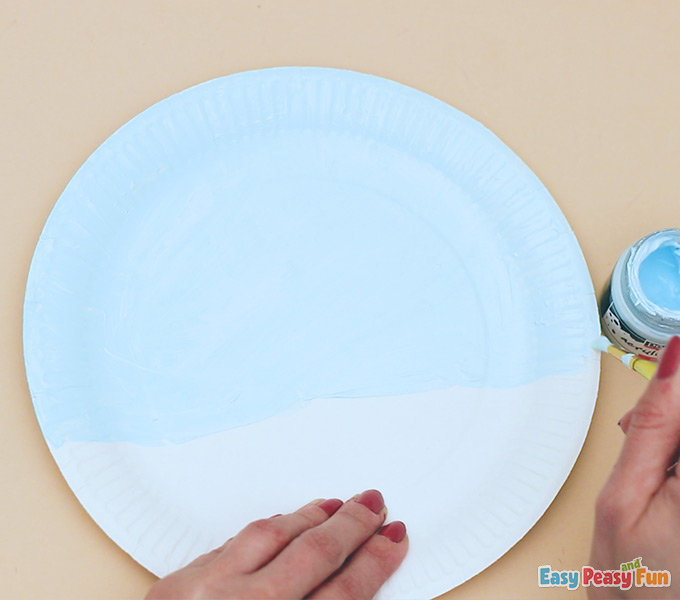
You’ll want to paint the bottom of the paper plate green.
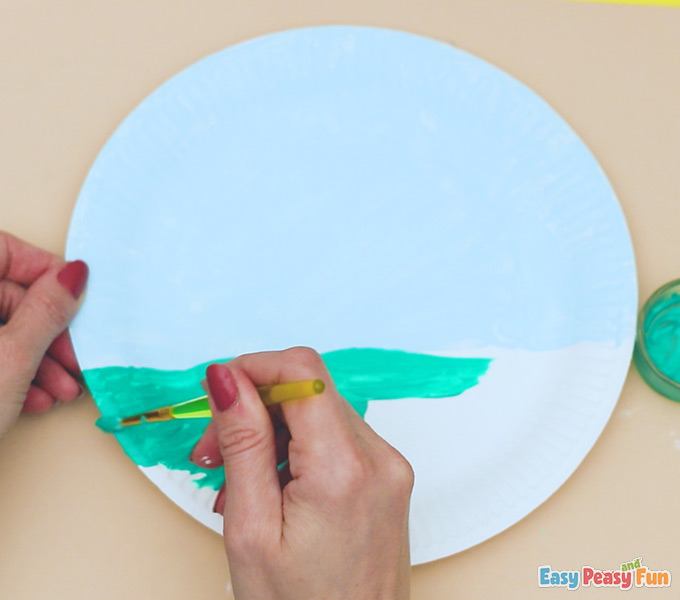
You can be generous with the paint!
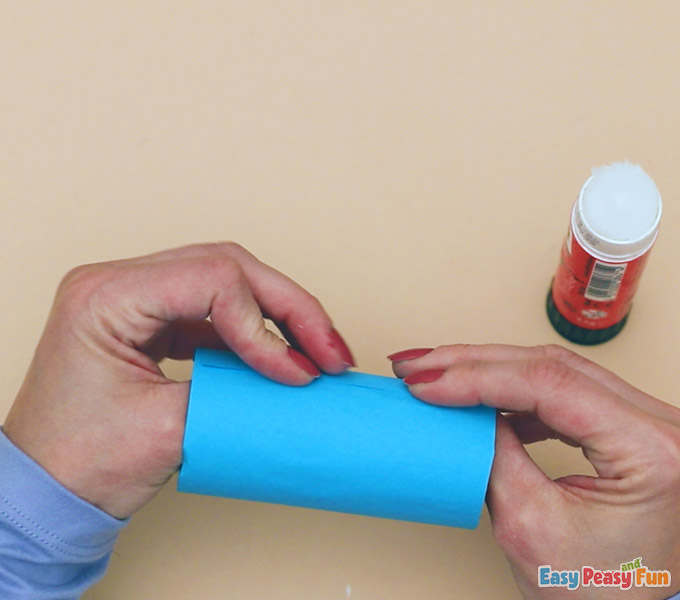
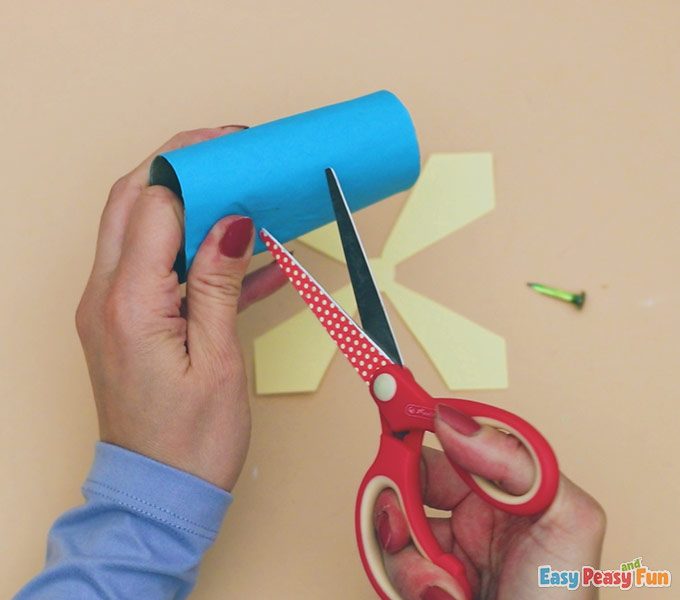
For a paper roll, cut a piece of blue paper and glue it on.

Use glue to make sure the blue piece of paper sticks.
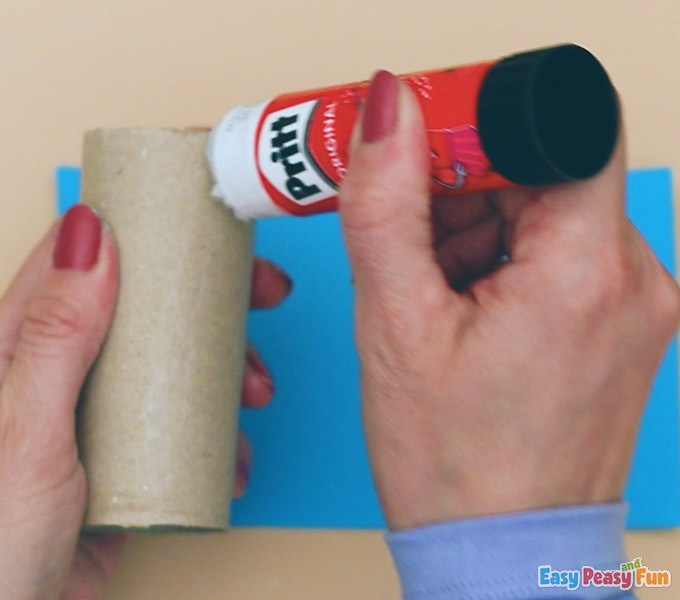
Hold it tight to ensure it stays!
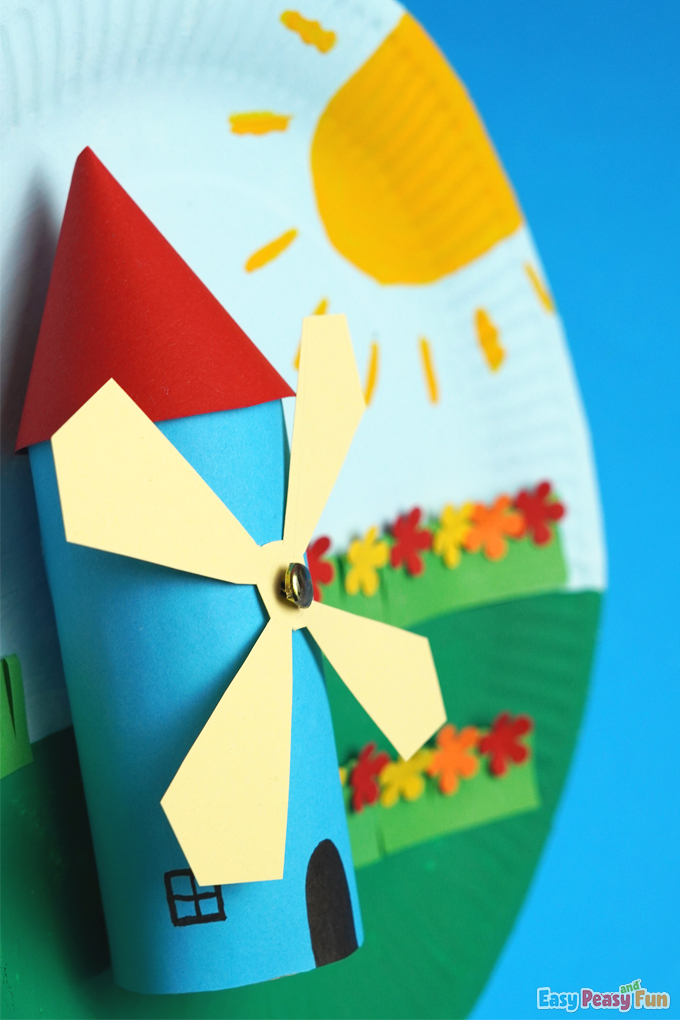
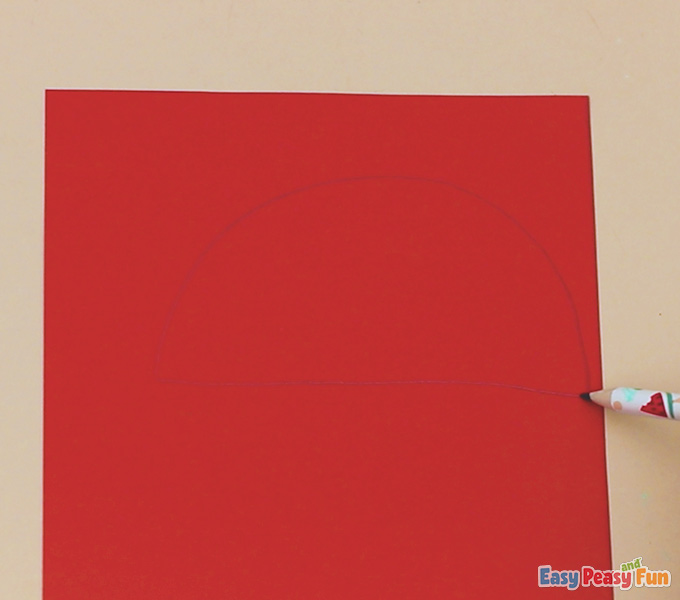
On red paper, draw a semicircle, cut it out, shape it into a funnel and glue it on top of the roll.
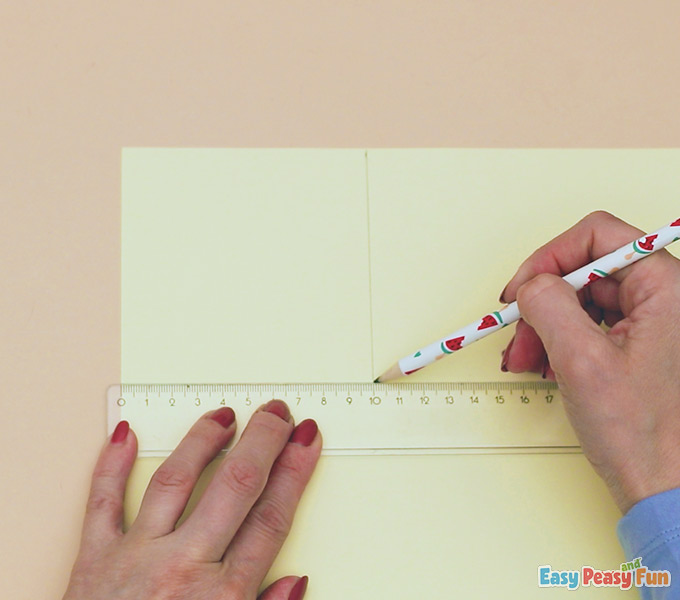
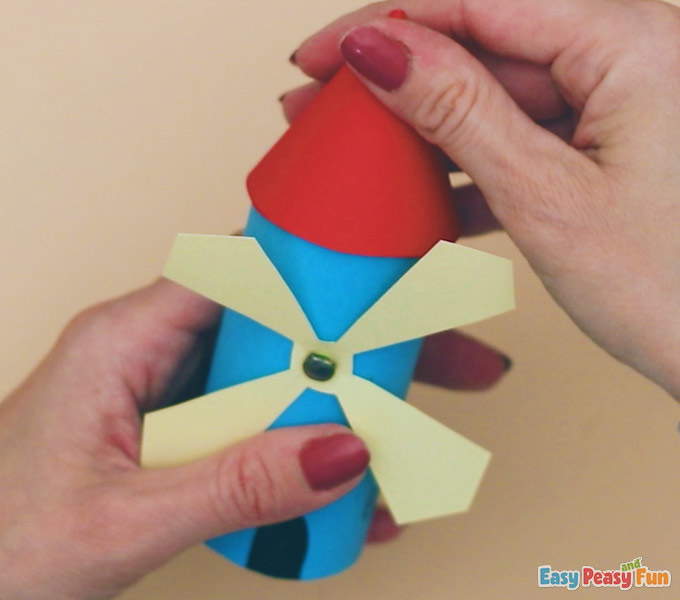
On cream-colored paper, draw the mill wheel, cut it out and fix it to the roll with a milton staple.
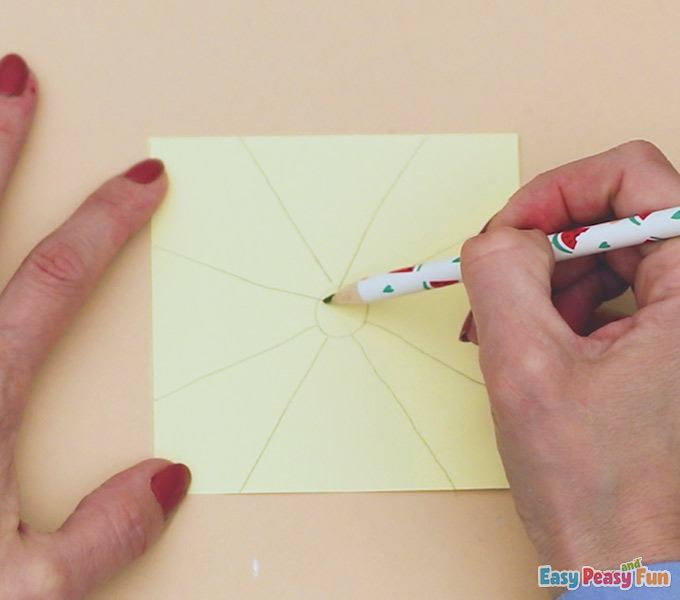
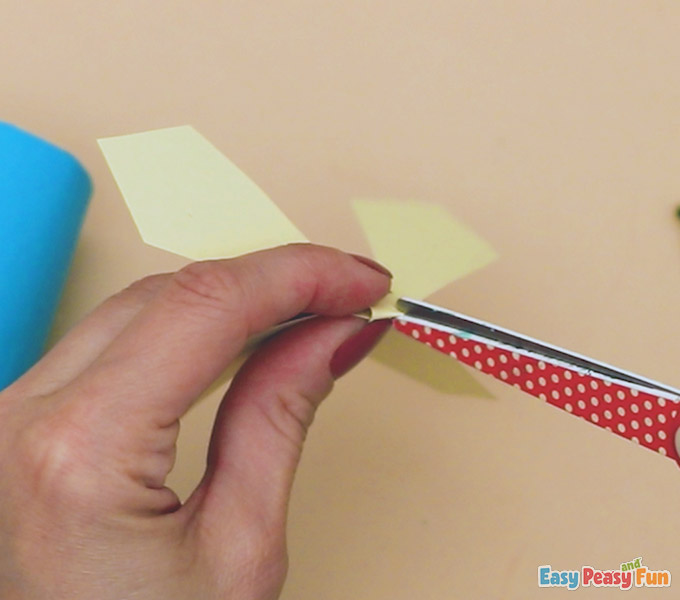
Start drawing the windmill part of the craft.
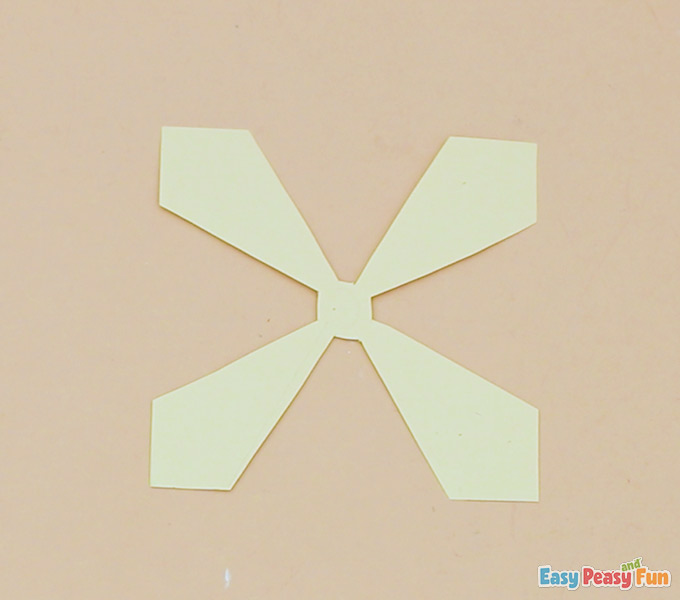
Cut out the windmill part.
Poke a small hole in the blue toilet paper tube.
Make a slight slit in the windmill.
You’re doing to take the paper clasp and place it through the windmill.

You will continue to place the same clasp through the blue colored toilet paper roll.
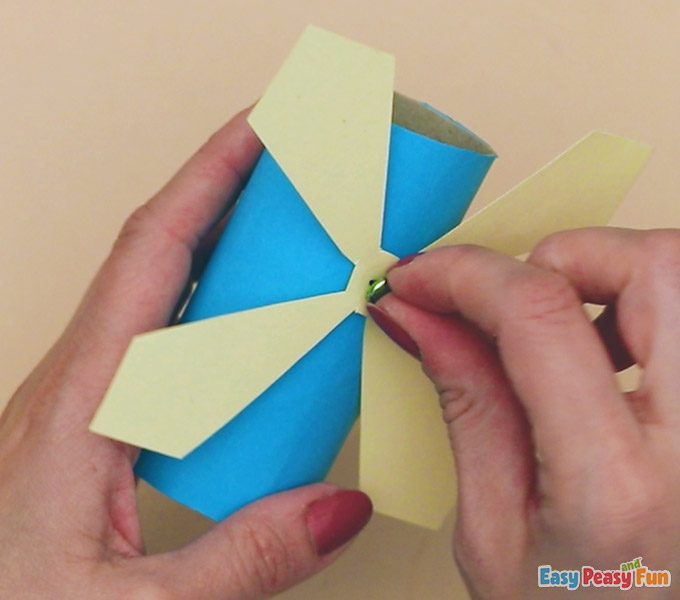
Make sure the toilet paper roll is clasped well.
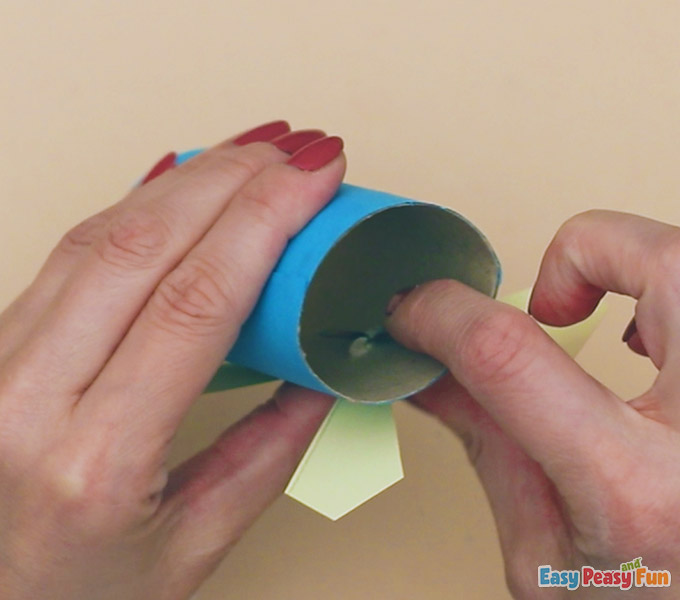
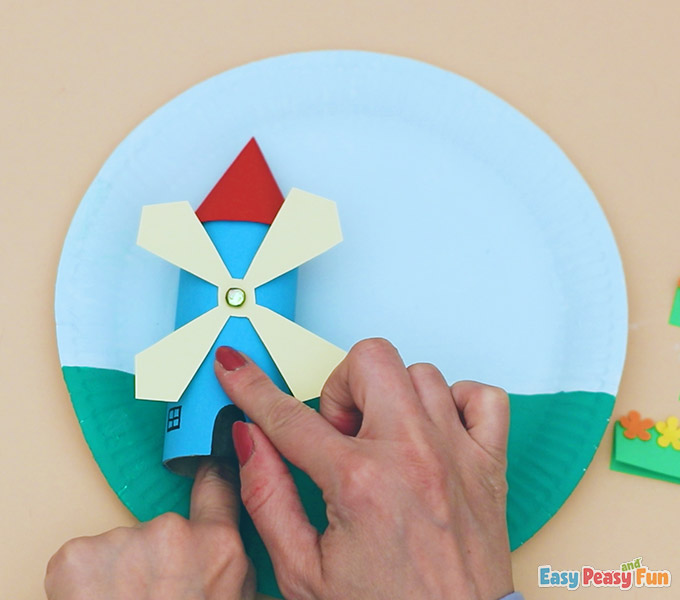
Draw a door on the windmill.
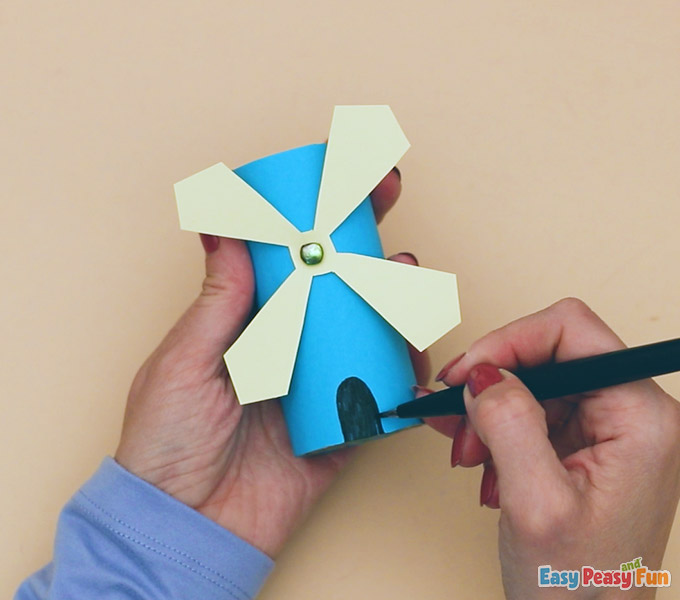
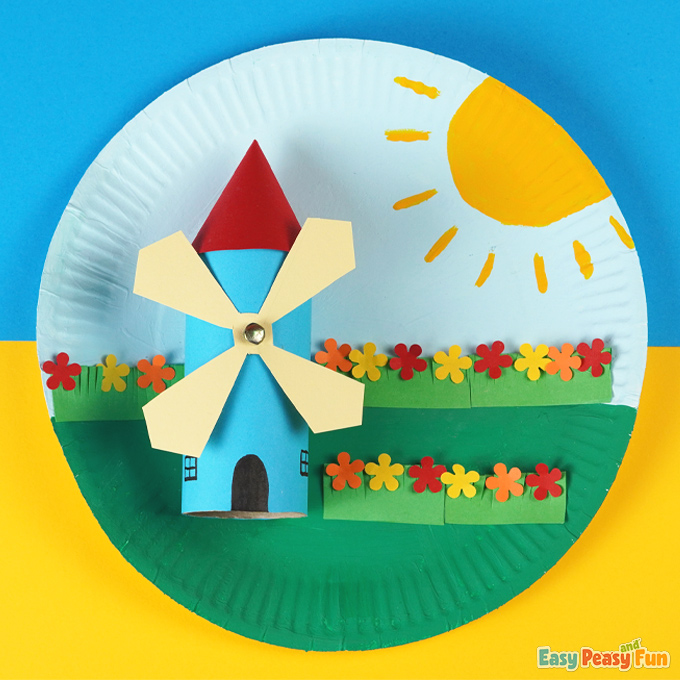
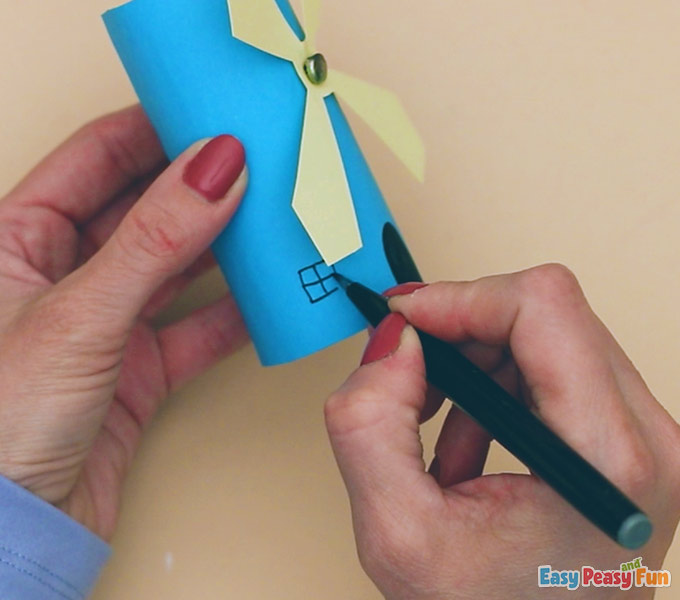
Draw a window on the roll with a black marker and glue the mill on the paper plate.
Take a piece of red semicircle you cut earlier. Place glue along the bottom.

Glue the semicircle to make a cone shaped roof for the windmill.
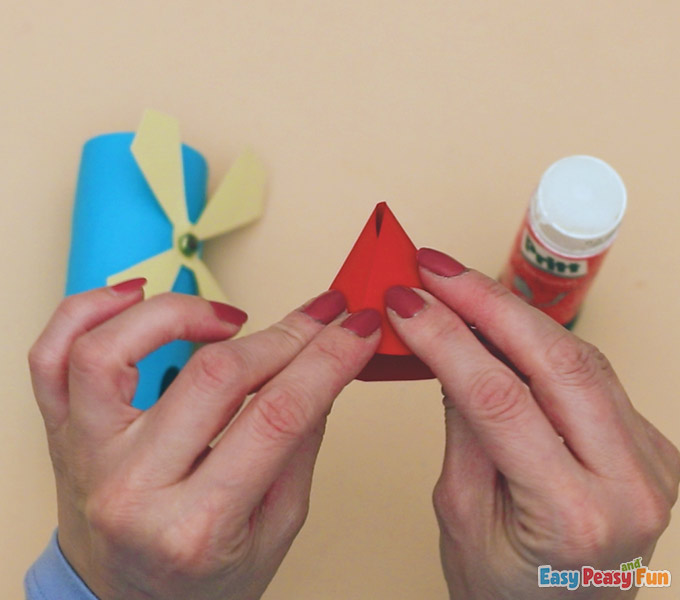
You may have to place glue around the edge of the circle to get the roof to stay.
Press hard to ensure the red roof stays.
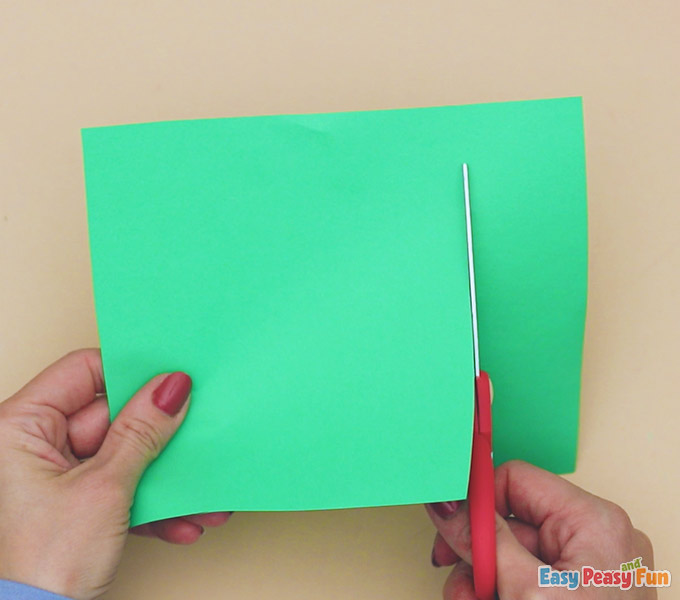
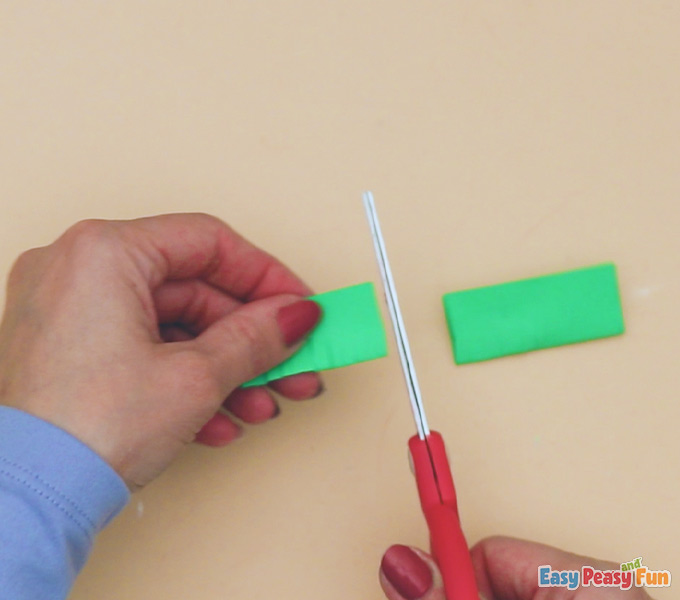
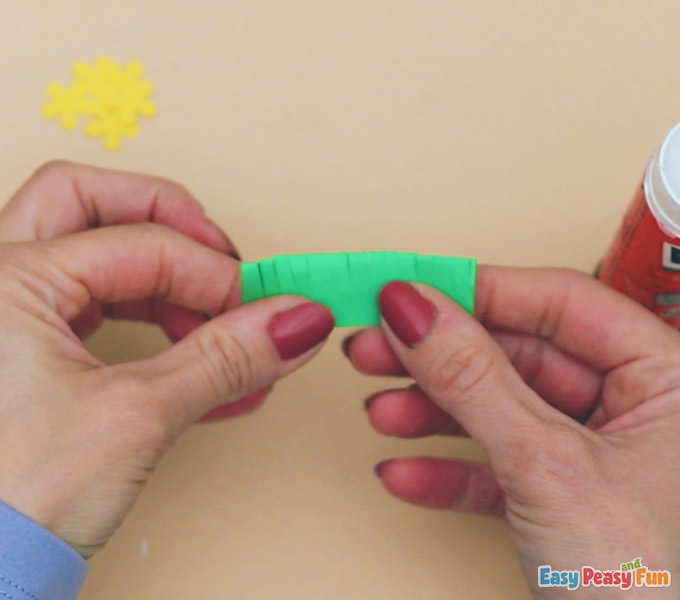
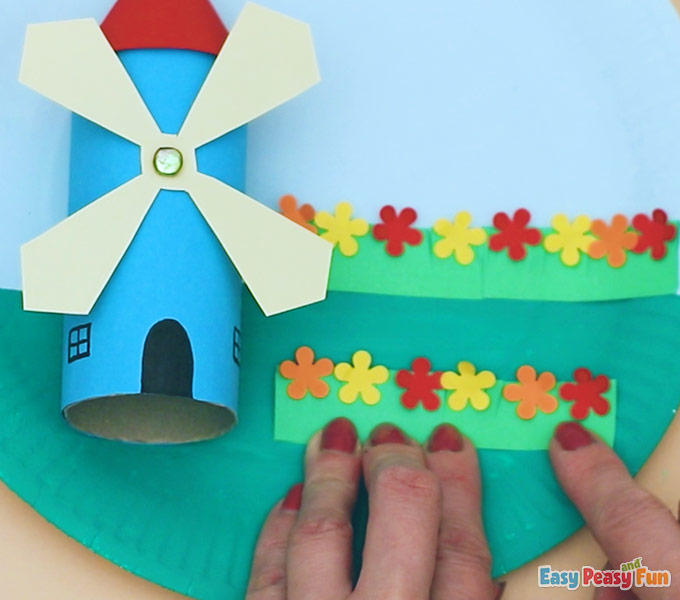
Cut longer strips of green paper.
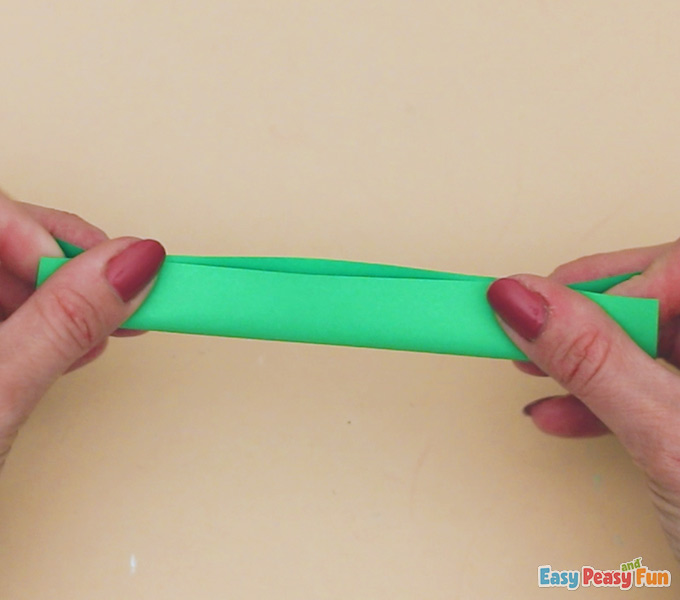
Fold in half.
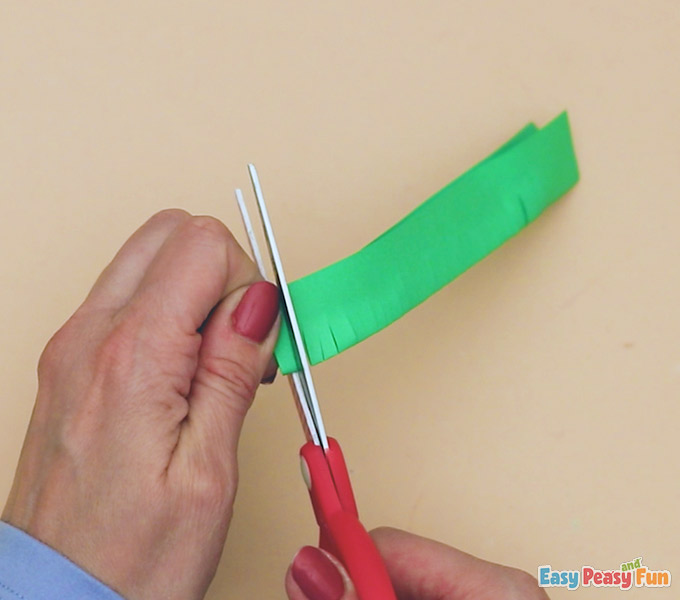
Go ahead and cut to the end.
Cut the piece of grass in half.
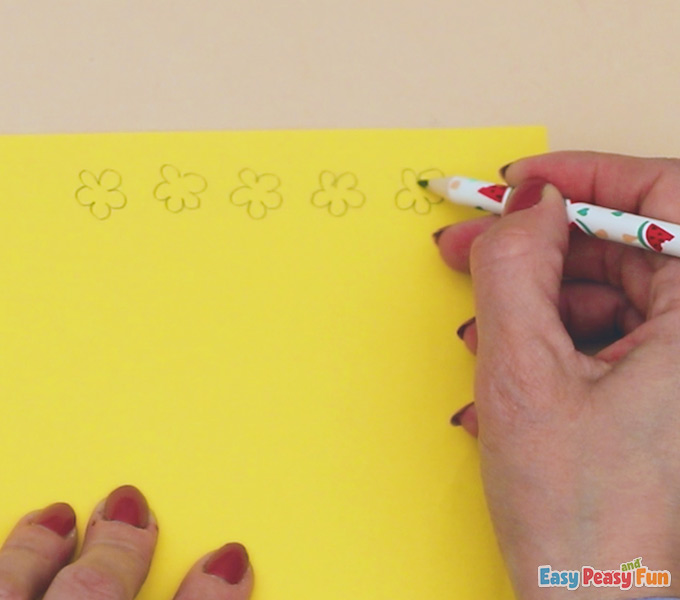
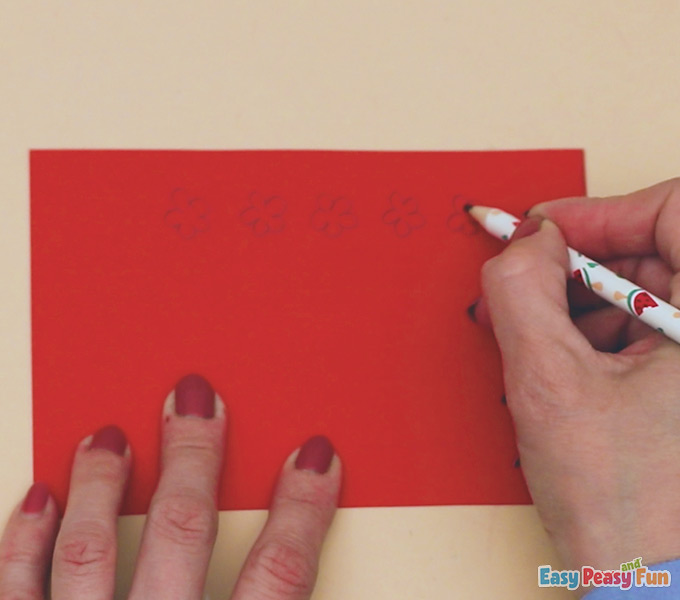
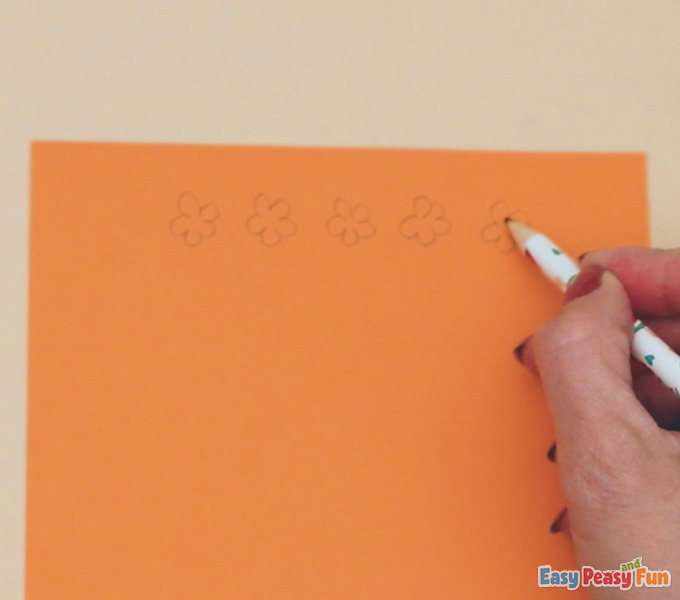
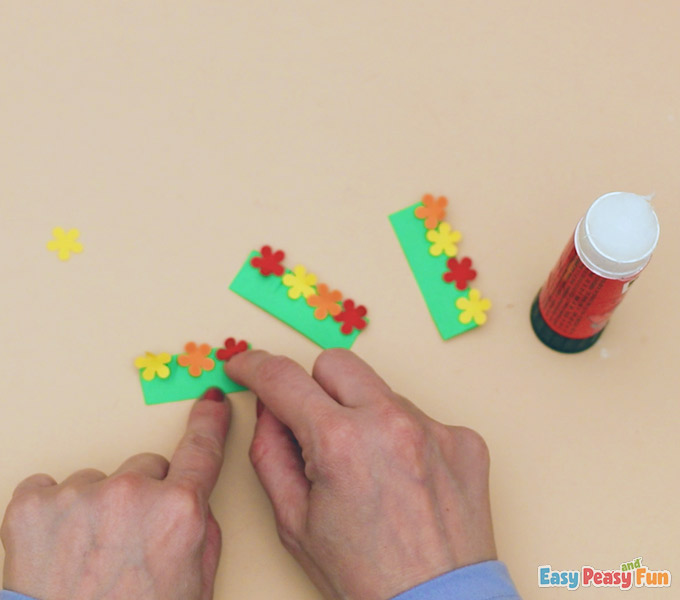
On red, yellow, and orange paper, draw little flowers, cut them out, glue them on the green strips, then glue these rows of flowers next to the mill.
Take the strip of green paper that you cut earlier.

Make little cuts in the grass.
Glue the flowers to the green grass.
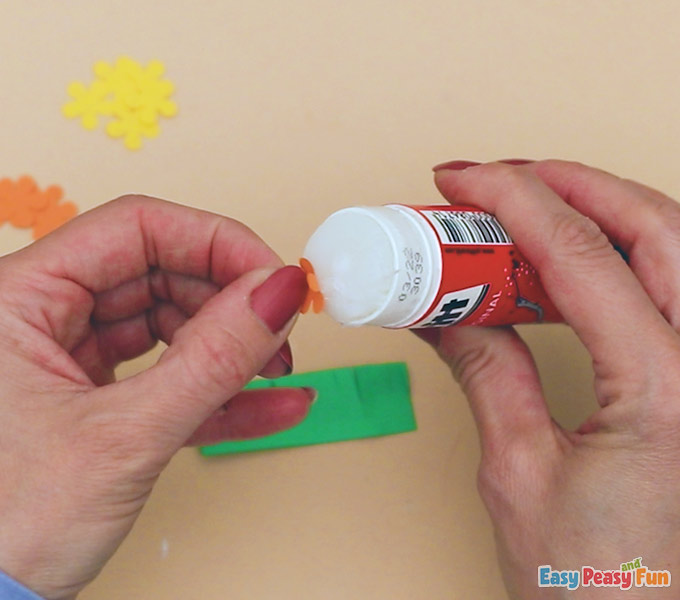
You can move the colors around to create any pattern you’d like.
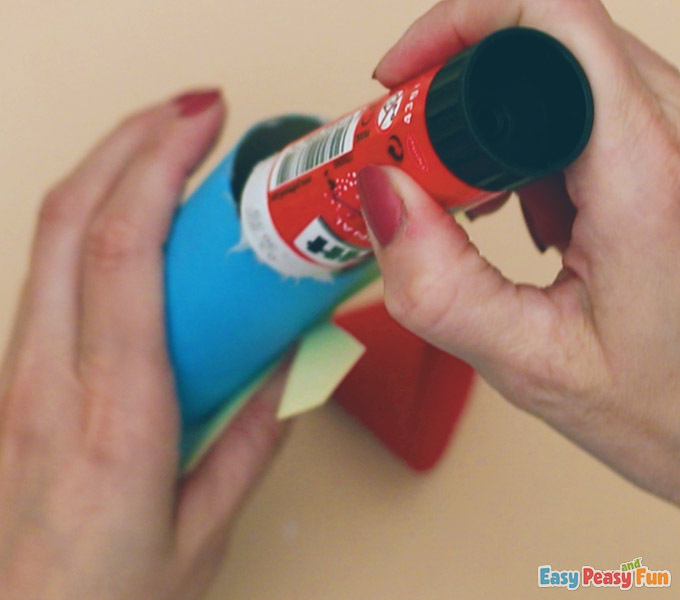
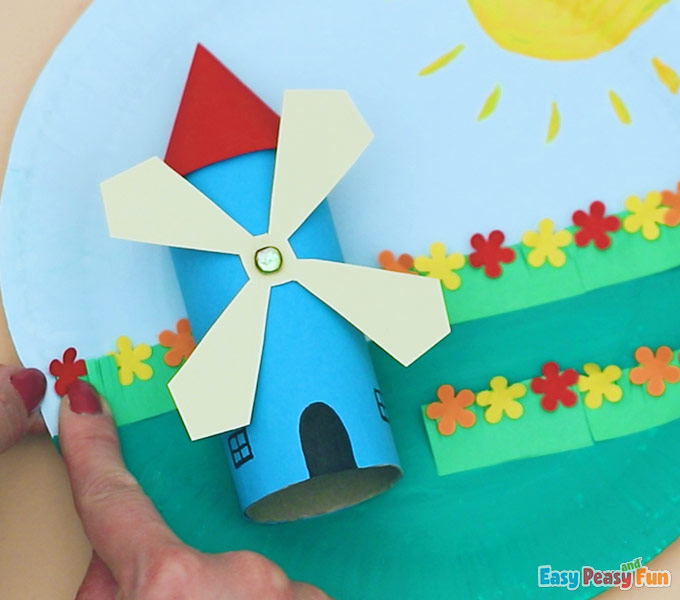
Now you are going to start gluing everything together.
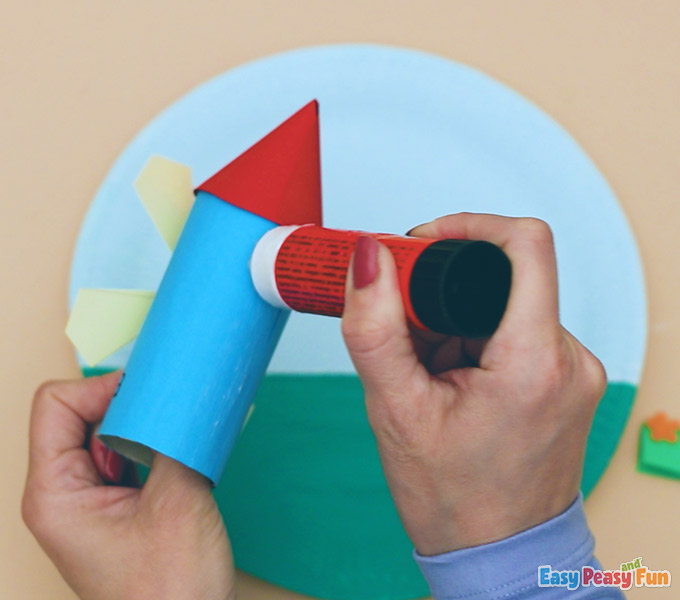
Glue the entire windmill to the paper plate.
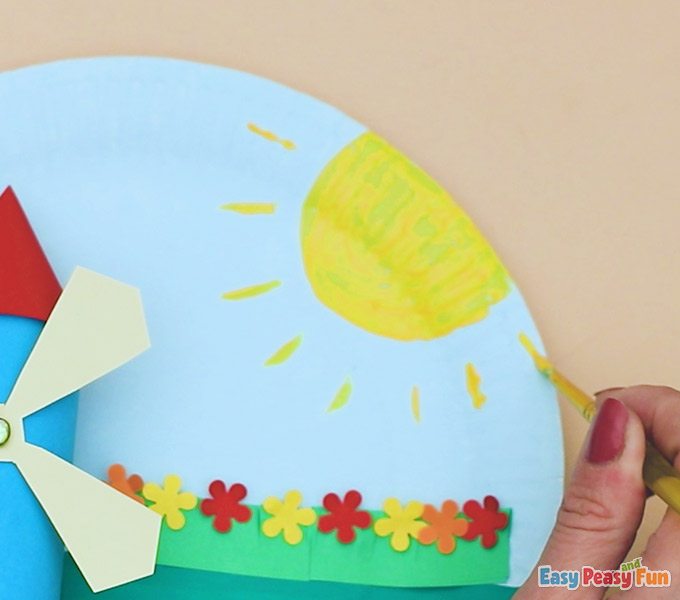
Paint a little sun in the corner with yellow paint.

Want instant access to all of our printable crafts, activities, and resources?

With thousands of crafts, activities, worksheets, coloring pages, and drawing tutorials to print, you will always have just the resource you need at your disposal. Perfect for parents and teachers alike!