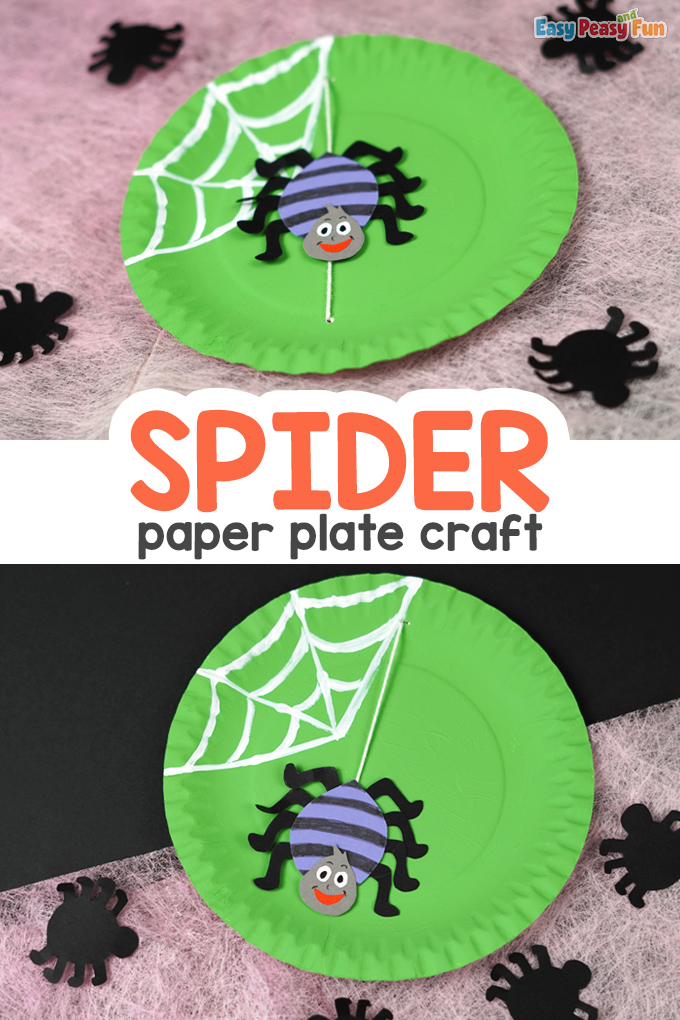
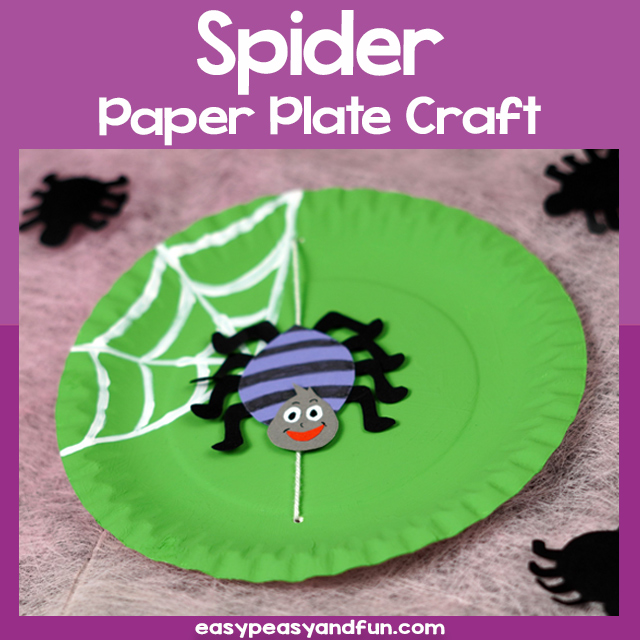
Here’s a fun Spider Paper Plate Craft that kids will love!
We think it will be an excellent Halloween activity for them to make – and the spider can move up and down on its web.
*This post contains affiliate links*
50 paper crafts your kids can actually do themselves

No fancy supplies — just paper, scissors, and a little imagination.
Be the first to get it on release day — and lock in the lowest price guaranteed.
We love making Halloween Crafts (check out our Printable Halloween Treat Boxes or have fun with a Surprise Big Mouth Monster Printable).
To make your craft look even prettier, learn How to Draw a Spider Web. And for all the spider lovers, we have a How to Draw a Spider tutorial.
The spider craft is an excellent activity for younger children, as it helps them develop their fine motor skills.
Plus, it’s just plain fun! So, go ahead and give it a try – your kids are sure to love it.
How to Make the Spider Paper Plate Craft
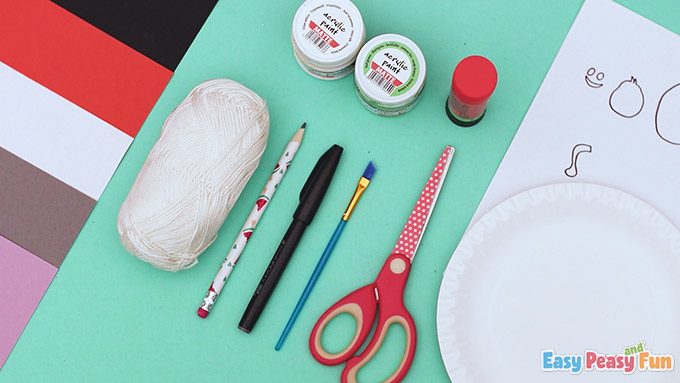
What you need:- printable template
- paper plate
- pencil
- black marker
- scissors
- glue stick
- acrylic paint (green and white)
- paintbrush
- white yarn
- white paper
- color papers (red, black, purple, and gray)
Step by Step Tutorial
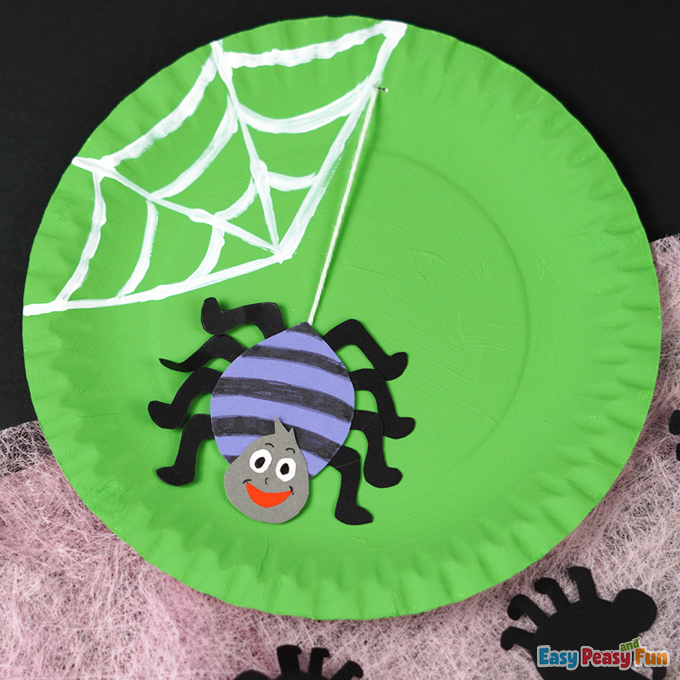
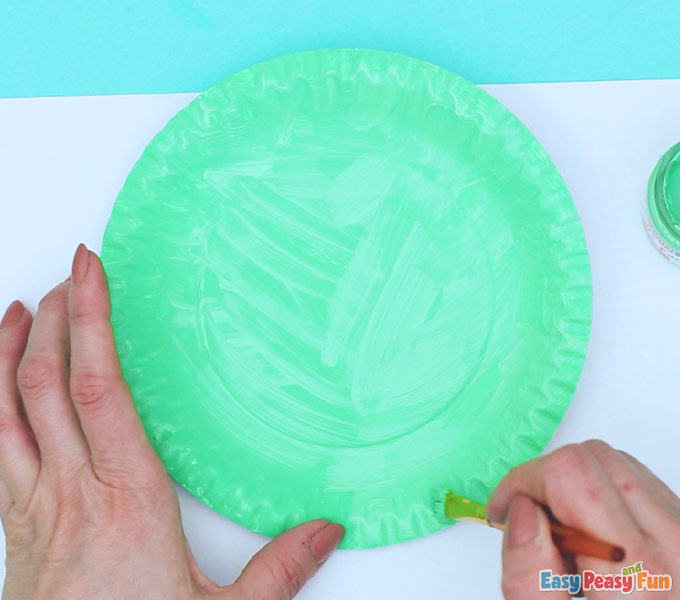
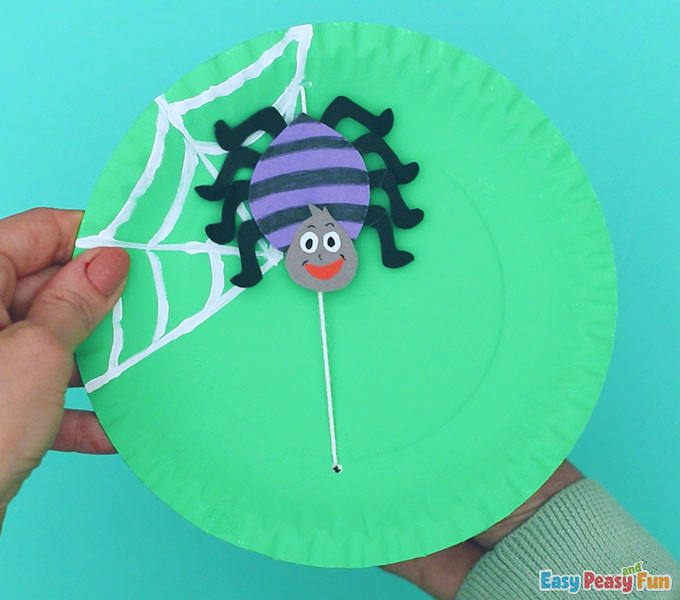
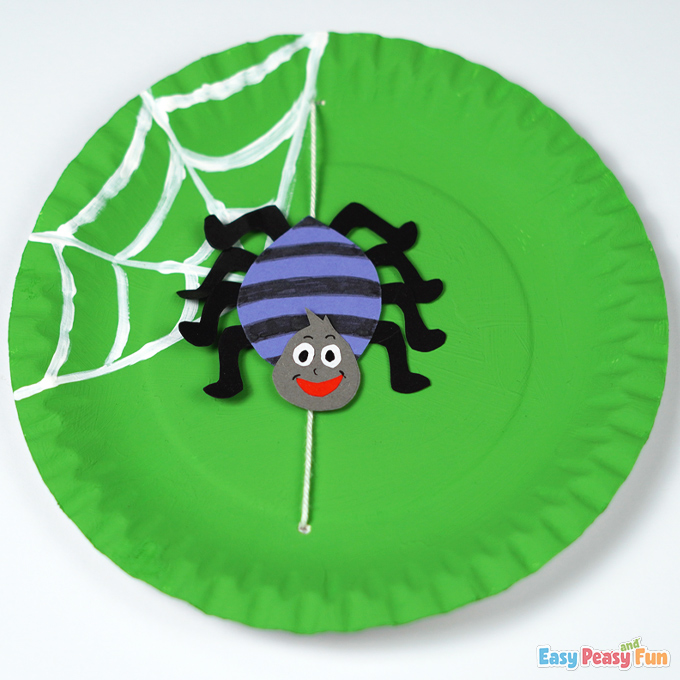
Paint the paper plate green.
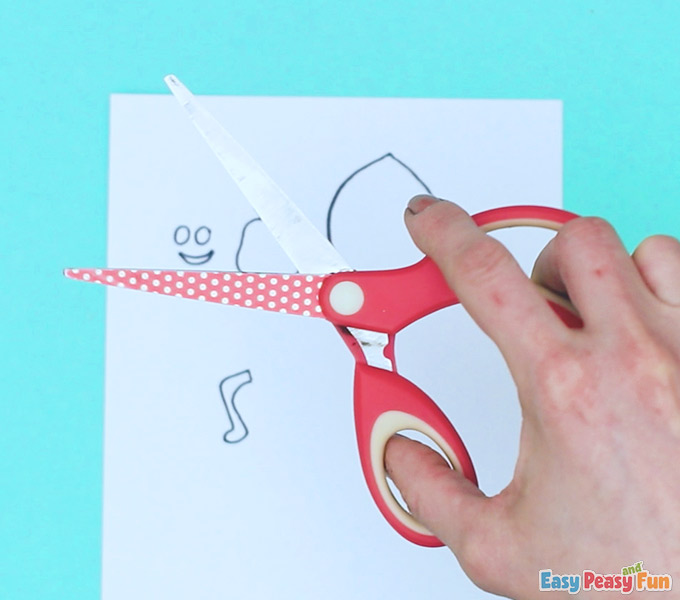
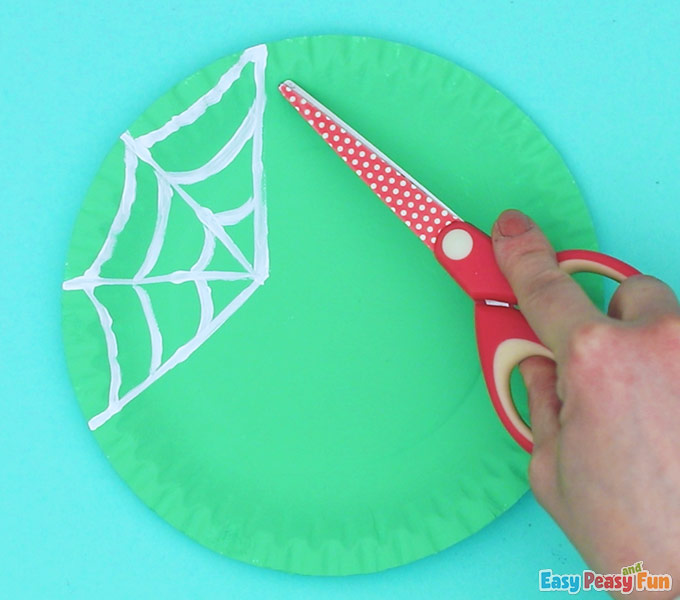
Cut out the tracing template.
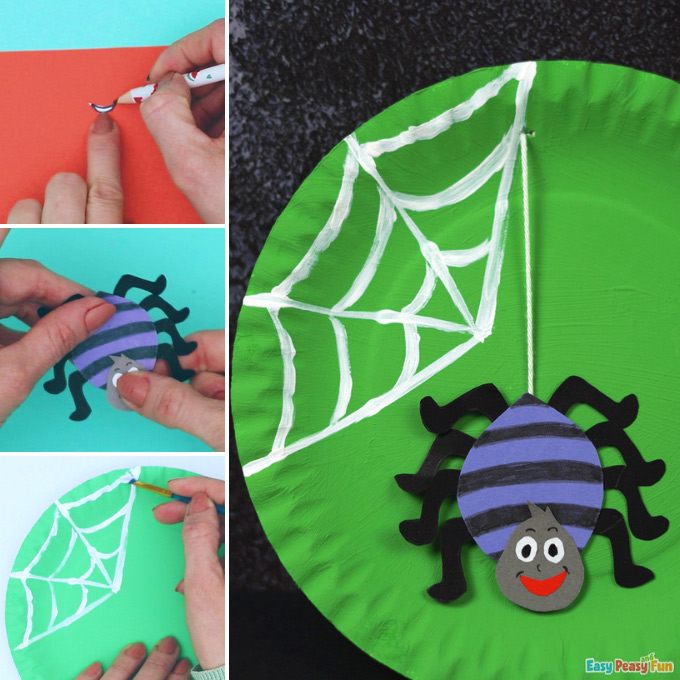
Trace the spider’s body on purple paper, then cut it out.
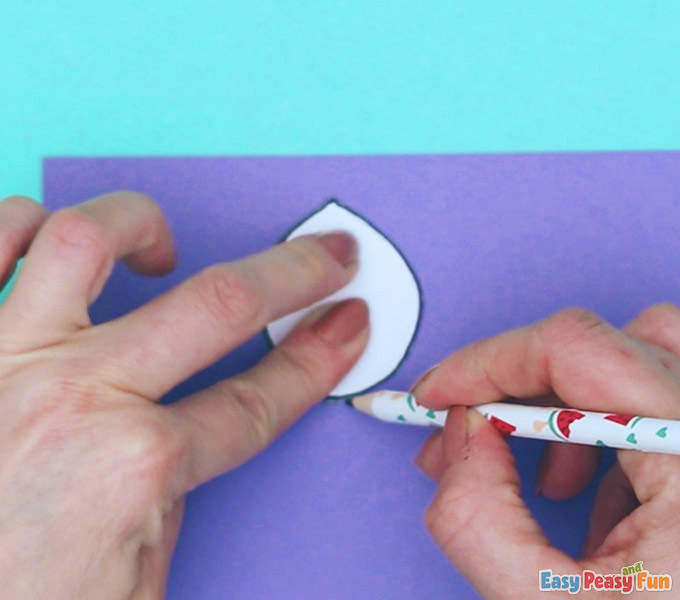
Trace the head on gray paper, then go ahead and cut it out.
You will want to trace the eyes on white paper and then cut them out.
Go ahead and trace the mouth on red paper and cut it out.
Trace the eight legs on black paper, and cut them out.
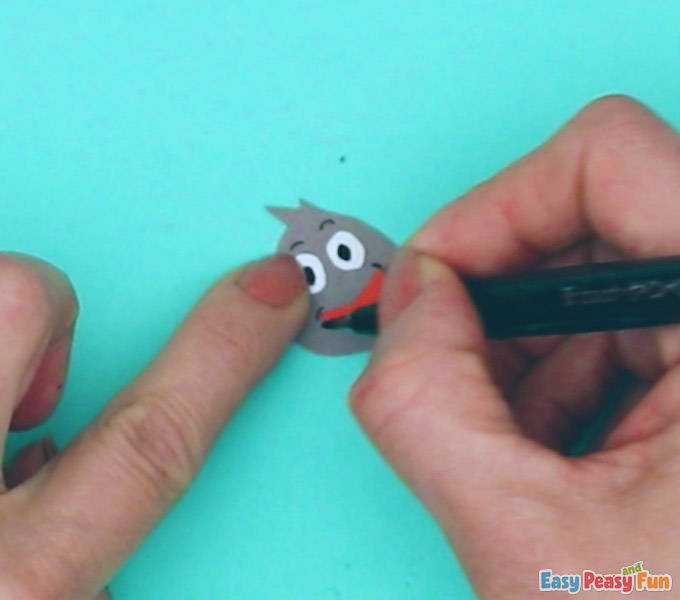
Glue the eyes and mouth on the head.
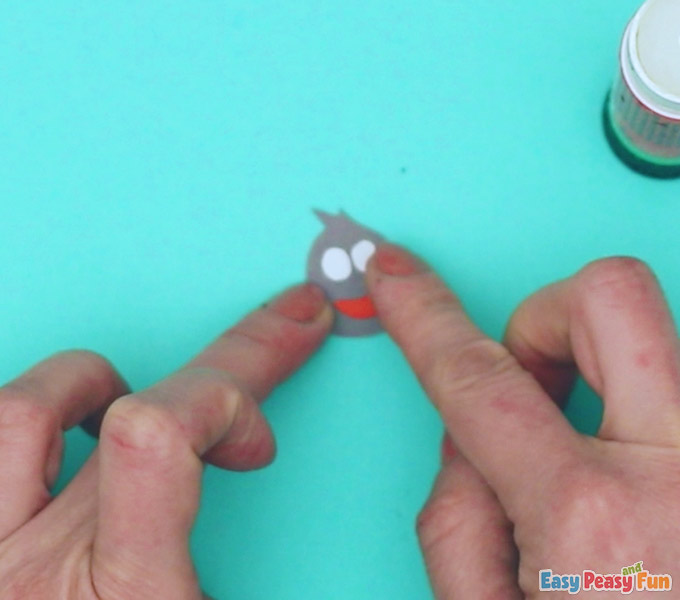
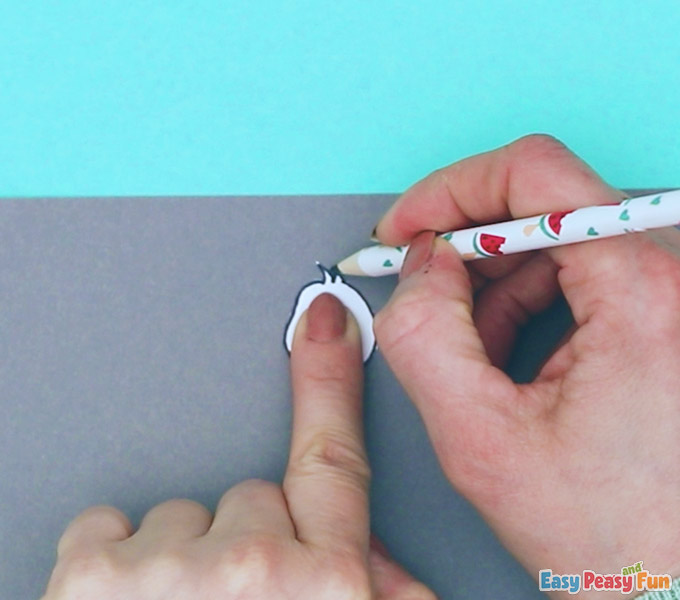
Draw the inside of the eyes, eyebrows and a smiling mouth.
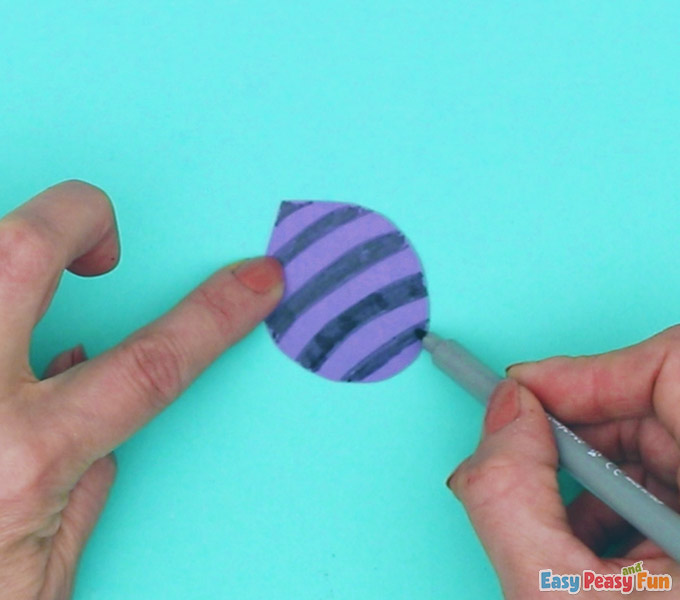
Make strips on the purple body with a black marker.
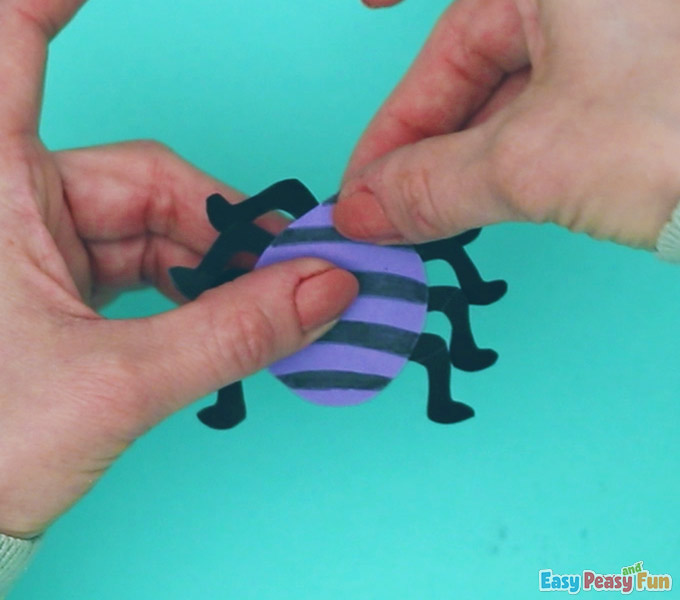
Attach the legs.
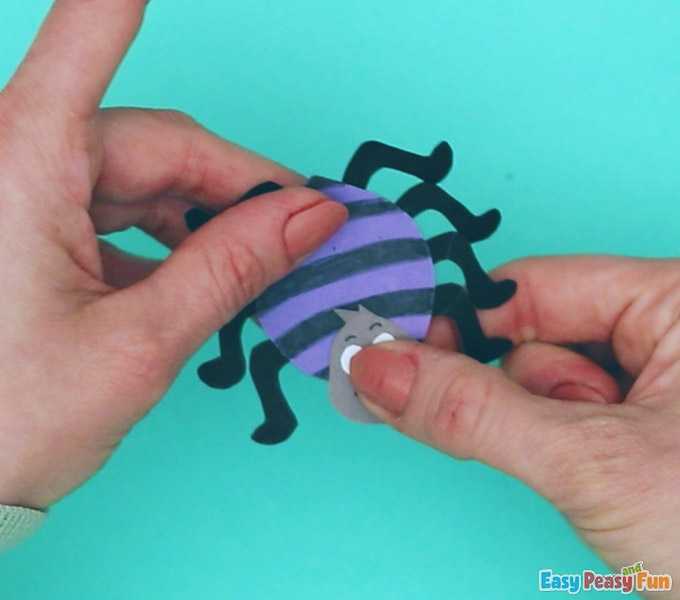
Glue on the head.
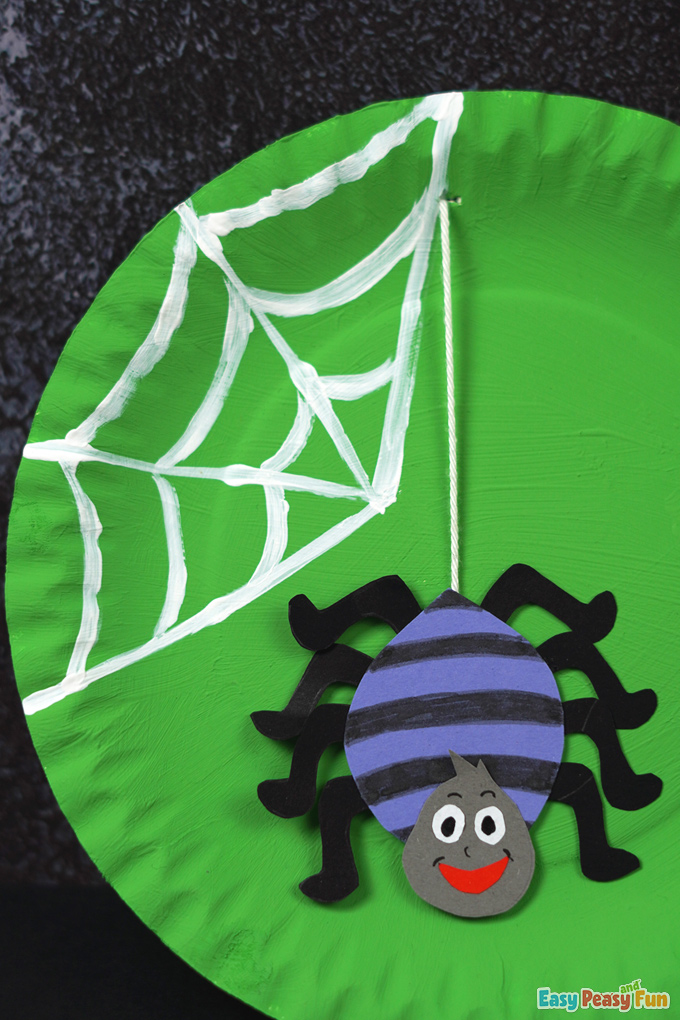
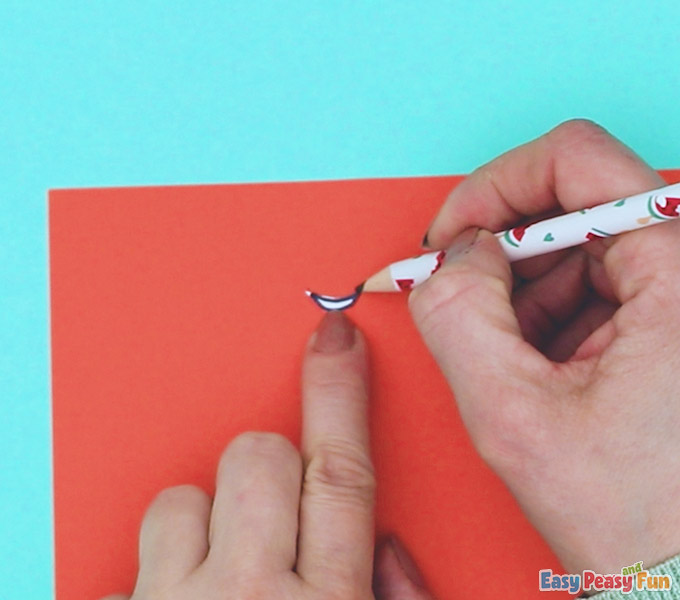
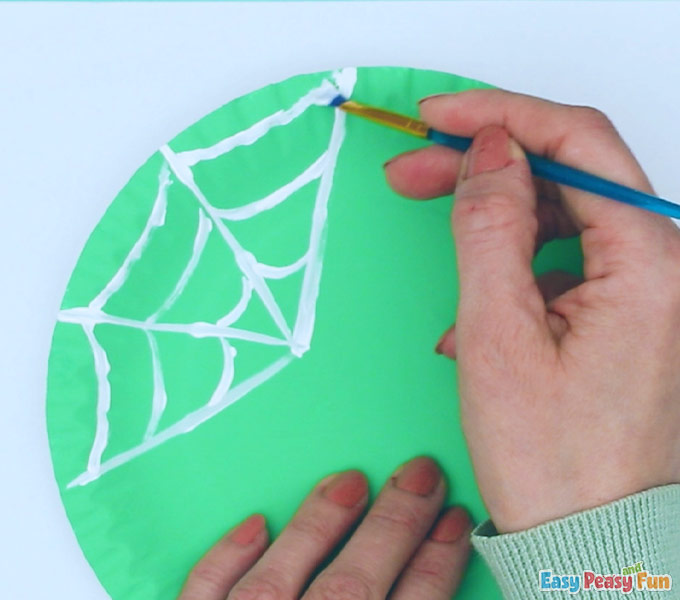
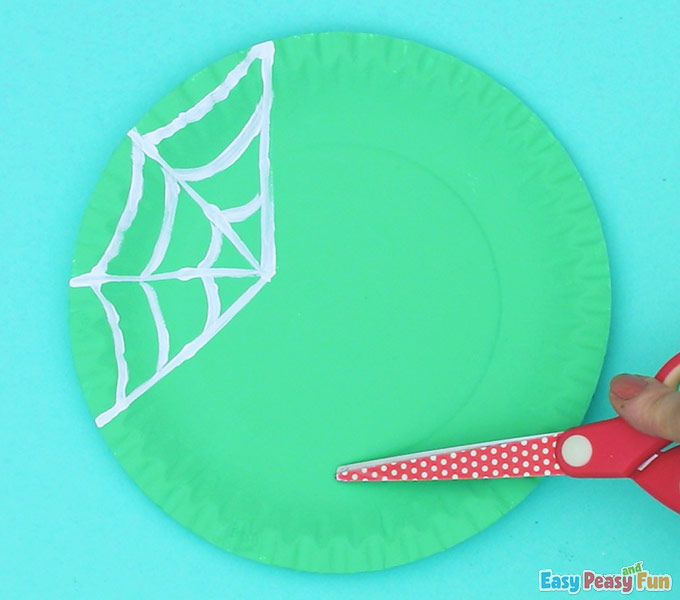
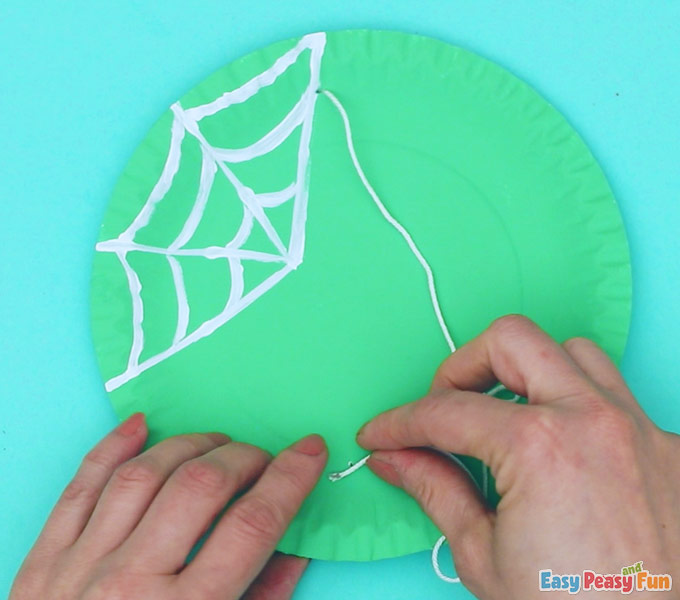
Paint a spider web in one corner of the paper plate with white paint.
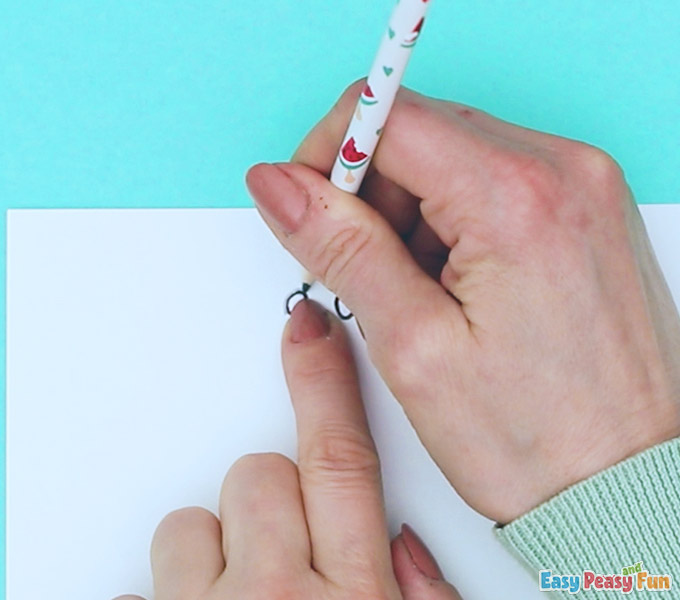
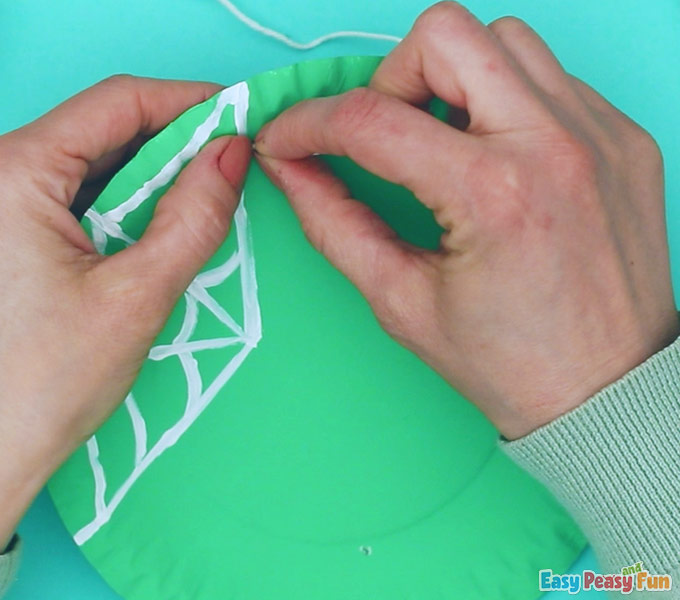
Make two holes. The first one will be near our spiderweb at the top part of the paper plate.
The second hole will be at the bottom of the paper plate.
Grab your yarn and pull it through the hole.
Pull the yarn downward and through the hole at the bottom of the paper plate.
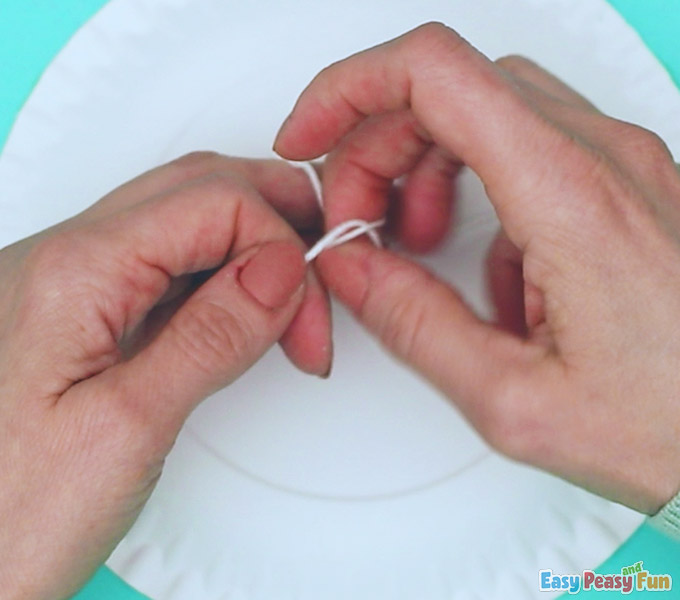
Connect the endo of the yarn at the back of the paper plate and make a knot.
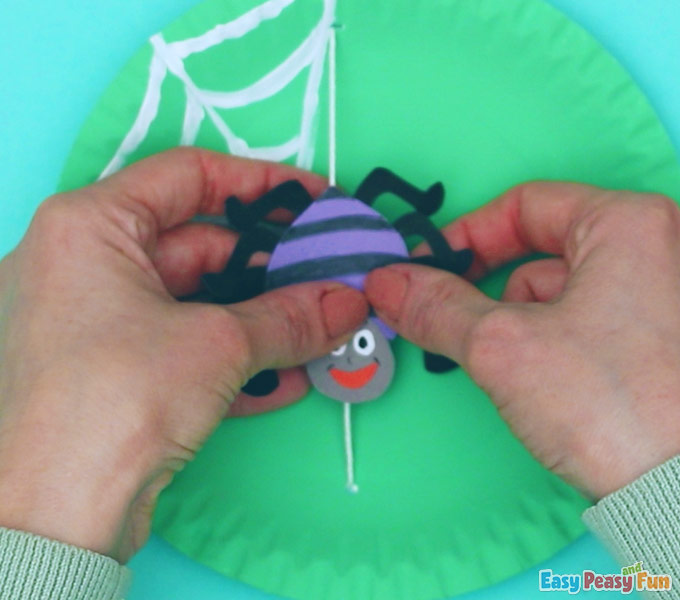
Glue the spider onto the yarn.
Pull the spider up and down – make sure it moves smoothly.
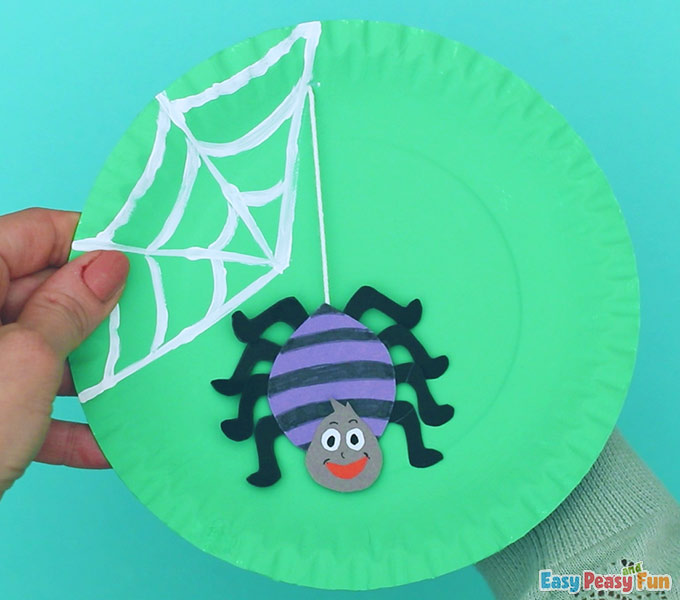
The finished product is this fun spider that has a lot of personalities!
We love how our spider turned out!

How did you like the project?
Have fun crafting!
Get your Spider Paper Plate Craft Template Here
Want instant access to all of our printable crafts, activities, and resources?

With thousands of crafts, activities, worksheets, coloring pages, and drawing tutorials to print, you will always have just the resource you need at your disposal. Perfect for parents and teachers alike!