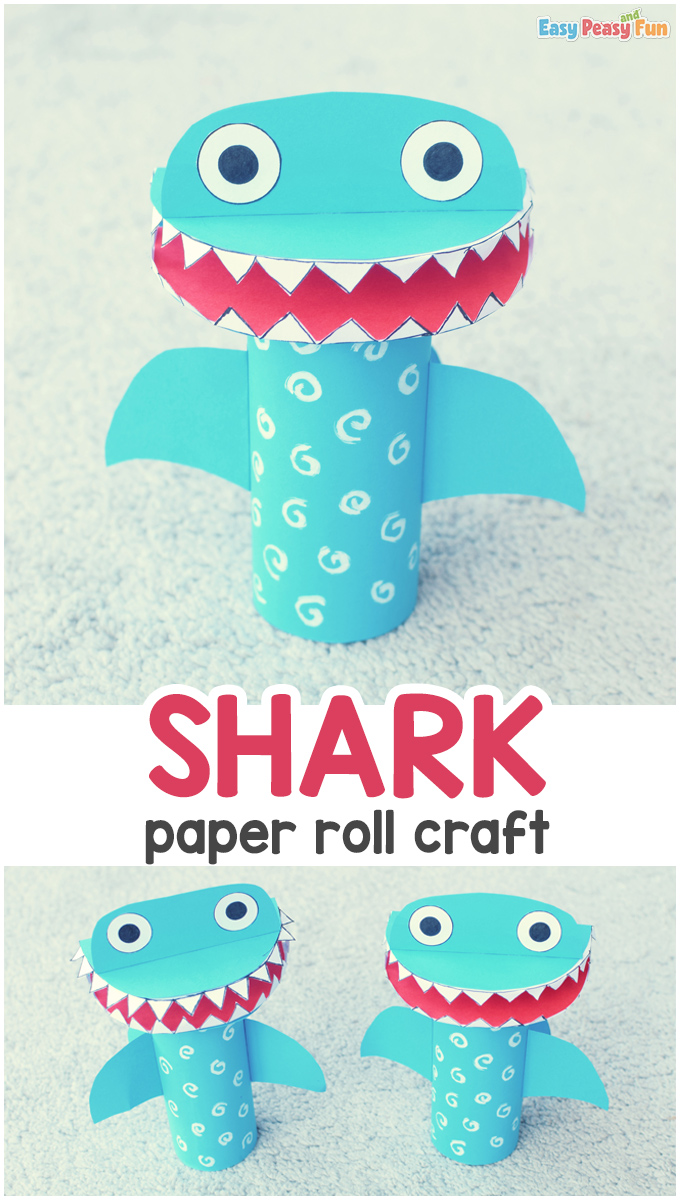
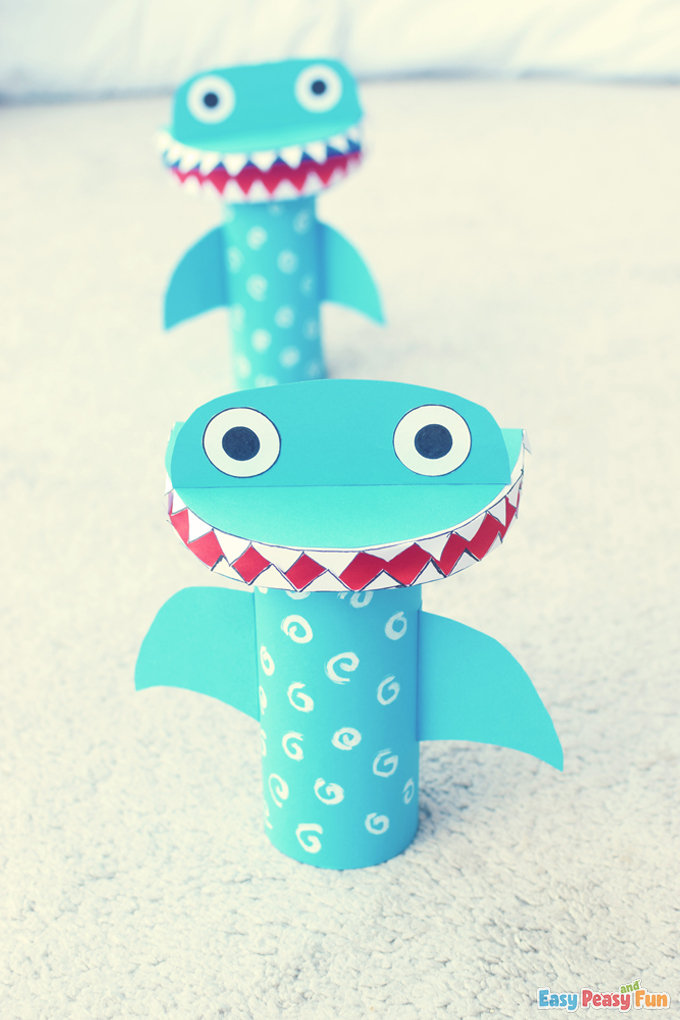
Summer is the perfect time of the year to get crafty and make ocean animals out of paper. Today we’ll show you how to make a shark toilet paper roll craft that really is something else.
This cute shark is easy to make and is perfect to do with your kids.
*this post contains affiliate links*
50 paper crafts your kids can actually do themselves

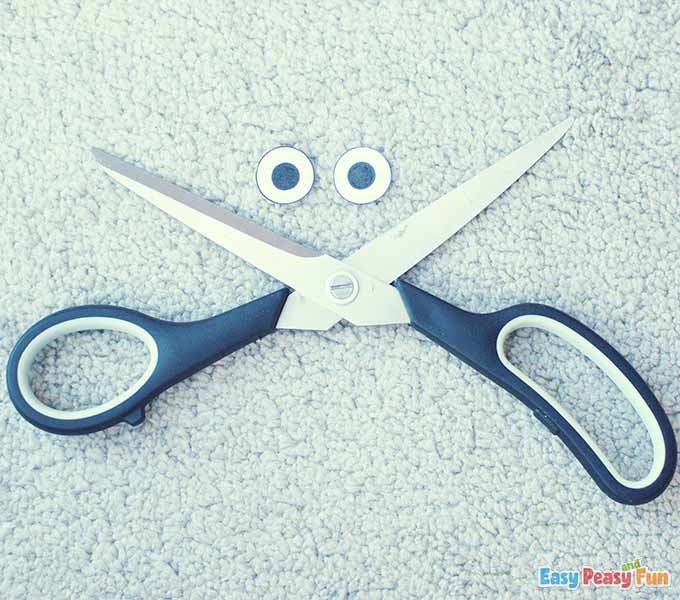
No fancy supplies — just paper, scissors, and a little imagination.
Be the first to get it on release day — and lock in the lowest price guaranteed.
You can make a ton of fun Summer Crafts using toilet paper rolls or kitchen paper towels and each of them will turn out awesome (check out the Crab Toilet Paper Roll Craft or have fun learning with our Printable Summer Quiet Book)
Today we’ve decided to craft a silly shark with clenching teeth.
We named it Sharky Shark and we are sharing it with you right away, so grab your tools and jump in!
How to Make Shark Toilet Paper Roll Craft
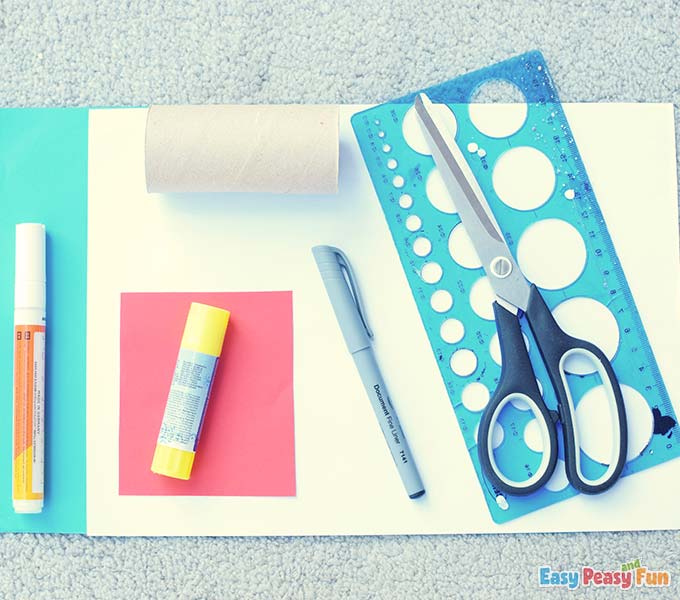
What you need:
- 2 blue color papers
- red color paper
- white paper
- glue
- scissors
- ruler with circle shapes
- black liner
- toilet paper roll
- white marker
Let’s start!
Step by Step Tutorial
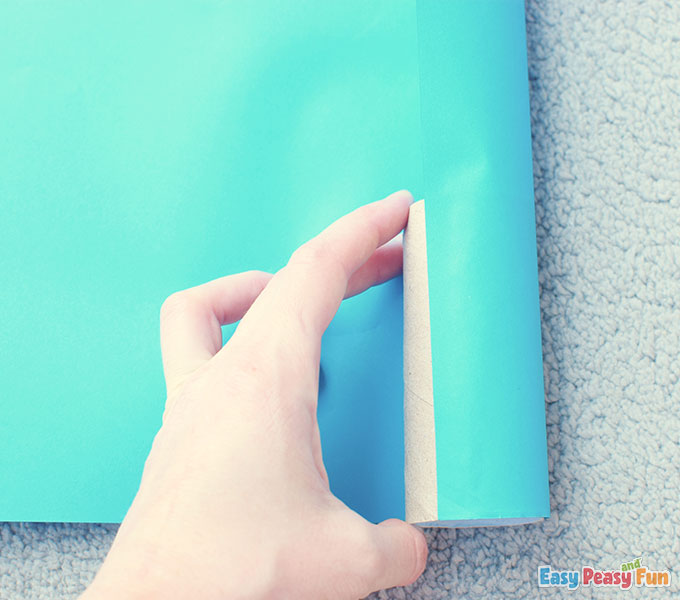
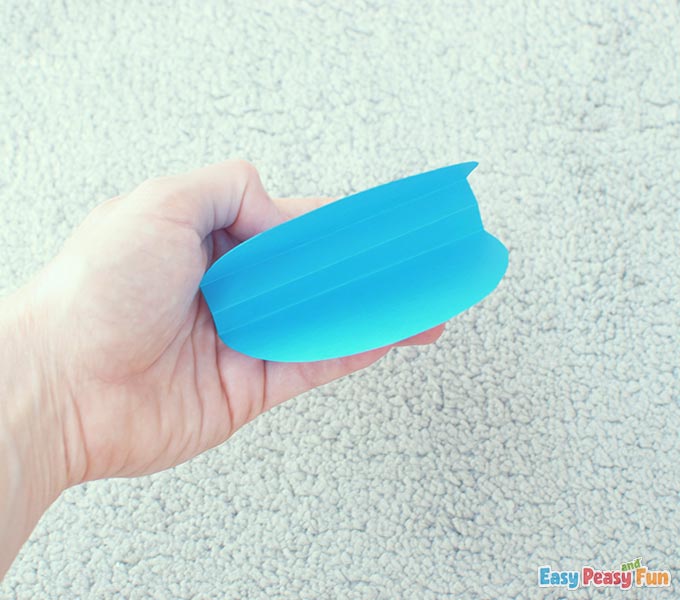
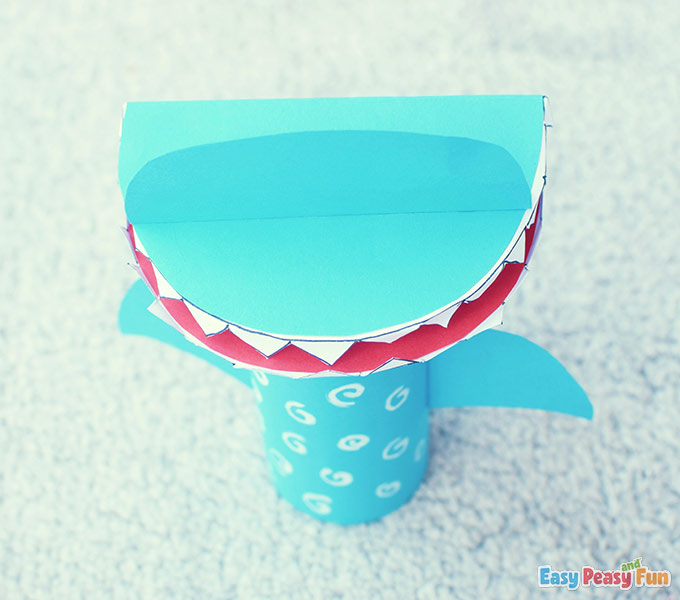
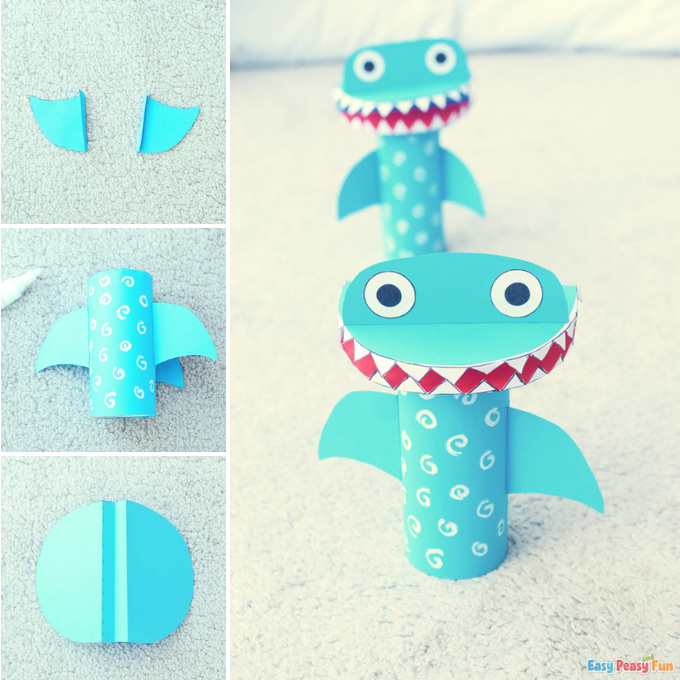
The Shark’s Body
Apply some glue vertically on the toilet paper roll.

Attach the blue color paper on.
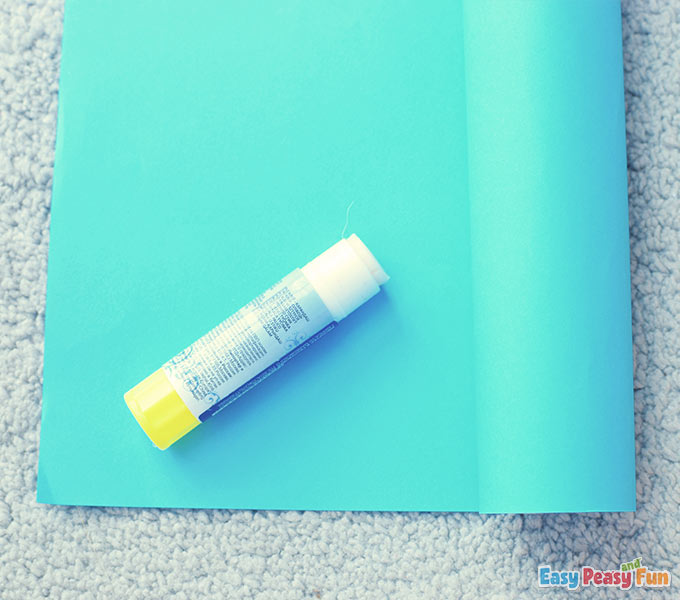
Wrap a whole circle around the roll, seal with glue and cut the excess paper off.
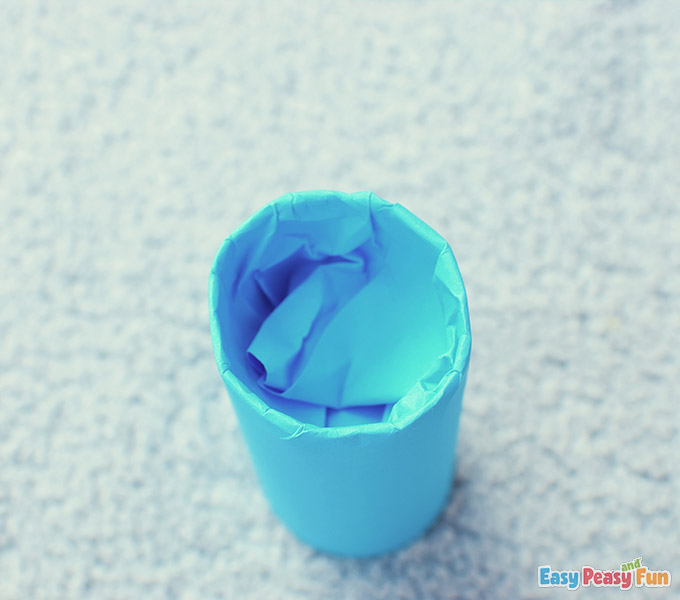
Press the remaining blue paper inside the roll.
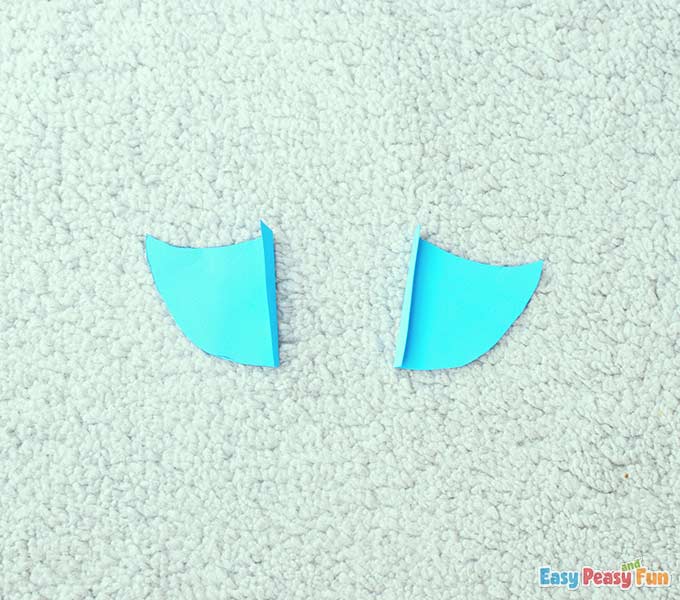
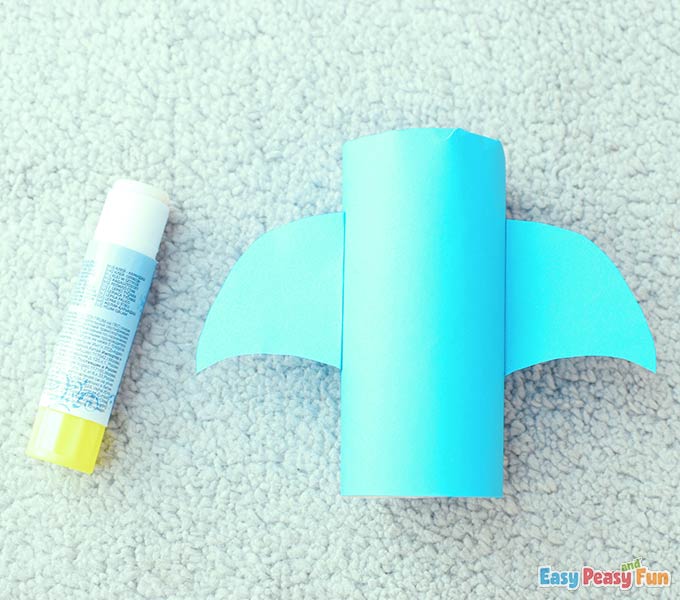
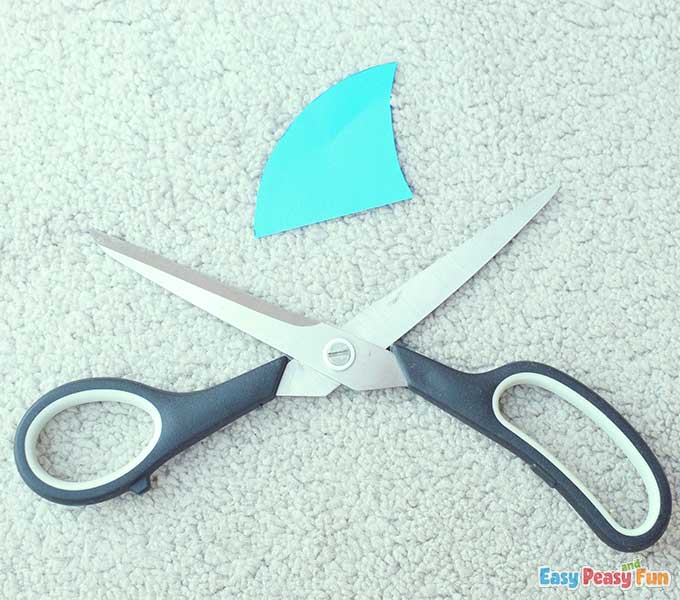
The Fins
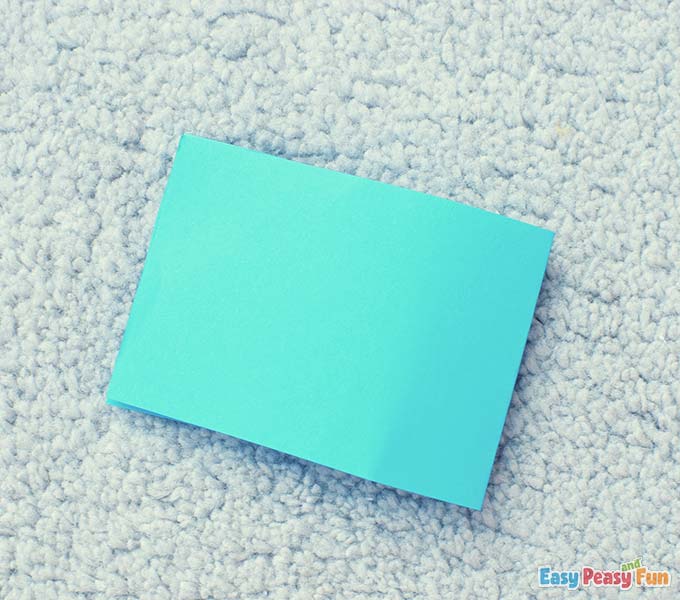
Take a piece of blue paper and fold it in half.
Draw a fin using the black liner (the crease is on the left side of the paper).
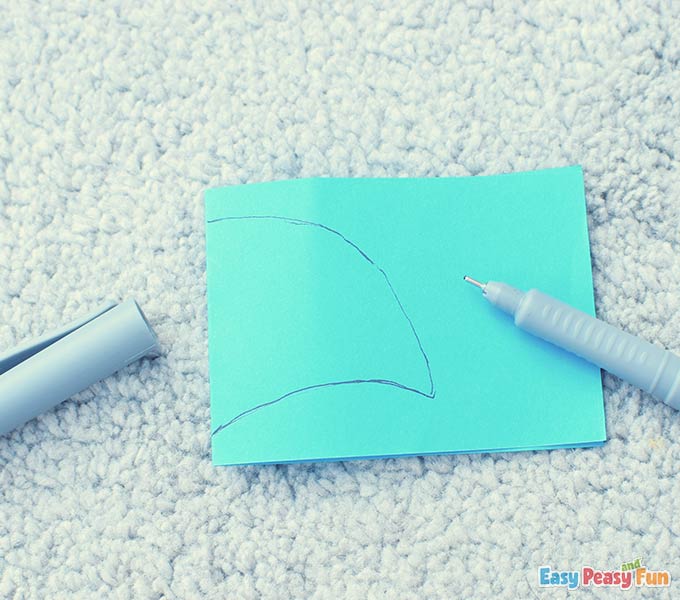
Cut out the fin and cut through the crease so you have two fins.

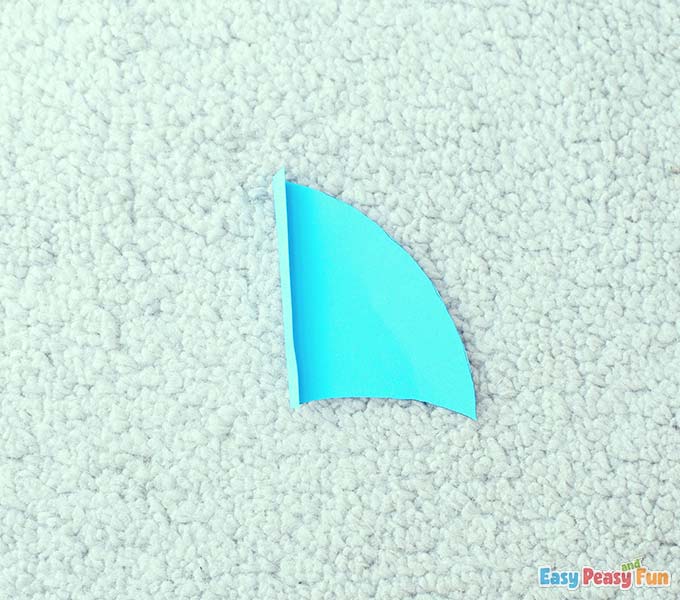
Fold the ends of the fins.
Glue them on each side of the roll.
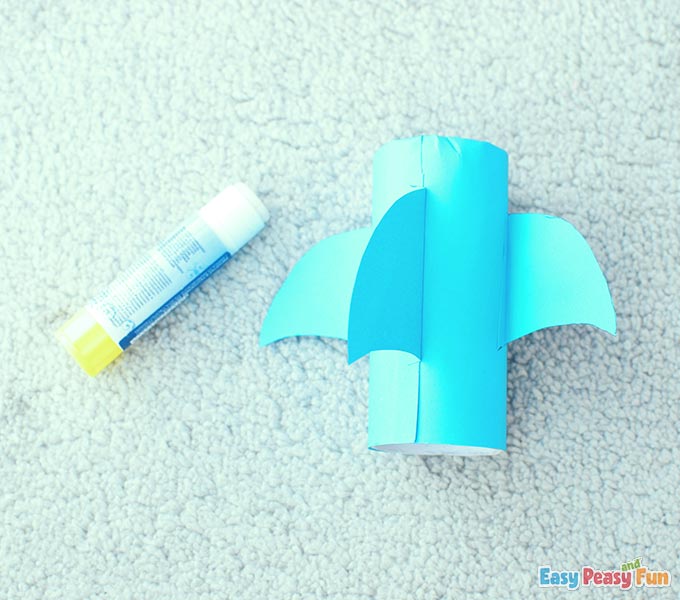
Take another piece of blue paper and draw a bigger backside fin.
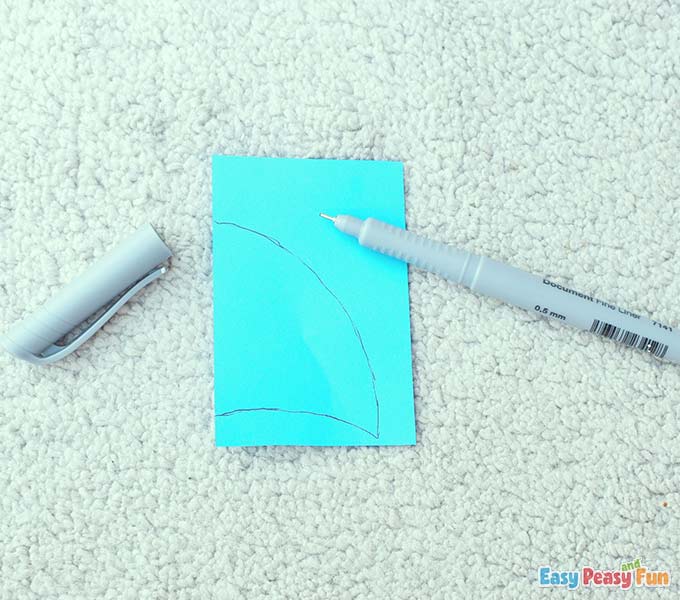
Cut it out.
Fold the end of it.
Glue this fin on the back of the roll.
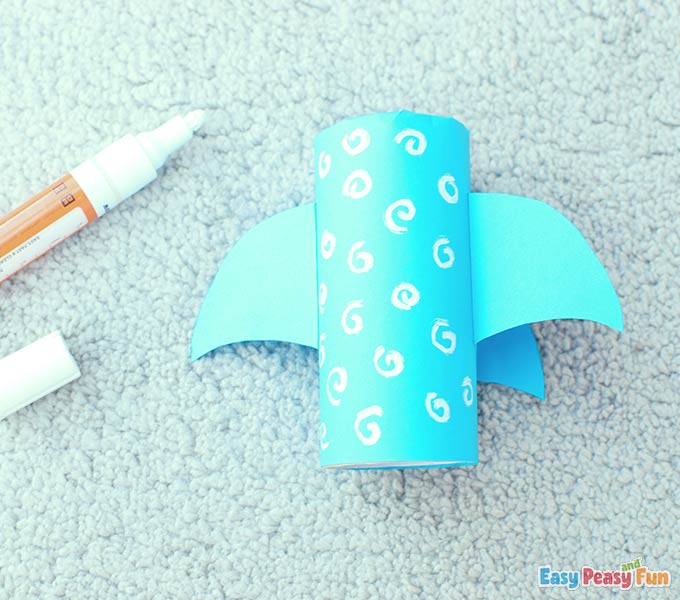
The Shark’s Skin
Take your white marker and decorate the shark’s body. Draw any shapes you like. We drew spirals.
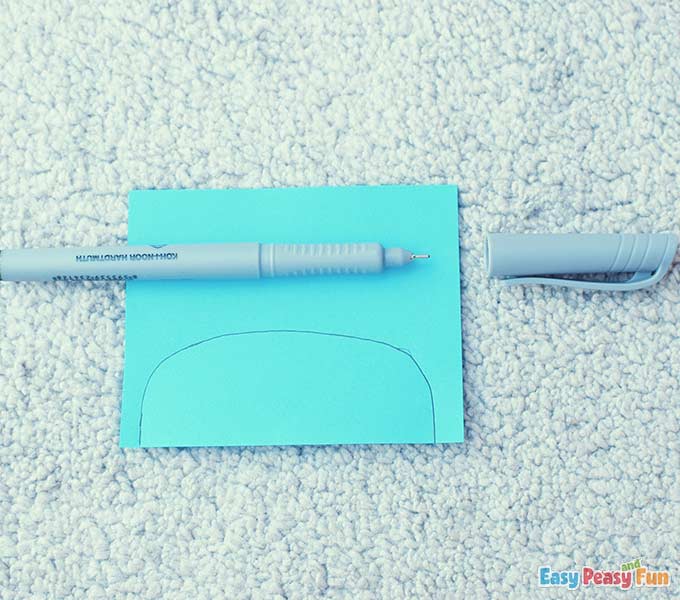
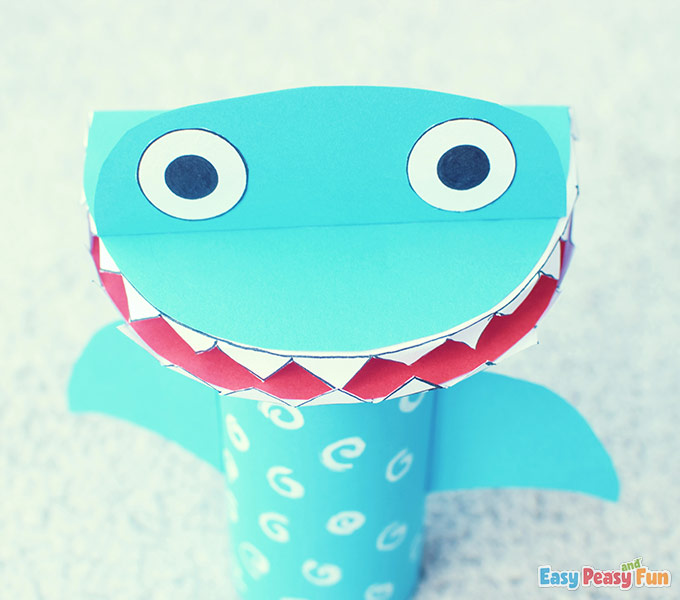
The Head
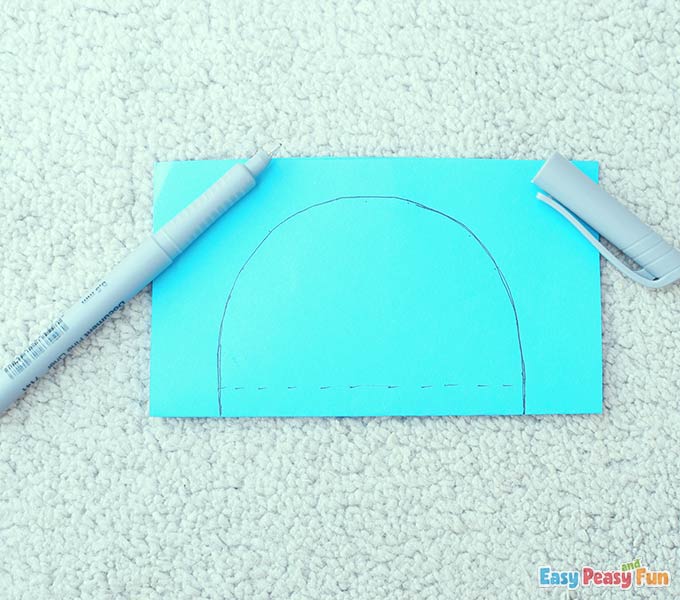
Take a piece of blue paper and fold it in half.
Draw a shark’s head. We drew dashes so we know where to make a crease.
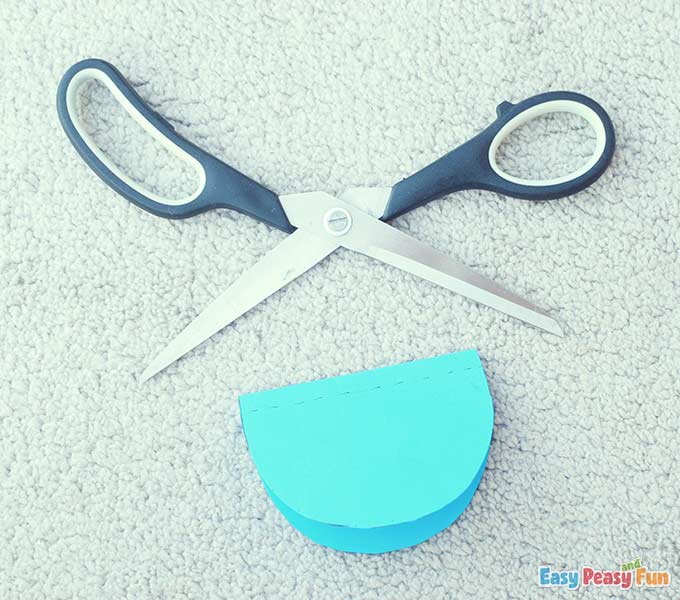
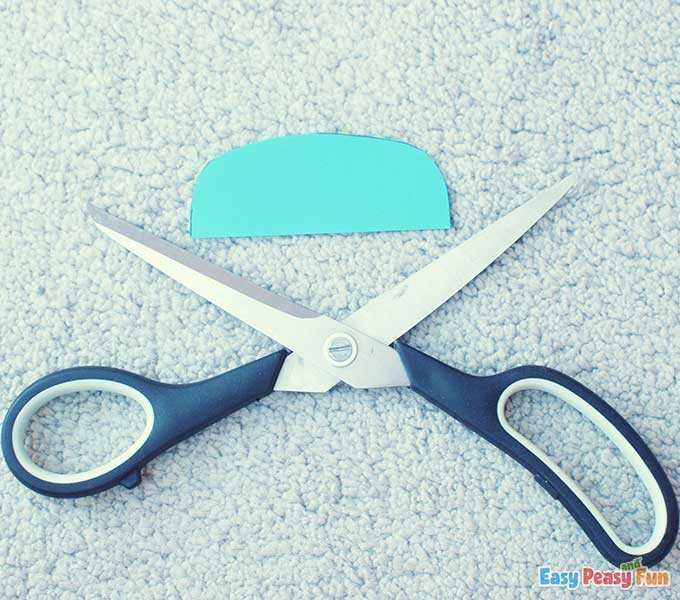
Cut out the head.
Now form three creases, the middle one should go inwards and the remaining two should go outwards.
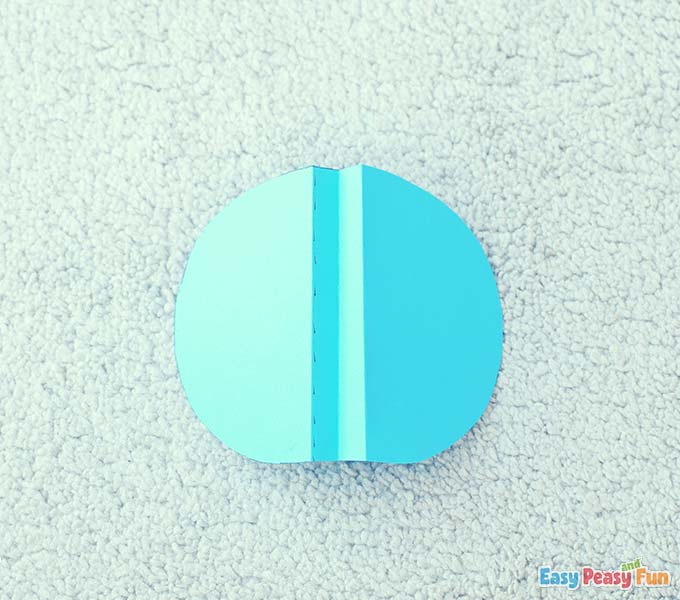
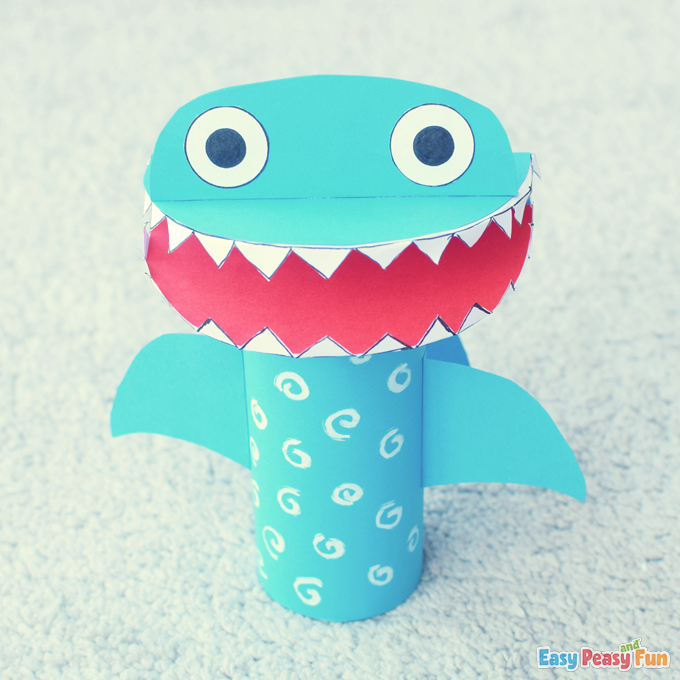
This is how the head should look.
The Jaw
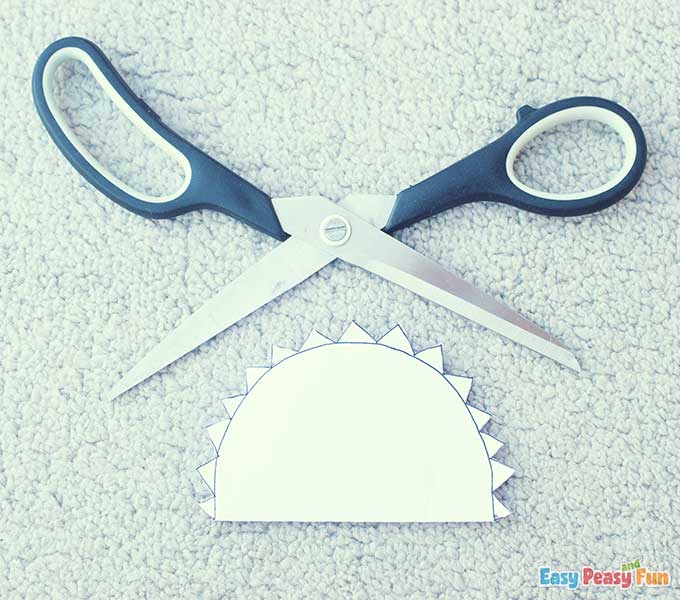
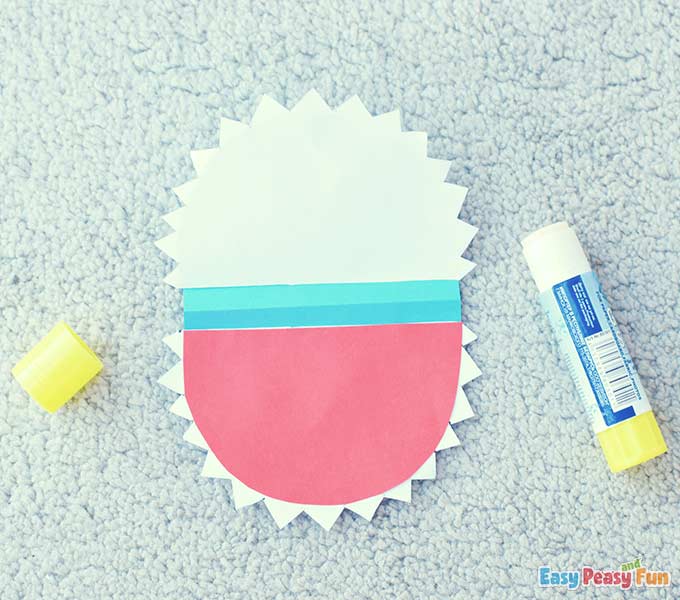
Take a piece of white color paper and fold it in half.
Trace one side of the head using a black liner.
Draw some teeth around the traced part. We have completed the jaw.
Cut the jaw out.
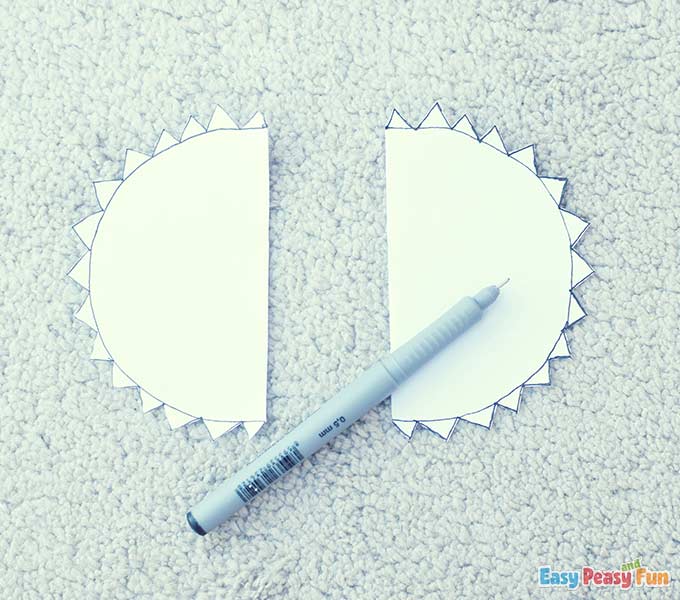
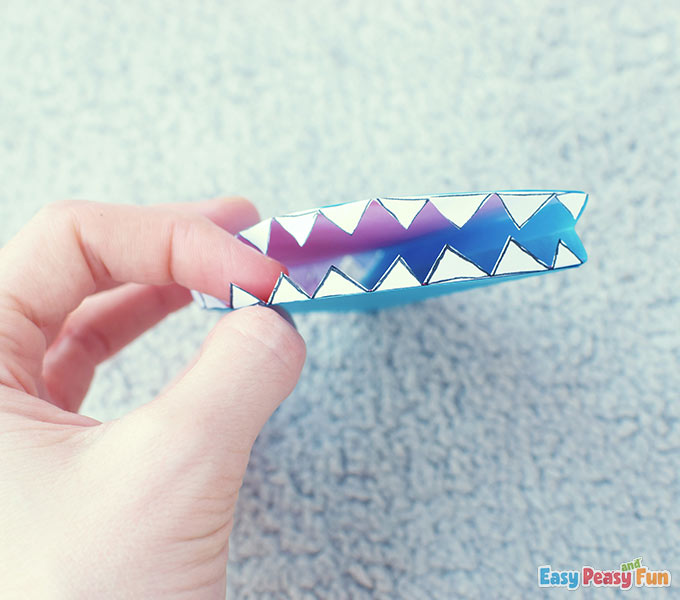
Open the fold and cut through the crease so you split the jaw in two.
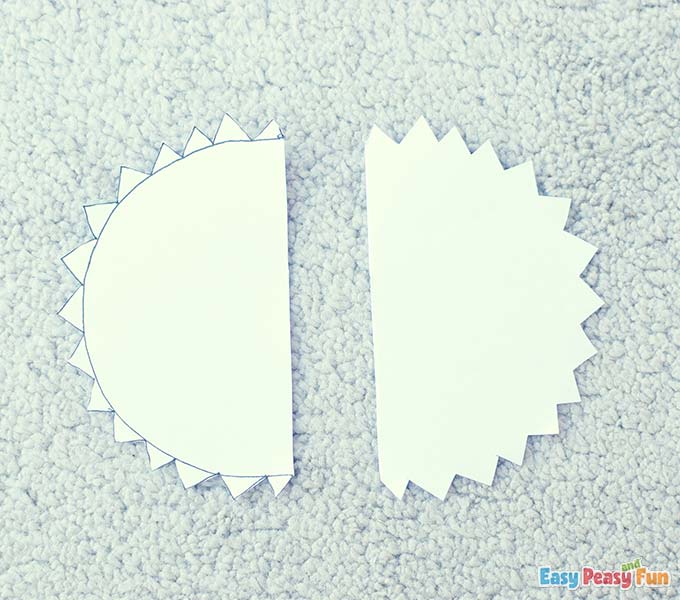
Outline the second jaw using a black liner.
The Tongue
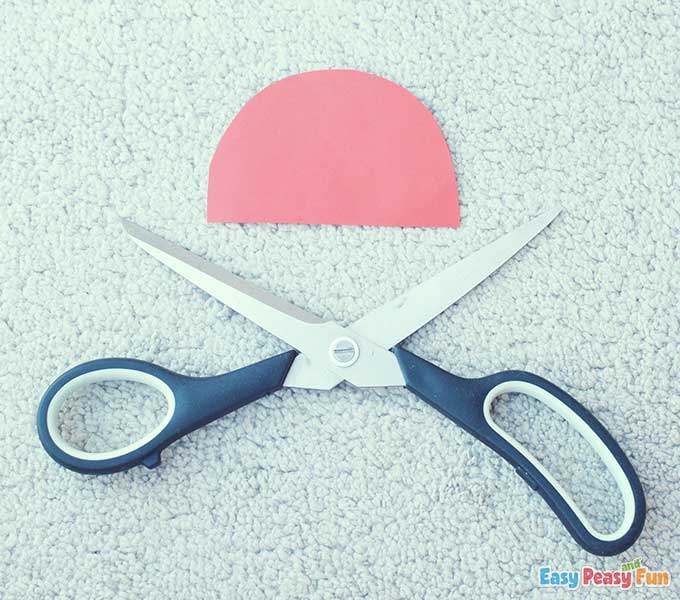
Take a piece of red paper and trace one side of the head on it.
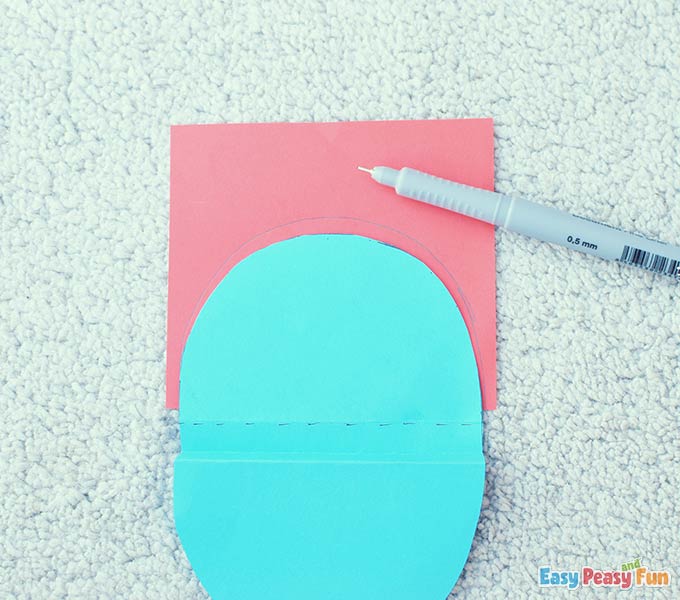
Cut out this shape. This would be the tongue.
Glue the jaws inside the mouth as shown.

Glue the tongue on the bottom jaw.
Fold the teeth at a 90-degree angle.
Glue the head on top of the roll.
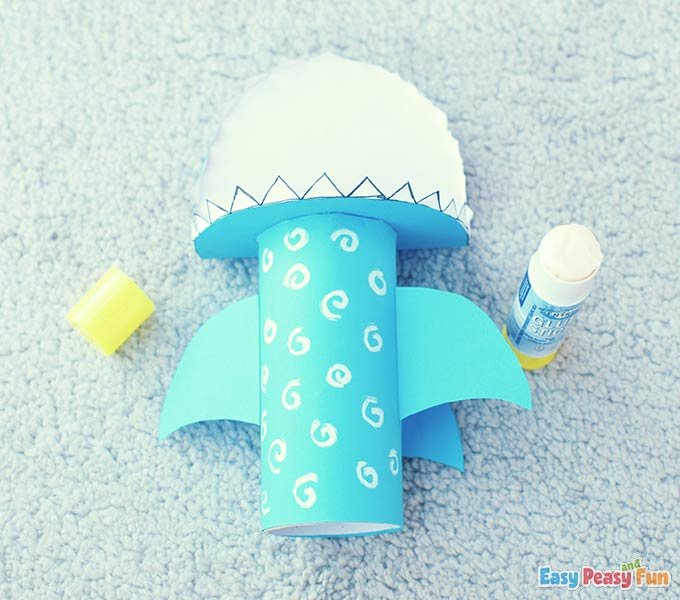
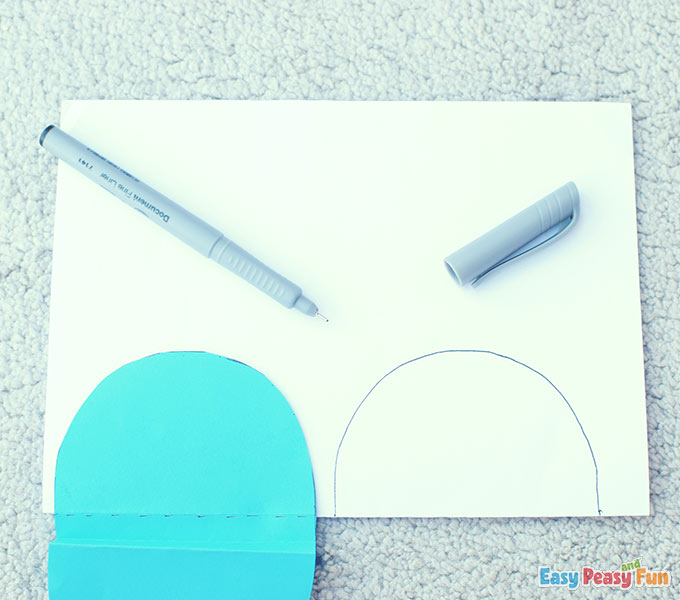
The Popped-up Headpiece
Take a piece of blue paper and draw the same shape you see on the photo.
This will be a popped up headpiece and we will attach the eyes on it the following steps.
Cut out this piece using scissors.
Fold the end of it.

Glue it on the top of the head.
The Eyes
Draw two circle eyes.
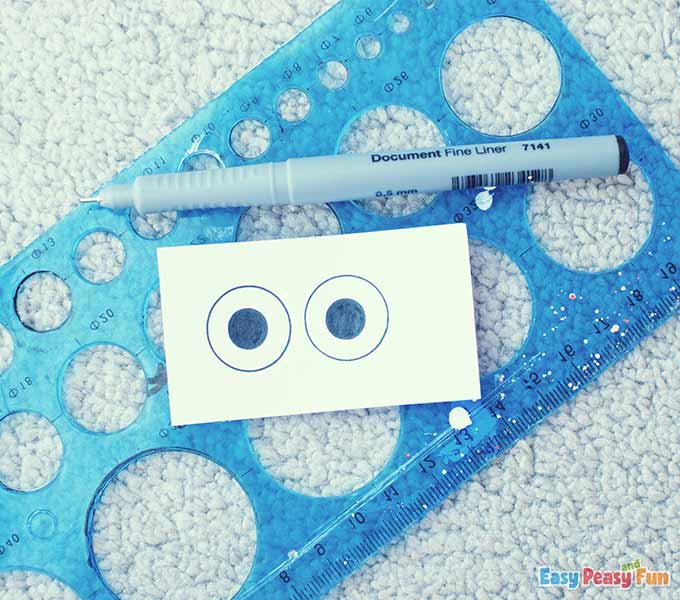
Cut them out.
Glue them on the popped up piece.
Done!
Say “Hi” to Sharky Shark and make its jaws clench. So much fun, right?

Hope you like this project. We also have plenty of shark crafts on our website, so feel free to check them out too if you love sharks.

Enjoy the crafty summer!
Want instant access to all of our printable crafts, activities, and resources?

With thousands of crafts, activities, worksheets, coloring pages, and drawing tutorials to print, you will always have just the resource you need at your disposal. Perfect for parents and teachers alike!