Ocean animals is a fun theme for crafting during summer, so lets make a fun paper shark pop up card.
The paper card is fun to make and your kids will love it!
*this post contains affiliate links*
50 paper crafts your kids can actually do themselves

No fancy supplies — just paper, scissors, and a little imagination.
Be the first to get it on release day — and lock in the lowest price guaranteed.
If you are celebrating shark week you are probably planning all kinds of shark crafts and activities. We hope you’ll add this shark pop up card without a template to your crafting list, however we also have a cool shark pop up card template – do check it out here – shark pop up card template.
Let’s get back to this one though.
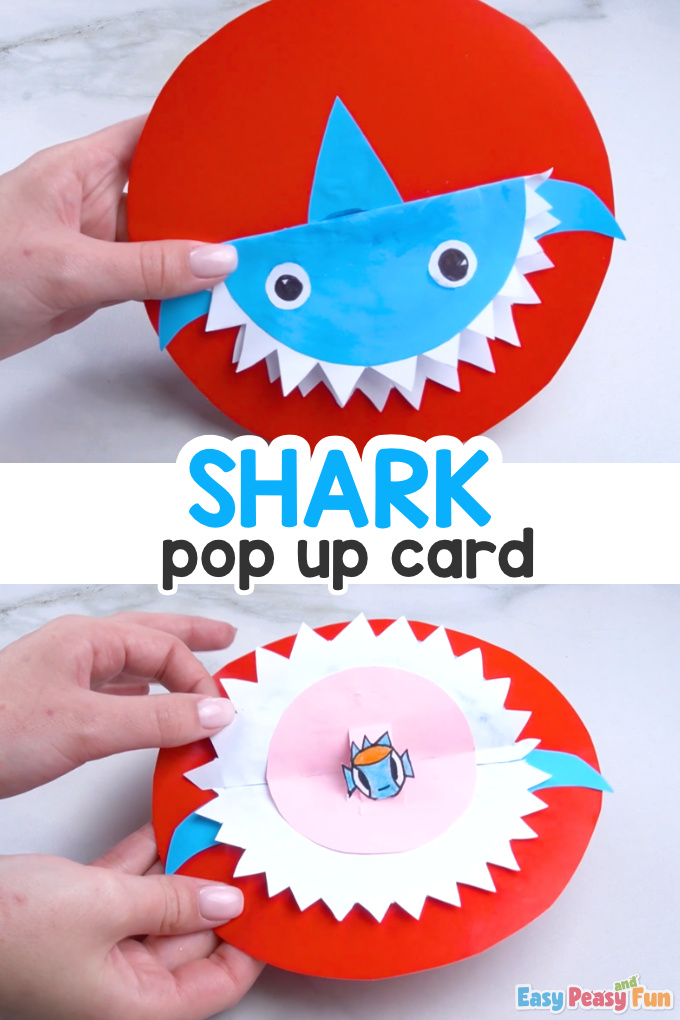
This shark pop up card is really special because you can hide whatever you like inside its mouth and it won’t munch it.
Our shark is nothing like the real ones – it’s a totally harmless critter although its gruesome teeth show up from everywhere.
How to Make Paper Shark Pop Up Card
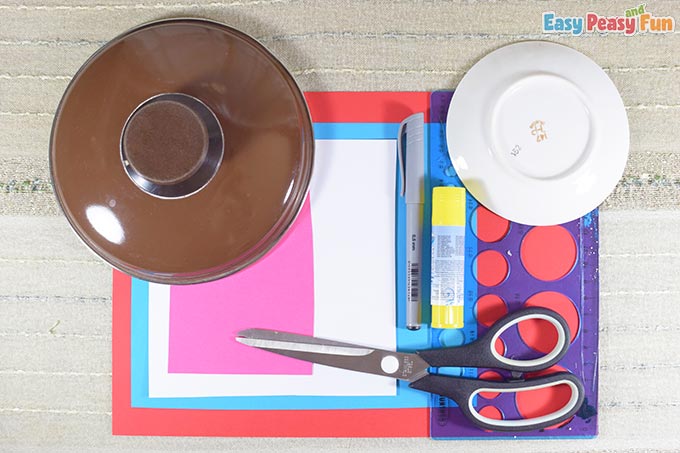
What you need:- red color paper
- blue color paper
- pink color paper
- white cardstock (16o gsm recommended)
- scissors
- black liner + a pencil (we used the black liner in this tutorial only, but it is better to use a pencil too so you can delete the traces from the white cardstock afterward)
- glue
- 3 different sized circle objects (big, medium, and small)
- ruler with circle shapes
- color pencils or markers
Let’s craft!
Step by Step Tutorial
The Card
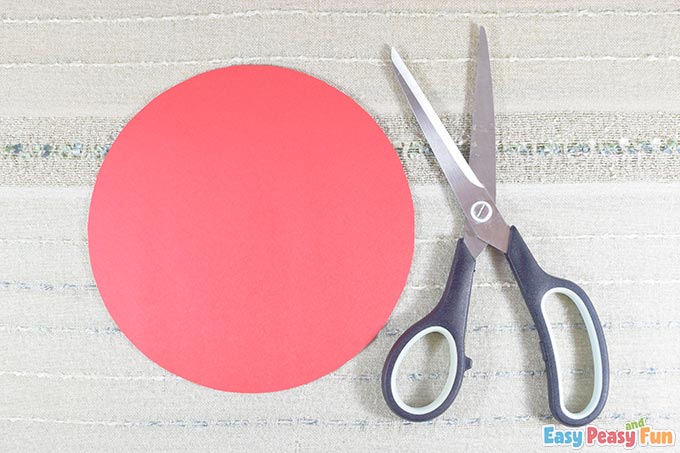
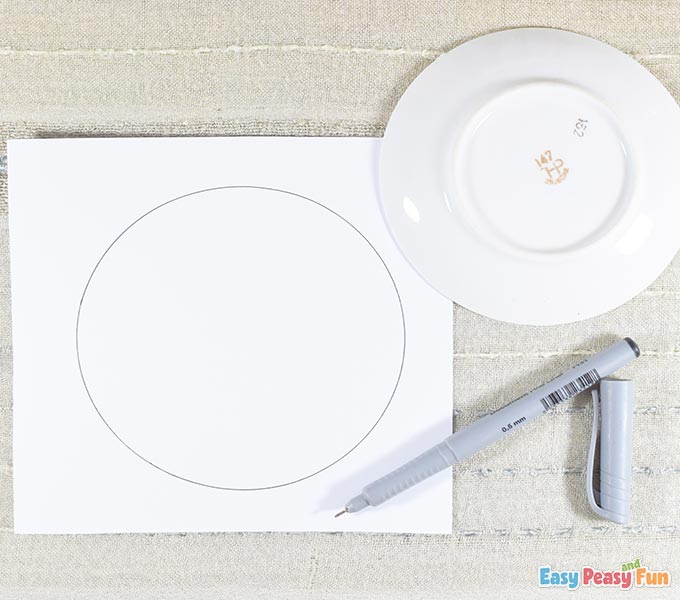
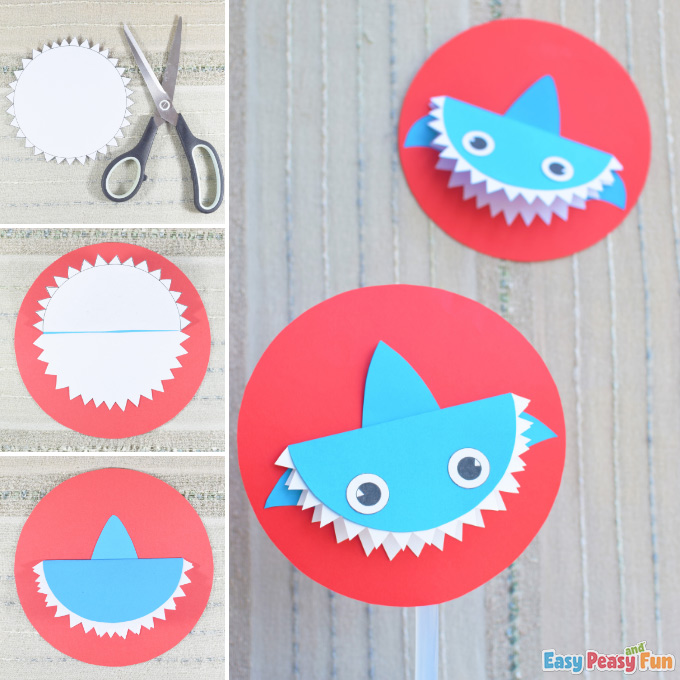
Take the biggest circle object and trace one circle on the red color paper.
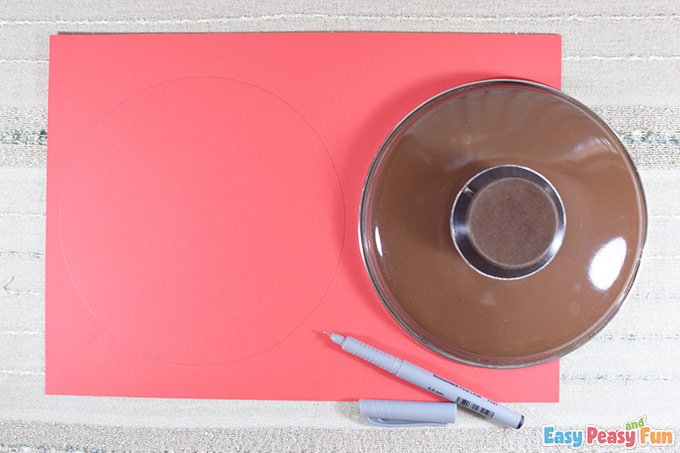
Cut out the circle using scissors.
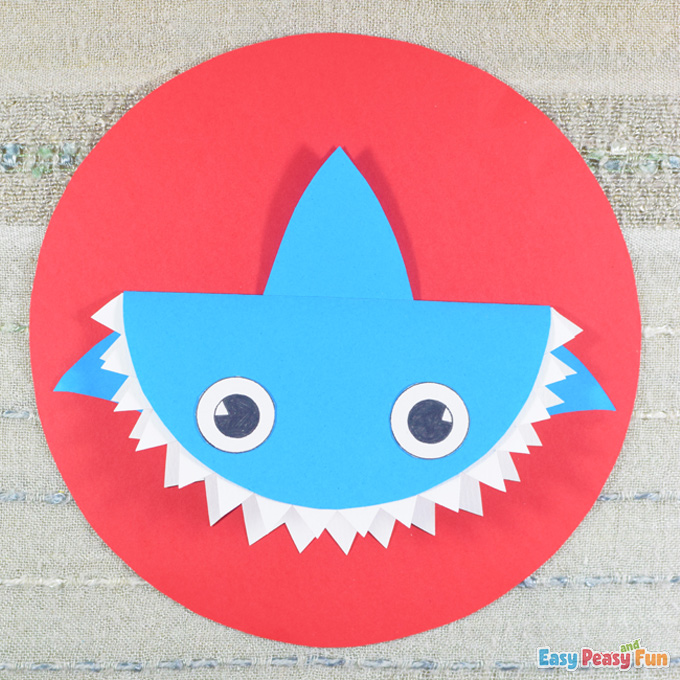
The Head
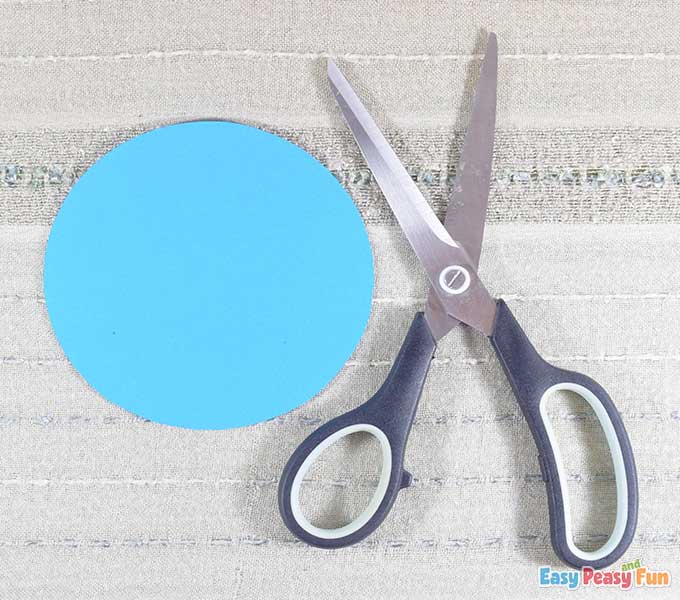
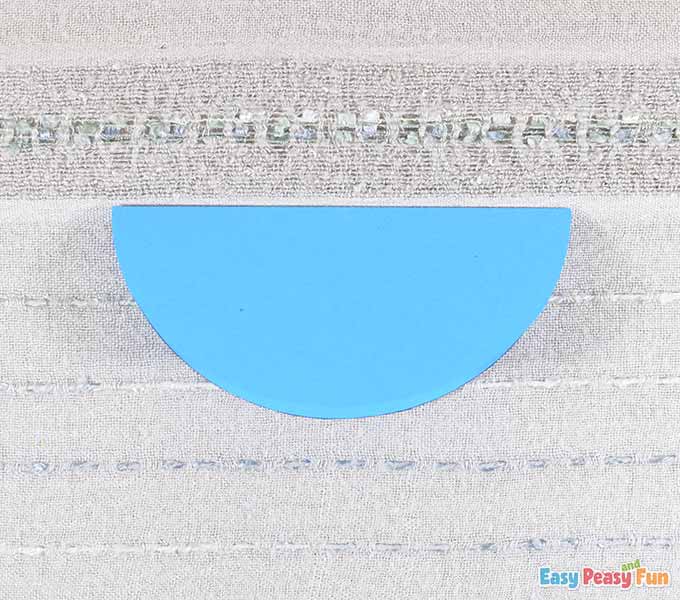
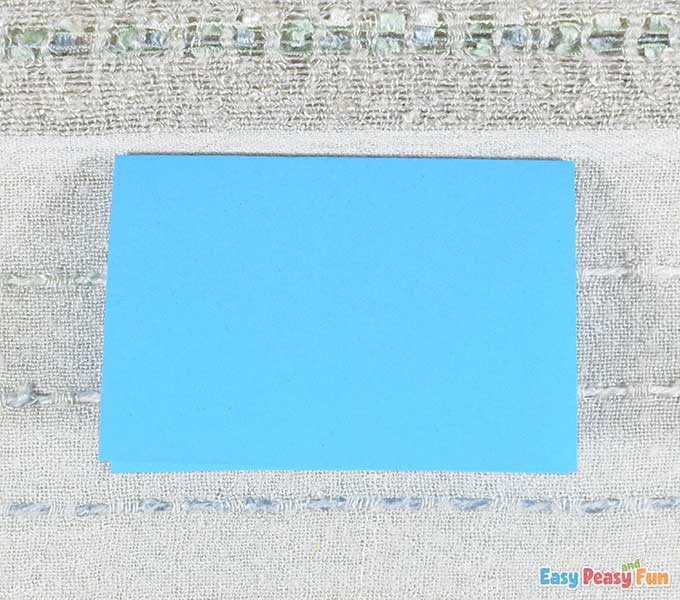
Take the medium-sized circle object and trace a circle on the blue color paper.
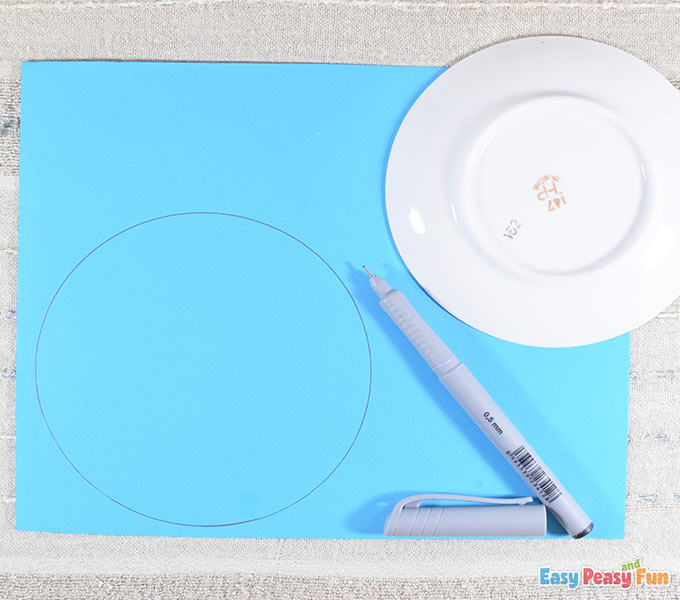
Cut out the circle using scissors.
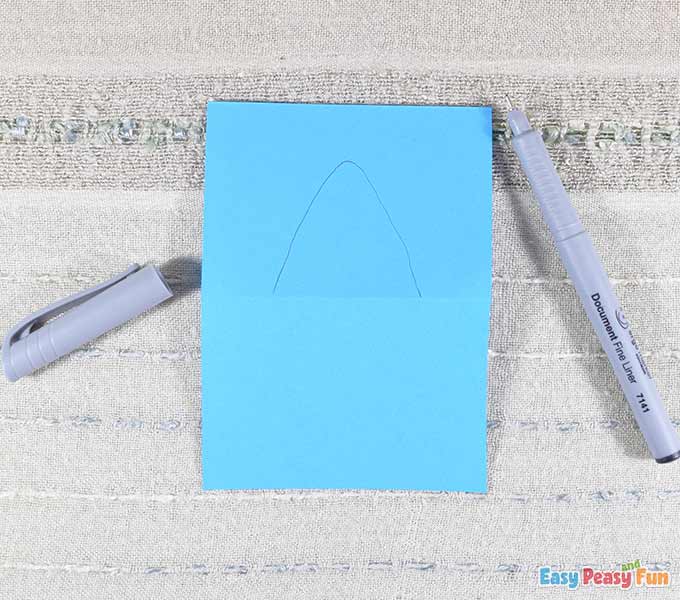
The Jaw
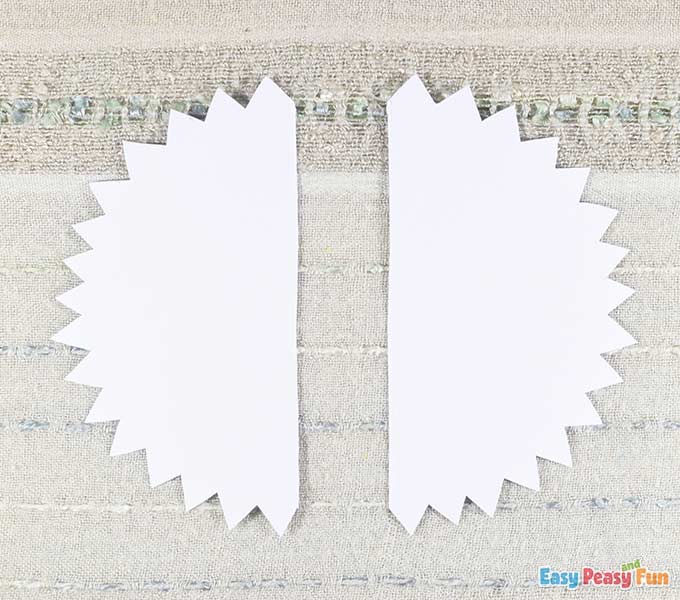
Trace a circle on the white cardstock. Use the medium-sized circle object again.
We recommend using a pencil instead of a black liner.
Draw one triangle on the outside of the circle as shown in the picture. Make it 1 cm wide.
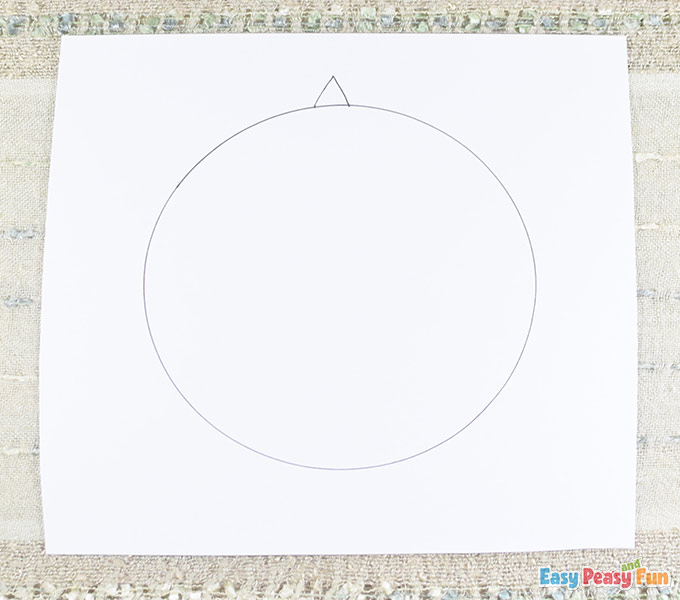
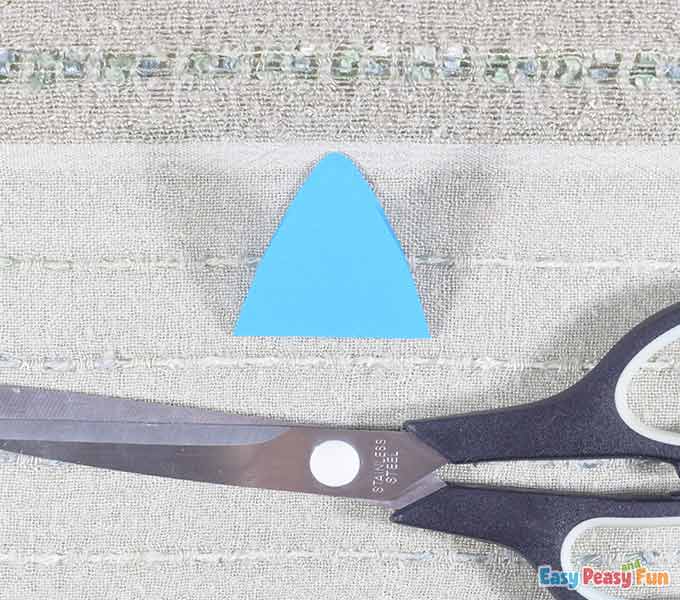
Continue drawing triangles all around the circle. Those would be the teeth.
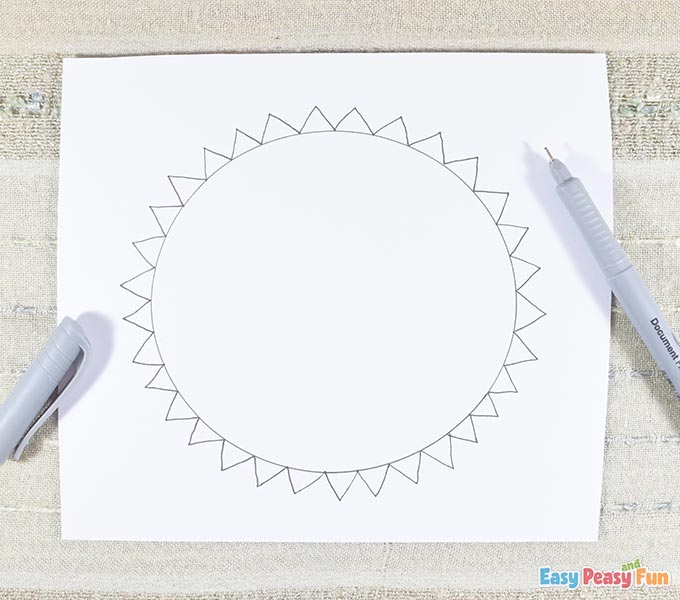
Cut out the circle shape with the teeth. If you used a pencil for tracing the circle shape on the white cardstock, erase the pencil trace, so you have a clean white cardstock.

The Mouth
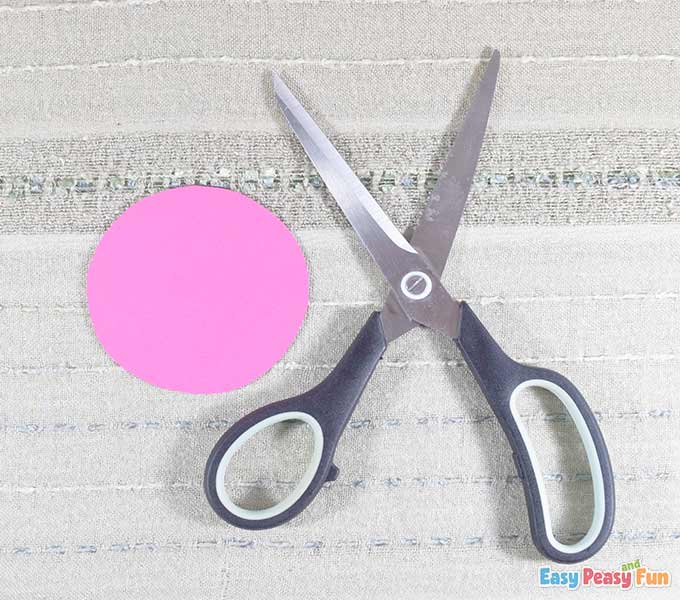
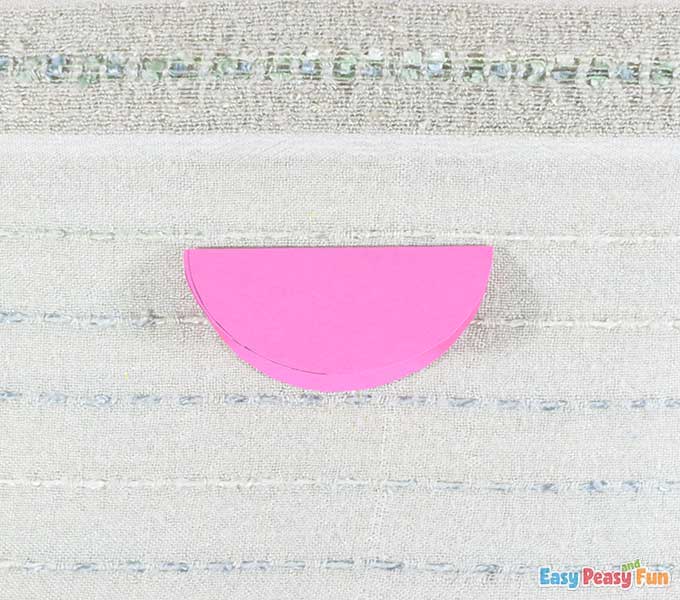
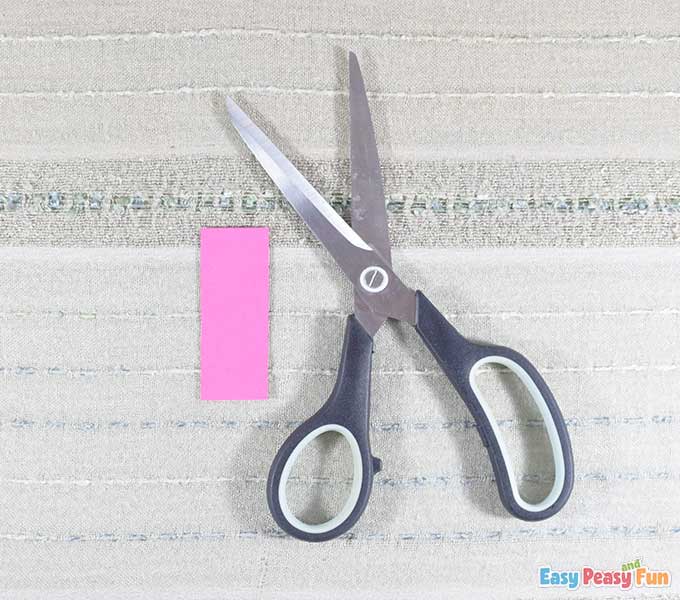
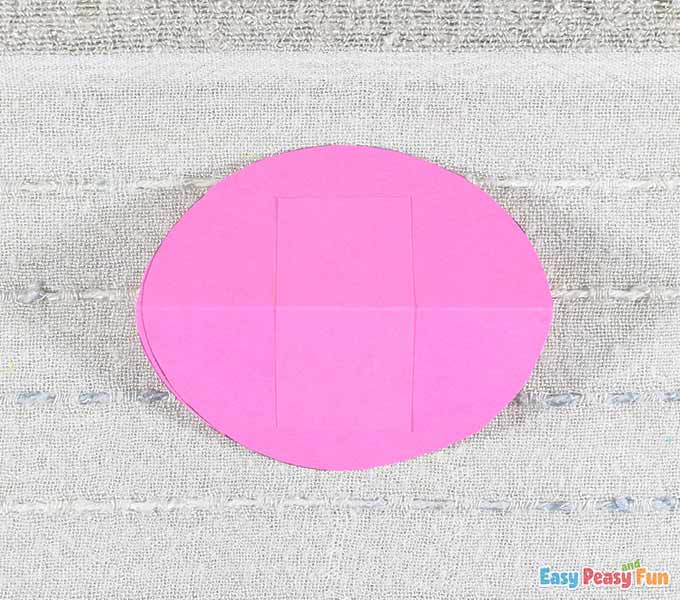
Take the smallest circle object and trace a circle on the pink color paper.

Cut out the circle using scissors.
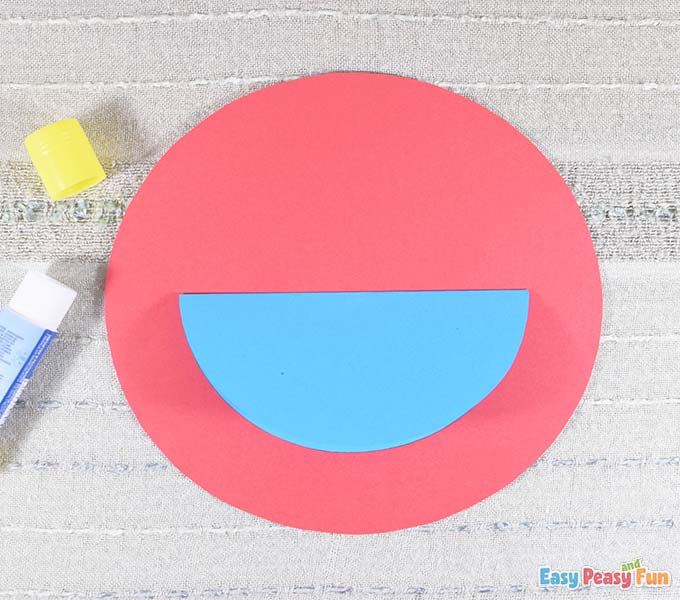
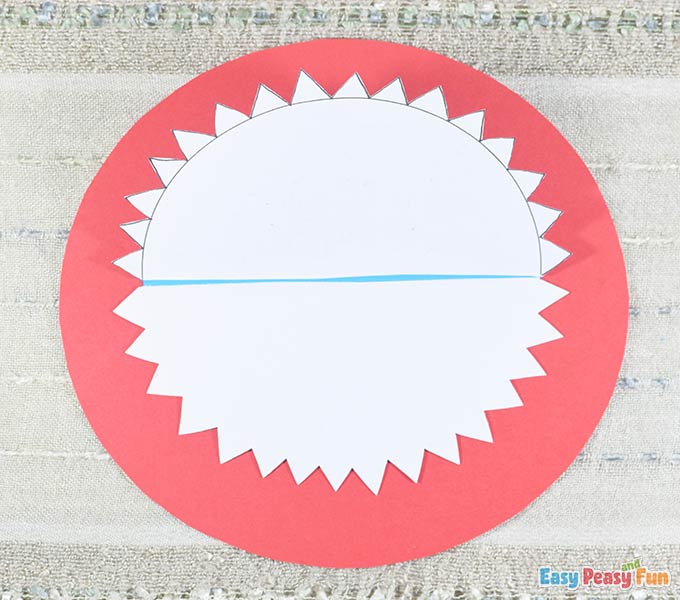
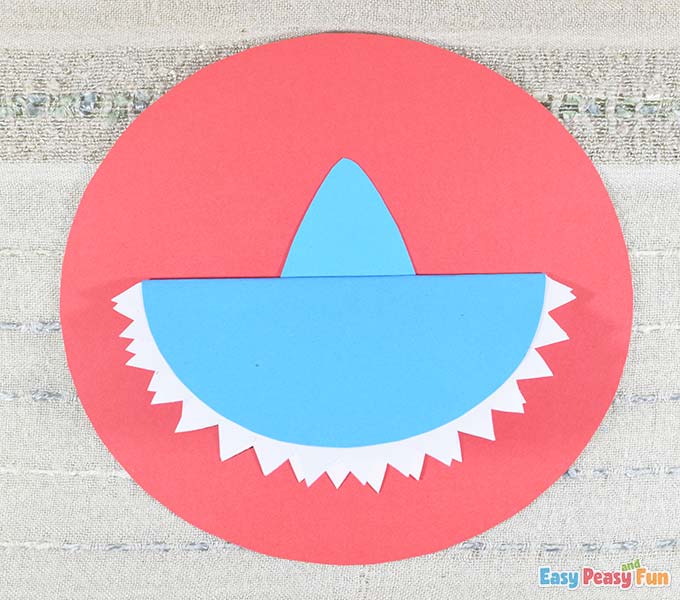
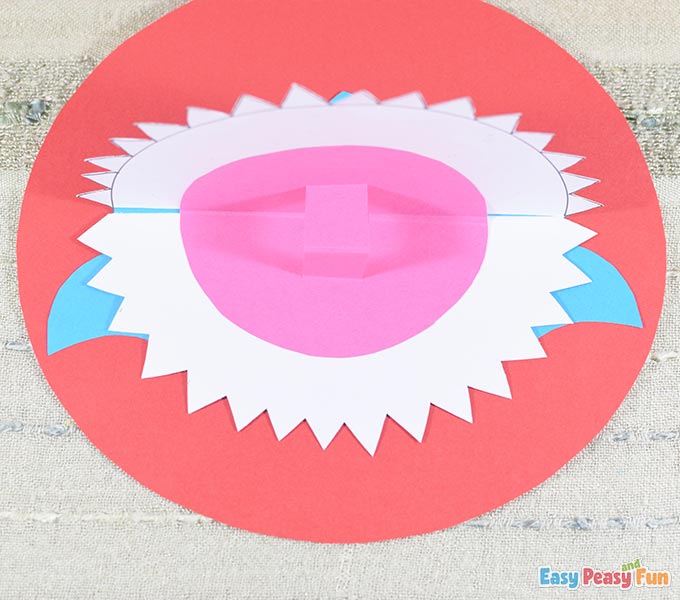
Take the blue circle and fold it in half.
Put some glue and attach the blue circle (folded in half) on the red circle.
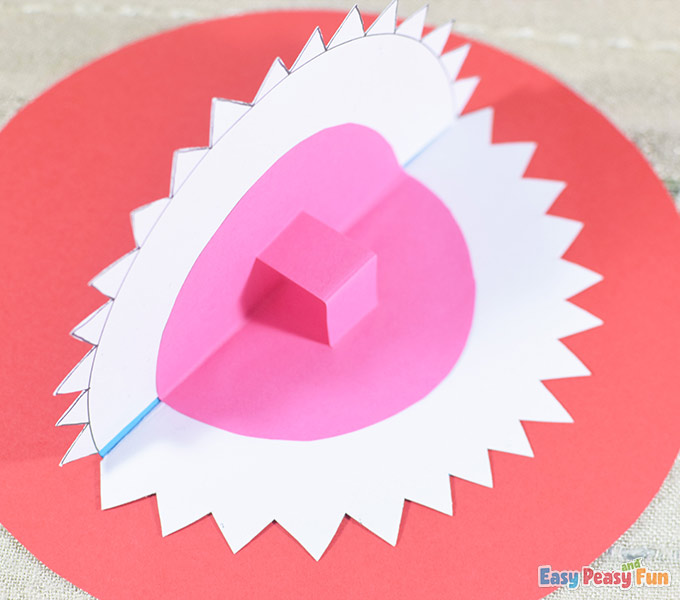
Take the white cardstock with the teeth and divide it into two equal parts. (Don’t follow this step if you used a pencil for tracing).
Apply some glue on the two halves and glue them inside the folded blue circle, one on the upper jaw, and the other one on the lower jaw. Make sure that the tracing from the black liner doesn’t show up.
If you used a pencil for tracing, just fold the white circle with the teeth – no cutting needed, then glue them inside the mouth.
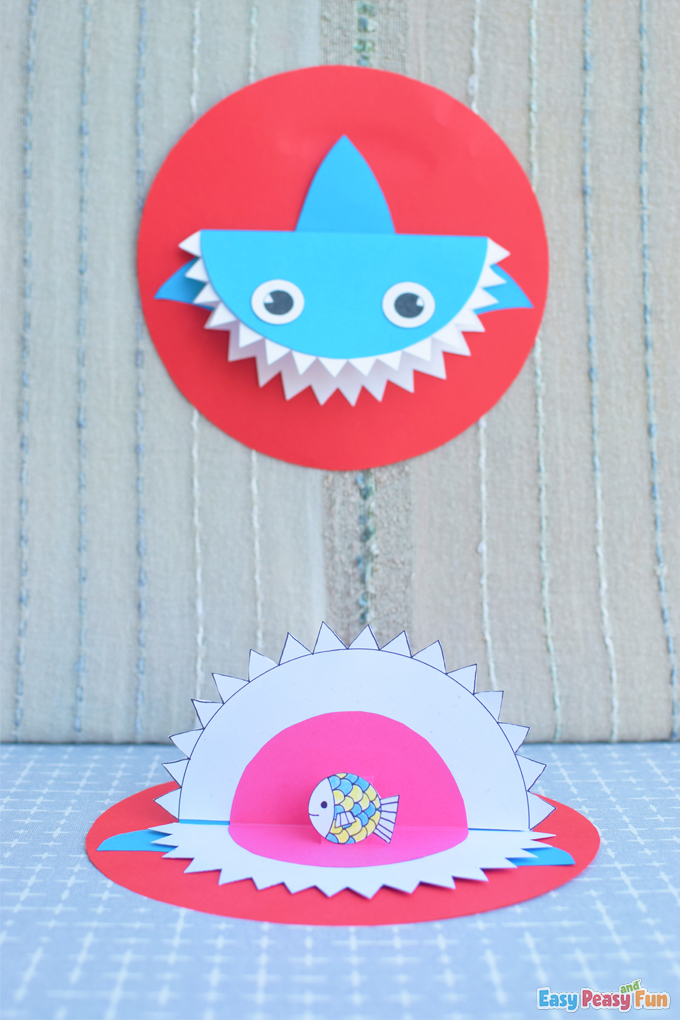
The Pop Up Piece
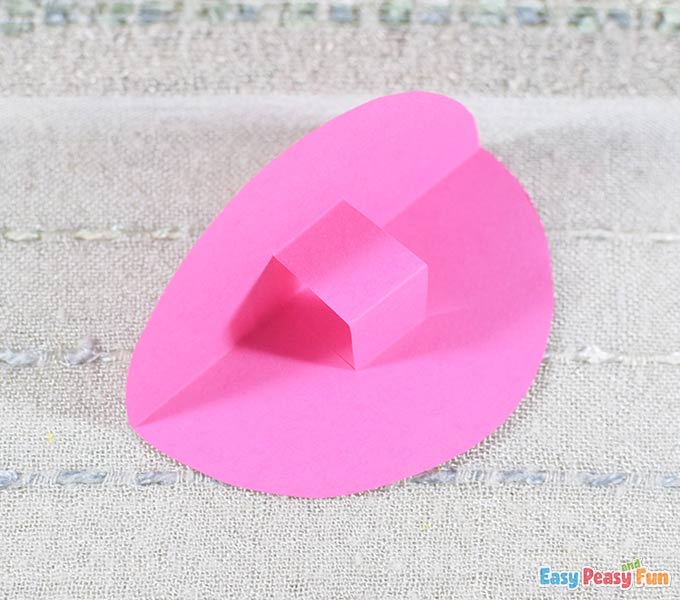
Take the pink circle and fold it in half.
Cut two parallel 1,5 cm lines where the crease is, to form the pop-up piece. Press the square upwards as shown in the picture.
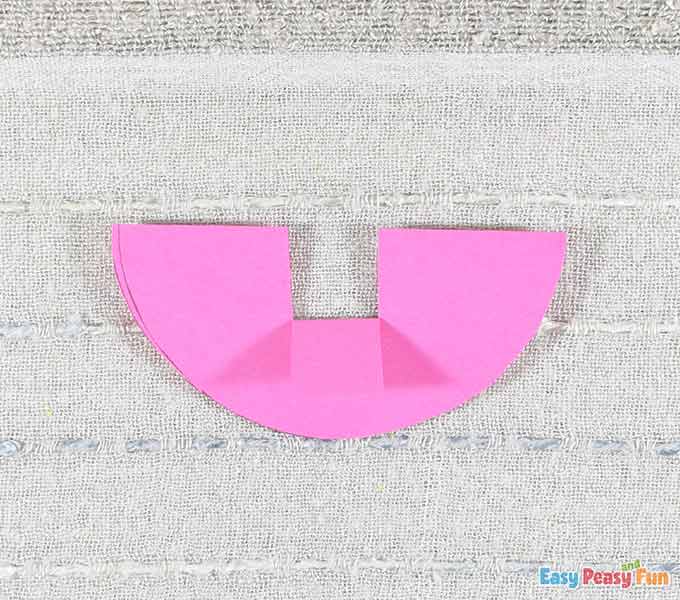
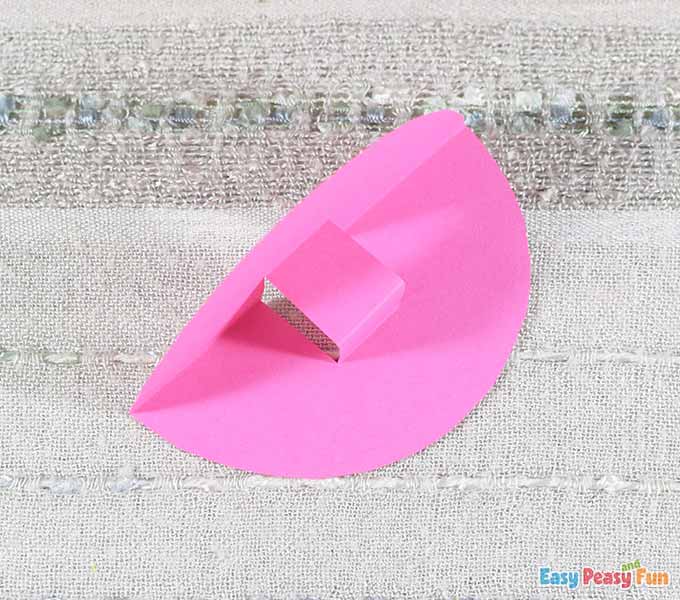
Open the folded pink circle and push the pop up piece from behind so it moves forward.
Now cut out a pink rectangle form the rest of the pink color paper.
Glue this rectangle on the back of the folded pink circle, to cover the hole where we formed the pop-up piece.
Make sure not to put glue in the middle of the rectangle where the hole is so the pop-up piece doesn’t stick to it.
Apply some glue on the back of the pink color paper …
… and glue it inside the mouth as shown in the picture.
The Fins
Take some blue color paper and fold it in half.
Open the folded paper and draw a fin on one side of it.
Fold back the blue color paper and cut out the fin using scissors.
Add some glue on the back of the fin and glue it on the red circle (above the shark body – in the middle).
Take another piece of blue color paper, fold it in half, then draw a fin.
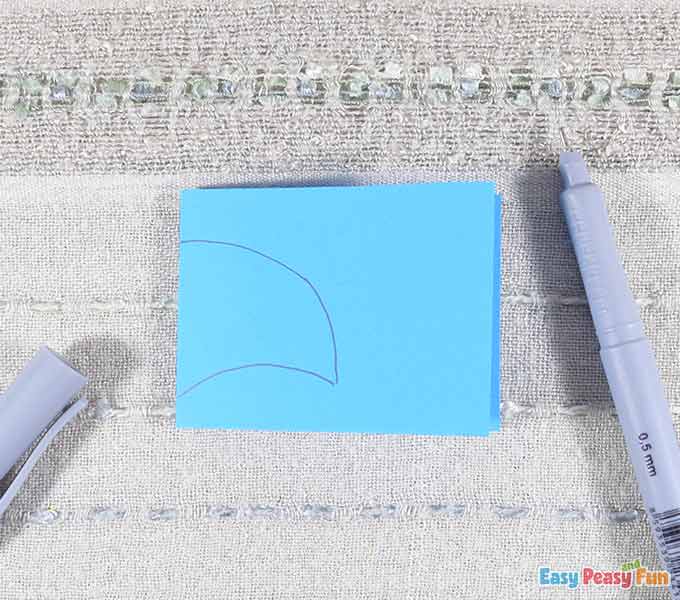
Cut out the fin using scissors, then cut through the crease to get two equal fins.
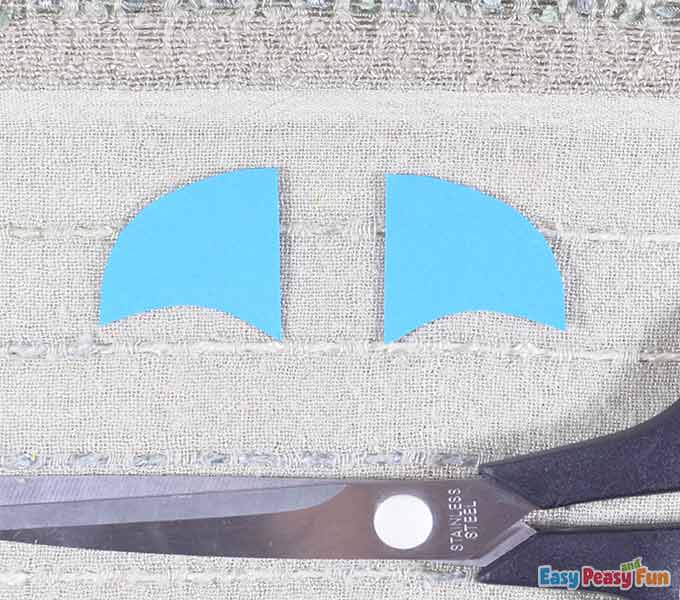
Glue the fins on both sides of the shark body.
The Fish
Draw a random fish on white cardstock, color it with color pencils or markers, then cut it out.
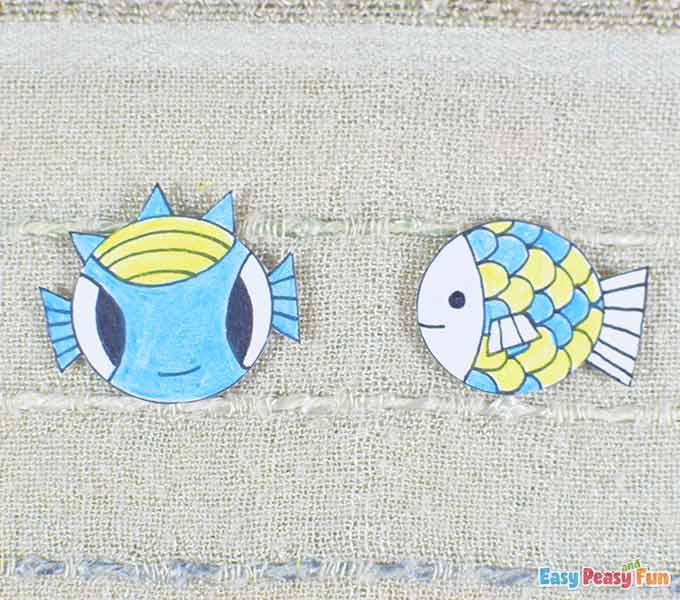
Glue the fish on the pop-up piece inside the mouth.

The Eyes
Now use the ruler with circle shapes and the black liner to draw two shark eyes.
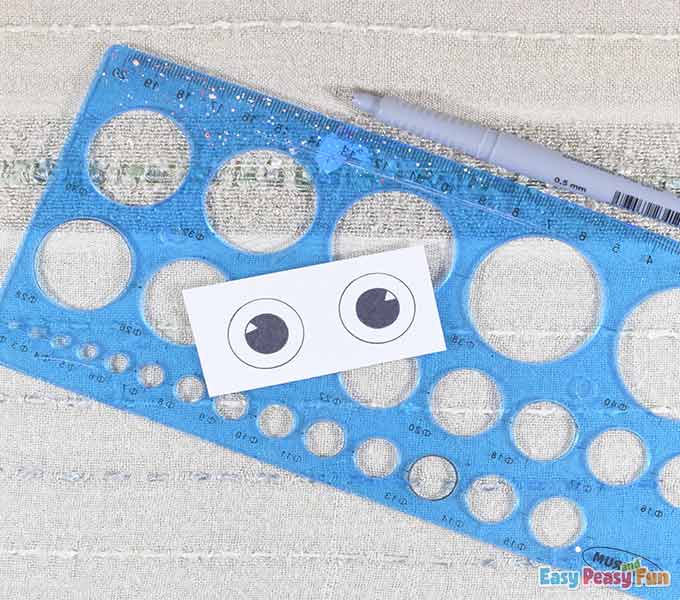
Cut out the eyes using scissors.
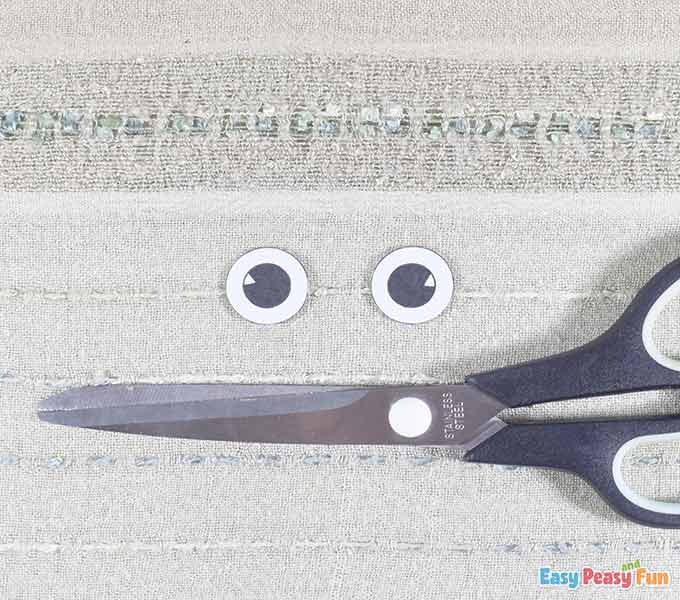
Apply some glue on the back of the eyes and add them to the body.
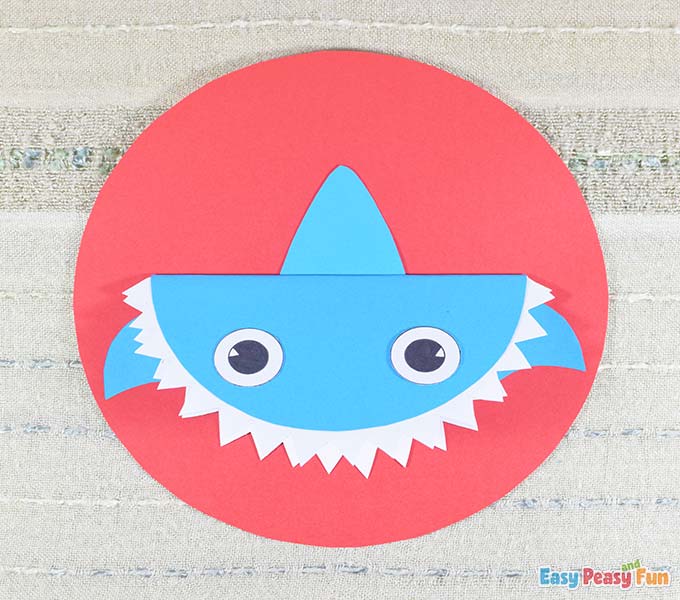
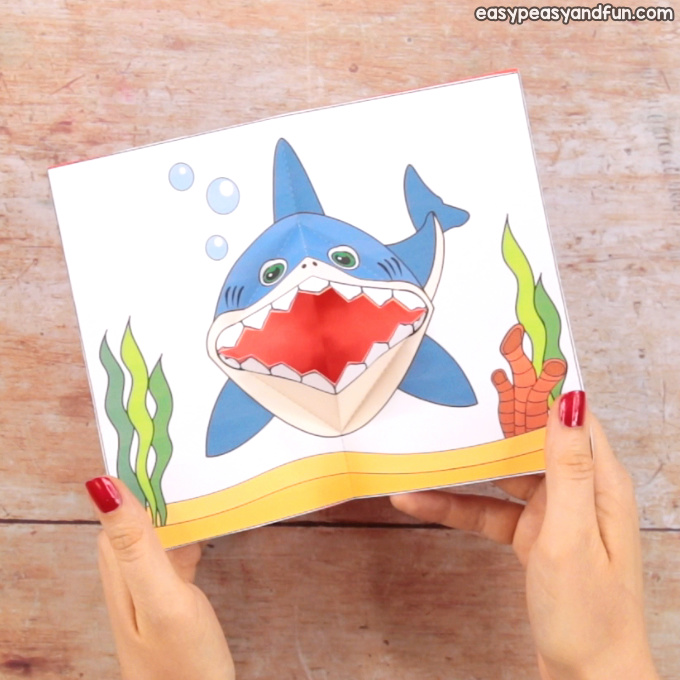
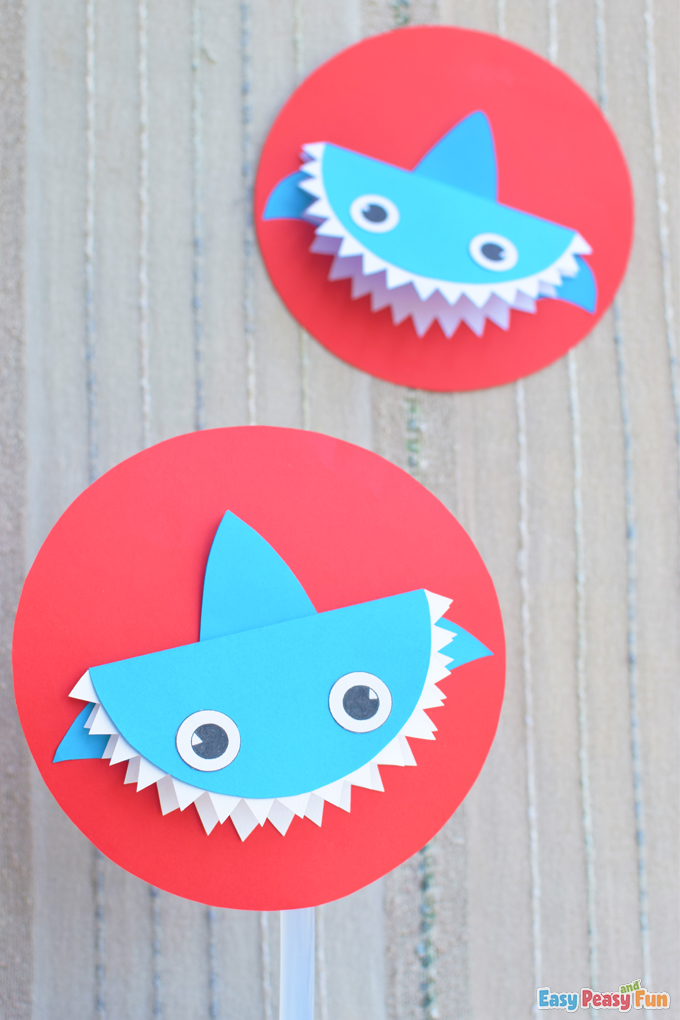
Your paper shark pop up card is all done.
Now close the mouth, then open it so you can see the fish pop up from inside.
You can write a message inside the card too (make it pop up a “HAPPY BIRTHDAY” or anything else you want to).
See you soon with other interesting crafts.
Want instant access to all of our printable crafts, activities, and resources?

With thousands of crafts, activities, worksheets, coloring pages, and drawing tutorials to print, you will always have just the resource you need at your disposal. Perfect for parents and teachers alike!