Paper plates have been the ultimate crafting tool over the last few years.
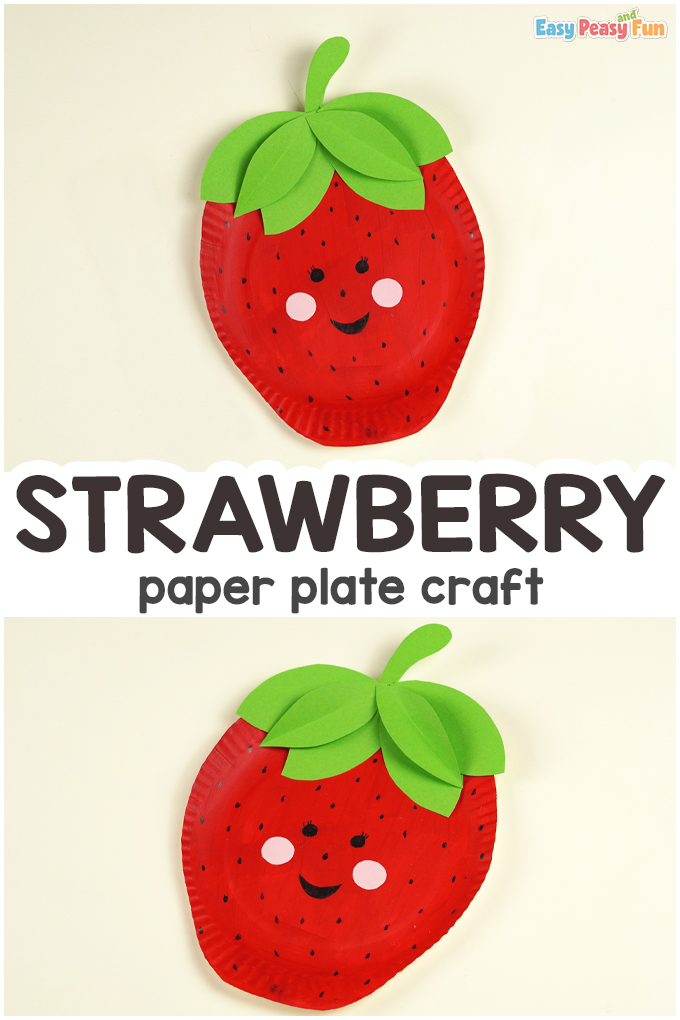
Don’t miss out on making this Paper Plate Strawberry Craft! It’s easy and fun to make.
*This post contains affiliate links*
50 paper crafts your kids can actually do themselves

No fancy supplies — just paper, scissors, and a little imagination.
Be the first to get it on release day — and lock in the lowest price guaranteed.
We have a variety of Paper Plate Crafts for your kids (take a look at the Paper Plate Watermelon or have fun with our free Fruit Coloring Pages).
We hope your kids will love them all.
Now hop on in and grab a few materials to start making our cute strawberry made out of a paper plate.
How to Make a Paper Plate Strawberry Craft
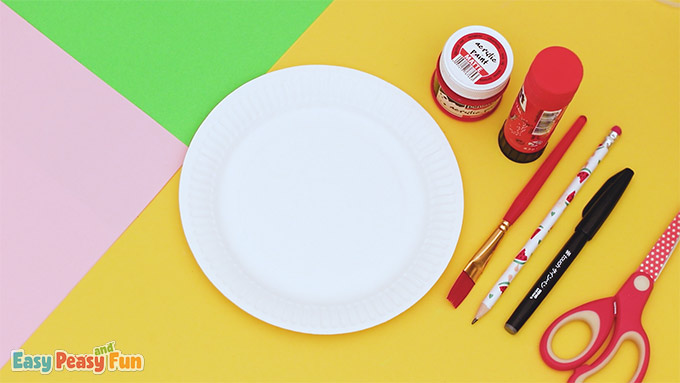
What you need:- paper plate
- red acrylic paint
- pencil
- scissors
- paintbrush
- green and pink paper
- black marker
- glue stick
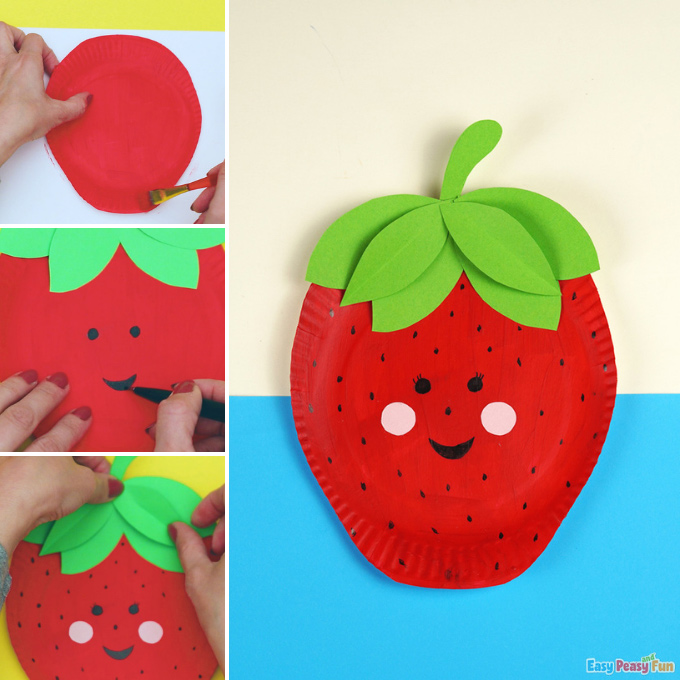
Step by Step Tutorial
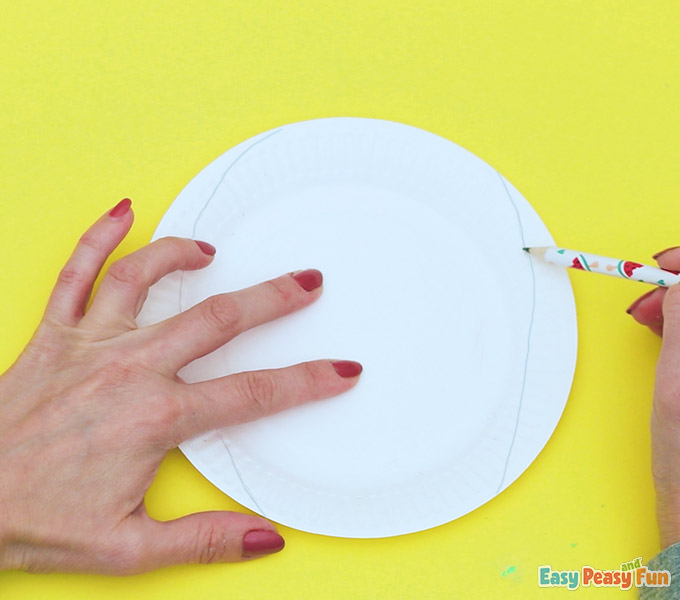
The first step to this strawberry craft is that you are going to freehand a strawberry onto a paper plate.
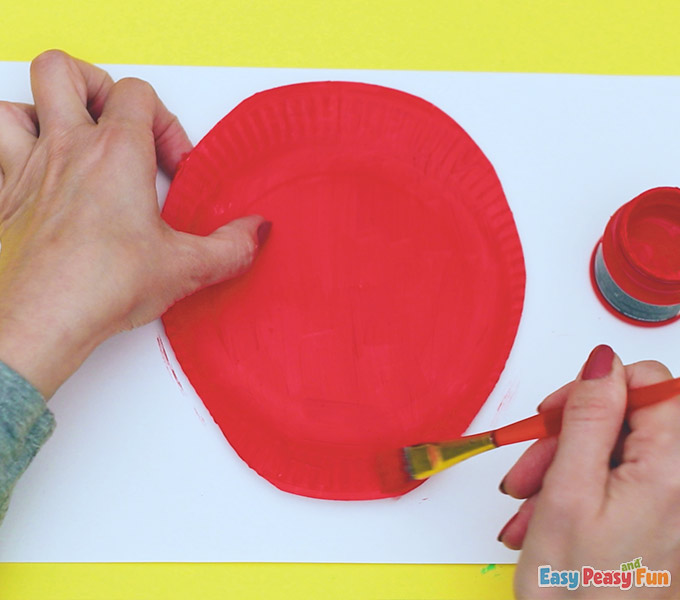
You are then going to cut out the strawberry and paint it red.
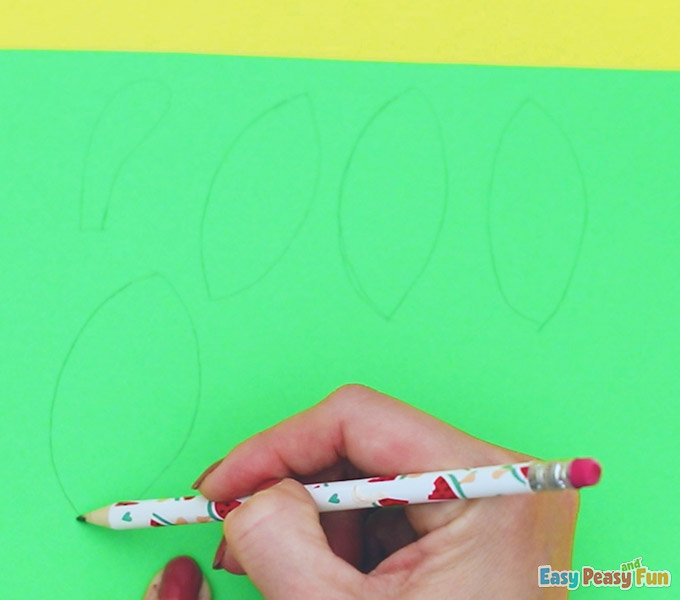
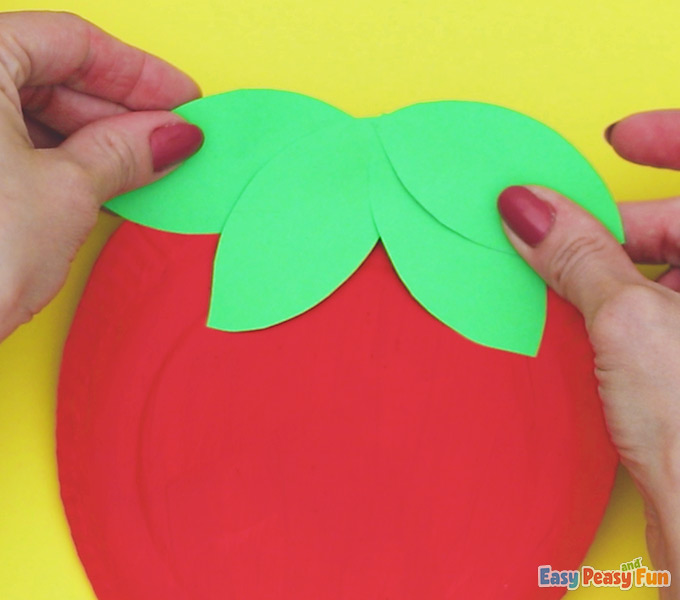
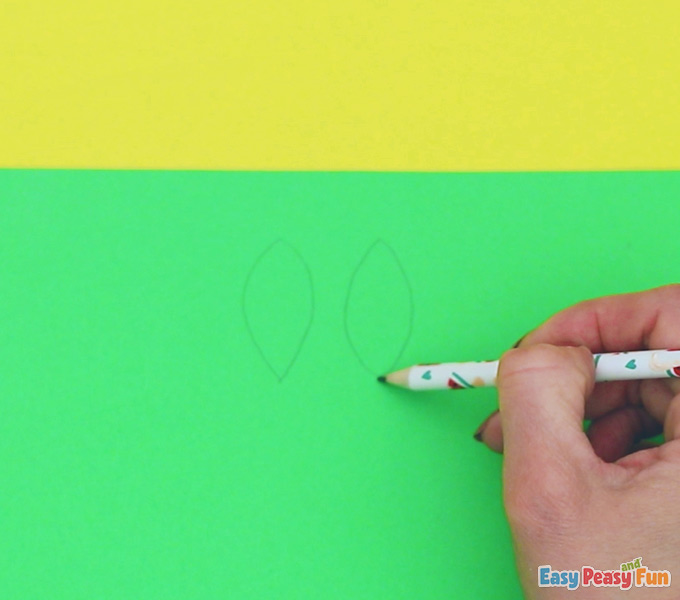
For this next part, you will draw leaves onto a green piece of paper and then cut them out.
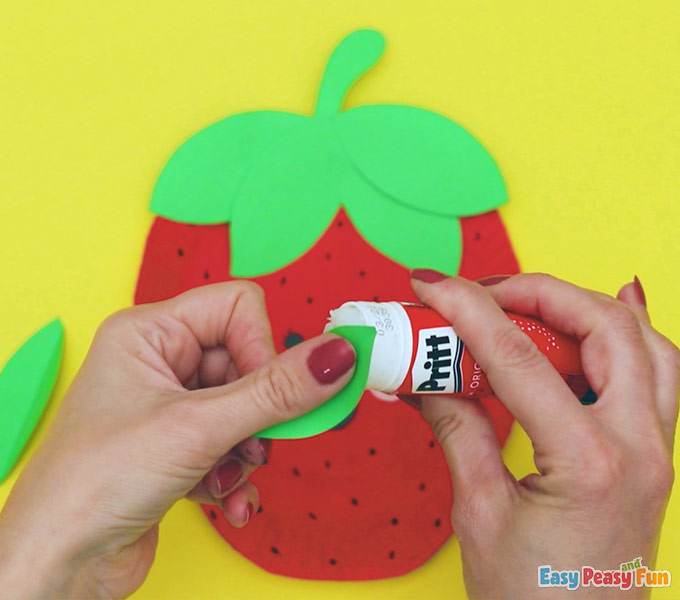
Once you cut out the leaves, you are going to glue them onto the strawberry.
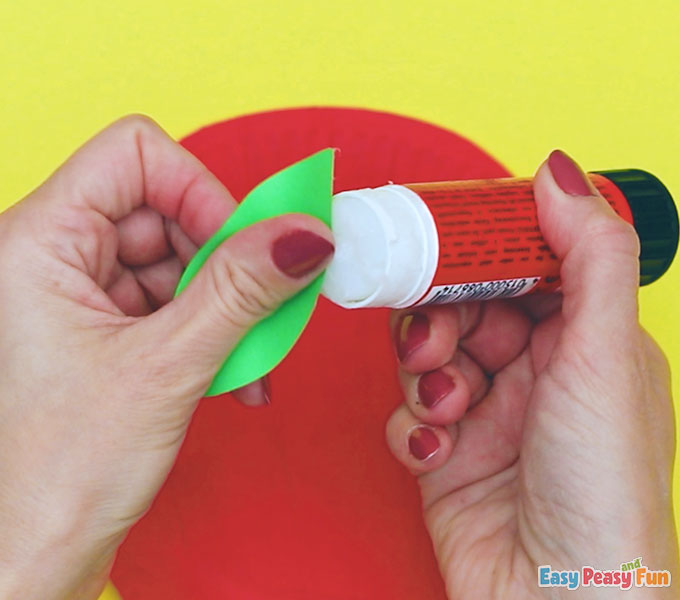
You can add a few leaves or several!
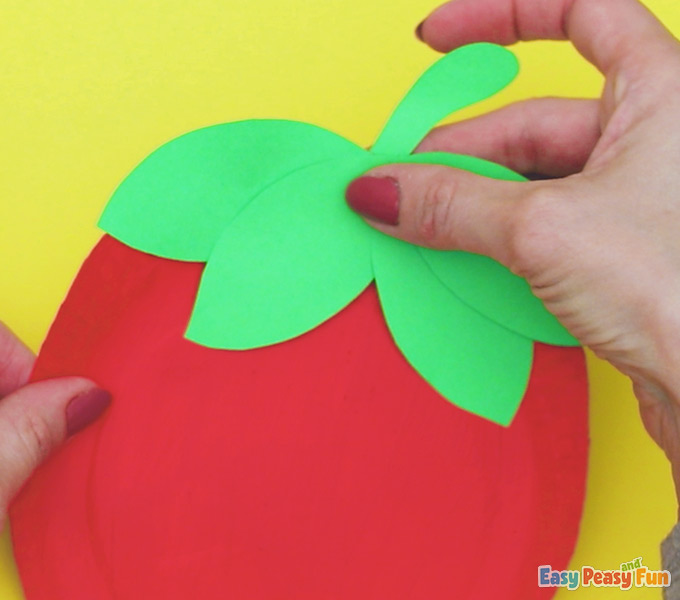
Next, you are going to draw a stem on the green paper and then cut it out.
Don’t forget to glue the stem onto the top of the strawberry!
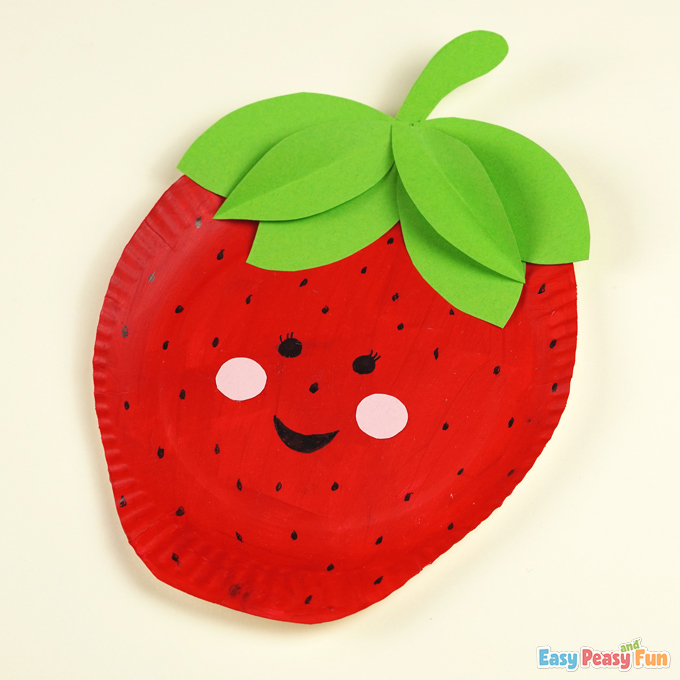
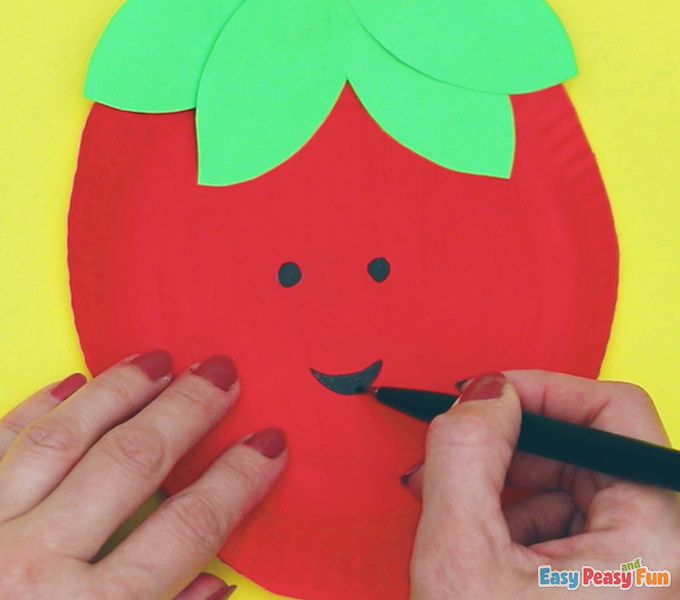
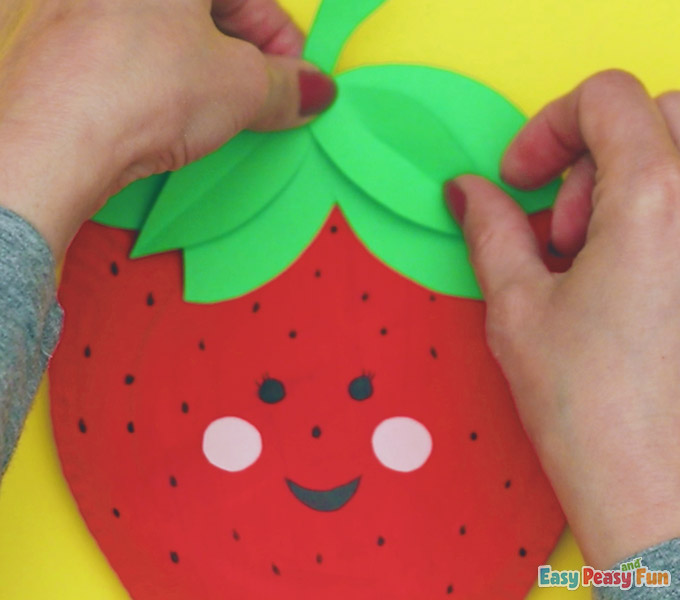
Now you are going to draw a funny face onto the strawberry.
You can use your imagination for this part.
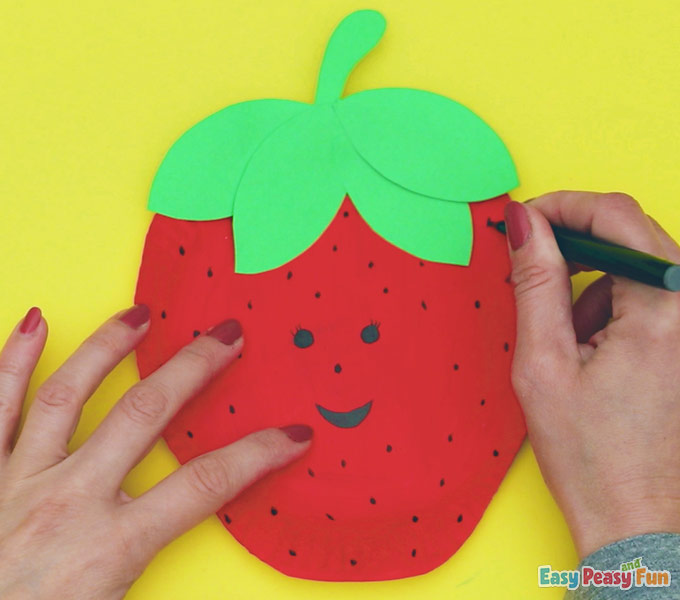
You can also add tiny specs to the strawberry!
It will help the fruit look even more like a strawberry!
Rosy cheeks? Coming right up! Draw small circles onto a pink piece of paper.
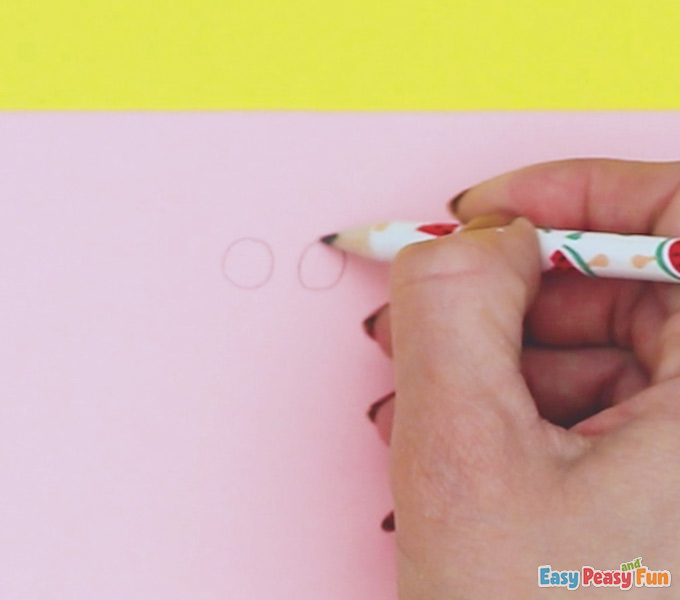
Cut out the small circles and then glue them onto the strawberry.
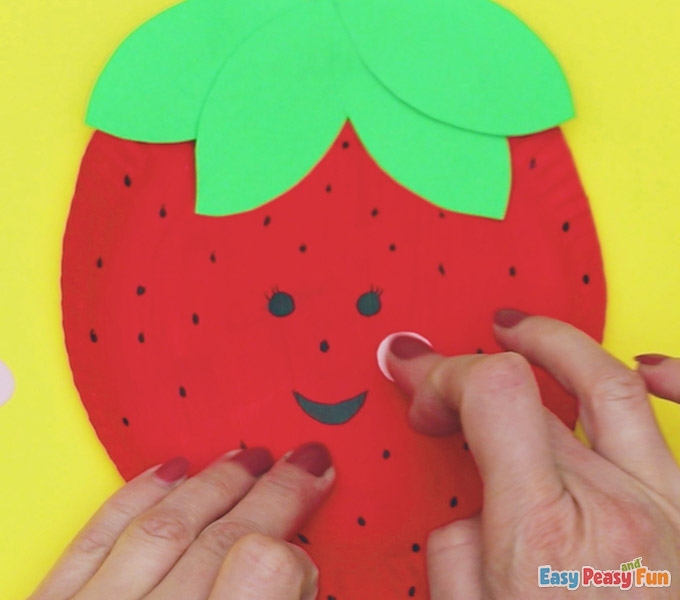
Press firmly on the small pink circles to make sure they stay!
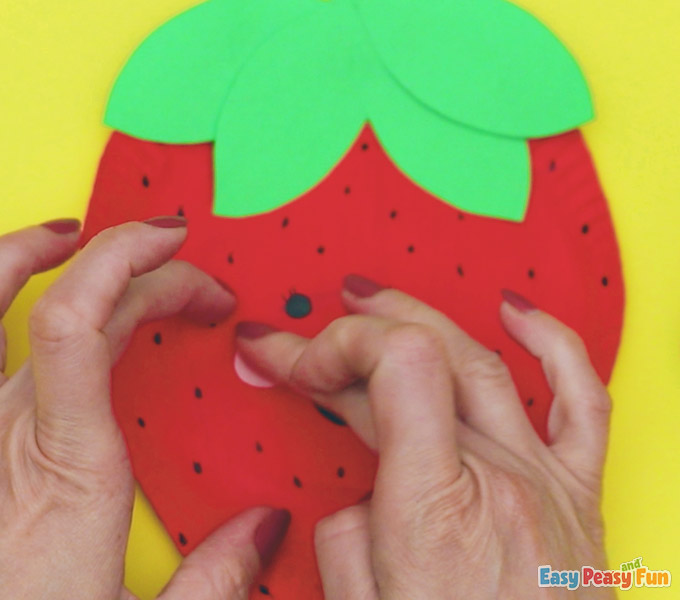
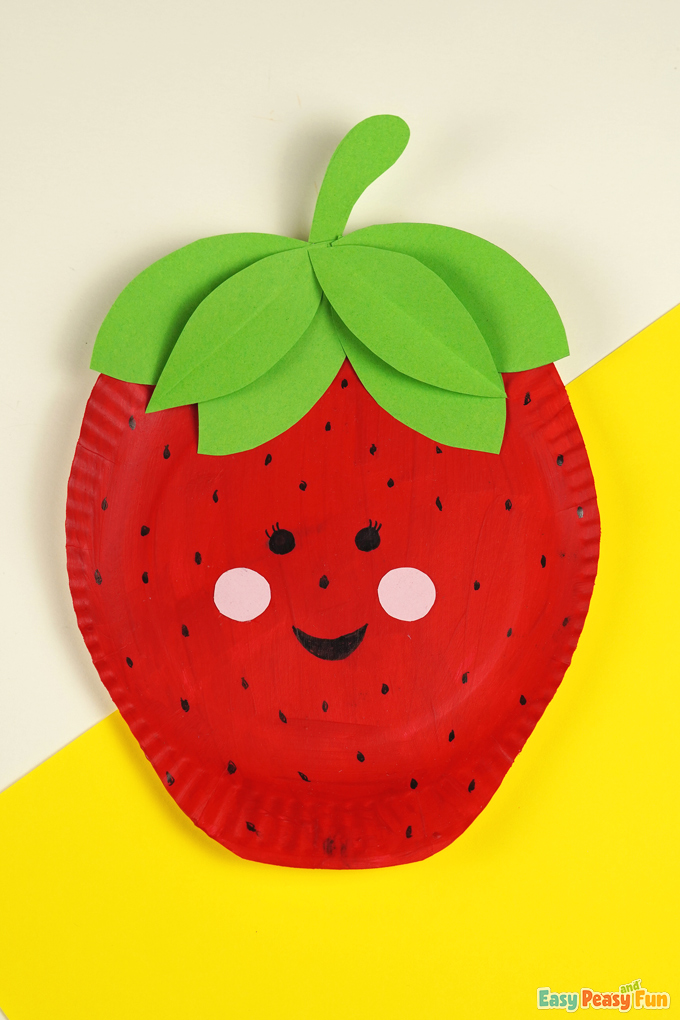
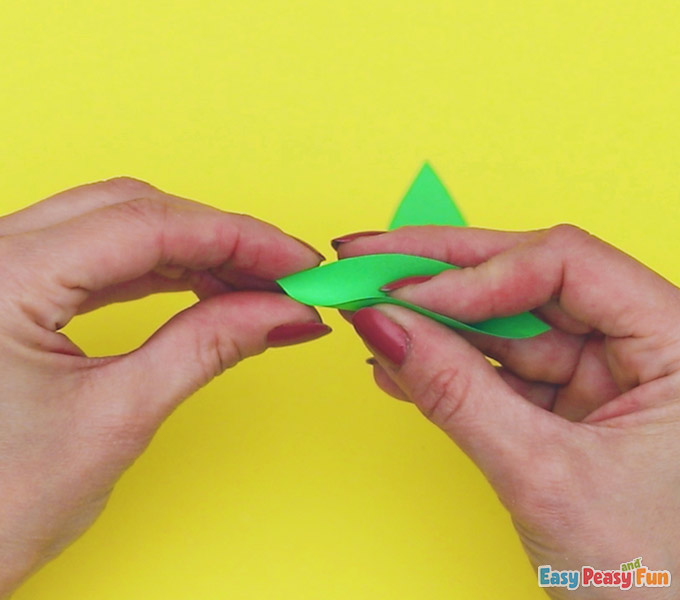
Next, you are going to add a few extra leaves to make the strawberry pop even more.
Once you cut out these leaves, you’ll want to make sure to fold them.
It helps give them a 3D look.
Glue the rest of the leaves onto the top of the strawberry.
You’re going to love how it looks!
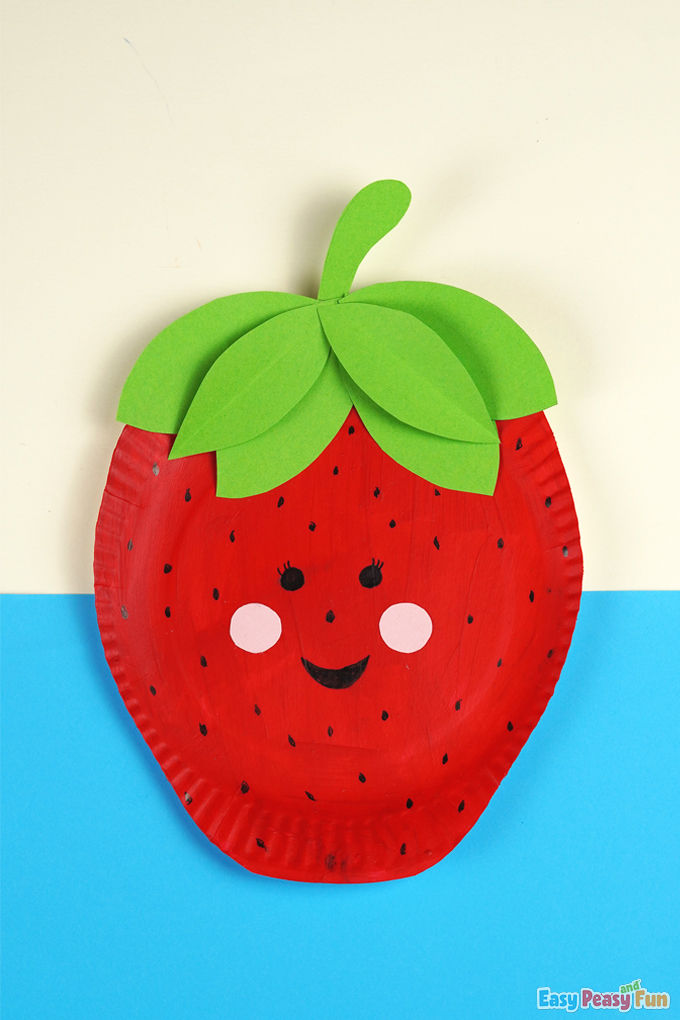
All done!
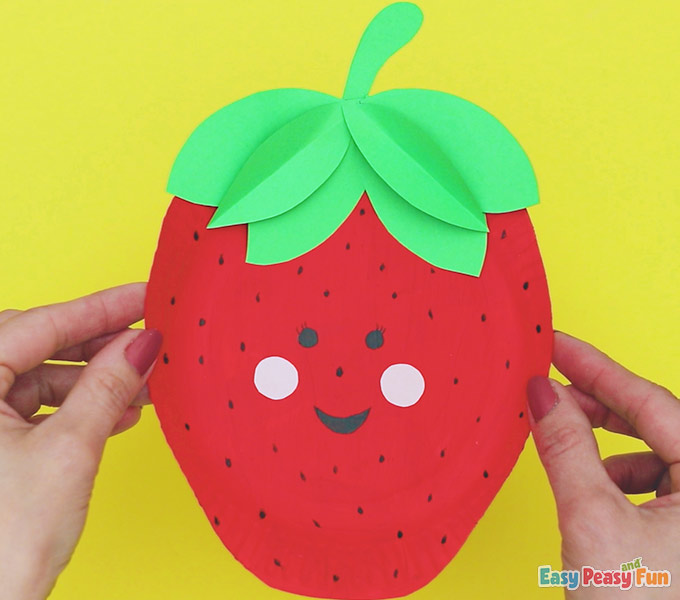
Look at this strawberry!
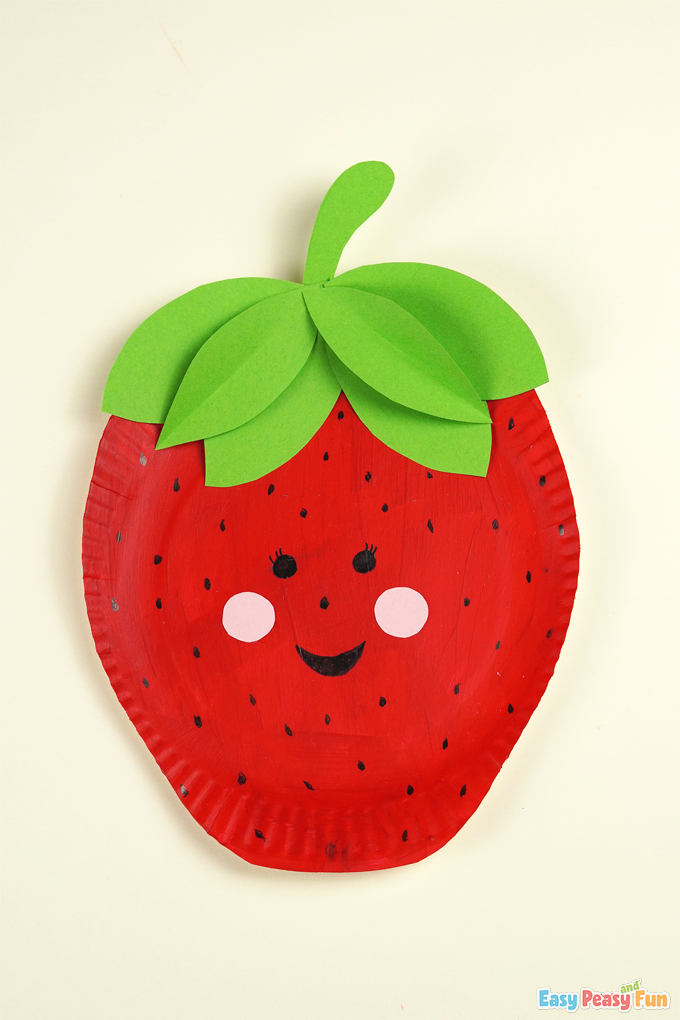
We love how our paper plate craft turned out.
Have fun, and stay tuned for more crafts.
Want instant access to all of our printable crafts, activities, and resources?

With thousands of crafts, activities, worksheets, coloring pages, and drawing tutorials to print, you will always have just the resource you need at your disposal. Perfect for parents and teachers alike!