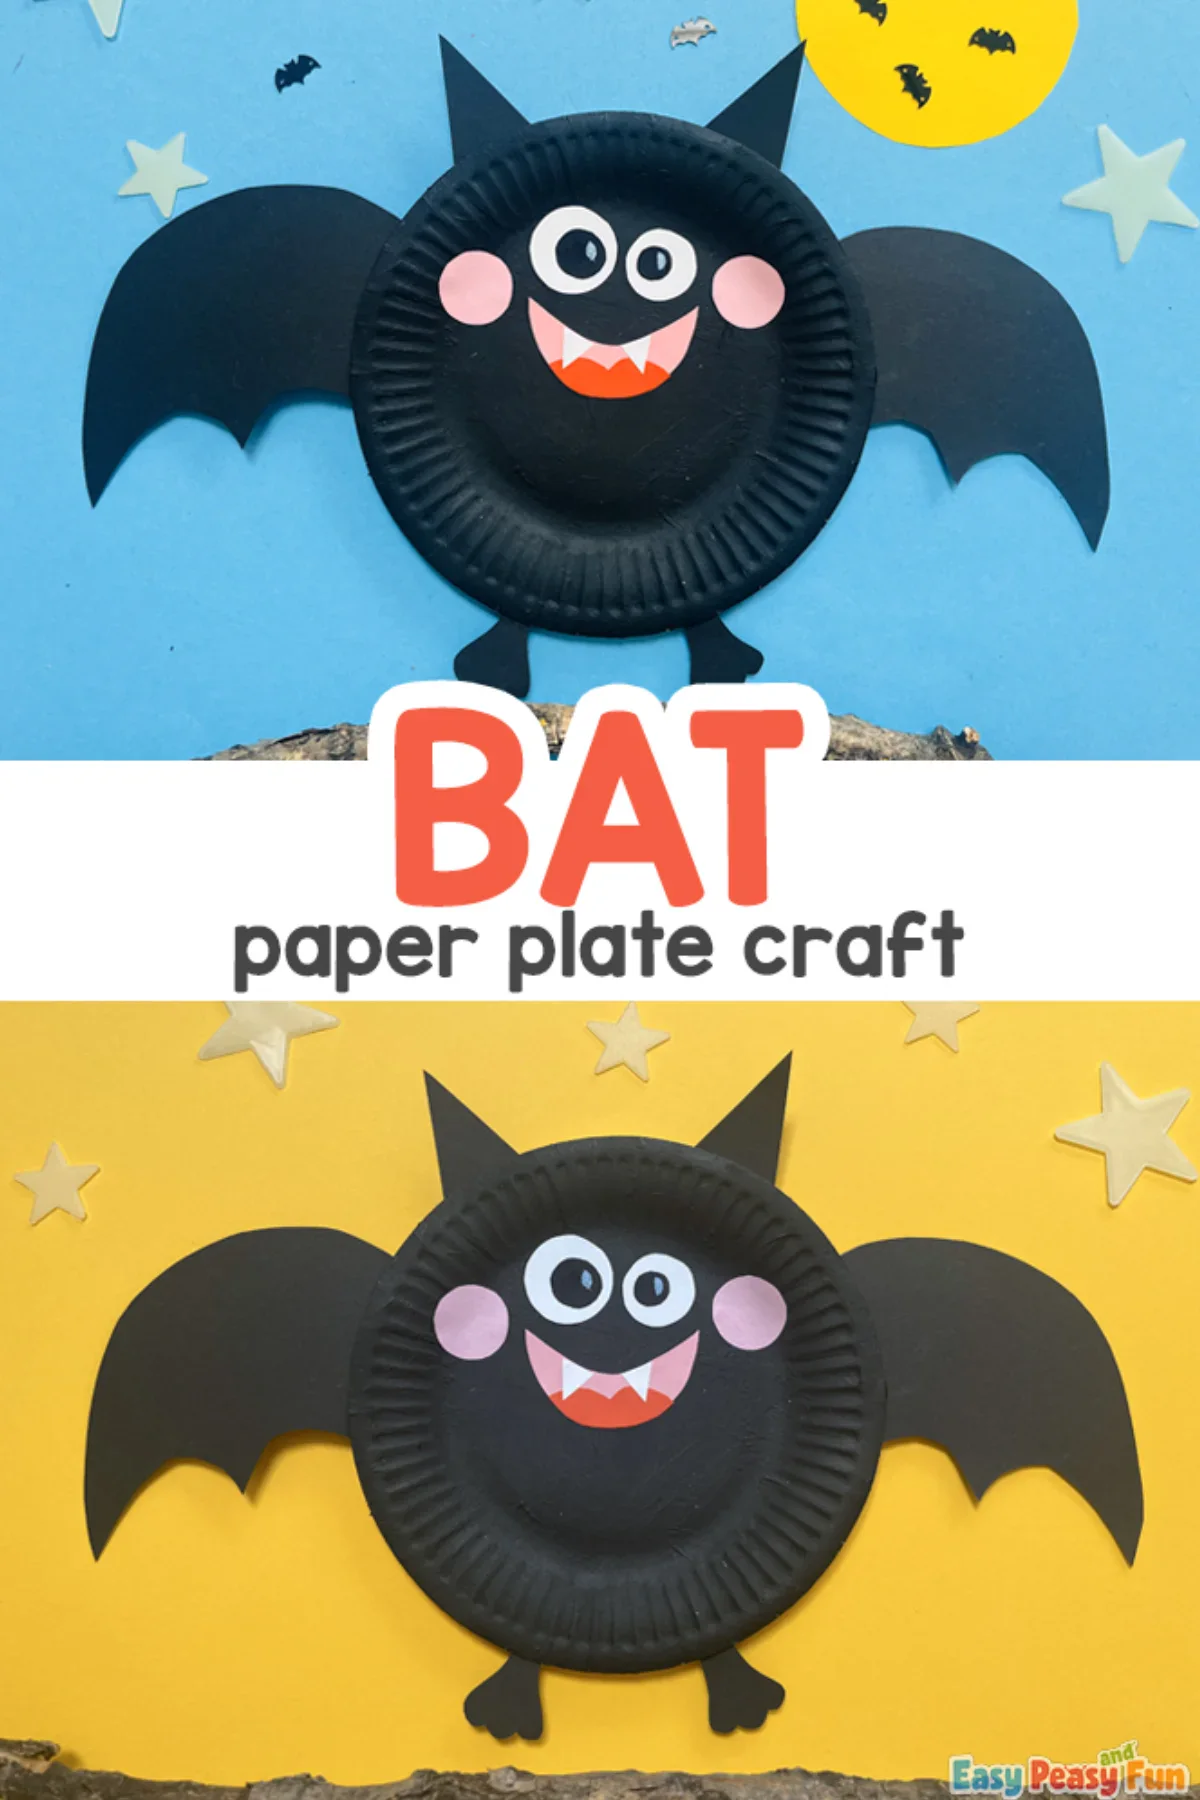
It’s time for some Halloween fun as we’ll show you how to transform a regular paper plate into an adorably scary-looking bat paper plate craft.
This is one of the easiest Halloween crafts, and it can easily be done as a classroom project in kindergarten and preschool or a craft to do at home with your kids.
*This post contains affiliate links*
Hi, I'm Andreja from Easy Peasy and Fun — and I just wrote a book!
50 paper crafts your kids can actually do themselves
CRAFTS
I designed every project so kids can do it themselves — no fancy supplies, just paper, scissors, and a little imagination.
“If you need easy crafts to keep busy, Andreja delivers with this book!”
We love creating paper plate crafts. (Have you seen our paper plate mouse or the paper plate mole?)
If you’re preparing for the festive holiday, we invite you to explore our Halloween craft ideas for creative inspiration!
Ready to make a bunch of bats out of paper plates? Let’s make some!
How to Make the Paper Plate Bat
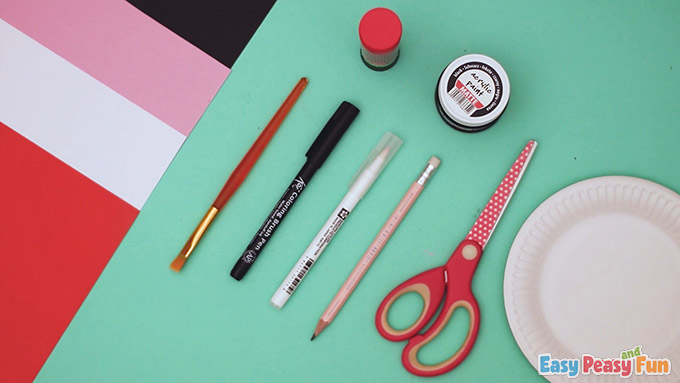
What you need:
- pencil
- scissors
- glue
- paper plate
- black paint (craft paints or tempera are perfect)
- paintbrush
- color paper (pink and red)
- white paper
- black paper
- markers (black and white)
Many of the supplies listed can be swaped out or skipped entirely.
Step by Step Tutorial
The Body
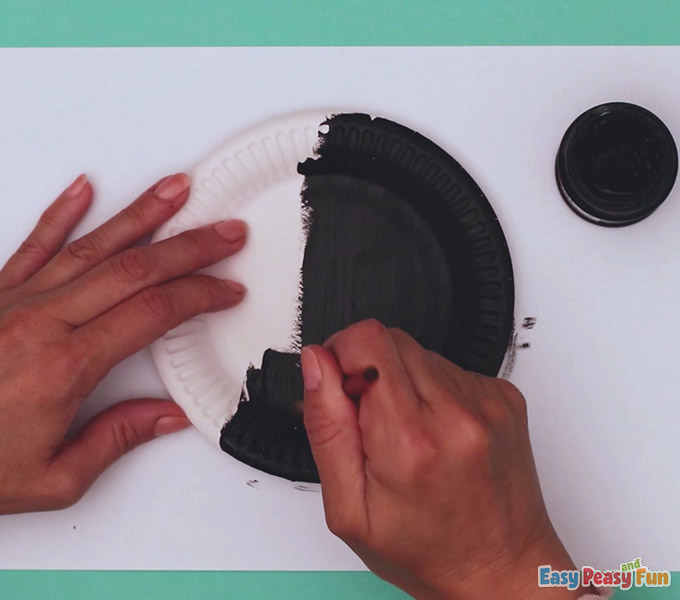
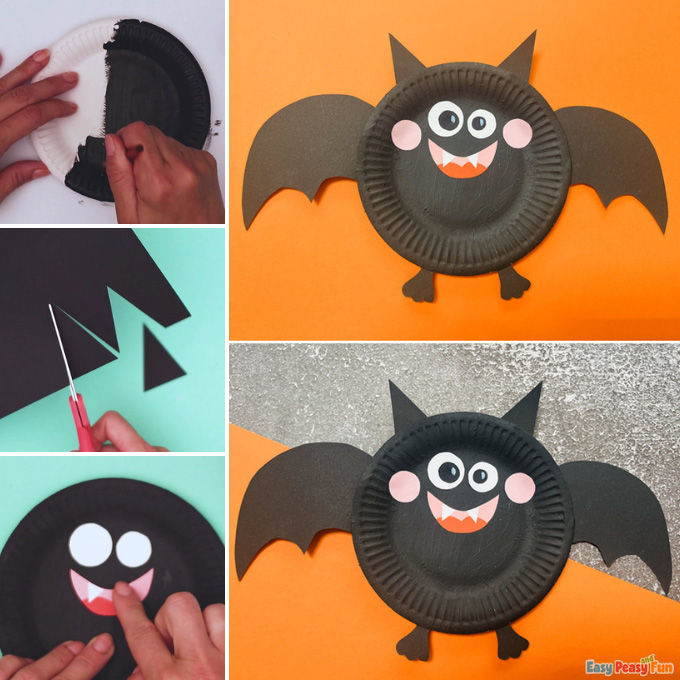
Paint the paper plate black.
The Wings
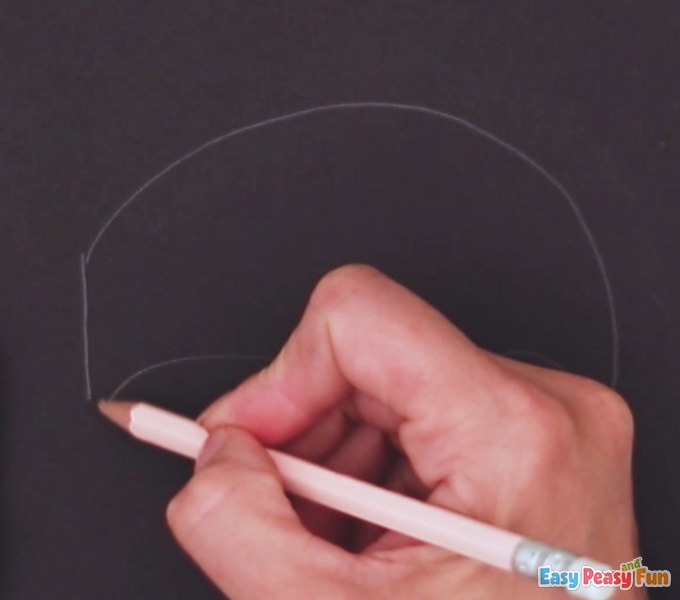
Use a pencil and draw a big bat wing on black color paper.
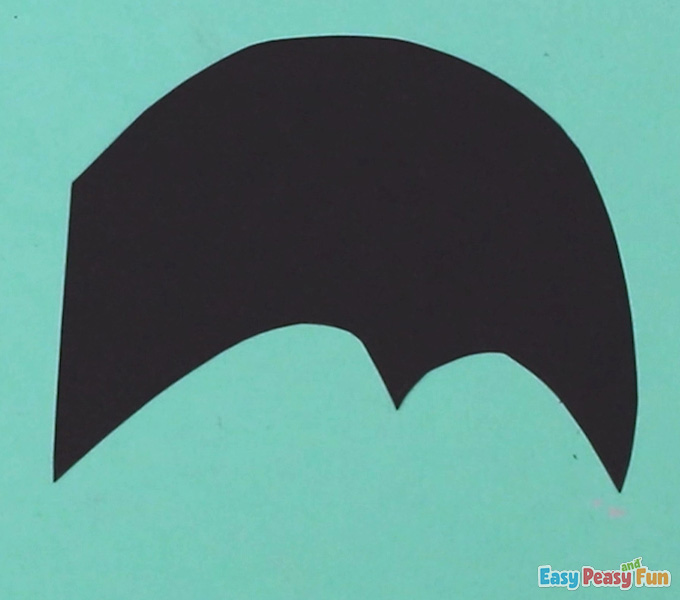
Cut it out.
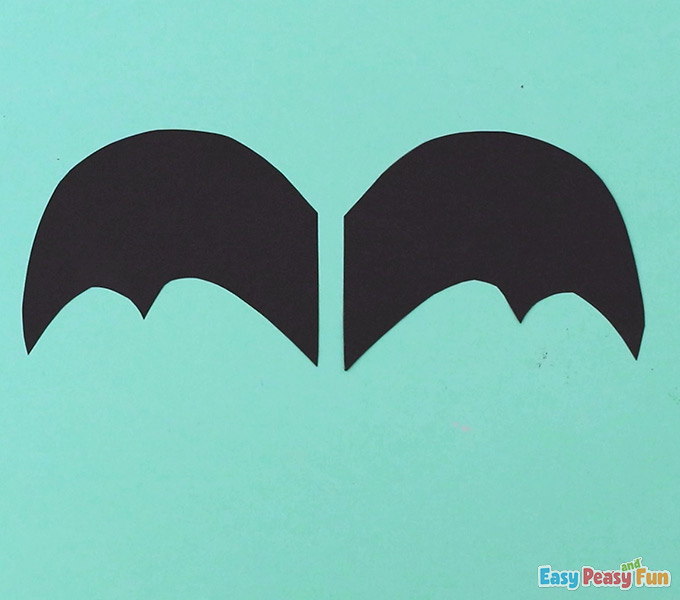
Trace the wing on black color paper and cut it out so you’ll get another wing.
The Ears
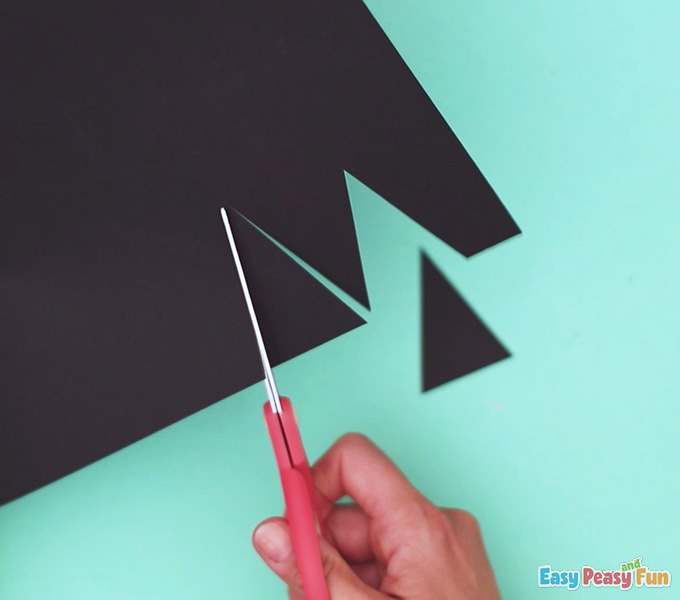
Cut two triangles from the black paper.
The Eyes
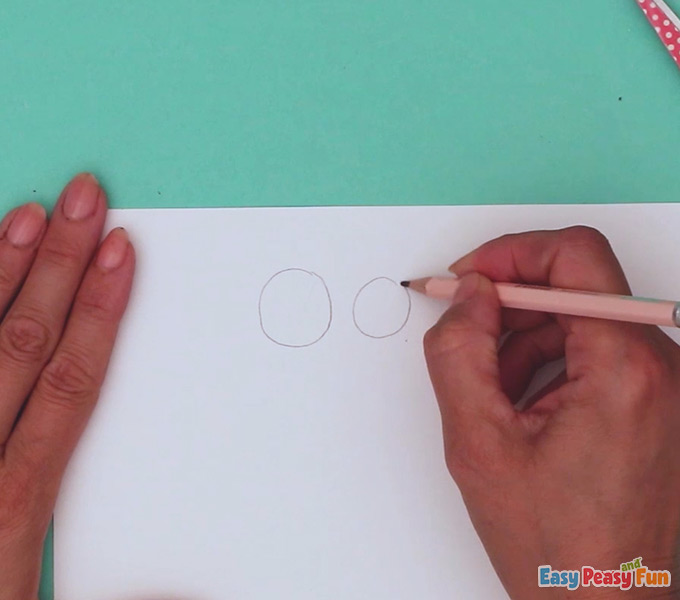
Draw two white circles – one bigger than the other and cut them out.
The Mouth
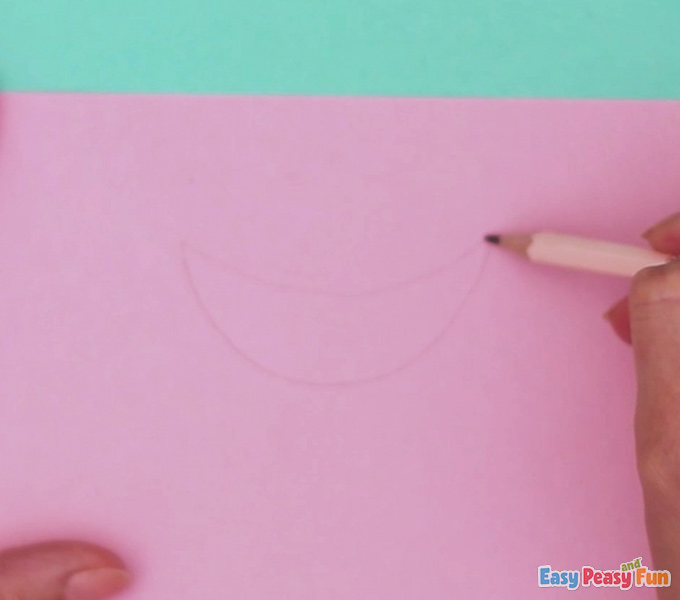
Draw a smiling mouth on pink paper and cut it out.
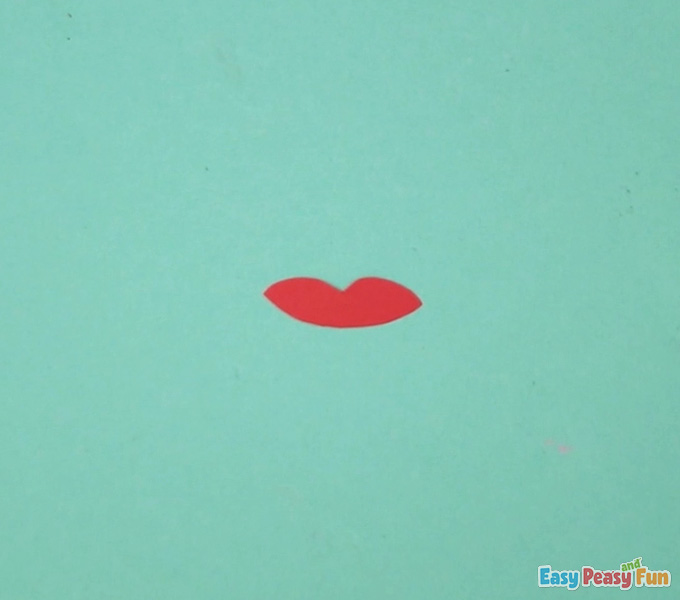
Draw the tongue on red color paper and cut it out.
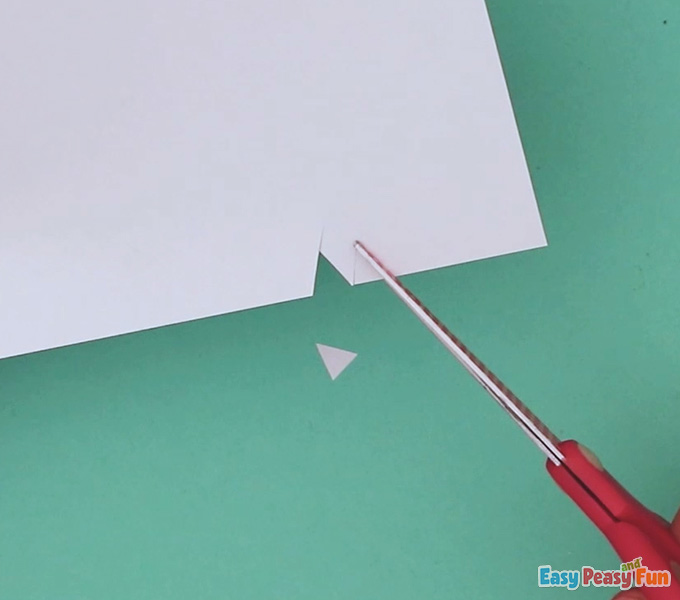
Cut two tiny triangles for the teeth.
The Legs
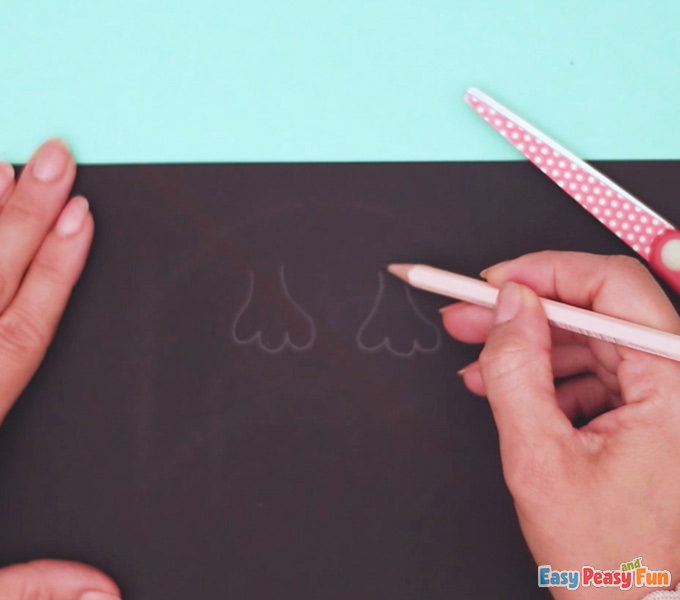
Take black color paper and draw two bat feet.
Cut them out.
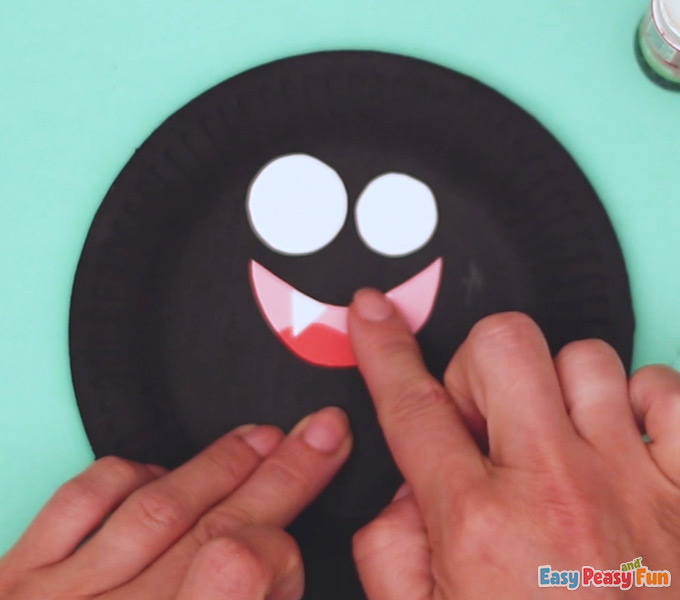
Glue the mouth and the white eyes to the paper plate.
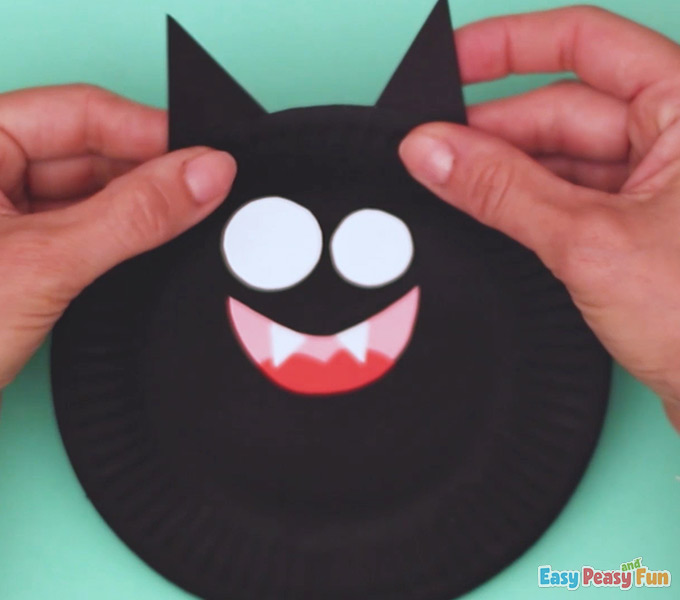
Attach the ears with glue.
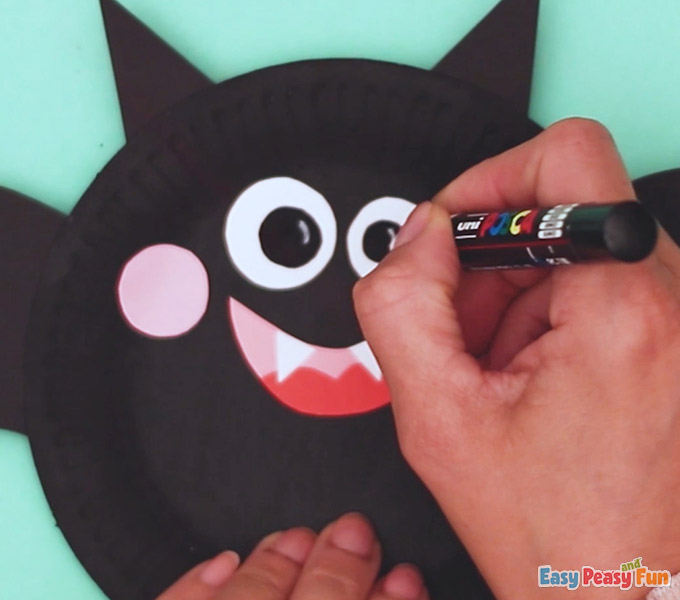
Draw two black dots inside of the eyes with a marker.
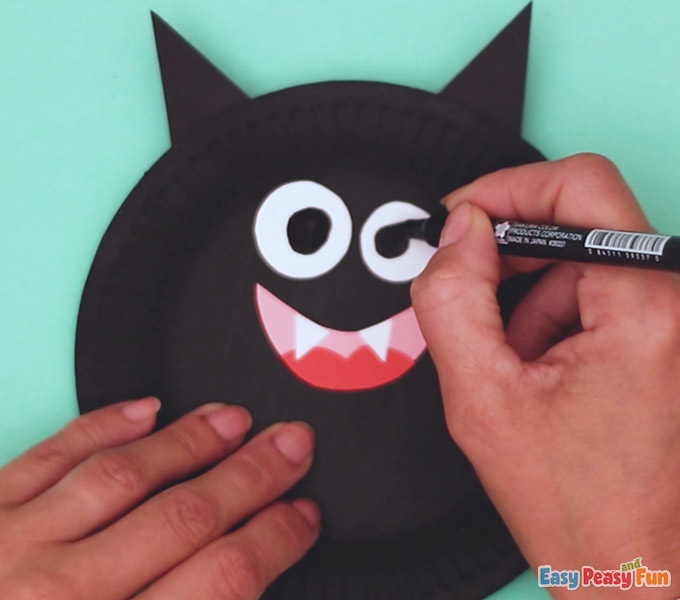
Glue the wings to the back of the paper plate.
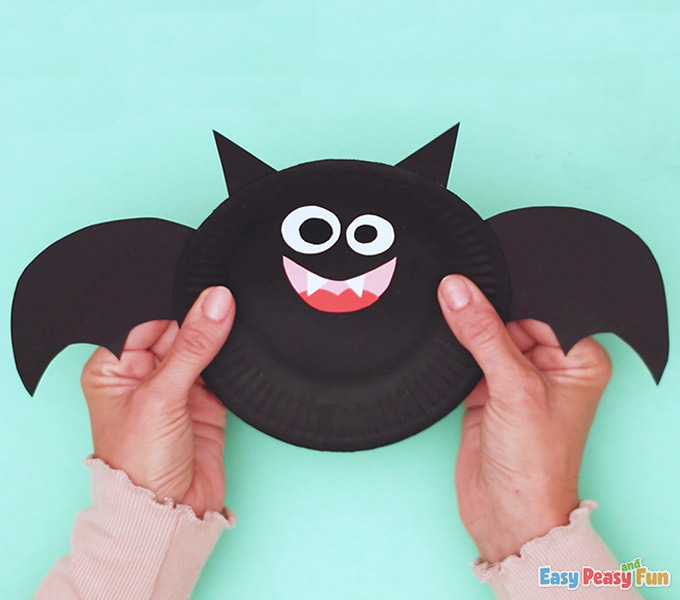
Now, glue the legs to the back of the paper plate, too.
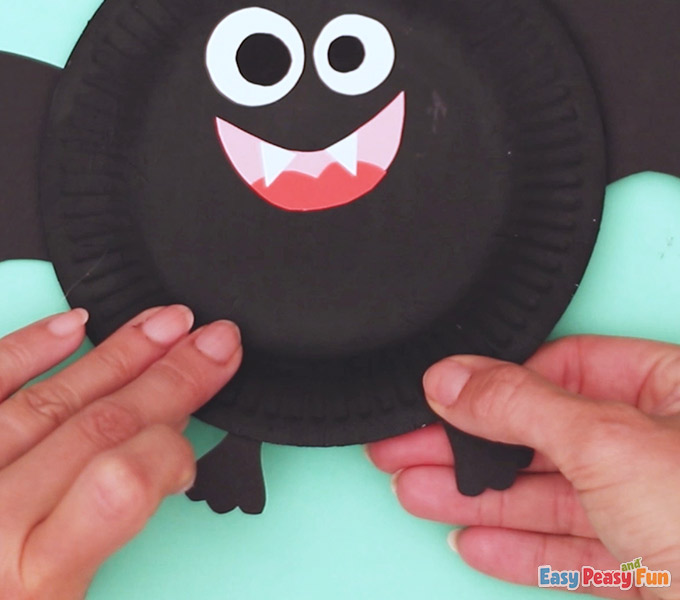
The Cheeks
Draw two circles on pink color paper and cut them out.
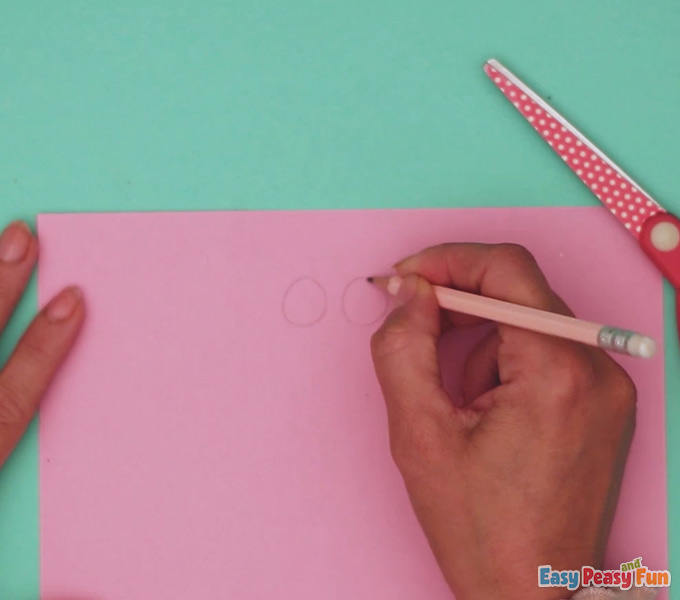
Glue the cheeks to the bat’s face.
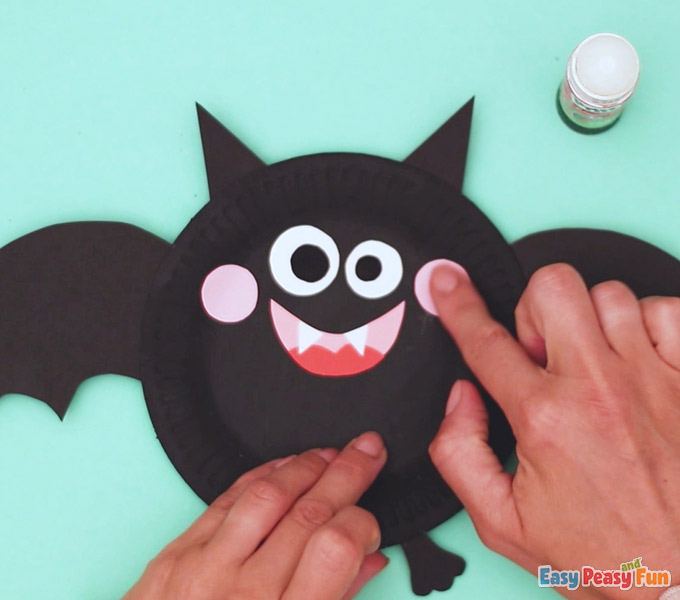
Use a white marker to add details inside the eyes.
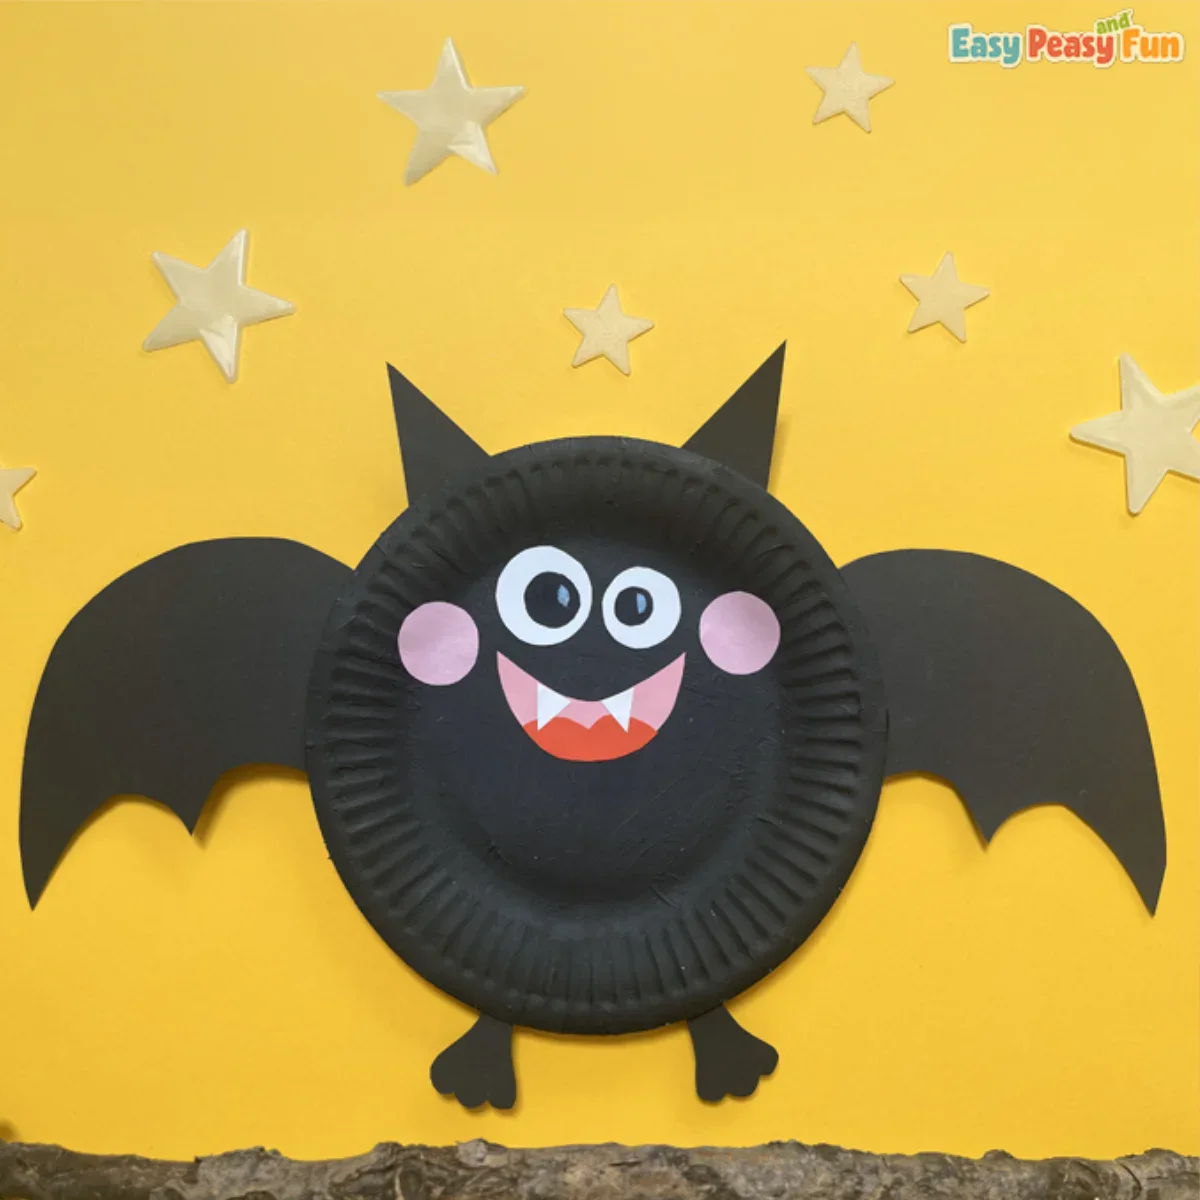
Your Halloween paper plate bat is finished!
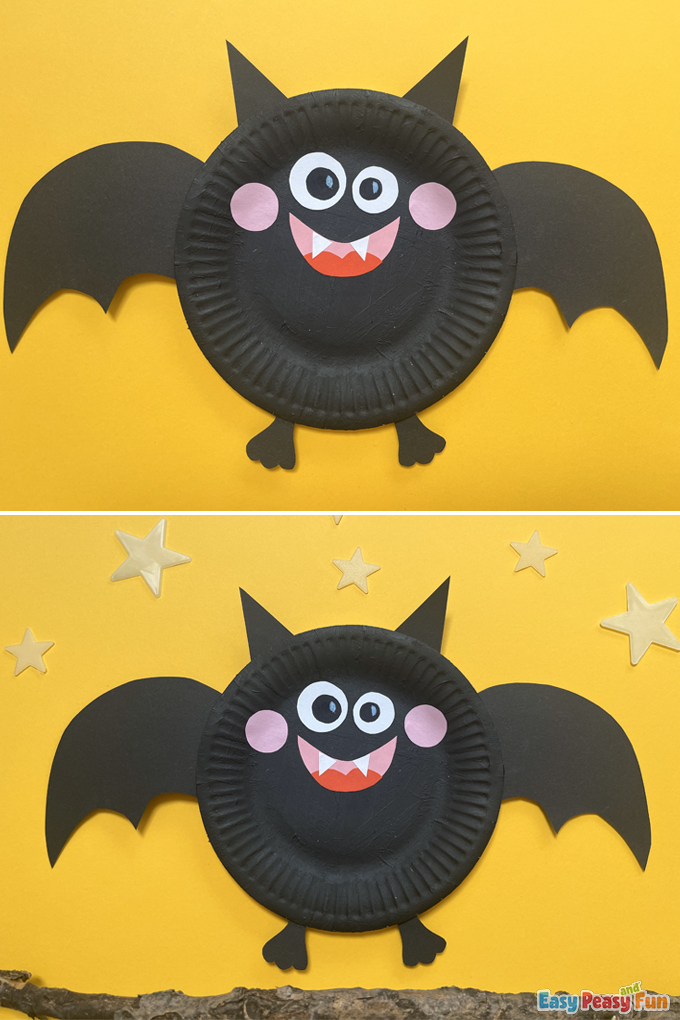
Feel free to create as many as you want and string them up to create a spooky Halloween ambiance!
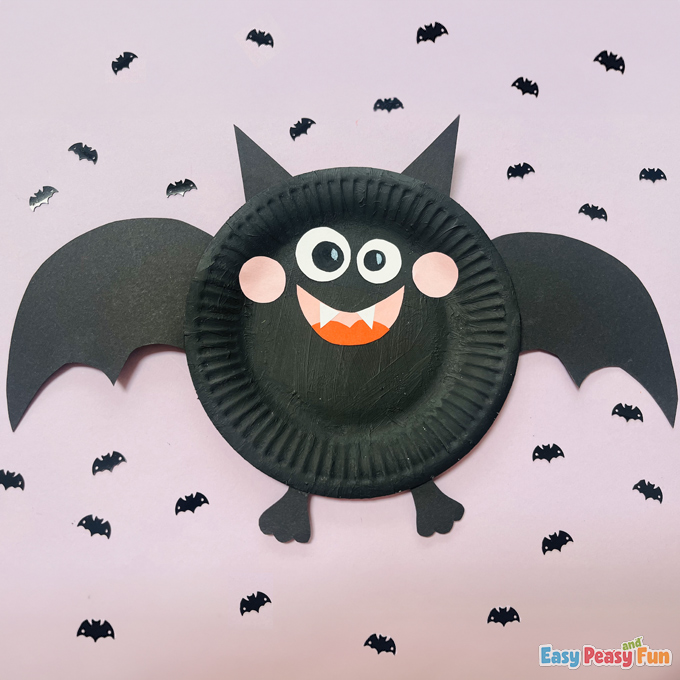
Have fun crafting!
How to Make this Paper Plate Bat Interactive
I love it when a craft has that extra wow to it. And when it comes to this paper plate bat craft, you can make it so that its wings move. Just imagine how excited kids will be when they see this one flap it’s wings!
To make the wings of this bat movable, skip gluing them to the paper plate. Instead what you will do is punch two holes at the end of each wing and make a moving mechanism that will, at the pull of the string, make the wings move.
You can see how to make this mechanism in our movable bat paper doll tutorial.
Want instant access to all of our printable crafts, activities, and resources?
With thousands of crafts, activities, worksheets, coloring pages, and drawing tutorials to print, you will always have just the resource you need at your disposal. Perfect for parents and teachers alike!