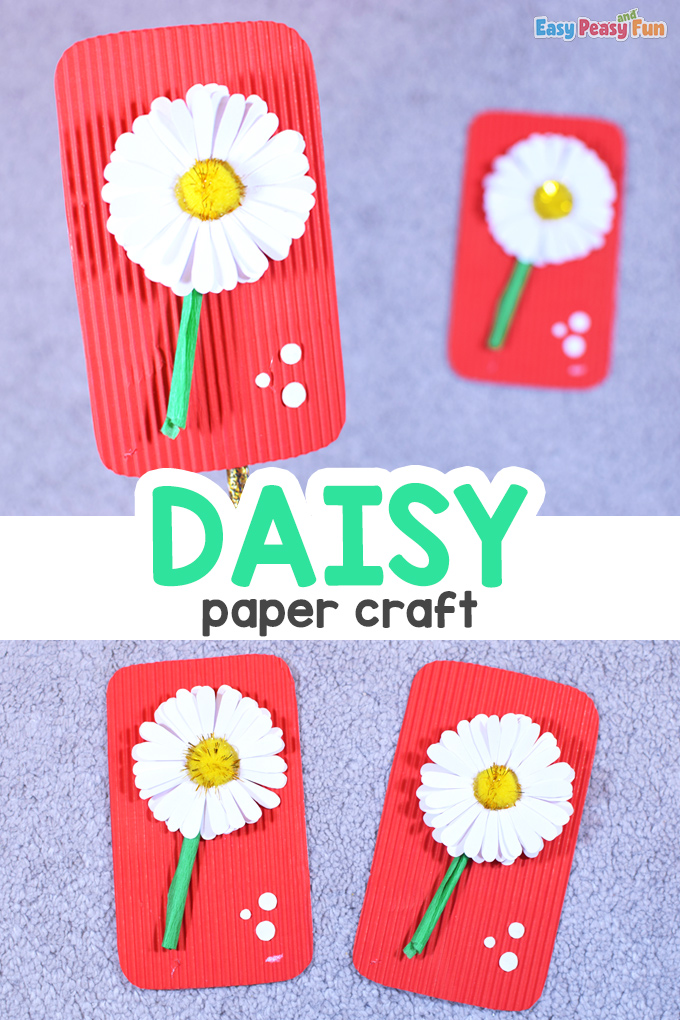
Are you ready to make a Paper Daisy Craft with only a few materials?
We sure are – your daisy can become a neat present or a home decoration.
*This post contains affiliate links*
50 paper crafts your kids can actually do themselves

No fancy supplies — just paper, scissors, and a little imagination.
Be the first to get it on release day — and lock in the lowest price guaranteed.
We love making Flower Crafts (check out the Flower Paper Rings or make a Ladybug Paper Craft).
Do you want to color a bunch of them? Print out the Flower Coloring Pages collection and color them all.
It is spring, and daisies are everywhere.
We are so happy that our garden is abundant in daisies – they don’t stop growing, and no matter how many of them you cut or pluck, more and more pop out of the ground.
What we love doing each spring is making daisy head wreaths and wearing them around our heads.
We also love that we can craft all of our projects outdoors, enjoying the sun, smells, and butterflies flying around.
And today, this daisy craft we made is to appreciate spring and all of the good things it brings us, so join in and let’s craft!
How to Make the Paper Daisy Craft
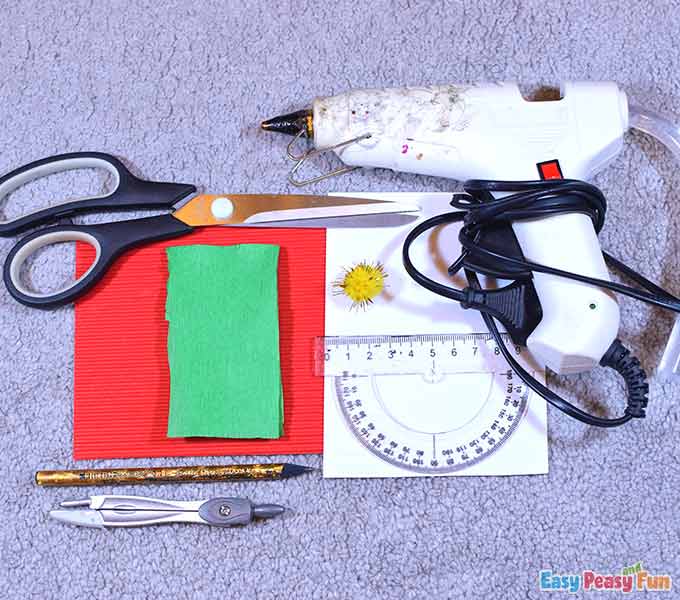
What you need:- red corrugated color paper
- green crepe paper
- pencil
- compass
- ruler
- yellow pom-pom
- white paper
- hot glue
- scissors
Step by Step Tutorial
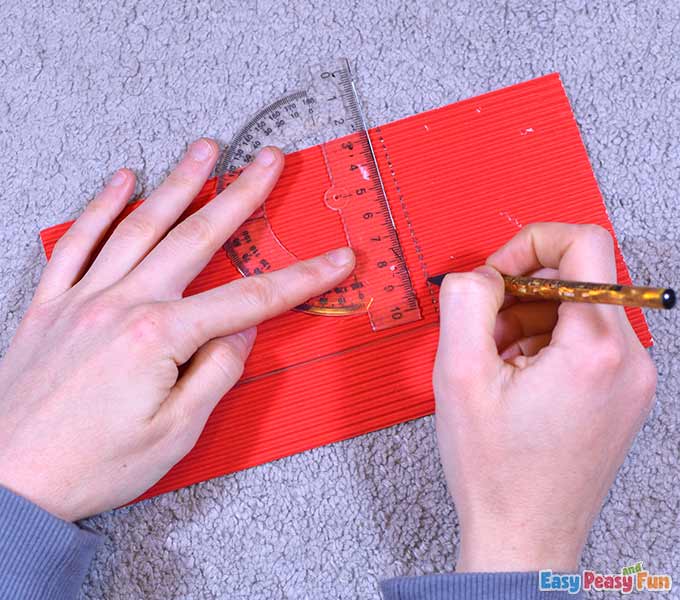
The Flower Base
Draw a rectangle with dimensions 8 x 13 cm on the red corrugated color paper, and cut it out with your scissors.
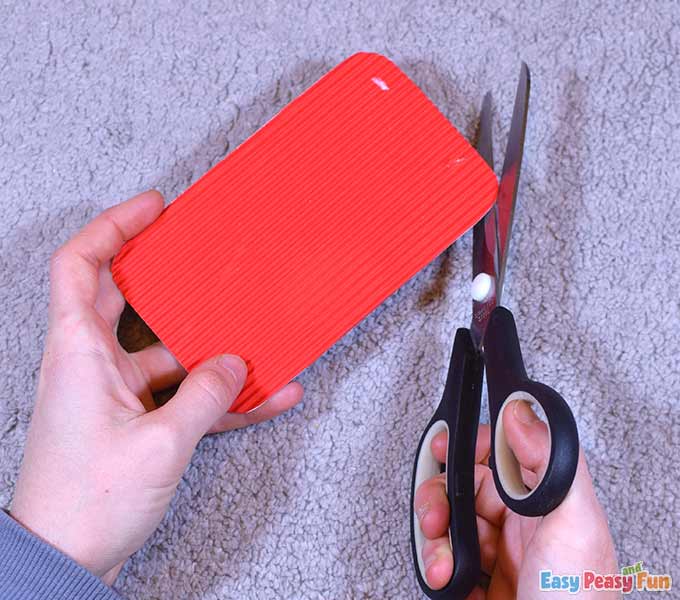
Take your scissors and round the edges.
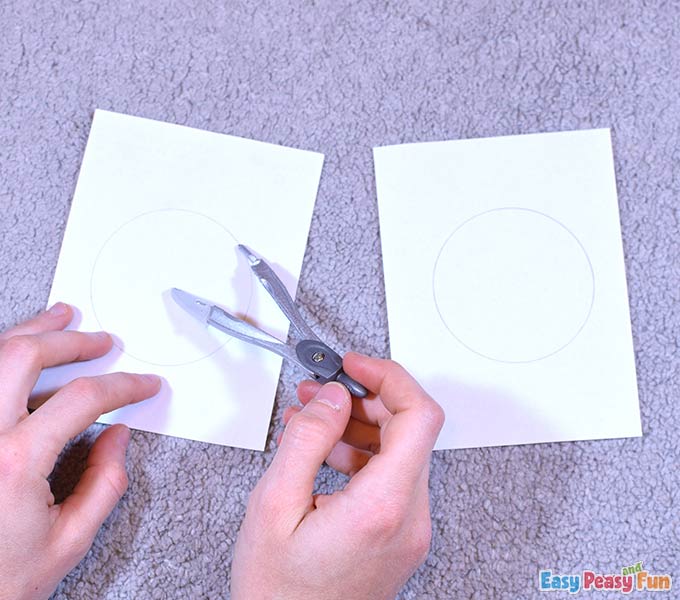
The Daisy Flower
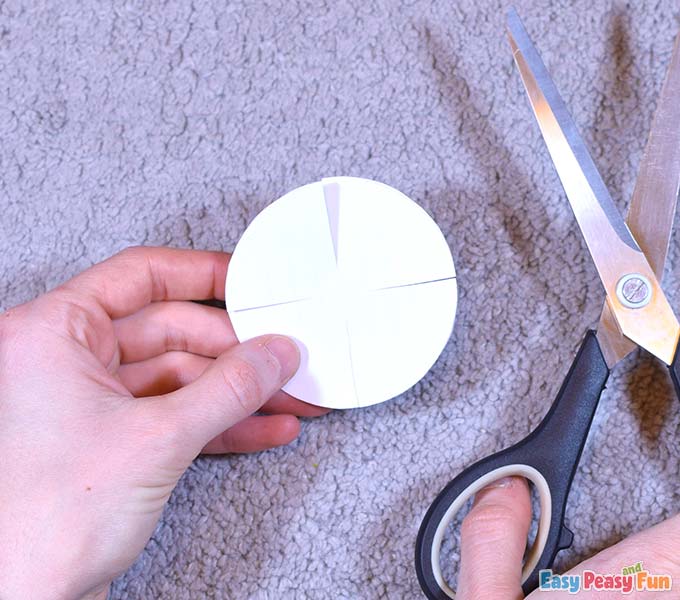
Draw two circles with 6,5 cm diameters on the white paper and cut them out.
Take the circles, place them one on top of another and make four cuts.
Make sure you do not cut entirely through the circles but make minor cuts (approximately 2 cm long).
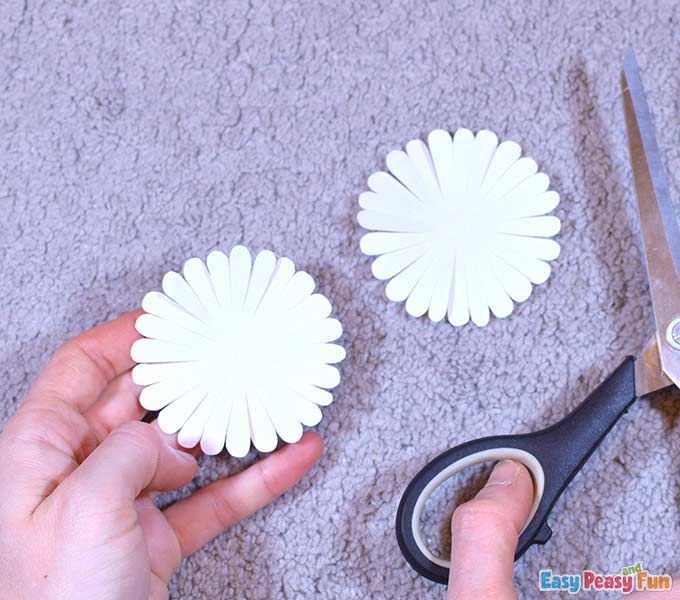
Make more cuts around the circles to form the petals of the daisy.
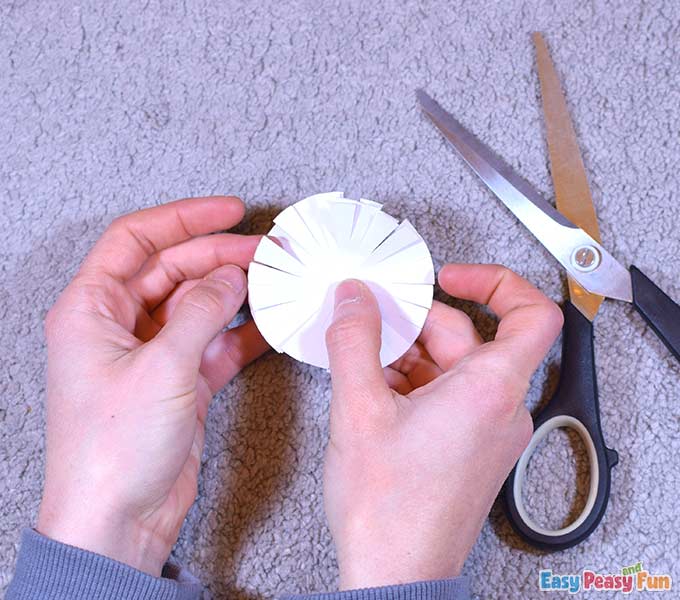
Round each of the petals.
Apply a hot glue dot in the center of one of the flowers and glue the flowers together to form the daisy.
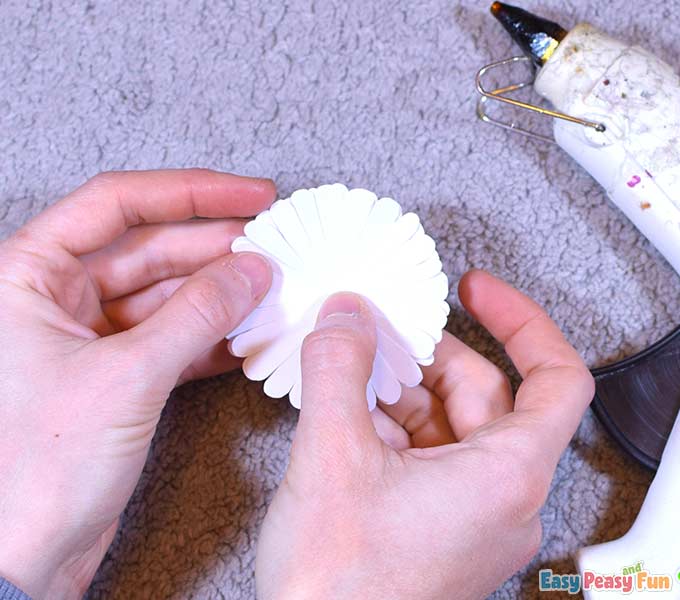
Apply some hot glue to the pom-pom and glue it to the center of the daisy.
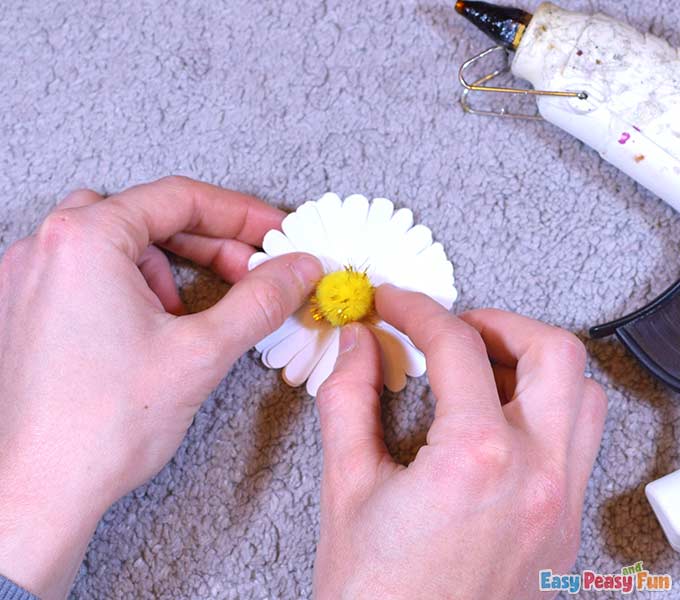
Bring the petals towards the center of the flower.
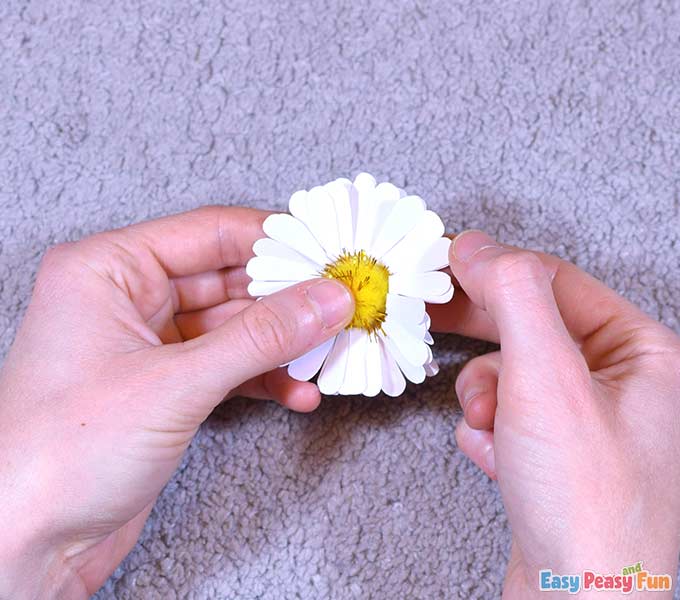
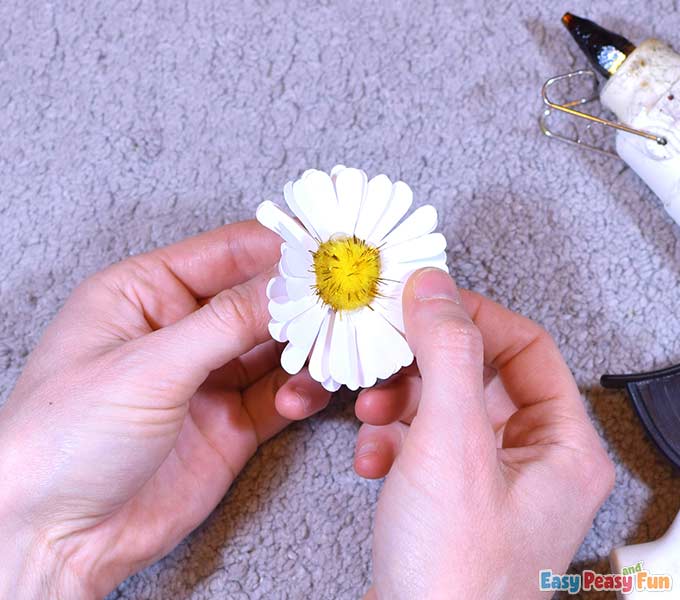
Apply some glue around the pom-pom and attach the bottom parts of the petals to the pom-pom.
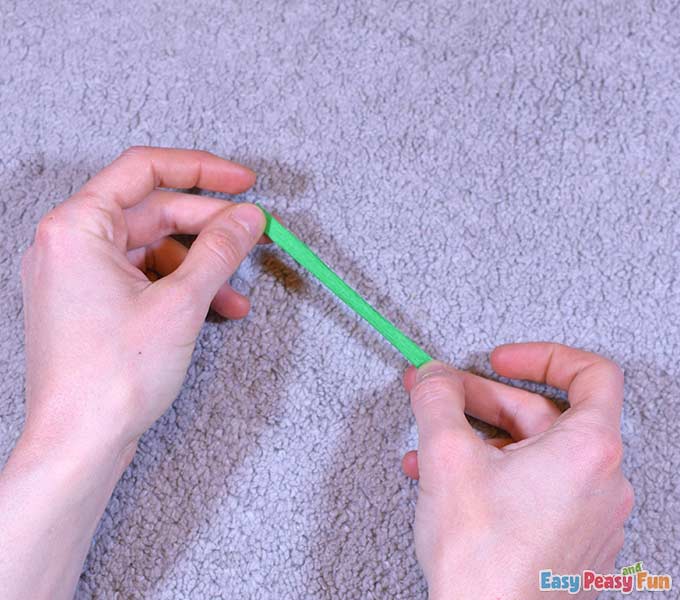
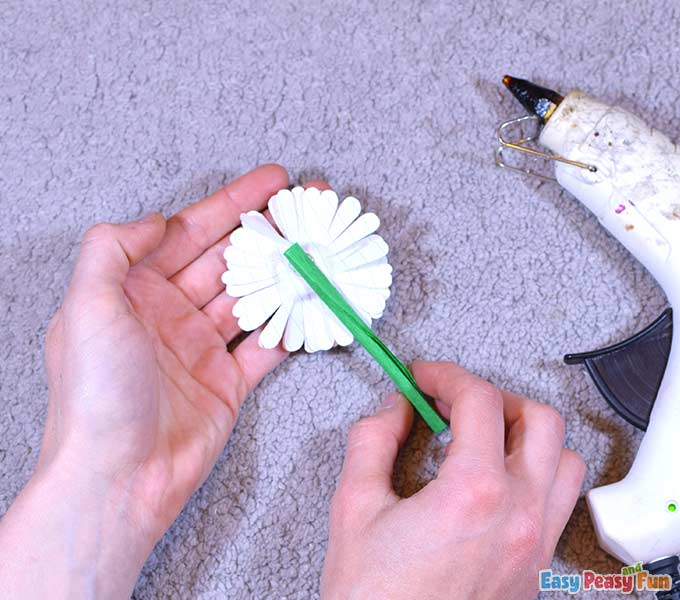
The Stem
Take a green crepe paper (approximately 8 cm long and 2,5 cm wide).

Roll it to form a stem for the daisy.
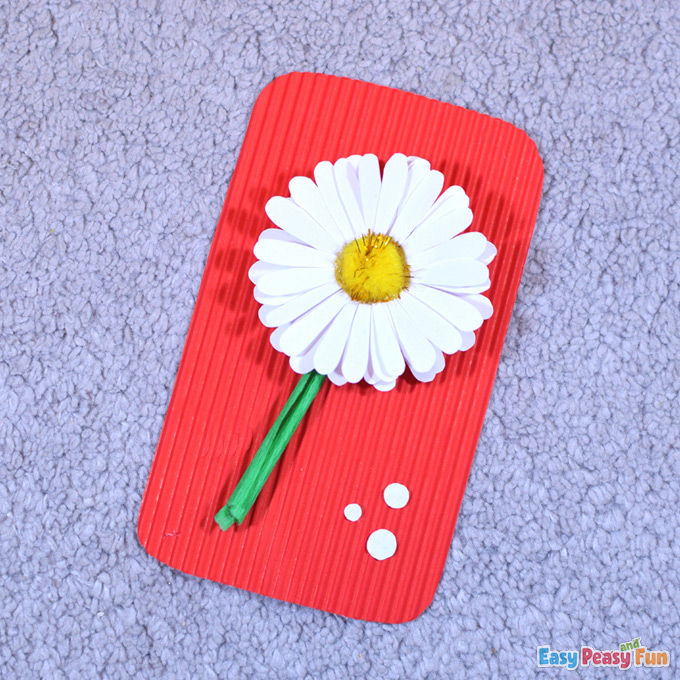
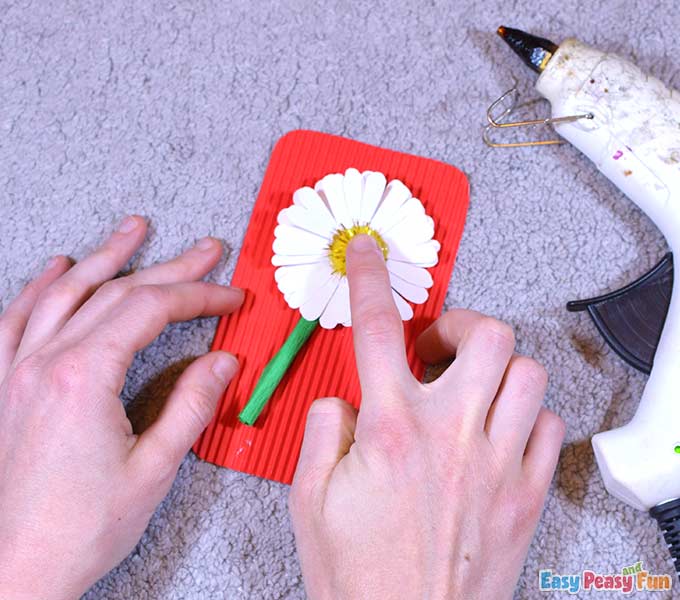
Apply some hot glue to the back of the flower and attach the stem.
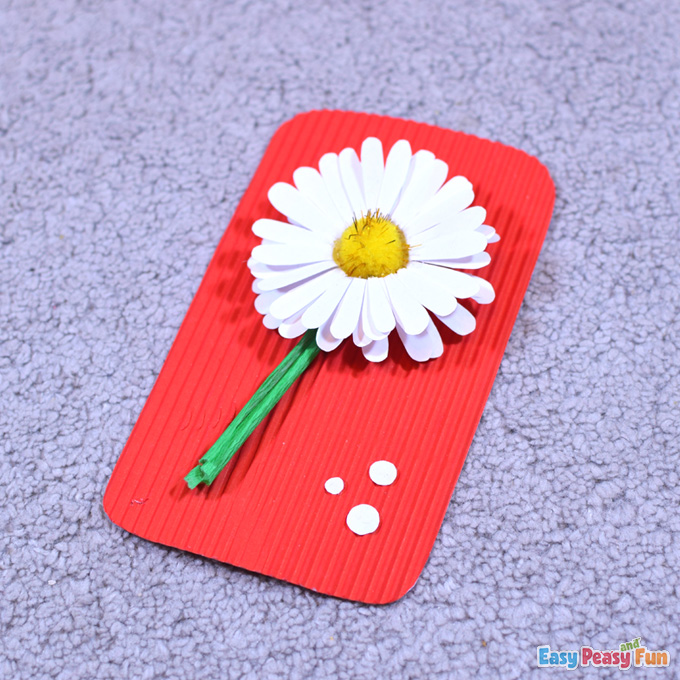
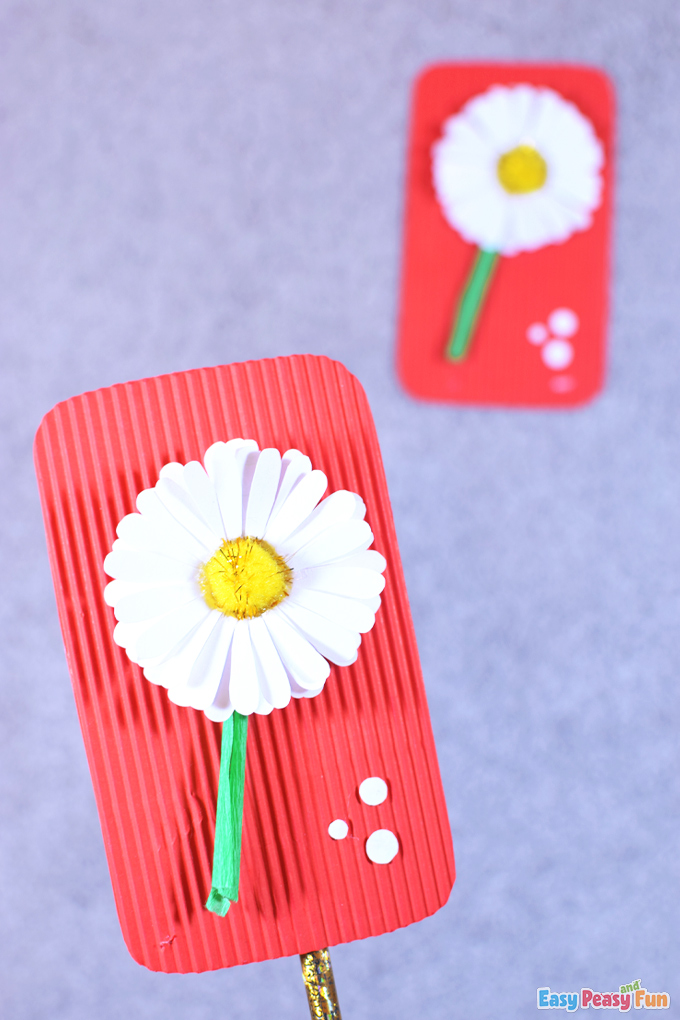
Take the daisy and glue it on the red corrugated color card.
Attach three white circles on the right side of the card as a detail.
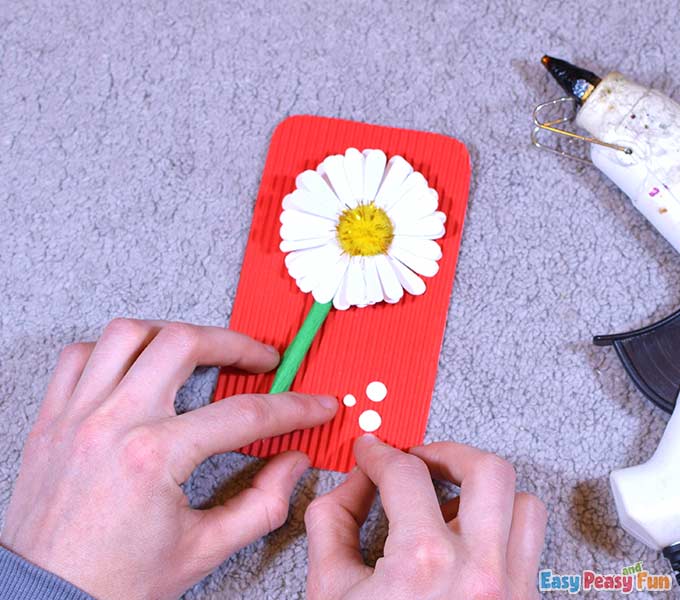
All done!

We hope you were having fun doing this project.
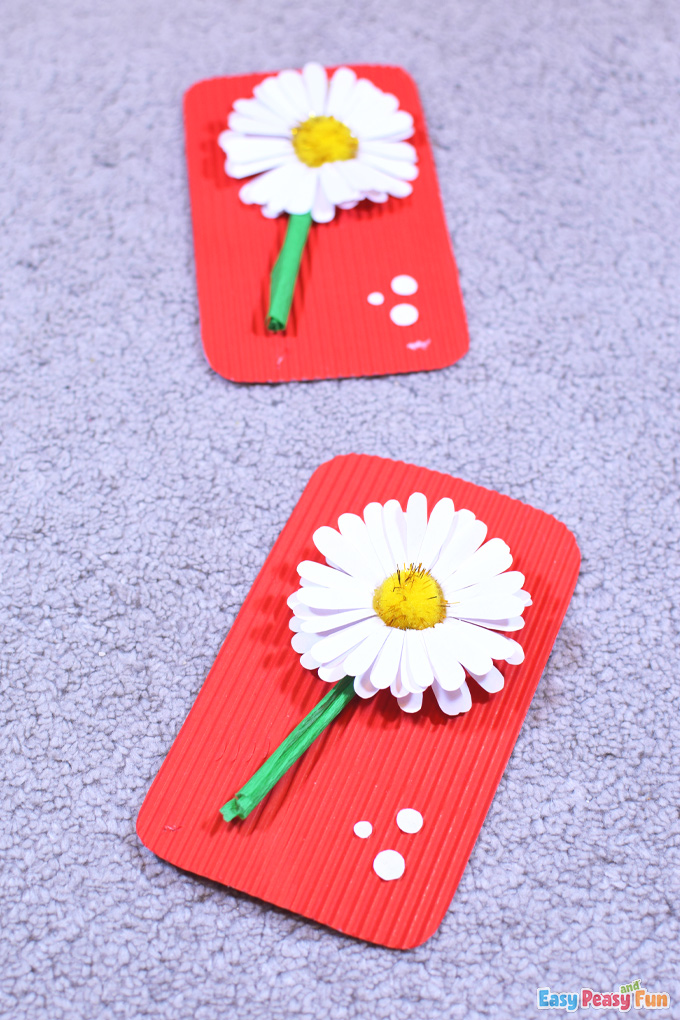
See you soon with more crafts; stay tuned!

Want instant access to all of our printable crafts, activities, and resources?

With thousands of crafts, activities, worksheets, coloring pages, and drawing tutorials to print, you will always have just the resource you need at your disposal. Perfect for parents and teachers alike!