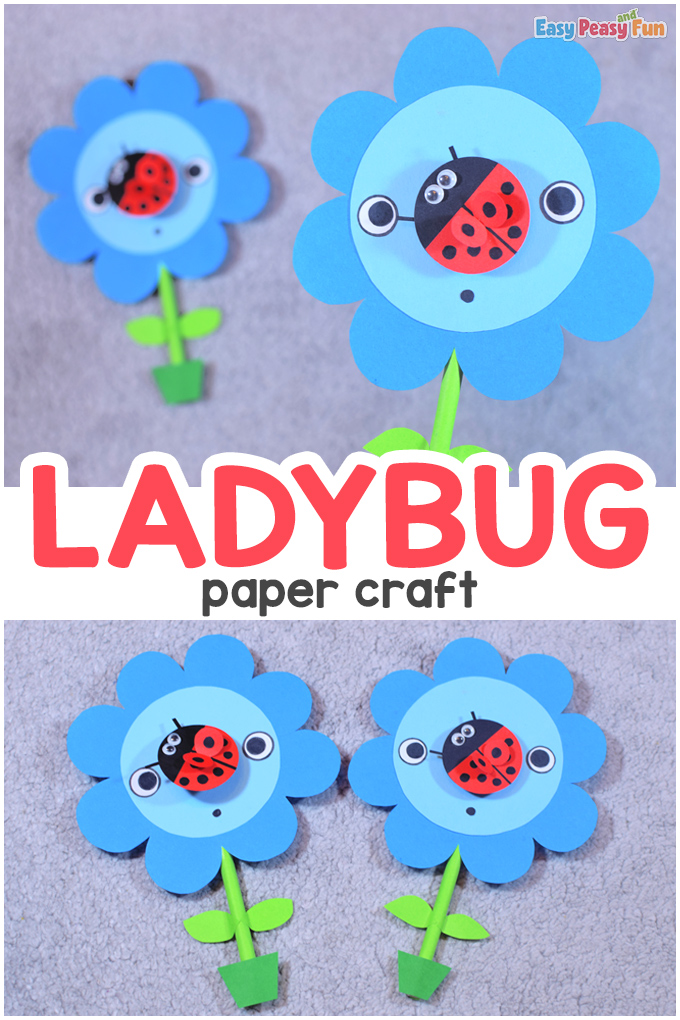
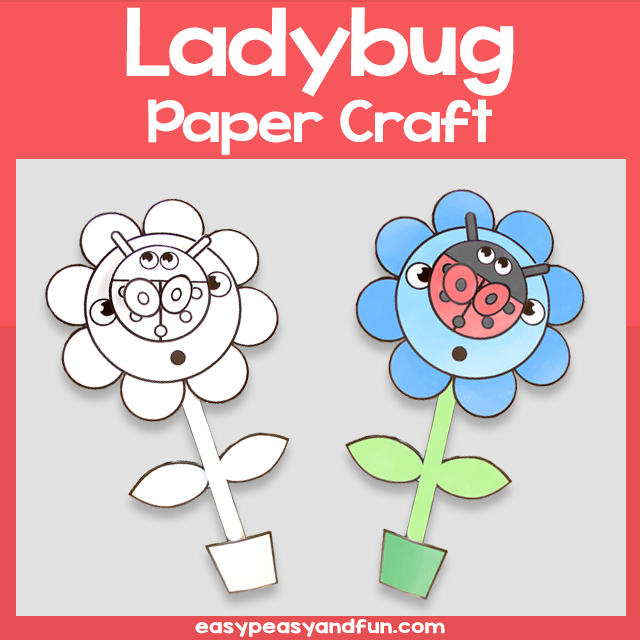
Grab your colorful papers and make a Ladybug Paper Craft with ease.
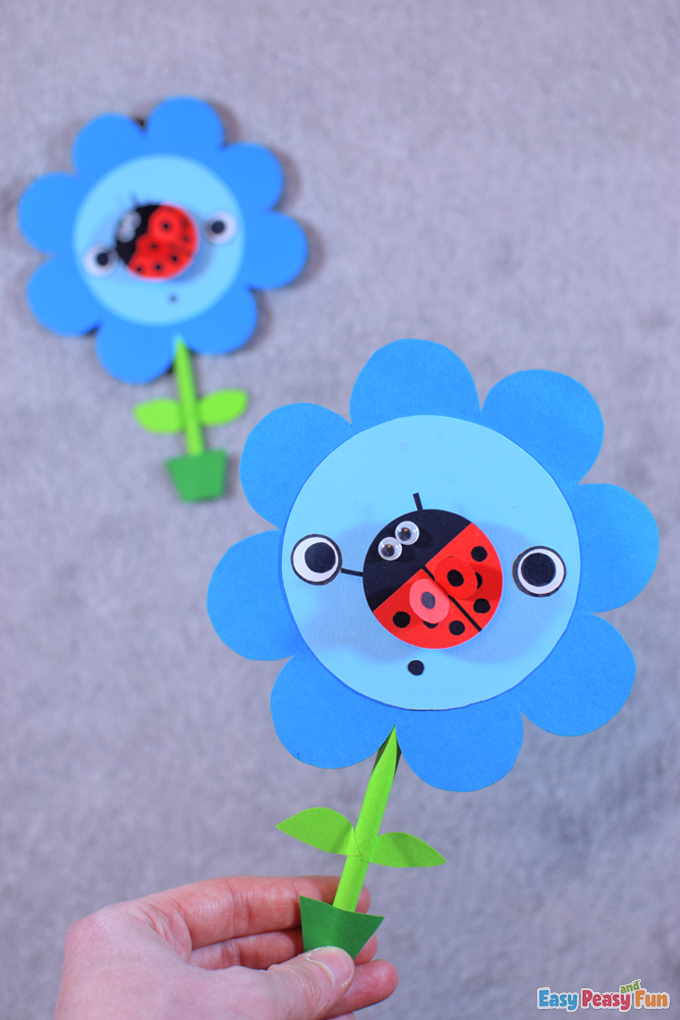
Children will love how this cute creature wobbles above the flower – it’s a perfect project for kids of all ages and great for springtime.
*This post contains affiliate links*
50 paper crafts your kids can actually do themselves

No fancy supplies — just paper, scissors, and a little imagination.
Be the first to get it on release day — and lock in the lowest price guaranteed.
Spring Projects are so fun; we love making them (check out our Ladybug Life Cycle Agamograph or create a Swirly Paper Ladybug Craft).
Make a step forward and learn How to Draw a Ladybug with our guided tutorial. We’re sure your kids are going to draw a neat one.
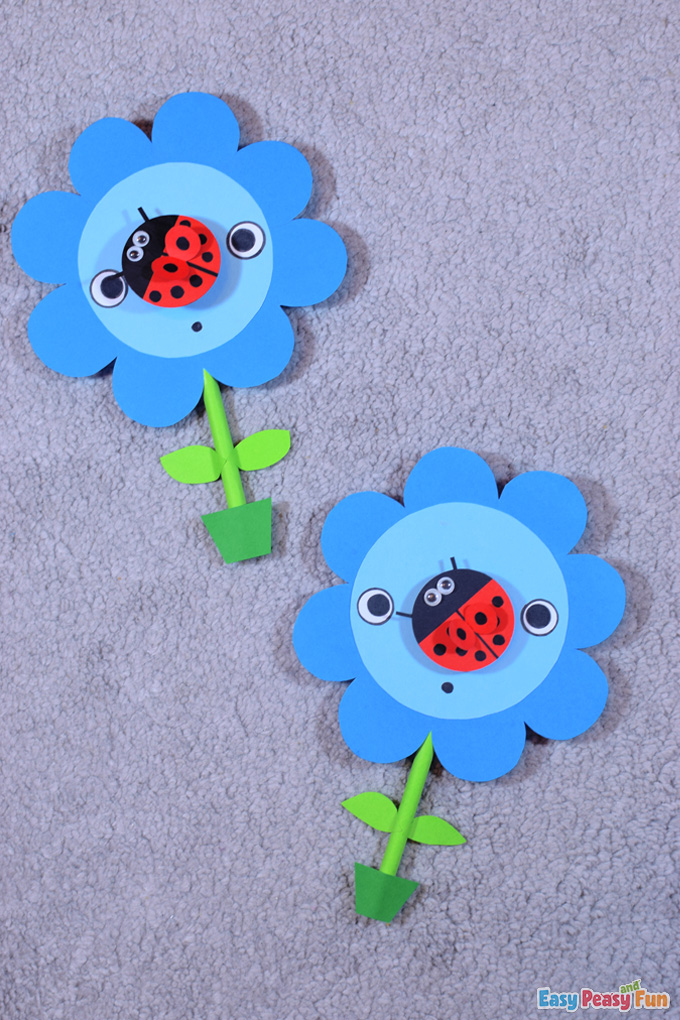
In spring, flowers bloom, bugs fly all around, and we are crafting and enjoying it all in the garden.
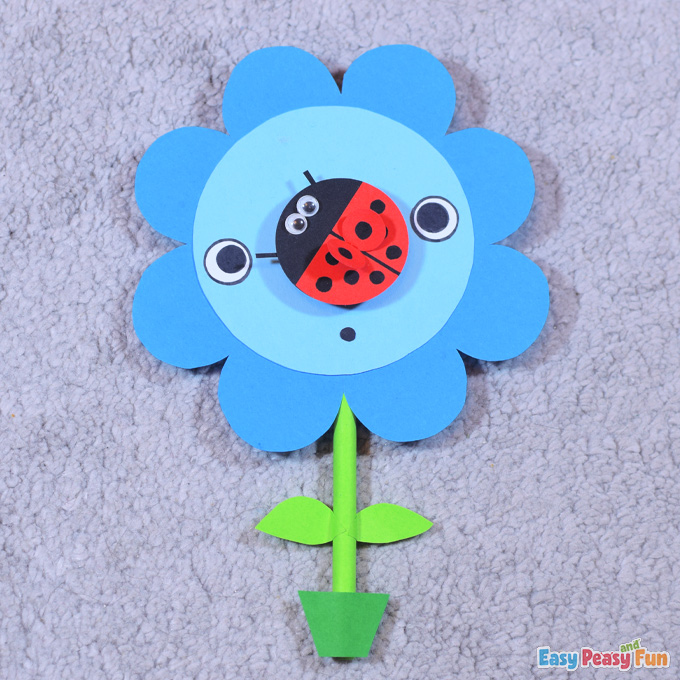
Today, our project is a tiny ladybug that landed on a flower’s nose.
We had so much fun doing this project – it turned out to be so heart-warming for us. Plus, it is a cute one.
So guys, if you decide to do this project, let us guide you through the steps.
How to Make a Ladybug Paper Craft
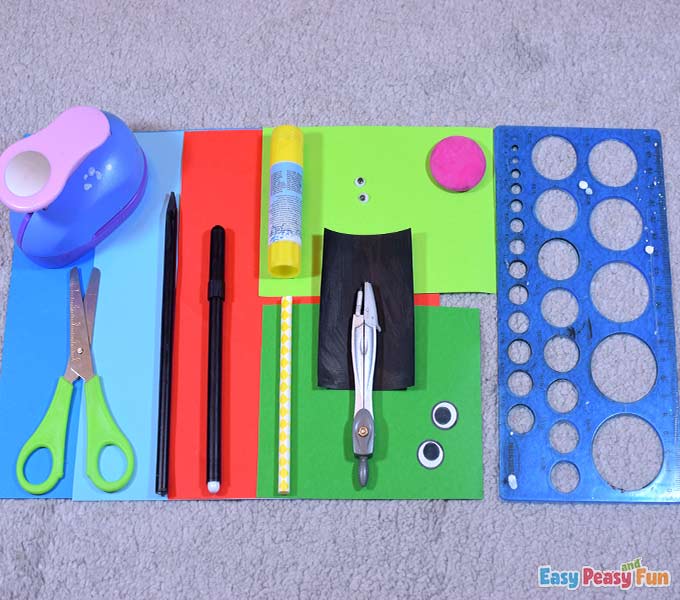
What you need:
- light blue cardstock
- dark blue color paper
- light green color paper
- dark green color paper
- plastic straw
- scissors
- glue
- big googly eyes or big paper eyes
- small googly eyes or small paper eyes
- black marker
- pencil (and an eraser to erase the pencil marks afterward)
- black cardstock
- red color paper
- ruler with circle shapes
- compass
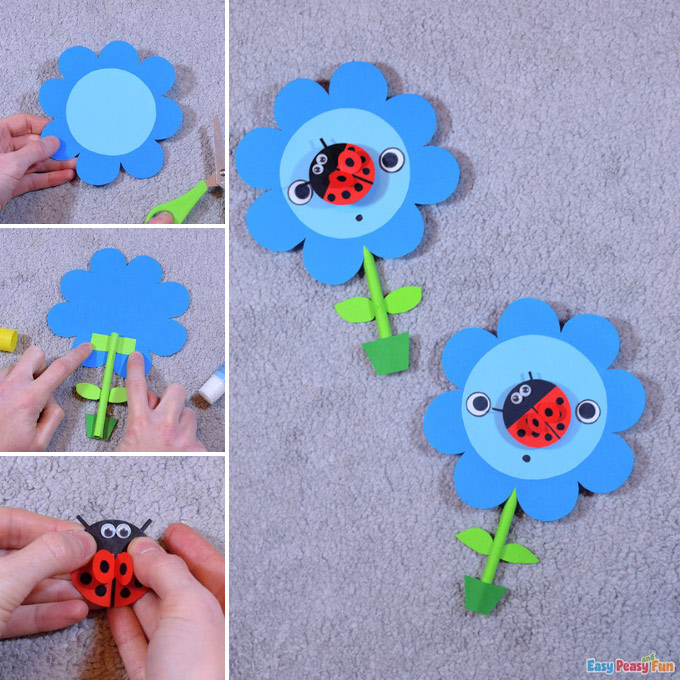
Step by Step Tutorial
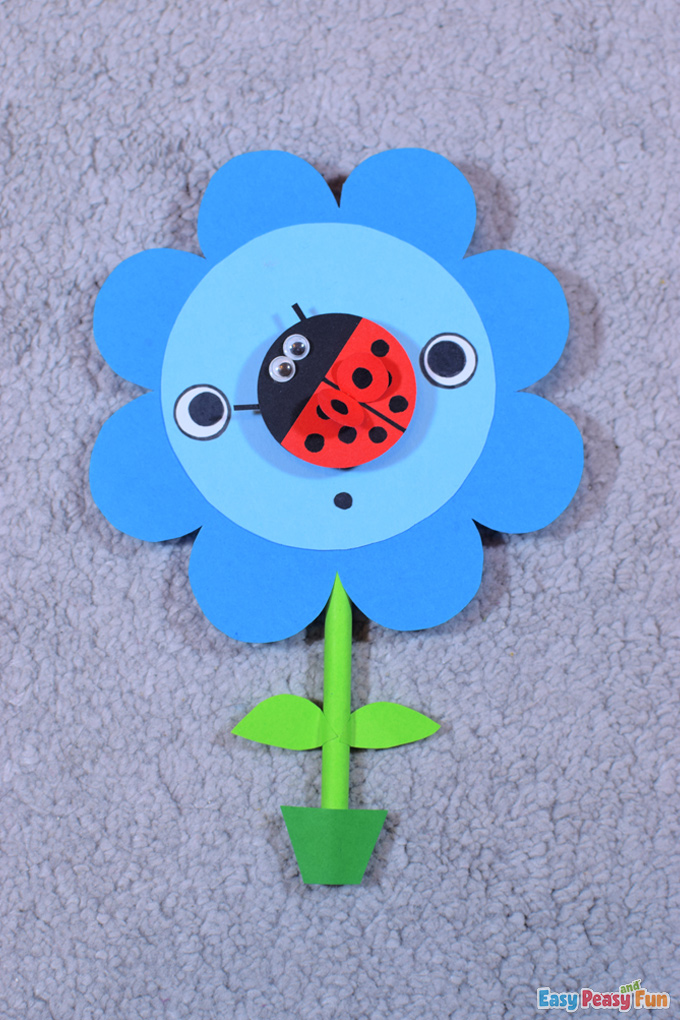
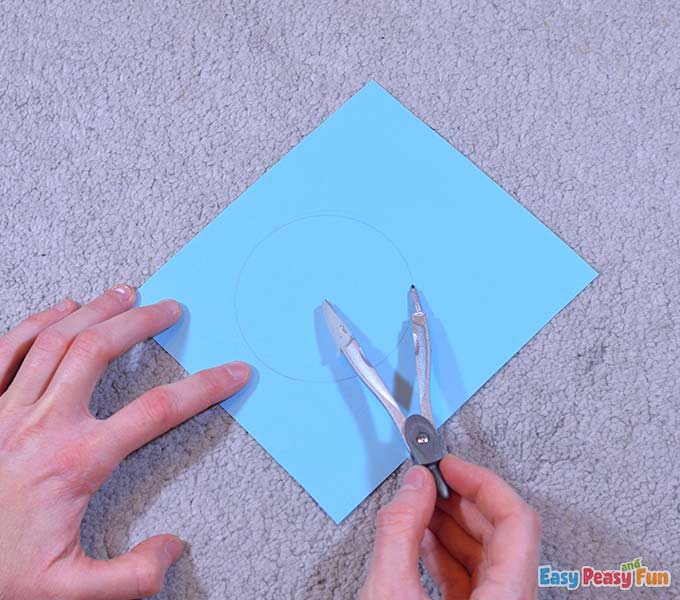
The Flower
Firstly, take the compass and draw a circle 8 cm diameter on the light blue cardstock.
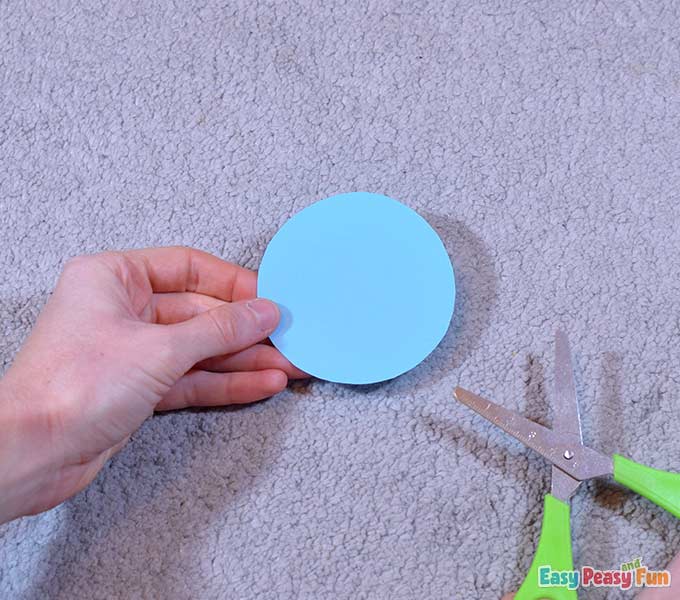
Cut out the circle with your scissors.
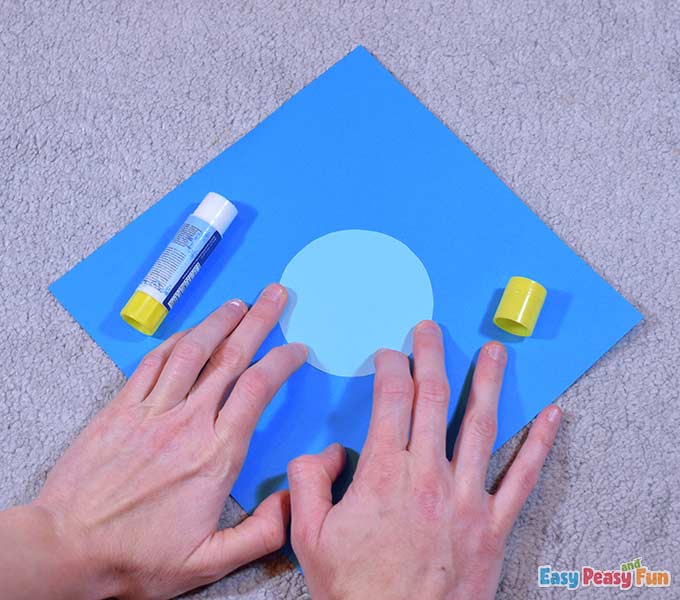
Next, glue the circle on the dark blue color paper.
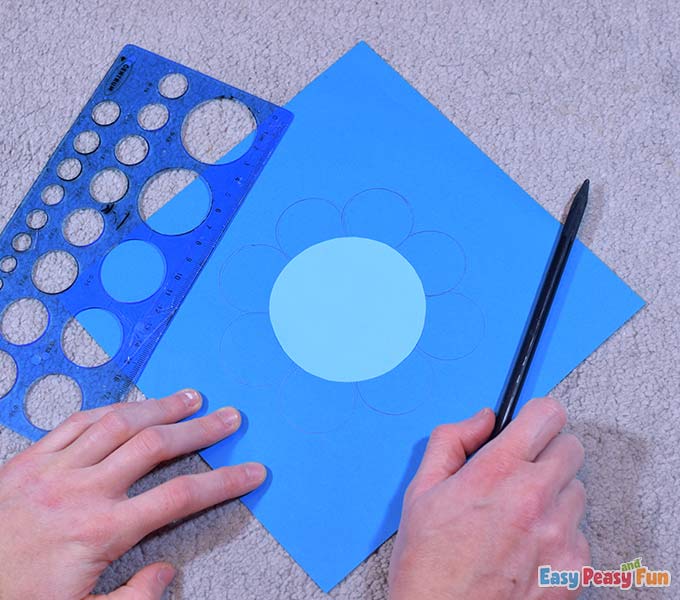
The Petals
Take the ruler with circle shapes and draw eight flower petals around the light blue circle.
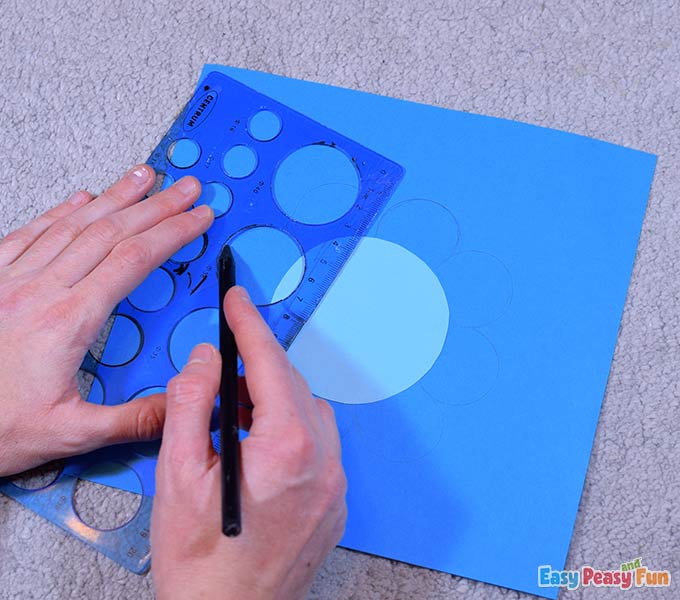
We traced the circle with a 3,5 cm diameter.
You can draw the flower petals freehand if you don’t have a ruler with circle shapes.
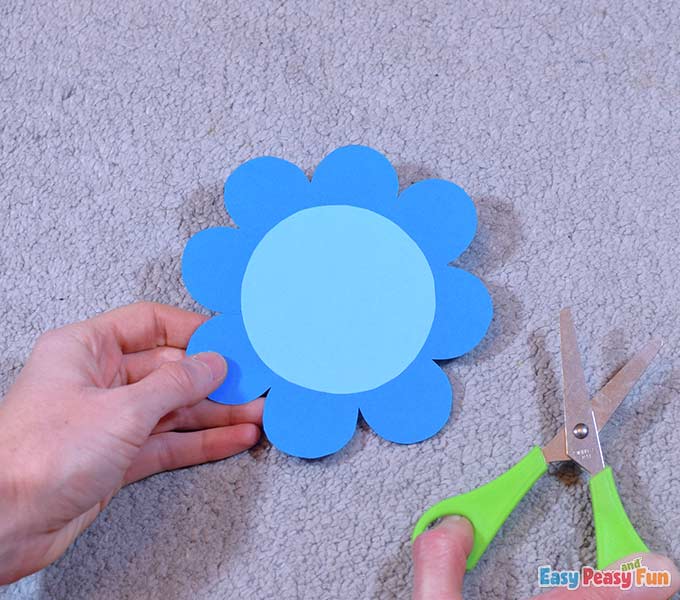
Continue by cutting out the flower with your scissors.
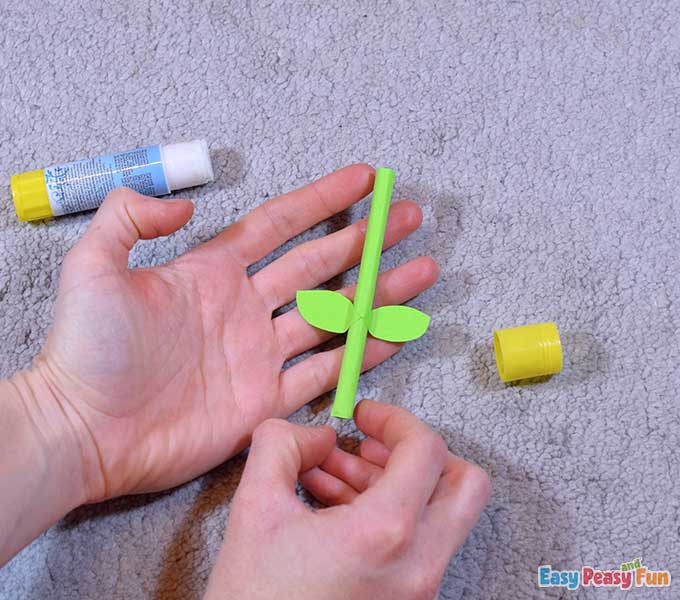
The Stem
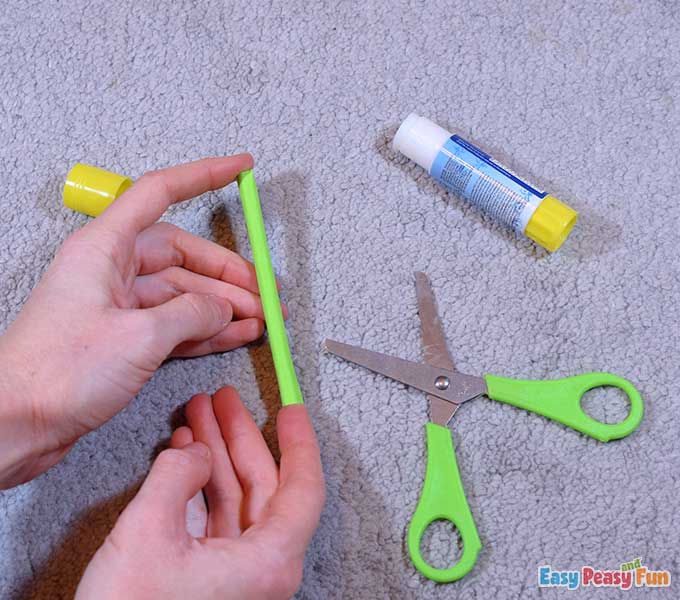
Take the plastic straw and trim it to 9 cm in length.
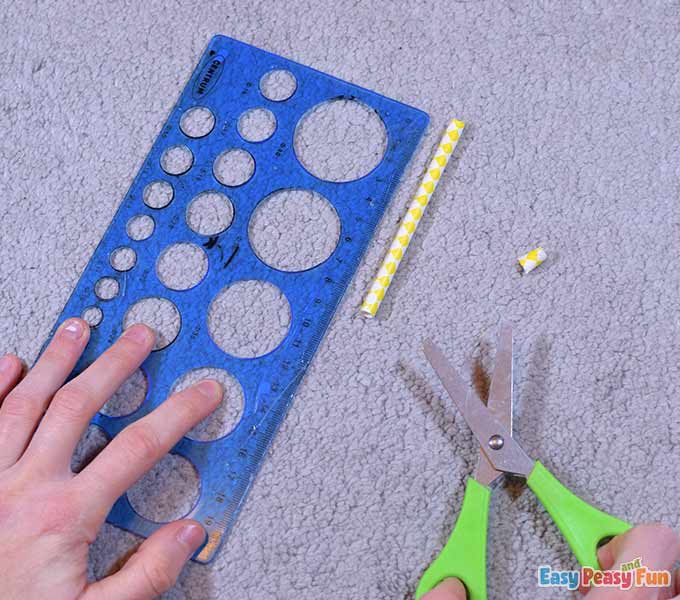
Wrap a light green color paper around the straw and fix it with glue.
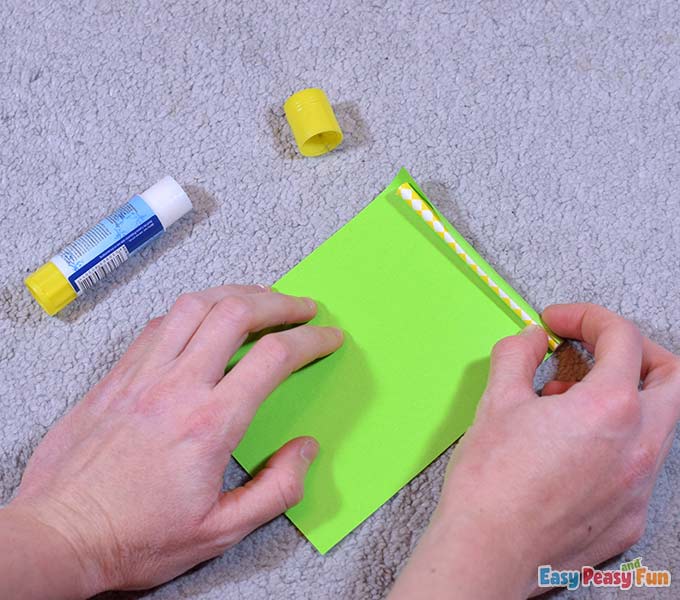
If there is any excess paper, cut it off.
The green straw is the flower’s stem.
The Leaves
Draw two leaves on the light green color paper.
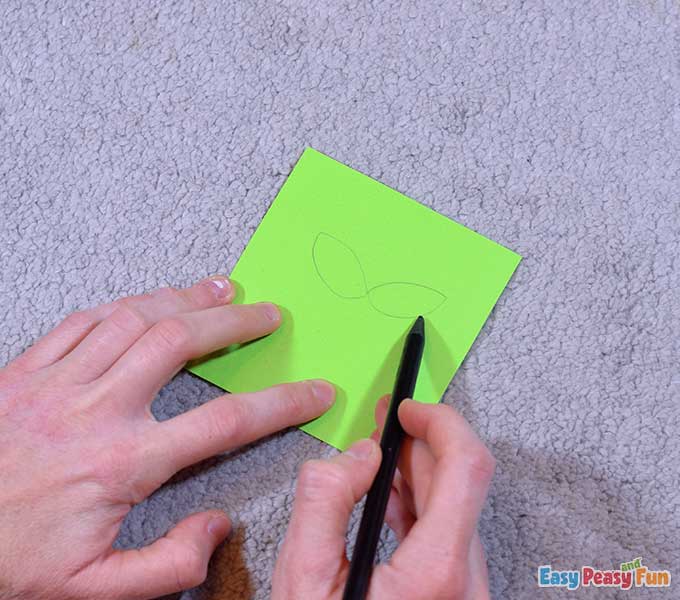
Cut the leaves out with your scissors.
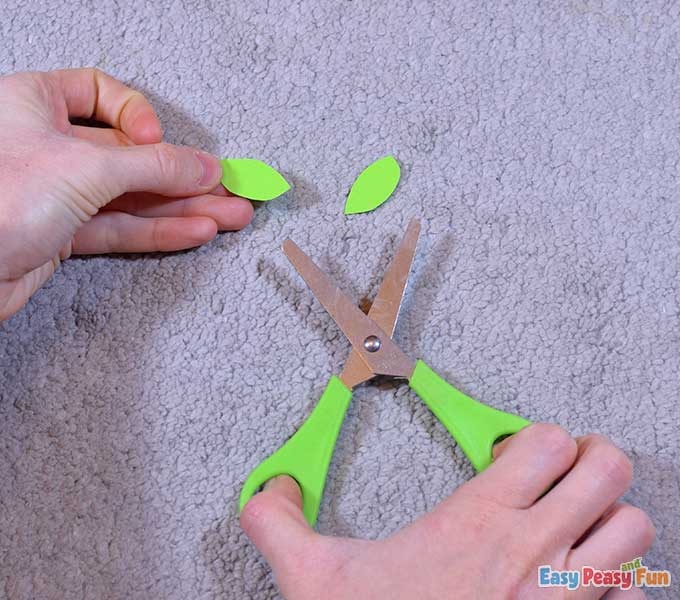
Glue the leaves on the stem as shown.
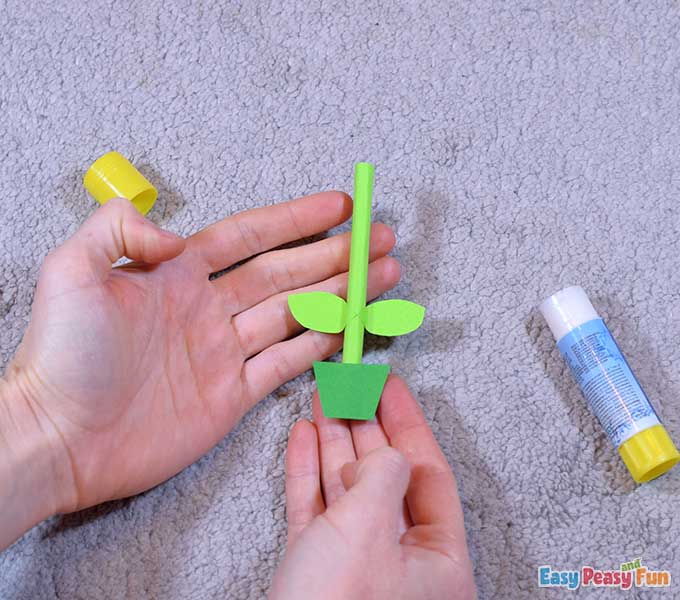
On the dark green color, paper draw a tiny pot.
Cut the pot out with your scissors.

Apply some glue on the back of the pot and glue it at the bottom part of the stem.
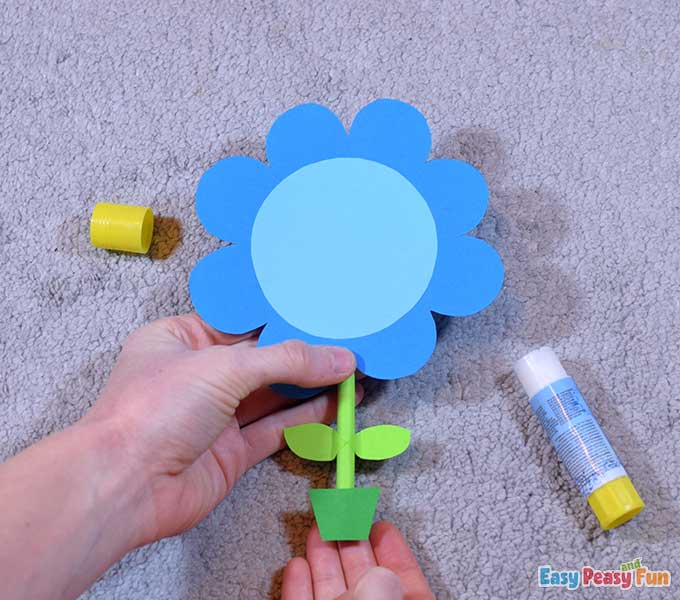
Now take the stem, apply some glue on the top part of it and attach the flower.
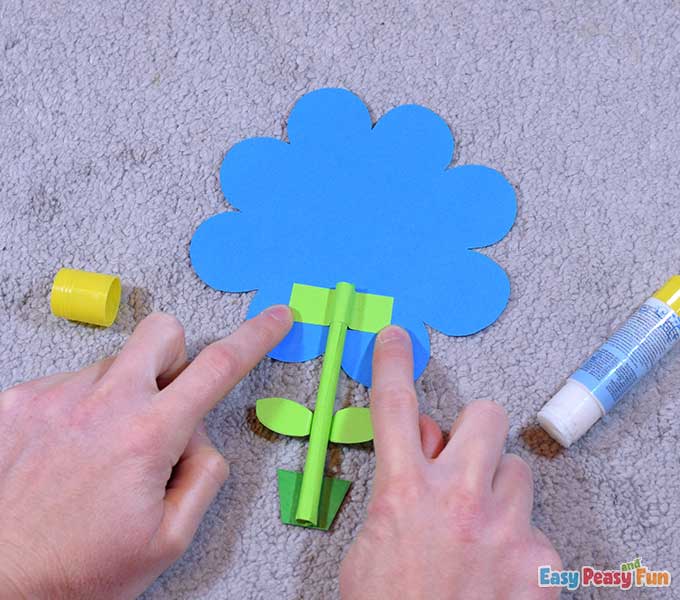
Cut out a piece of green paper – a rectangle – and secure the stem with it.
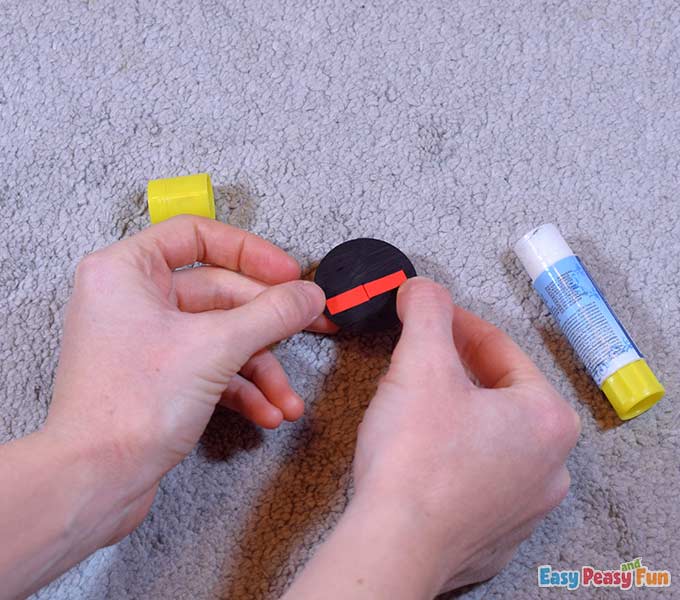
The Ladybug’s Body
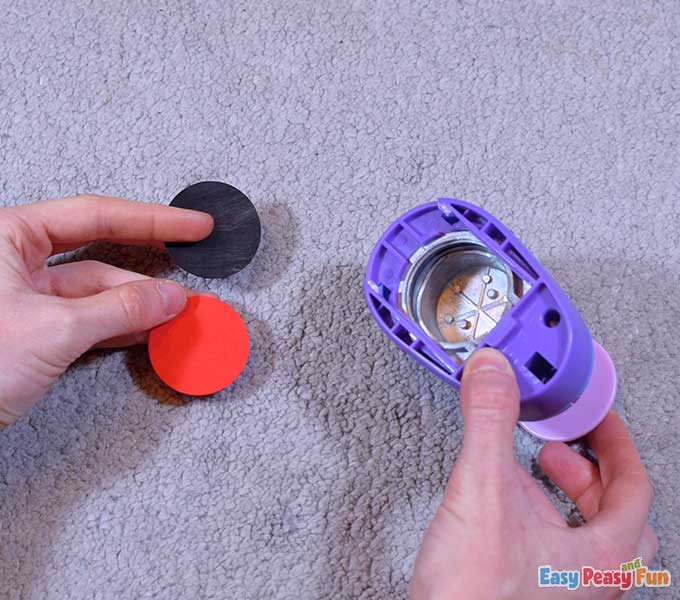
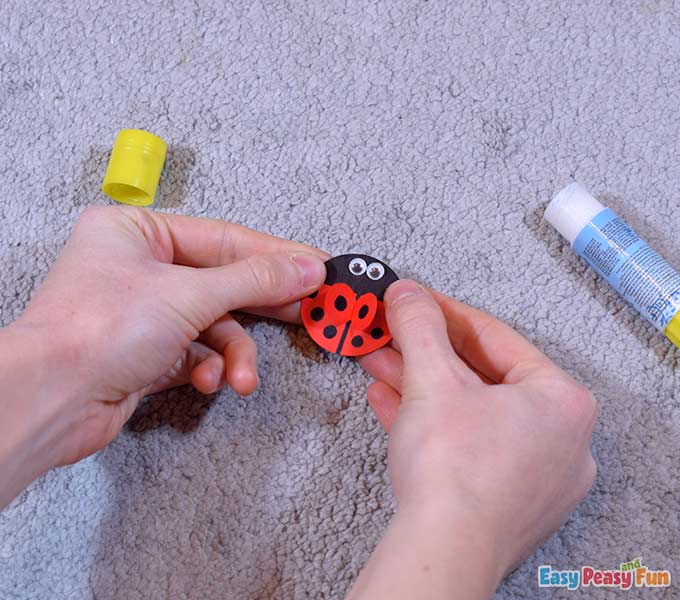
To make the ladybug, punch out one black circle and one red circle.
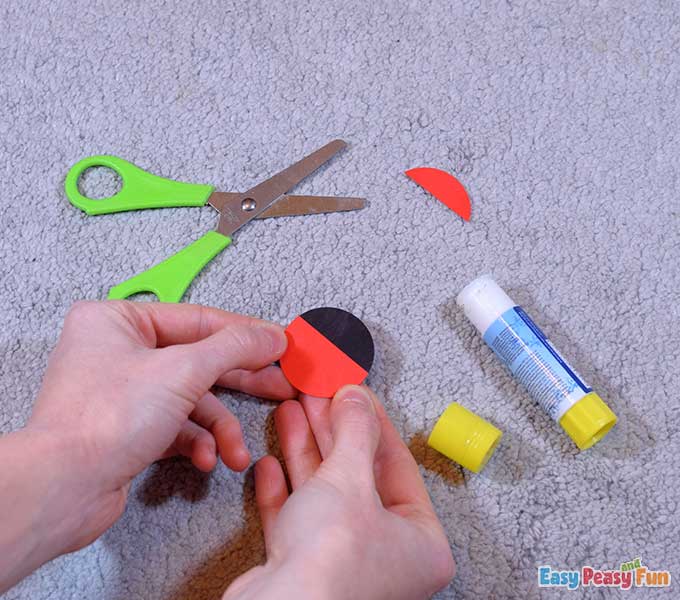
Cut 1/3 of the red circle off and glue the remaining part on top of the black circle.
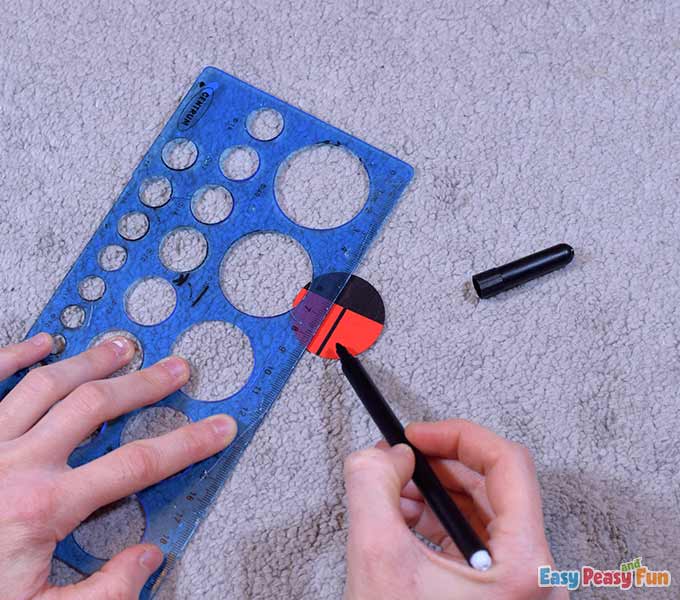
Take the black marker and the ruler and draw a line to divide the red part in two.
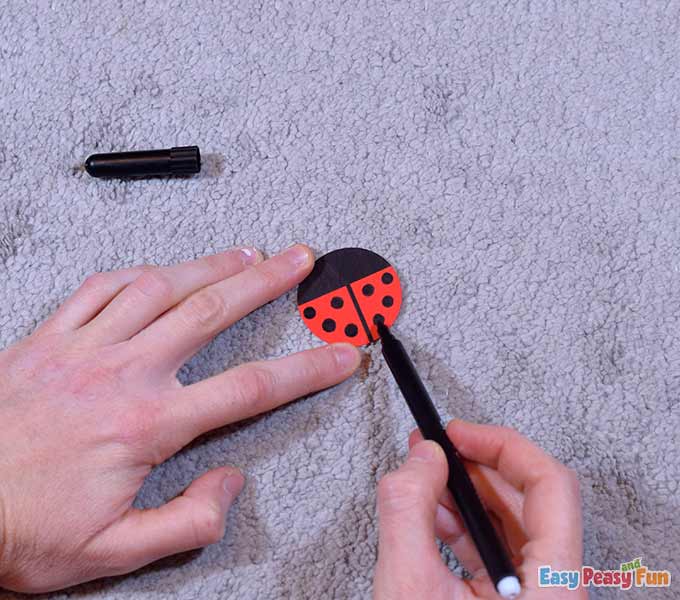
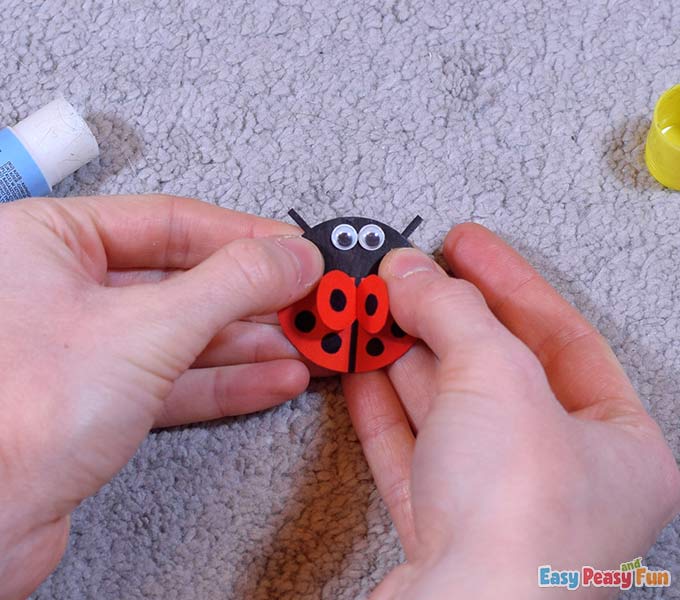
The Ladybug’s Dots
Now draw black circles on the red part, four on each side.
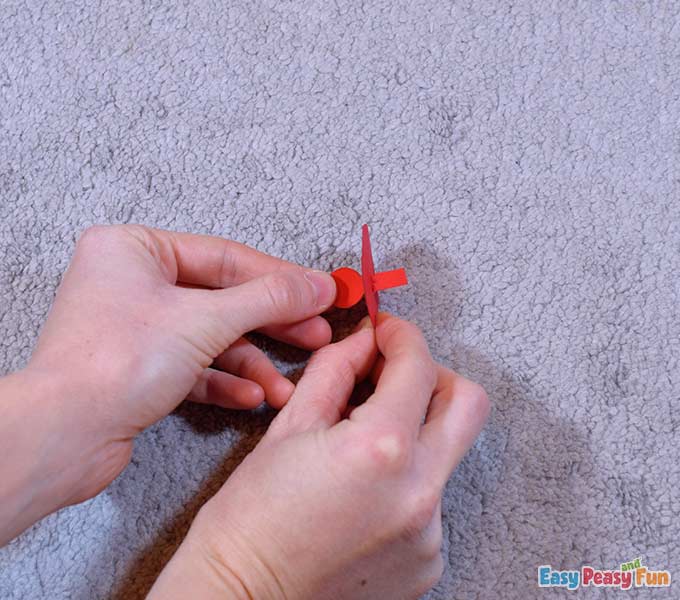
The Wings
Take the ruler with a circle shape and draw two small circles on the red color paper. Our circles have 1,5 cm diameters.
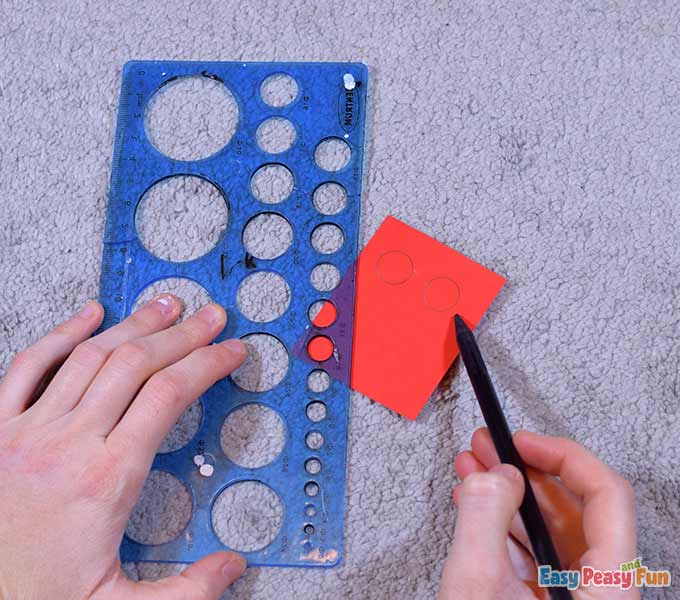
Now draw two rectangles (0,5 x 1,5 cm) touching the circles.
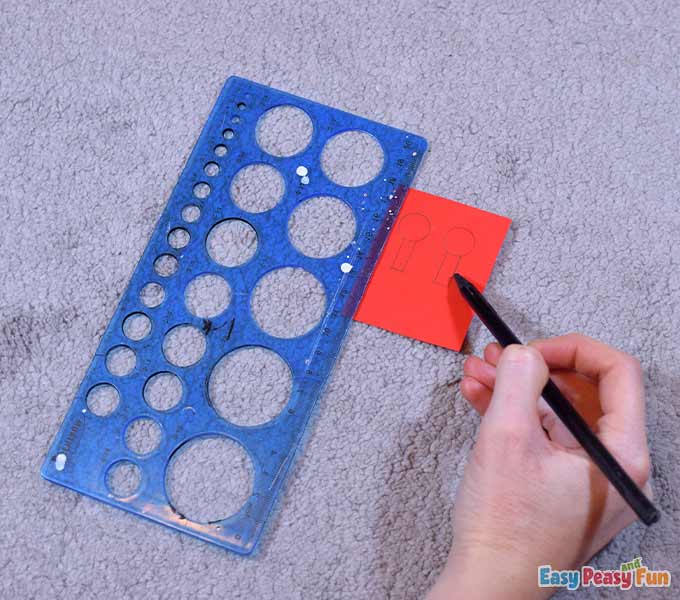
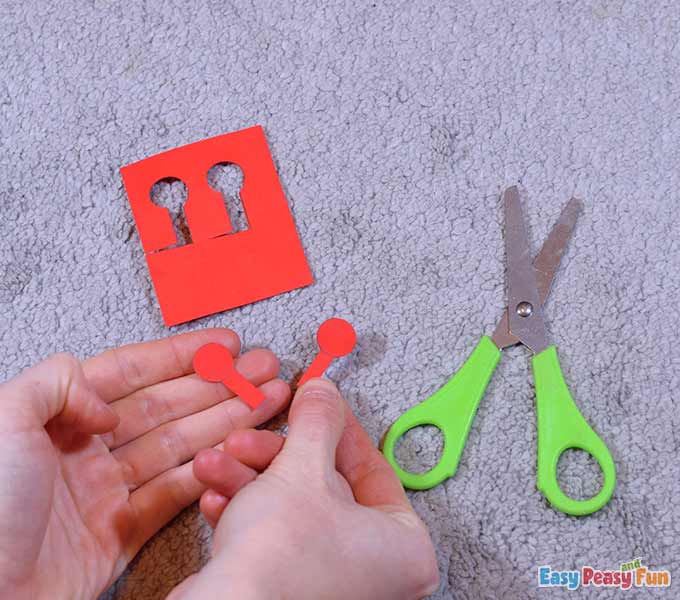
Cut out the circles with the rectangles. The circles would be the wings, and the rectangles will help attach the wings to the ladybug’s body.
Make a tiny vertical cut (0,5 cm) in the middle of the ladybug.
Use the needle of the compass to cut.
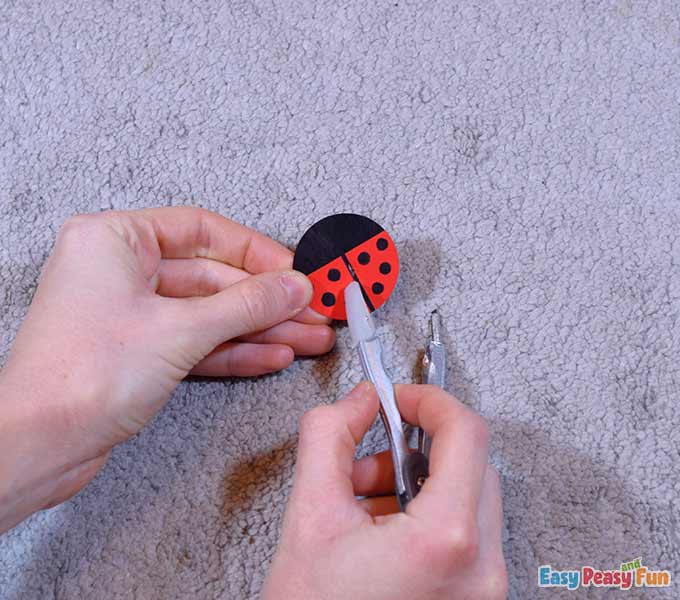
Now push the rectangles through this cut.
Flip the ladybug and glue the rectangles on the black circle.
Separate the wings and press them a bit, so they look nice.
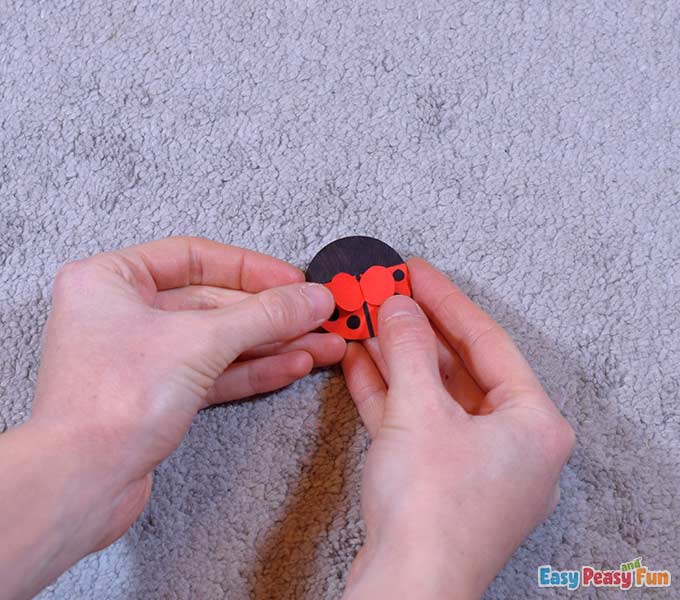
Draw a black circle on each wing.
Take the tiny paper/googly eyes and glue them on the ladybug’s head.
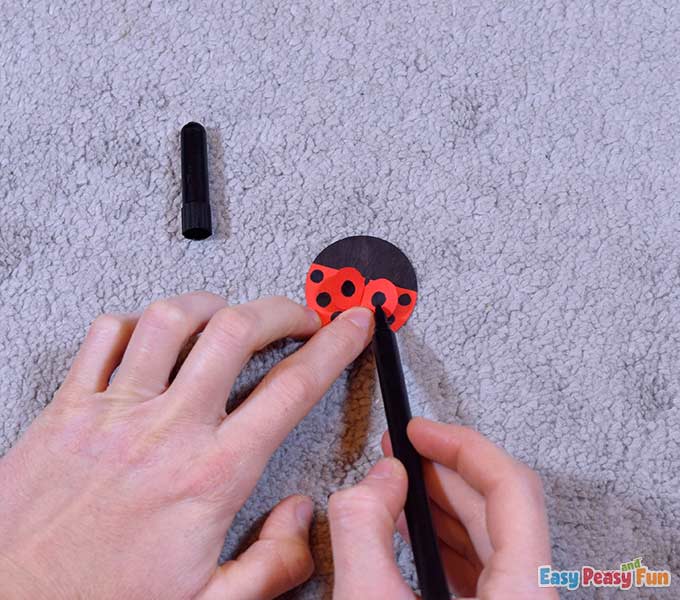
The Antennae
Next, add two tiny black antennae to the ladybug’s head.
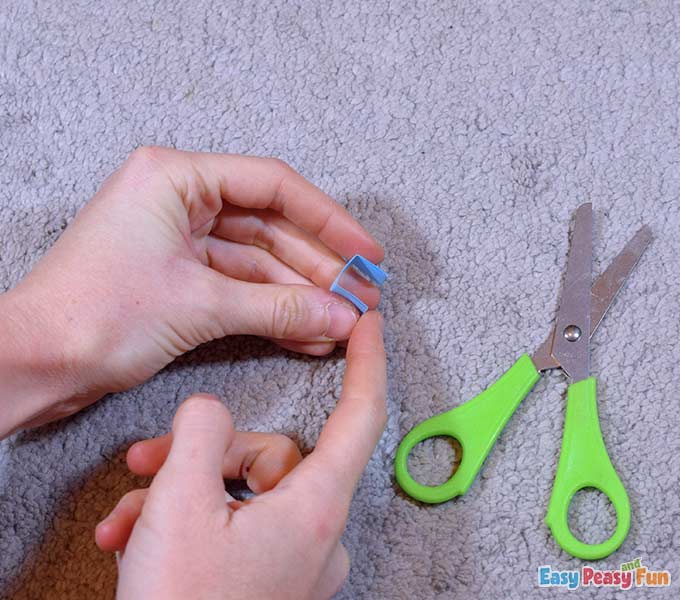
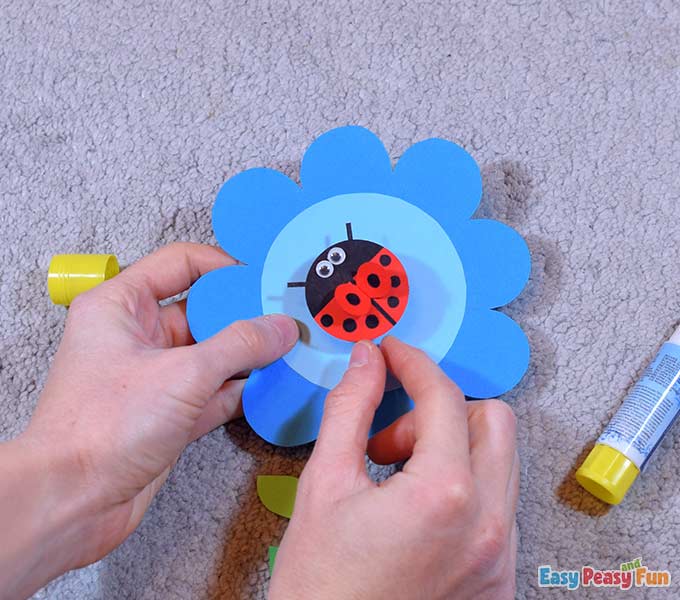
The Ladybug’s Stand
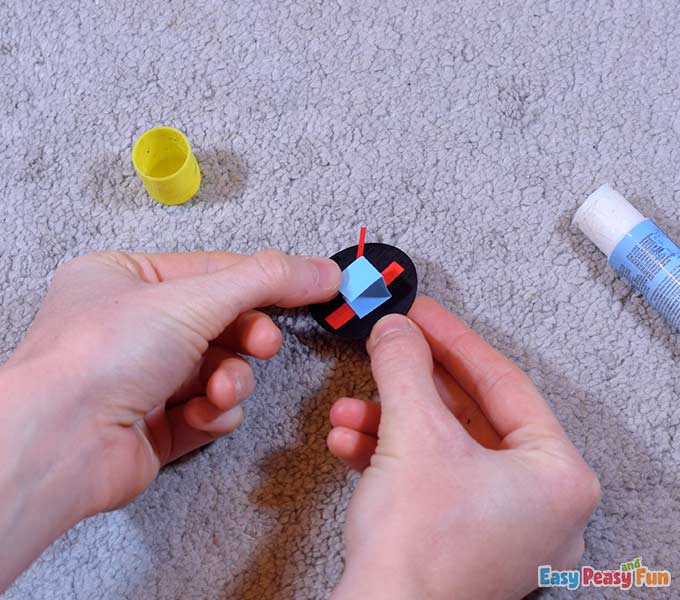
Cut out one light blue strip (1 cm wide and 3 cm long) and fold it in a П shape.
Next, you’ll glue the ladybug on one side of the П shape and then glue the other side of the П shape on the flower in the center.
Wait until the glue dries, and then make the ladybug wobble using your index finger.
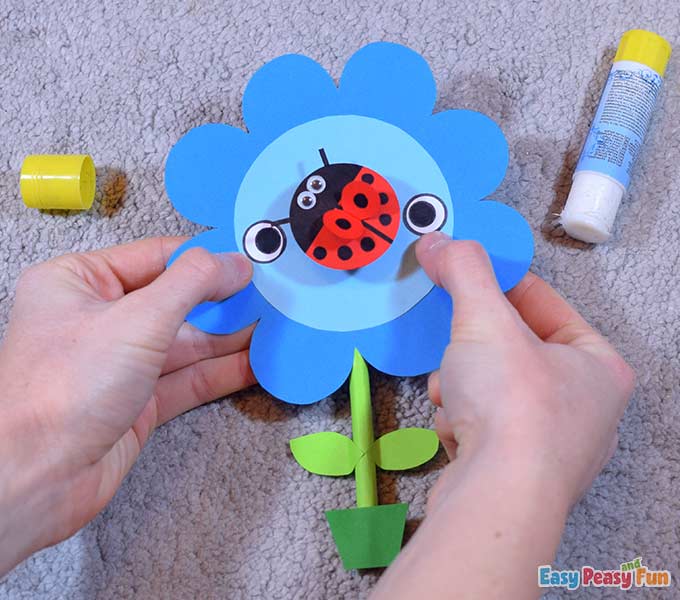
The Flower’s Eyes and Mouth
Add the big paper/googly eyes on the flower’s head.
The ladybug should stand in between the eyes.
Draw the flower a small black circle mouth.
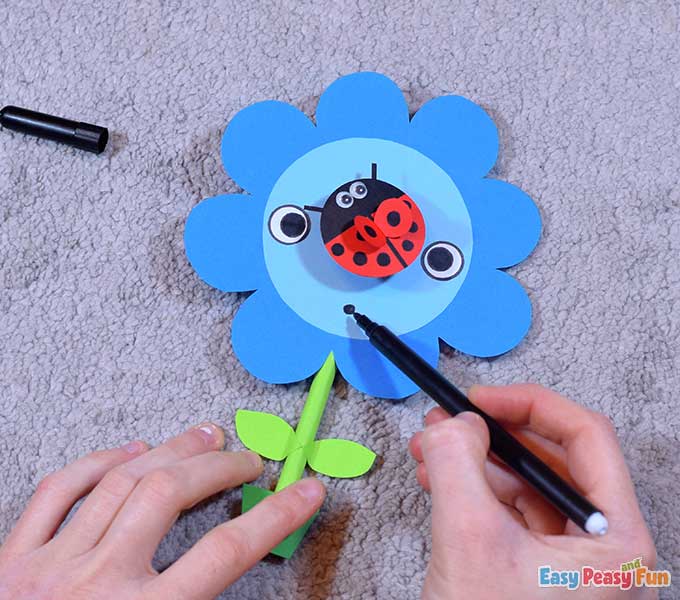
All done!
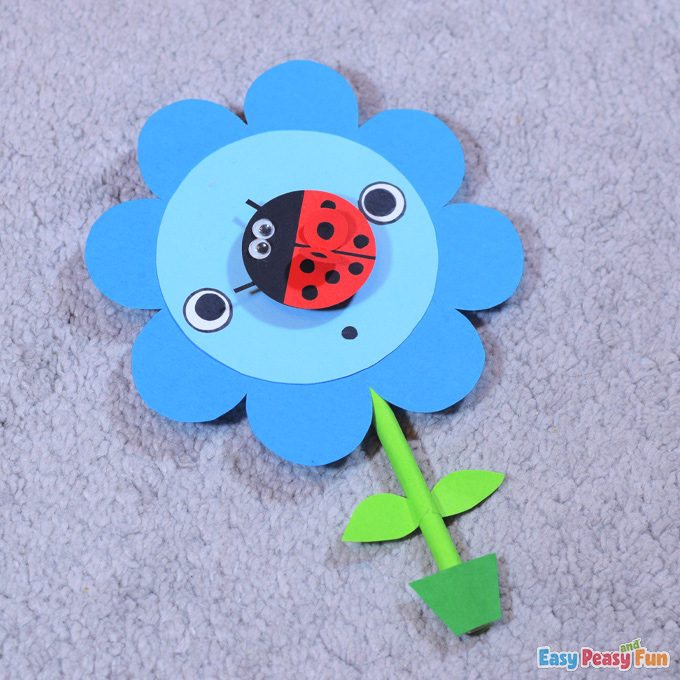
We hope you had fun making your ladybug on a flower.
Stay tuned for more!
Get Your Ladybug Paper Craft Template Here
Want instant access to all of our printable crafts, activities, and resources?

With thousands of crafts, activities, worksheets, coloring pages, and drawing tutorials to print, you will always have just the resource you need at your disposal. Perfect for parents and teachers alike!