Learning about the life cycle of a ladybug? Make things interesting and get to know these beautiful bugs through our ladybug life cycle agamograph template.
Making the ladybug agamograph will help your kids to understand how this adorable creature grows and will definitely keep them busy for some time!
*this post contains affiliate links*
50 paper crafts your kids can actually do themselves

No fancy supplies — just paper, scissors, and a little imagination.
Be the first to get it on release day — and lock in the lowest price guaranteed.
Have you ever found a ladybug and held it high up in the air for good luck until it flew away? We won’t be waiting for the ladybugs on paper to fly away, but we’ll be learning how this beautiful creature evolves all the way from laying eggs, to the adult bug.
There are 4 stages of ladybug’s life cycle, so your kids will be having fun by coloring 2 pages, of this agamograph. In the first stage, an adult ladybug drops yellow eggs onto the leaves. The stage that follows is a larval stage. On the next two pages, kids will be coloring a pupa and an adult ladybug.
Kids need to color the alternating images of each page to create the agamograph. If you’ve done some agamographs before, you know what the beauty of this cool craft is – after coloring and folding the agamograph, you can see two different images from two different angles.
You can also print out the “version 2” and color the whole images first, cut the parts, and then glue them back together in an alternating order.
Ready to make your own ladybug life cycle agamograph? Let’s get crafty!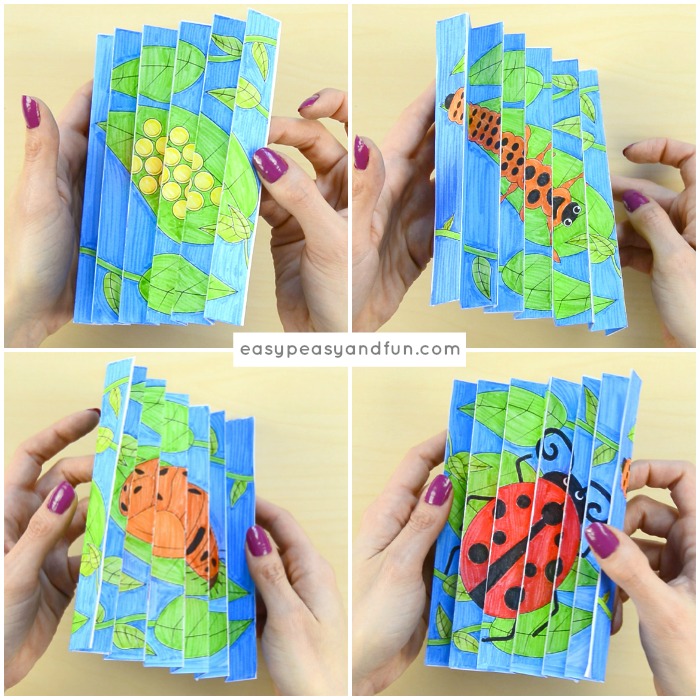
How to Make the Ladybug Life Cycle Agamograph
What you need:
- our printable template (you will find it at the very end of this tutorial)
- heavier print paper (you can use the regular one, but the heavier will be a better choice)
- coloring supplies
- scissors
- scoring tool
- glue
Follow These Step by Step Instructions
Print out the template (find it at the end of this step by step tutorial).
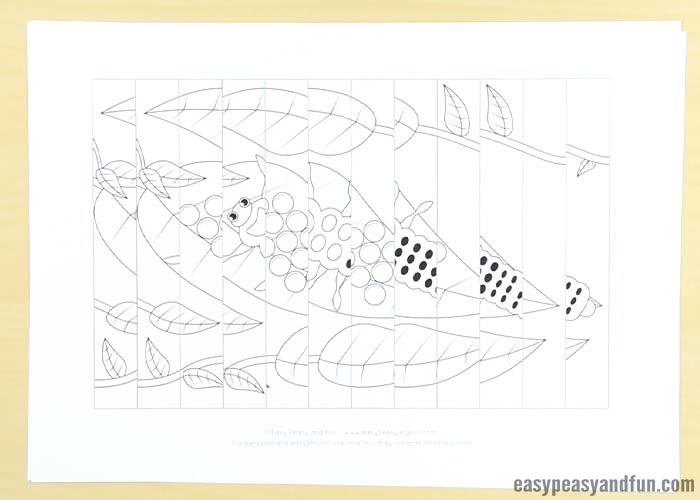
Use your best markers and color the whole alternating image.
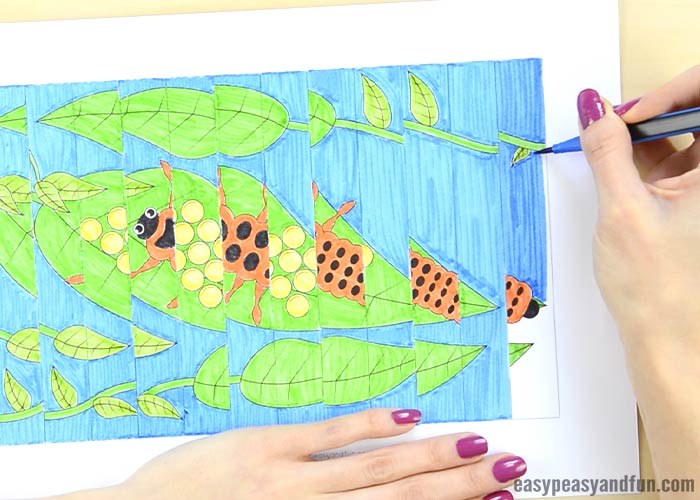
Cut along the outer line of your agamograph.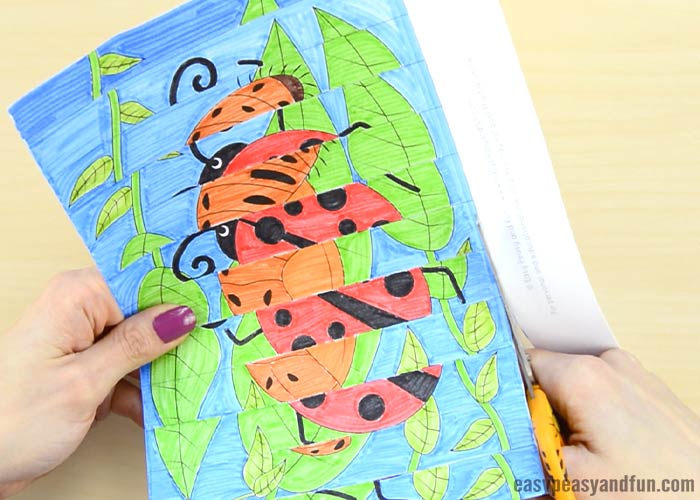
We need some scoring along the alternating images of the agamograph. Use a wooden stick with a sharpened tip or anything similar at hand, to get the effect.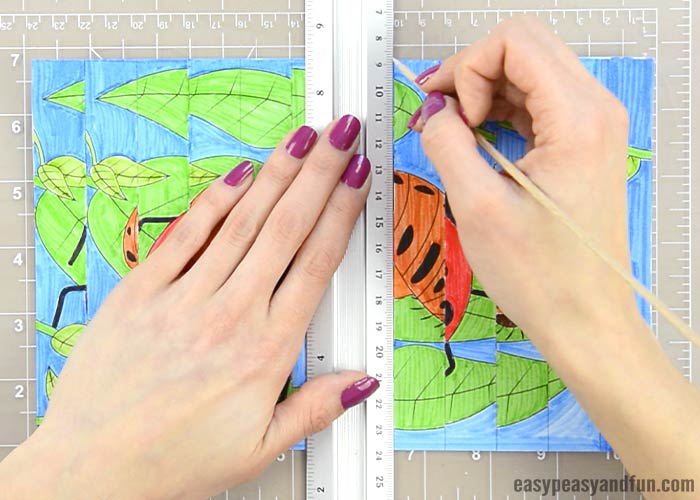
It’s folding time! Turn your agamograph around and use accordion fold technique.
Press each alternating image firmly.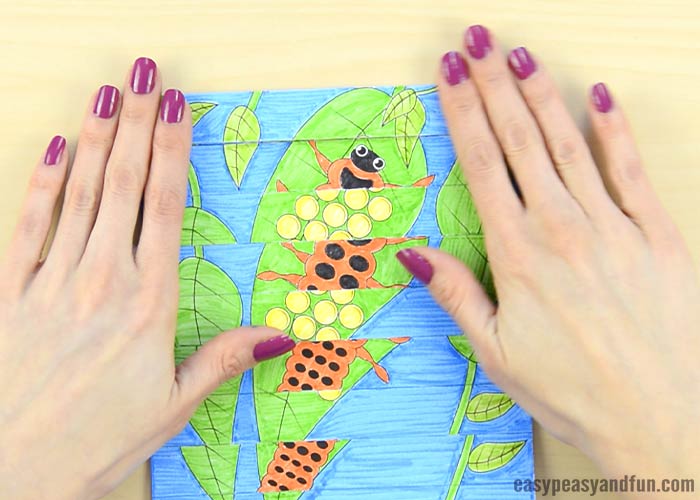
Repeat all of the above steps with the second page of the ladybug life cycle agamograph. Be careful to fold your second agamograph in an opposite way (without turning the page face down), so it will fit perfectly onto the first one when glued together.
Apply glue all over the agamograph’s blank page.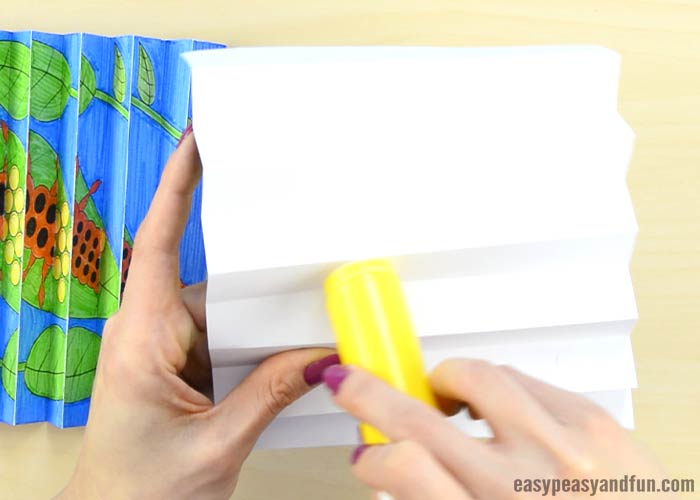
And glue it onto the second one.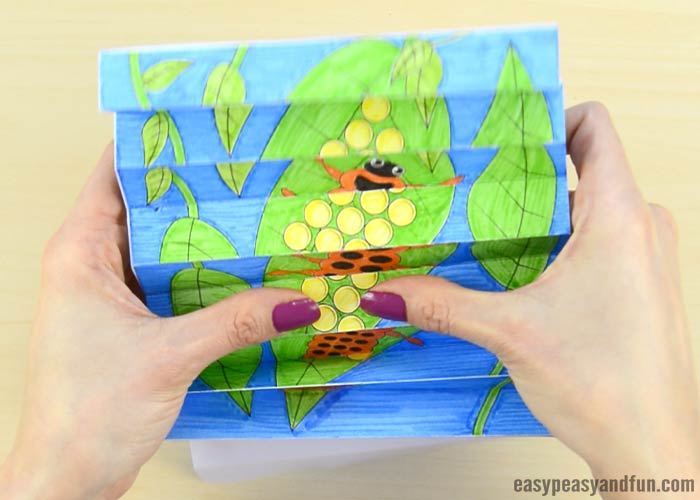
Your ladybug life cycle agamograph is all done! Take a look at the first stage from one viewing angle…
…and turn it a bit to see the larval stage of the ladybug life cycle.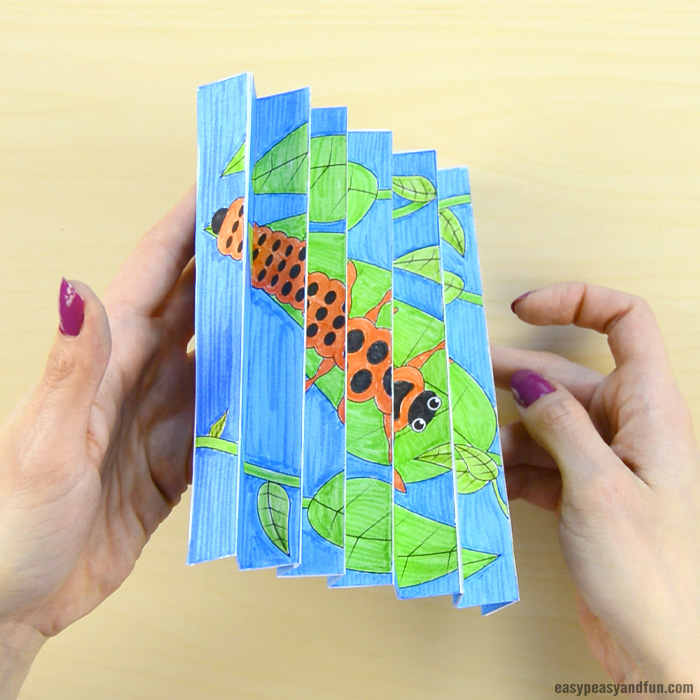
Flip it around to see the pupa stage…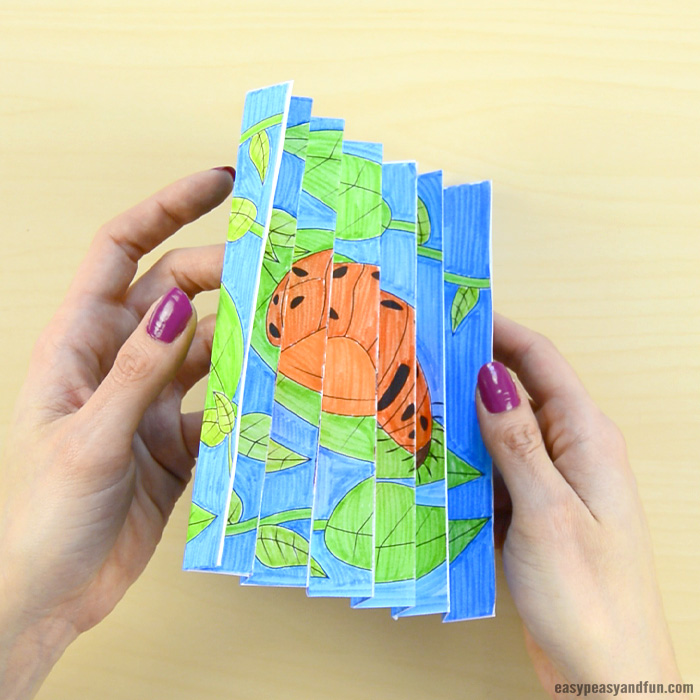
…and incline it again to see the full grown ladybug.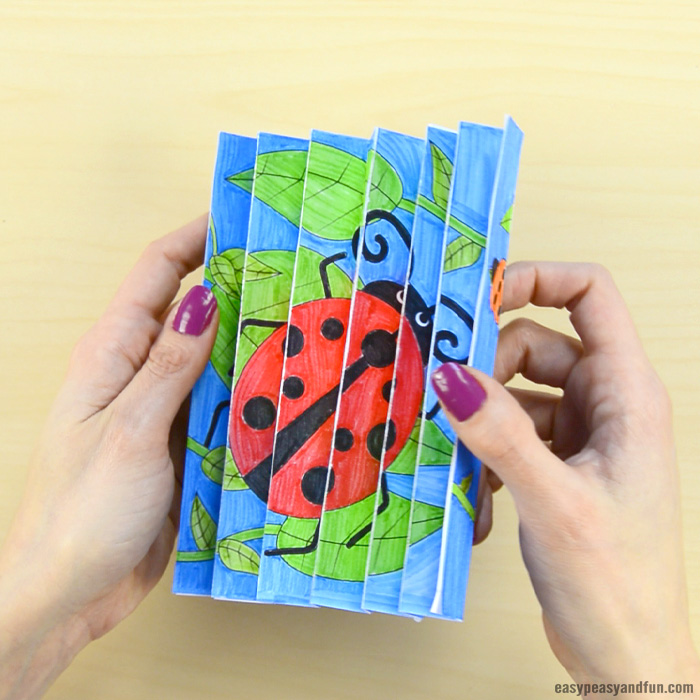
Print the Ladybug Life Cycle Agamograph Template Here
Ladybug life cycle agamograph template version one and version two.
Want instant access to all of our printable crafts, activities, and resources?

With thousands of crafts, activities, worksheets, coloring pages, and drawing tutorials to print, you will always have just the resource you need at your disposal. Perfect for parents and teachers alike!