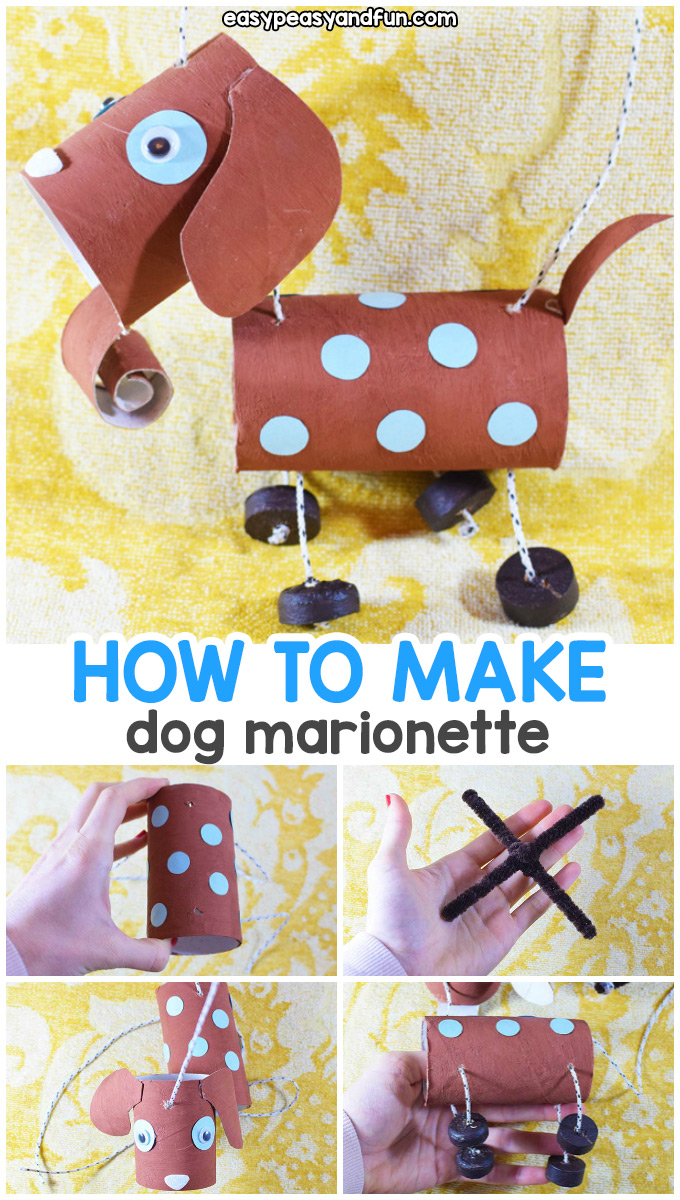
When it comes to crafts for kids, recycled crafts are best – if you make an usable recycled craft, well that’s even better. This tutorial will show you How To Make a Dog Marionette Puppet, a lovely recycled project that kids are going to love.
Once your kids learn how to make this marionette puppet they will be able to make many other animals too.
*this post contains affiliate links*
50 paper crafts your kids can actually do themselves

No fancy supplies — just paper, scissors, and a little imagination.
Be the first to get it on release day — and lock in the lowest price guaranteed.
The joy on your children’s faces when they create their own marionette puppet is indescribable. This goes beyond a regular craft. It’s a toy. It’s a friend.
Marionette puppets might look complicated, but are in essence pretty easy too make and chances are, you have everything you need in your home – if not there’s a whole lot of room for improvisation.
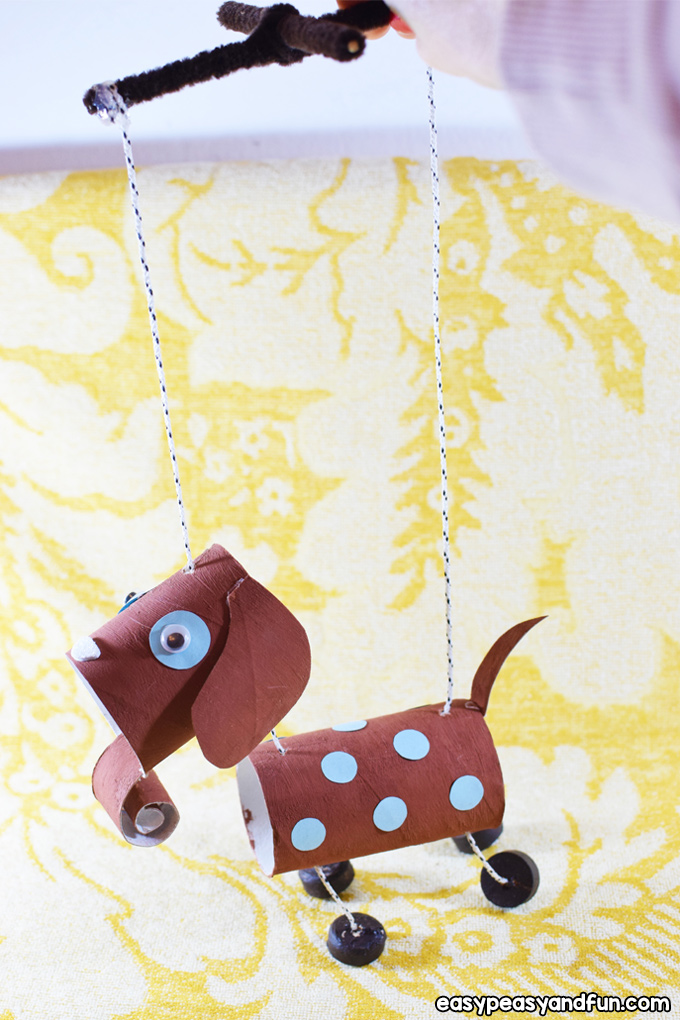
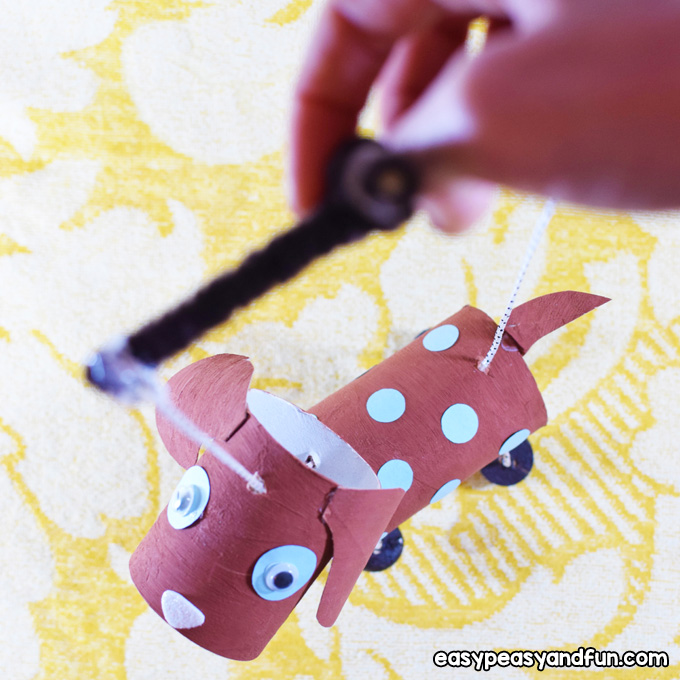
Looking cool isn’t it? We only wish we’d make the tongue red as it would look even cooler.
Your kids will be taking this fellow for a walk in no time.

Ready to make one of your own? Let’s do it!
How To Make a Dog Marionette Puppet
What you need:
- 3 toilet paper rolls
- paints of your choice
- scissors
- 2 googly eyes or marker to draw the eyes with
- 1 color paper or a page out of magazine (optional) and ruler with circle shapes
- glue (glue gun if adult is supervising)
- pencil
- 2 wooden sticks
- 5 pipe cleaners (optional)
- yarn
- 1 bottle cork
- craft knife (adults only!!!)
- we used a tiny piece of sparkly white self-adhesive foam sheet for the nose, but anything, even mere paint does the job

Step by Step Instructions
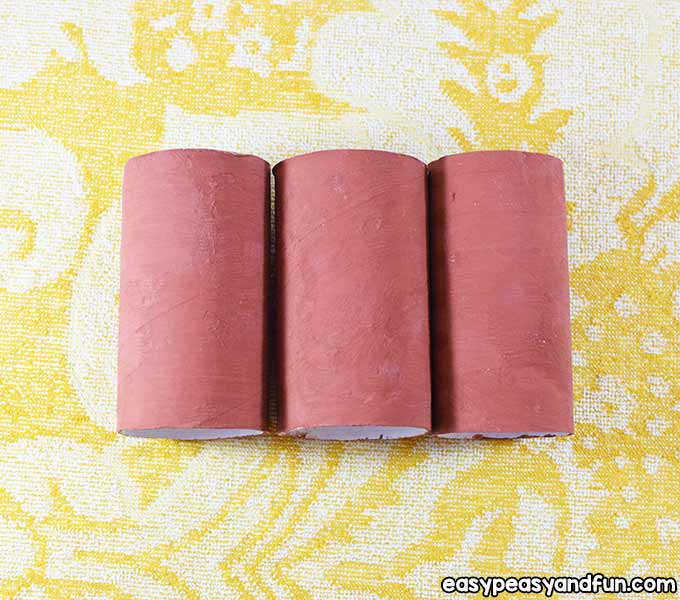
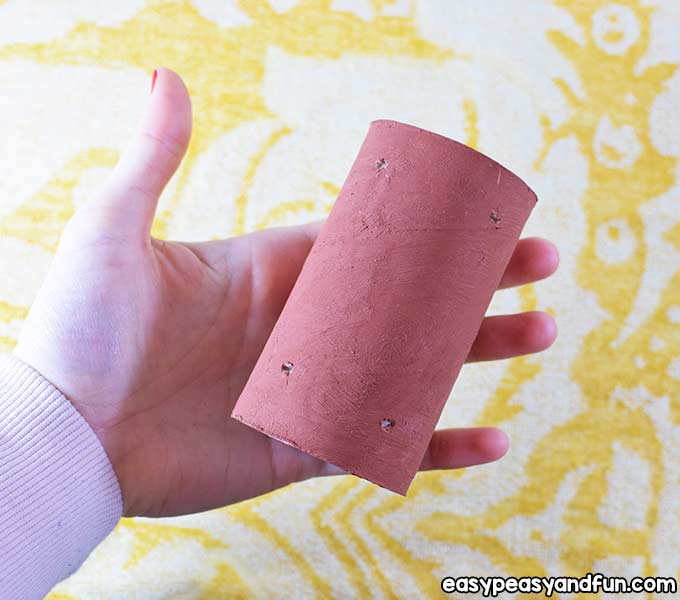
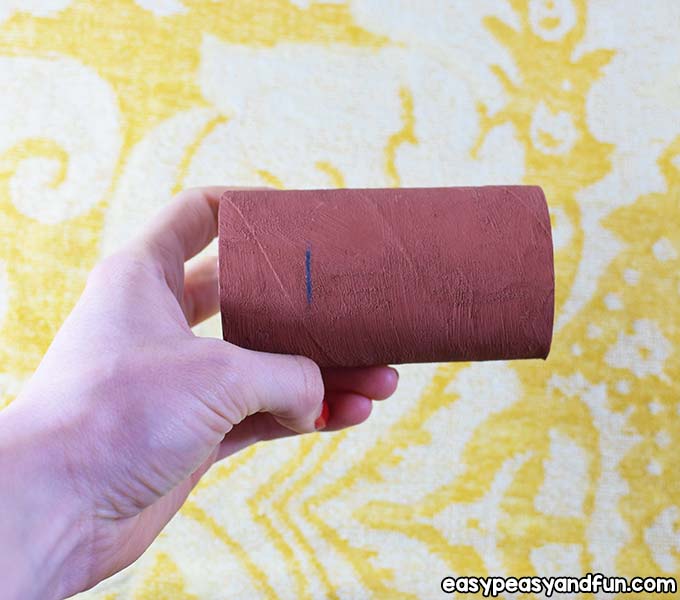
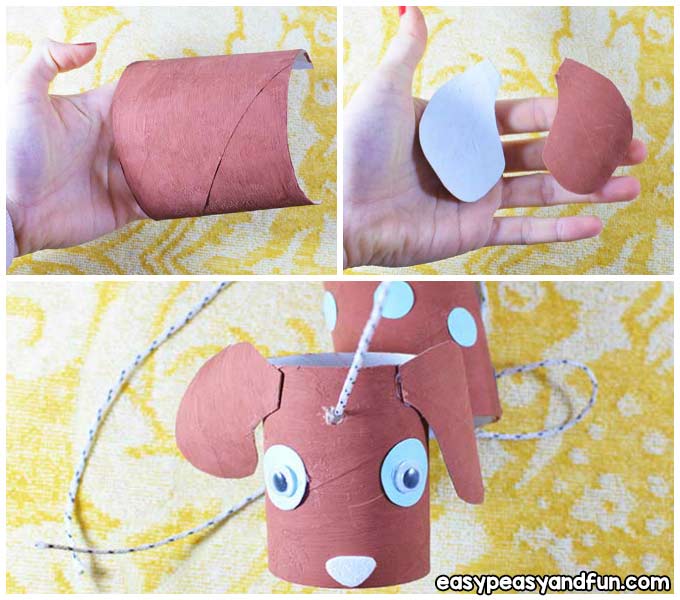
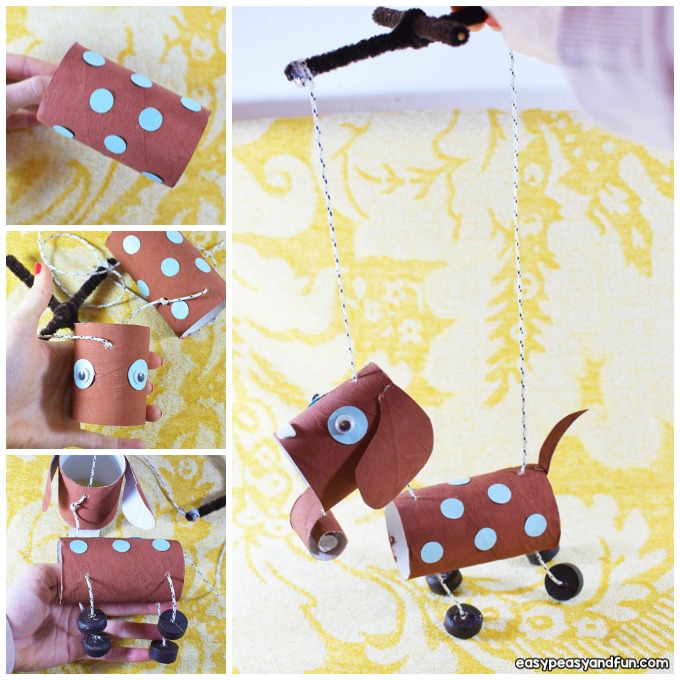
Paint over the 3 paper rolls with paint. We’re making our dog brown, any color is fine.
 The Body
 The Body
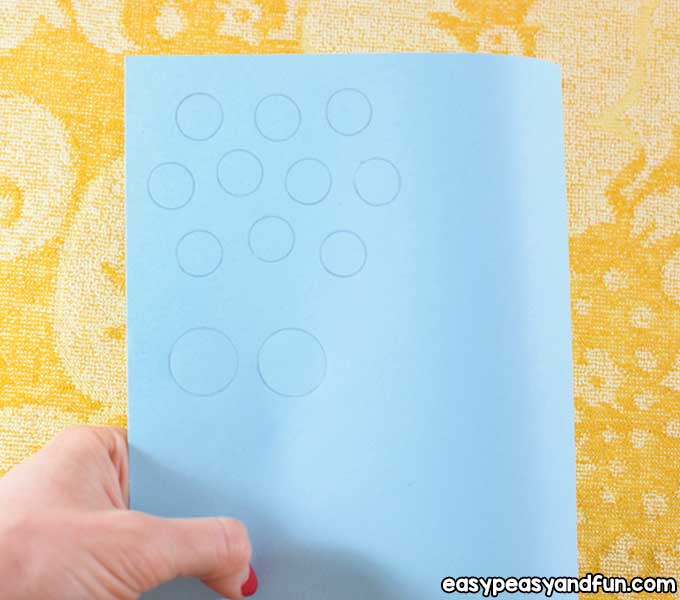
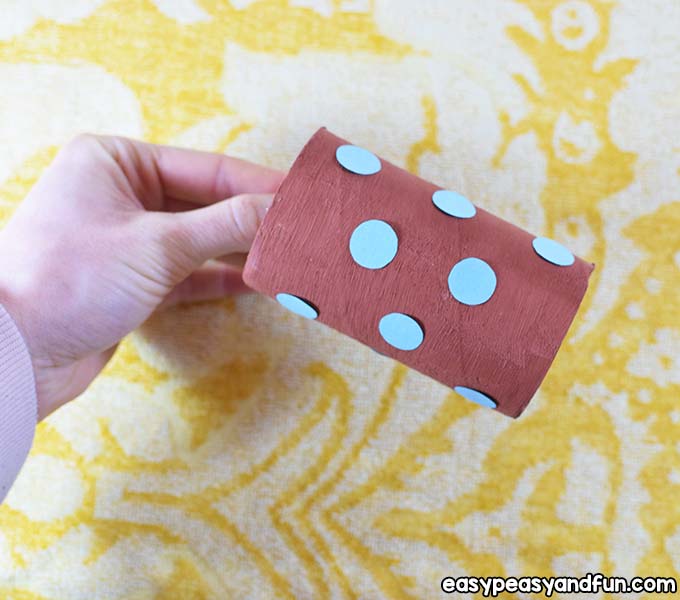
Optional for the dots: using the ruler with circle shapes and a pencil, draw 10 small circles and 2 bigger ones on the color paper.
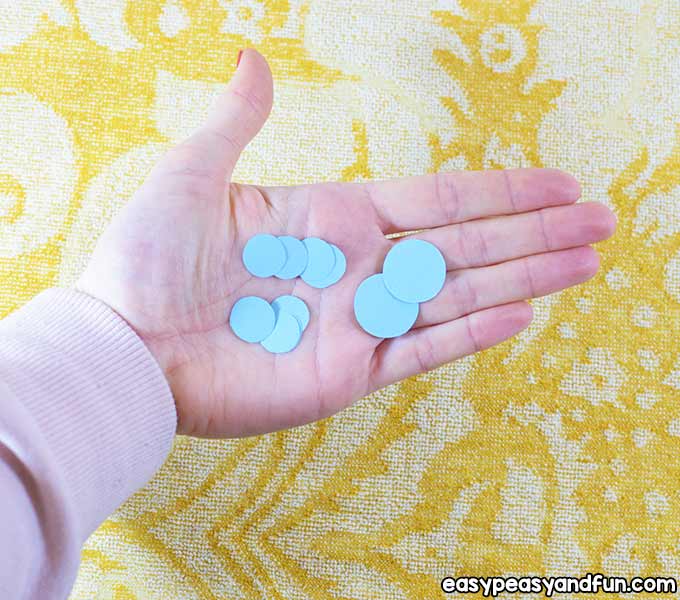
Then cut them out.
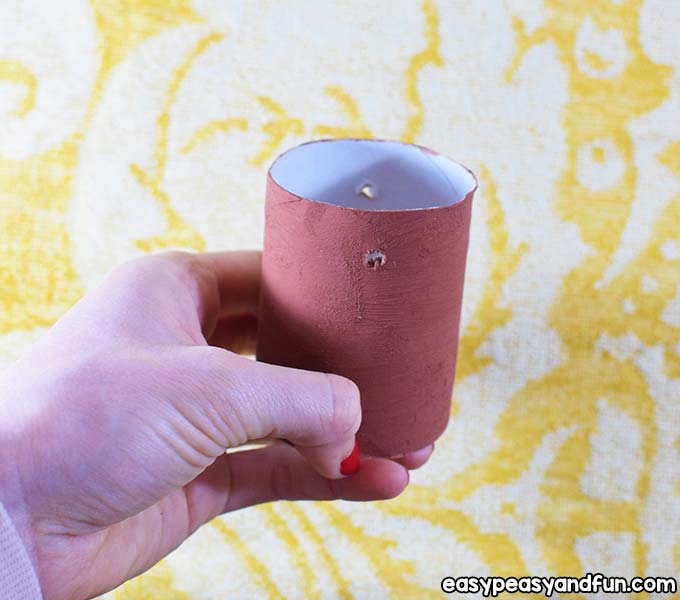
Using scissors, make 4 holes on the paper roll for the legs (adult supervision).
You can also use a hole puncher.
Leave an equal space between them.
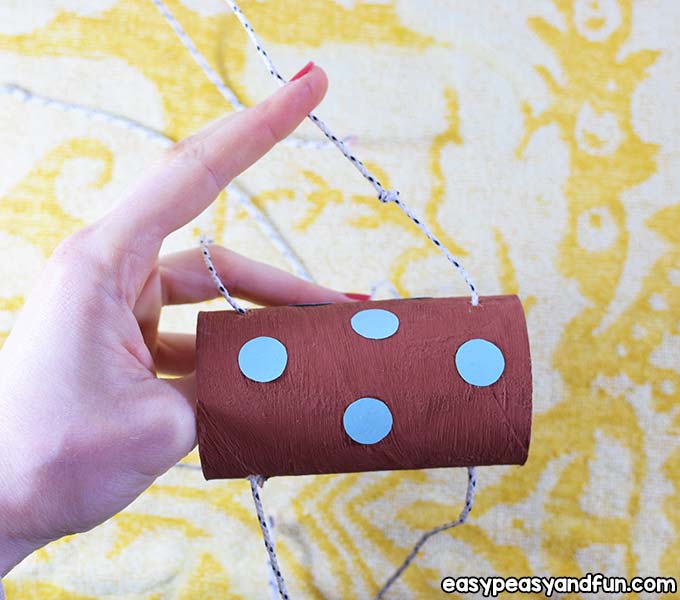
Apply some glue on the 10 circles and glue them on the paper roll.
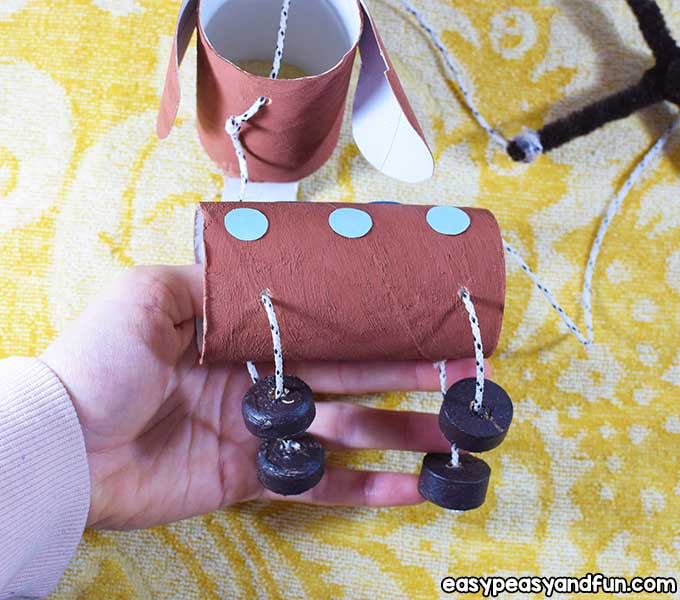
Cut two long pieces of yarn and thread them through the holes.
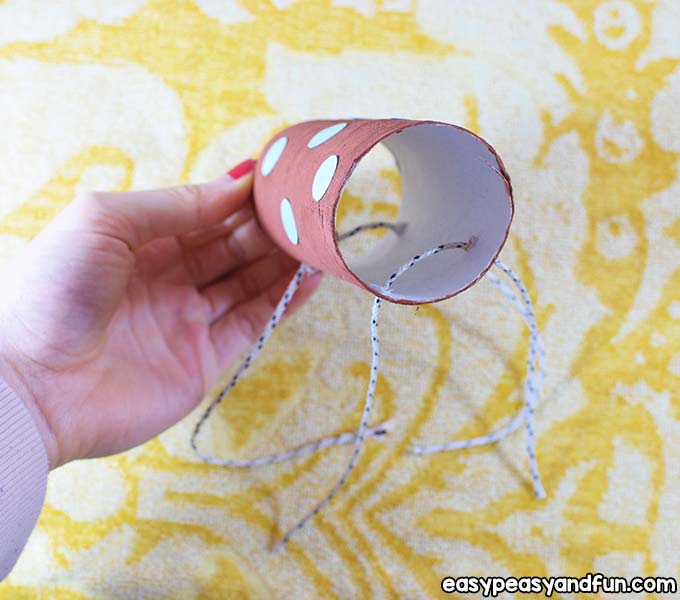
Now make two additional holes in the middle of the body, opposite of the legs.
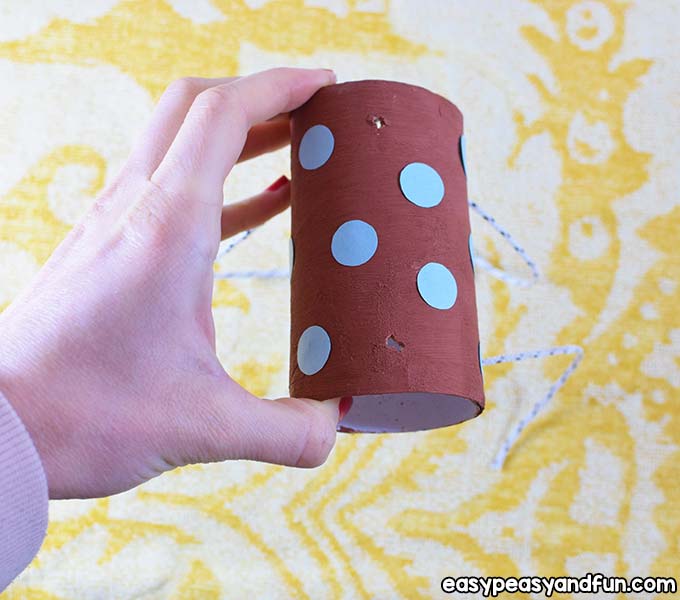
Thread a long piece of yarn through them.

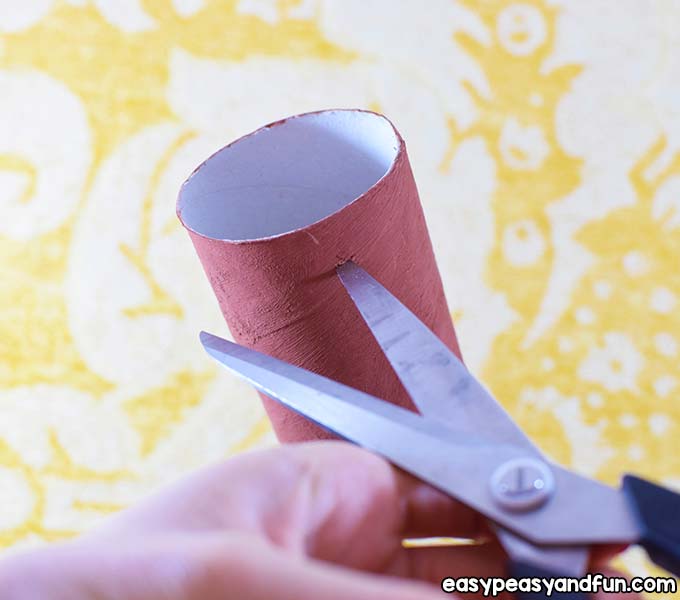
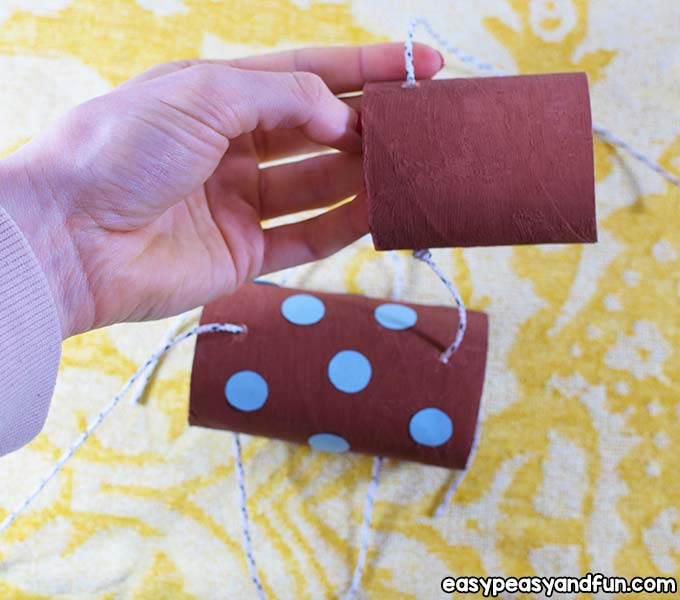
Take another toilet paper roll and cut 1/3rd of it.
The bigger piece will serve as a head. We will use the smaller piece later.
The Head
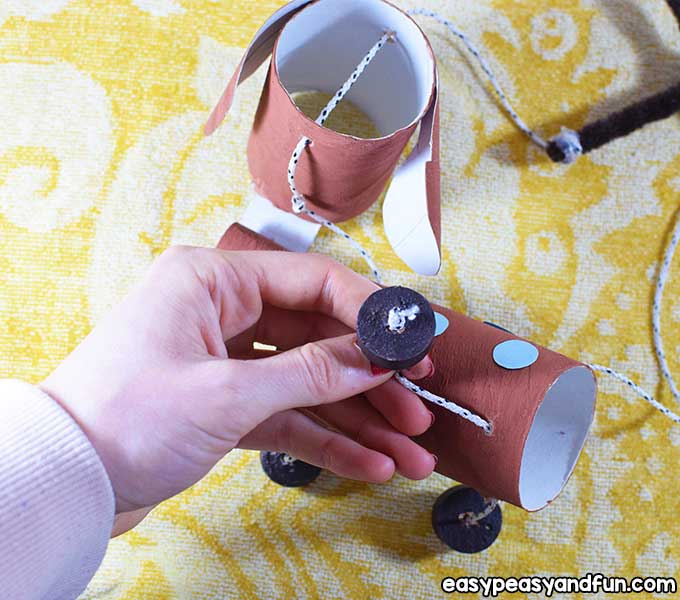
Make two holes in the middle of the head toilet roll.
Now, measure how much space you want to leave between the body and the head and tie a knot.
Put the head on (thread the yarn through the holes).
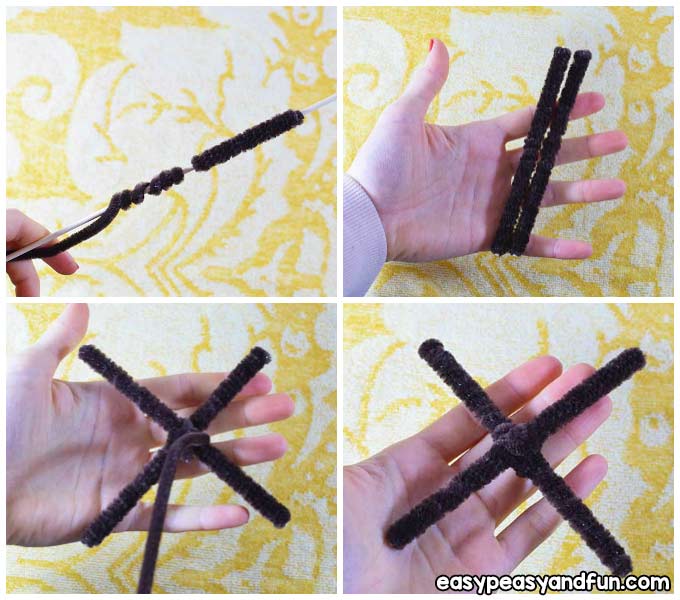
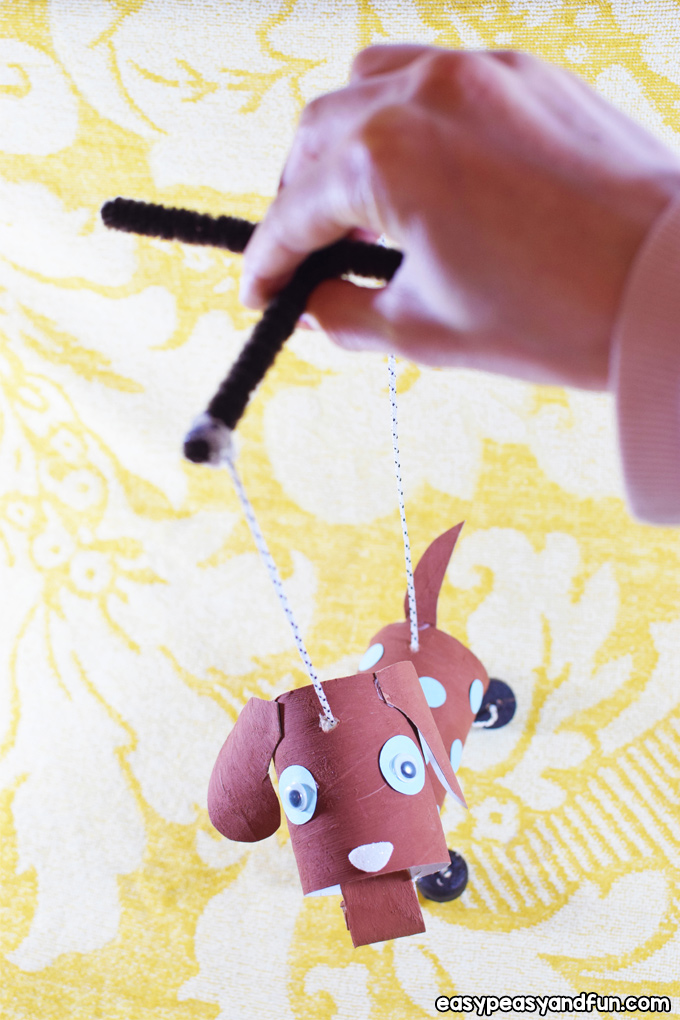
Hand Controller
 Hand Controller
Wrap 2 pipe cleaners around the wooden one and cut the excess off the wood.
Repeat this step one more time, so you have 2 equal pieces of wooden sticks wrapped in chenille sticks.
Form an X shape and use the 5th chenille stick to secure them in the middle.
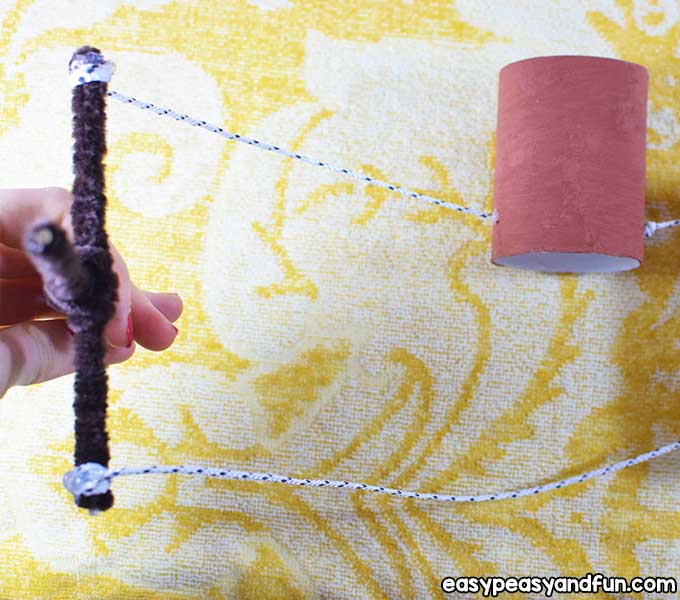
Straighten up your dog and make sure that the yarn on both sides is of an equal length.
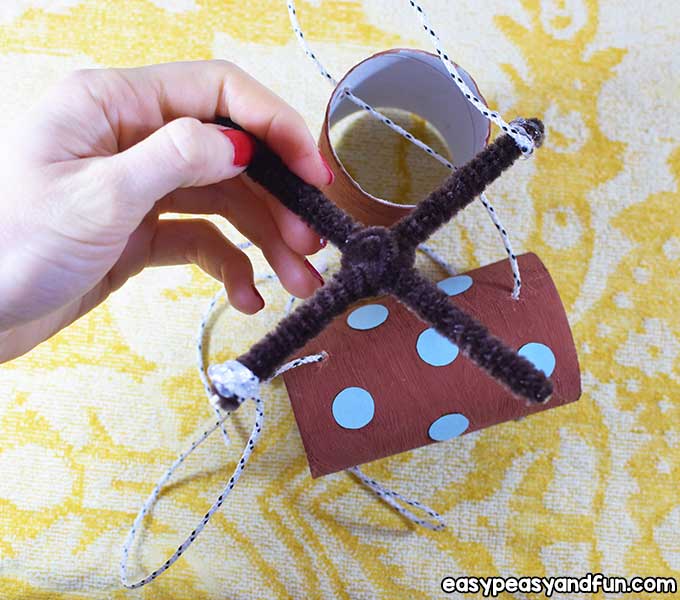
Then put some glue on the ends of just one side of the X shape and glue the yarn on.
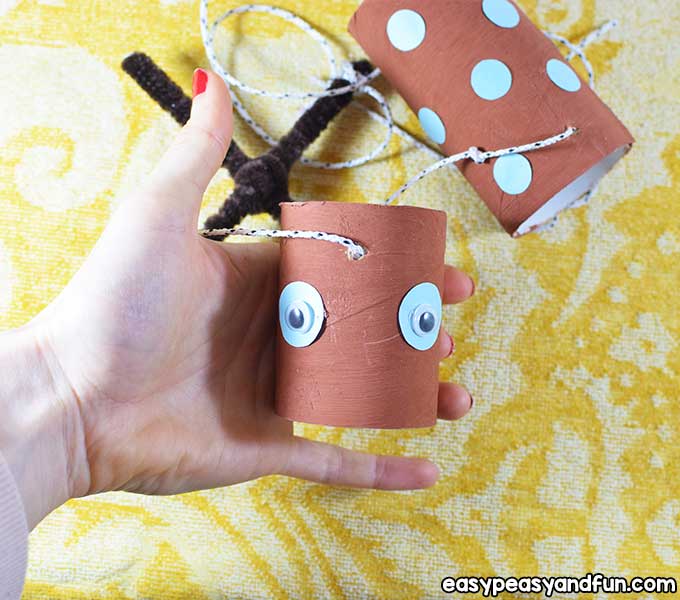
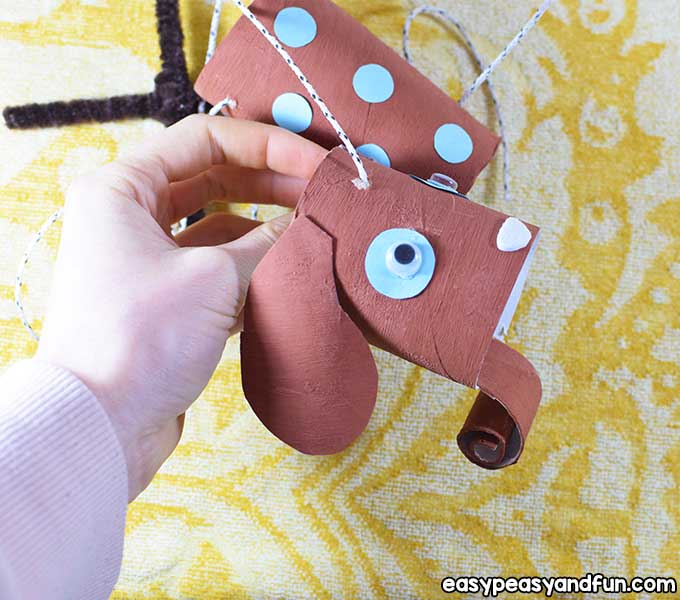
The Eyes
 The Eyes
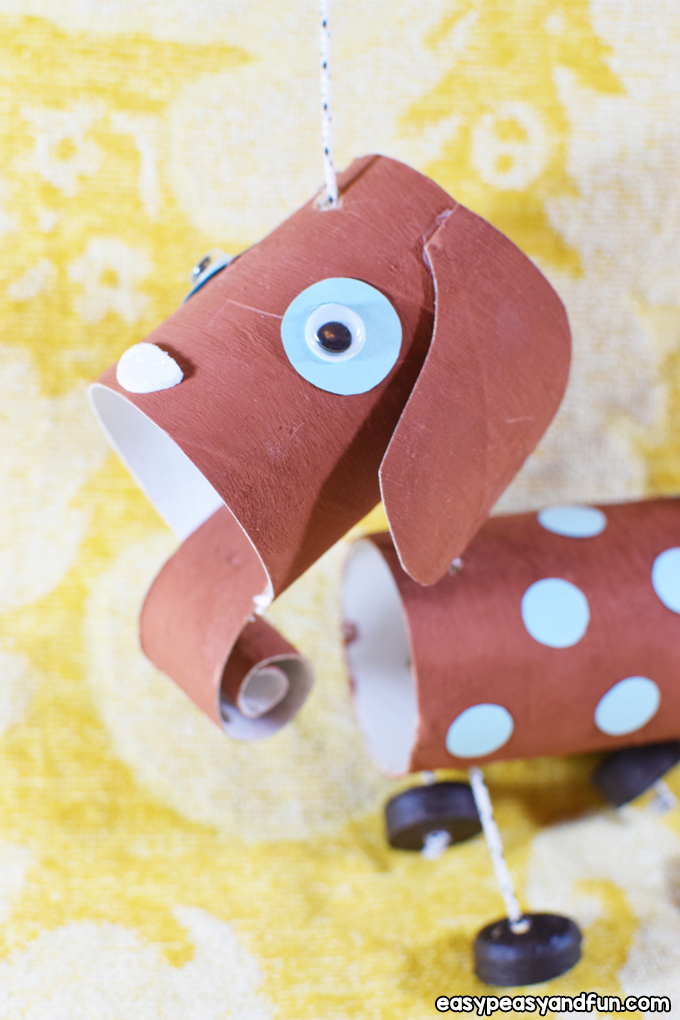
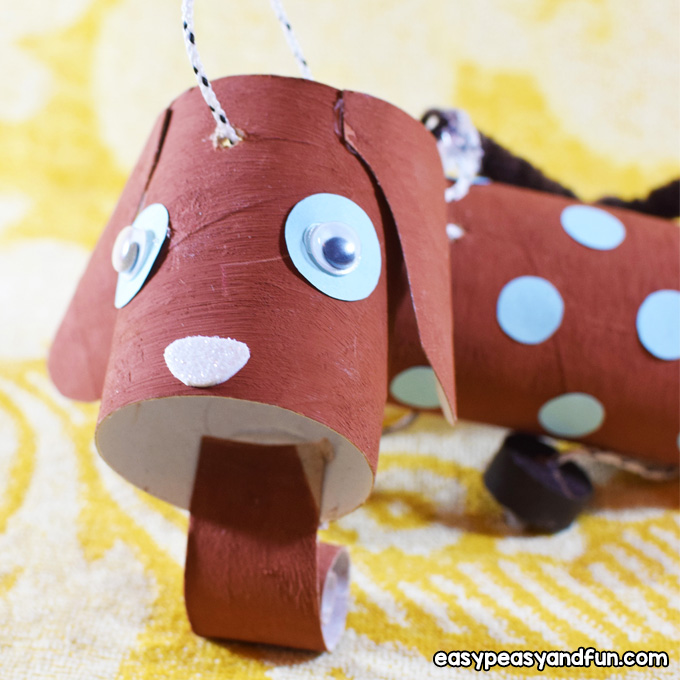
Glue the two bigger circles on the head and add the googly eyes on top of the circles.
The Ears and Nose
 The Ears and Nose
Cut the 3rd paper roll and make it a flat. Draw two dog ears and then glue them on the head as shown in the picture.
After that draw and cut a tiny nose out of the sparkly white self-adhesive foam sheet.
Place the nose on.
The Tongue
 The Tongue
With the 1/3rd of the previous paper roll left, roll a tongue …
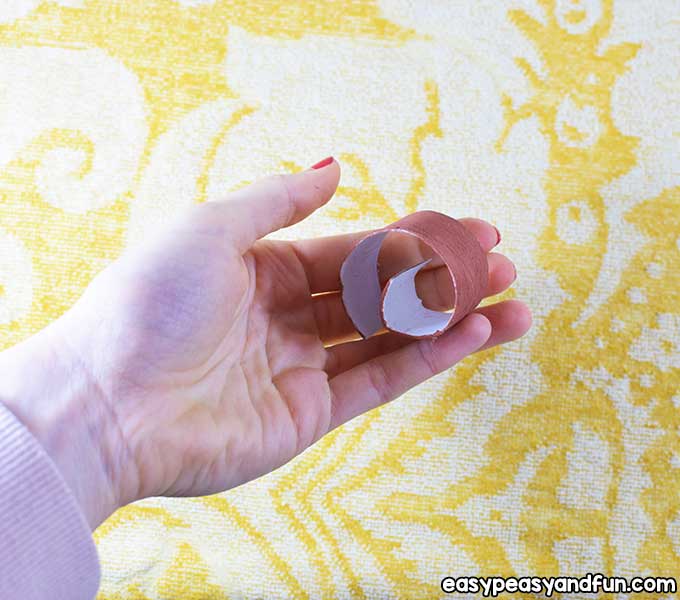
… and glue it inside the mouth.
The Paws
 The Paws
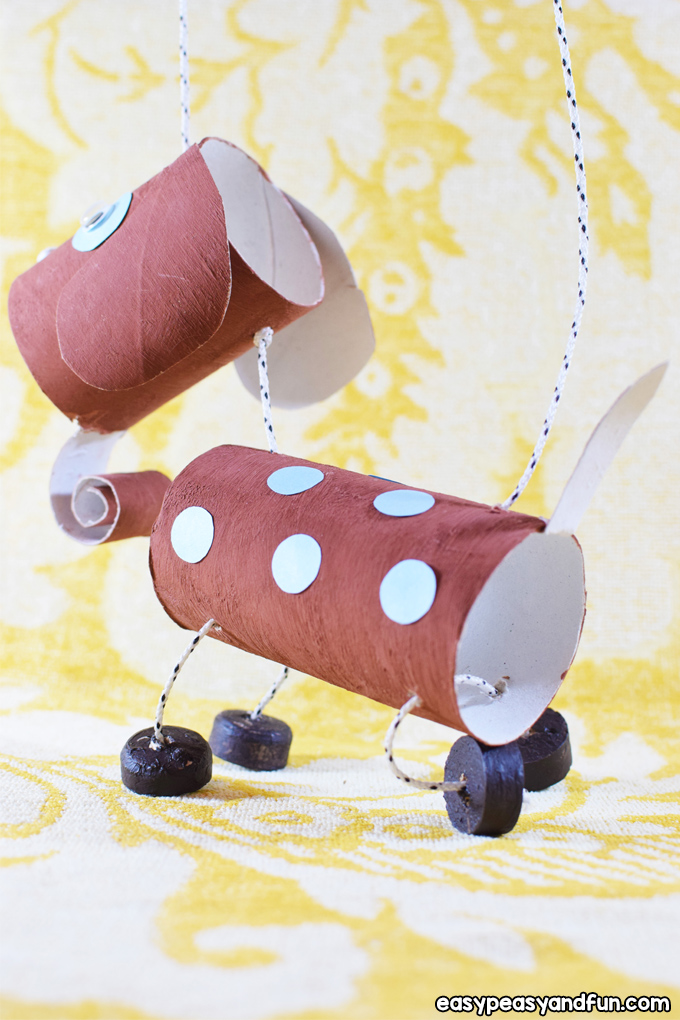
Take the cork and divide it into 4 equal parts, then cut them using a craft knife.
After that, color the parts with acrylic color and let them dry aside.
The cork circles will serve as paws.
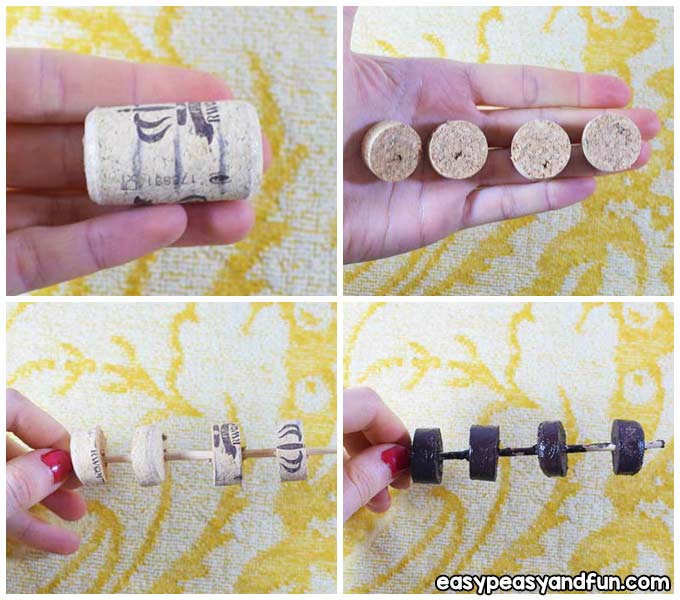
Put the 4 cork circles on (thread them on the yarn), then make the legs of an equal length …
… and tie four firm knots. Cut the excess yarn off.
The Tail
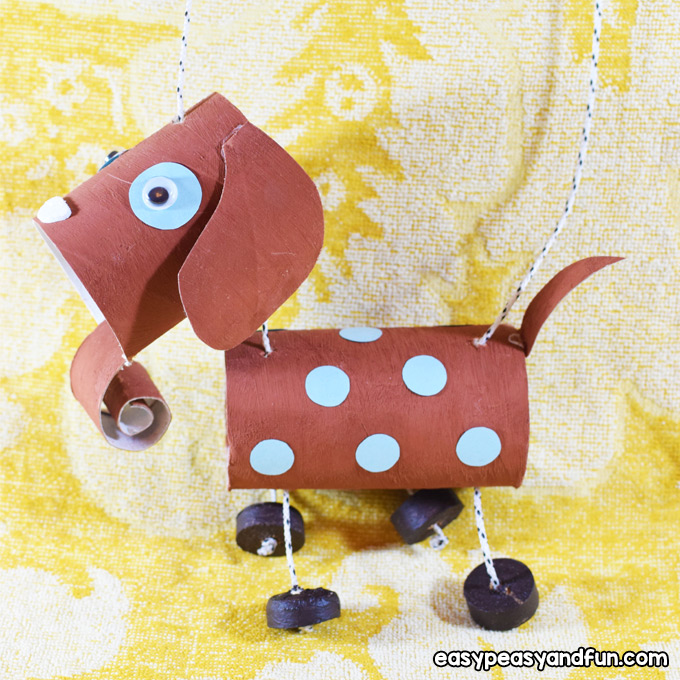
From the excess of the paper roll, we used for the ears, cut out a tiny tail and glue it on the dog’s body.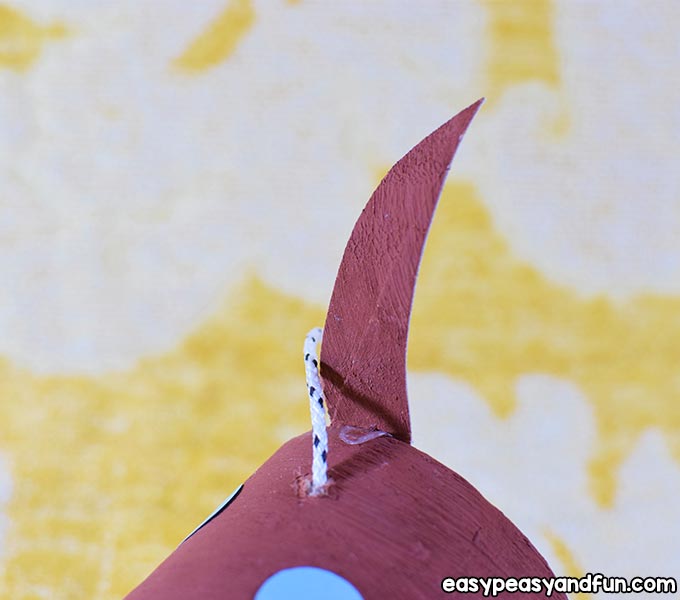
Yay, we are done here!
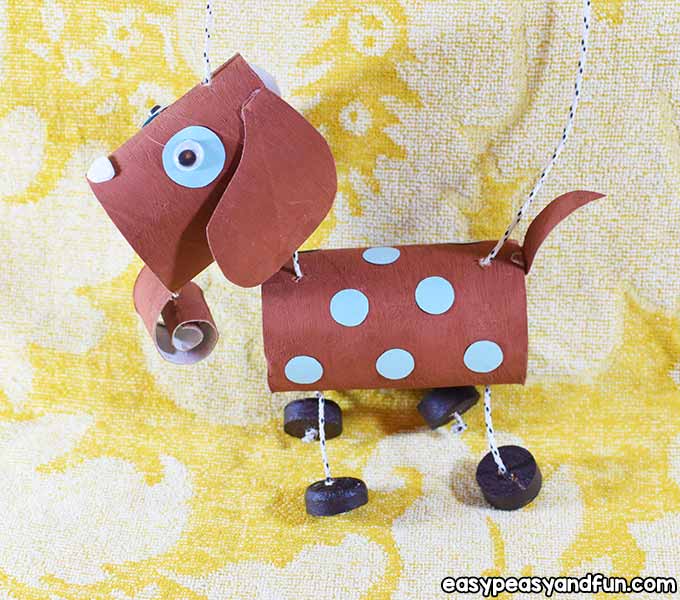
Now start moving the sticks up and down and left and right and watch Moggy Mog being silly.
This is so much fun!
Go show your friends how to make a puppet dog like yours so you can play together!

Hope you like this project!
See you soon with more fun crafts!
Happy crafting!
Want instant access to all of our printable crafts, activities, and resources?

With thousands of crafts, activities, worksheets, coloring pages, and drawing tutorials to print, you will always have just the resource you need at your disposal. Perfect for parents and teachers alike!