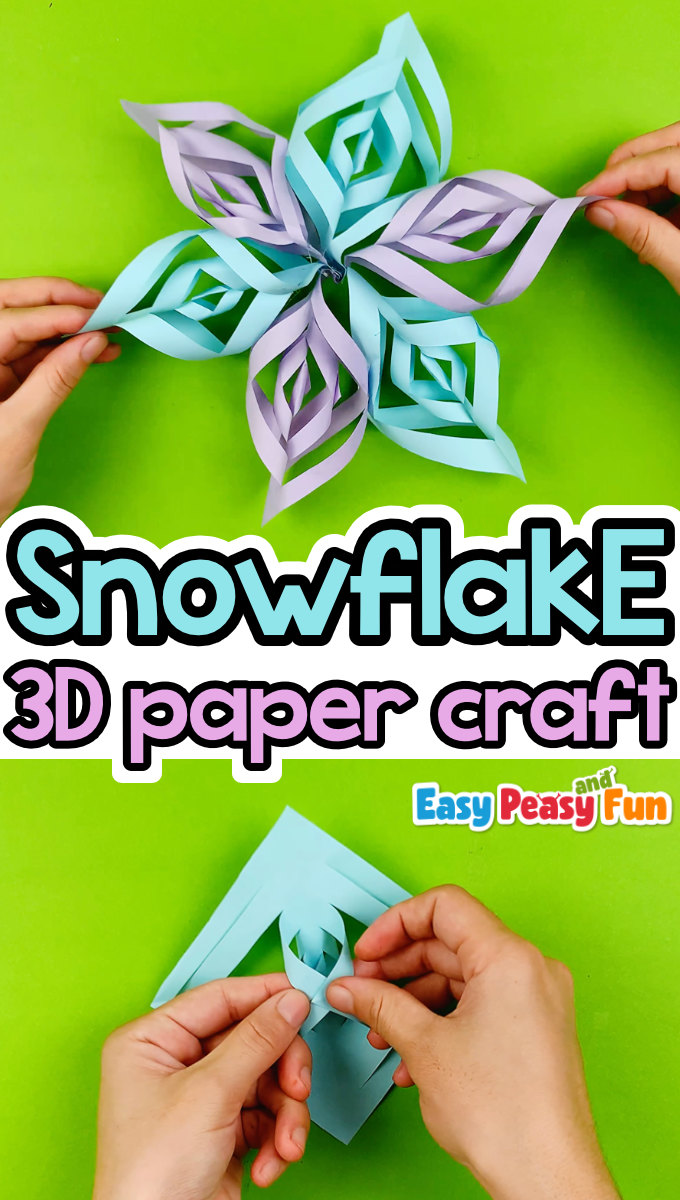
Learn how to make 3D paper snowflakes by following our easy tutorial. You can even grab our printable templates to make the process even easier – although they can easily be made without one.
These make the most wonderful DIY Christmas decorations; you can even play with colors. Make them snow-white or use any color combination you want – they will look great no matter what colors you choose.
These are easy enough for kids to make and gorgeous enough for you to make as a festive home or classroom decor for the upcoming holidays.
*This post contains affiliate links*
50 paper crafts your kids can actually do themselves

No fancy supplies — just paper, scissors, and a little imagination.
Be the first to get it on release day — and lock in the lowest price guaranteed.
We already shared how to make paper snowflakes a while a go, and now it’s time to take things into a whole new dimension.
While regular paper snowflakes are fun, these are way more gorgeous and what’s most important, they aren’t all that complicated to make.
How to Make 3D Paper Snowflakes
What you need:
- printable template (optional)
- pencil (optional)
- scissors
- glue
- white or color paper (we used light blue and lavender)
Step by Step Tutorial
You will need 6 square papers for one snowflake. They can all be the same color, you can use two different colors or even more.
The only important thing is that all of the squares need to be the same size.
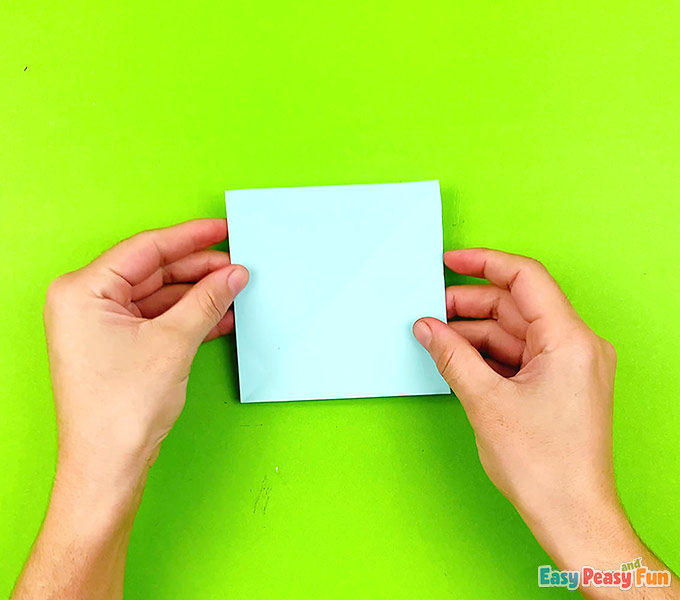
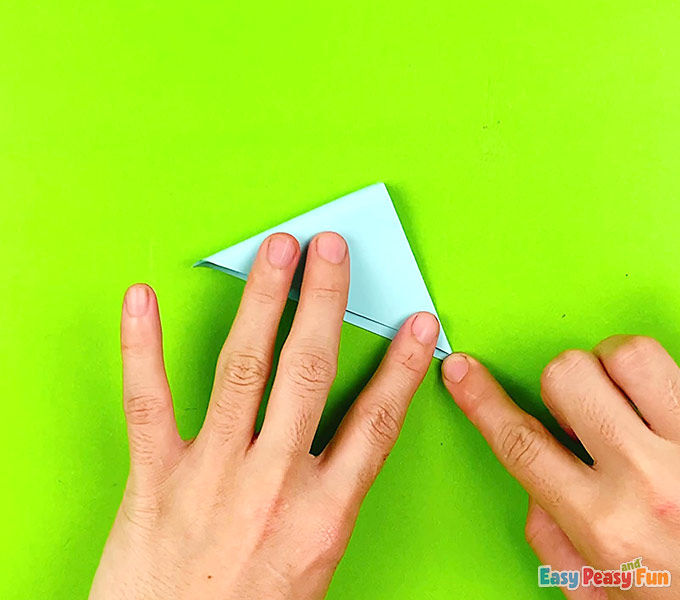
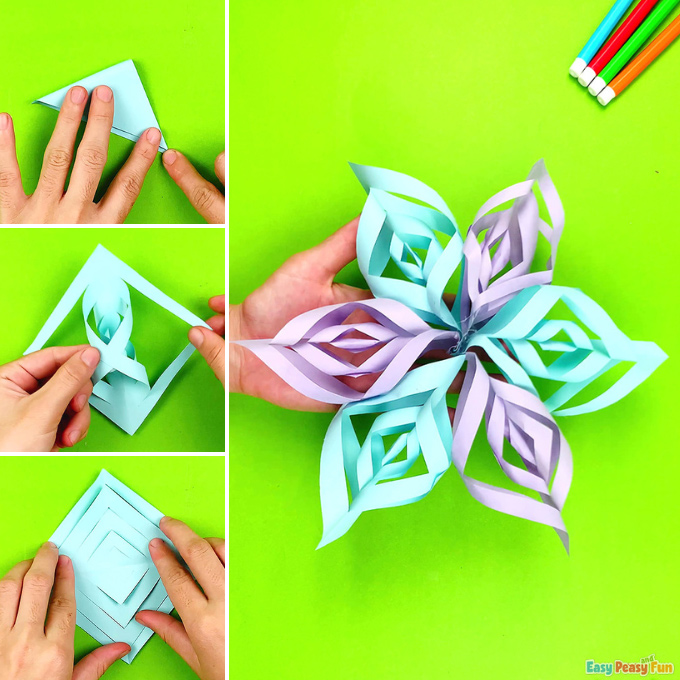
Fold the square in half along the diagonal to get a triangle.
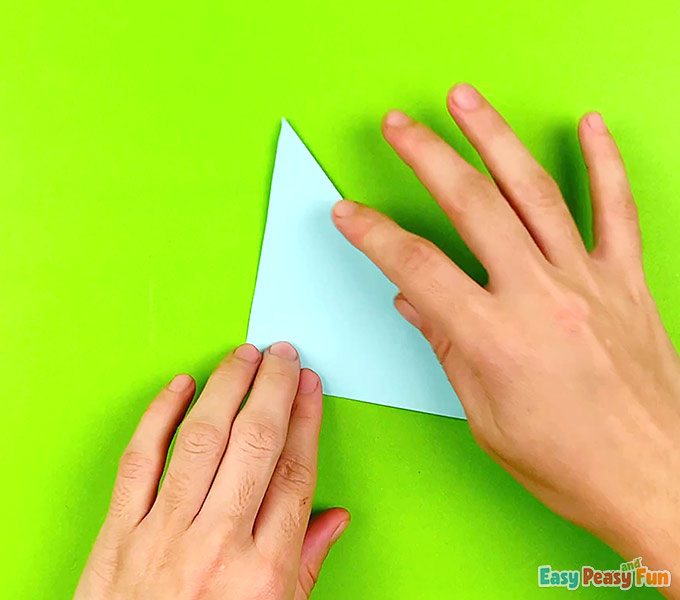
Fold the triangle in half again.
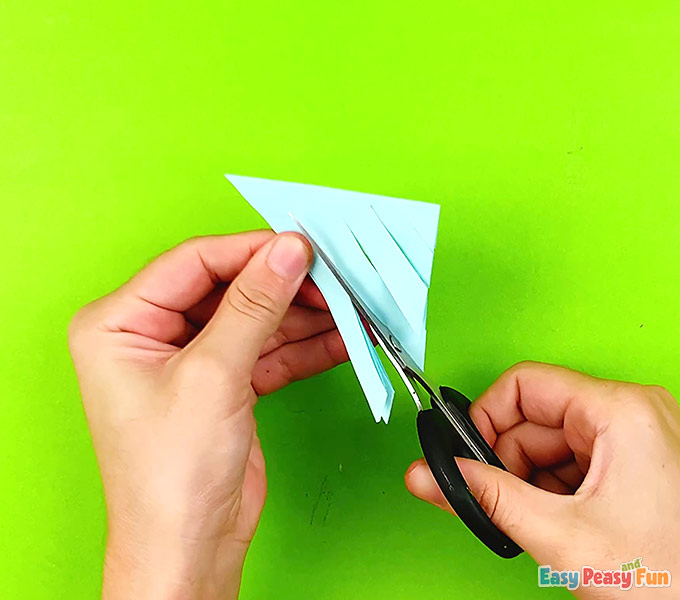
Cut into the triangle from one side – make three or four cuts that are evenly spaced. Don’t cut all the way through. The number of lines you cut depends on the size of the paper, the larger the paper the more the cuts.
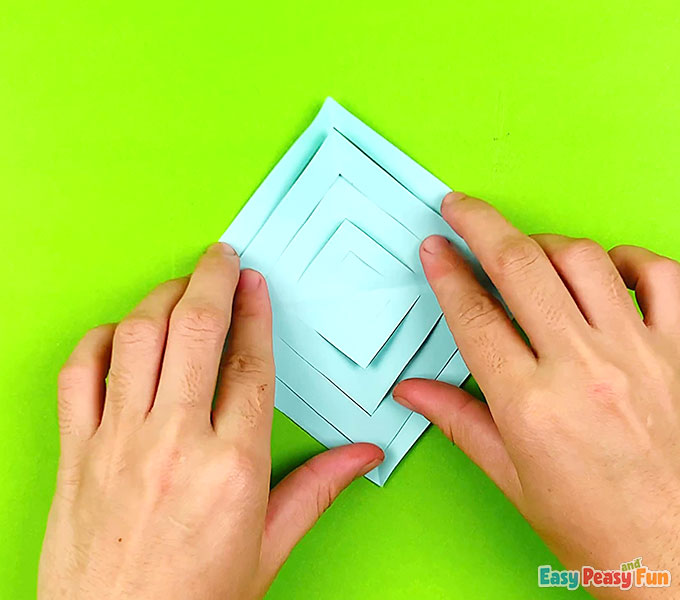
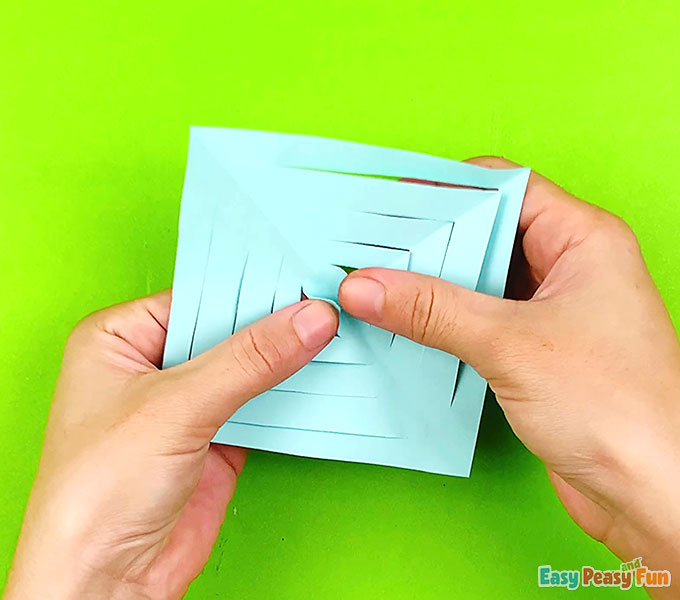
Carefully unfold the square.
Flatten the square with your hands by pressing it down gently.
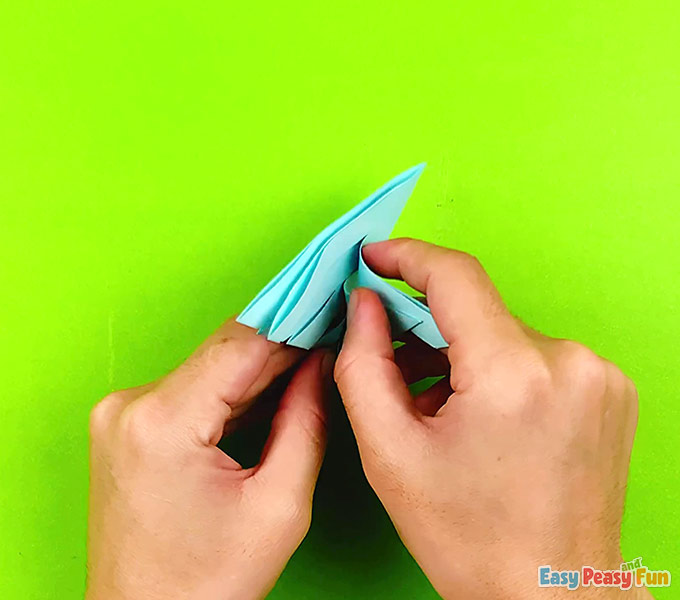
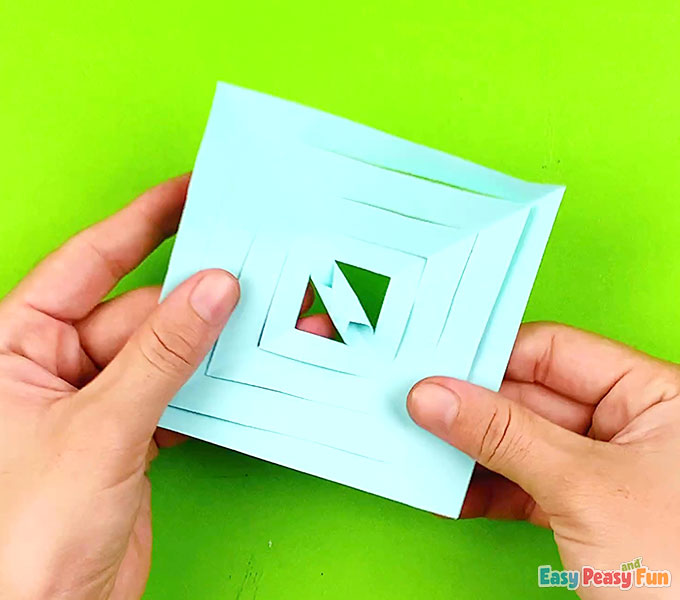
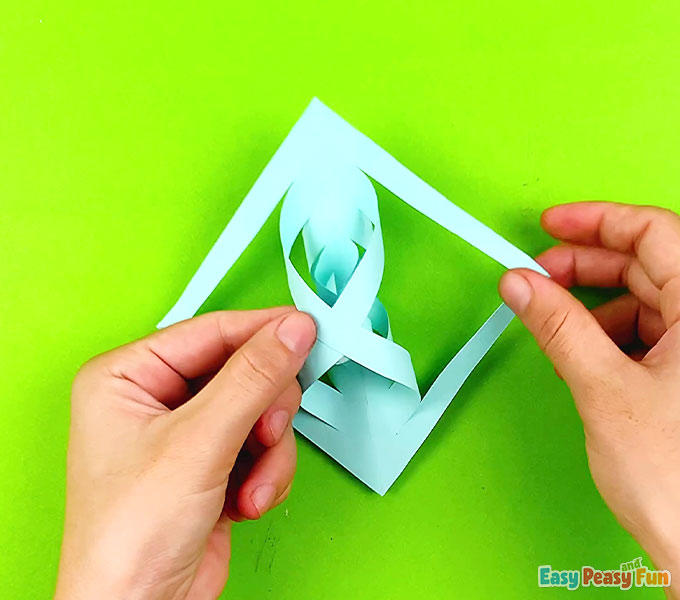
Start from the two inner most cuts / flaps and loop them together.
Apply glue to the joint part and glue them together. The first one might be a bit tricky as it’s the smallest but others will be easier.

You might need to hold them in place for a little while for the glue to set.
Turn over the paper.
Take the next pair, loop them together and apply glue.
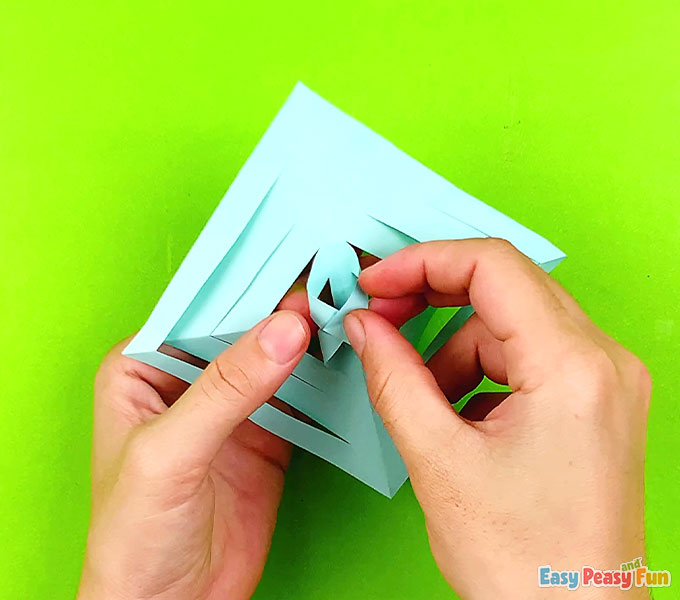
Flip the square again and repeat the process.
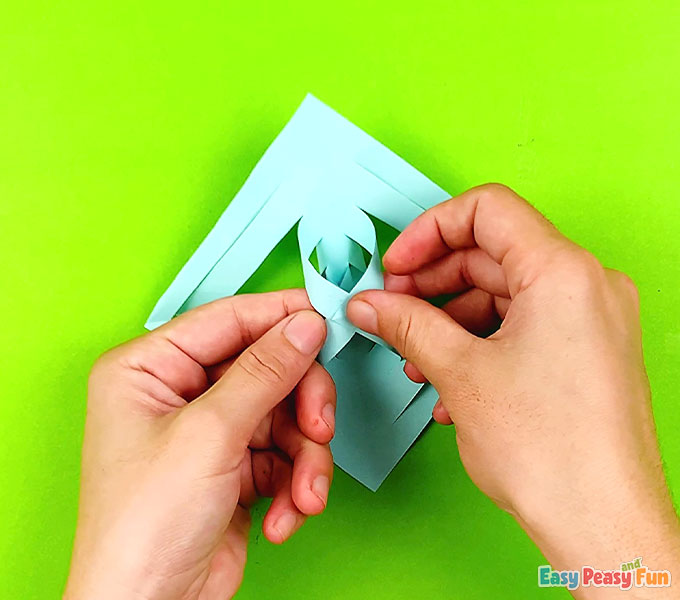
Have kids flip it once more. Bend the flaps, overlap them, and glue them together.
Continue until all the ends are looped and glued together.
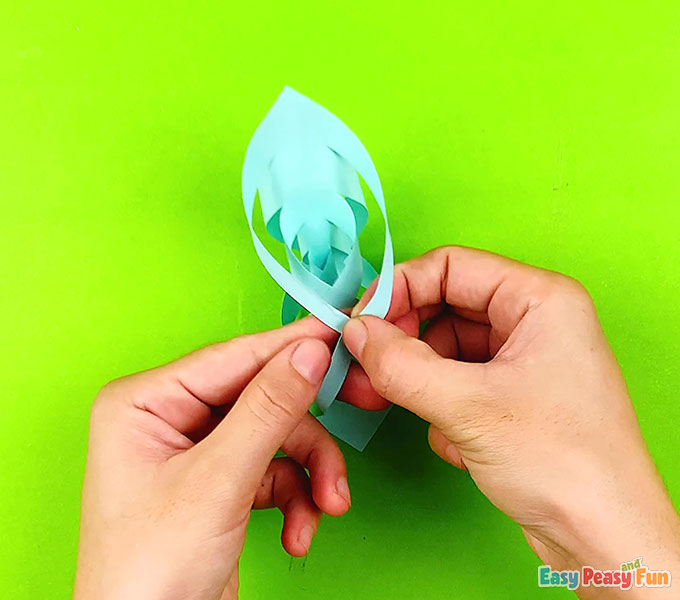
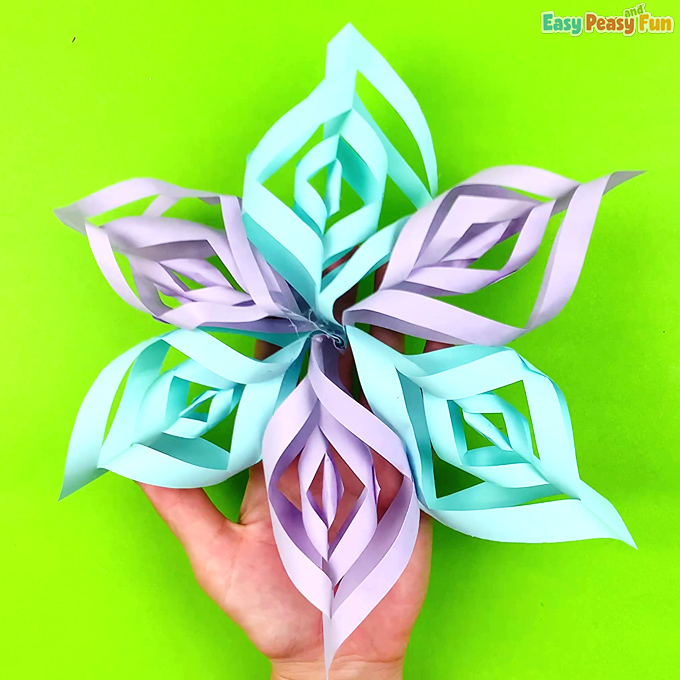
The first snowflake part is done!
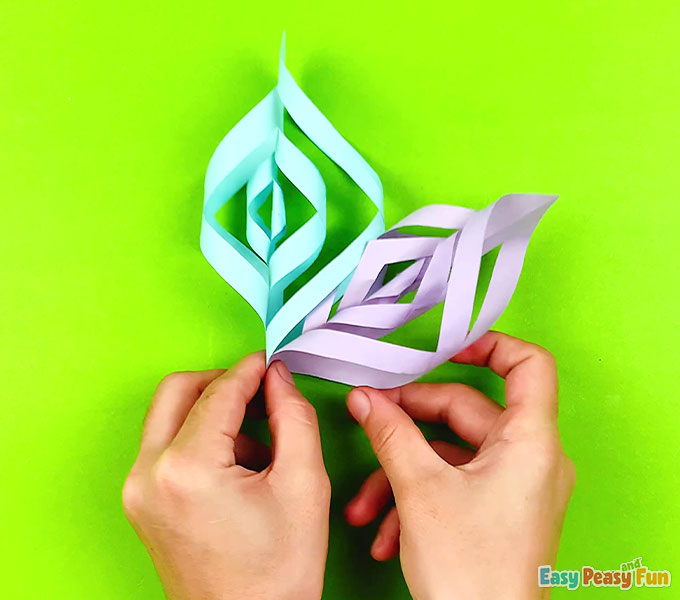
Repeat the process with the remaining 5 squares.
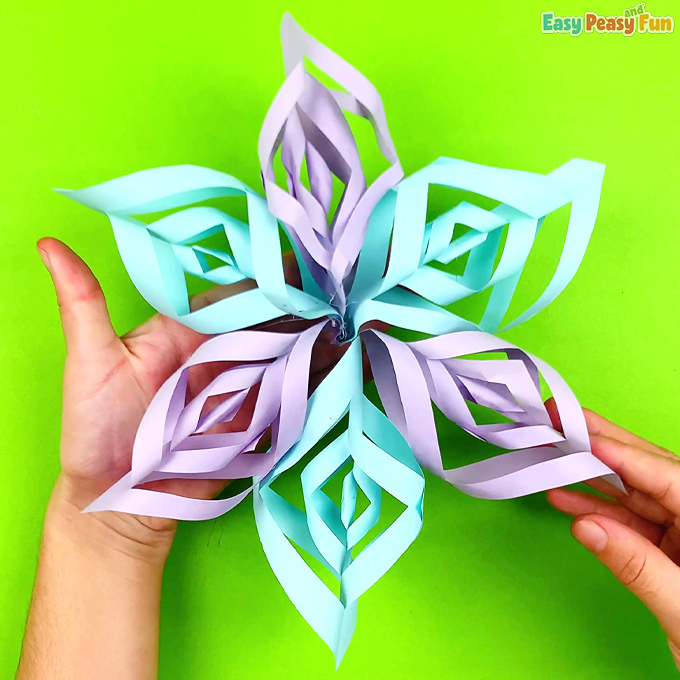
Once you have them al ready, start gluing the looped snowflake parts together. Apply glue at the bottom and stick the first two together.
Add another part and glue it.
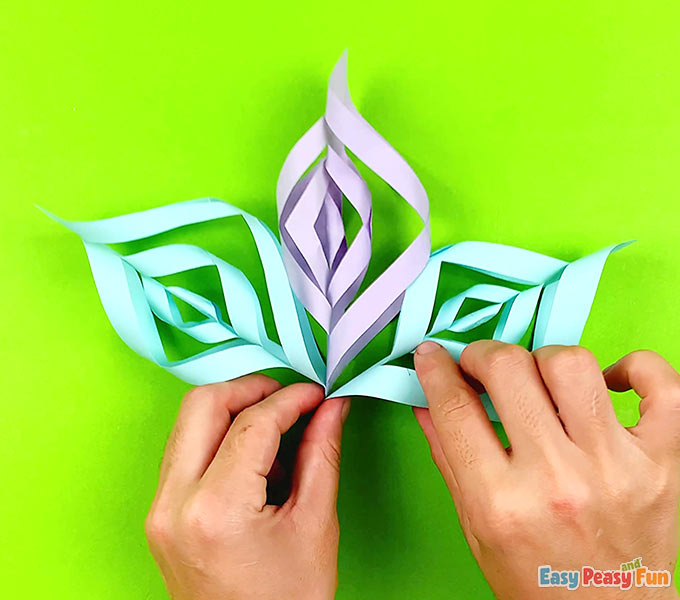
So there are six altogether.
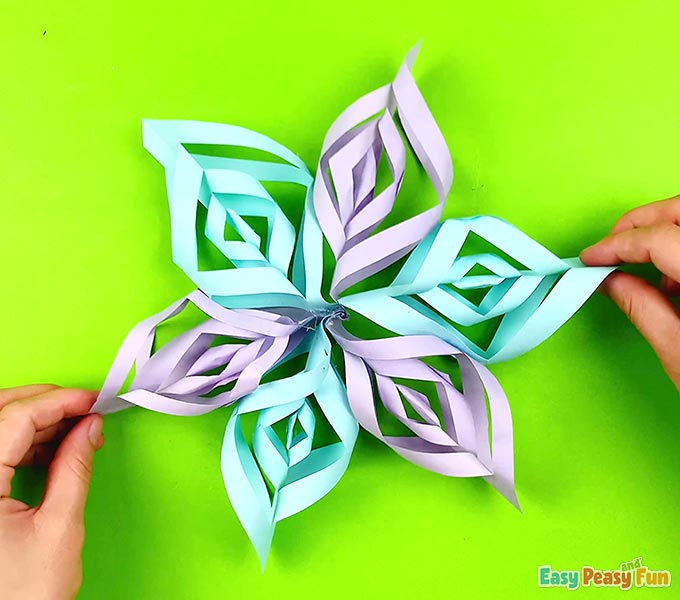
All done! If you want, especially if your 3D paper snowflakes are larger, you can also apply glue in the middle parts of the snowflakes to glue them in place.
This snowflake is perfect for home decoration.

How did yours turn out?
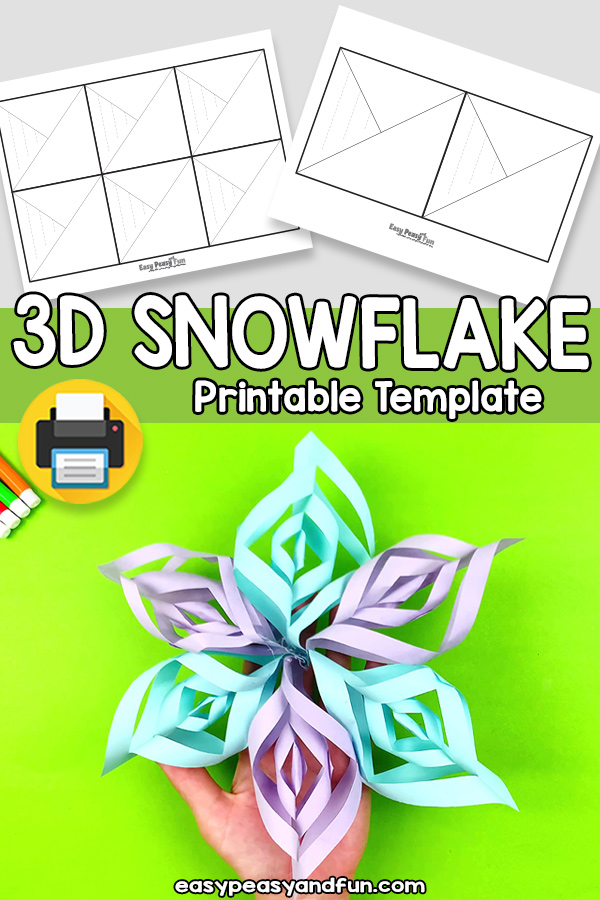
Get the 3D Paper Snowflakes Template
The printable 3D paper snowflake template is available to members of the Easy Peasy and Fun membership.
To access the template, log in to your account or become a member.
Already a member? Log in here.
Want instant access to all of our printable crafts, activities, and resources?

With thousands of crafts, activities, worksheets, coloring pages, and drawing tutorials to print, you will always have just the resource you need at your disposal. Perfect for parents and teachers alike!