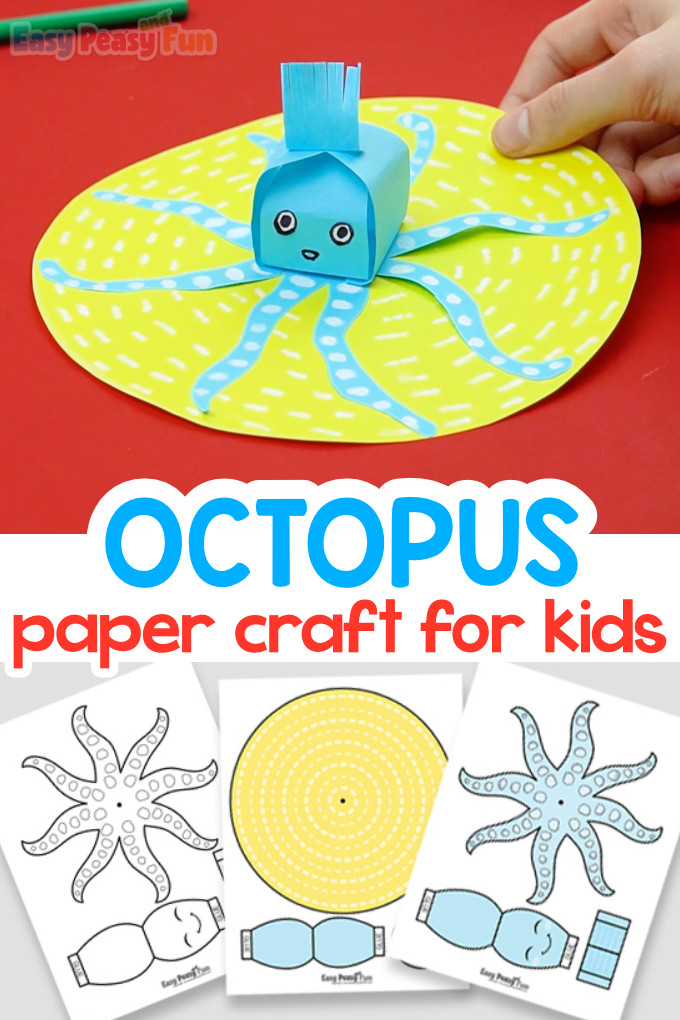
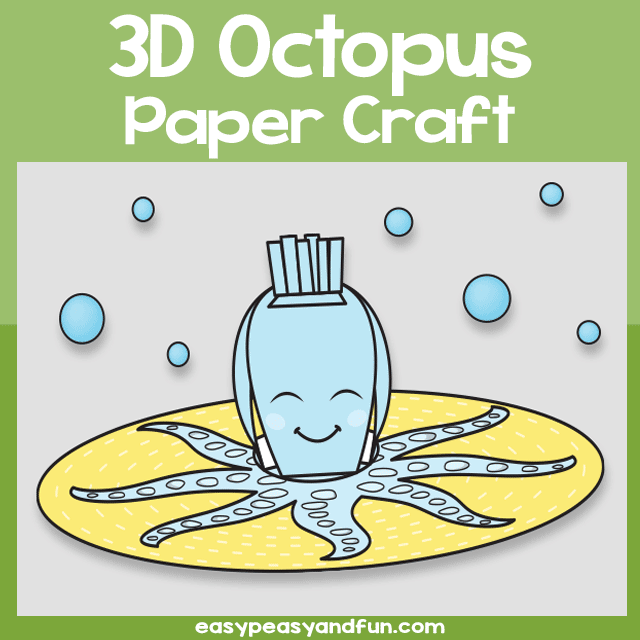
Ready for the summer holidays and all the crafts that come with it? Dive into the underwater world by creating your very own 3D paper octopus craft.
This one is a fun one indeed, so why not make more than one and in many different colors.
*This post contains affiliate links*
50 paper crafts your kids can actually do themselves

No fancy supplies — just paper, scissors, and a little imagination.
Be the first to get it on release day — and lock in the lowest price guaranteed.
Summer Crafts are fantastic to do with your kids, and we love making them. Octopus are really fun to make, or you can even have your kids learn how to draw an octopus on their own.
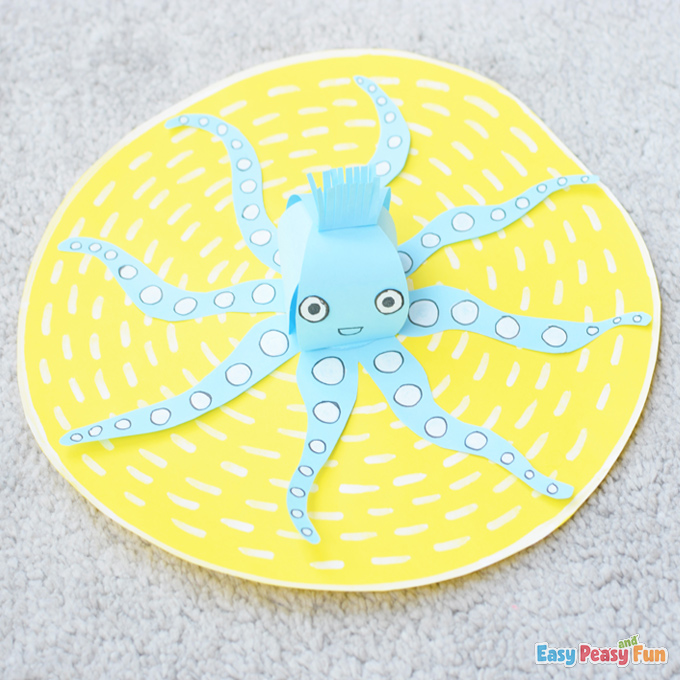
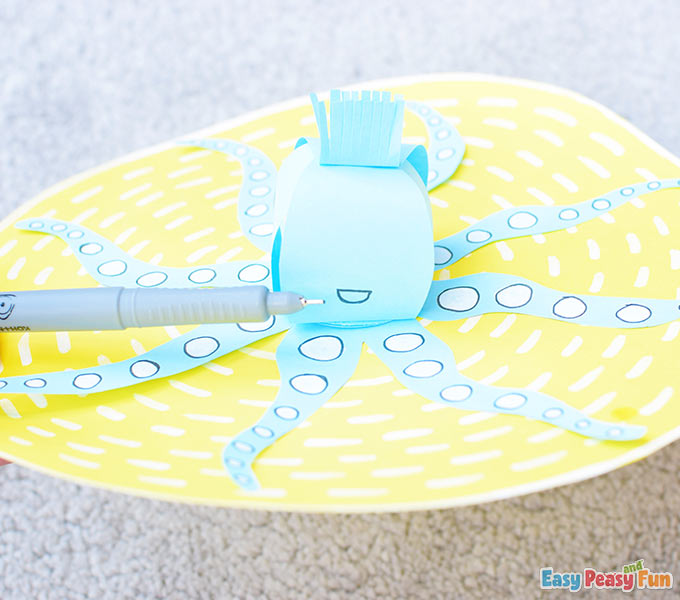
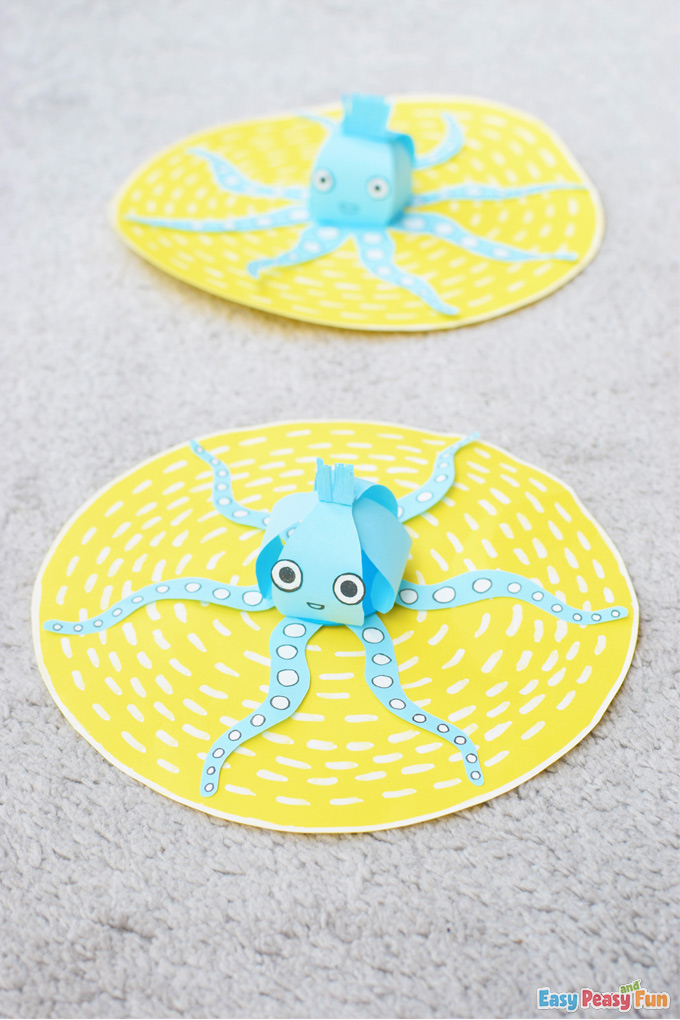
This 3D paper octopus craft is fun to do and will look great as a wall or table decoration. The octopus can spin its head in circles, and it will make you smile.
If you ready to craft this octopus with us, prepare your tools, and let’s start!
How to Make 3D Paper Paper Craft
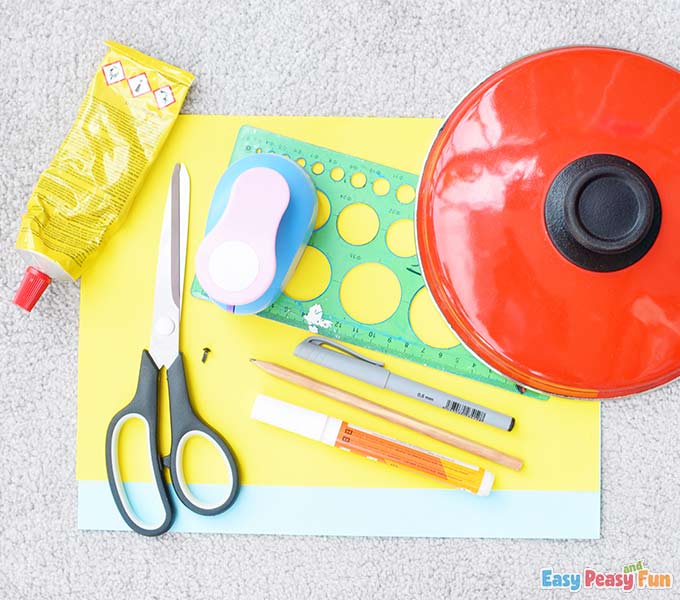
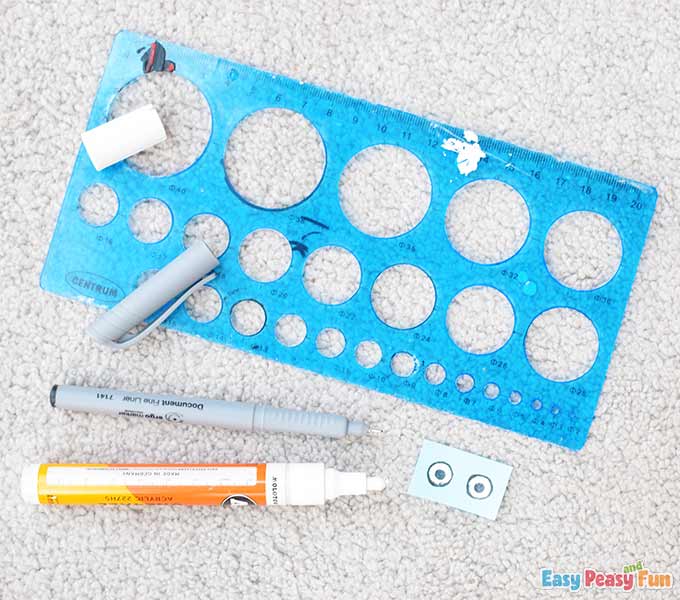
What you need:
- optional printable template in the membership library
- one circle object
- blue cardstock
- yellow cardstock
- white marker
- black liner
- ruler with circle shapes
- scissors
- glue
- one split pin
- circle puncher
Let’s craft!
Step by Step Instructions
The Octopus’s Body
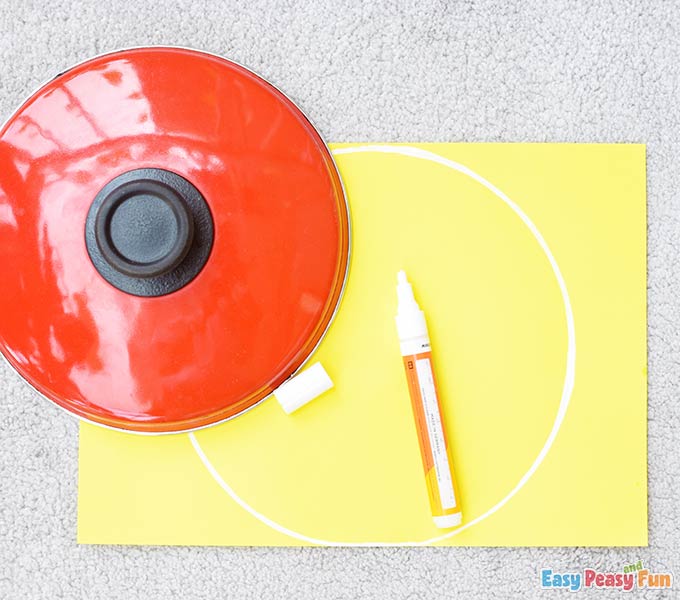
Take the white marker and trace the circle object on the yellow paper.
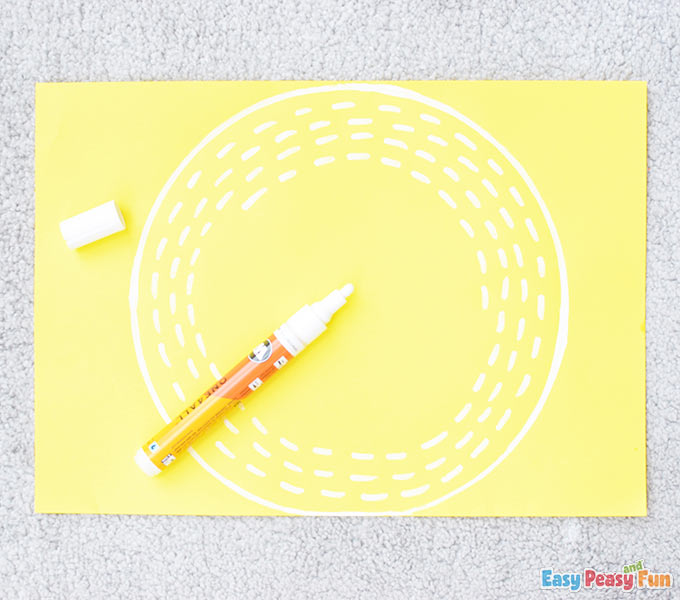
Start drawing dashes in circles inside the circle.
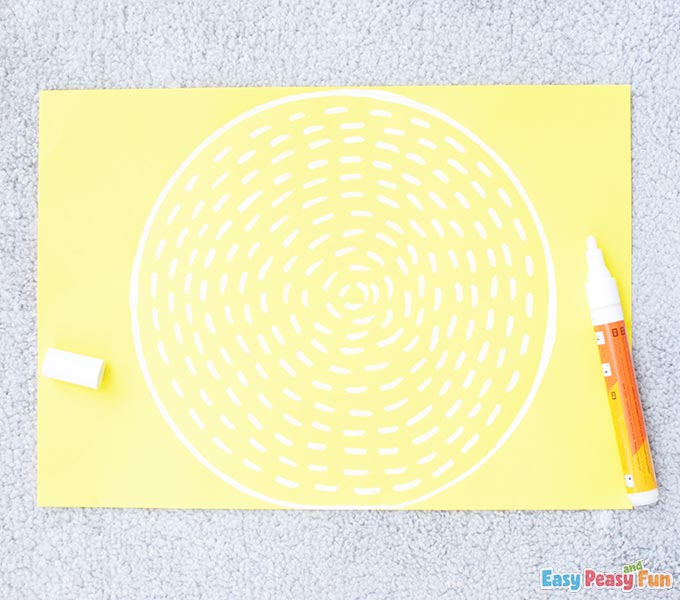
Fill up the whole circle with dashes.
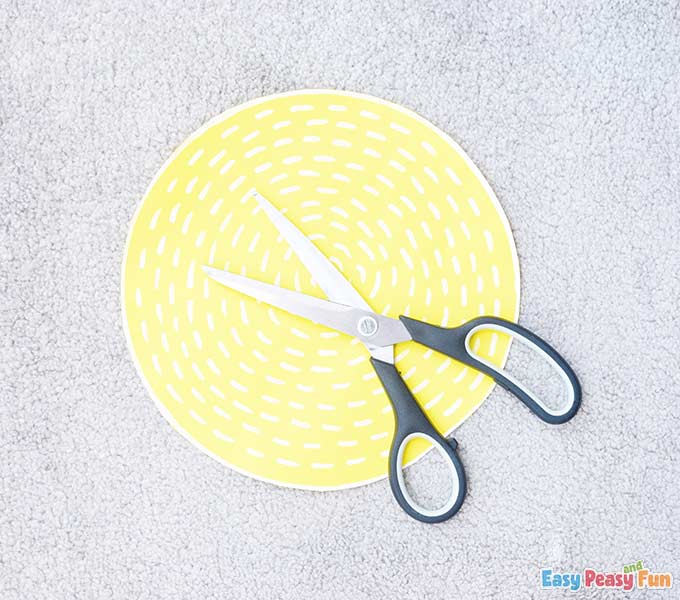
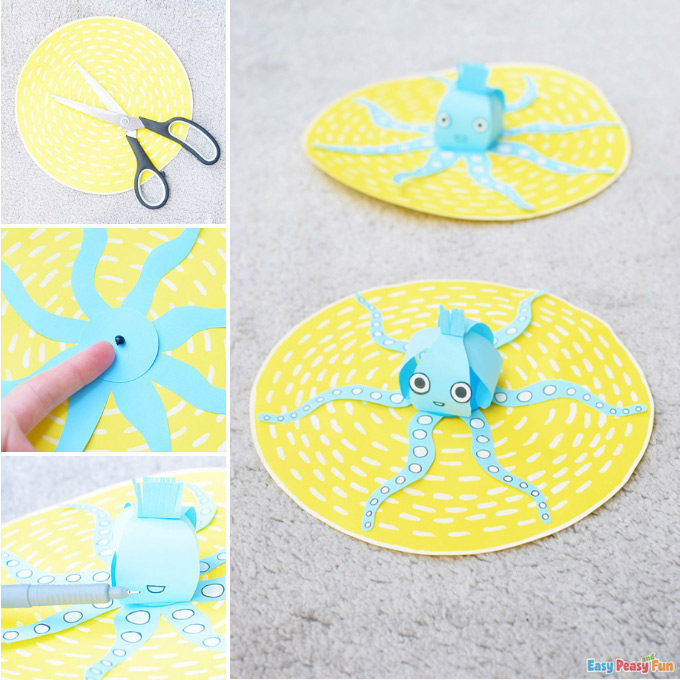
Take your scissors and cut out the circle.
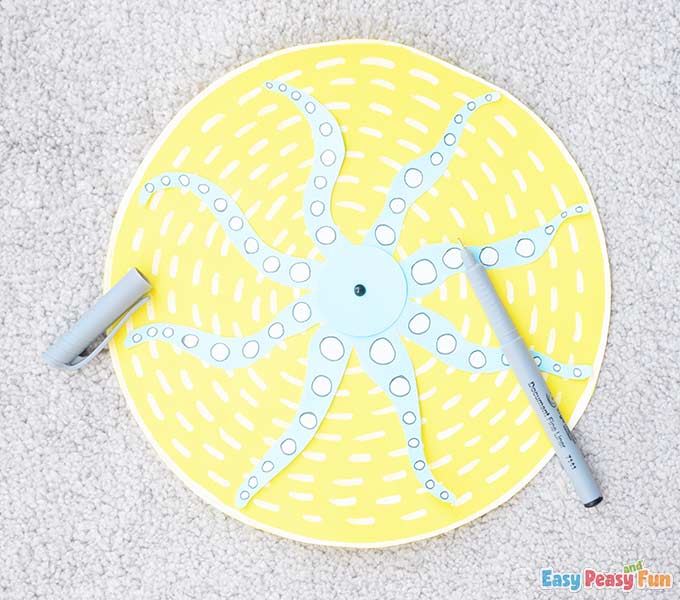
The Tentacles
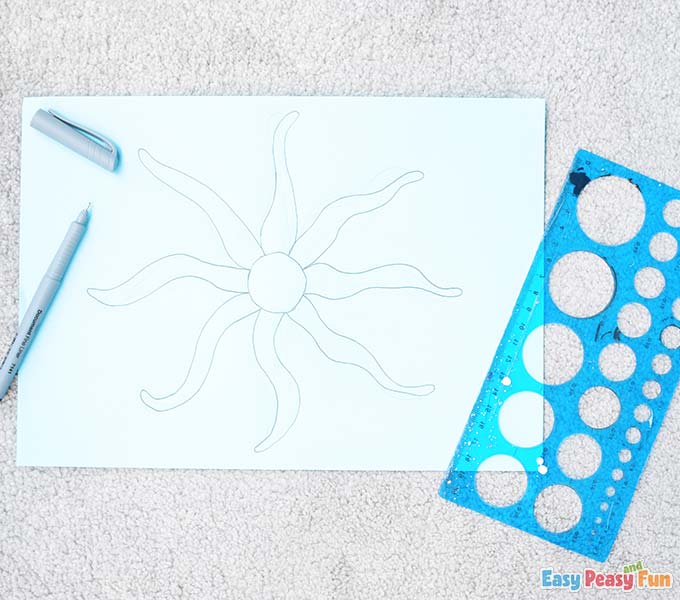
Draw a small circle on the blue cardstock and eight tentacles around it, as shown in the picture.
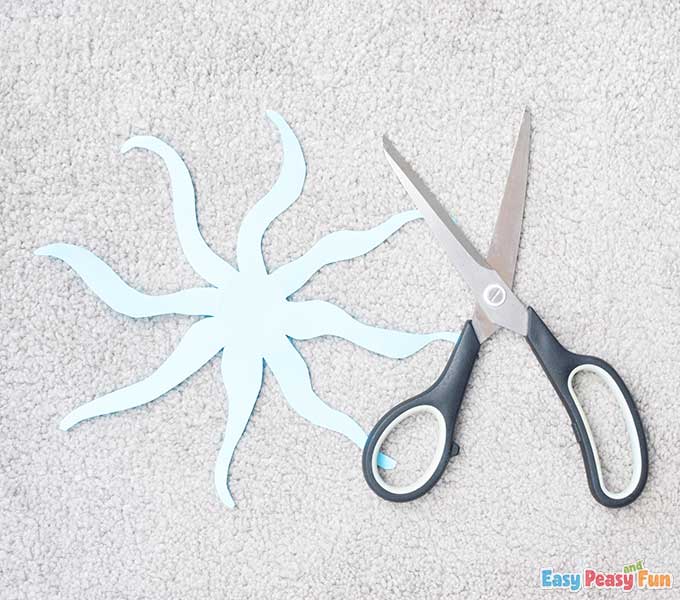
Cut out the tentacles using scissors.
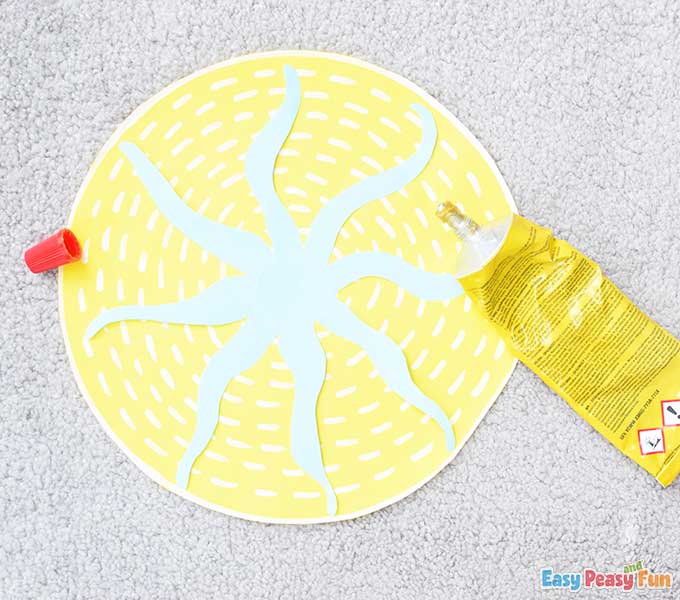
Glue the tentacles on top of the yellow circle.
Make sure the small blue circle stays in the center of the yellow circle.
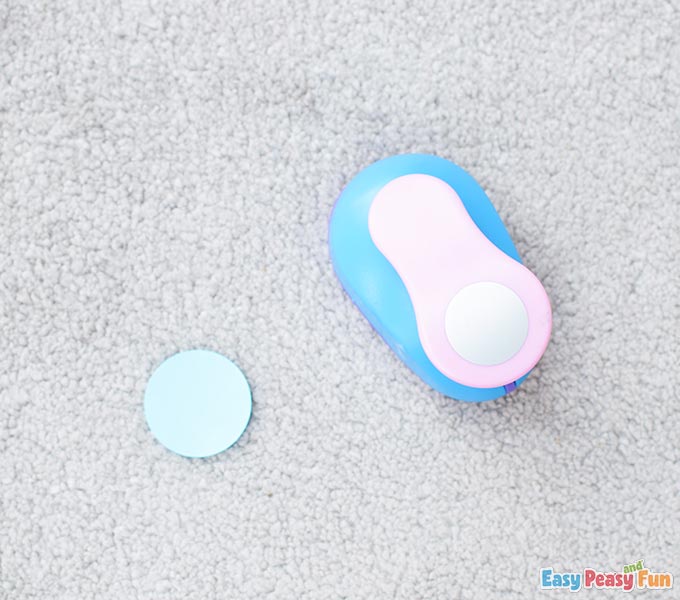
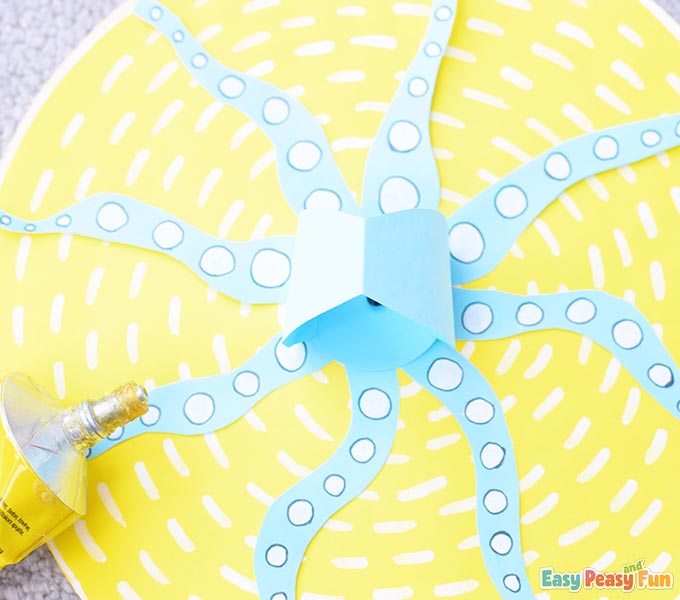
Punch out one blue circle.
Push a split pin through both (a small blue circle and one with tentacles).
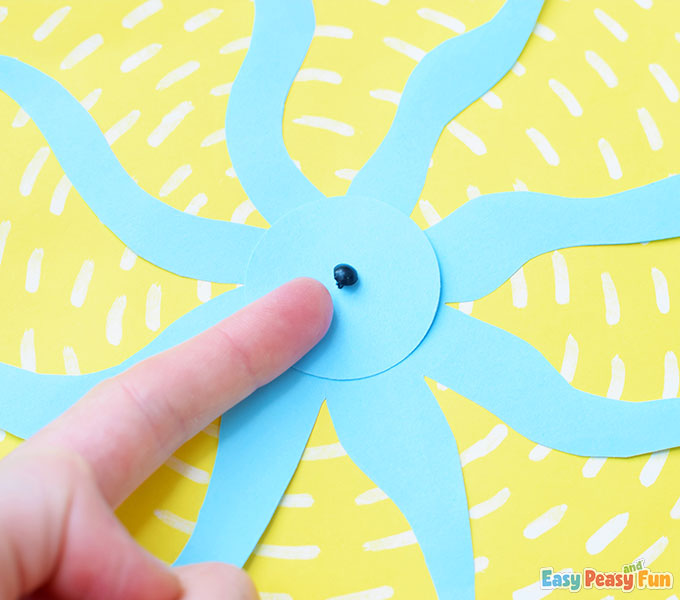
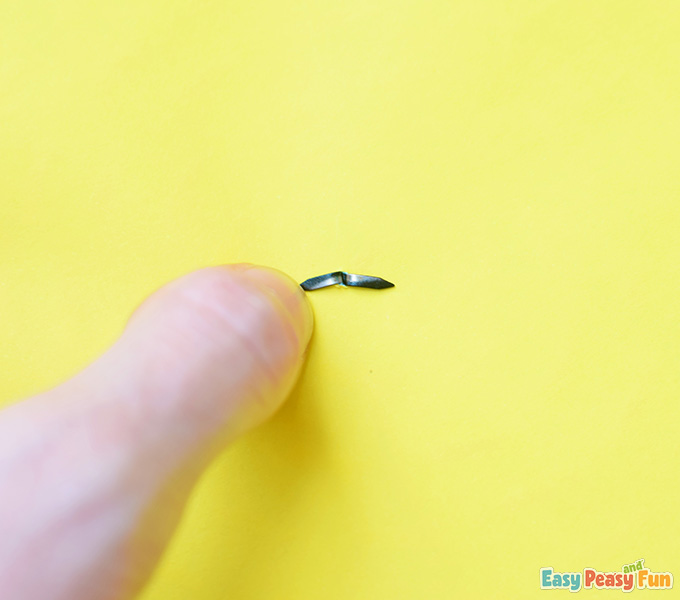
Split the ends of the split pin for the circles to stay attached.
Start drawing white circles on the tentacles.
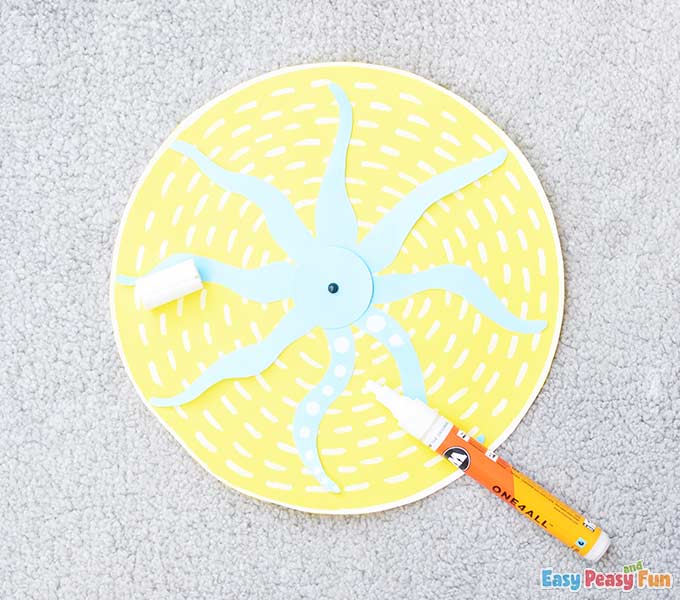
Make sure you didn’t miss a tentacle.
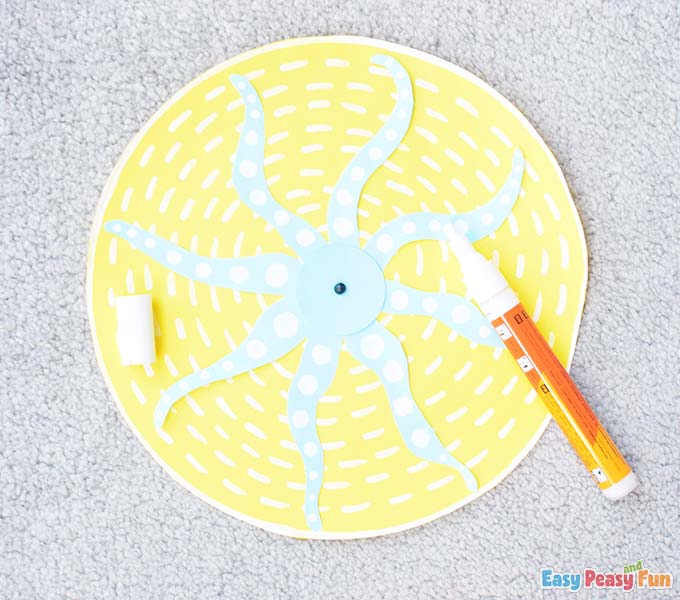
Take the black liner and define each of the white circles on the tentacles.
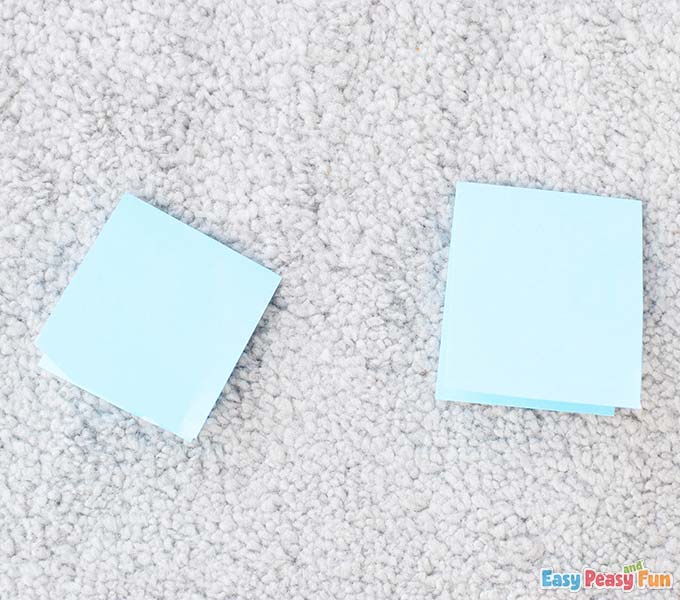
The Head
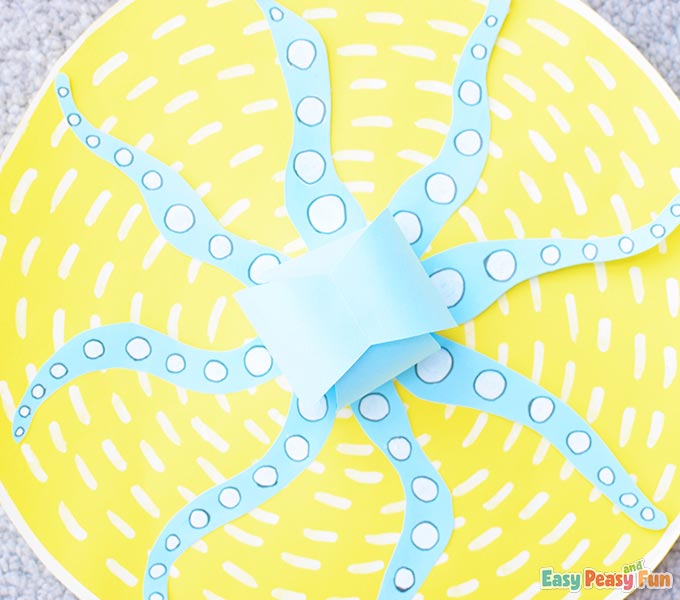
Take two blue rectangles and fold them in half.
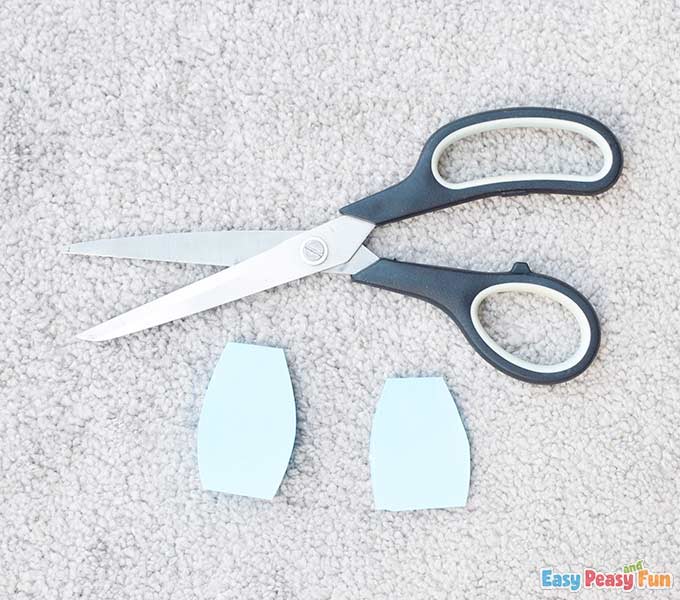
Cut out two vase-like shapes.
Open the vase shapes and fold their ends.
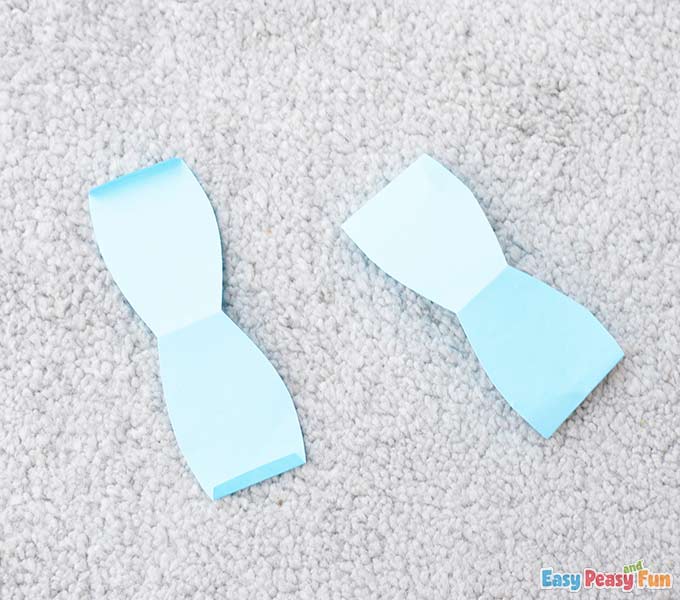
Apply some glue on the folded ends and attach them to the punched blue circle.
Please repeat this step with the other vase-like shape, then glue them together at the top.
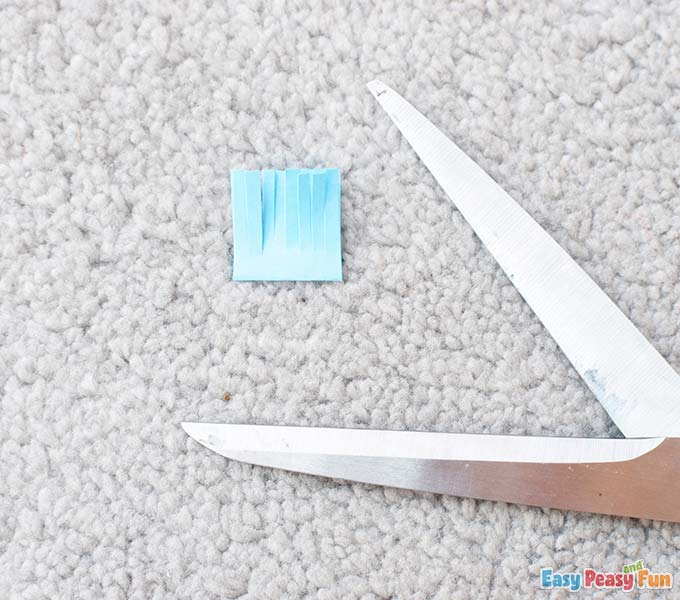
The Comb
Take one small piece of blue cardstock, fold it in half, and use your scissors to make a “comb.”
We will use this comb as octopus hair. We know that octopuses don’t have hair, but this will make the octopus look cool and exciting.
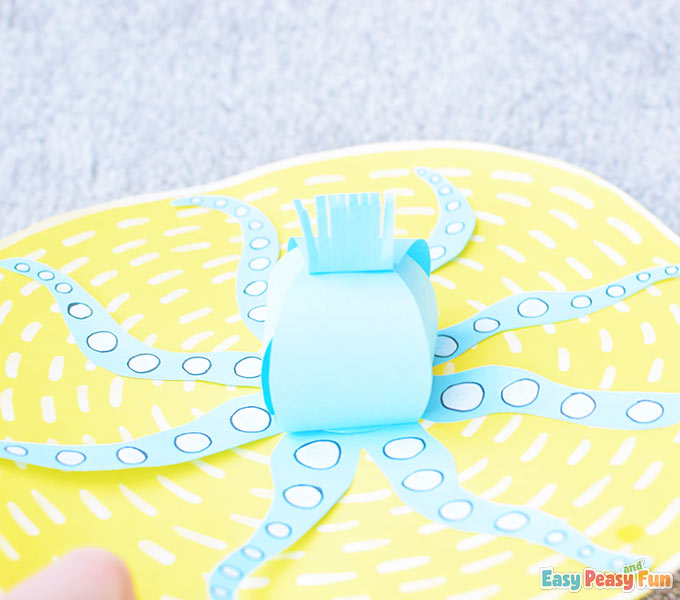
Make a fold, then glue the hair on the octopus head.
The Mouth
Draw a smiling mouth using the black liner.
The Eyes
Draw two eyes.
Cut the eyes out using scissors.
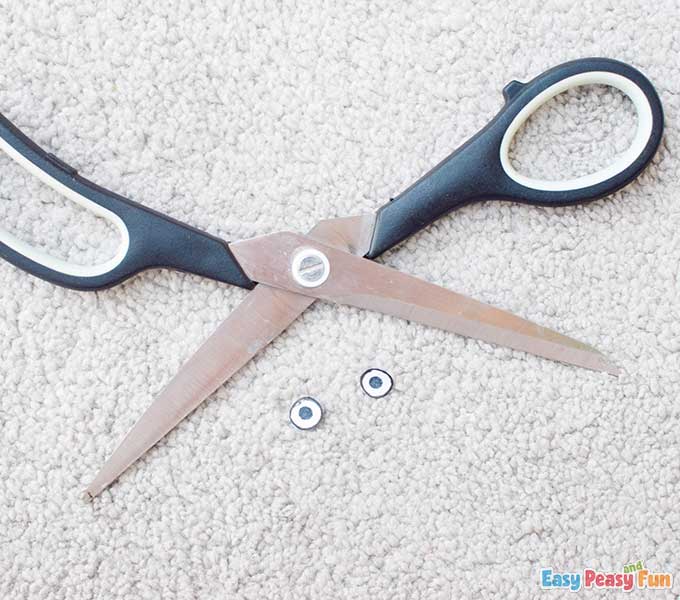
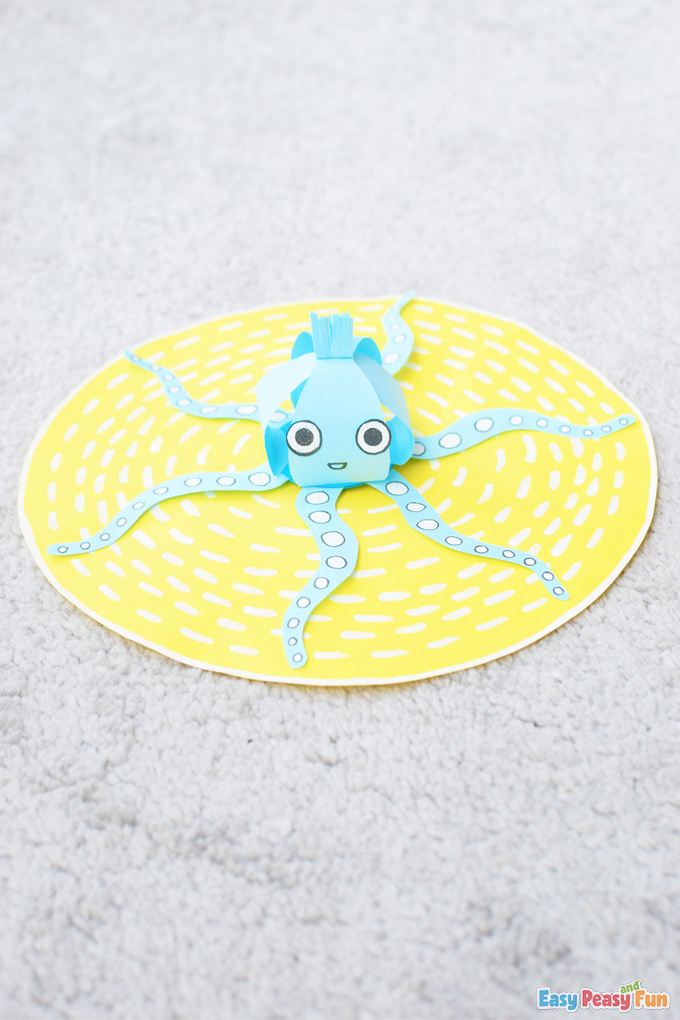
Attach the eyes on the octopus head. We placed them wide apart, but you can place them closer if you want to.
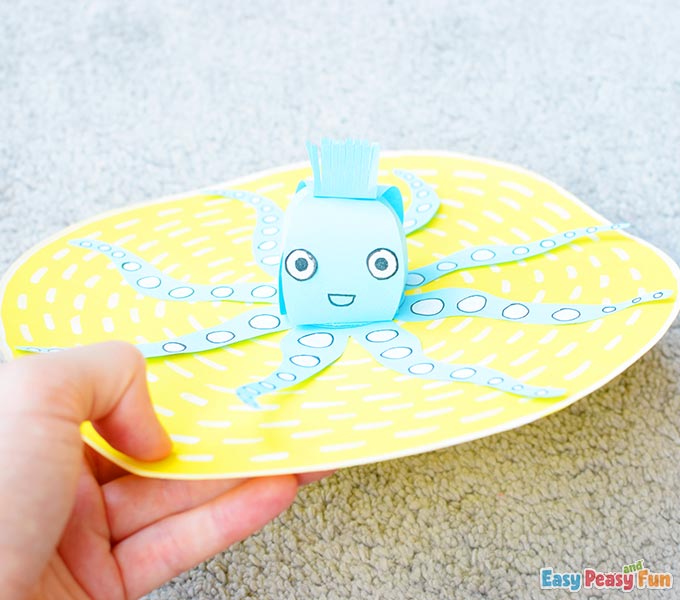
All done!
Now start spinning its head. Wow!
We bet you like this octopus craft, huh?
Have fun, and stay tuned for more!
Get your 3D Paper Octopus Craft Template here
Want instant access to all of our printable crafts, activities, and resources?

With thousands of crafts, activities, worksheets, coloring pages, and drawing tutorials to print, you will always have just the resource you need at your disposal. Perfect for parents and teachers alike!