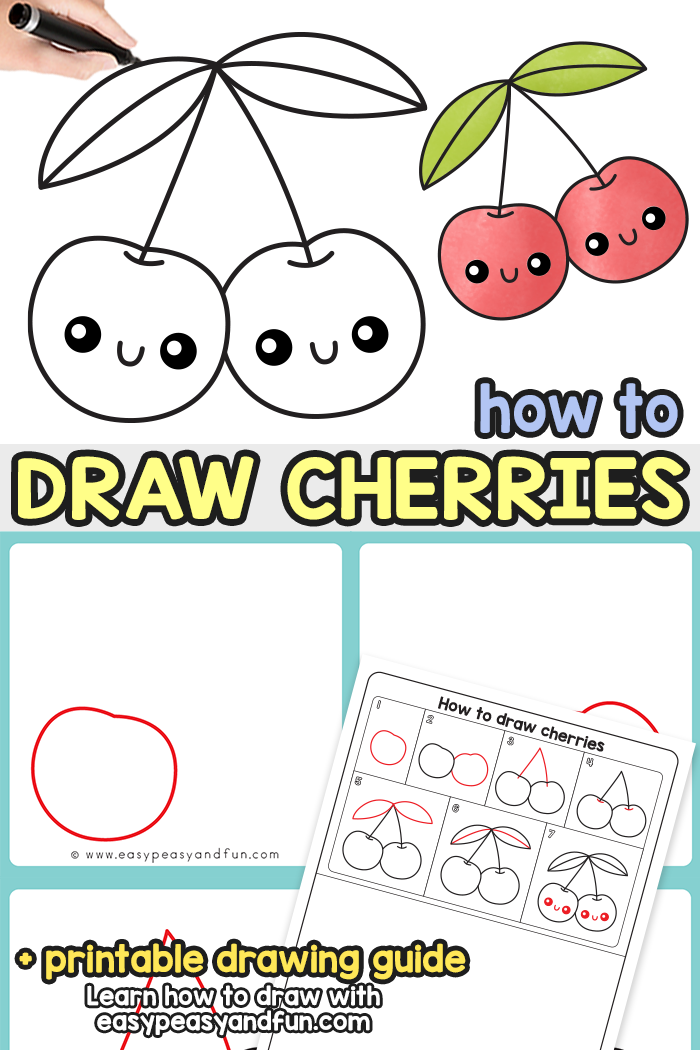
Cherries are the perfect fruit to draw anytime of the year! This step-by-step cherry drawing tutorial will have kids sketching their own cute cherry pairs in no time.
Cherries are surprisingly simple to draw with just a few circles and curved lines. Plus, they’re naturally adorable when you add those sweet little faces!
*This post contains affiliate links*
Hi, I'm Andreja from Easy Peasy and Fun — and I just wrote a book!
50 paper crafts your kids can actually do themselves
CRAFTS
I designed every project so kids can do it themselves — no fancy supplies, just paper, scissors, and a little imagination.
“If you need easy crafts to keep busy, Andreja delivers with this book!”
📚 As an indie author, your pre-order genuinely helps me — it counts toward first-week sales, which is how new books get noticed. Thank you!
This drawing tutorial breaks down cherries into easy-to-follow steps that work for all ages. From preschoolers working on their circles to older kids perfecting their shading, everyone can draw along.
Ready to draw some cherry-ific art? Let’s get started!
How to Draw Cherries Step by Step

What you need:
- our printable drawing guide (optional)
- pencil or black marker
- paper
Step by Step Cherries Drawing Instructions
Step 1
Draw the first cherry. Start by drawing a circle with a slightly bumpy top. Cherries aren’t perfectly round, so a little wobble at the top is perfect!

Step 2
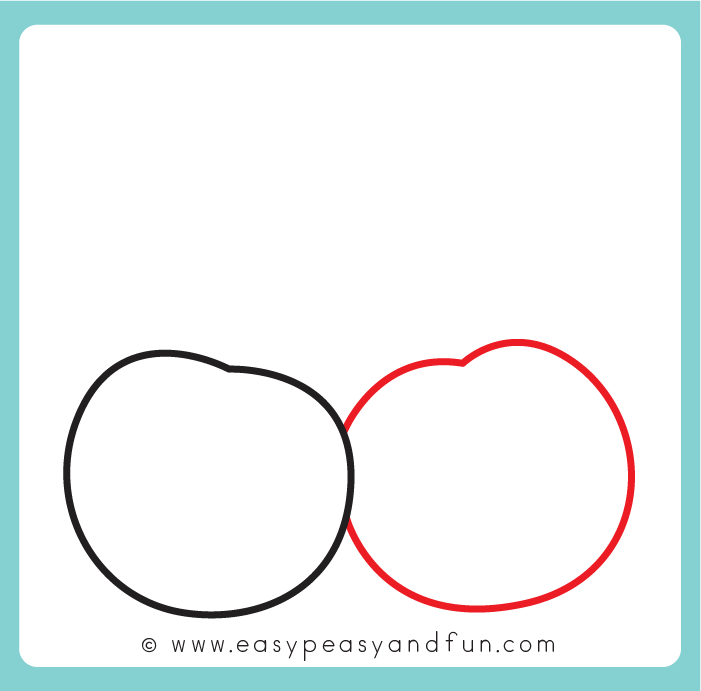
Add the second cherry. Draw another circle right next to the first one, with the two cherries touching slightly at the side. This creates that classic cherry pair!
Step 3
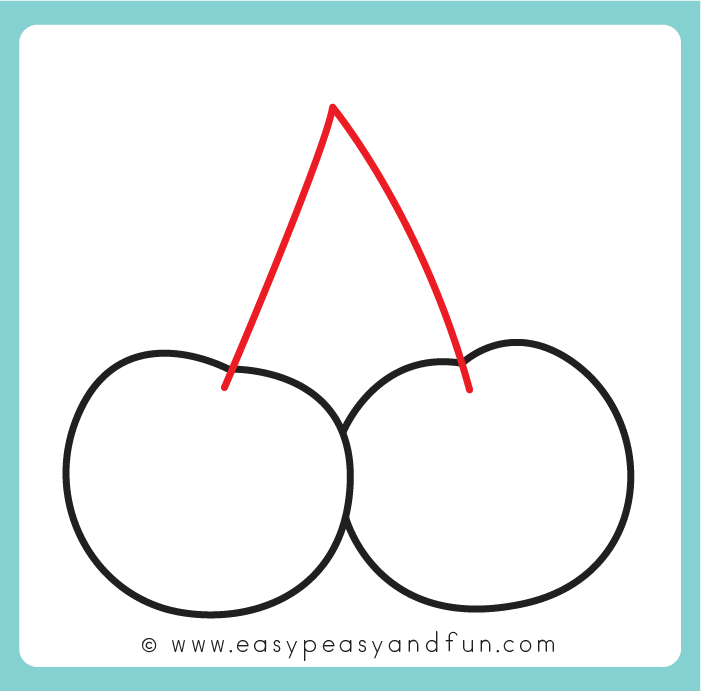
Draw the stems. From the top of each cherry, draw a line with the two meeting at a point above the cherries, forming a V shape. These are the cherry stems connecting the two cherries together.
Step 4
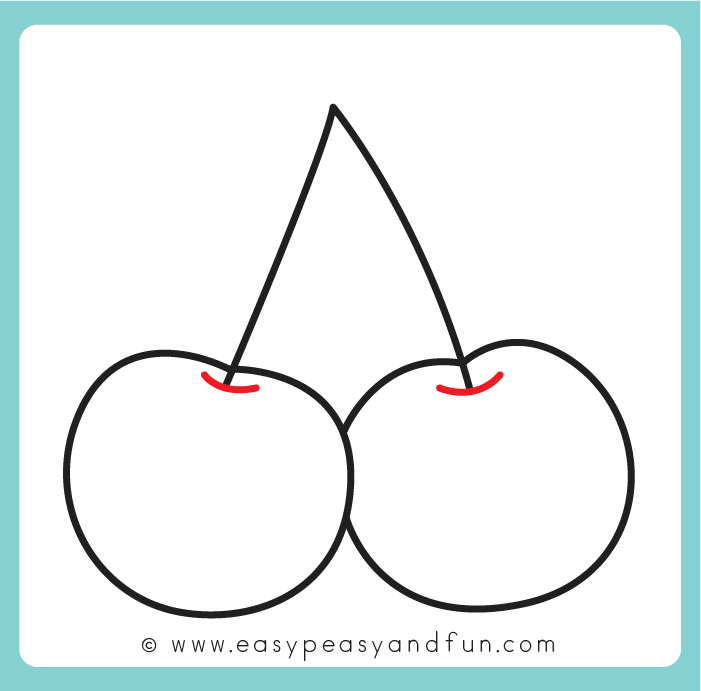
Add the stem tops. At the top of each cherry where the stem connects, draw a small curved line. This shows where the stem attaches to the fruit.
Step 5
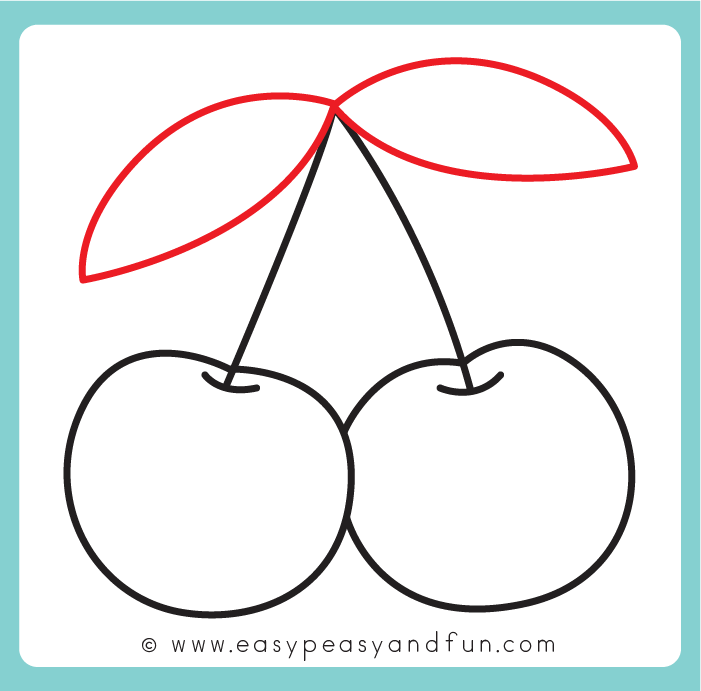
Draw the leaves. From the point where the two stems meet, draw two pinty oval leaf shapes.
Step 6
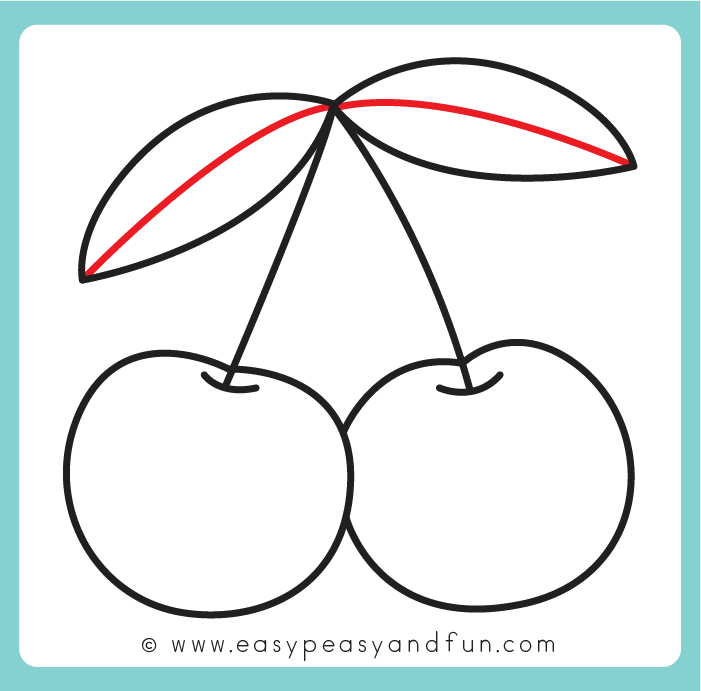
Add leaf details. Draw a curved line down the middle of each leaf to create the leaf vein. This gives the leaves more dimension and makes them look realistic.
Step 7
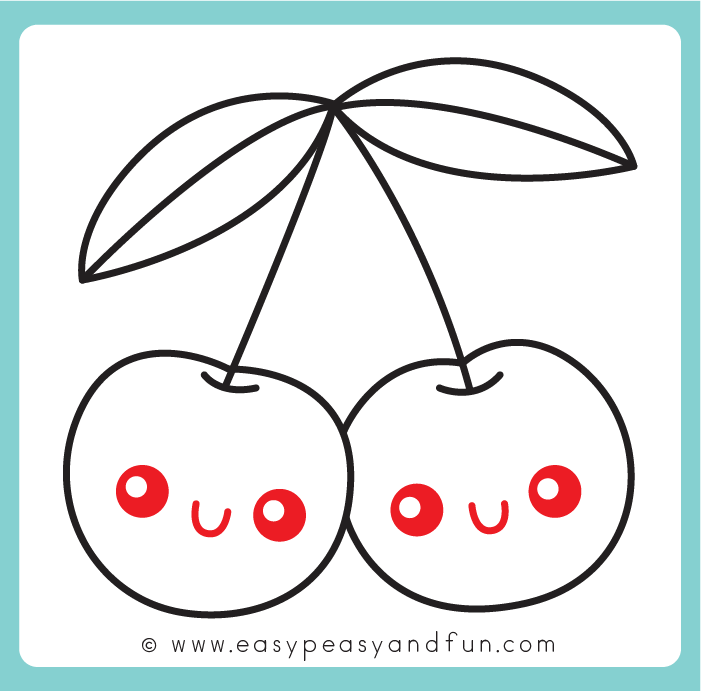
Draw the faces. Time to make these cherries cute! Add two circles for eyes and a small curved line for a smile on each cherry. Keep the faces simple and sweet!
Step 8
Color the cherries. Now for the fun part! Color the cherries in red or pink, the stems in brown, and the leaves in green. The kawaii-style cherries are done!
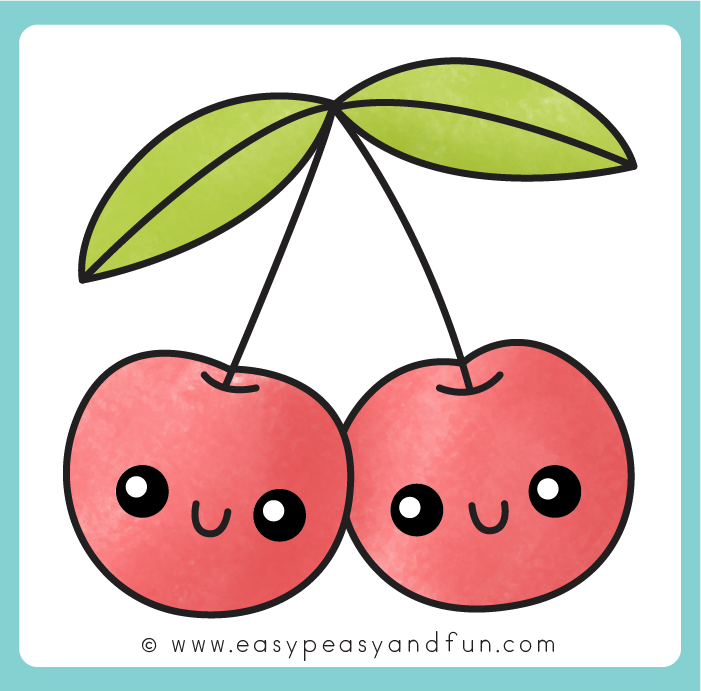
These sweet little cherries make great decorations for summer art projects, fruit-themed activities, or just fun practice for drawing skills!
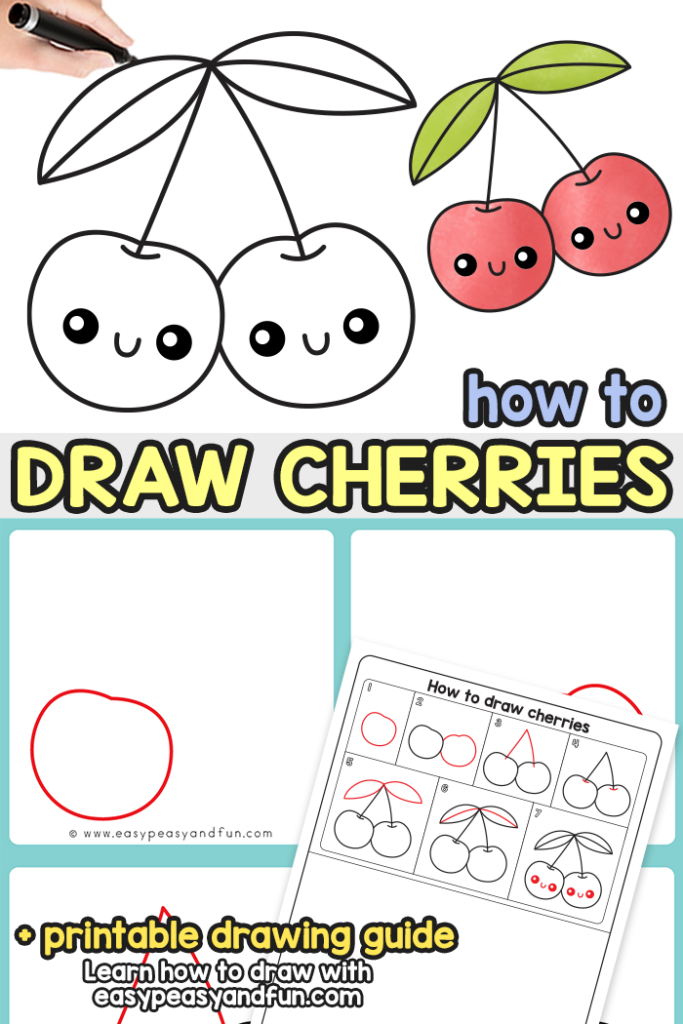
Get the Cherries Guided Drawing Printable
The printable drawing guide is available to members of the Easy Peasy and Fun membership.
To access the template, log in to your account or become a member.
Already a member? Log in here.
Want instant access to all of our printable crafts, activities, and resources?

With thousands of crafts, activities, worksheets, coloring pages, and drawing tutorials to print, you will always have just the resource you need at your disposal. Perfect for parents and teachers alike!