If you think drawing a helicopter is hard, we have great news for you – our how to draw helicopter tutorial makes things super easy. You and your kids will be able to draw this flying machine in no time. Just a few steps, a few pencil strokes (and a dash of color) and you are done.

*This post contains affiliate links*
50 paper crafts your kids can actually do themselves

No fancy supplies — just paper, scissors, and a little imagination.
Be the first to get it on release day — and lock in the lowest price guaranteed.
How to Draw Helicopter Step by Step
This one is just waiting to soar into the sky, but why have it fly alone when you can have the kids draw an airplane alongside it as well?

What you need:
- our printable drawing guide (optional)
- pencil or black marker
- paper
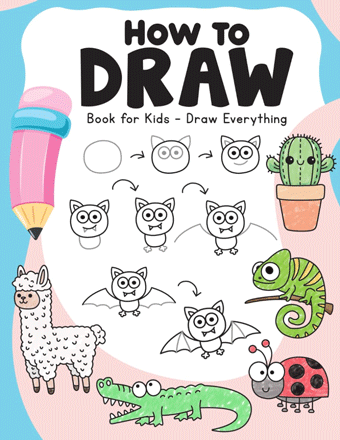
Our How to Draw Book is Here!
A must-have book with just over 100 easy-to-follow directed drawing guides for kids. With a variety of animals, magical creatures, vehicles, foods, plants and more your kids will never get bored.
Step by Step Helicopter Drawing Instructions
Step 1
Start by drawing a boxy shape with rounded edges.

Step 2
Next, draw the front window.

Step 3
A rear window comes back (you can also make it a circle).

Step 4
Start drawing the landing skid. First, draw the two legs at a slight angle.

Step 5
Next draw the skid.

Step 6
Draw a small circle next to the part of the helicopter you already drew.

Step 7
Draw the blades on the tail rotor.

Step 8
Connect it all together.

Step 9
We’re almost there, just the top rotor.

Step 10
Lastly draw the rotor blades.

Step 11
All done, you’ve learned how to draw a helicopter. The only thing left to do is to color in your drawing.


Get the Helicopter Guided Drawing Printable
The printable drawing guide is available to members of the Easy Peasy and Fun membership.
To access the template, log in to your account or become a member.
Already a member? Log in here.
Want instant access to all of our printable crafts, activities, and resources?

With thousands of crafts, activities, worksheets, coloring pages, and drawing tutorials to print, you will always have just the resource you need at your disposal. Perfect for parents and teachers alike!