Looking for a quick and easy way to draw a giraffe? While their long necks and unique proportions might look tricky at first, they are actually one of the most fun animals to sketch once you break them down.
This step-by-step giraffe drawing tutorial will show you how to build the character using simple shapes and lines. It’s perfect for beginners or anyone who wants to add a cute giraffe to their sketchbook without overcomplicating things. Grab your favorite pen and let’s get started!

*This post contains affiliate links*
50 paper crafts your kids can actually do themselves

No fancy supplies — just paper, scissors, and a little imagination.
Be the first to get it on release day — and lock in the lowest price guaranteed.
How to Draw Giraffe Step by Step

What you need:
- our printable drawing guide (optional)
- pencil or black marker
- paper
Step by Step Giraffe Drawing Instructions
Step 1
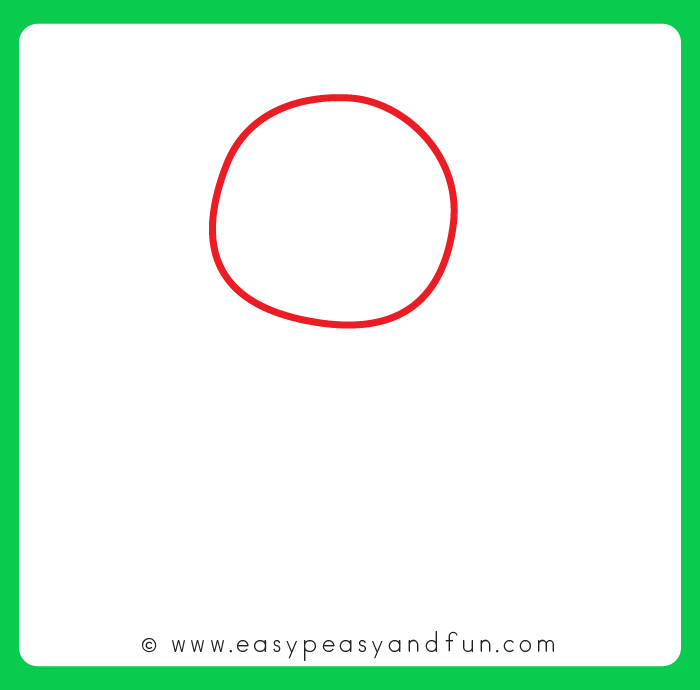
Draw a slightly oval or “egg” shape in the upper middle section of your paper. This will serve as the base for the giraffe’s head. Don’t worry about making it a perfect circle—a little irregularity actually gives the character more life!
Step 2
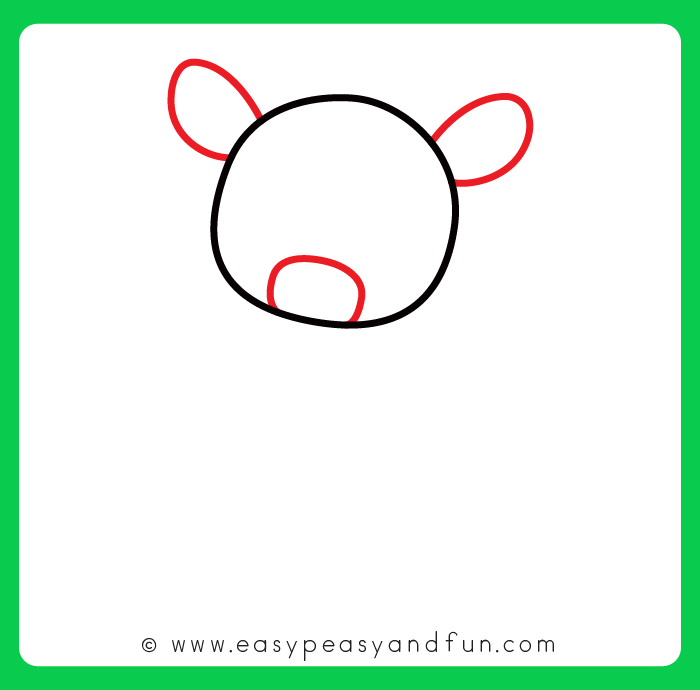
Next, add two small, oval-shaped ears to the sides of the head. Then, draw a small arch inside the bottom of the head shape to mark out the snout. These simple additions start to give your giraffe its recognizable character.
Step 3
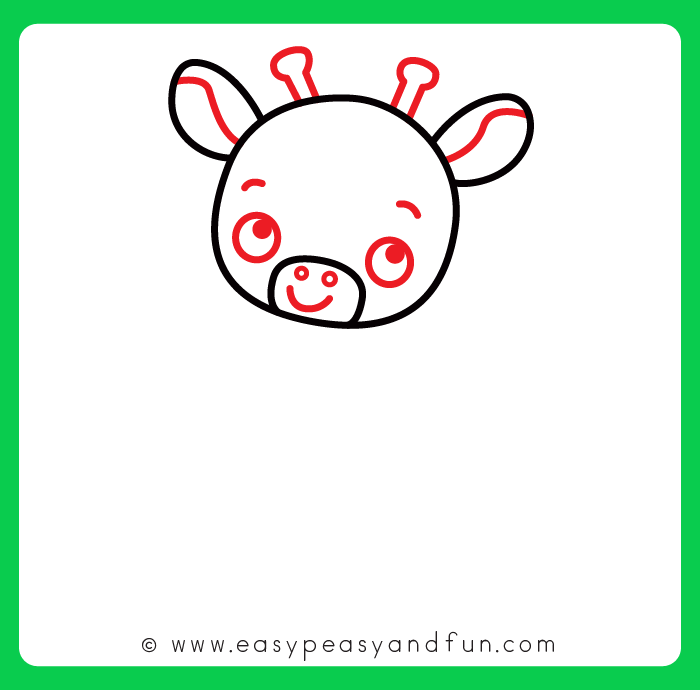
Draw two “ossicones” (those little horn-like bumps) on top of the head and add a few detail lines inside the ears. For the face, draw two big, friendly eyes with pupils looking up, a couple of small dots for nostrils, and a little curved line for a smile. Your giraffe is really starting to come to life!
Step 4
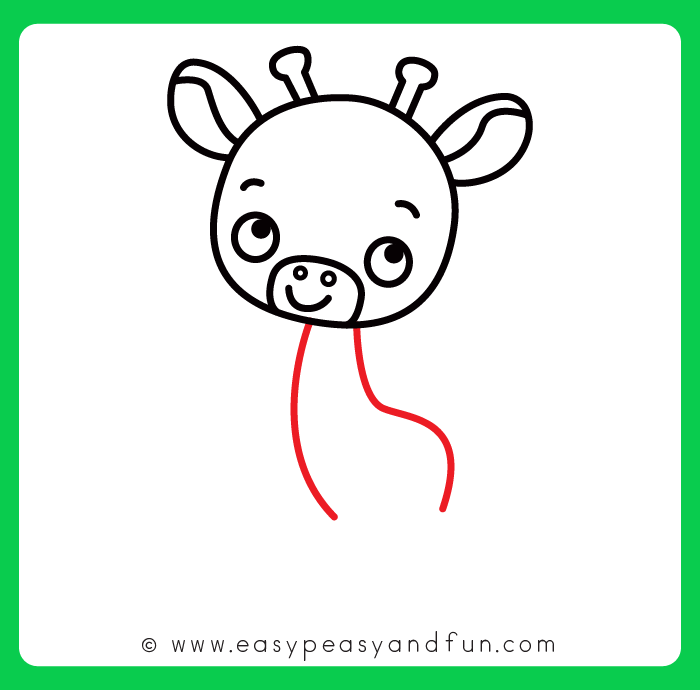
Time for the giraffe’s most famous feature! Draw two long, parallel lines extending down from the bottom of the head. Give them a slight curve to the right as they go down to create a natural, graceful look for the neck.
Step 5
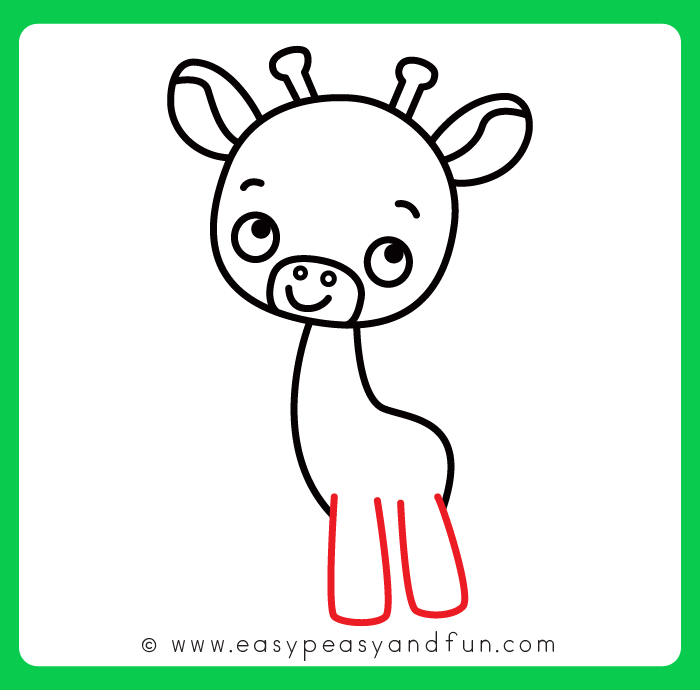
Next, add the front legs by drawing two long, thin rectangular shapes extending down from the base of the neck.
Step 6
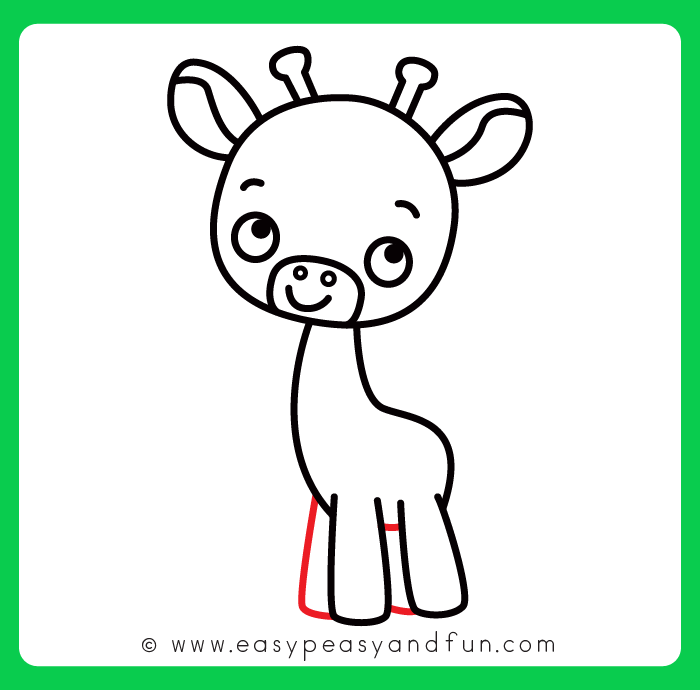
Now, add the back legs to give your giraffe some depth. Draw two more lines tucked slightly behind the front legs. Since they are further away, you only need to show a portion of them, ending with a small curve at the bottom to match the front hooves.
Step 7
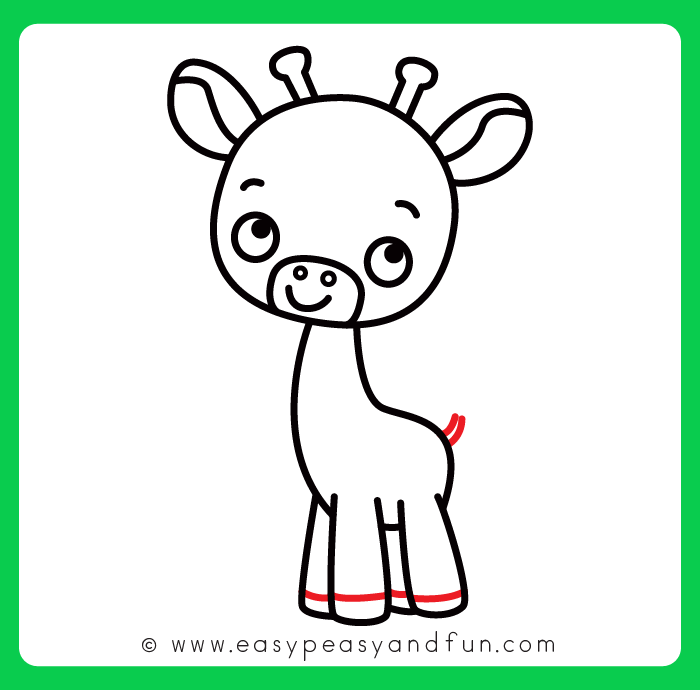
To wrap up the body, draw a small, slightly curved tail on the back of the giraffe. Then, add a horizontal line across the bottom of each leg to define the hooves. It’s these little details that really finish off the silhouette!
Step 8
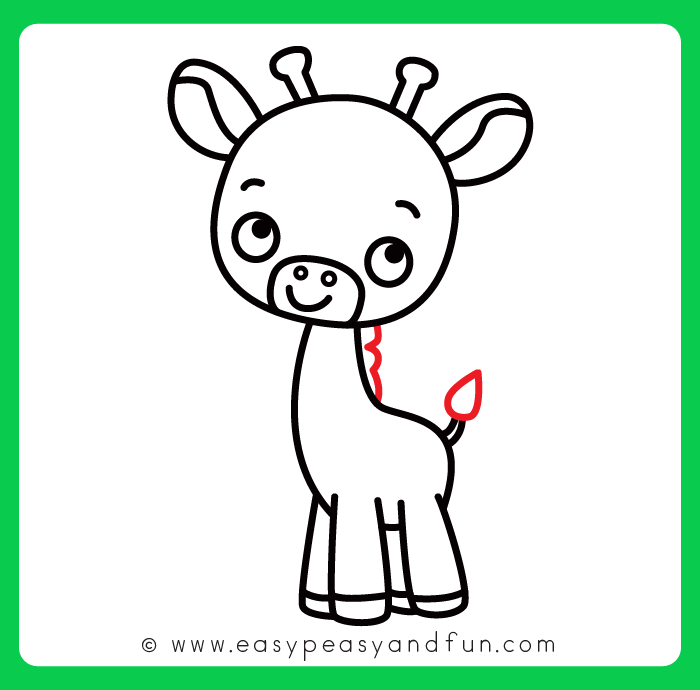
Give your giraffe some flair by adding a leafy tuft to the end of the tail and a bumpy mane along the back of the neck. These little extras add a lot of texture and really make the drawing stand out!
Step 9
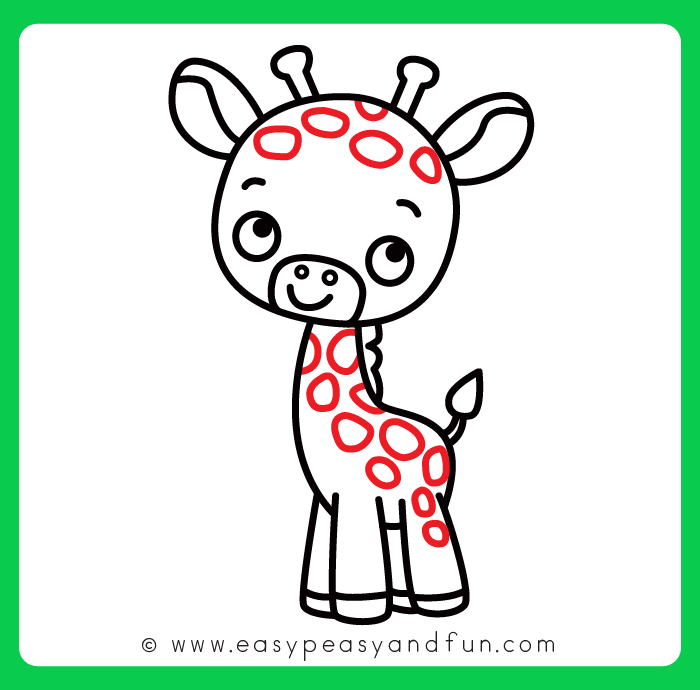
It wouldn’t be a giraffe without the spots! Fill in the forehead, neck, and body with various organic oval shapes. Don’t worry about making them uniform—real giraffe spots are all unique, so scattered and different-sized circles look best.
Step 10
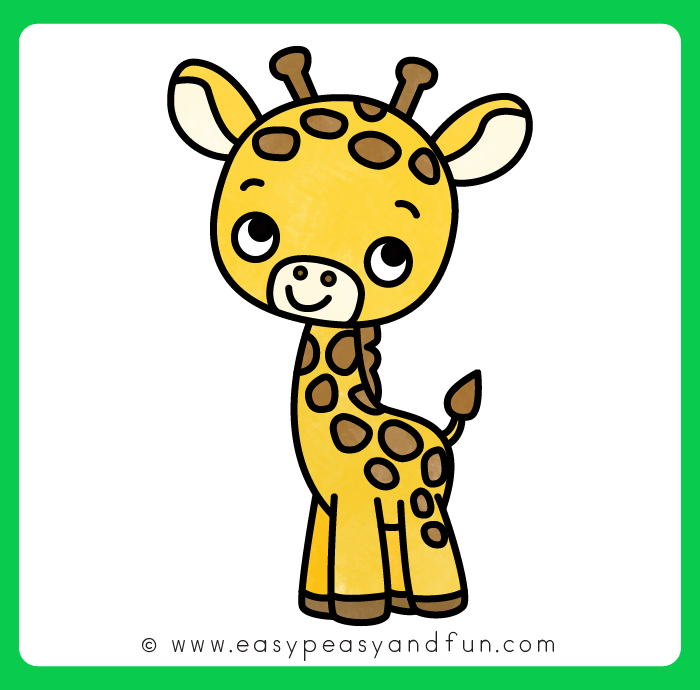
Now that the linework is done, you’ve officially mastered how to draw a giraffe! All that’s left is to grab your markers or colored pencils. Go with classic yellow and brown, or get creative with some wild colors.
If you enjoyed this tutorial, be sure to check out our other easy drawing guides to keep your sketchbook growing!
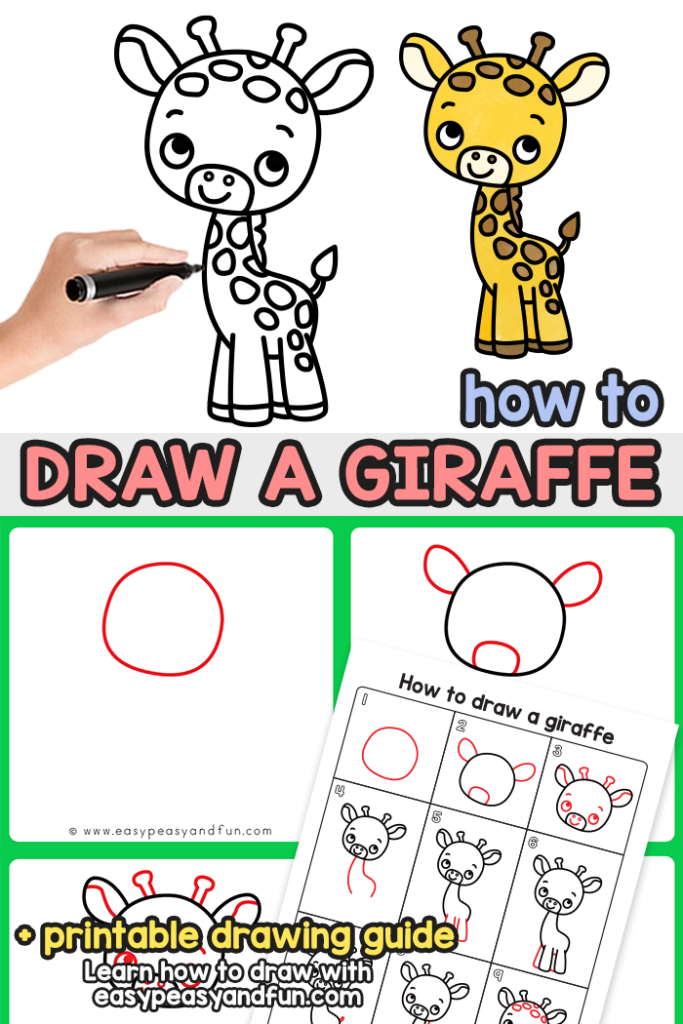
Get the Giraffe Guided Drawing Printable
The printable drawing guide is available to members of the Easy Peasy and Fun membership.
To access the template, log in to your account or become a member.
Already a member? Log in here.
Want instant access to all of our printable crafts, activities, and resources?

With thousands of crafts, activities, worksheets, coloring pages, and drawing tutorials to print, you will always have just the resource you need at your disposal. Perfect for parents and teachers alike!