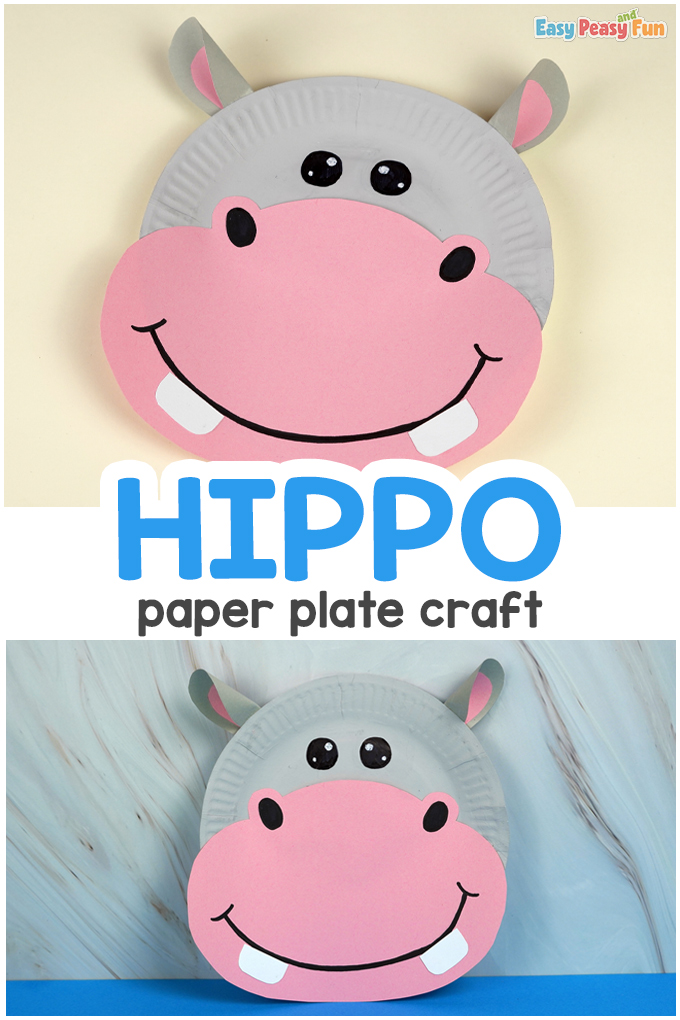
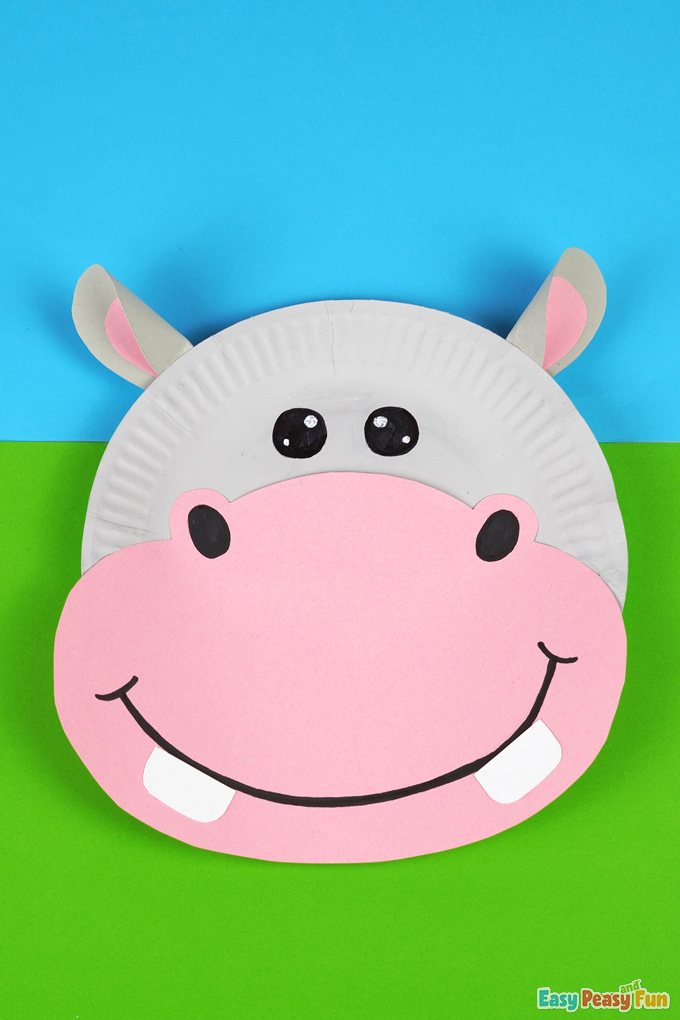
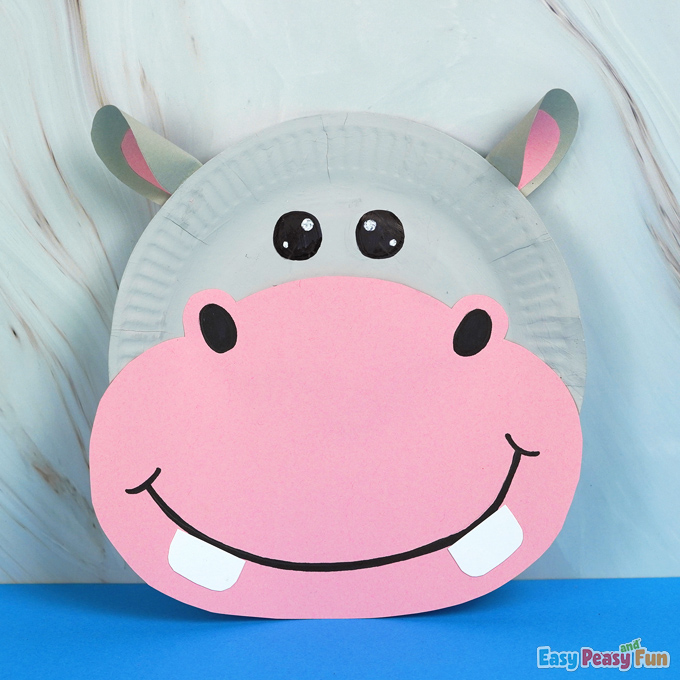
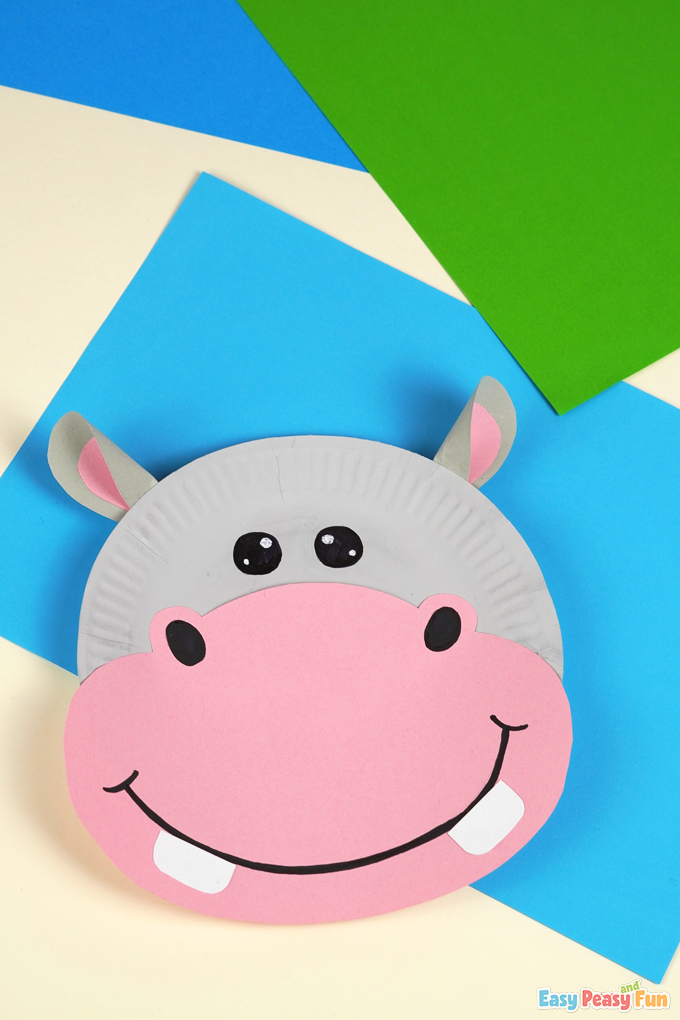
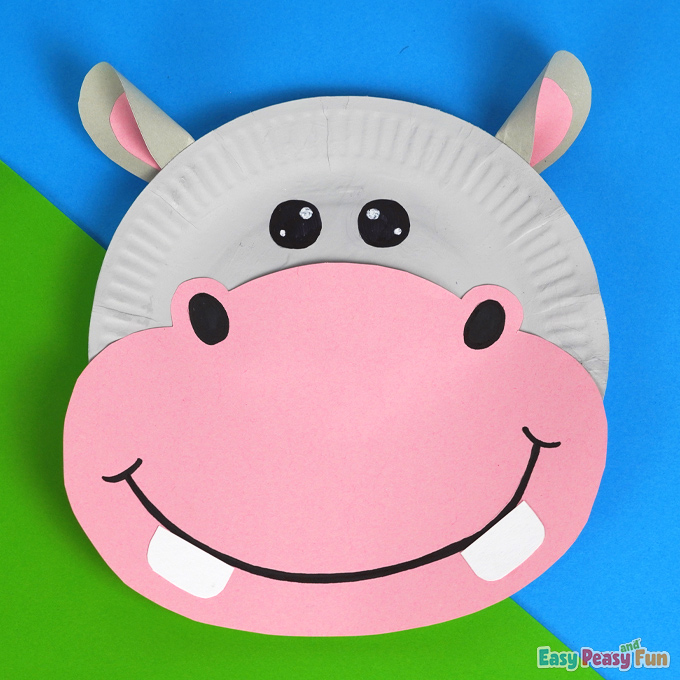
Do you love hippos? This Hippo Paper Plate Craft is perfect for kids of all ages to make.
Starting with a simple paper plate, you are going to transform this craft into a hippo that is ready for playtime. Get ready for hours of fun with this craft.
*This post contains affiliate links*
How to Make a Hippo Paper Plate Craft
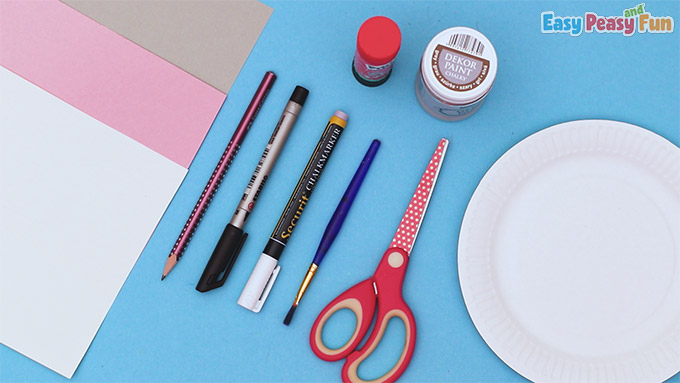
What you need:
- Paper plate
- Scissors
- Paintbrush
- White, black marker
- Pencil
- Grey acrylic paint
- Glue stick
- Grey, pink, white papers
Step by Step Tutorial
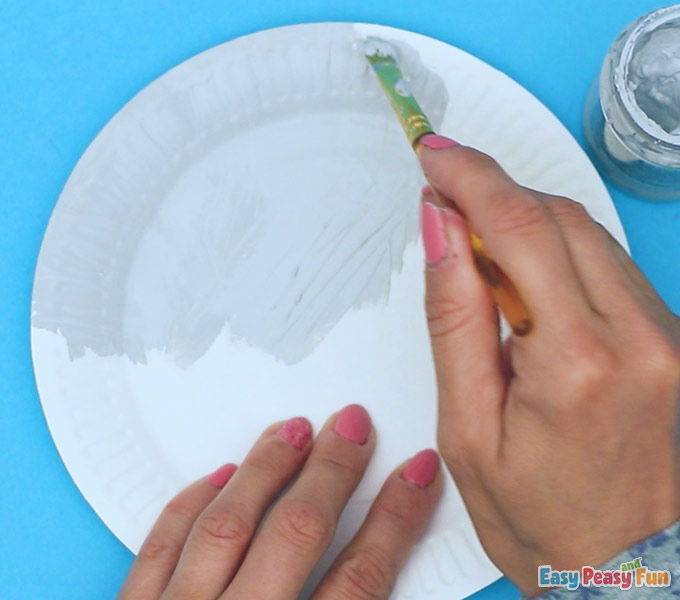
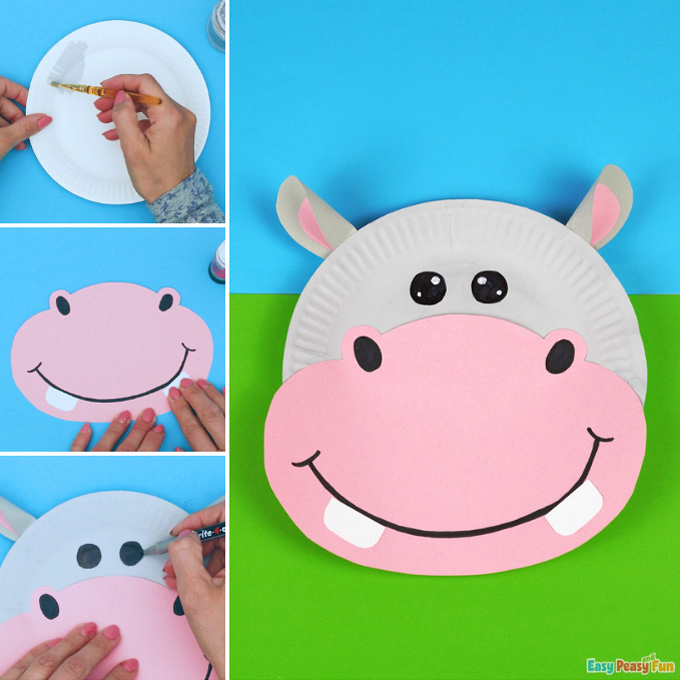
To start this craft, you are going to paint a paper plate the color grey!
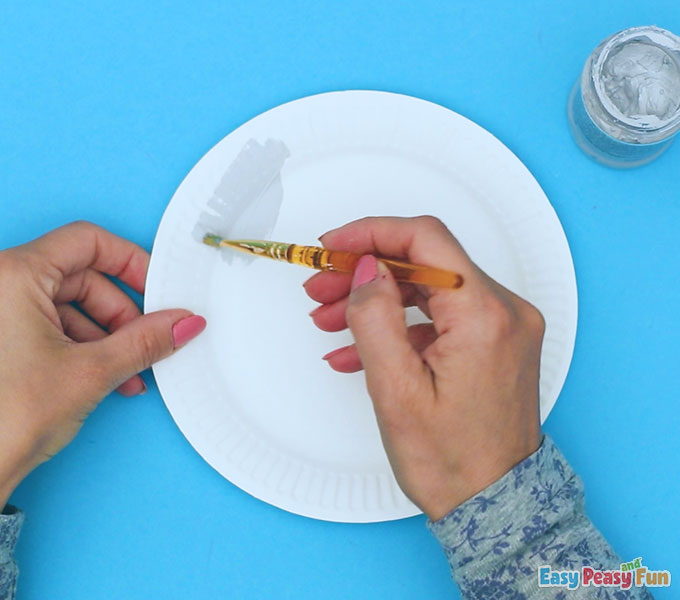
You can put several layers on the paper plate if you want to make sure no white shows through.
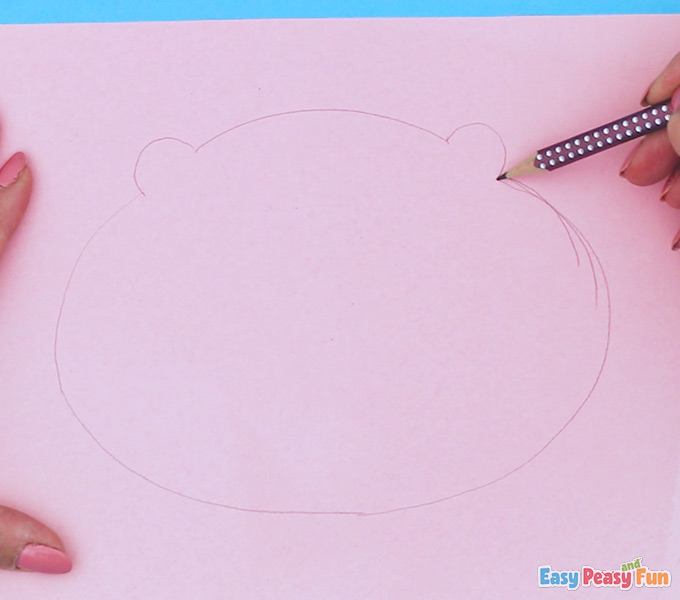
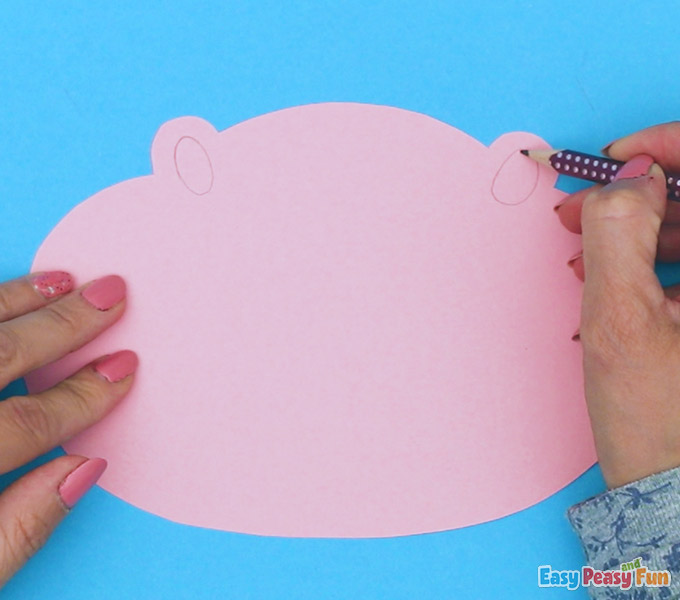
Draw the face of the hippo on a piece of pink paper.
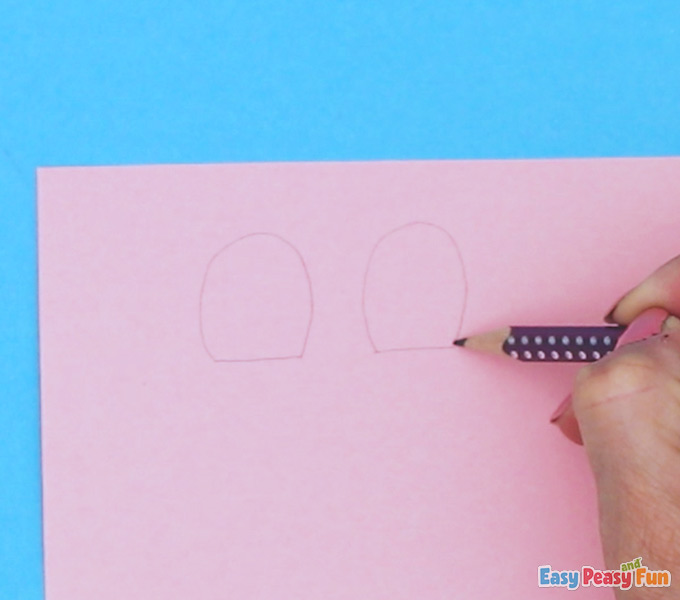
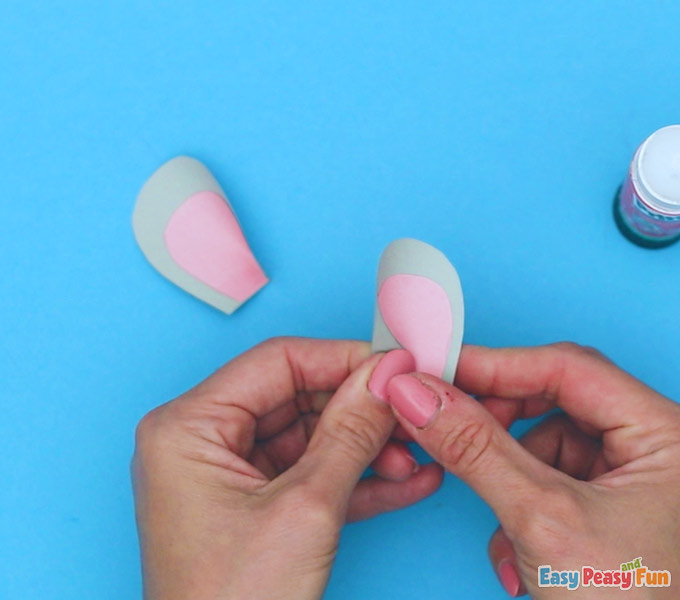
Go ahead and draw a set of ears on a piece of grey paper.

Also, draw a set of ears on a piece of pink paper.
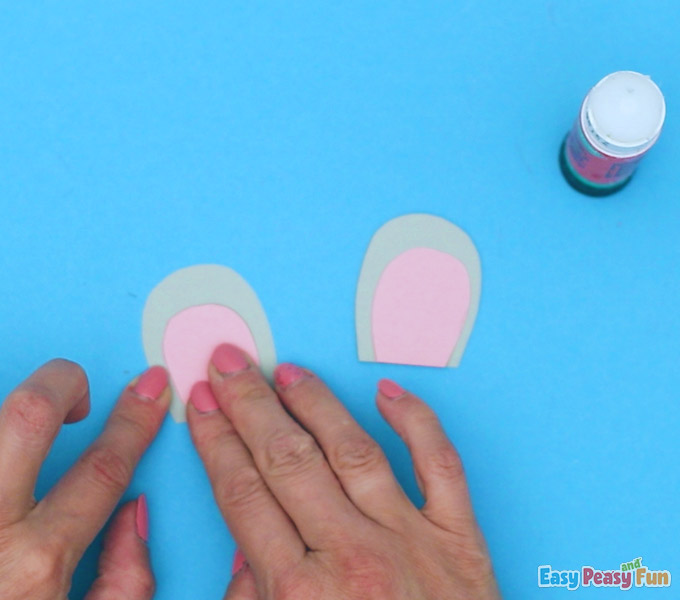
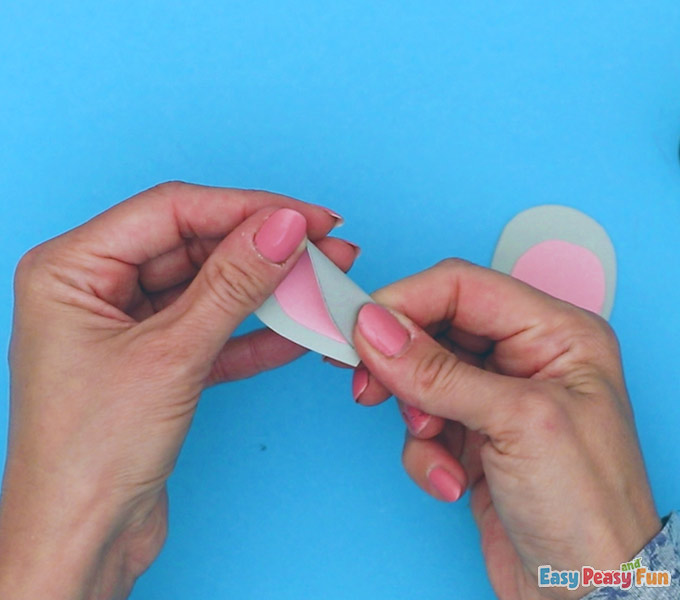
Go ahead and glue the pink ears on top of the grey ears.
You will then place a dab of glue in the middle of the ears.
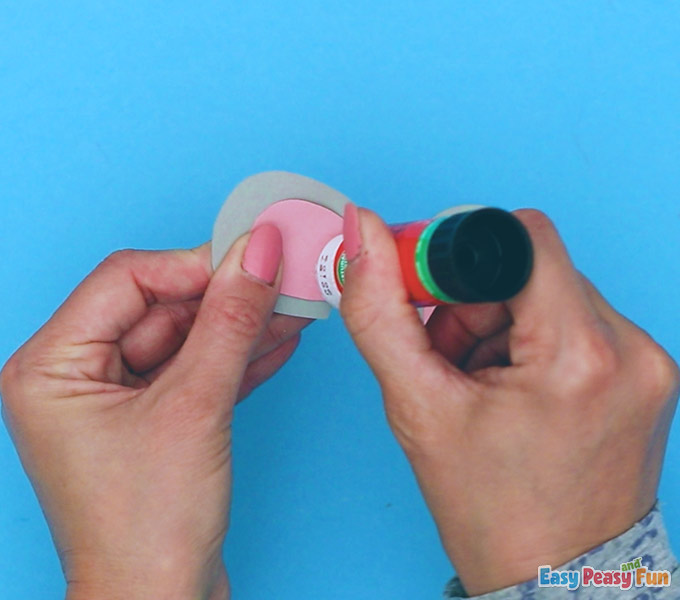
Slightly fold the ears together to make them look like Hippo ears.
On this piece of white paper, you will draw a set of large hippo teeth!
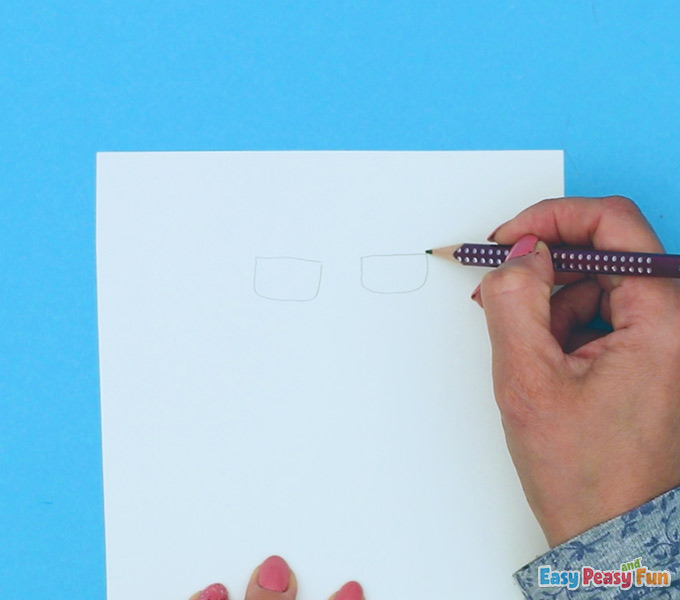
Now you are going to start drawing the face on the Hippo. Start with the eyes!
Next, you’ll want to create a nose for the hippo.
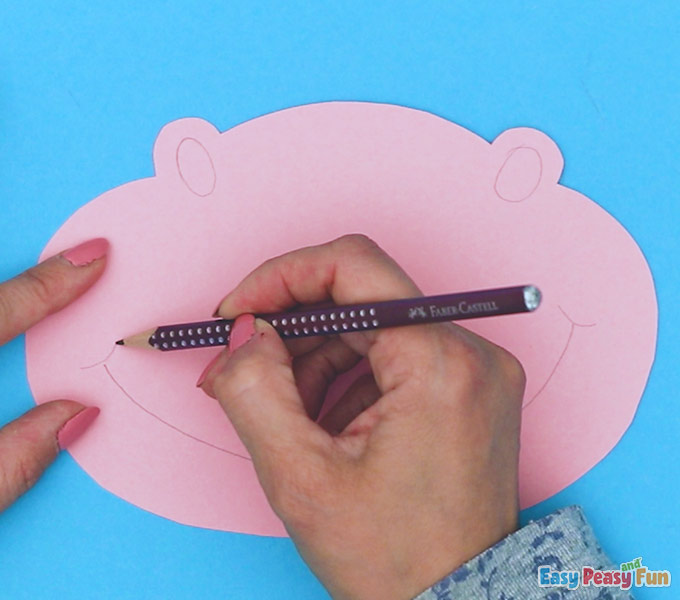
Trace with a black marker once you are satisfied with the look.
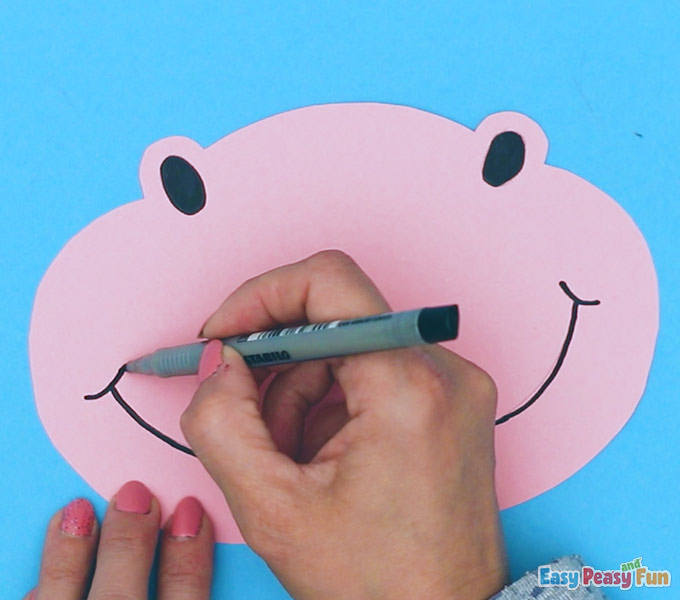
Add two huge white teeth to the hippo’s mouth!

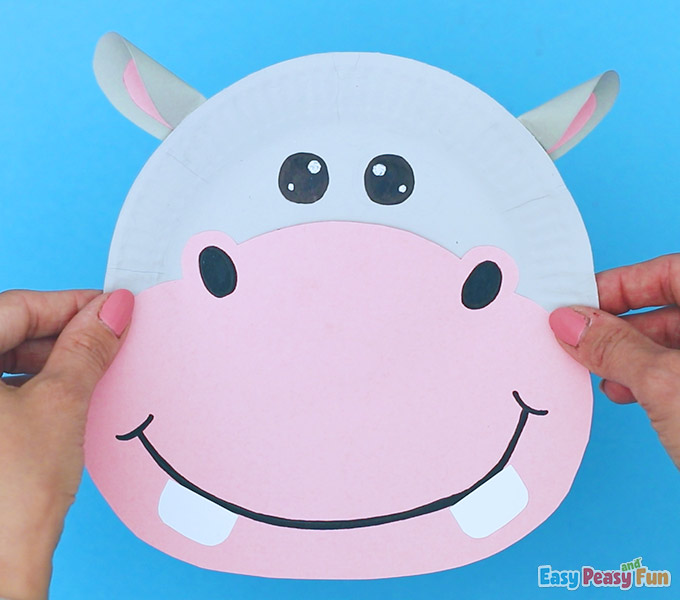
Glue the hippo’s face to the grey paper plate you painted earlier.
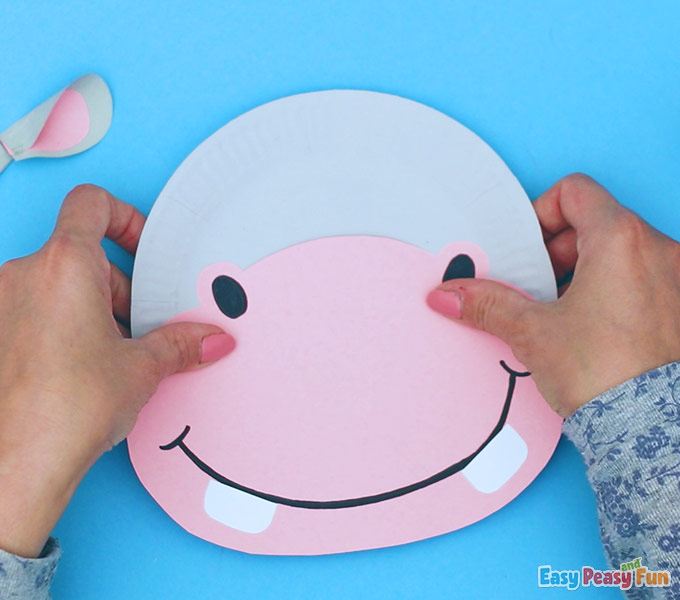
Next, you’re going to add the ears to the hippo.

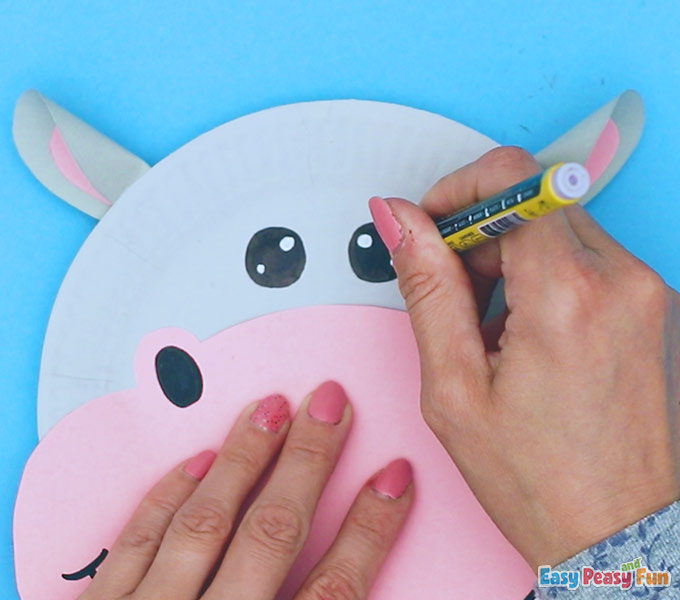
The fun part is going to be adding the final touches to the hippo, including these eyes!

Trace the eyes with a black marker to make them stick out.
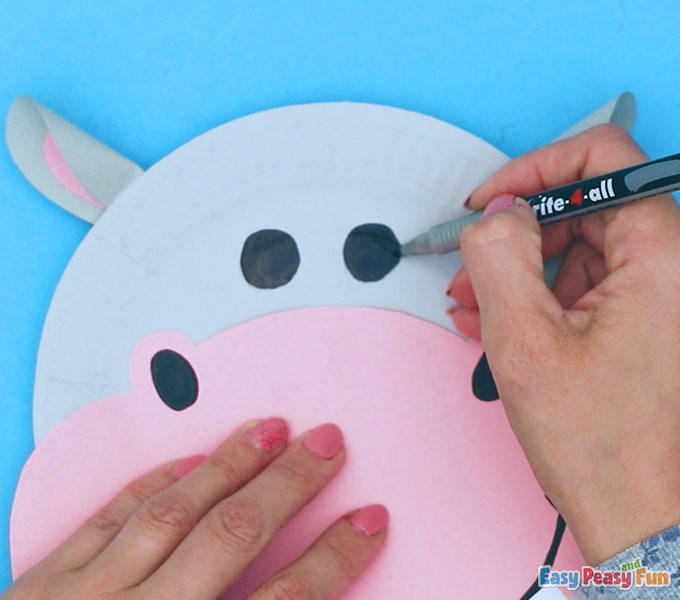
Add touches of white to the eyes to give them a realistic look.
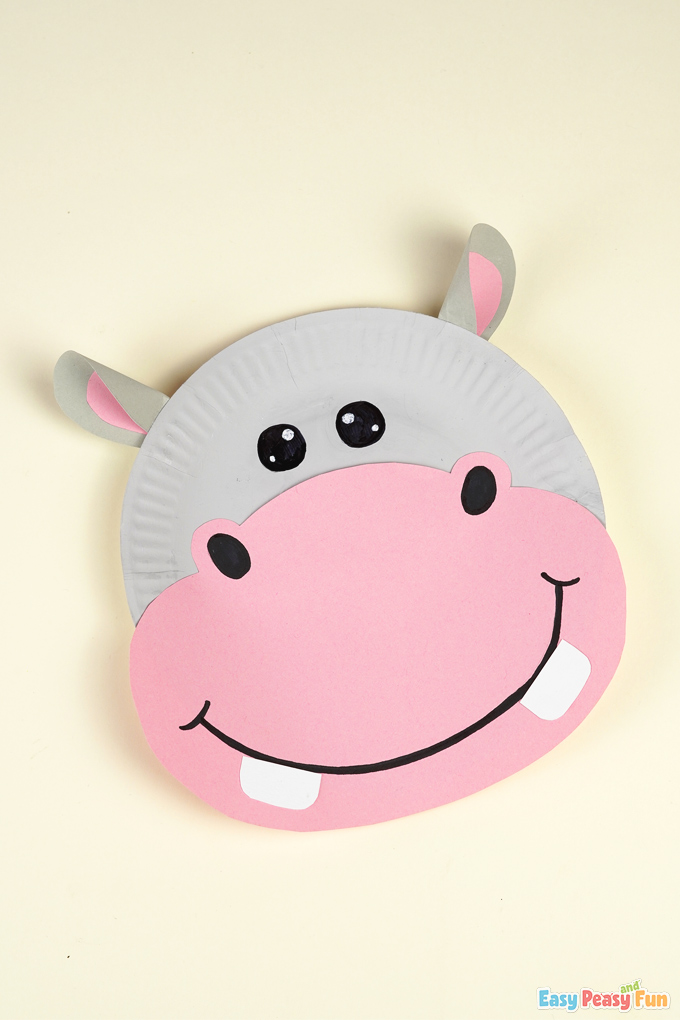
The final look for the hippo is going to be so fun! The hippo looks like it’s looking right at you!
Want instant access to all of our printable crafts, activities, and resources?

With thousands of crafts, activities, worksheets, coloring pages, and drawing tutorials to print, you will always have just the resource you need at your disposal. Perfect for parents and teachers alike!