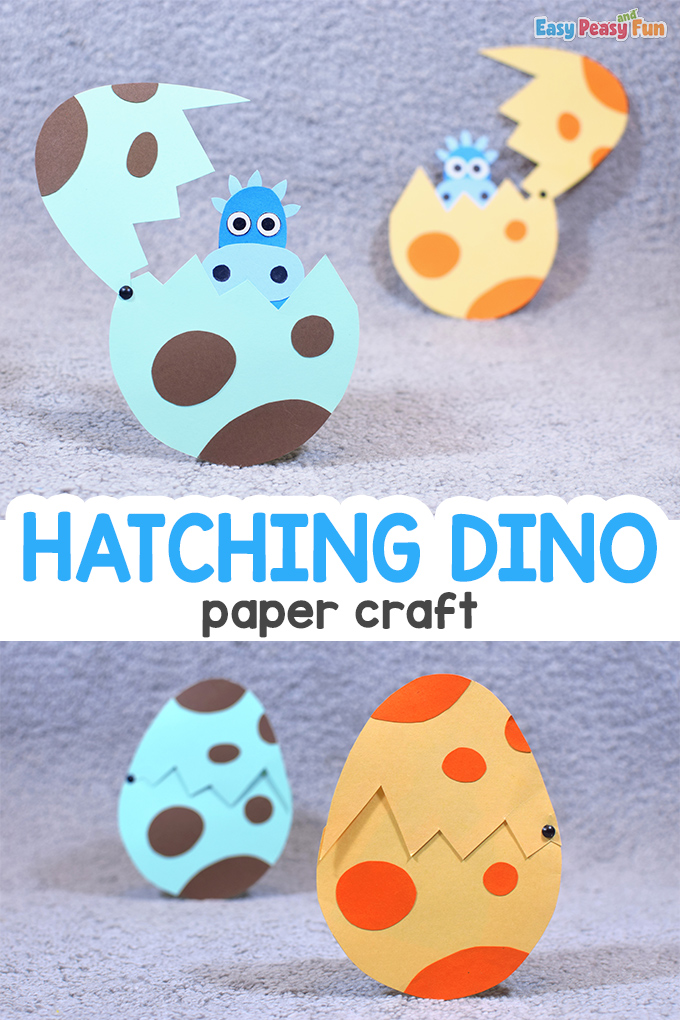
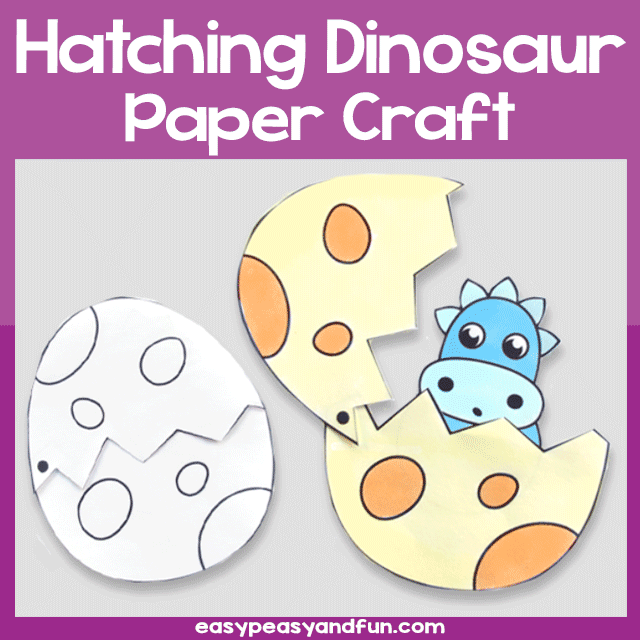
Ready to make your baby dino out of paper? Enjoy crafting a Hatching Dinosaur Paper Craft; it’s super easy to assemble and fun to play with.
*This post contains affiliate links*
As we love making different Animal Crafts for Kids, we’re sure this hatching dino will bring smiles to your students’ faces.
We also got many Dinosaur Coloring Pages for all the children who love these ancient giants, and if they want to learn How to Draw a Dinosaur on their own, we prepared an easy-to-follow tutorial.
Do you remember the fabulous hatching chick we made for Easter?
Well, everyone just loved it – we got lots of compliments for that project, and that is why we decided to surprise you with another critter popping out of an egg.

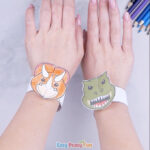
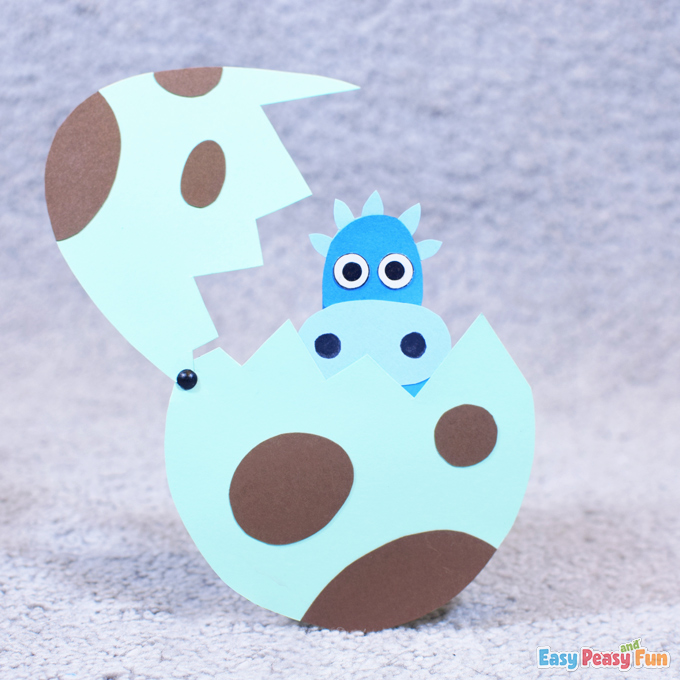
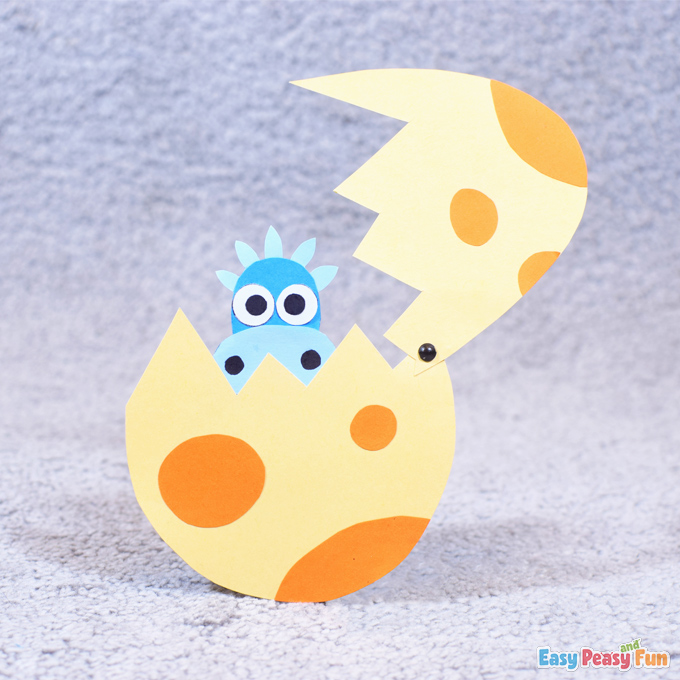
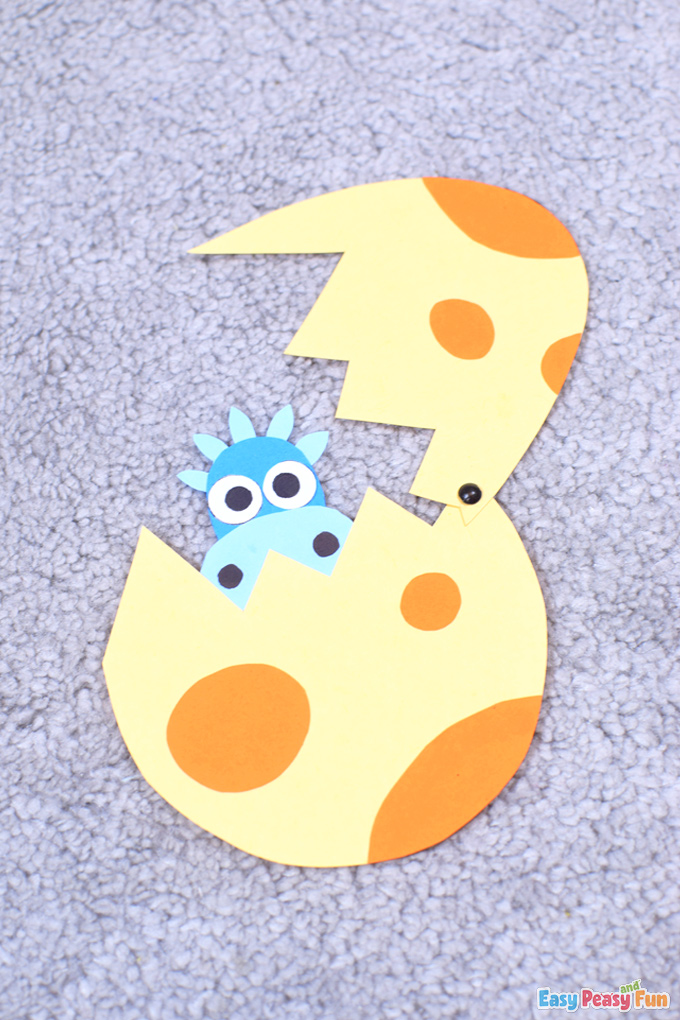
This time we have a cute baby dinosaur inside the egg, waiting for it to crack open.
This is a very easy project to assemble, with not many steps to follow and we bet you already have all the materials needed for it.

Jump right in to craft with us guys; we know that many of you love dinosaurs.
How to Make a Hatching Dinosaur Paper Craft
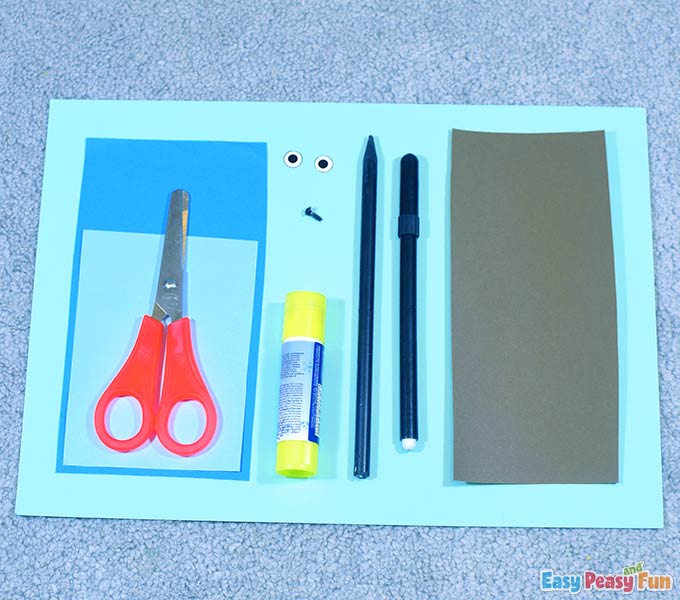
What you need:
- pale green cardstock (or any color of your choice)
- brown cardstock
- dark blue color paper
- light blue color paper
- black marker
- pencil
- scissors
- glue
- split pin
- paper eyes
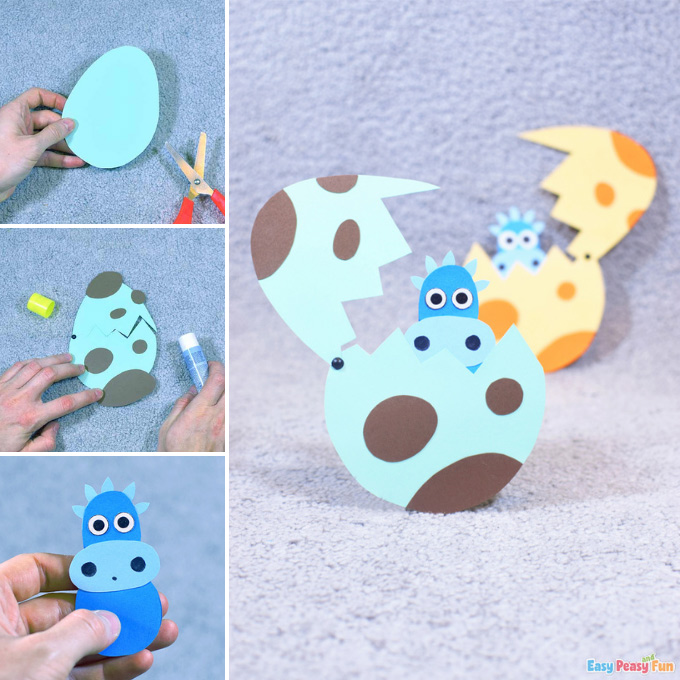
Step by Step Tutorial
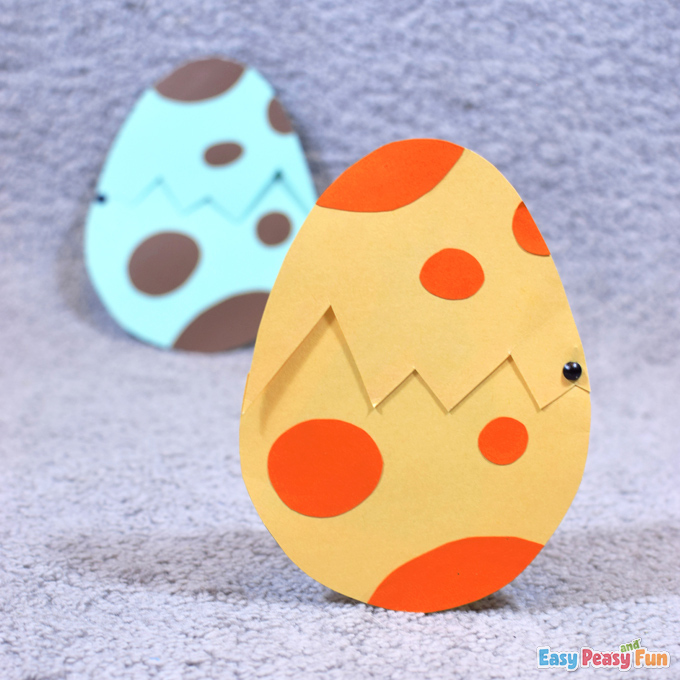
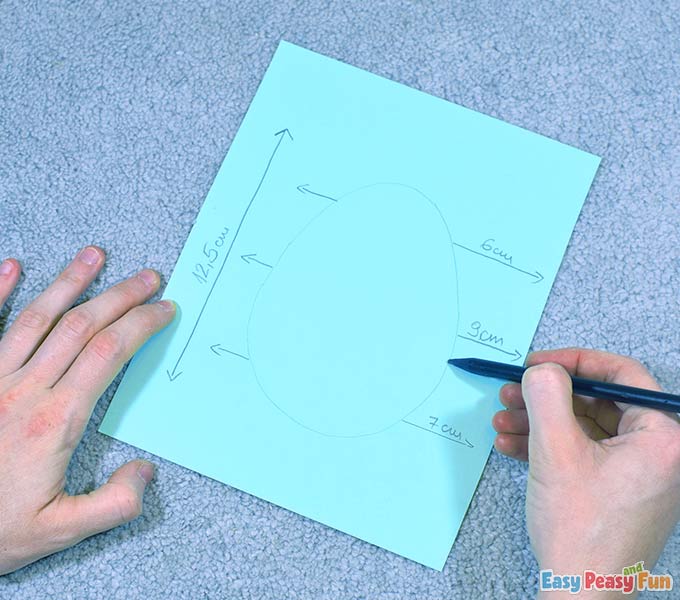
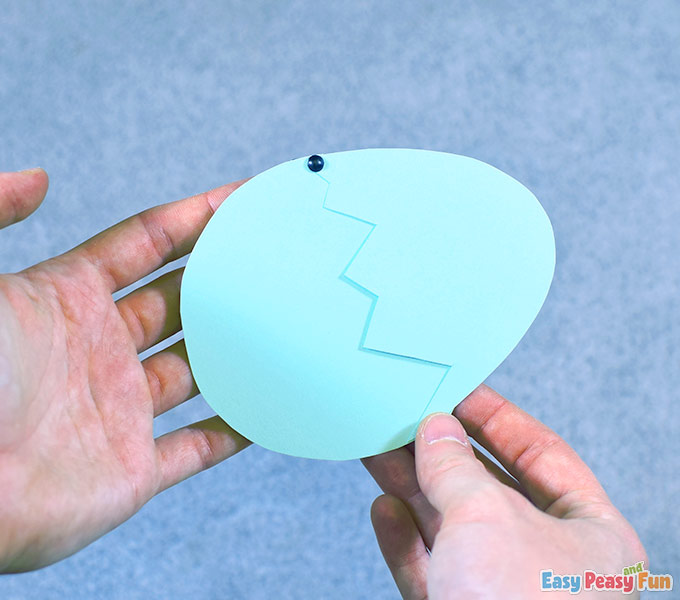
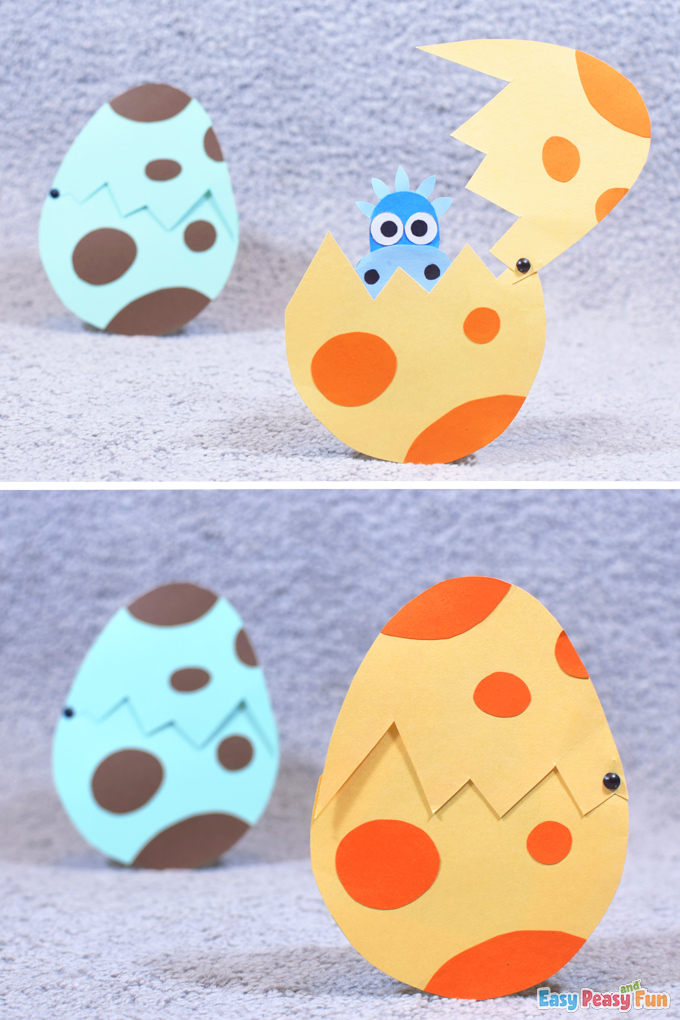
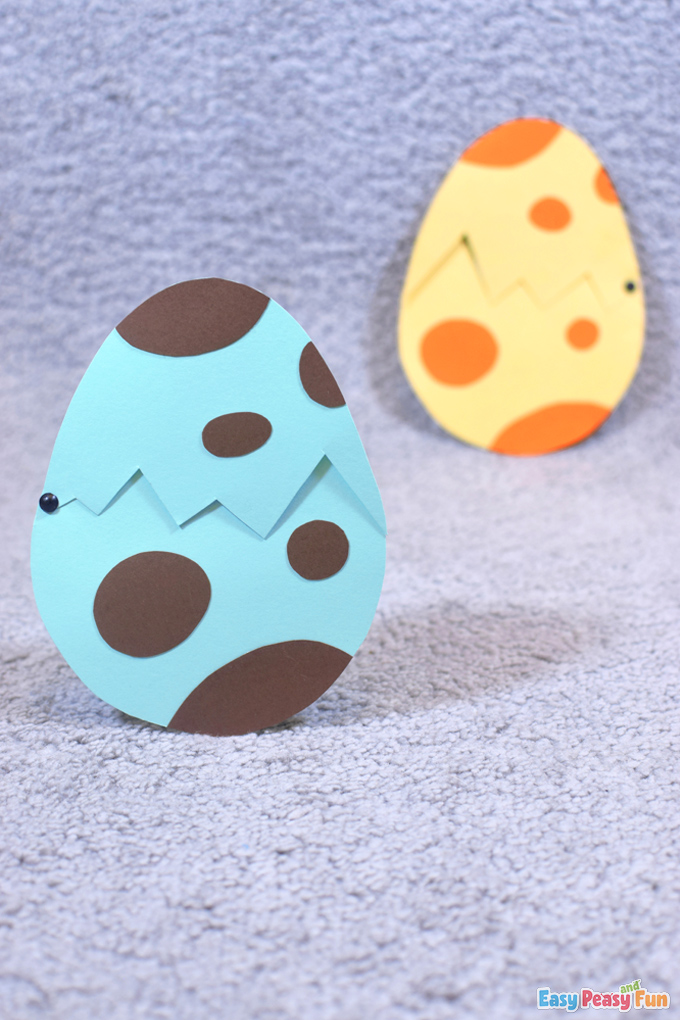
On the green cardstock, draw an egg shape.
We provided dimensions so you can see how big the egg shape is.
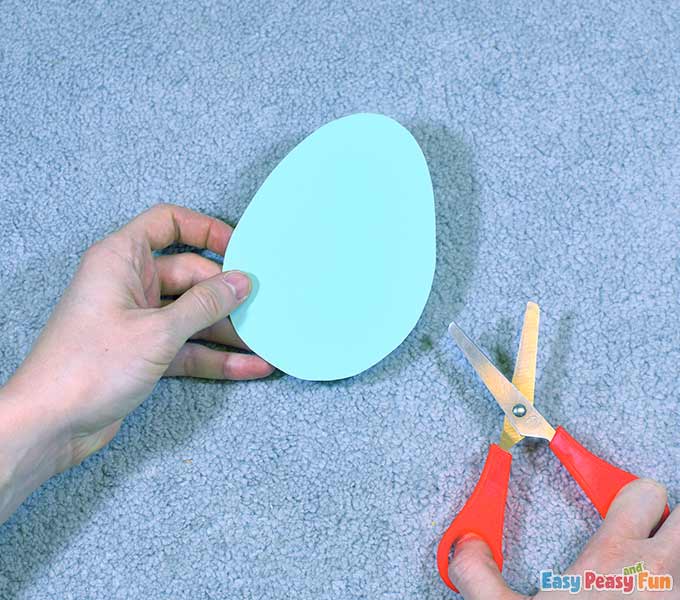
Cut out the egg shape.
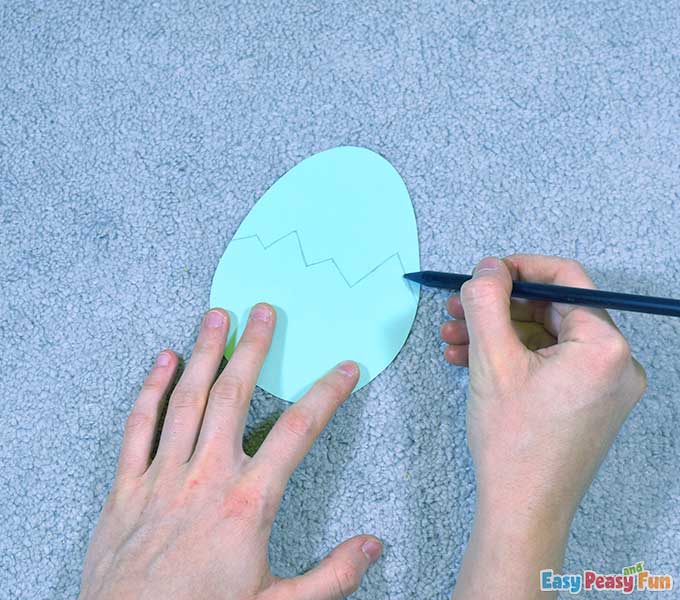
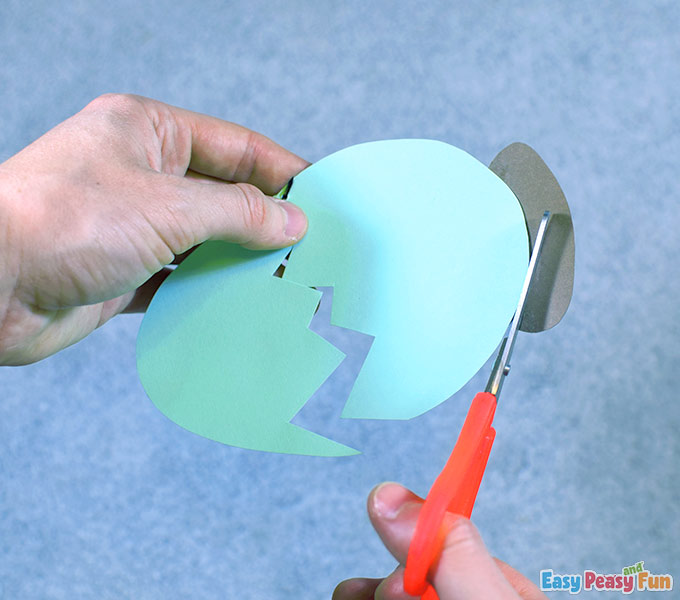
Take the pencil and draw a crack in the middle of the egg.
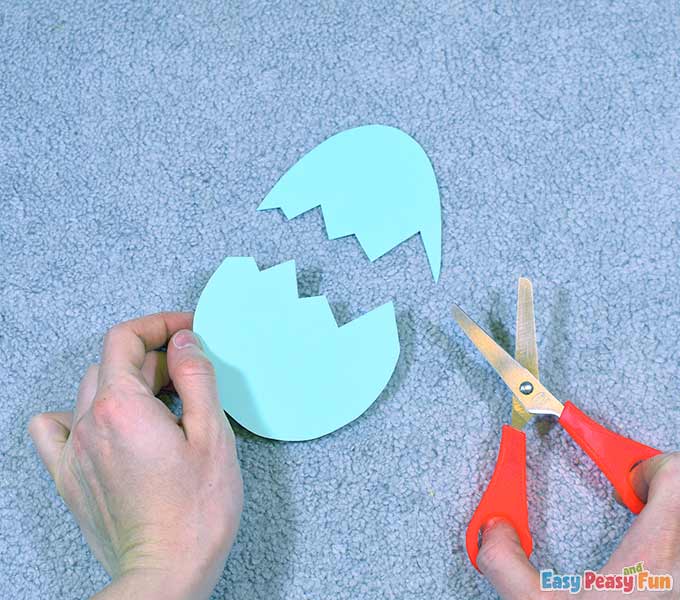
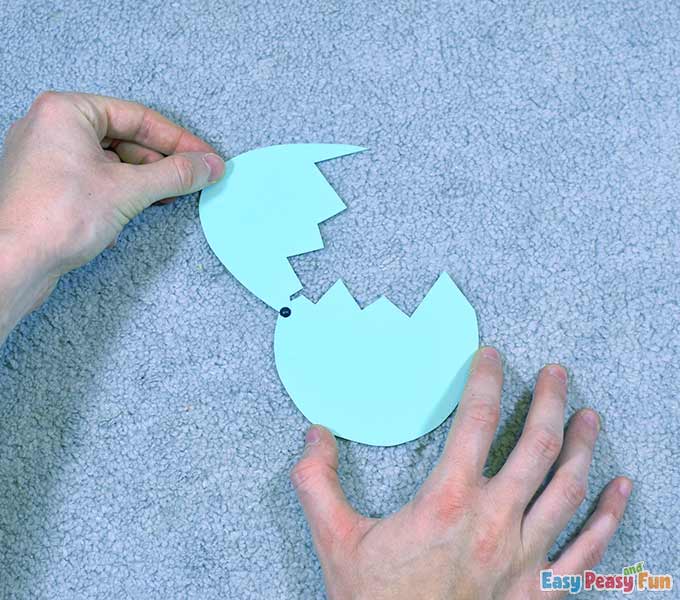
Cut through the crack and divide the egg in half.
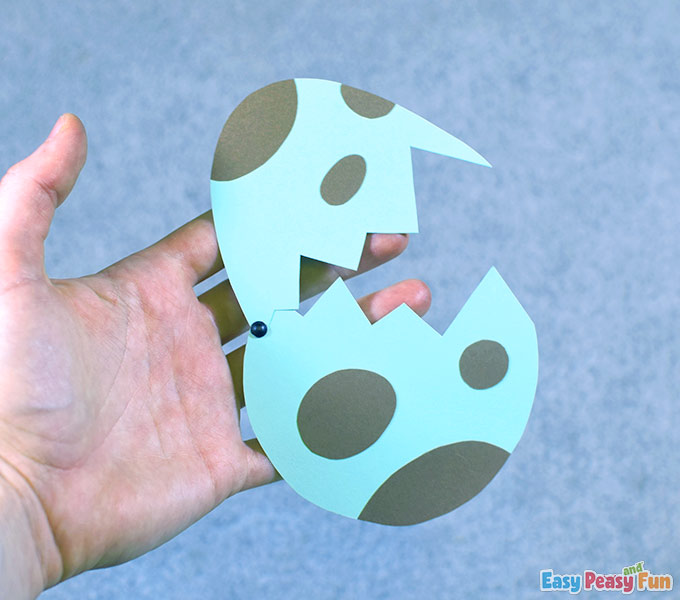
Attach the halves together with a split pin.
Check if the egg opens and closes right.
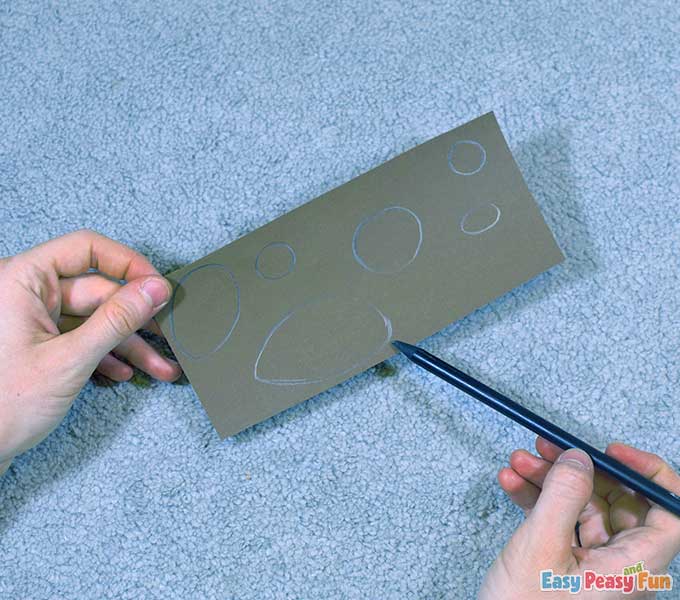
On the brown cardstock, draw some oval shapes and some circles.
They should not be perfect ones.
Cut out the oval shapes and the circles.
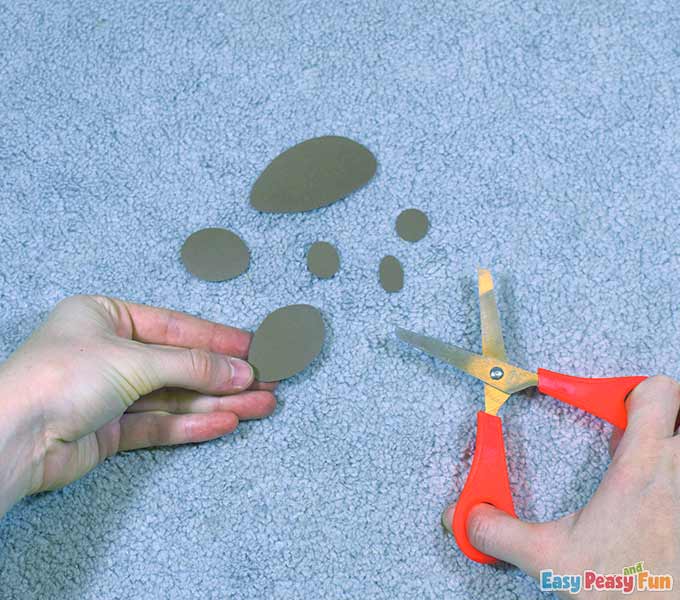
Glue them on the egg as shown.
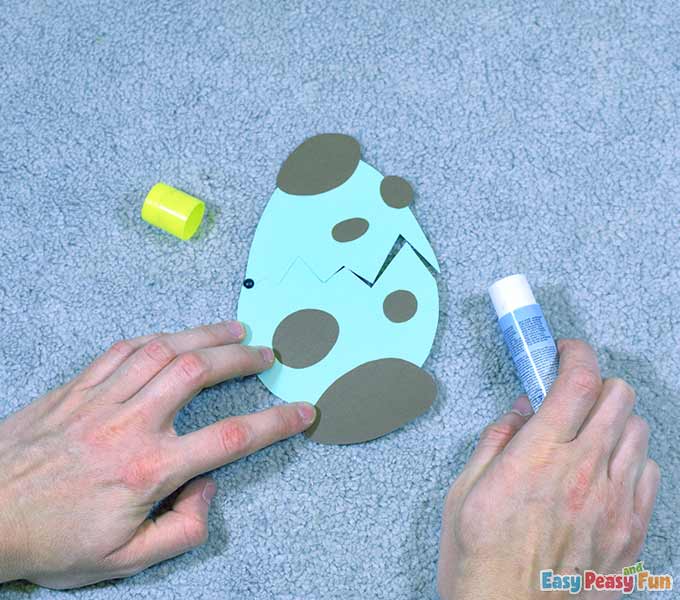
Cut out the excess brown paper sticking out of the egg.
Great, you just made the mechanism work!
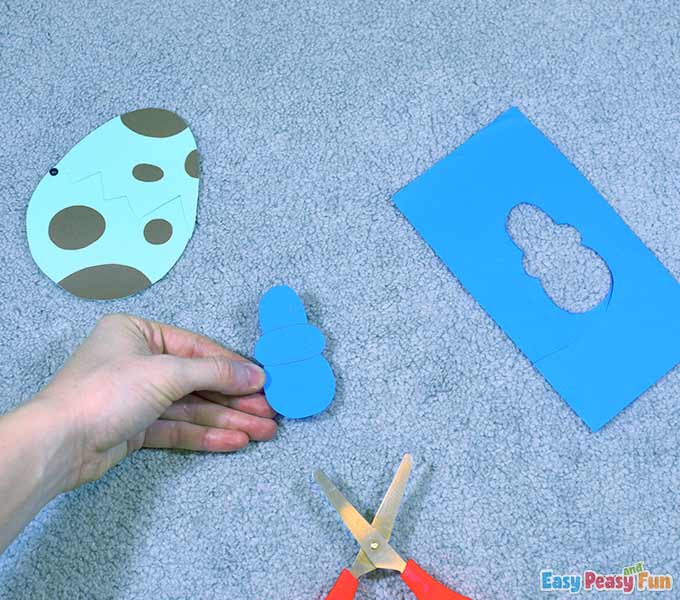
On the dark blue color, paper draw a dinosaur shape.
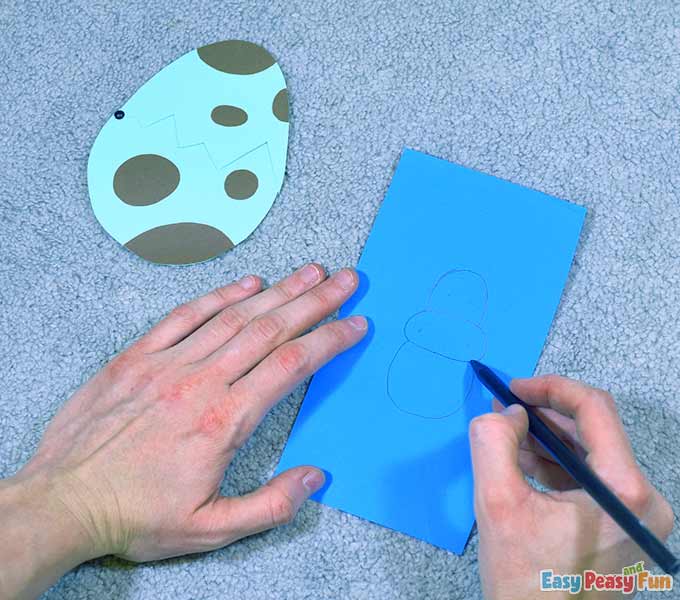
Cut it out with your scissors.
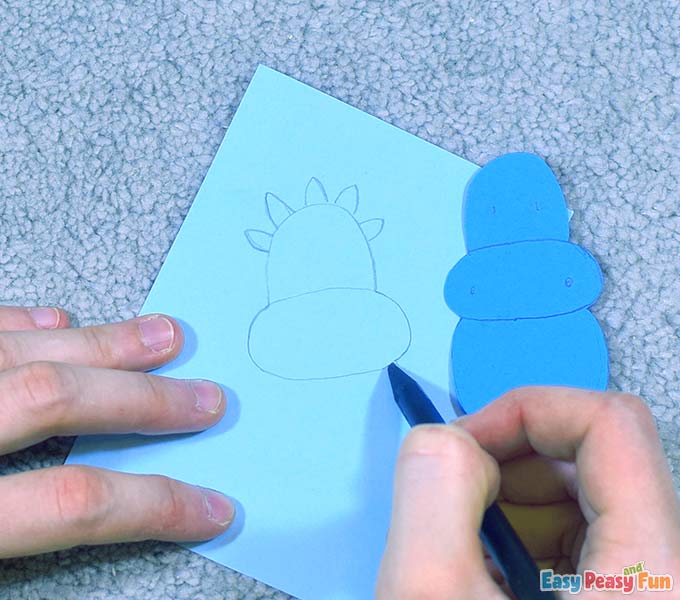
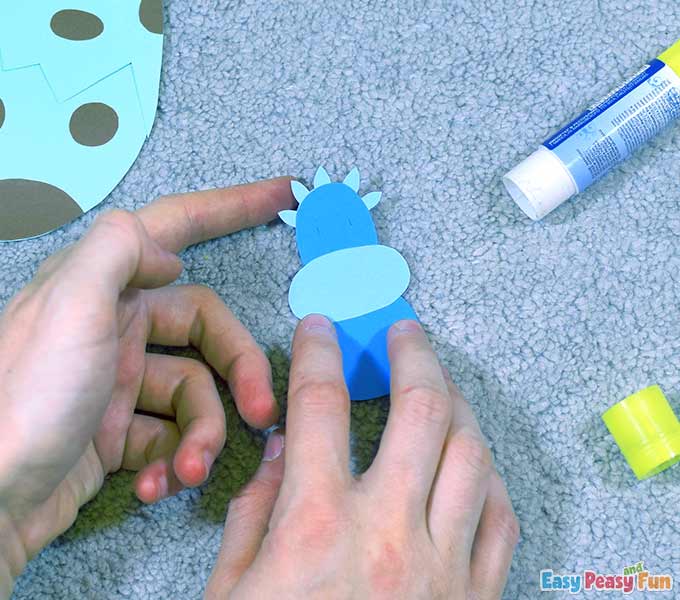
Trace the head and the muzzle of the dinosaur on the light blue color paper and add some spikes on the head.
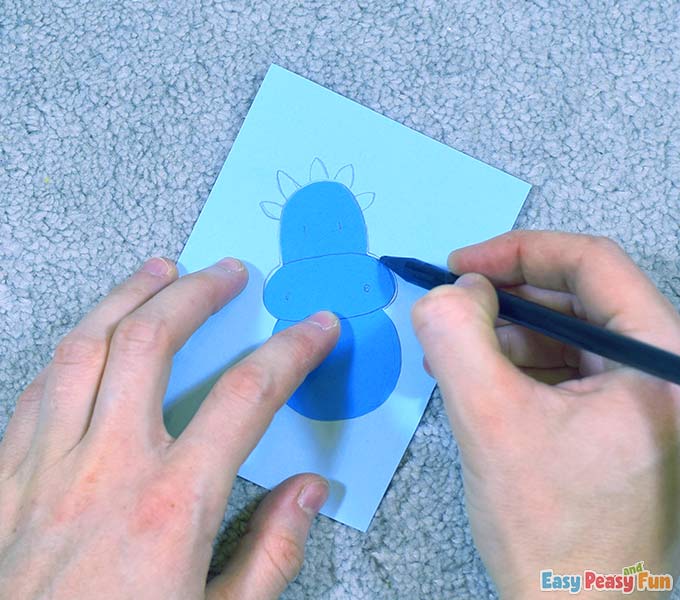
Here you can see the traced parts more clearly.
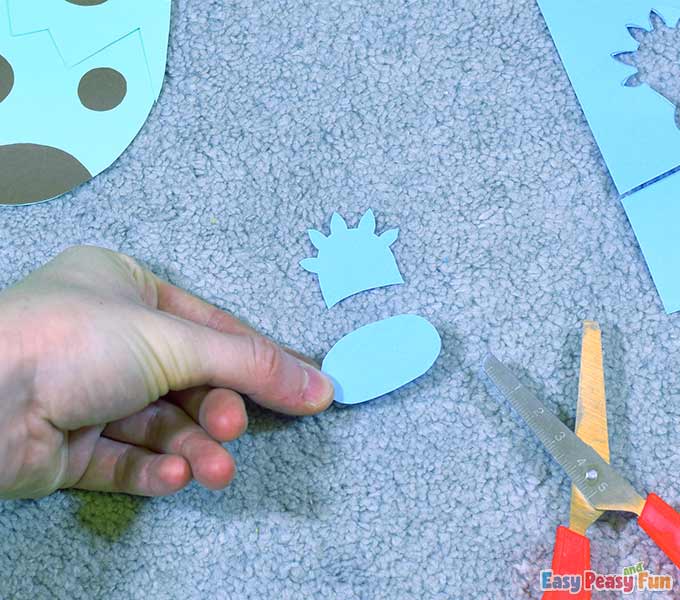
Cut out the head with the spikes and cut out the muzzle too.
Glue them on the dinosaur shape.
You should glue the head part to the backside of the dino. Make sure to glue the muzzle at the front side of the dinosaur.
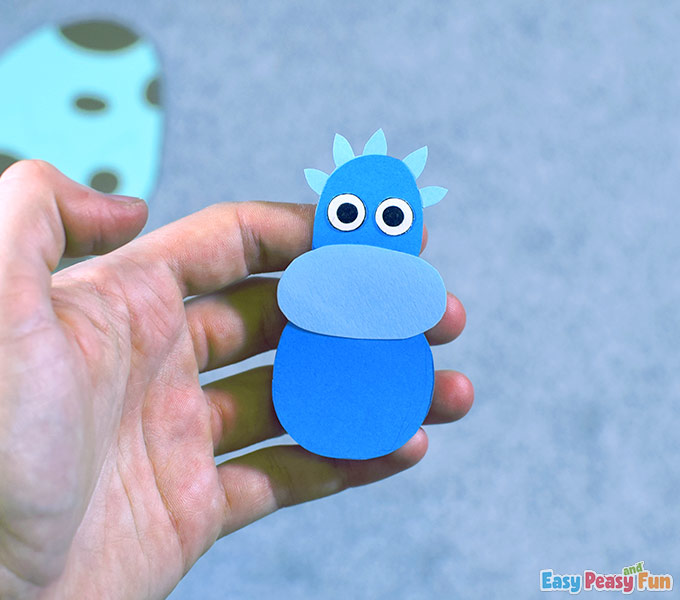
Glue the paper eyes on.
Draw two nostrils on the muzzle with the black marker.
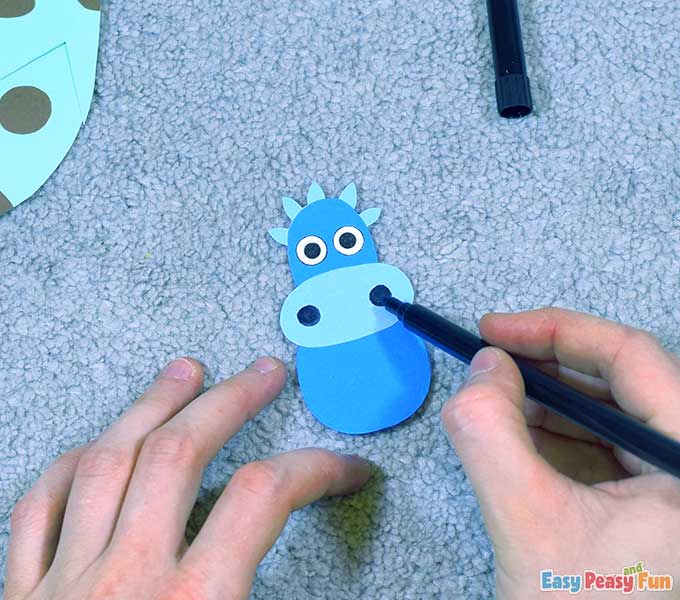
Draw a tiny circle mouth too.
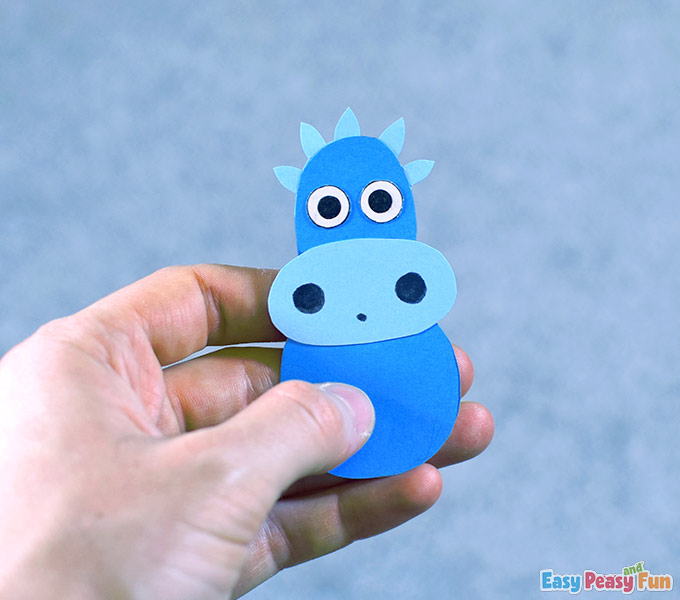
Glue the dinosaur inside the egg.

The only parts sticking out should be the head and the muzzle.
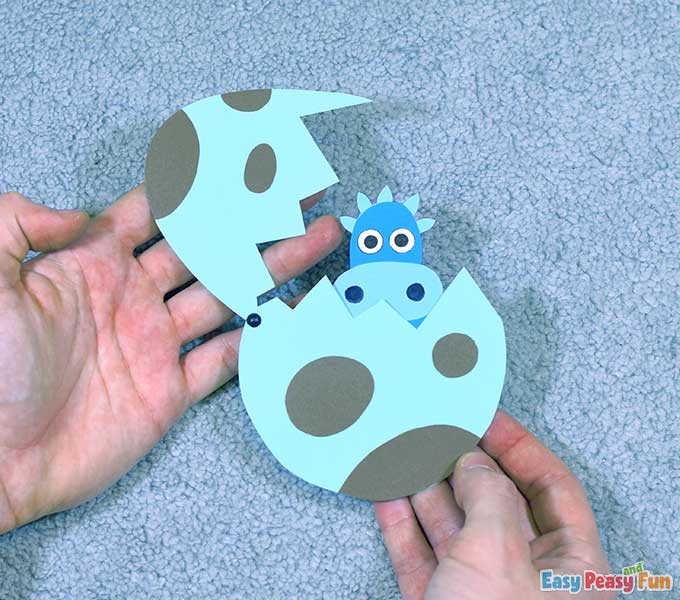
All done!
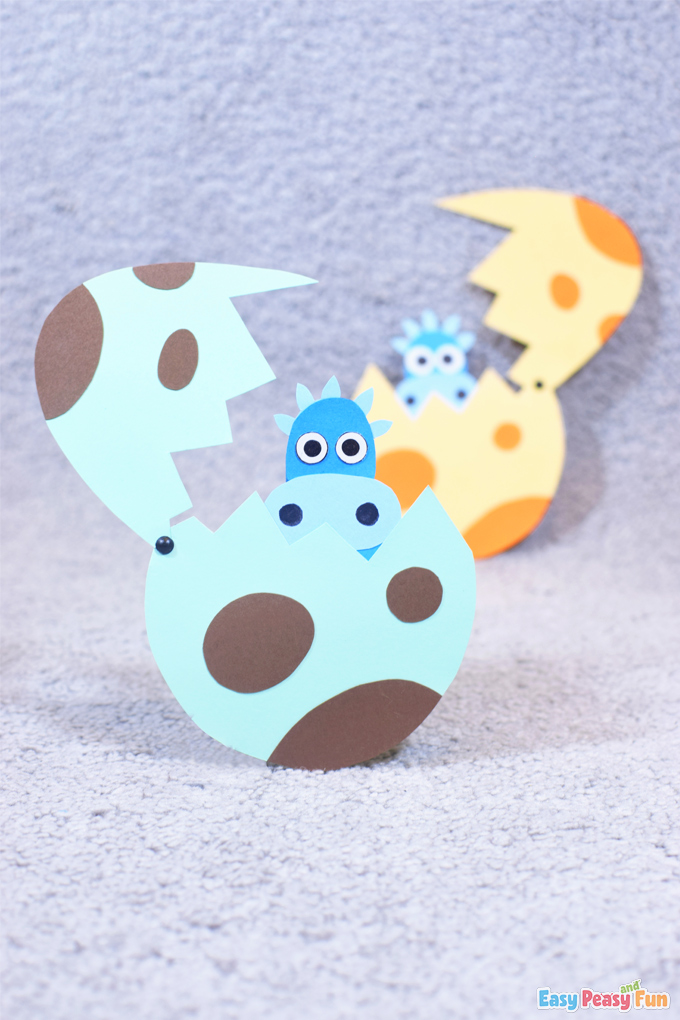
Each time we open the egg, we get really happy.
We noticed that these projects always bring smiles to our faces and brighten our days up.
Hope you guys love them too and hope they fill your days with joy.
Isn’t it cute?
That is all for today.
Stay tuned for more!
Get Your Hatching Dinosaur Paper Craft Template Here
Want instant access to all of our printable crafts, activities, and resources?

With thousands of crafts, activities, worksheets, coloring pages, and drawing tutorials to print, you will always have just the resource you need at your disposal. Perfect for parents and teachers alike!