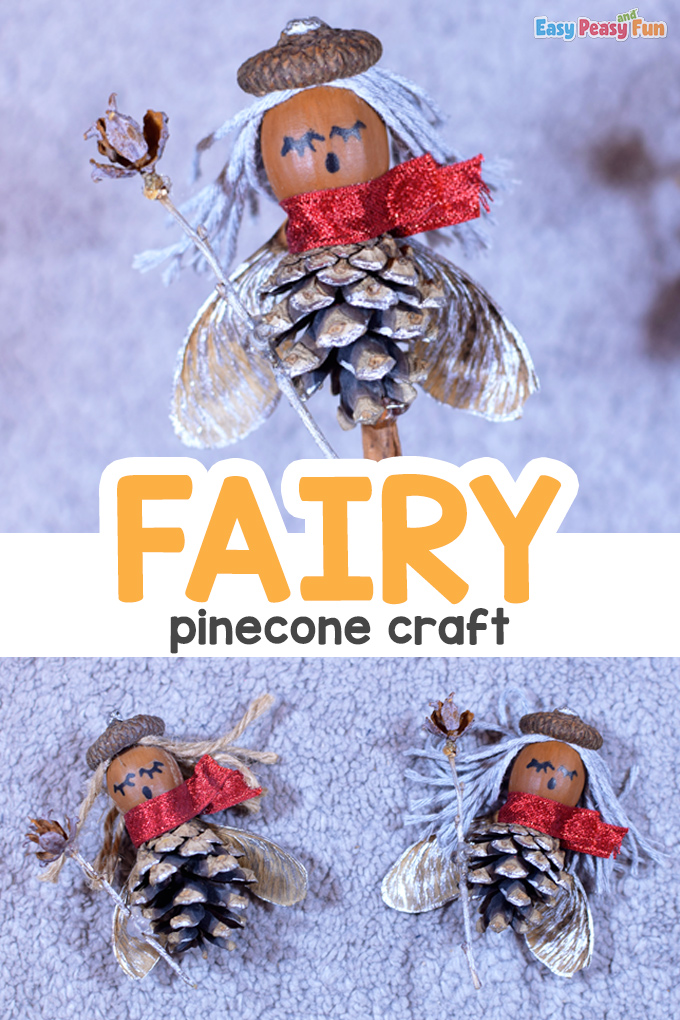
Gather a few natural materials from outdoors and make a Fairy Pinecone Craft.
This fairytale character will surely make your kids happy!
This fall, we gathered a bunch of other forest treasures that we found helpful in the upcoming projects.
*This post contains affiliate links*
We love making Fall Crafts (have a look at our Owl Paper Toys or make a Hedgehog Puppet out of Paper).
Have your kids color the whole set of Fairy Coloring Pages with their favorite markers. Want to learn How to Draw a Fairy – it’s simple with our step-by-step tutorial.
Today we want to show you this tiny forest fairy pinecone craft we made.
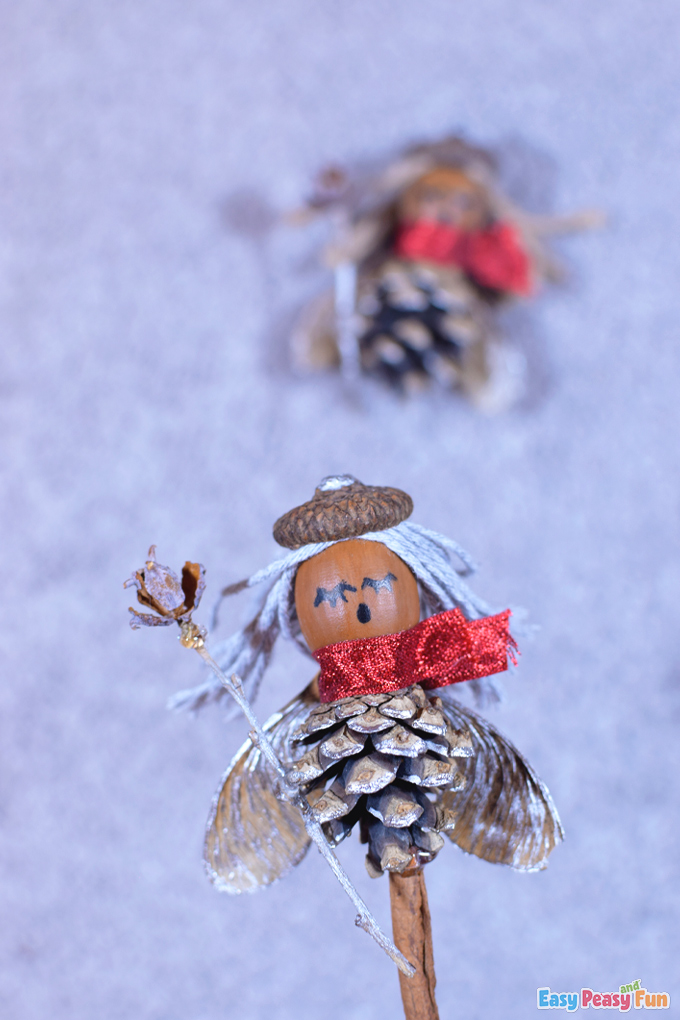
We think that it is terrific.
Do you find this project interesting enough to join us in crafting?
There are a few simple steps to follow, and you will have this forest fairy in your home doing her magic.
How to Make the Fairy Pinecone Craft
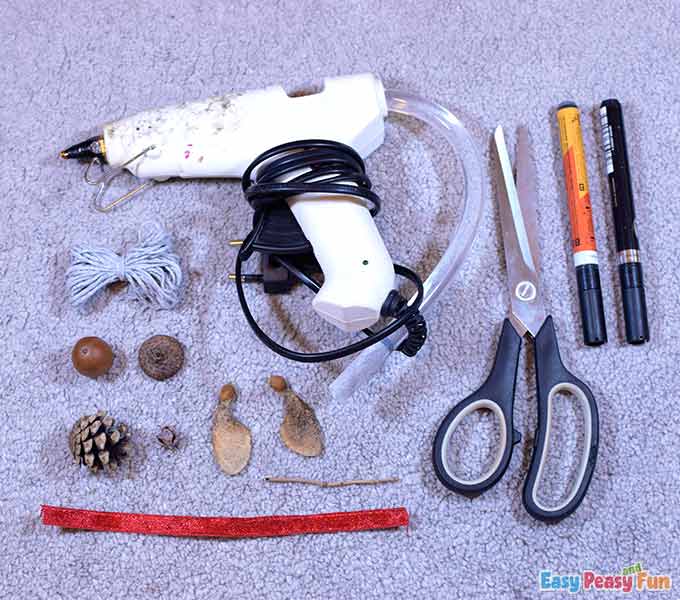
What you need:
- one small cone
- one tiny cone
- one thin branch
- red ribbon
- yarn
- scissors
- hot glue
- black marker
- silver marker
- one acorn
- one acorn cup
- two dry maple copters
- chenille stick (optional)
Step by Step Tutorial
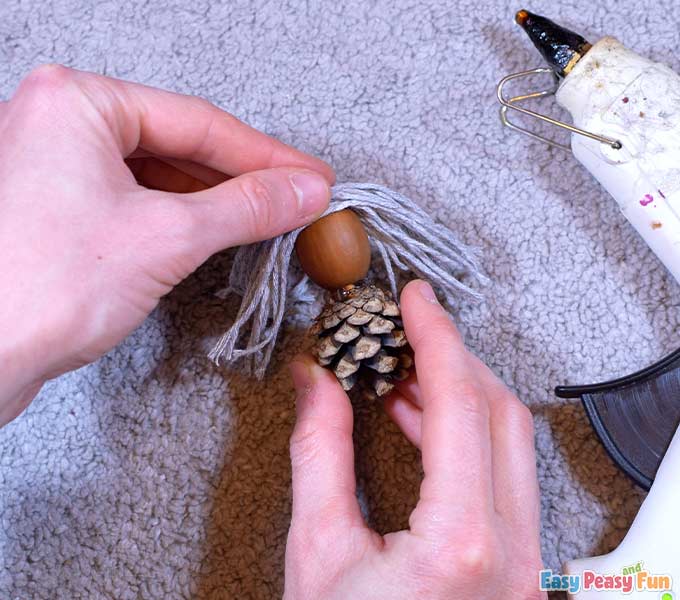
The Body
Apply some glue to the bottom part of the cone and attach the acorn to it as shown.

Cut come yarn hairs and glue them on the acorn using hot glue.
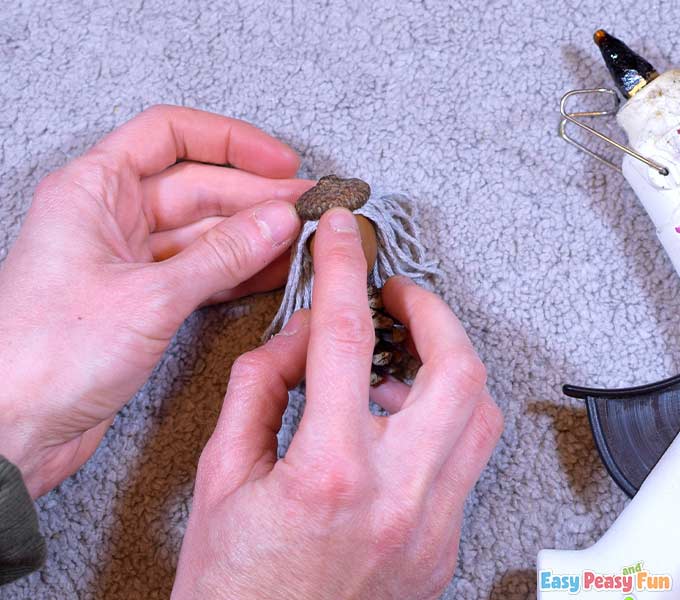
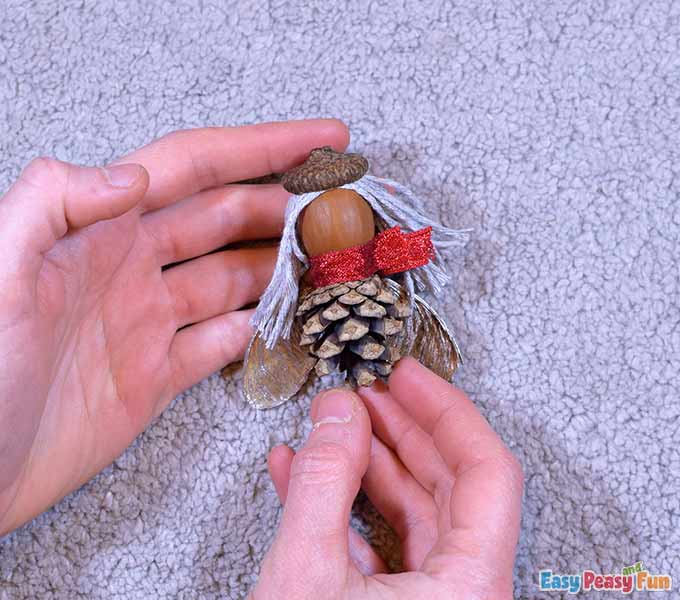
Take the acorn cup, apply some glue inside it and glue it on the acorn as a beret.
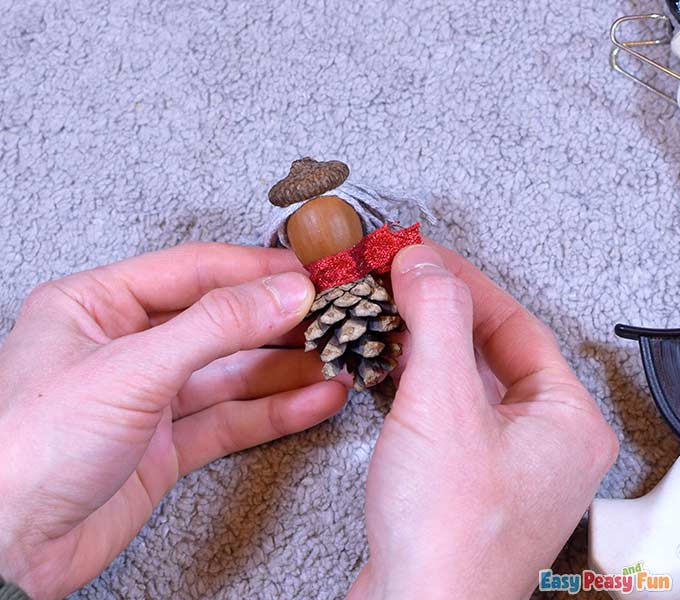
Cut out a piece of red ribbon and wrap it around the fairy’s neck like a scarf.
Seal its ends with hot glue.
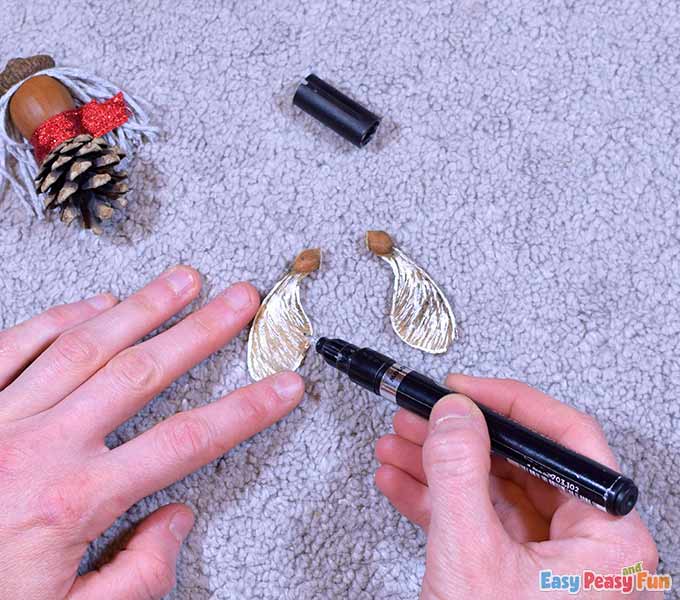
The Wings
Take the silver marker and color the copters with it.
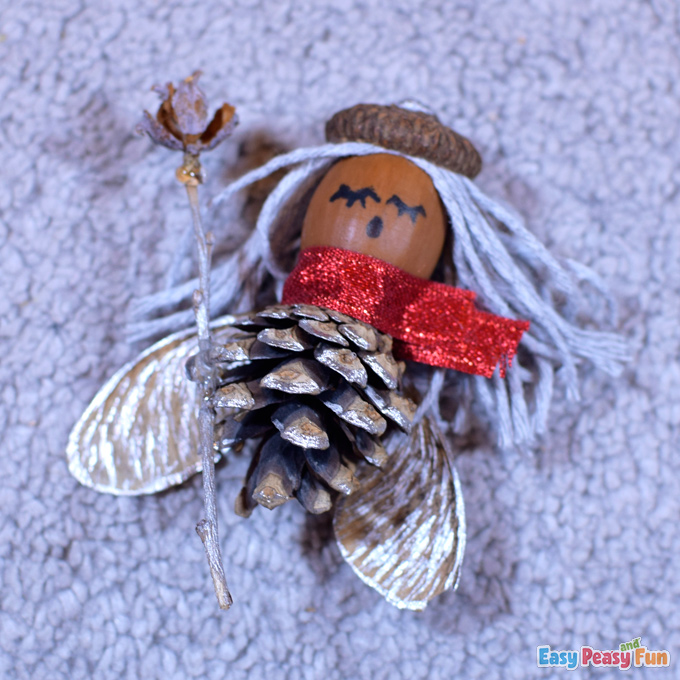
Put some glue on the backside of the fairy, under the scarf, and attach the copters on as wings.
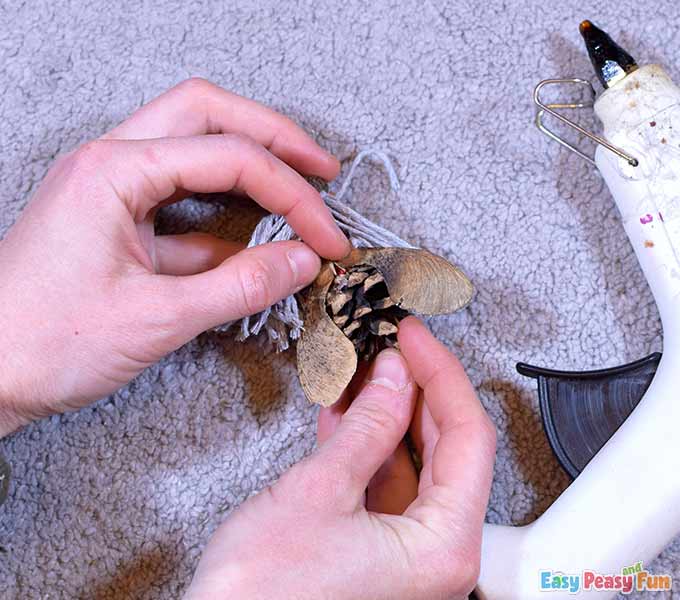
Our fairy is already getting its shape.
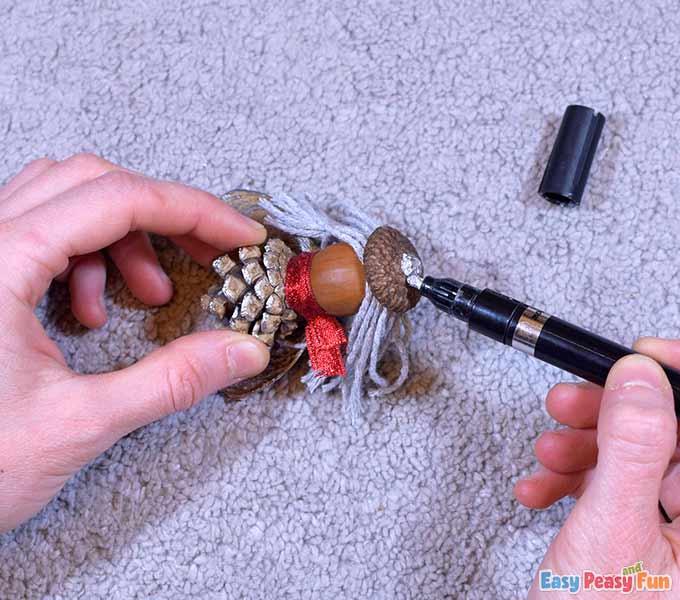
Take the silver marker and color the edges of the cone with it.
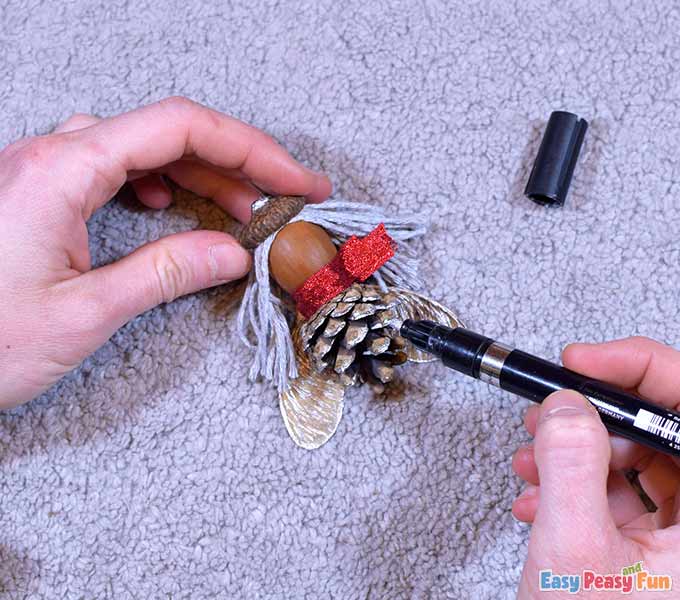
Paint the top of the beret silver too.
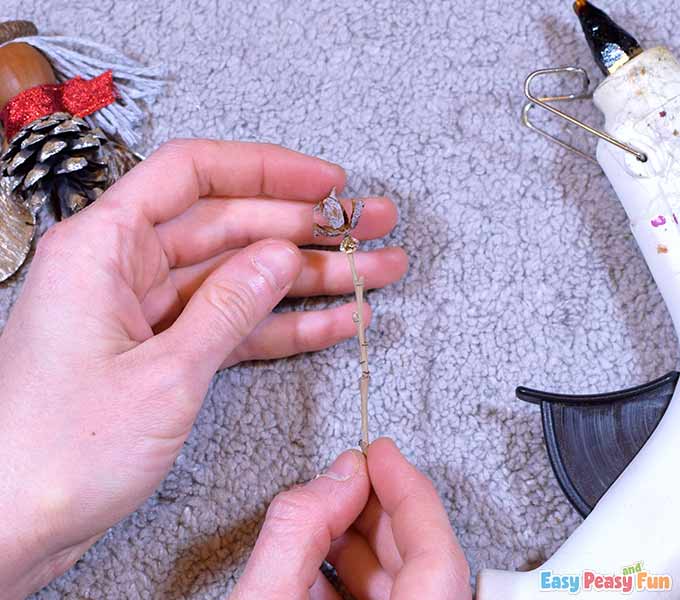
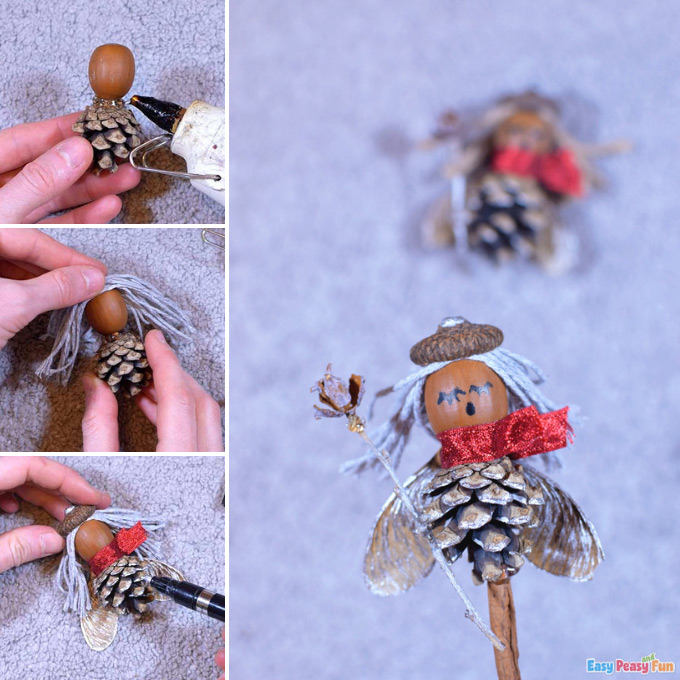
The Magic Wand
Apply some glue on top of the branch and glue the tiny cone on it.
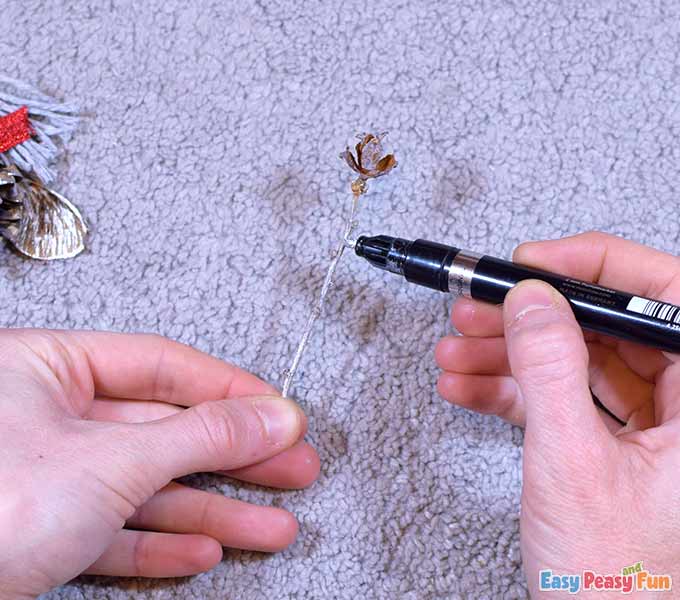
Color the magic wand (the branch only) with the silver marker.
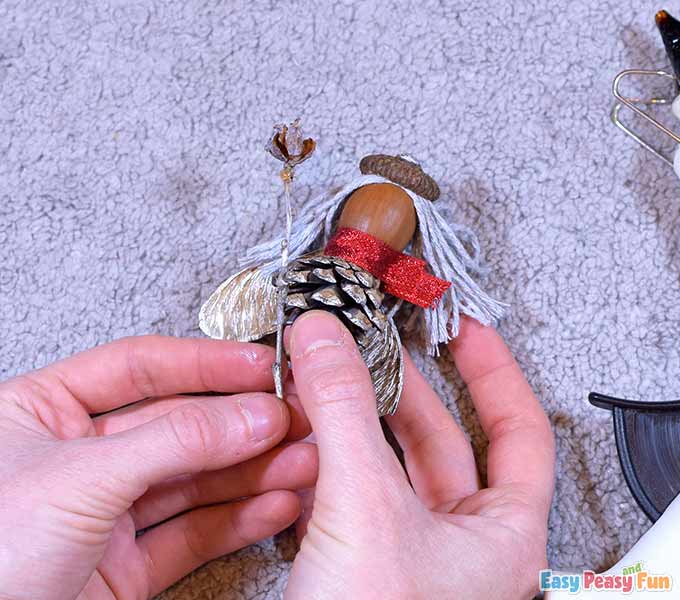
Apply some hot glue on the branch (just under the middle part of the branch) and glue the magic wand on the left side of the cone so it looks like the fairy is holding it in her right hand.
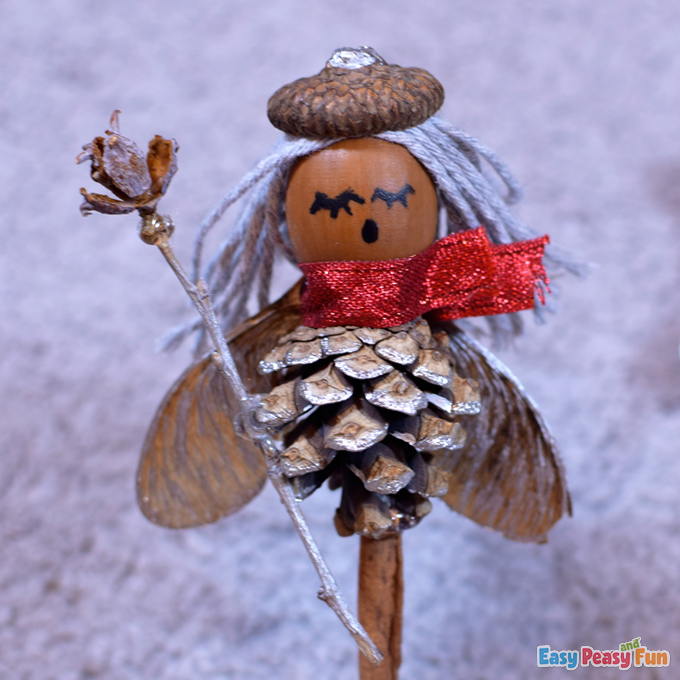
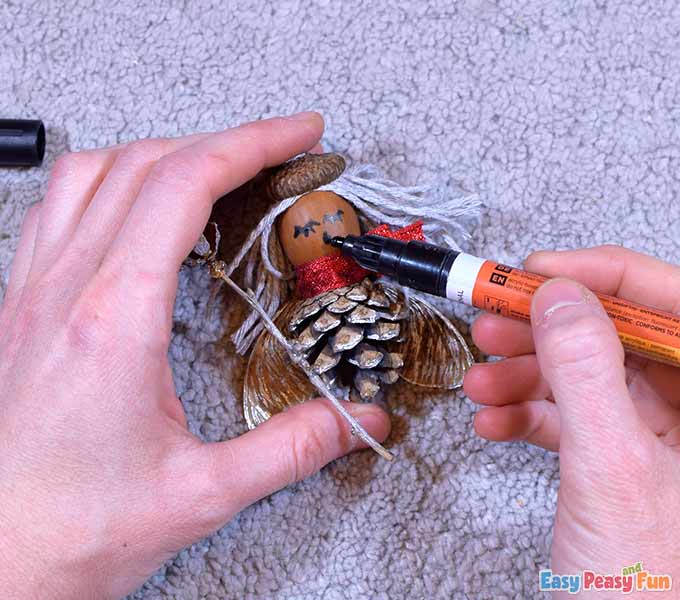
Use the black marker and draw two closed eyes with lashes and a singing mouth on the acorn (the fairy’s face).
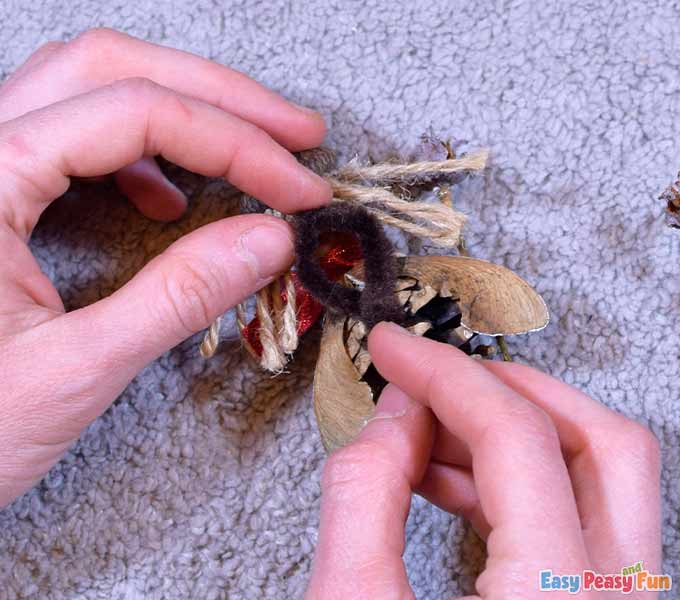
If you want to hang the fairy someplace (on your wall, for example), cut out a piece of chenille stick, form an “O” shape and glue it on the back of the fairy.
This step is optional.
All done!
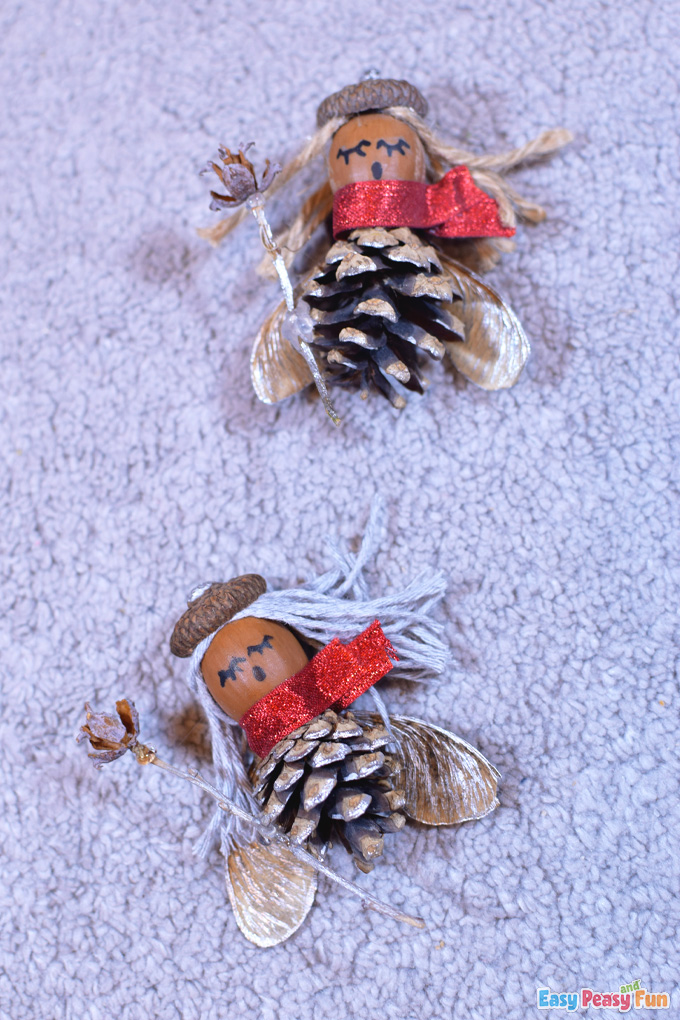
Our fairy is ready to put a well-intentioned spell on everyone!
Want instant access to all of our printable crafts, activities, and resources?

With thousands of crafts, activities, worksheets, coloring pages, and drawing tutorials to print, you will always have just the resource you need at your disposal. Perfect for parents and teachers alike!