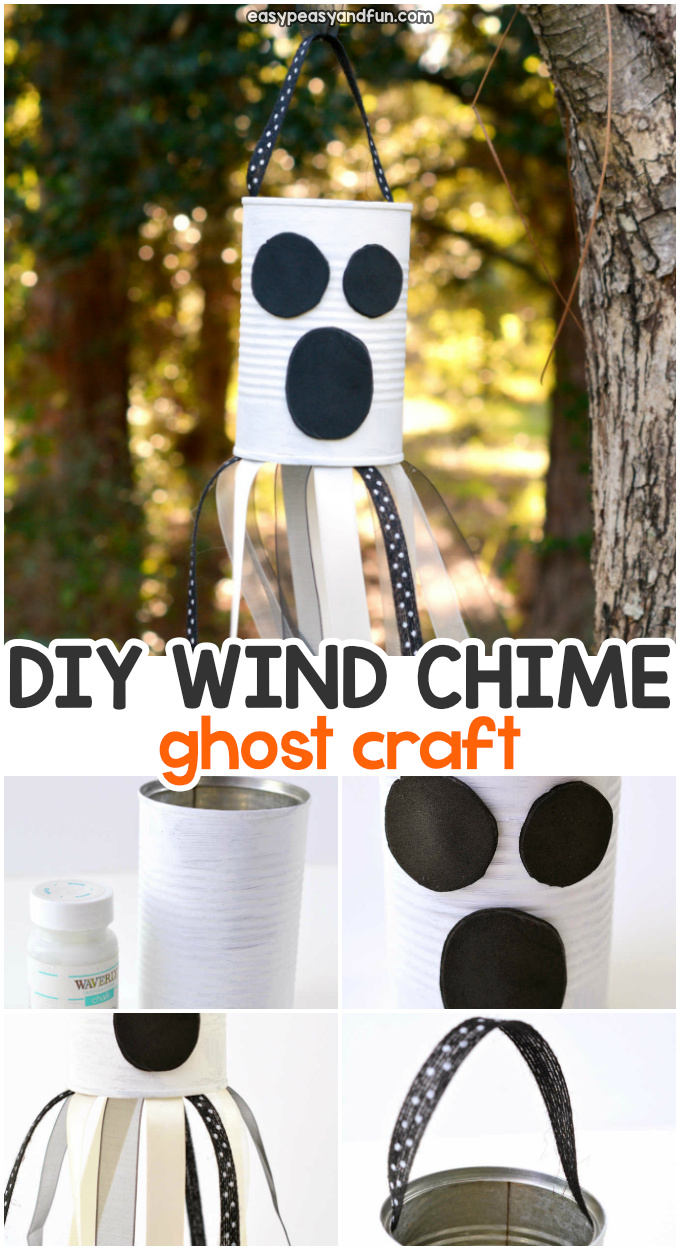
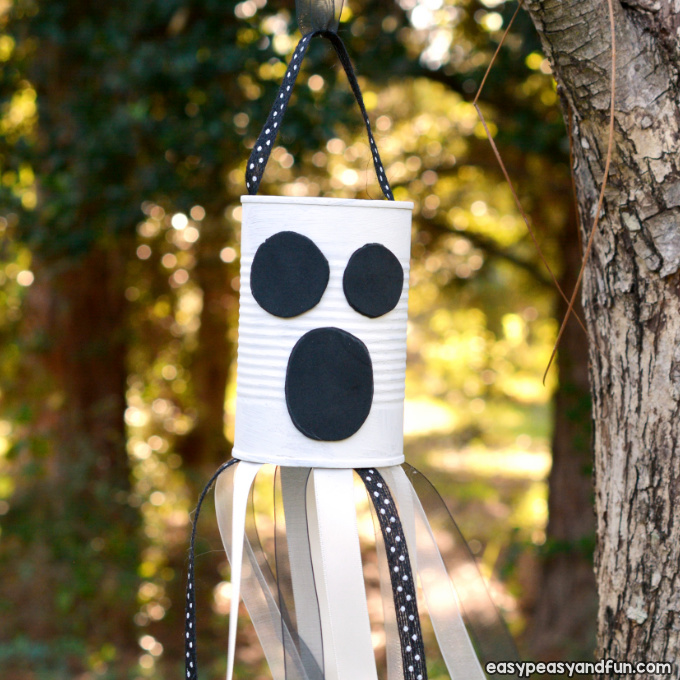
Why buy a Halloween wind chime when you can make one of your very own? Recycle tin cans, or paper rolls if you’ll be hanging this inside and make wonderful Halloween decorations with your kids! You can make all kinds of decorations but making a ghost wind chime is by far the easiest.
This project has to get on your Halloween crafting list as it’s simple to make, looks great, and can be used for years to come. And I am sure most of us have a tin can or two just waiting to be repurposed at home.
*this post contains affiliate links*
Hi, I'm Andreja from Easy Peasy and Fun — and I just wrote a book!
50 paper crafts your kids can actually do themselves
CRAFTS
I designed every project so kids can do it themselves — no fancy supplies, just paper, scissors, and a little imagination.
“If you need easy crafts to keep busy, Andreja delivers with this book!”
📚 As an indie author, your pre-order genuinely helps me — it counts toward first-week sales, which is how new books get noticed. Thank you!
Recycled crafts are always great – not only do they give new life to old things, they are also inexpensive to make.
This one can be made by using scrap ribbon, or you can even make use of an old T-shirt, cutting long strips of fabric to replace the ribbons.
For a quick project you will be using indoors, you can also use strips of newspapper (the kids can even paint it white).
We also made these ghost wind chimes out of toilet paper rolls, which are a fun alternative if you don’t have any tin cans at hand. Or you can also make the swirling ghosts out of paper plates.
How to Make a DIY Wind Chime Ghost
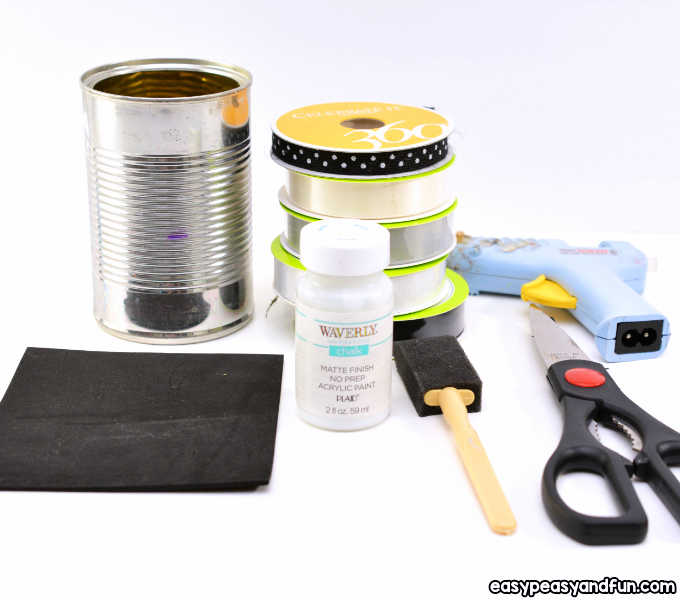
What you will need:
Empty tin can (if it comes with a paper label, remove it)
White paint
Paintbrush
Various types of black and white ribbon
Black craft foam (optional, can be swapped with black paint)
Scissors
Hot glue gun (low-temperature one if kids will be operating it; always supervise the activity when this type, or any strong type, of glue is used).
Step by Step Tutorial
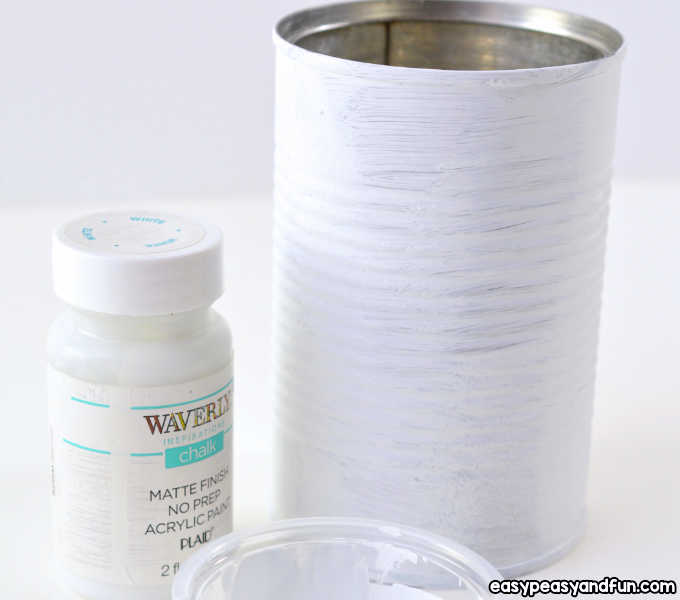
Start by painting the outside of your empty tin can white. Make sure the can is completely clean and dry, and that all signs of the label have been removed.
You can hold the inside of the can in your hand and turn it around while painting to avoid a mess. We used white chalk paint because it dries quickly, but you can use whatever craft paint you have on hand.
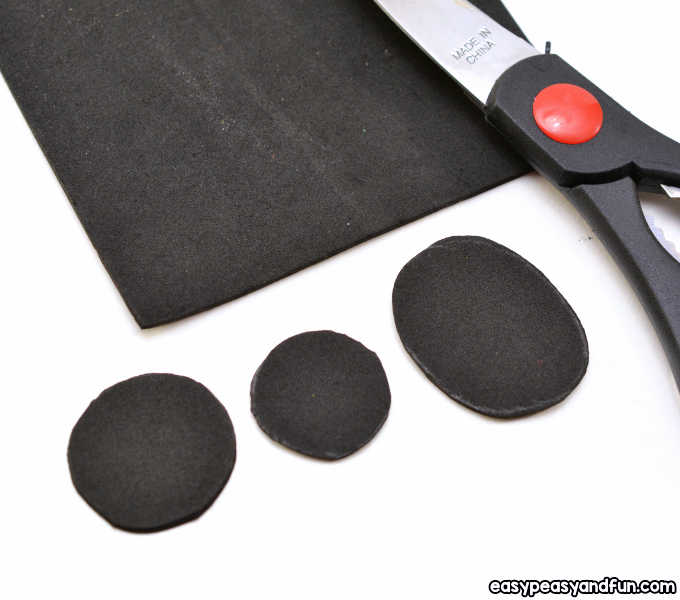
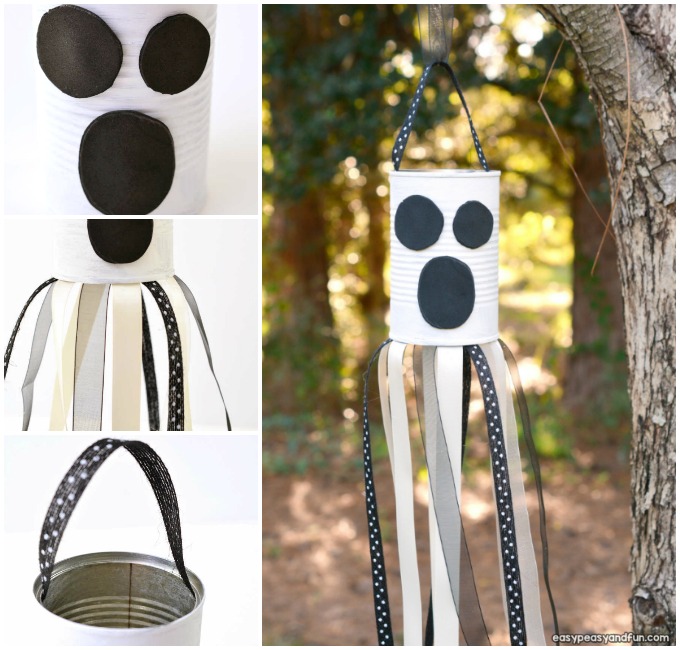
Once the paint is dry, cut out two round eyes and an oval mouth shape from some black craft foam. We wanted to give our ghost a playful look, so we used two eyes that are different sizes.
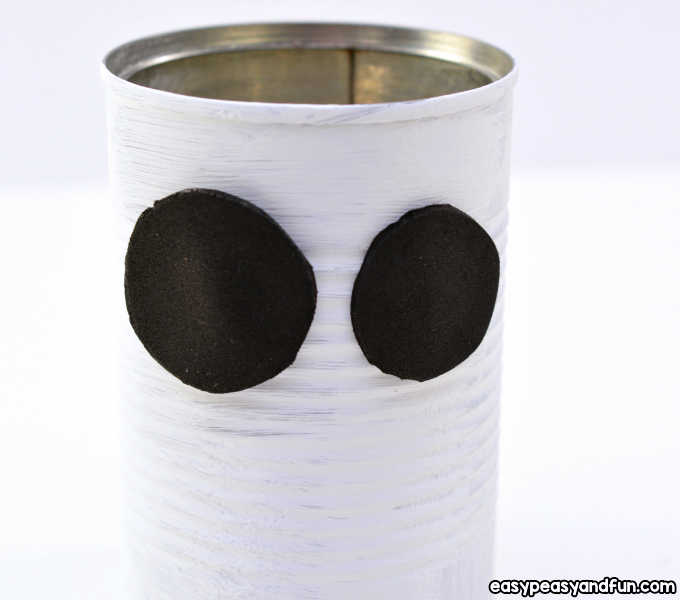
Glue the eyes onto the front of the painted tin can. Be sure that the top of the can where the lid once was is facing up.
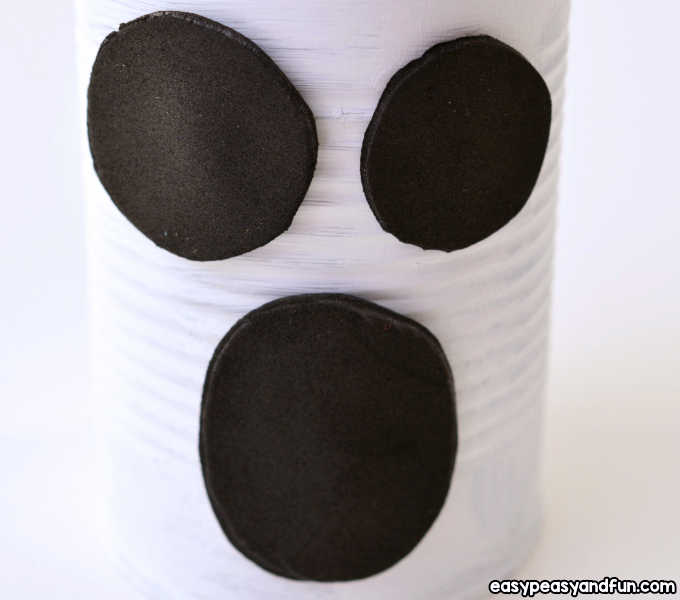
Use glue to attached the oval shaped mouth to the front of the tin can underneath the eyes.
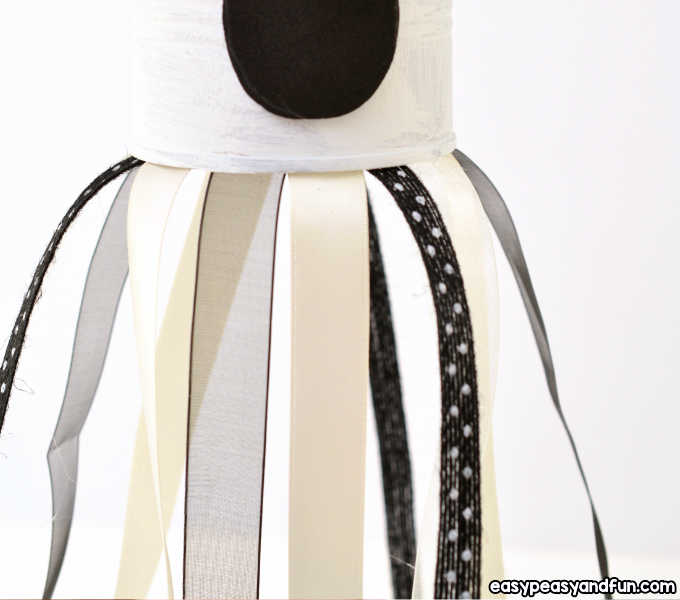
Cut long strips from the different types of black and white ribbon.

Glue the strips to the bottom of the tin can so that they hang down. You can cut them to your desired length.
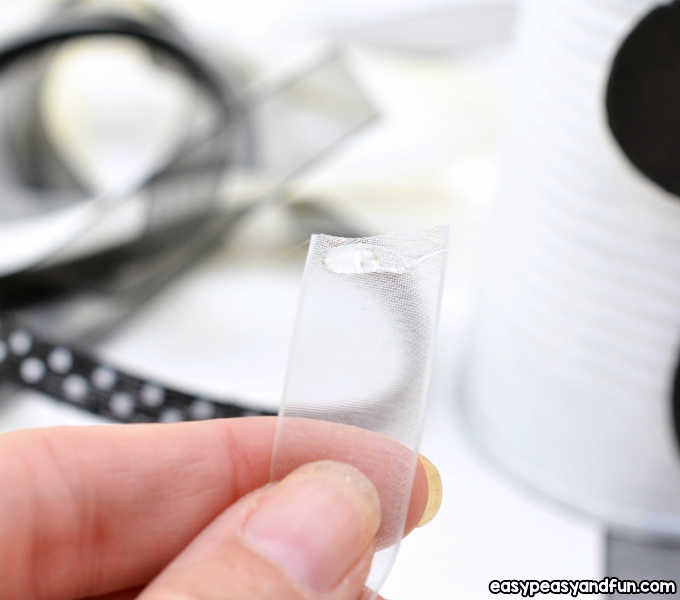
Cut a small length of ribbon, and glue it to the inside of the top of the can horizontally.
This will serve as a hanger for your ghost windsock, and will make it hang evenly, instead of tipping from side to side.
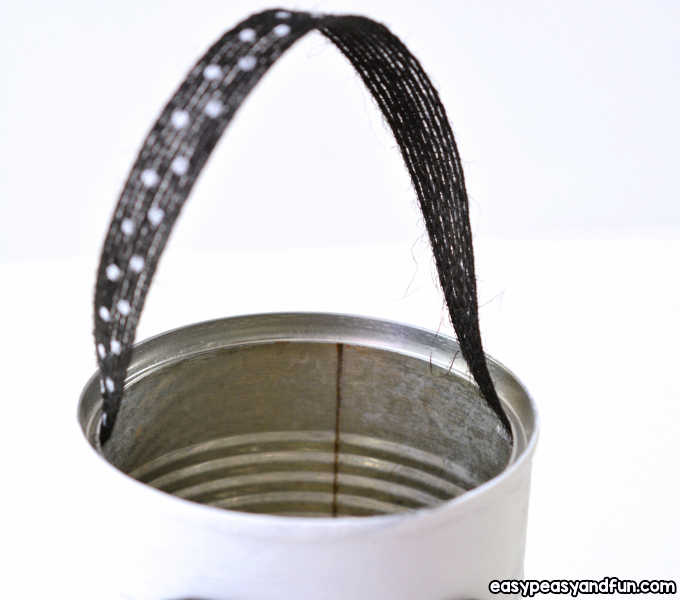
Run a longer length of ribbon through the glued loop at the top, and tie it closed.
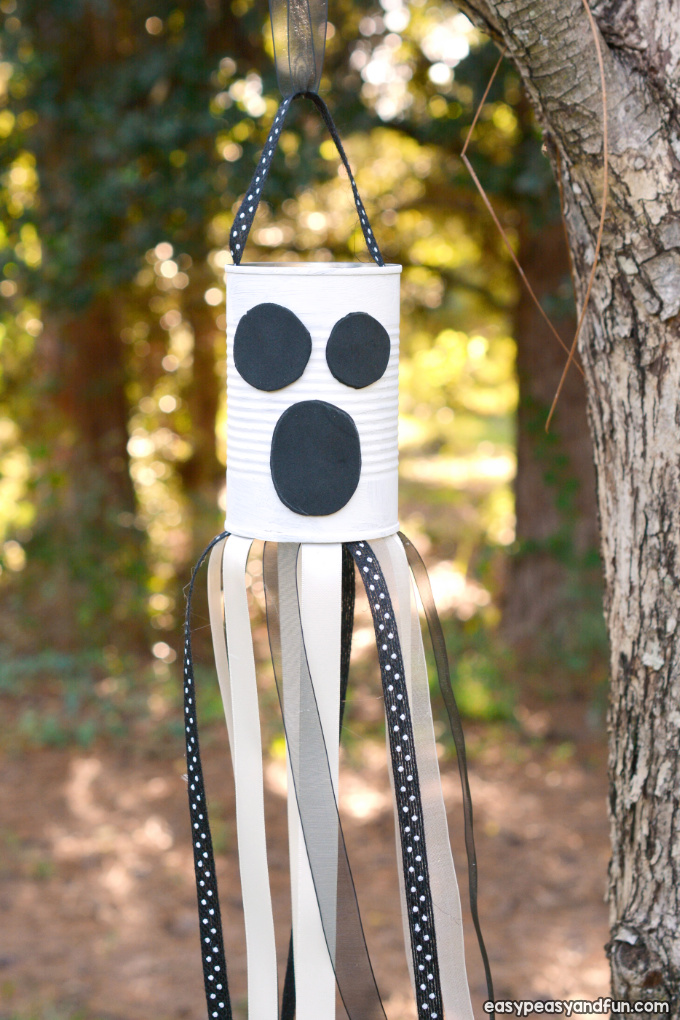
Now, you can hang your windsock on a tree or inside your home for a festive holiday decoration.
Want instant access to all of our printable crafts, activities, and resources?

With thousands of crafts, activities, worksheets, coloring pages, and drawing tutorials to print, you will always have just the resource you need at your disposal. Perfect for parents and teachers alike!