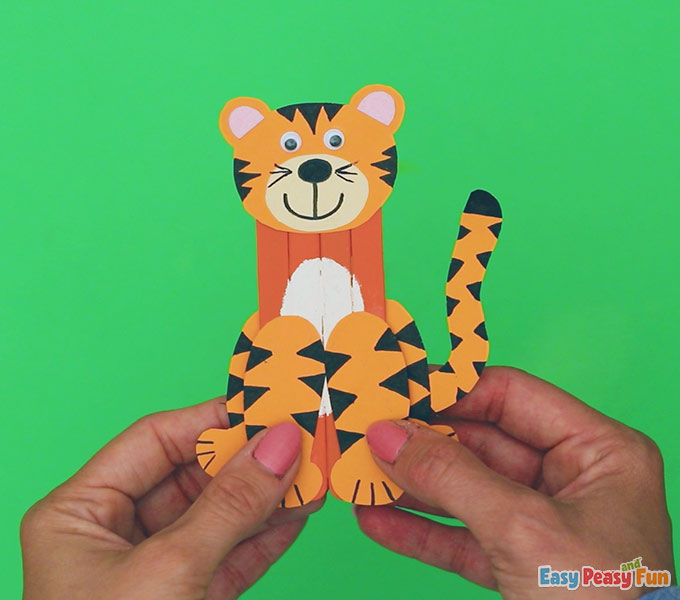
Tigers are super fun to observe and make a great crafting inspiration. This Craft Stick Tiger is simple to make and can provide hours of imaginative play.

*This post contains affiliate links*
50 paper crafts your kids can actually do themselves

No fancy supplies — just paper, scissors, and a little imagination.
Be the first to get it on release day — and lock in the lowest price guaranteed.
We love making Animal Crafts for Kids (take a look at our Tiger Corner Bookmarks or make some Cat Clothespin Puppets).
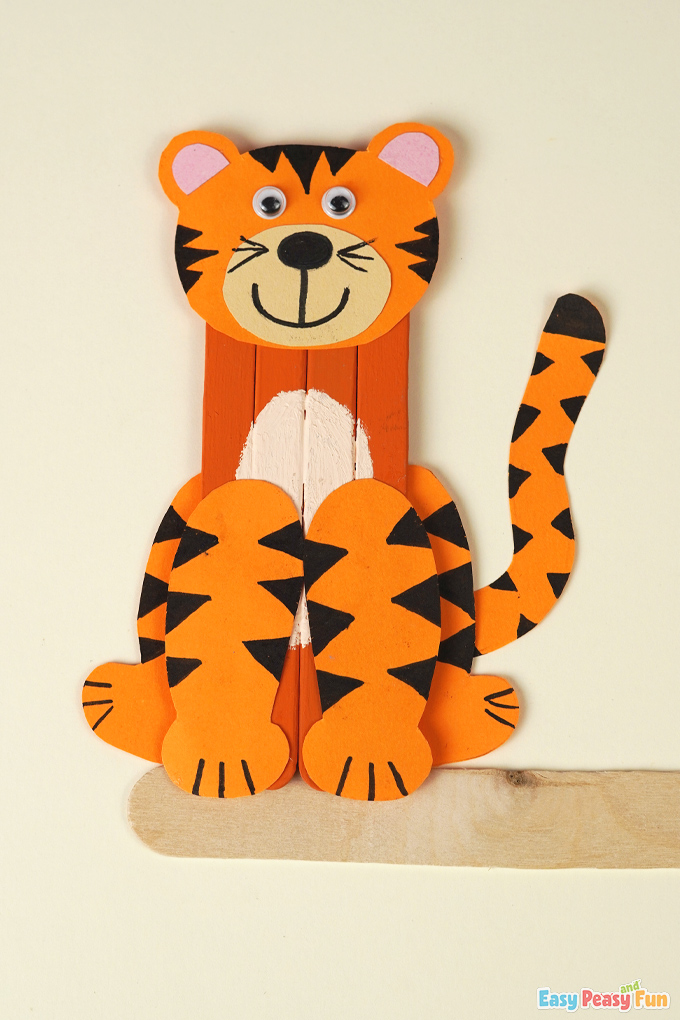
Today we’ll make a simple tiger out of paper and craft sticks.
How to Make a Craft Stick Tiger
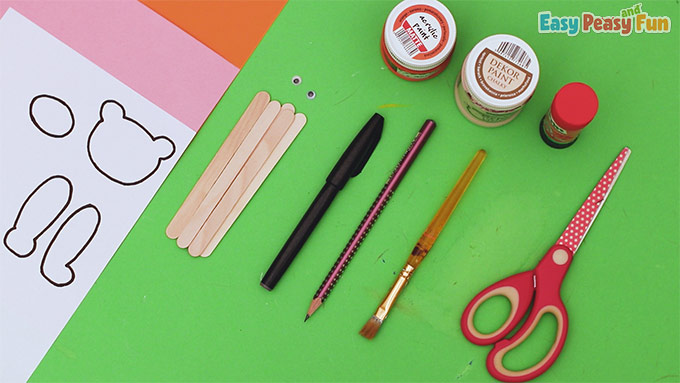
What you need:
- printable template
- scissors
- pencil
- black marker
- glue stick
- 5 craft sticks
- color papers (beige, orange, and pink)
- acrylic paint (orange and beige)
- paintbrush
- googly eyes
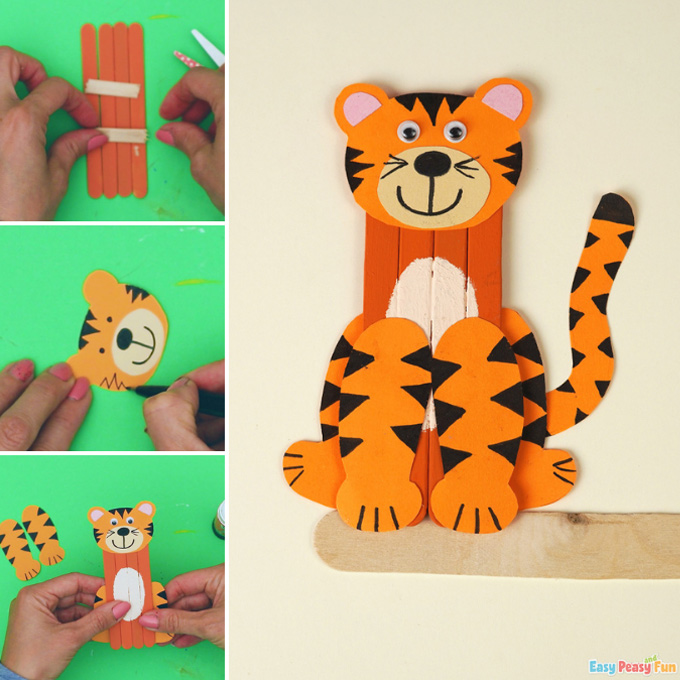
Step by Step Tutorial
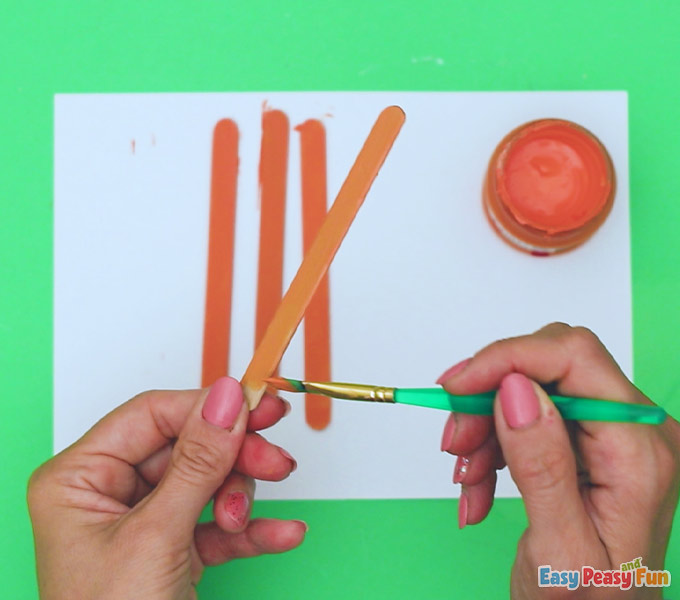
Put four wooden craft sticks next to each other.
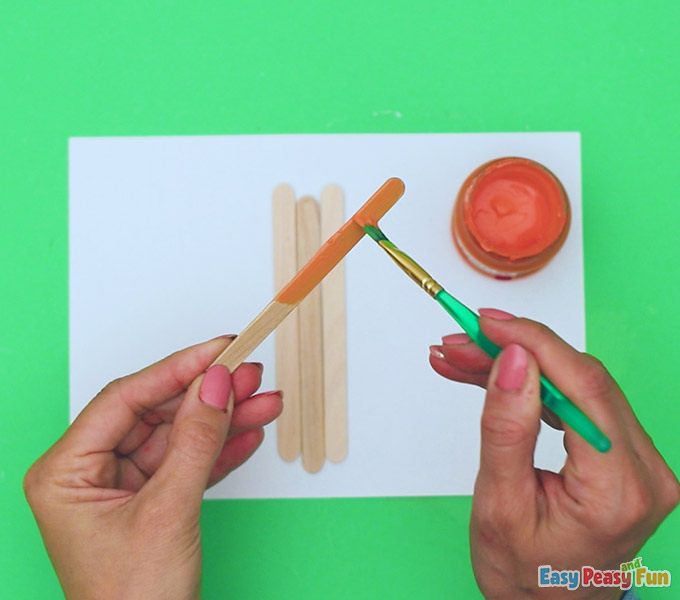
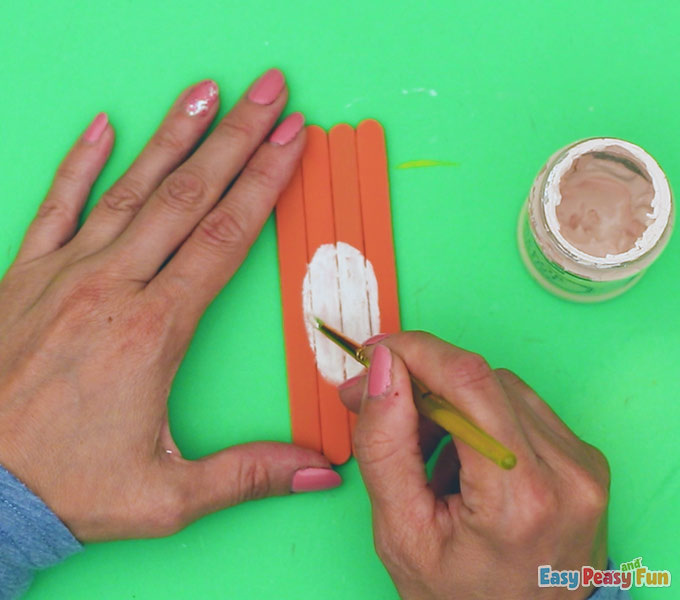
Paint the craft sticks orange.
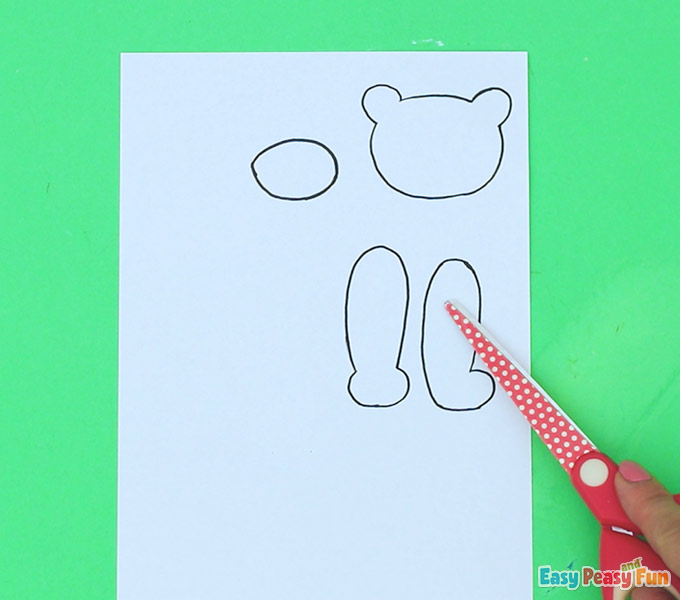
Cut out the tiger template.
Trace the head and legs onto orange paper.
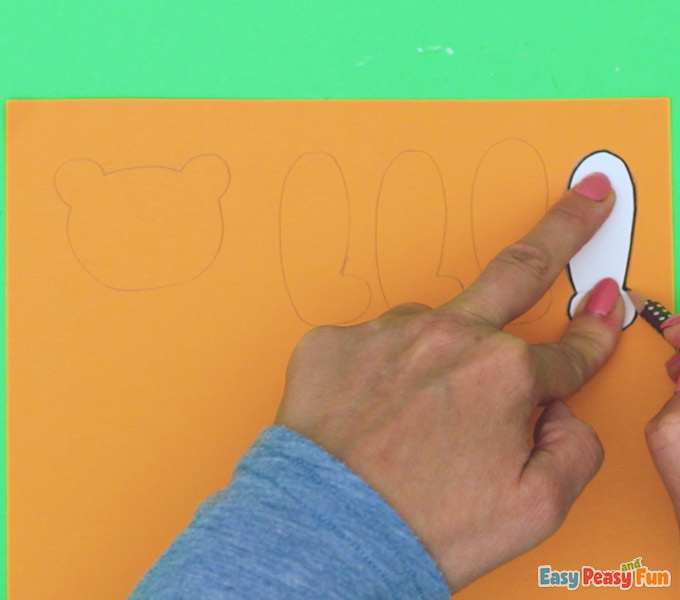
Then trace the mouth on the beige color paper.

The Body
Cut one craft stick in half.
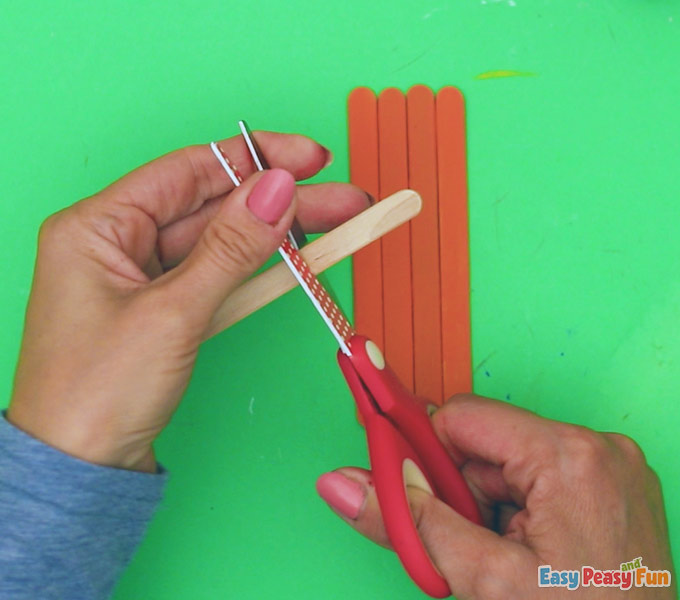
You will get two smaller pieces.
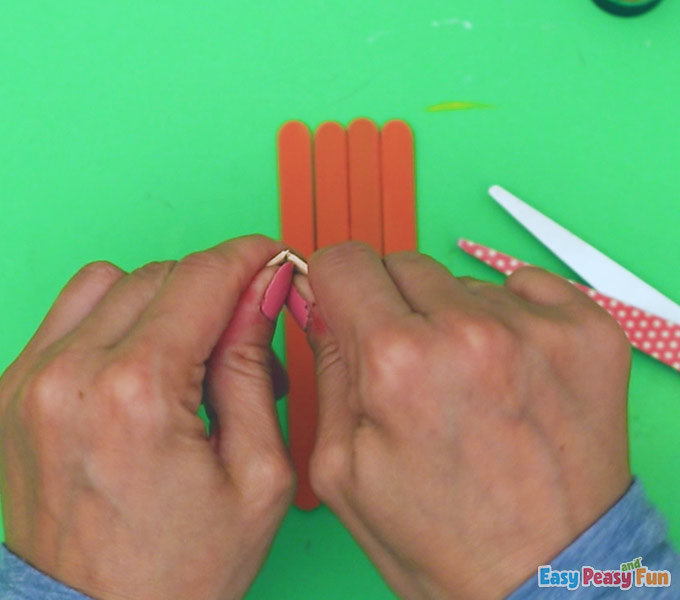
They should fit horizontally – across the four craft sticks.
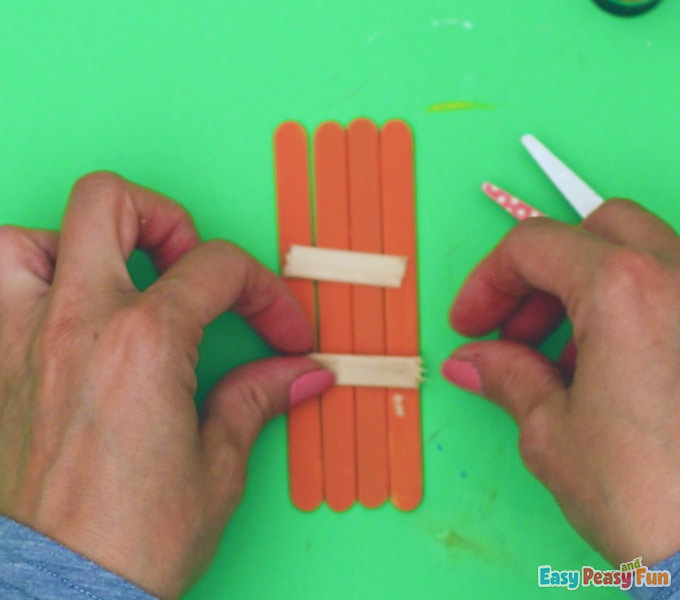
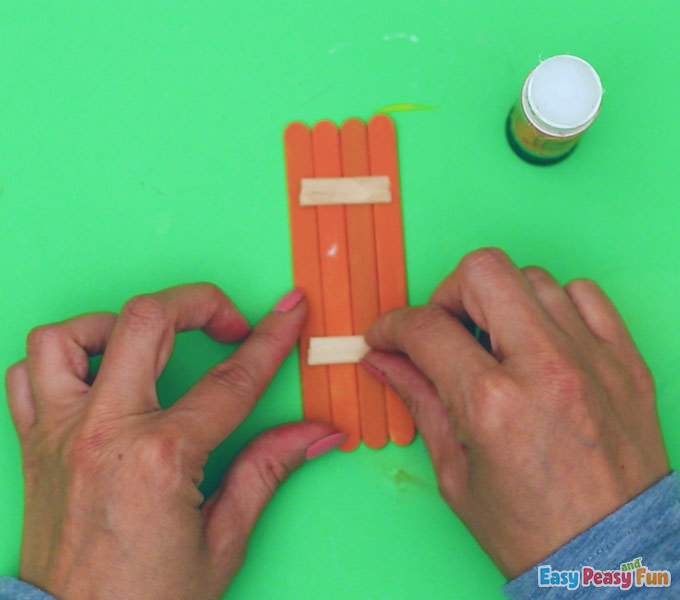
Add glue.
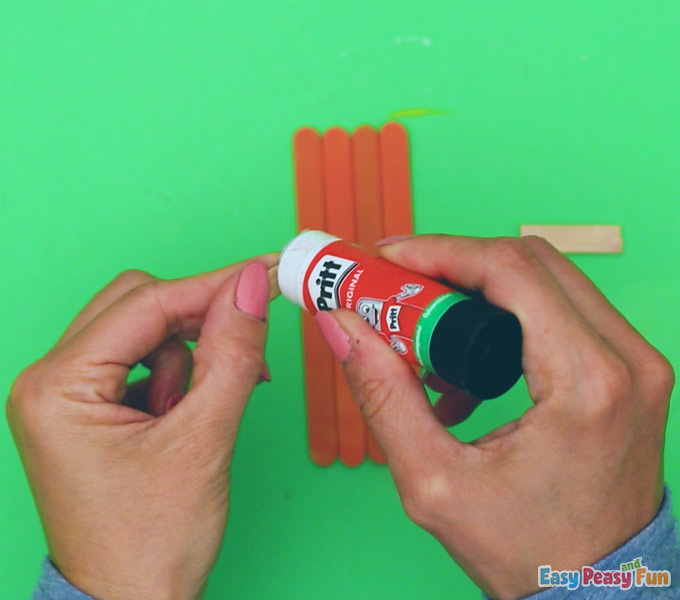
Glue the two broken craft sticks to the back.
It will keep the body of the tiger together.
Paint part of the tiger’s body beige in an ellipse shape.
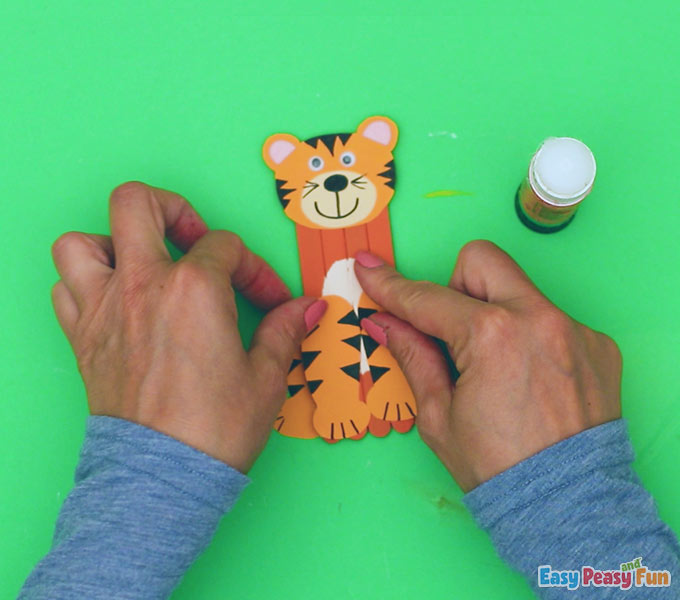
The Head
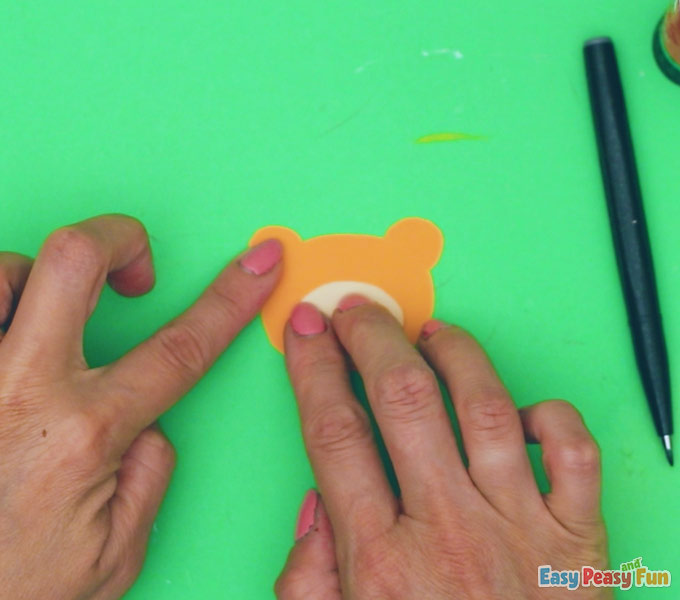
After you cut the head part out, glue the beige part of the face onto it.
Draw eyes and a nose onto the tiger.

You can add small facial designs to the tiger.

Cut out some pink half-circles to add a little detail to the tiger’s ears.
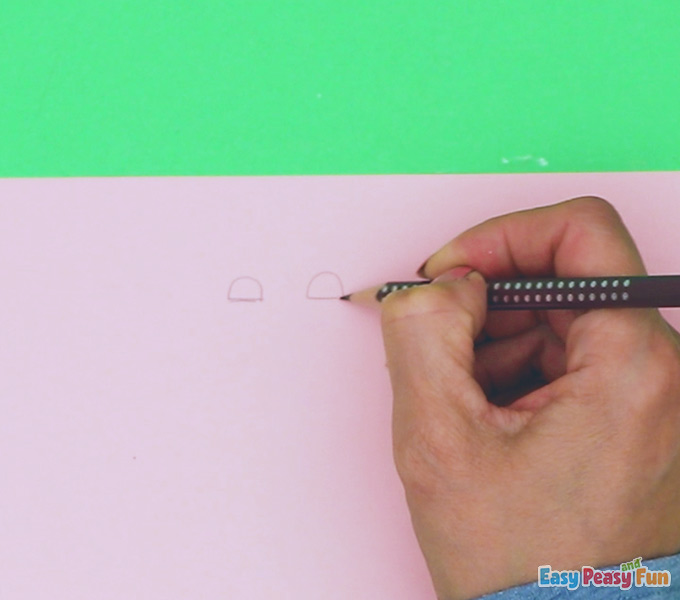
Glue those pink half-circles inside of the tiger’s ears.

Next, you are going to glue googly eyes onto the tiger.
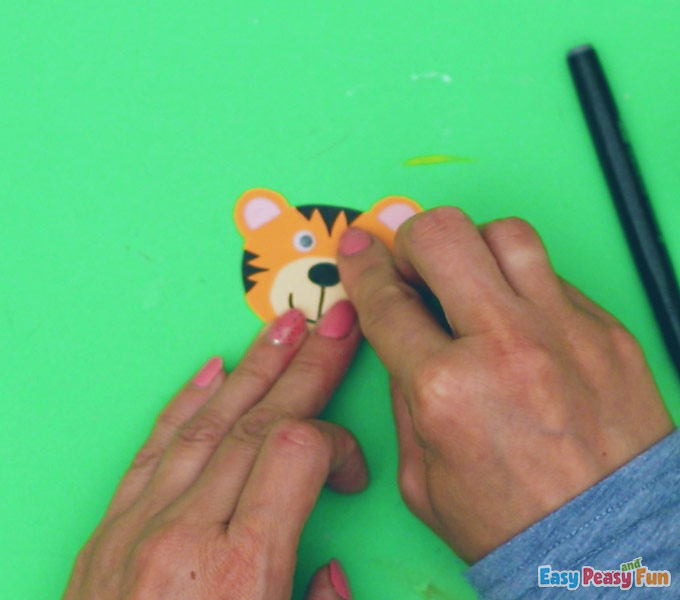
Draw some mustache too.

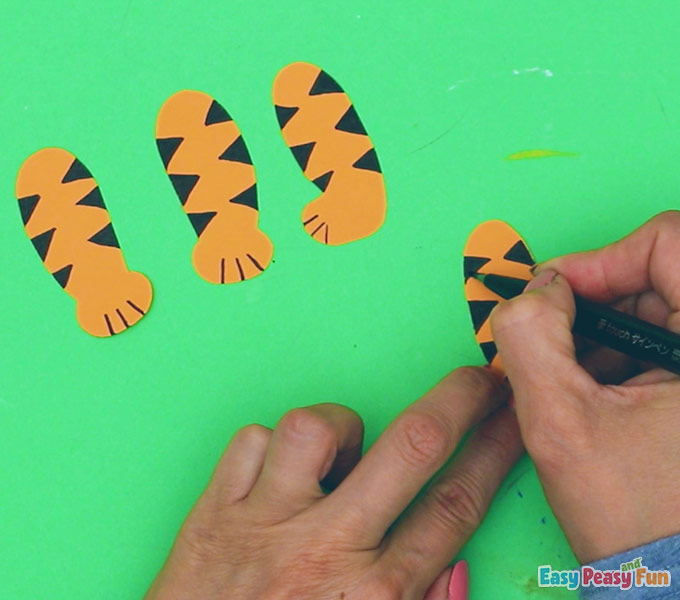
The Legs
Add some details to the tiger’s legs.
Stripes and claws are always a lot of fun!
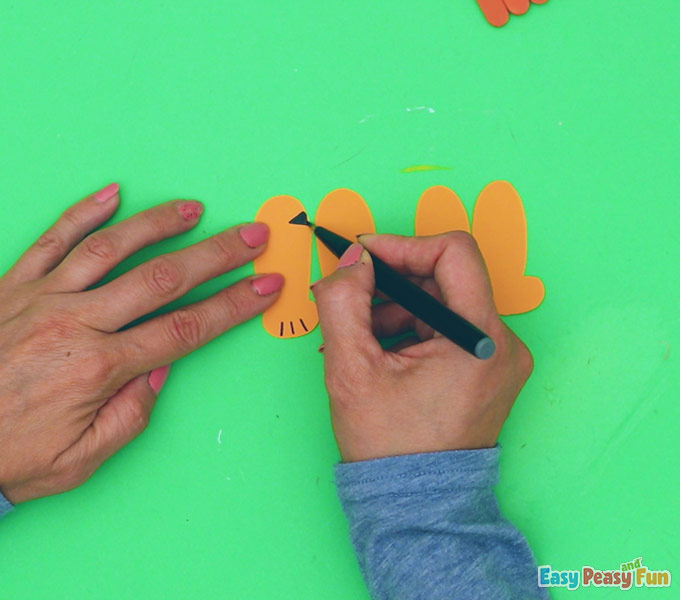
Make sure you create a pattern for all four legs!
Glue the head of the tiger onto the four orange craft sticks.
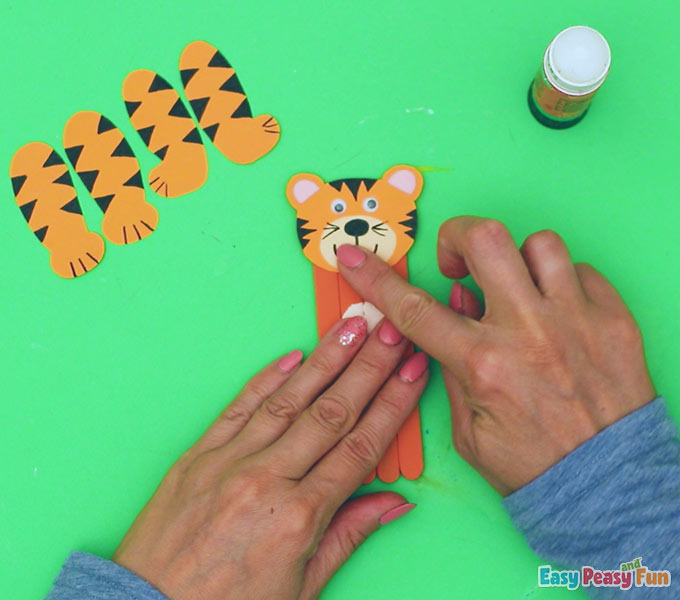
Take two legs you created and glue them onto the tiger from behind.
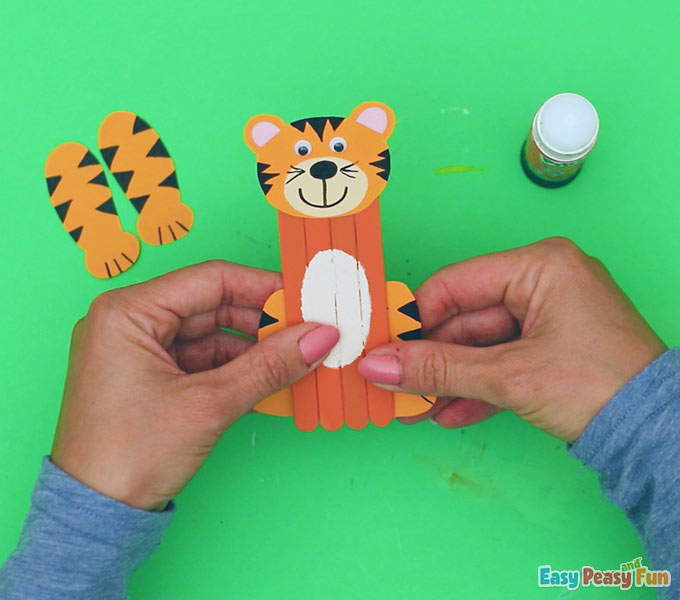
Now glue the other two legs on the front of the craft sticks.
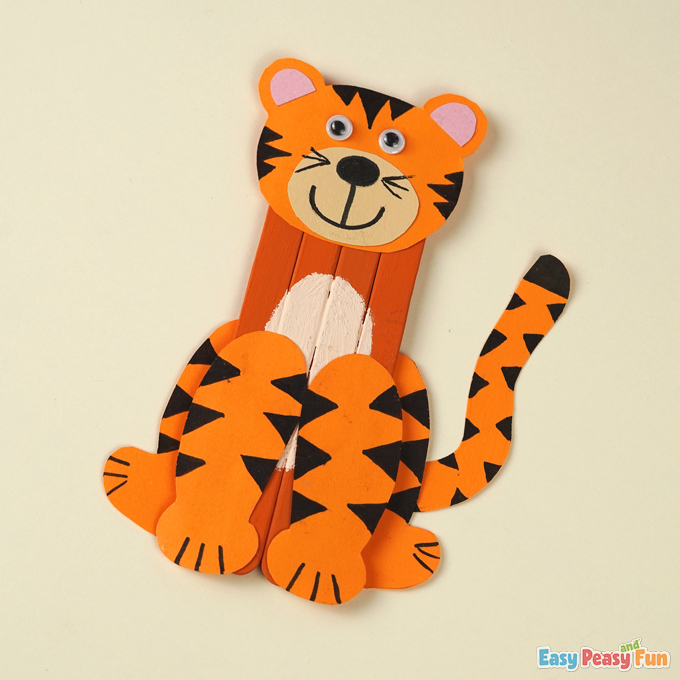
The Tail
Take a moment to draw the tiger with an orange tail.
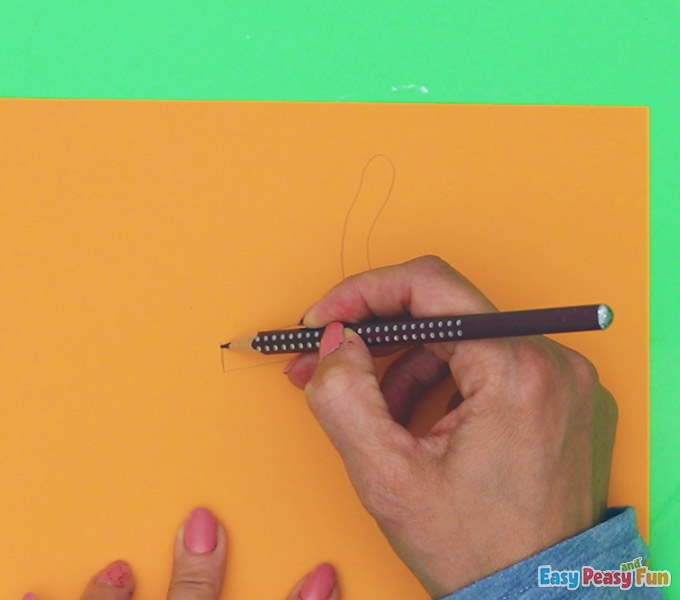
Draw some patterns onto the tail too.
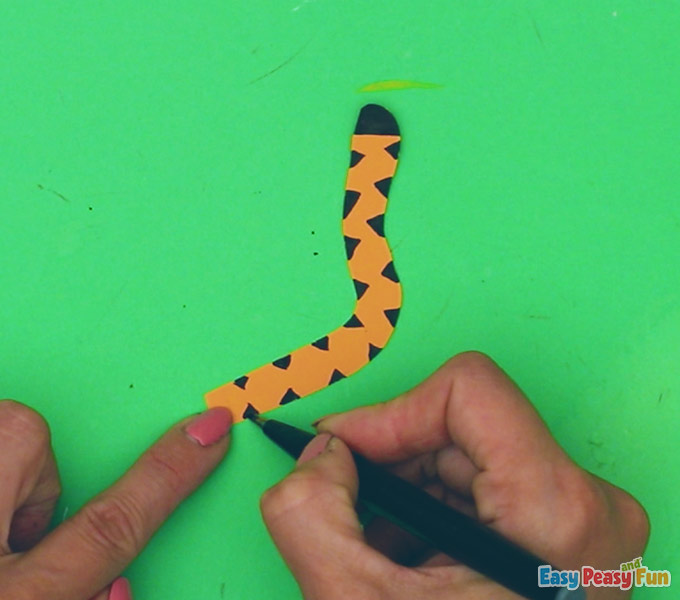
Glue the tail to the back.
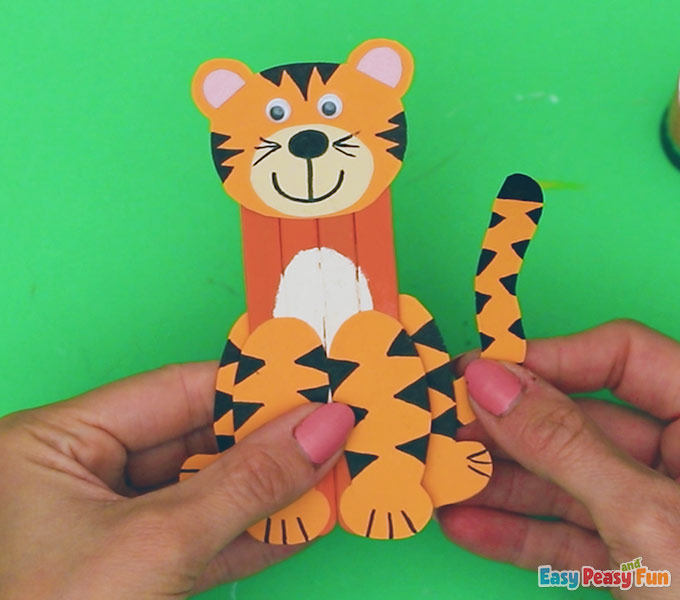
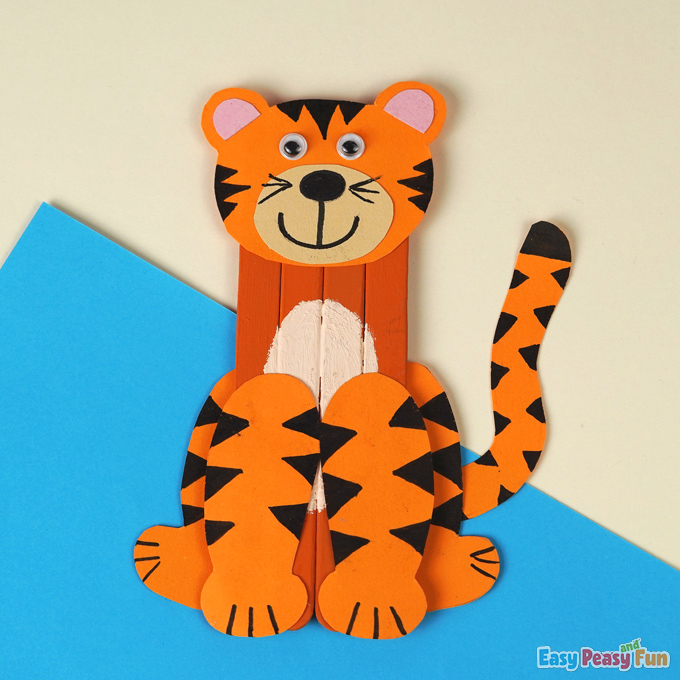
You can be as creative as you’d like with your tiger.
It is a majestic cat!
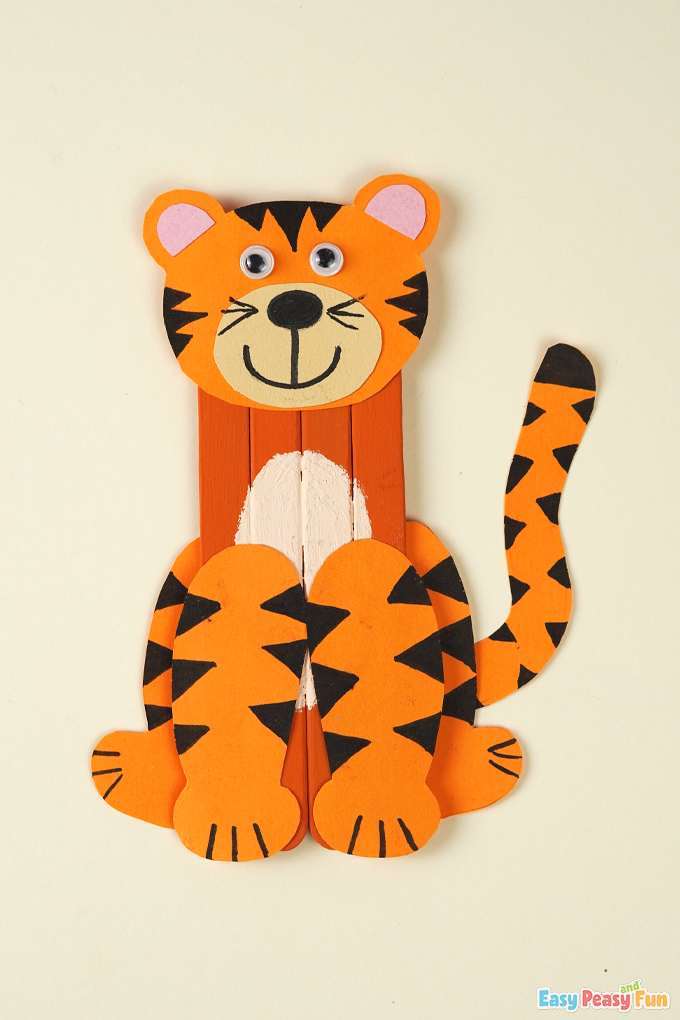
You can make the whole family of tigers if you like.
Have fun crafting!
Get Your Craft Stick Tiger Template Here

Want instant access to all of our printable crafts, activities, and resources?

With thousands of crafts, activities, worksheets, coloring pages, and drawing tutorials to print, you will always have just the resource you need at your disposal. Perfect for parents and teachers alike!