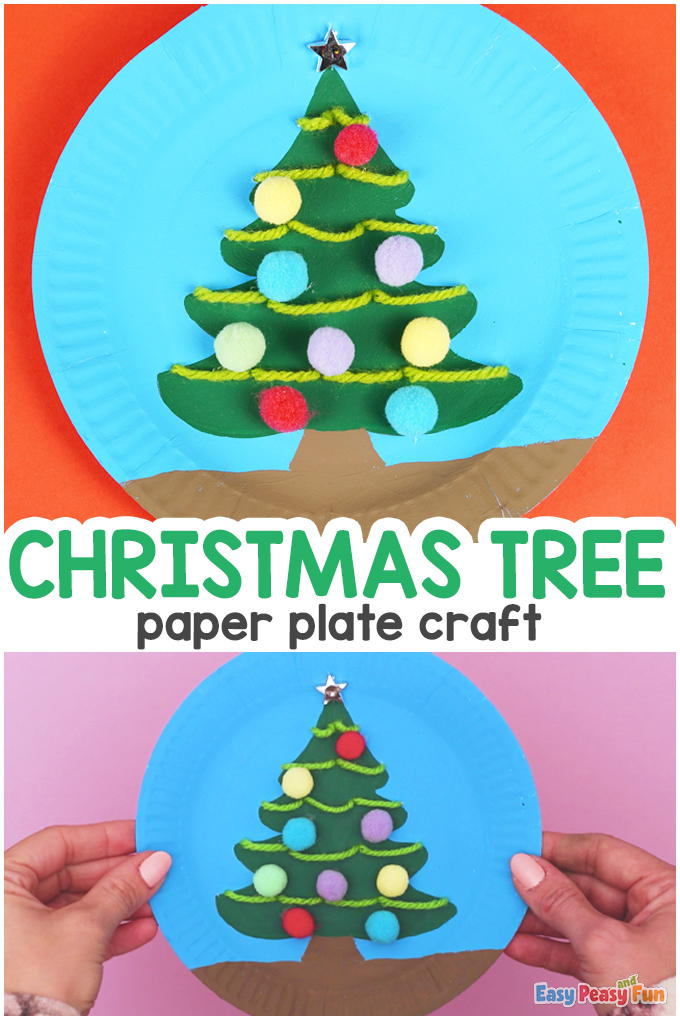
The holidays are approaching, which means this Christmas Tree Paper Plate Craft is great for being creative!
Kids can decorate the Christmas tree however they’d like! Get ready because this craft will be holly, jolly, and bright.
*This post contains affiliate links*
We love Christmas Crafts for Kids (have a look at our Printable Christmas Paper Rings for Kids or have fun making Paper Reindeer Garland).
Join us in learning How to Draw a Christmas Tree or print the whole set of Christmas Coloring Pages. We bet kids will love to color them all!
Christmas is one of the best times of the year! Get in the holiday spirit by creating fun decorations around the home.
Quickly turn a paper plate into a bright, decorative piece to use around the home during the holiday season with this easy craft tutorial.
You can hang it on the tree, place it on the wall, or even frame it!
How to Make the Christmas Tree Paper Plate Craft
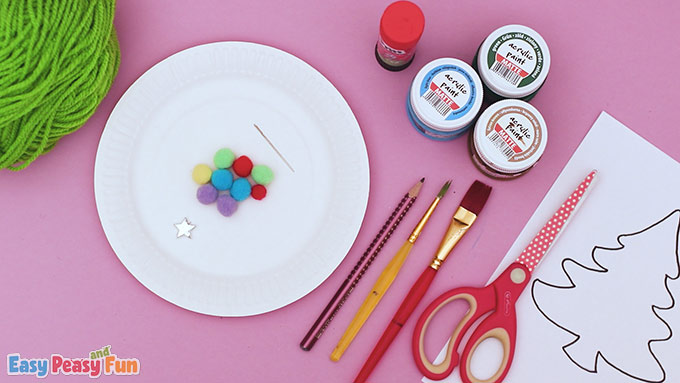
What you need:
- paper plate
- acrylic paint (blue, green, and brown)
- paintbrush
- scissors
- pencil
- glue stick
- green yarn
- needle
- pompoms
- star decor
Step by Step Tutorial
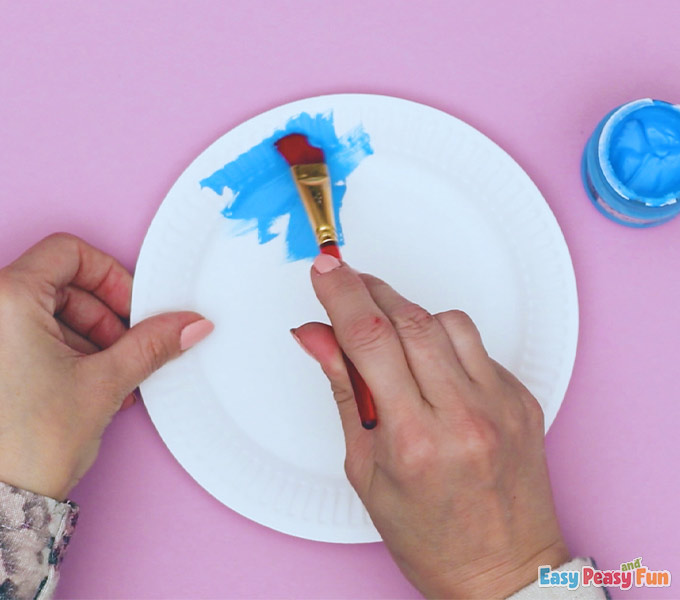
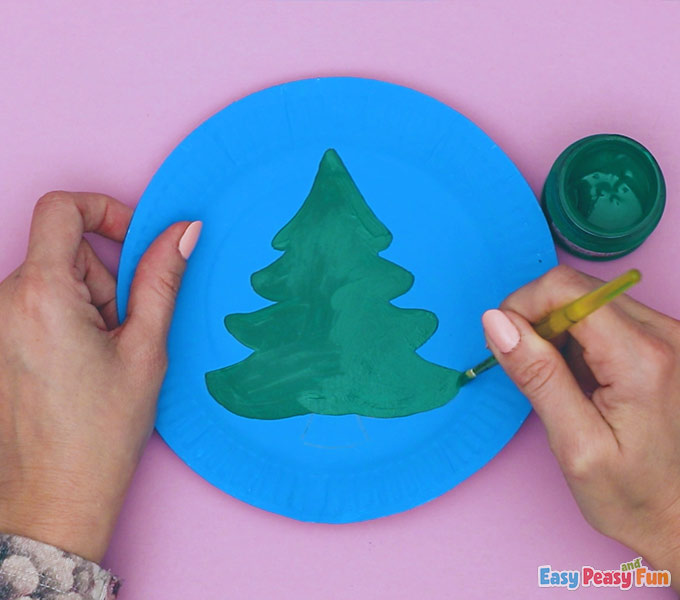
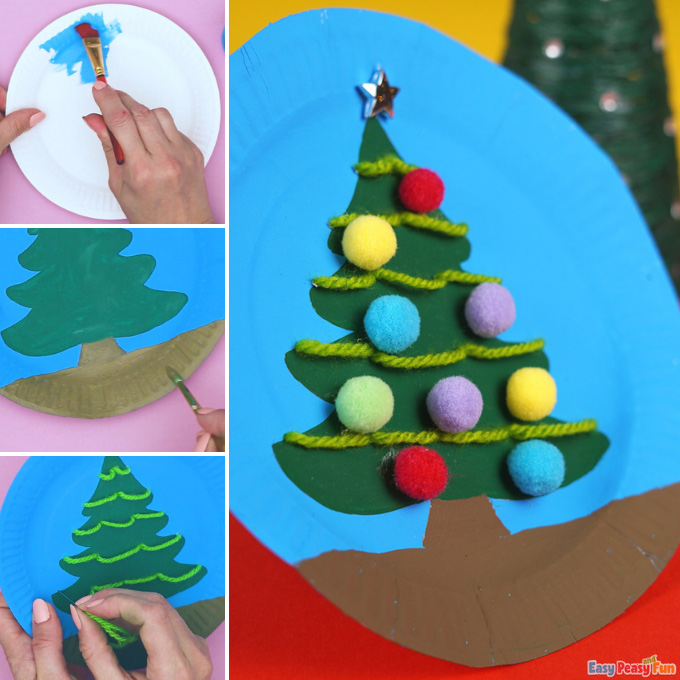
Begin painting your paper plate with blue paint.
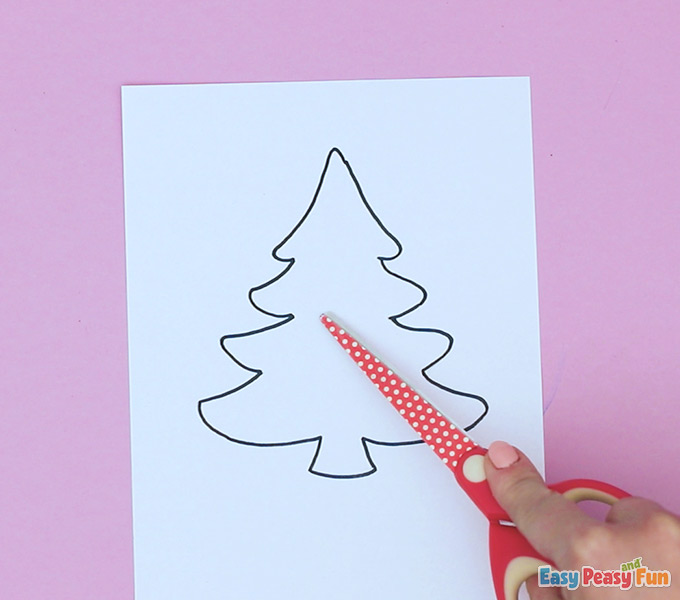
Grab your tree stencil and begin cutting it out with your scissors.
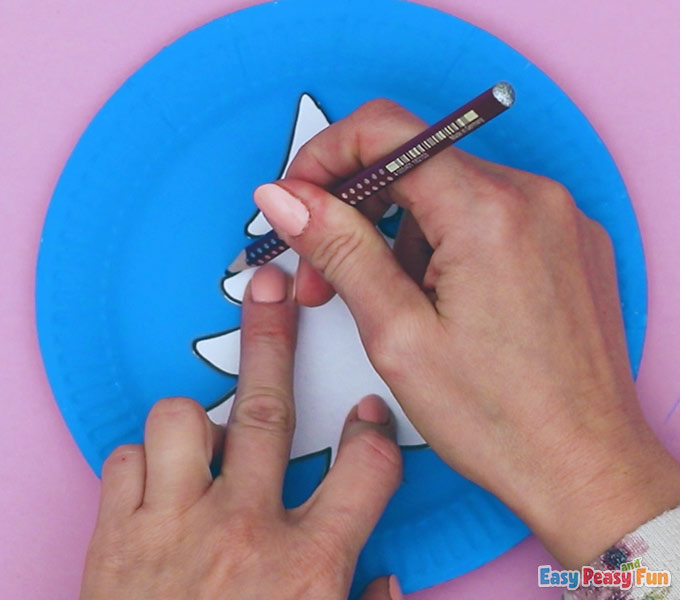
Place the stencil cutout of the tree on the blue paper plate and trace it in the center using a pencil.
Paint the inside of the tree with your dark green paint.
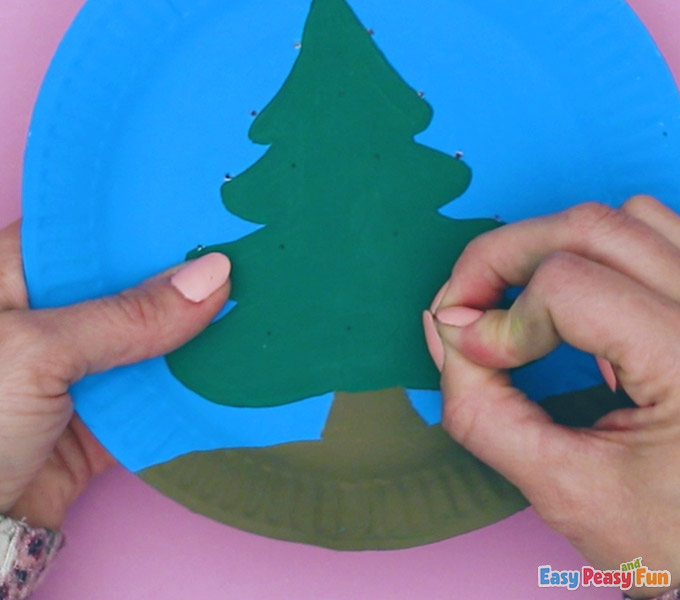
Clean your brush and dip it into the brown paint, creating the tree’s trunk and the soil at the bottom of the plate.

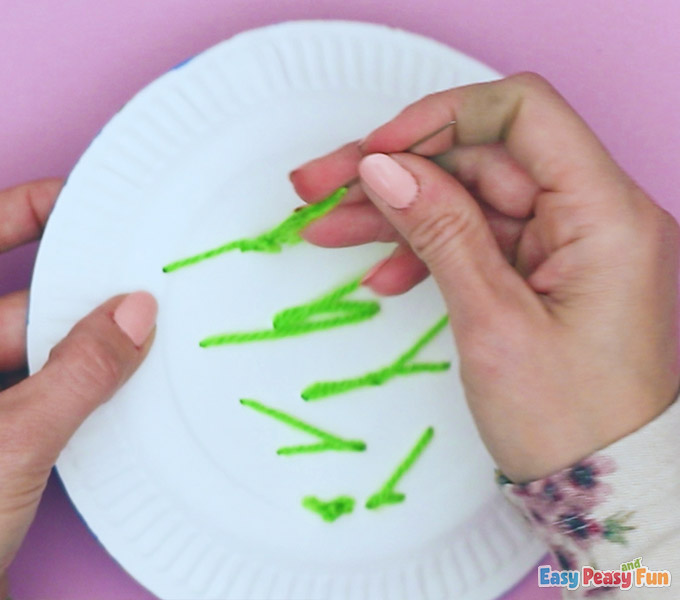
Poke holes around the edges of the Christmas tree, where you’ll place your ornaments.
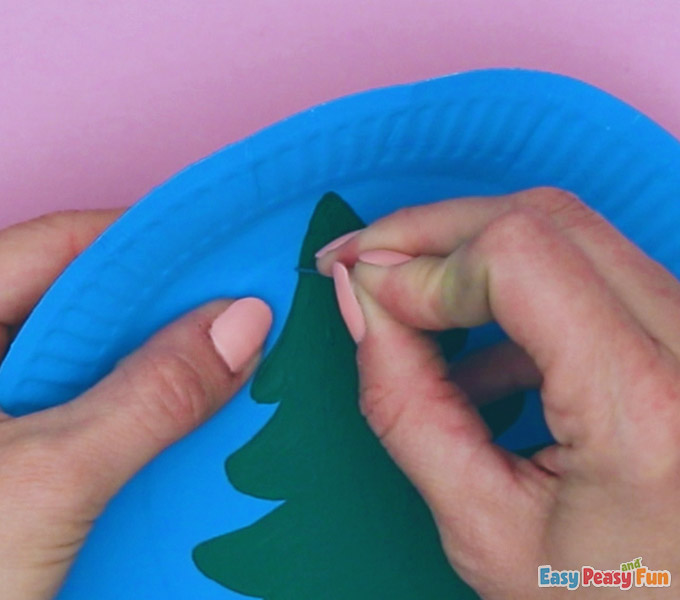
Pop small holes in the plate on the edges of the tree and the center, spacing the small dots out.
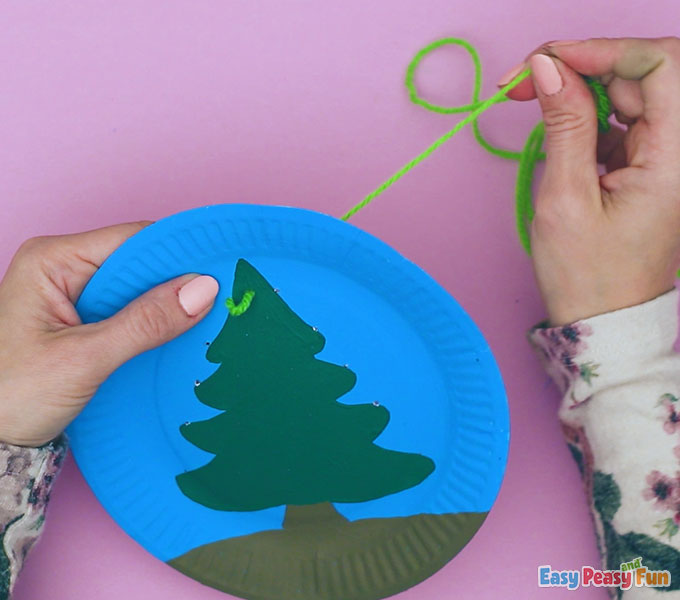
Grab your green yarn and begin placing it through the holes.
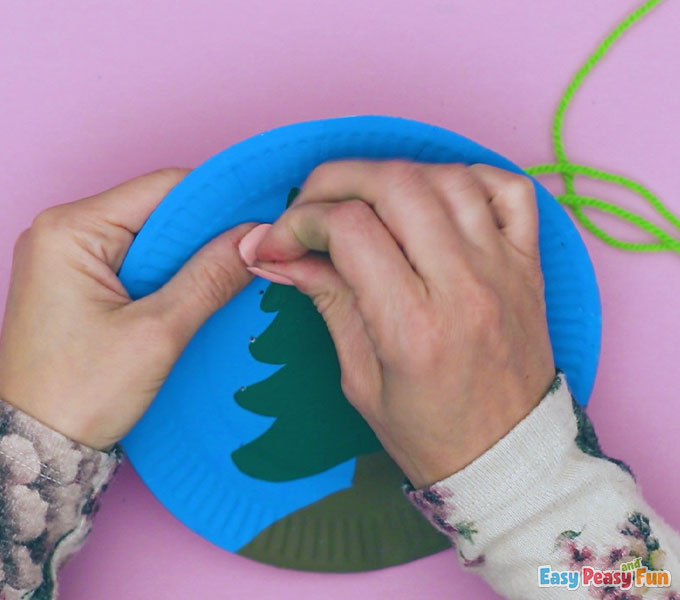
Continue to pull the yarn through the holes.
Continue pulling the green yarn through the holes until you reach the bottom of the tree.
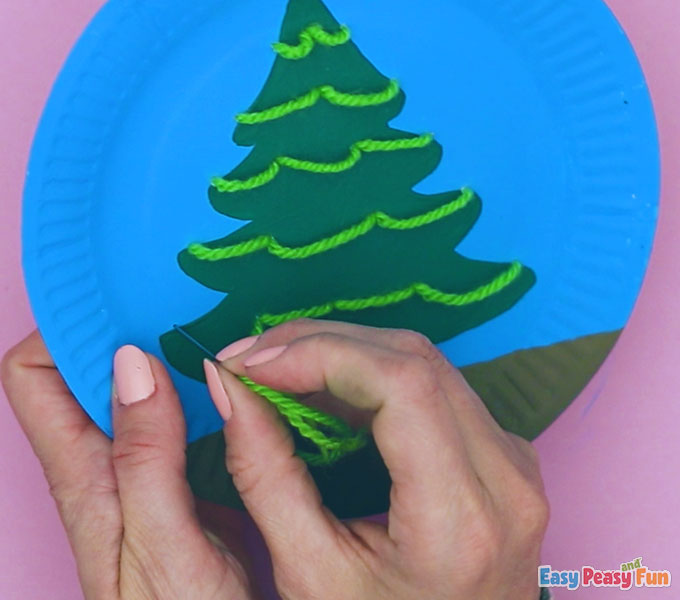
Remove your thin needle from the yarn and cut off any excess.
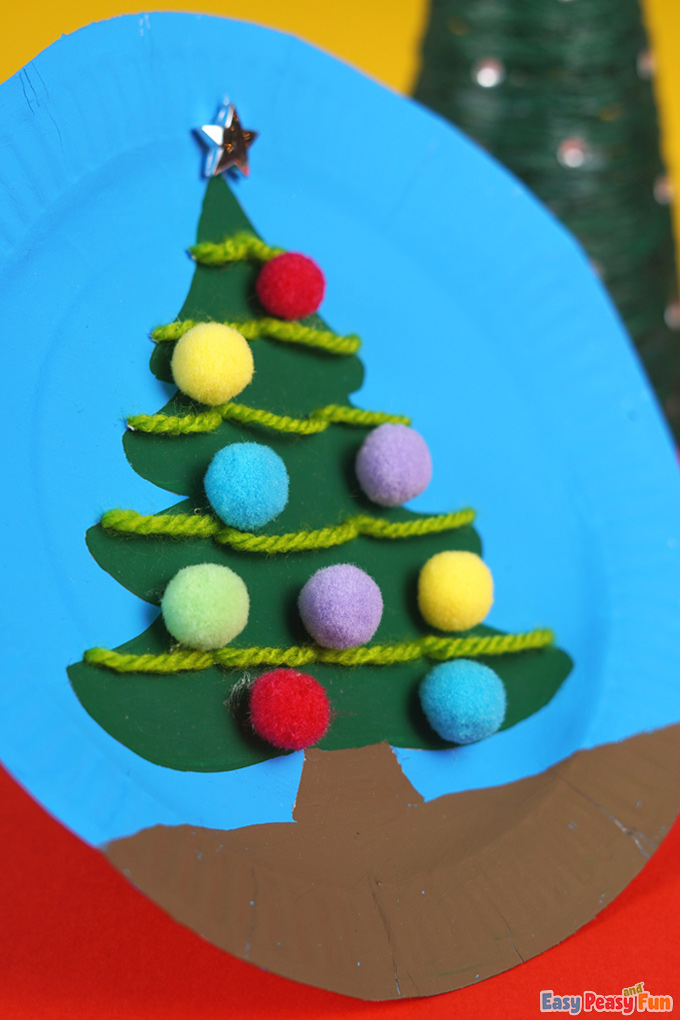
Grab your colorful pompoms and paste them in different spots on the tree using your glue stick.
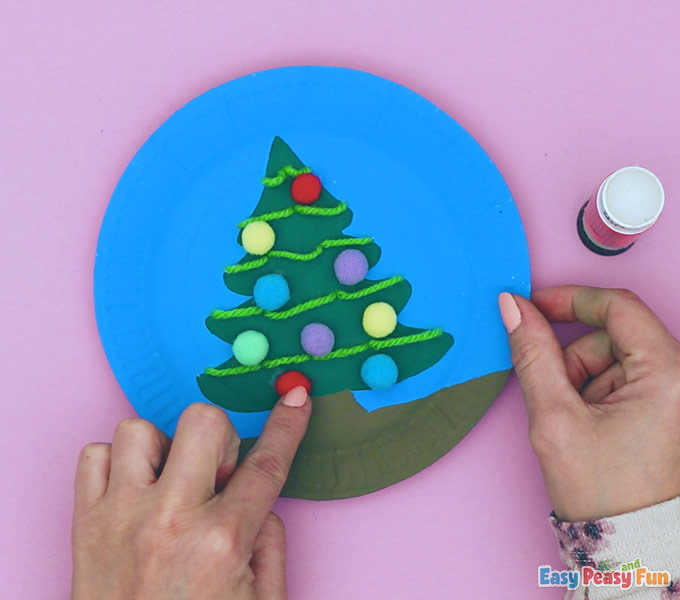
Attach the star to the top of the Christmas tree using your glue stick.
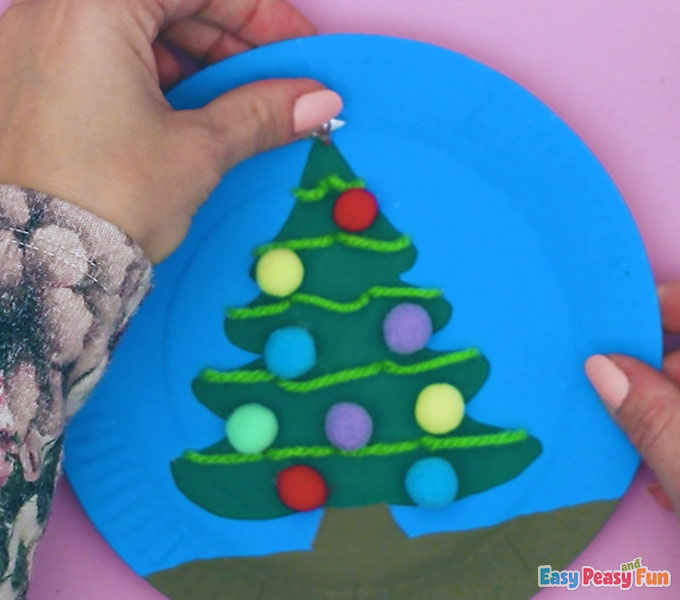
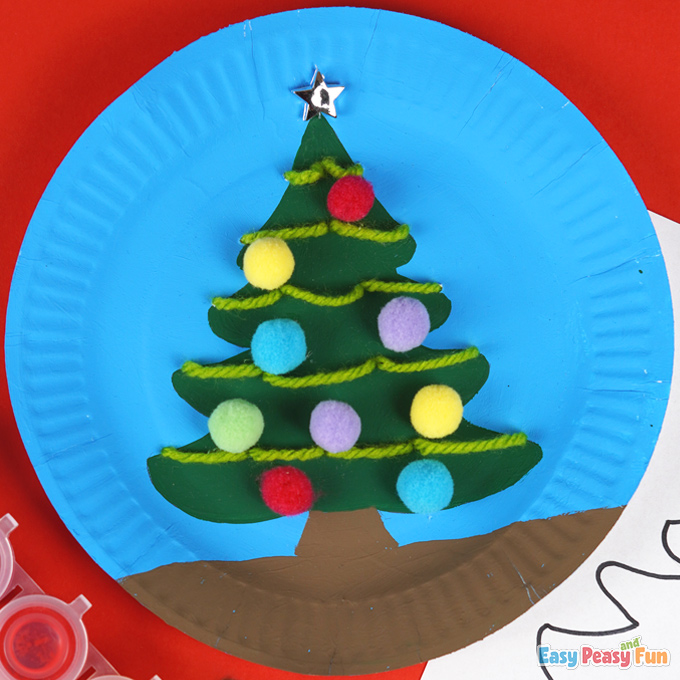
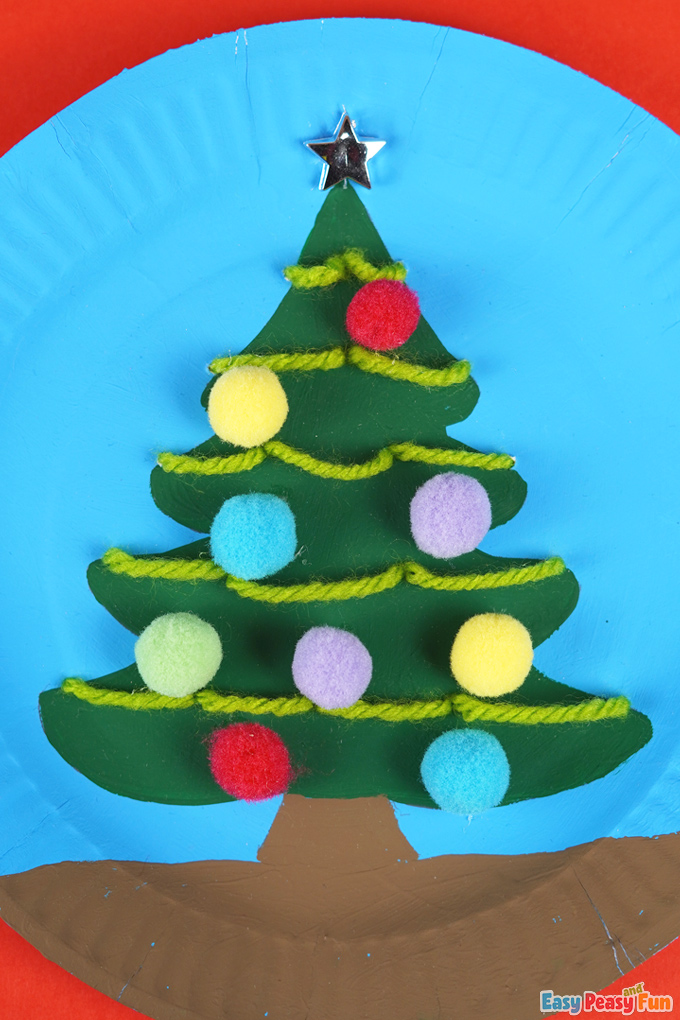
Your paper plate Christmas tree is ready!
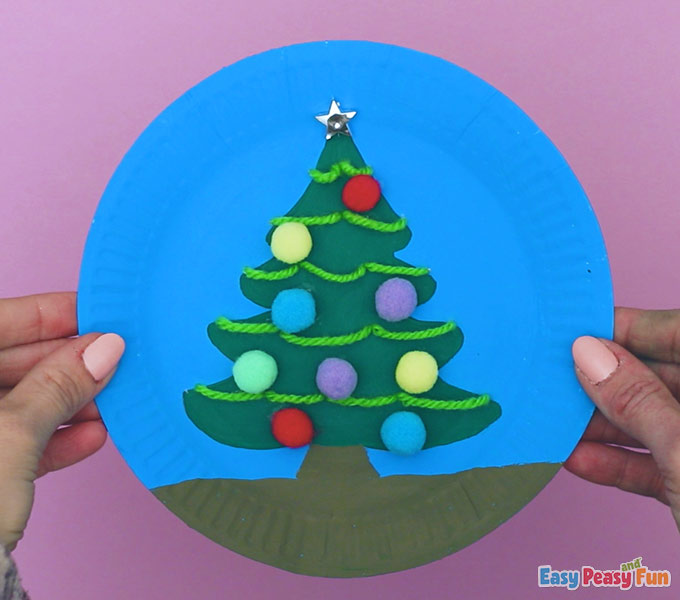
This cute craft is simple and fun to make with only a few items needed.
It’s great for children of all ages.
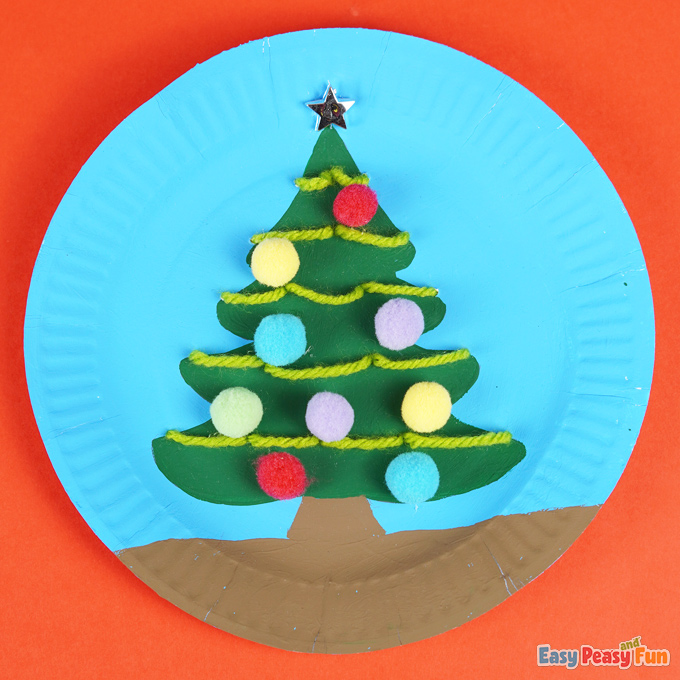
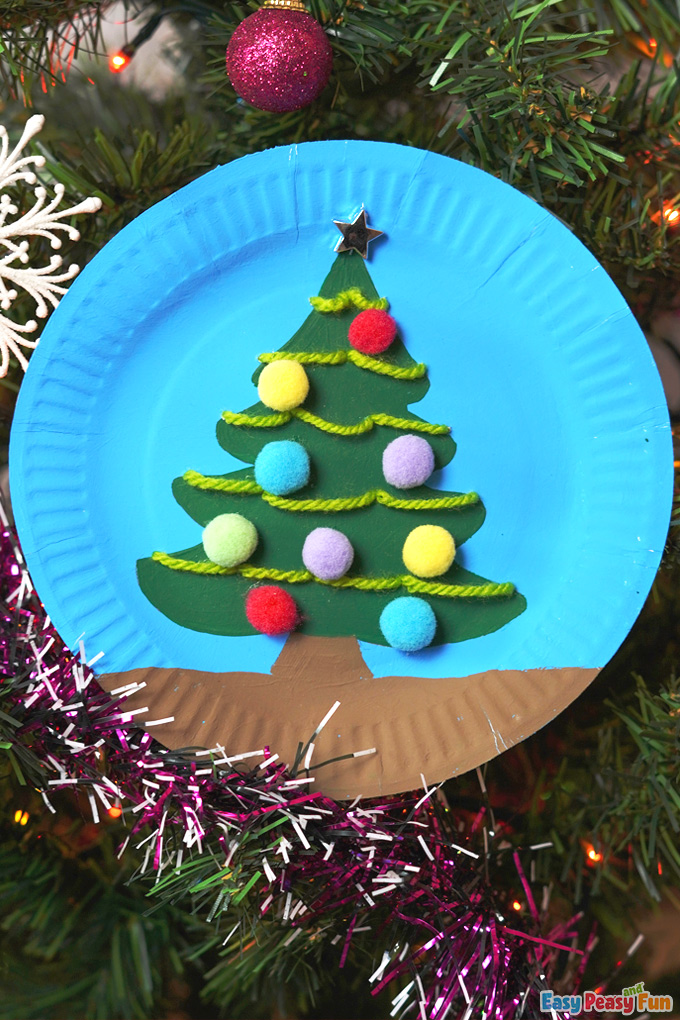
Enjoy the beautiful appearance of this decorative Christmas tree.
It’s the perfect decoration to hang on the walls of your home during the holiday season.
Want instant access to all of our printable crafts, activities, and resources?

With thousands of crafts, activities, worksheets, coloring pages, and drawing tutorials to print, you will always have just the resource you need at your disposal. Perfect for parents and teachers alike!