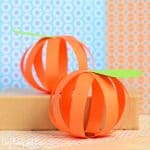
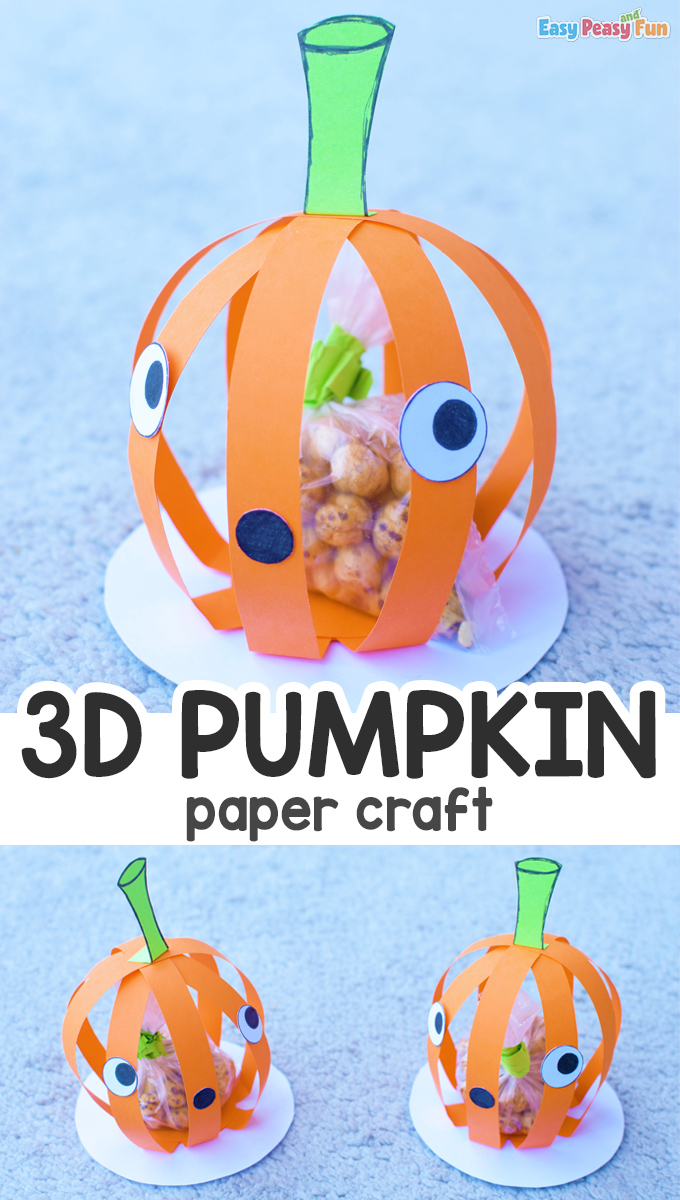
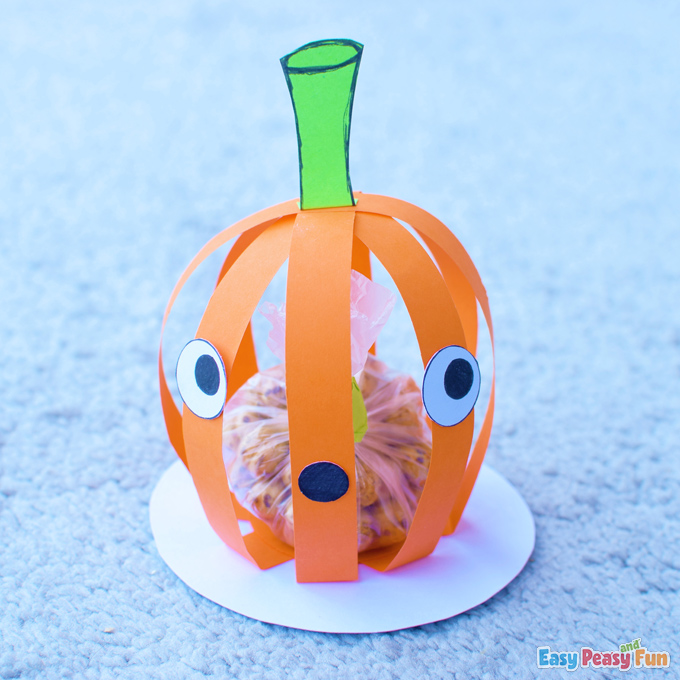
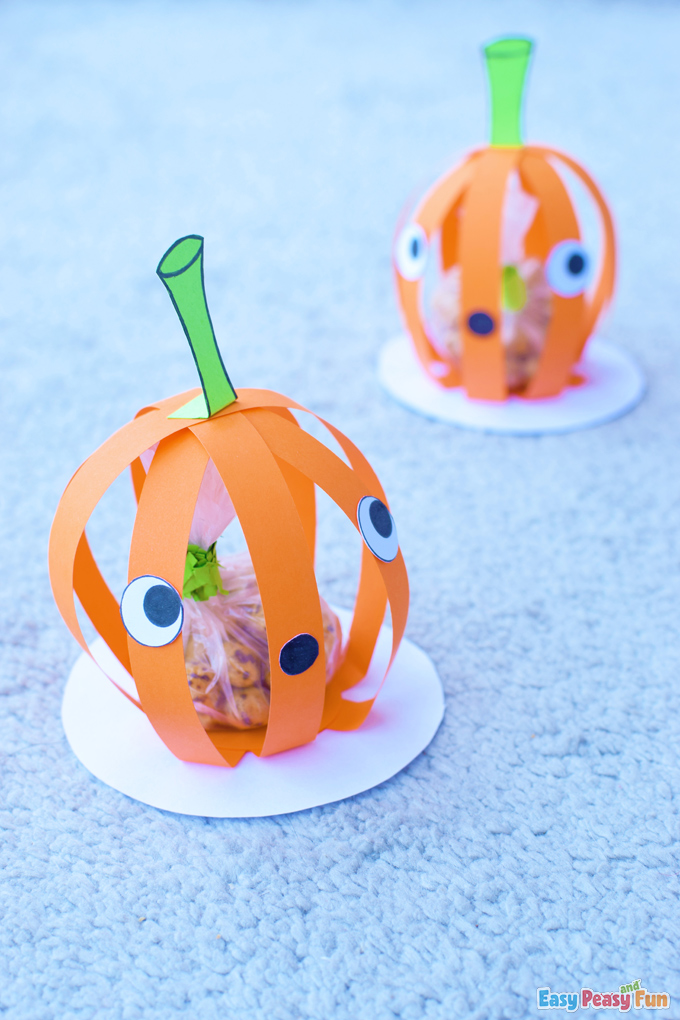
If you want to share the Halloween treats a bit differently this year, why not make this 3D Paper Halloween Pumpkin Craft that serves as a cool Halloween treat bag?
It’s easy to make and looks oh co cool!
*this post contains affiliate links*
We enjoy creating different Halloween Crafts for kids (take a look at the Surprise Pumpkin Halloween Cards or make a Ghost Paper Finger Puppet).
Today we are super excited to show you our new project. It is a pumpkin, but not an ordinary one.
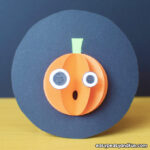
This pumpkin has small candies inside it, it can spin and it can also wobble when you press it down then pull it up.
So, if you want to have this pumpkin on your Halloween table or if you want to make it as a gift for your “TRICK OR TREAT” friends, join us crafting.
How to Make 3D Paper Halloween Pumpkin Craft
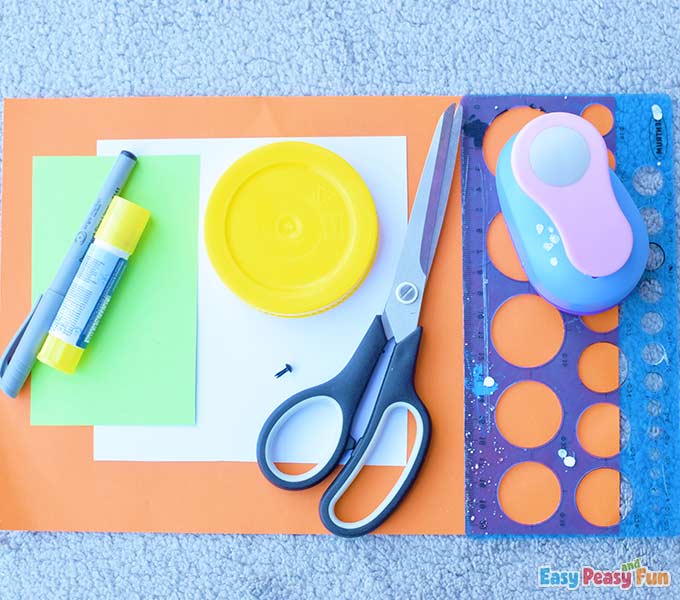
What you need:
- orange cardstock
- white cardstock
- green cardstock
- circle puncher
- split pin
- glue
- scissors
- black liner
- ruler with circle shapes
- circle object
- a small bag with treats inside (make sure the treats you put inside are not too heavy so the pumpkin can spin)
- googly eyes (optional)
Let’s craft!
Step by Step Tutorial
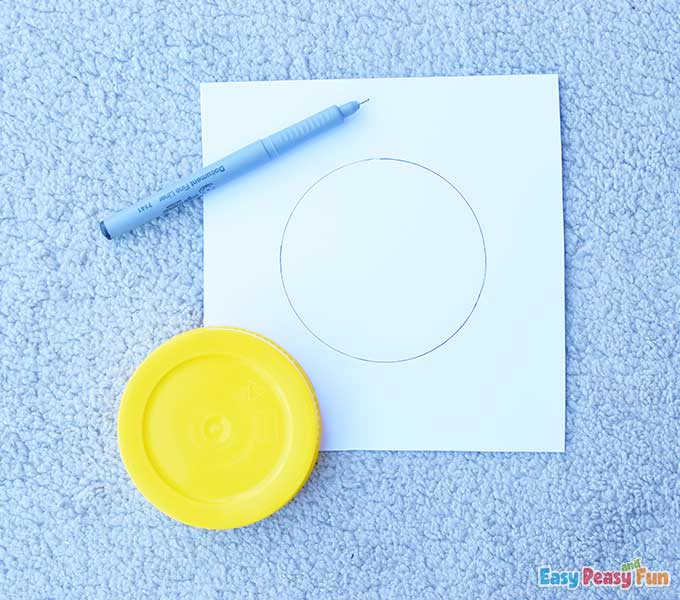
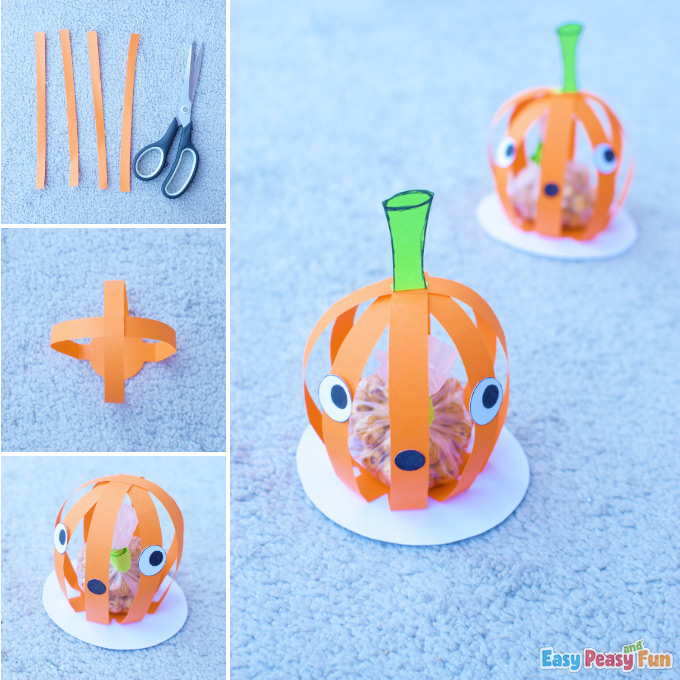
On the white color cardstock trace the circle object.
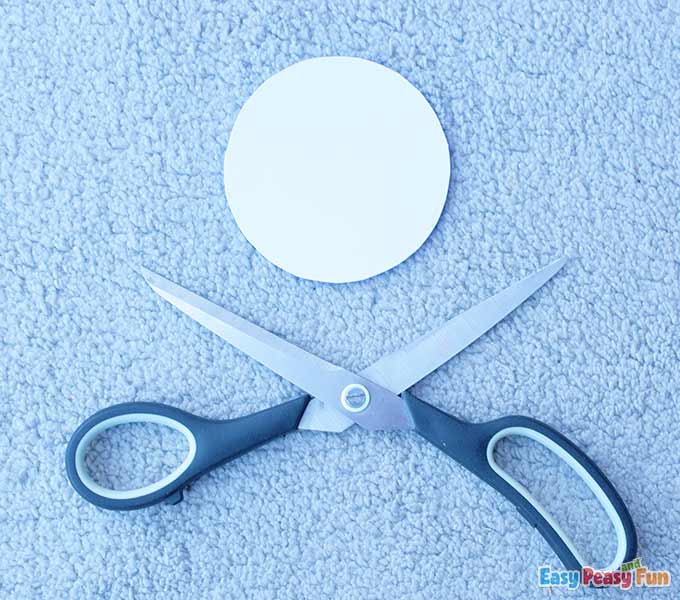
Cut out the circle.
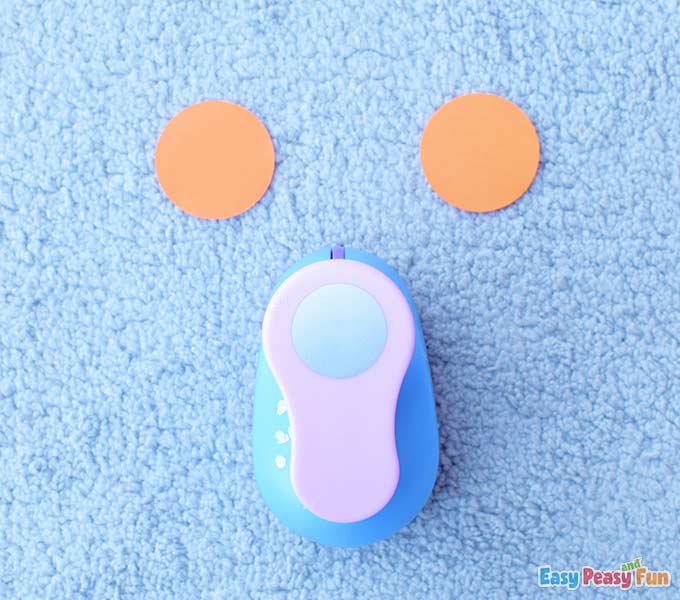
Punch out two orange circles.
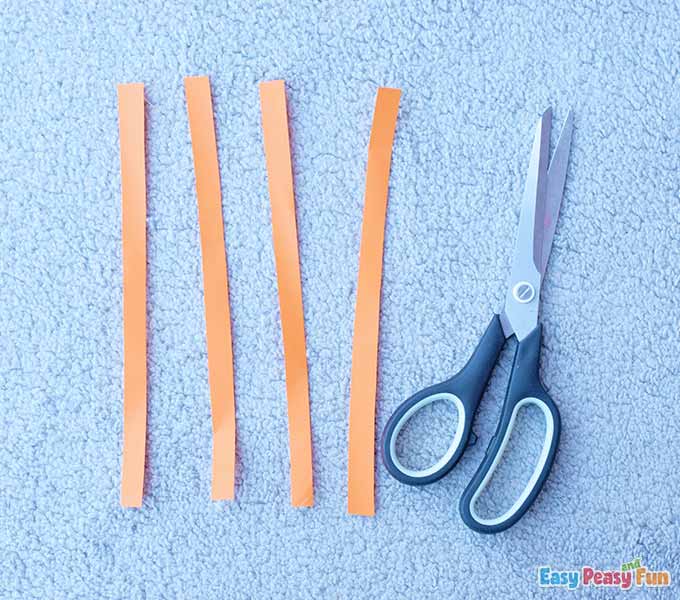
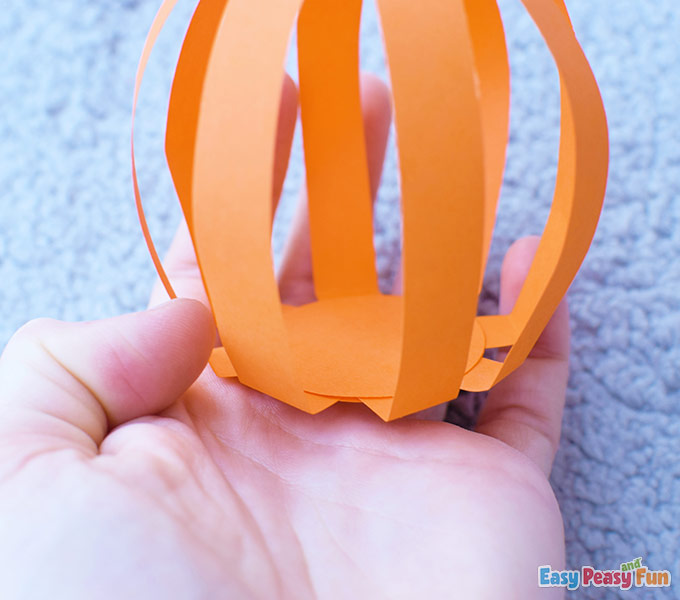
Cut out four orange strips.
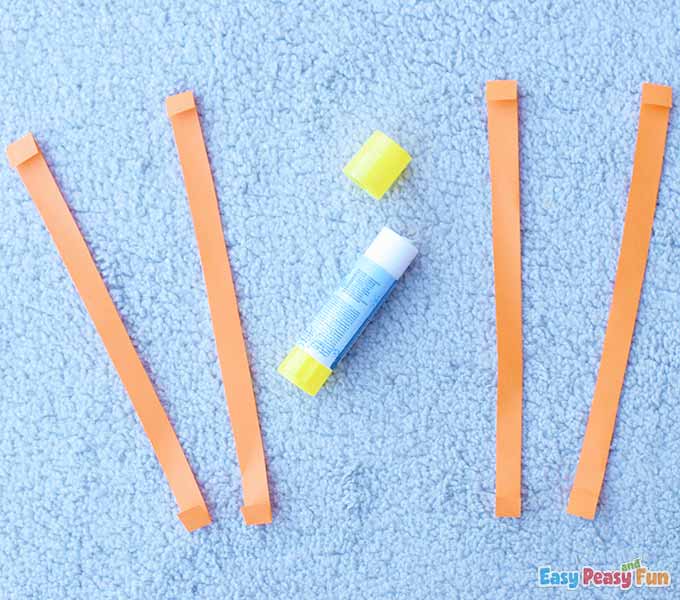
Fold their ends and apply some glue on them.
Attach the first strip on the orange circle.
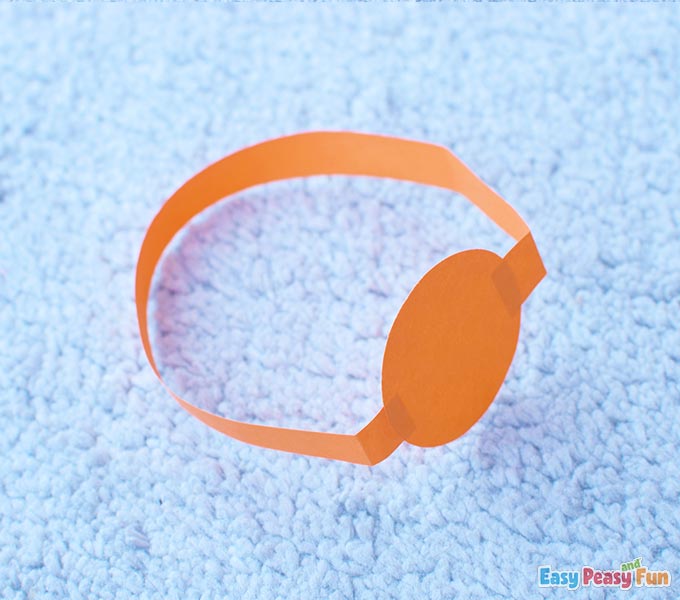
See how we glued it – we only glued a small part of the fold, so make sure you do the same with your strips.
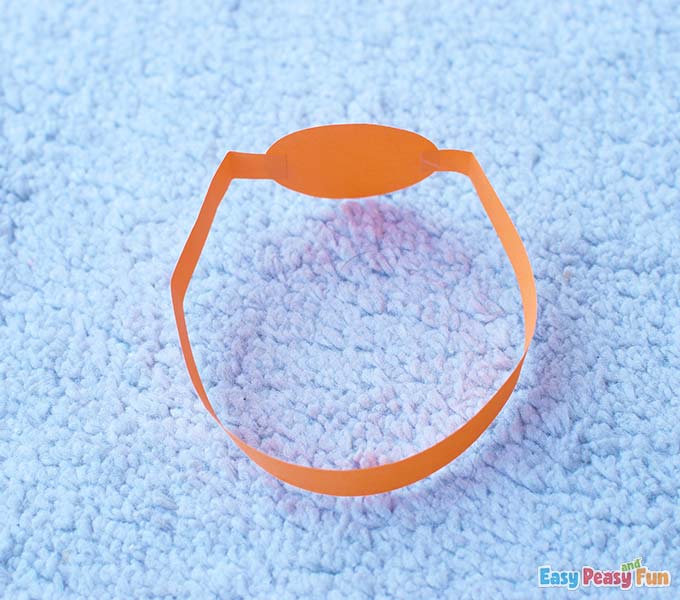
Add the second strip to form an X shape.
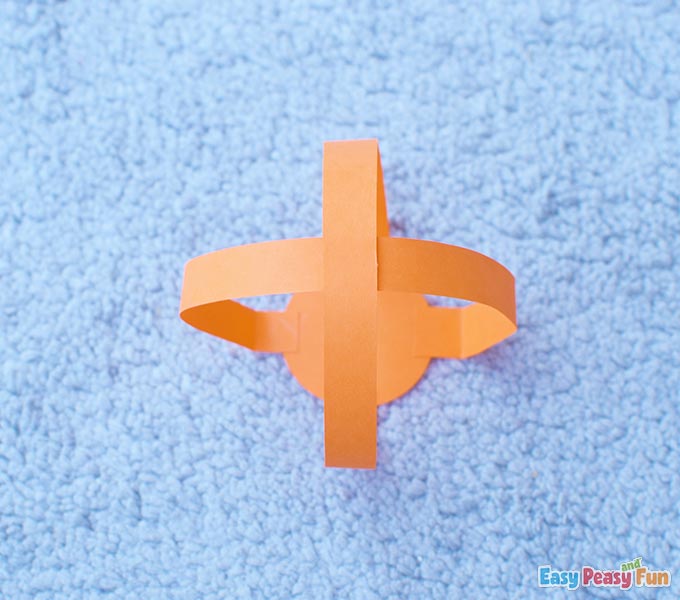
Glue the third strip and also connect them at the top.
Glue the fourth strip and connect it to the top with glue.
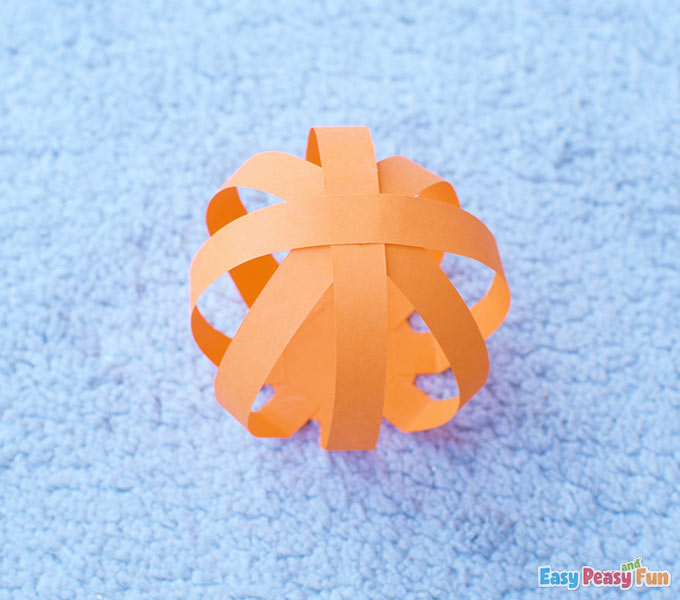
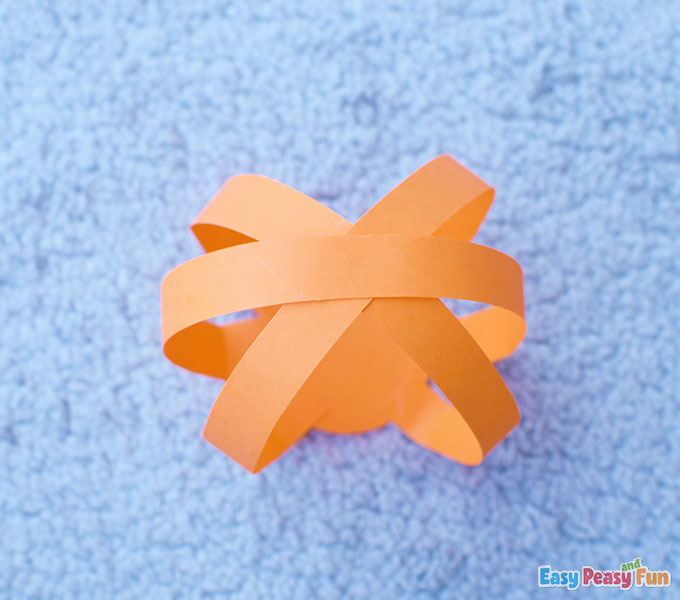
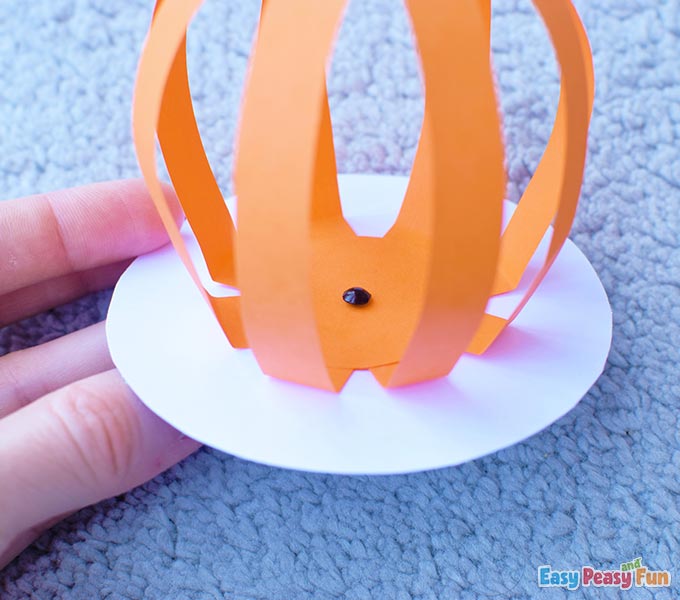
Take the second orange circle and glue it on the top of the first one, inside the pumpkin.
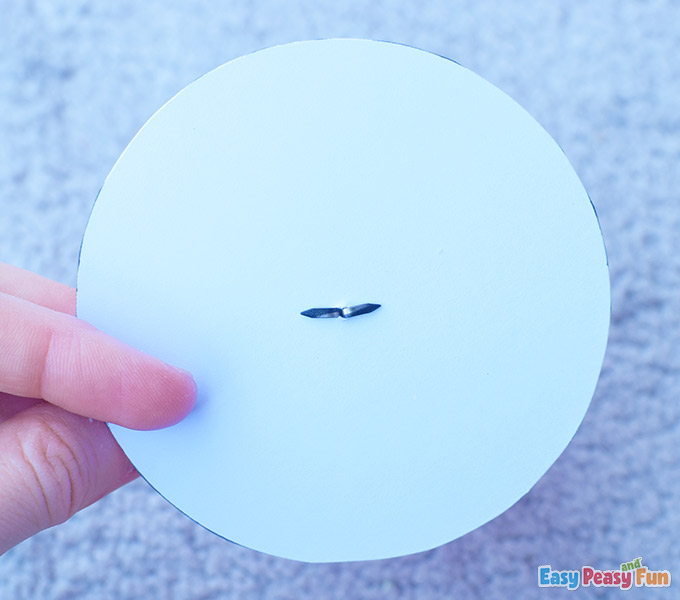
Push a split pin through the center of the orange circle, then through the center of the white circle you cut previously.
Split the ends of the pin so the pumpkin stays attached to the white circle.
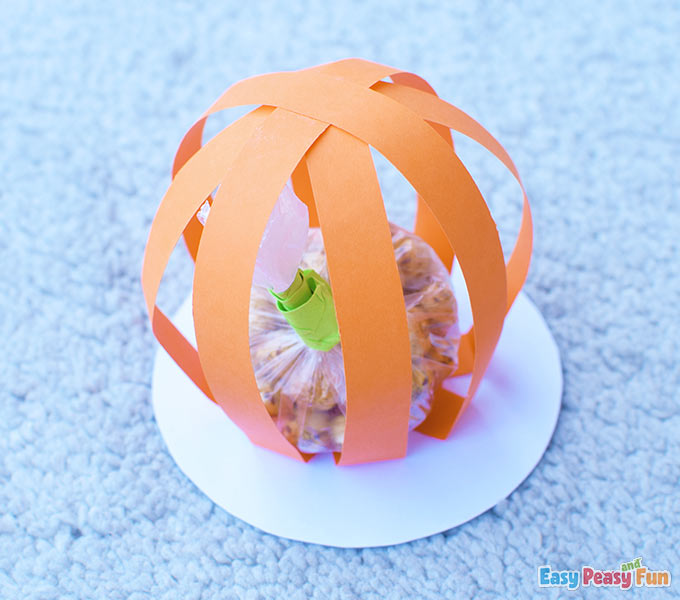
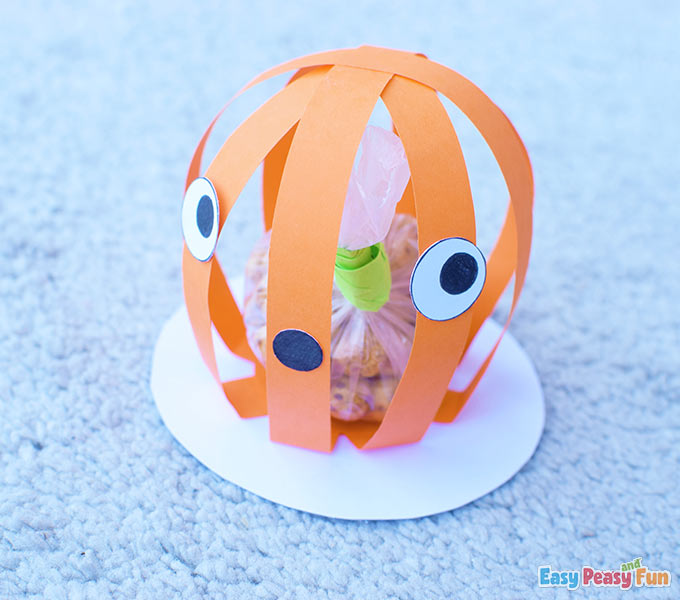
Place the bag with treats inside the pumpkin.
Draw and cut out two eyes and a mouth. You can also use big googly eyes if you have some.
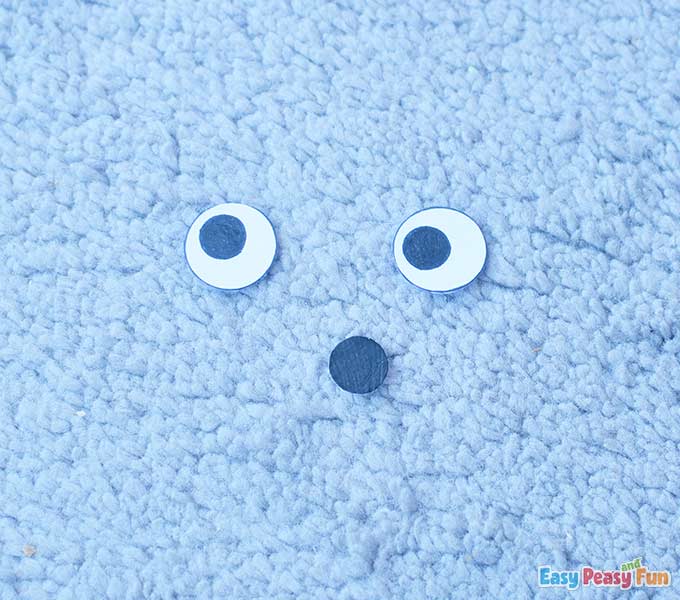
Glue them on the pumpkin.
Now draw and cut out a green handle for the pumpkin.
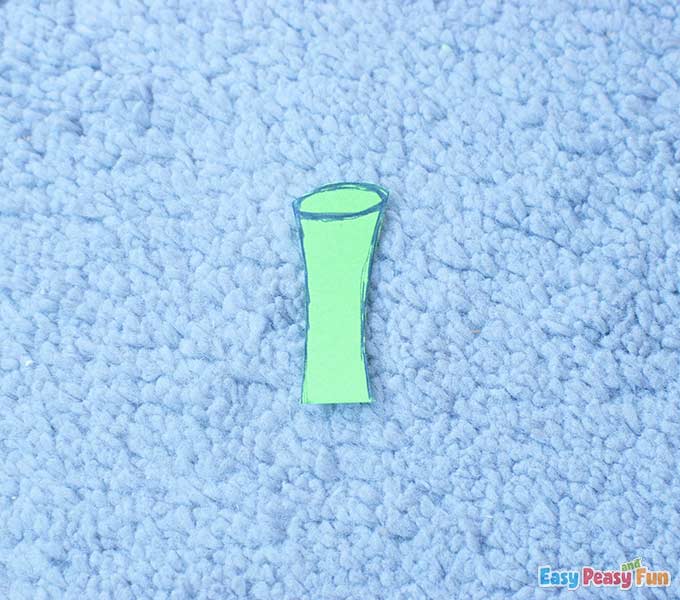
Fold its end, apply some glue, then place it on top of the pumpkin.
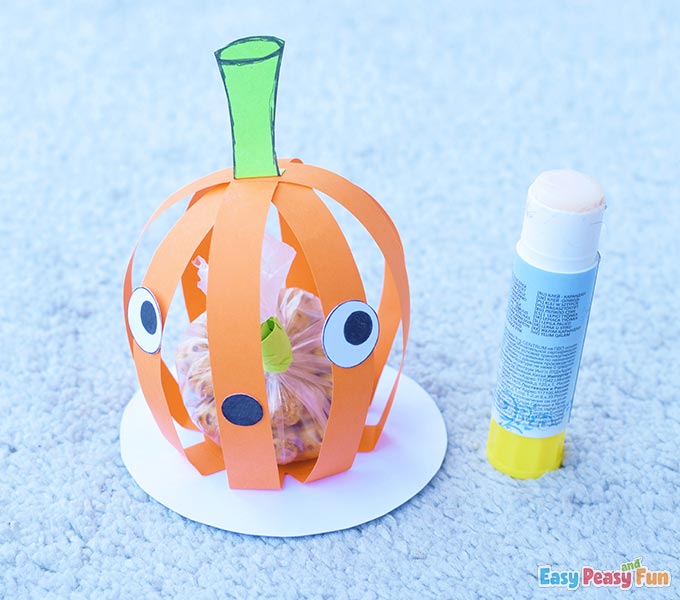
That’s it! Our pumpkin is ready to spin and wobble.

To make it spin, take the handle with your fingers and spin it around. And to make it wobble, take the handle and press it down then pull it back up.
Happy Halloween everyone! See you soon with more Halloween crafts!
Want instant access to all of our printable crafts, activities, and resources?

With thousands of crafts, activities, worksheets, coloring pages, and drawing tutorials to print, you will always have just the resource you need at your disposal. Perfect for parents and teachers alike!