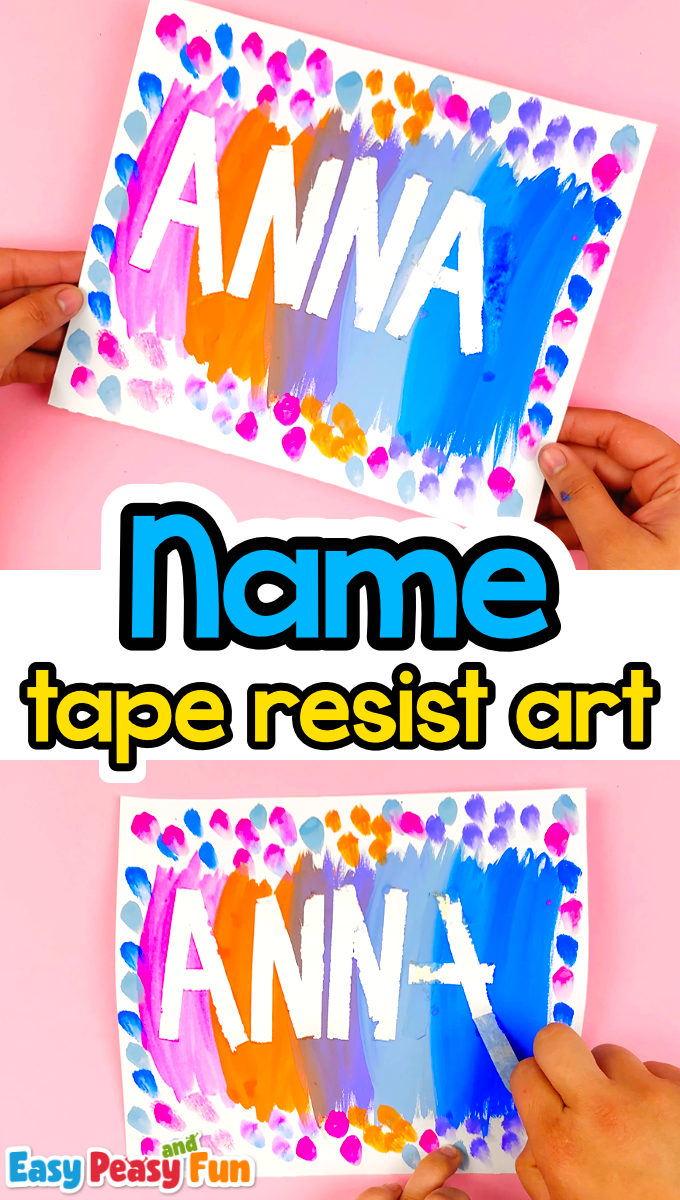
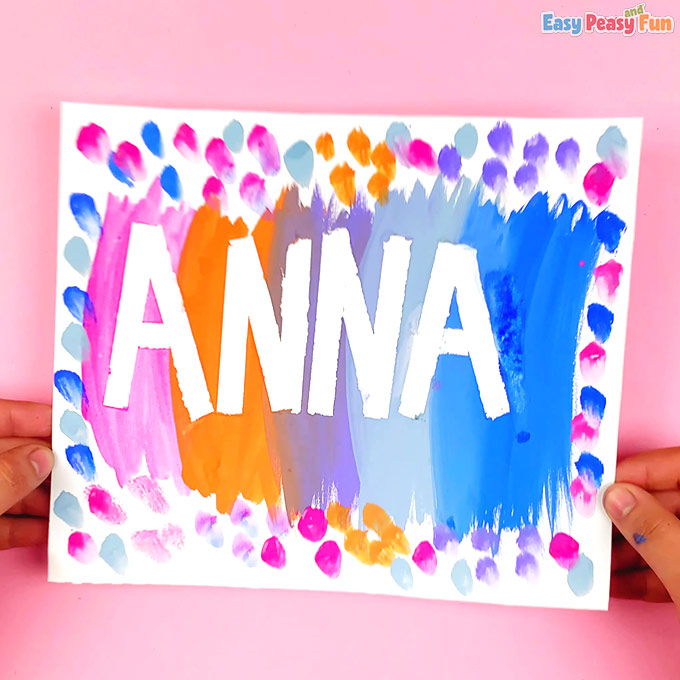
Learning to recognize the letters in your name and write your name is one of the first steps in literacy for preschool. This tape-resist name art is a great project to do in the classroom (or at home).
If you are doing this project at the start of the year, you can focus on just the first letter of their names. Have the kids make the initial letter tape-resist art, and down the road, you can have them build their whole name. This name craft can be modified to suit any age – from toddlers to older kids. We’ll share our tips in the tutorial.
This is also a fun and simple preschool and kindergarten art project you can make as a gift to the parents. It’s easy, it’s fun, and is just the right amount of messy.
*This post contains affiliate links*
50 paper crafts your kids can actually do themselves

No fancy supplies — just paper, scissors, and a little imagination.
Be the first to get it on release day — and lock in the lowest price guaranteed.
Tape resist word art is more than just a craft; it’s a celebration of individuality and creativity. You don’t need to focus on just names, you can have the kids build other words you are learning about or words that hold special meaning, or simply create a single letter masterpiece, this activity offers boundless opportunities for expression.

How to Make the Tape Resist Name Art
What you need:
- pencil
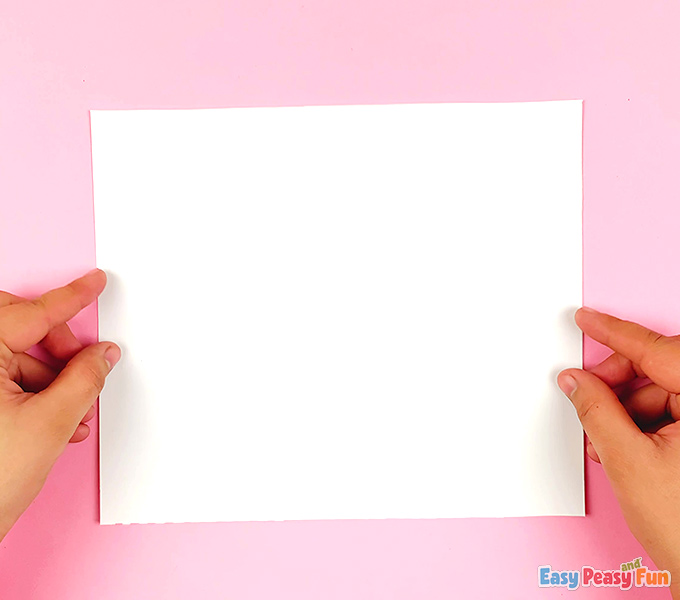
- white cardstock or art paper
- masking tape or washi tape
- paints; craft paints, acrylic paints, watercolors
- paintbrush
Step-by-Step Tutorial
If you are working with older kids, they will be able to make this project on their own, however for younger kids, the focus is on letter recognition and not building letters as they will find this part too tricky.
If you are working with younger kids, prepare a sheet of paper beforehand and make the letters with masking tape or washi tape yourself.
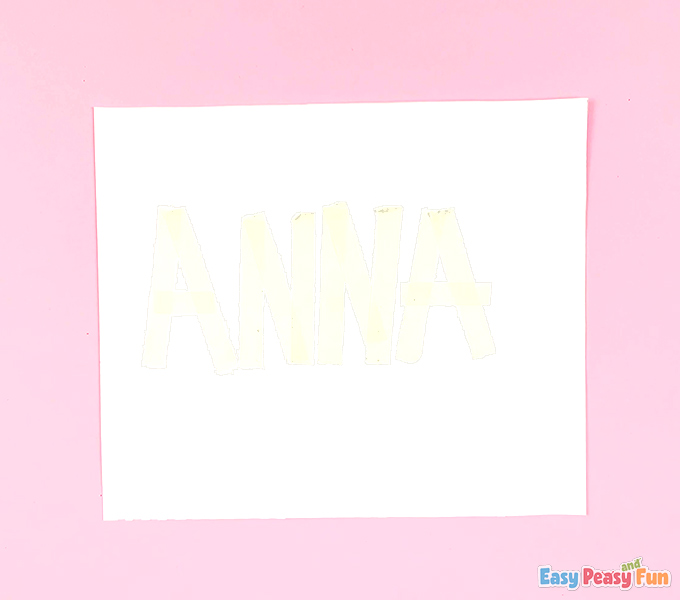
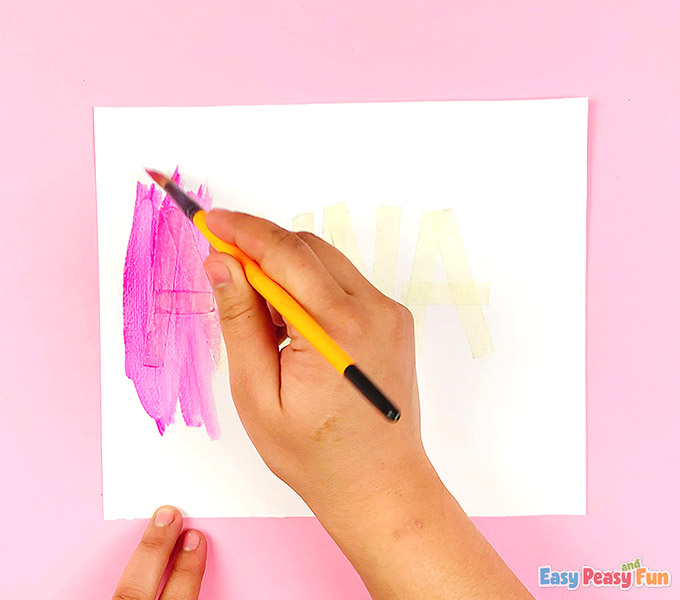
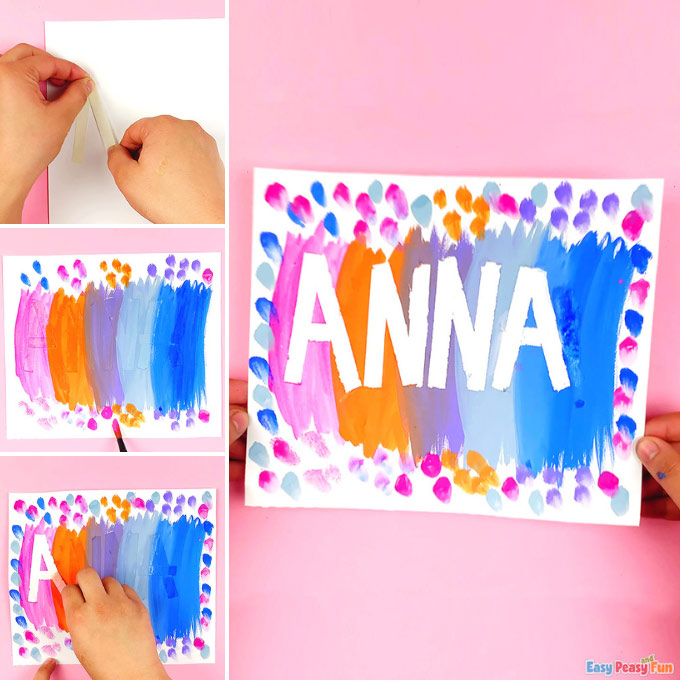
Using tape, kids spell out their names (or you make this step).

You can focus on just the beginning letter of their name (perfect for younger kids, as the initial is usually the first part of their name they recognize), or write out the whole name.
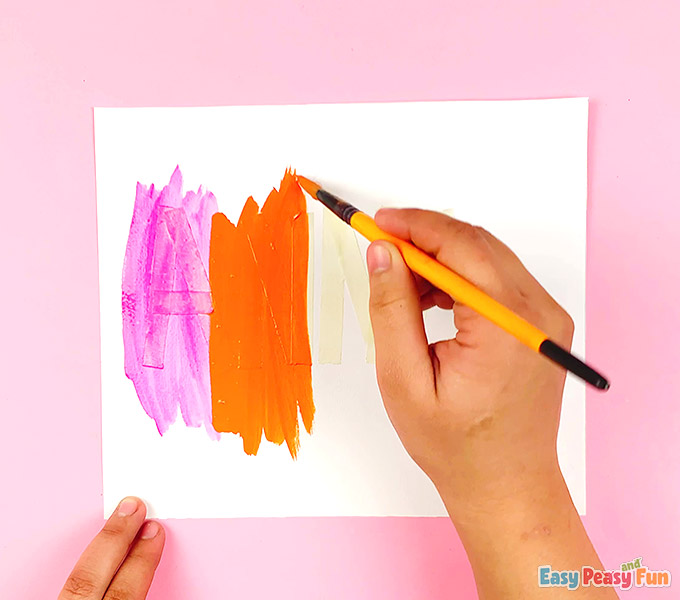
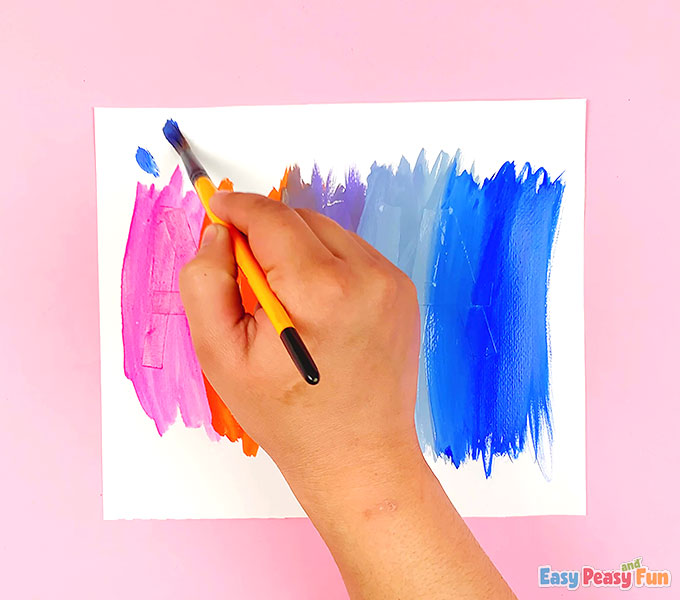
The fun begins now. Have kids color the canvas, let them use their favorite colors to express their personality. They can color their artwork with a single color or choose multiple colors.
You can encourage them to color around each letter with a different color. This will reinforce letter recognition.
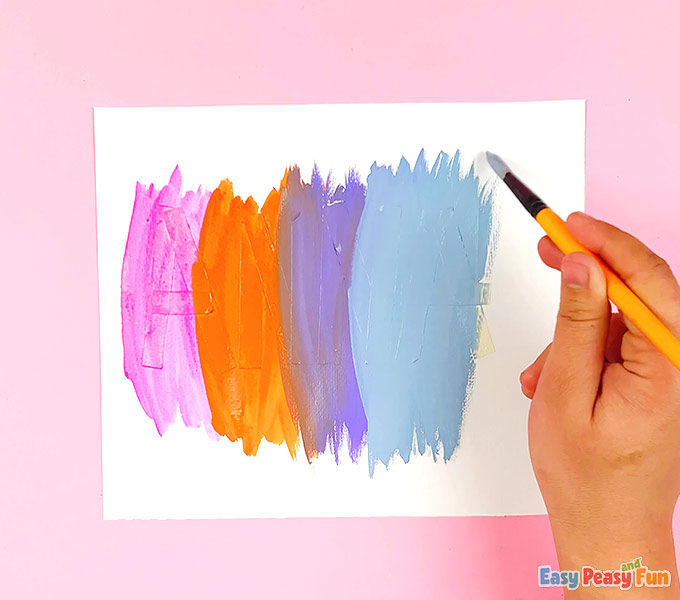
You can also have them talk about why they chose the colors they did.

While we used paintbrush to paint ours, this project works with crayons or chalk as well.
They can also use their hands to color the canvas, if you don’t mind messy art.
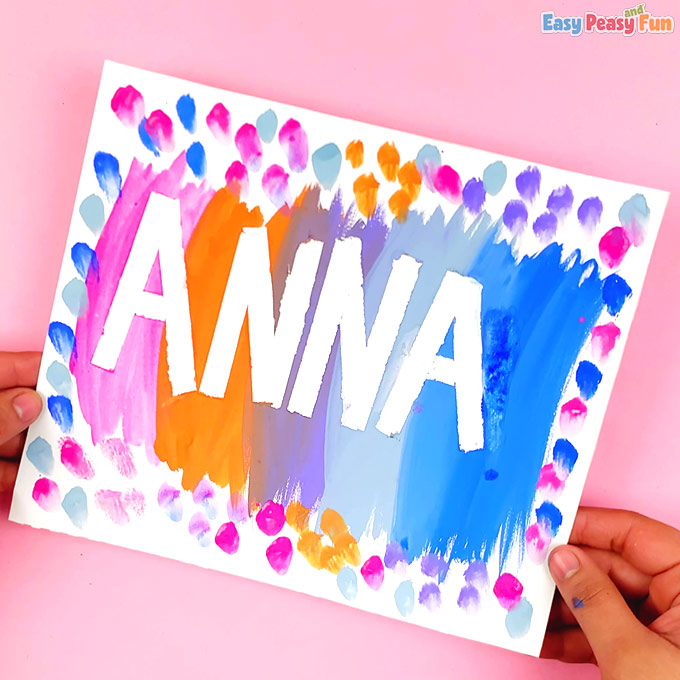
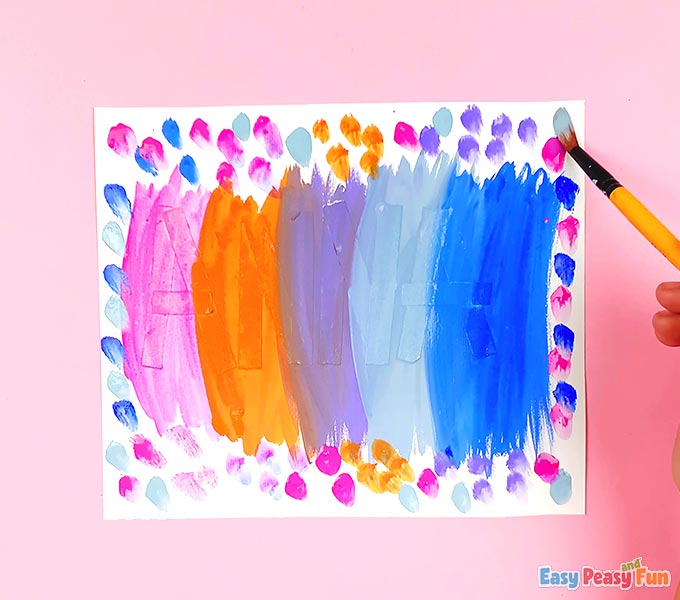
You can also add decorations around your tape resist art. Blobs of paint or fingerprints around the name make this project even more fun.
Another fun idea is to also offer kids stickers with various objects, characters and food and they can pick their favorites to add to their art.
It’s these little details that make their artwork fantastic!
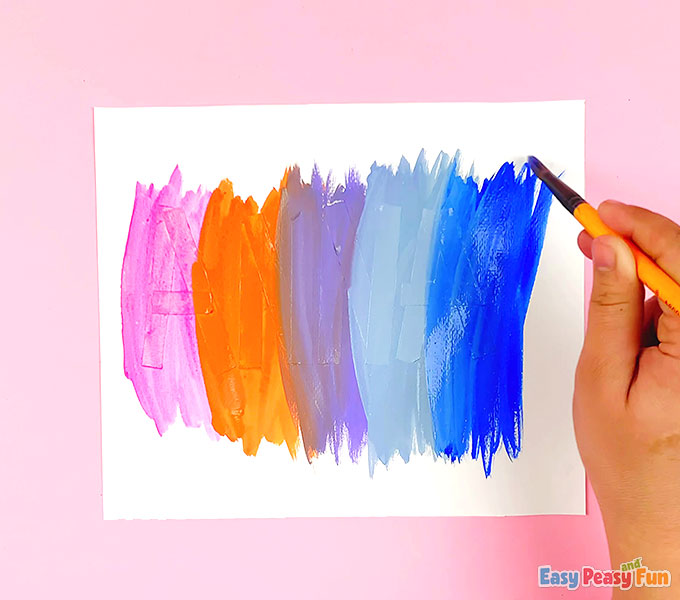
Allow for the paint to dry a little. Then have kids gently peel away the masking or washi tape, unveiling their beautifully personalized names.
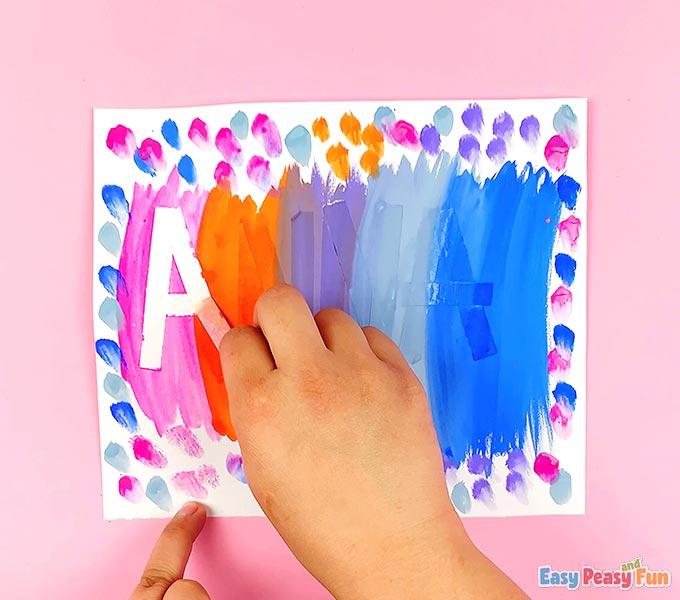
Make sure they go slowly and steadily while removing it.
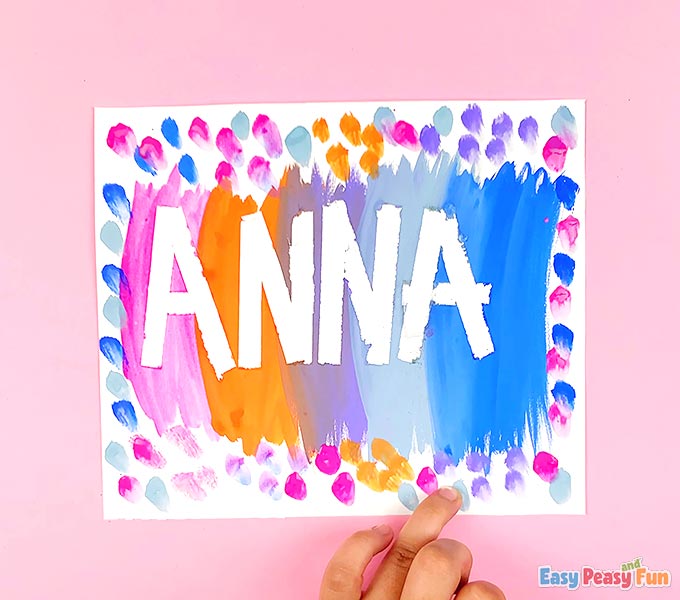
What colors did your kids choose?
Enjoy creating!
Want instant access to all of our printable crafts, activities, and resources?

With thousands of crafts, activities, worksheets, coloring pages, and drawing tutorials to print, you will always have just the resource you need at your disposal. Perfect for parents and teachers alike!